Act 2 Chapter 4 - The Source of All Troubles | Gears 5 Walkthrough
Keith and Del head to the communications towers to find the source of the broadcast from the Kadar Mountains. Chapter 4 in Gears 5 is the longest of them all. It's worth mentioning here that outside of the side locations, you'll also have to visit two communication towers - you can do this in any order.
Old Battlement
Remember the big gate you couldn't get to before - the old battlement? Now you should go straight there. Ask Jack to open the gate for you.
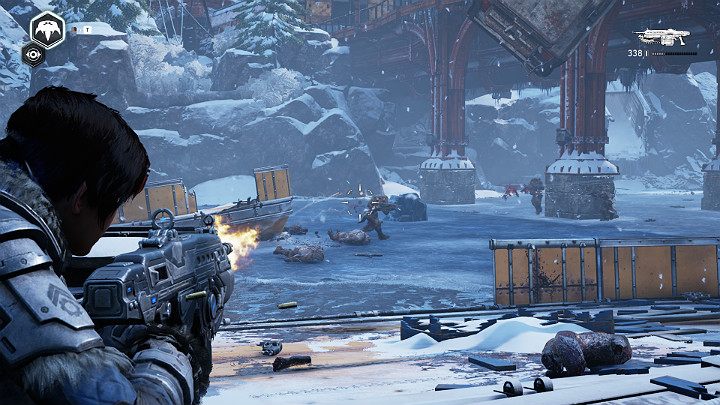
As you enter the old battlement, you will encounter a squad consisting of several snipers and one stronger enemy. First, eliminate the threat and then use the stairs to climb to a higher level.
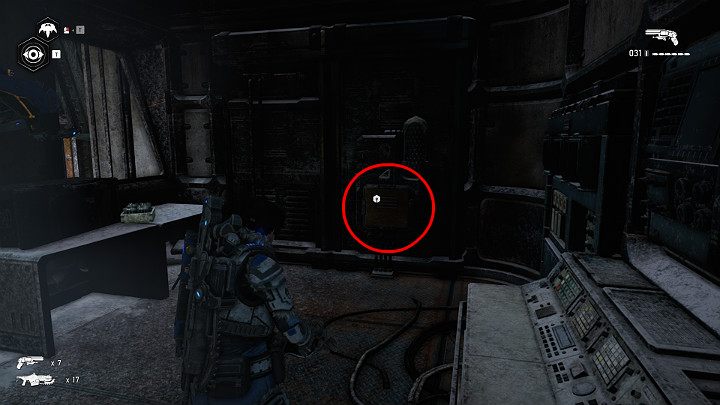
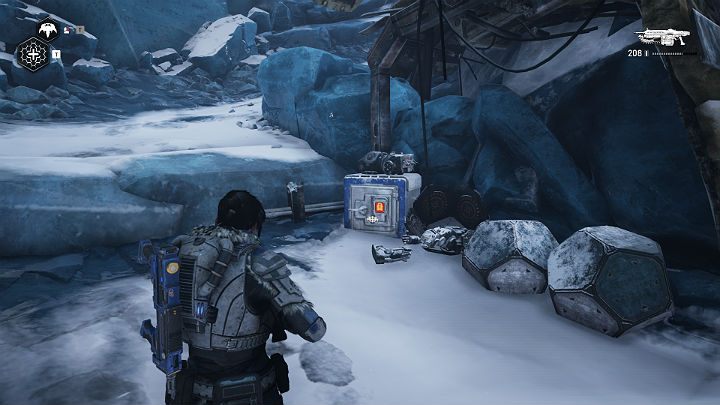
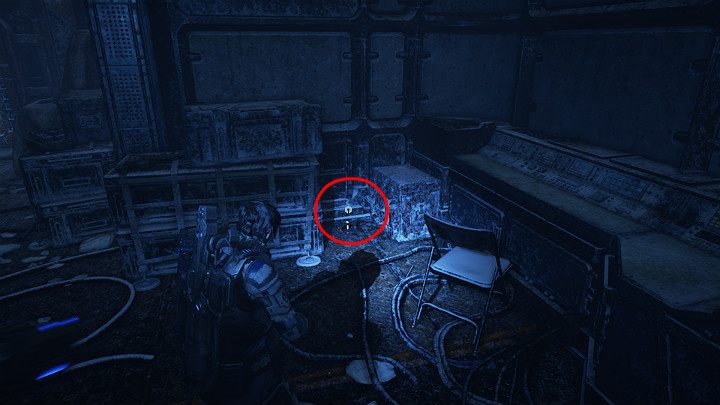
In the control room you will find one piece.
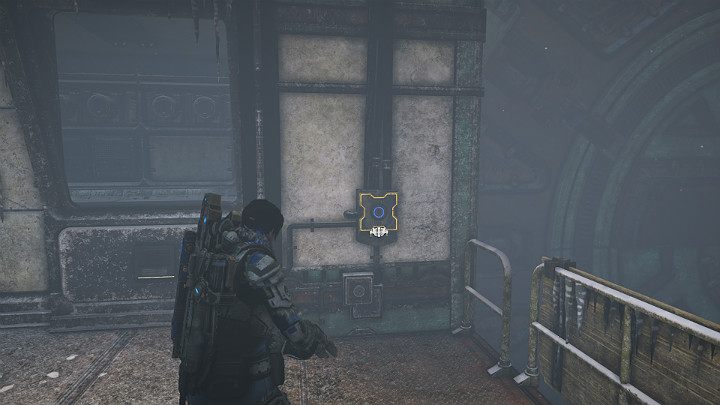
Ask Jack to activate another console. This will open a passage to the next part of the location. Return to the snowmobile and go straight through the newly opened gate.
Optional mission Condor Crash Site
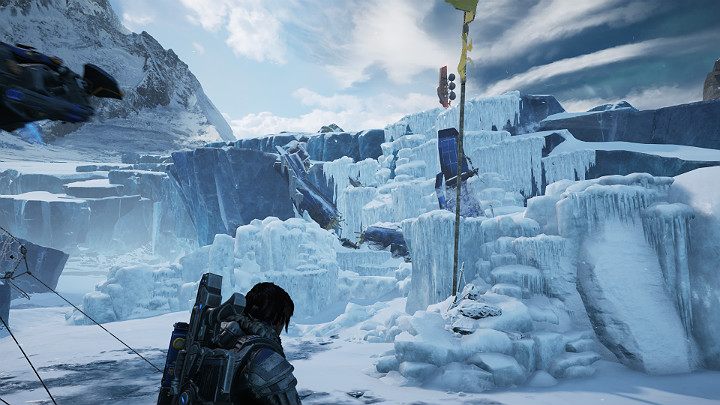
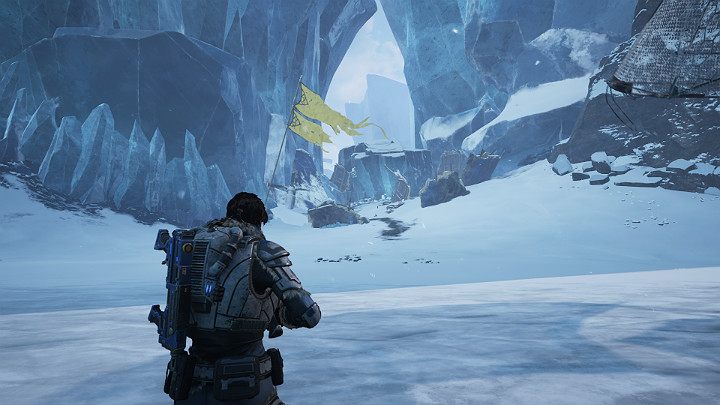
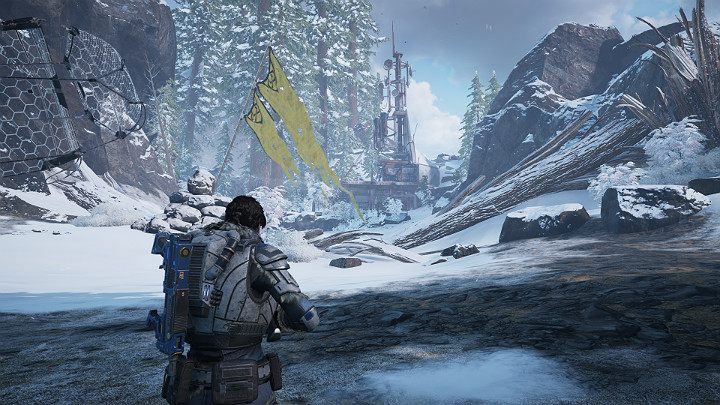
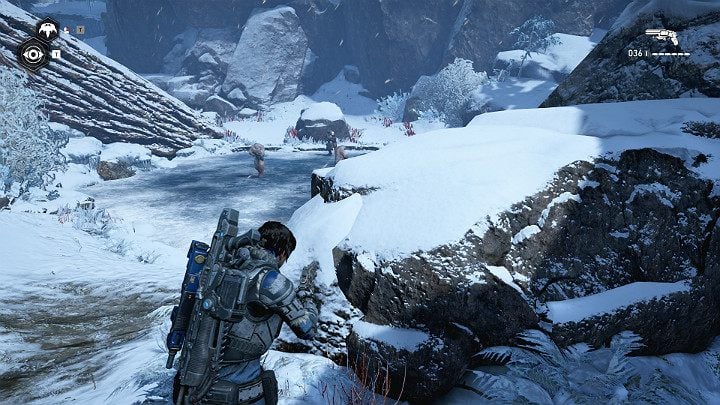
The crash site of the Condor is close at hand. It is marked with a yellow flag and is hard to miss.
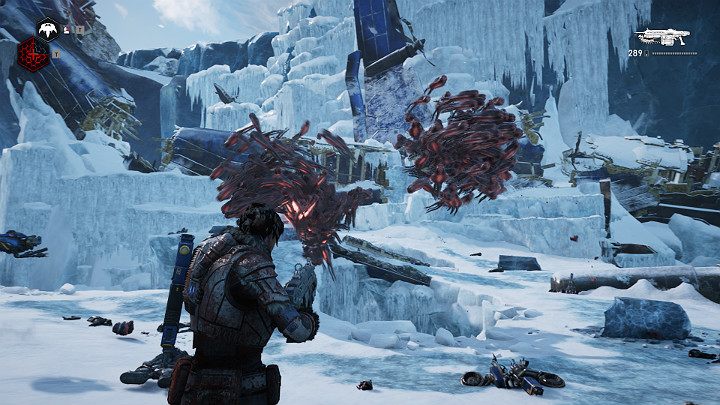
There you have to fight with a dozen suicide robots. This, unfortunately, is not all, because now you have to face 2 swarms of leeches. Keep shooting until the leeches start to attack - dodge their attack.
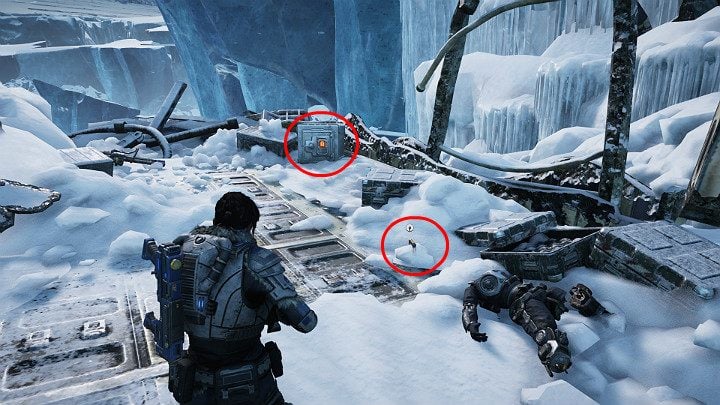
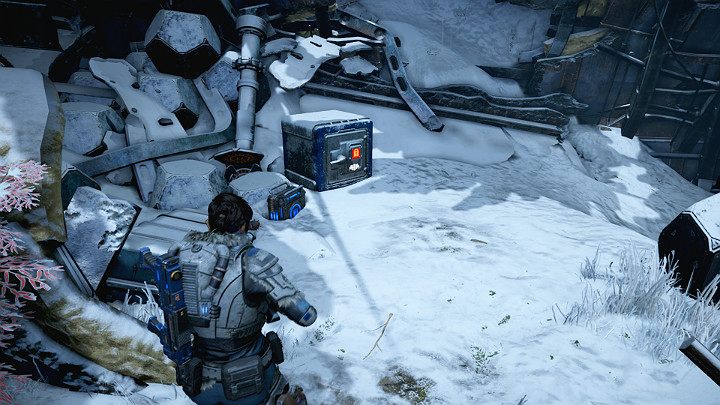
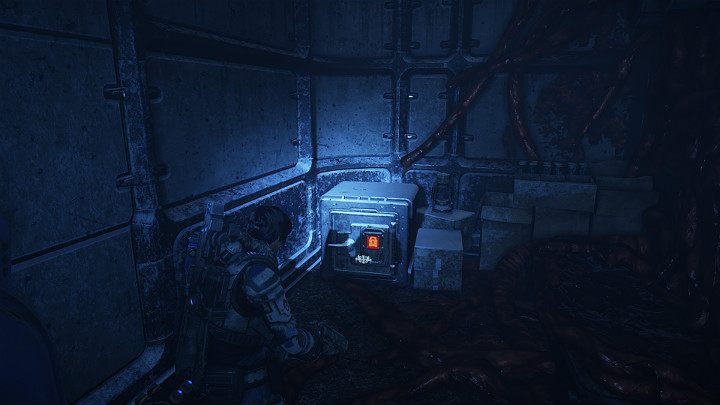
Open the safe to get an upgrade for Jack - Death Sentence. Additional mission accomplished - return to the skiff.
Additional mission - the second crash site of the Condor
The second crash site is next to the first. It's easy to get there because this one is also marked with a yellow flag.
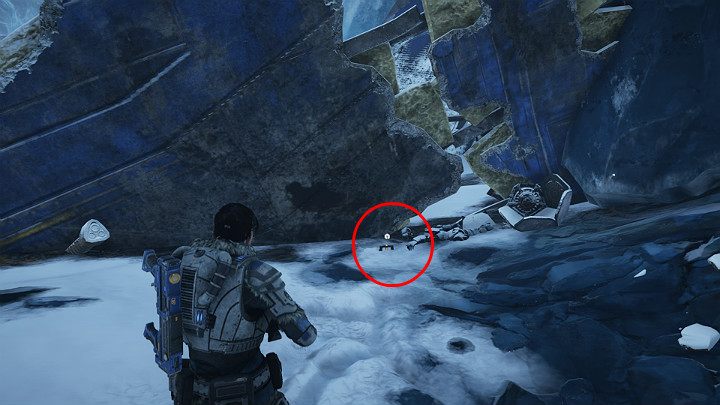
The detail is behind one of the large parts of the helicopter. Collect it and go through the narrow passage to get to another part of the location.
Another component is next to the drop-shaped capsules. Interestingly, when approaching the capsule, one of the allied robots will attack you - it has probably lost contact with the base. Eliminate it. The further road leads down through the hill. Prepare for battle - there are enemies below. Robots emerge from capsules scattered across the snow. Watch out, robots explode.
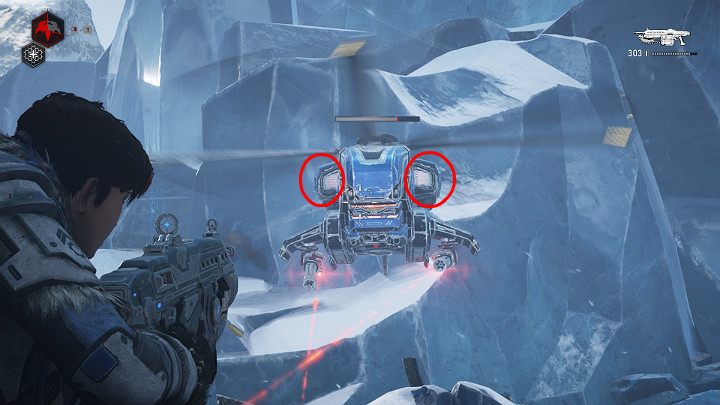
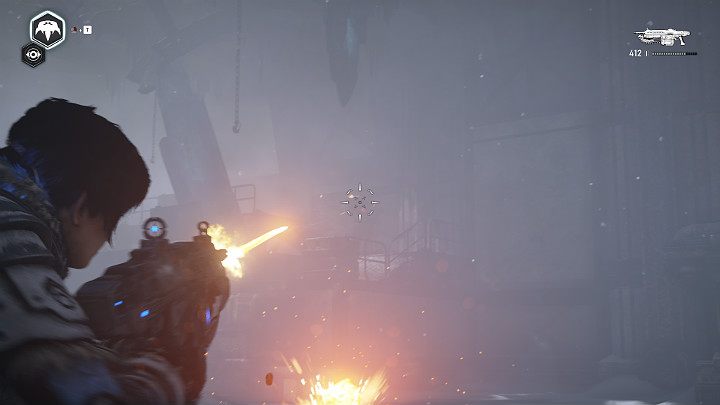
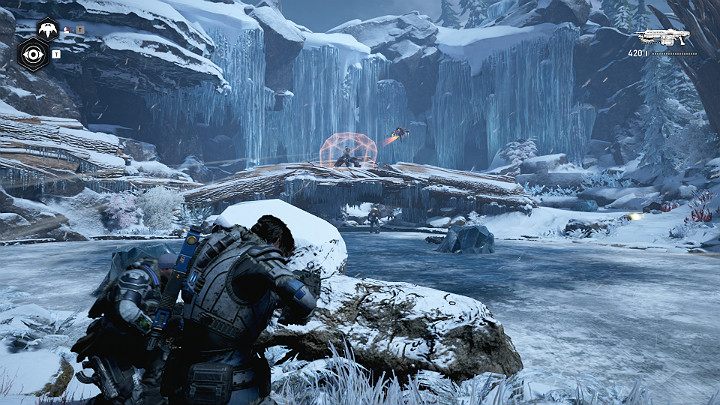
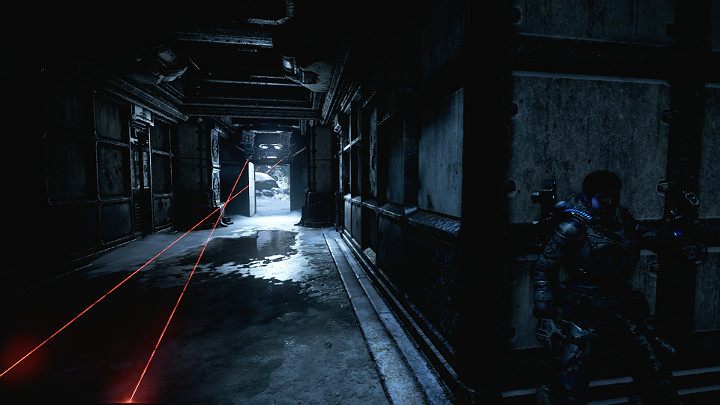
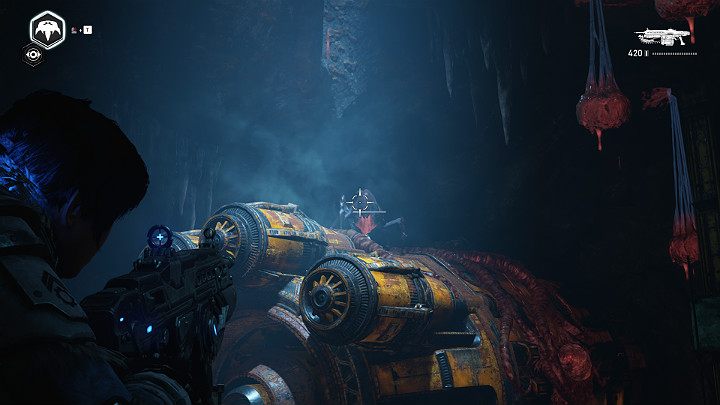
Aim at the helicopter's engines is the fastest way to destroy it. Hide behind cover as soon as you notice the laser sights - otherwise you will die.
The downed helicopter will not only open the exit for you, but also open the safe. Inside you will find an extraordinary upgrade: fighter.
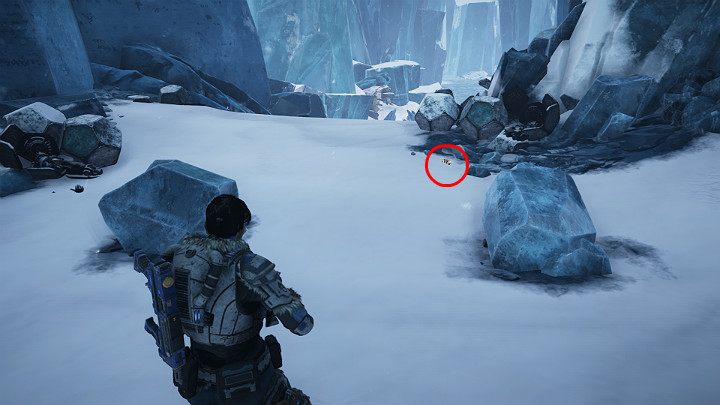
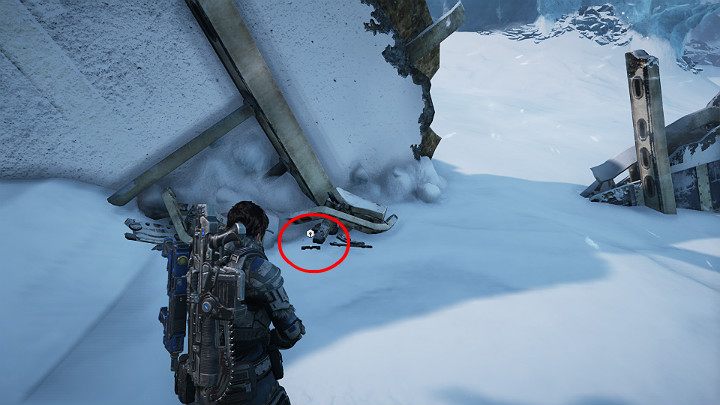
Before jumping off the cliff and heading towards the car, make sure you collect the part lying on the snow.
North Communications Tower
The north communication tower is in front of you. The order in which you research the towers is not important, so you can explore them however you like - you need data from both communication towers.
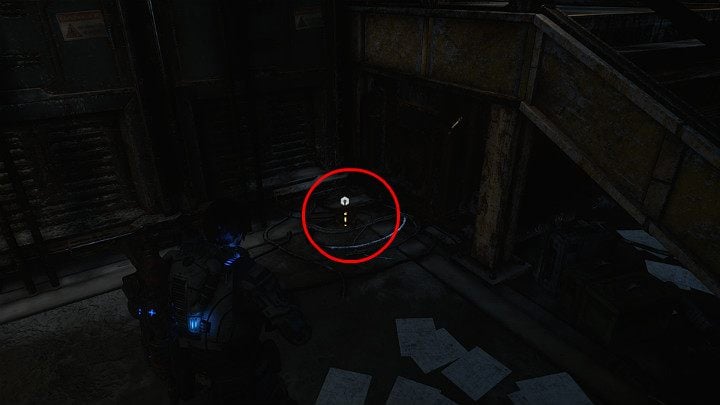
Go to the control panel and use it to get a collectible - Lina's notes. From the letter you will learn that something dangerous is waiting for you inside. You can't get inside yet - you need a security code.

Go around the substation, the next component is to the right of the building.
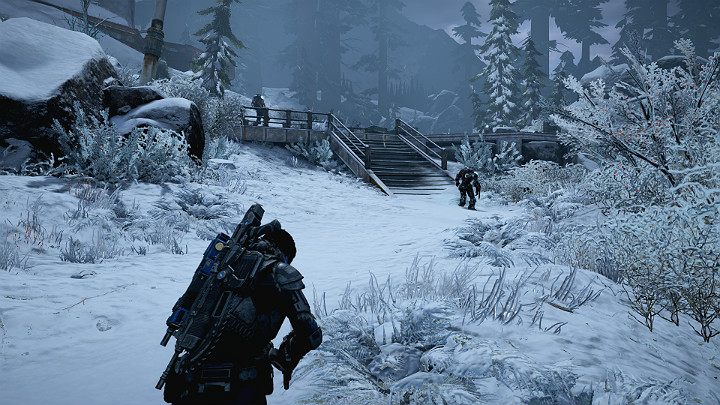
During the ascent, you will encounter several enemies. Kill them all and then explore the area.
Climb the wall - you are next to another piece of Condor. There is another component in the safe. To leave the crash site, you need to go through the rubble - you can't go back the same way.
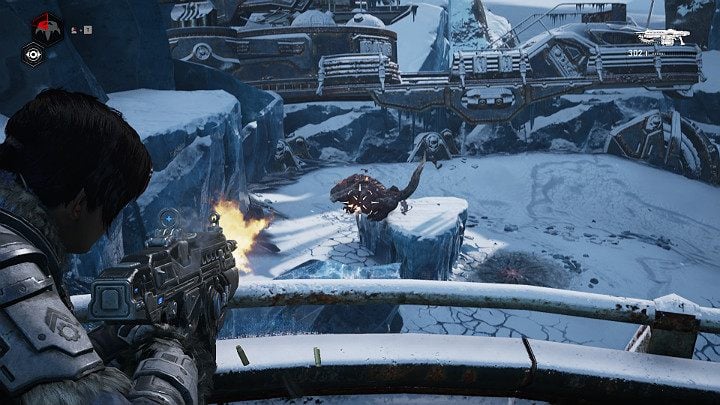
Eliminate a dozen suicide robots and one cannon enemy. The largest enemy is accompanied by a small drone that creates a shield for the monster. Get rid of the attacking enemies first and then take care of the drone and the main monster.

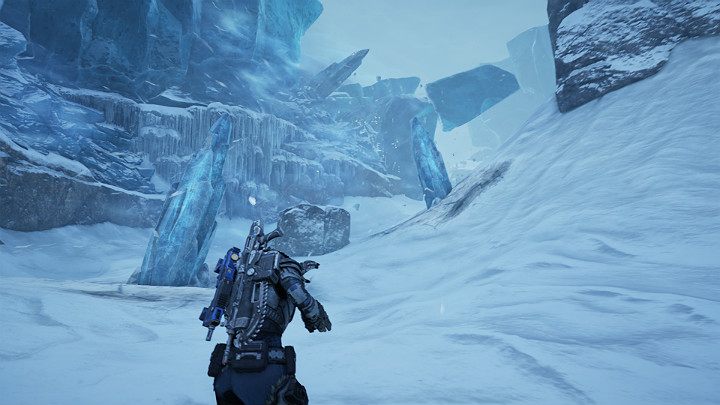
The further path leads through an ice cave. You will encounter another crystal guard. The enemy has several minions - eliminate them first. The tactic is to knock off the opponent's helmet and then keep shooting at the head until he dies. Of course, you should also avoid his attacks and melee attacks.
There are several robots in front of the tower - kill them quietly so as not to alarm them all at once.
There is another component in the safe. Collect it and go towards the tower.
Once you enter the tower area, turn left. Assemble one more component.
Go downstairs and let Jack connect to the computer. The verification process will take a little time.
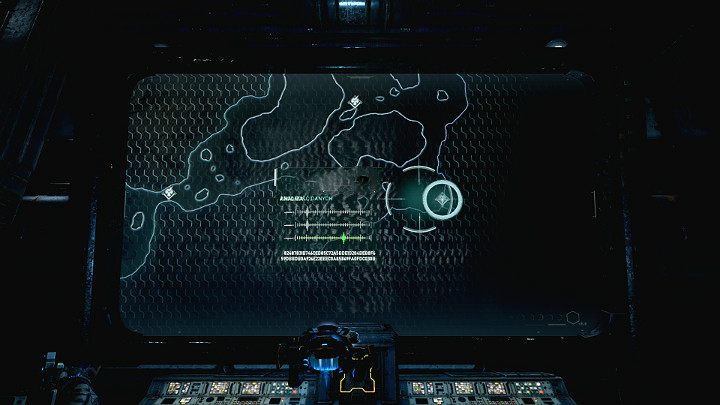
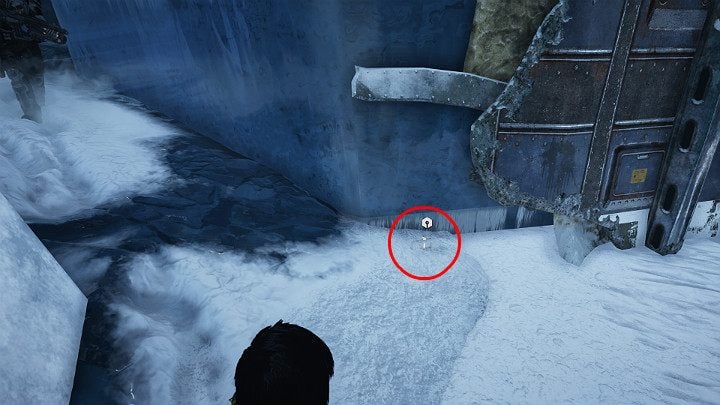
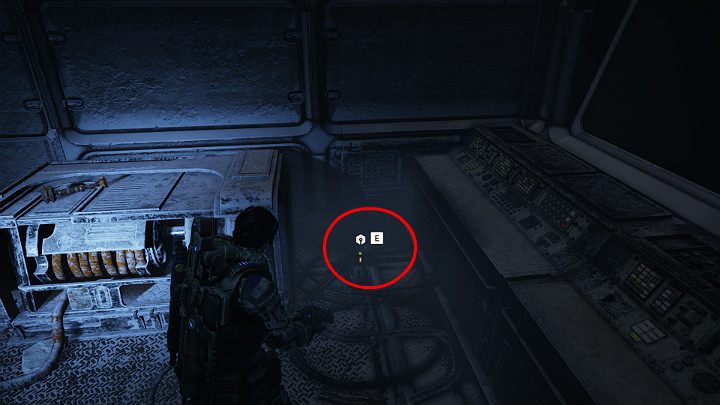
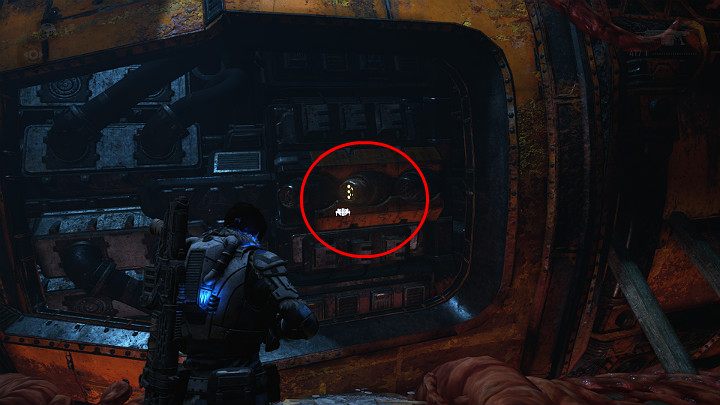
Jack cannot track the signal automatically - you must help him. Move the scanner point to the location marked in the picture above (use the d-pad or analog stick) to start the data extraction process. To be successful, you need to place 3 sliders correctly. After that, go through the only door in this room.
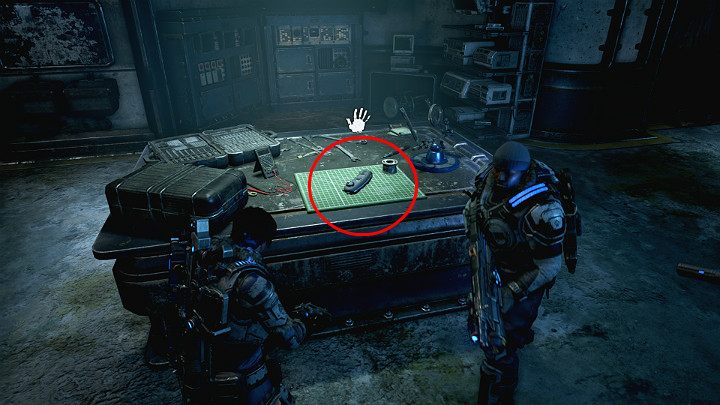
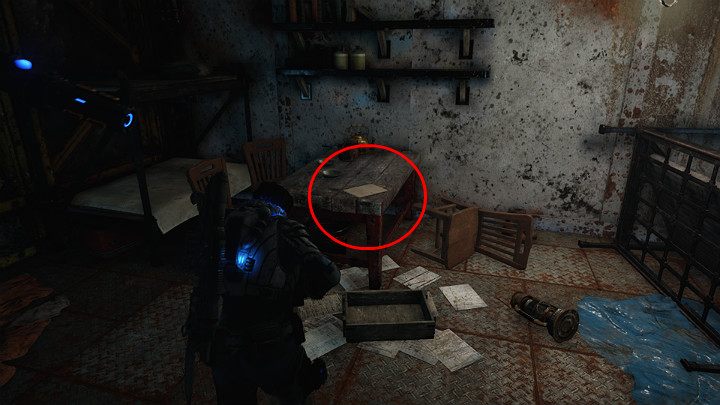
Assemble the module for Jack, lying on the table -disguise. Soon you will be able to use it.
Keep an eye on the turrets - you accidentally activated them while working on the computer. Use Jack's new ability to safely exit the building. Run down the corridor - invisibility has a limited duration.

You will face another group of enemies. You can try to skip them with invisibility or just eliminate them. Return to the skiff.
Stop at the parts of the crashed helicopter. You will find one component.
East communications tower
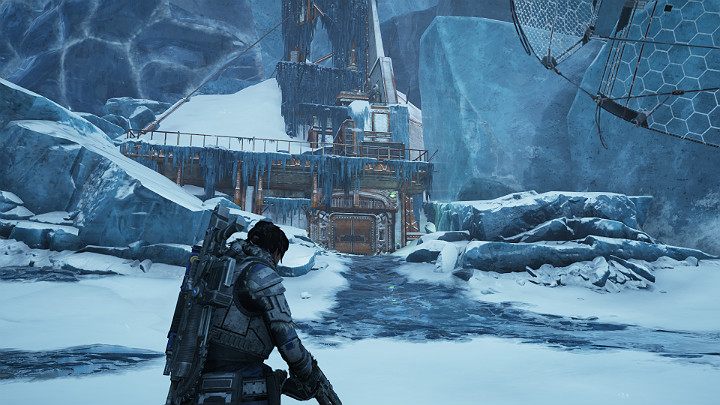
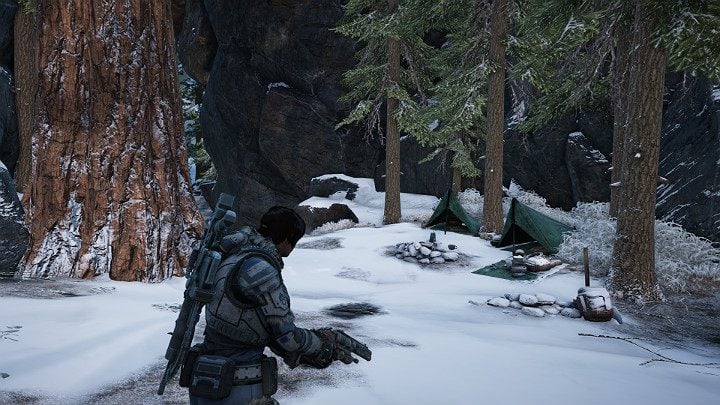
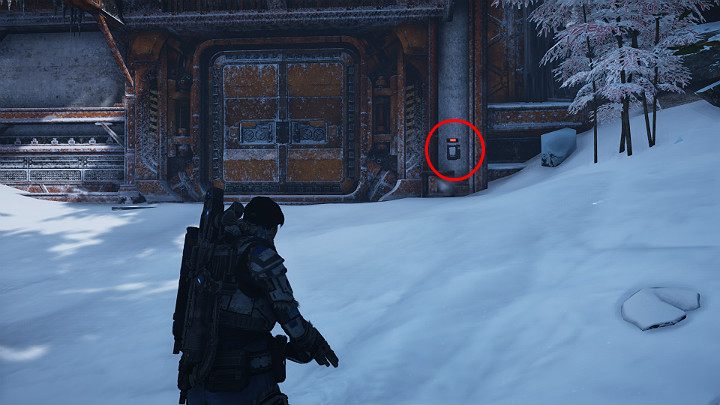
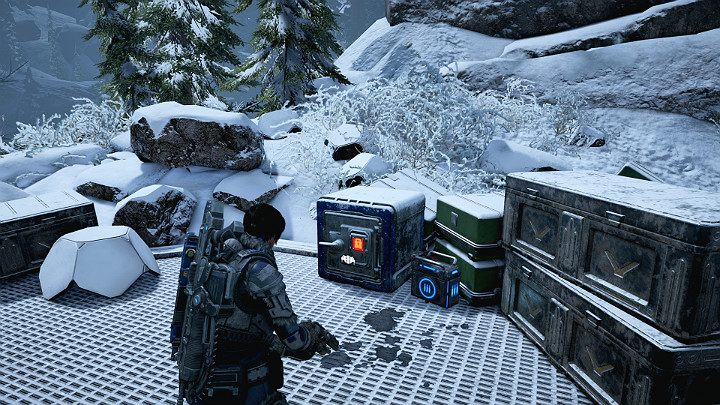
Ahead is the East Communications Tower substation. The path to the main station leads to the right. First, enter the building presented in the picture above to activate an additional mission - explore the camp.
Additional mission - explore the camp
Enter the substation to activate another additional mission - explore the camp. Another component is in the corner of the first room.
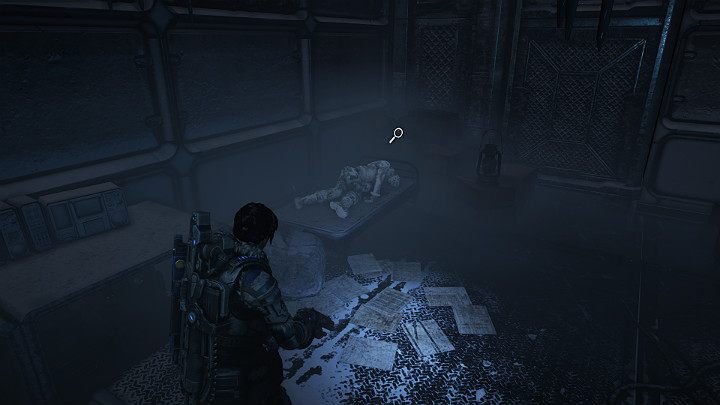
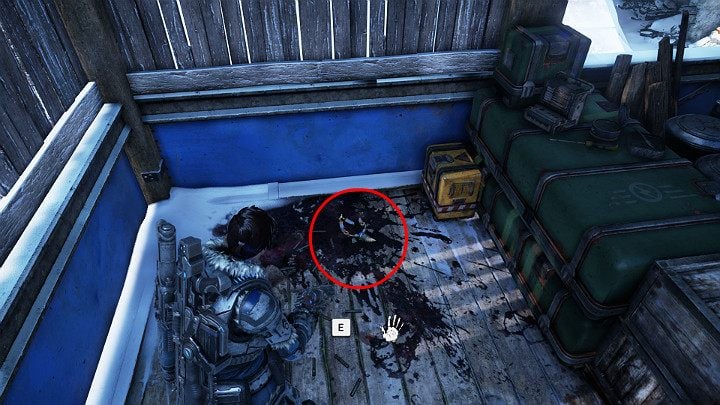
You found Lina - unfortunately, she froze to death. She will not help you open the gate of the first substation. You must find the code yourself.
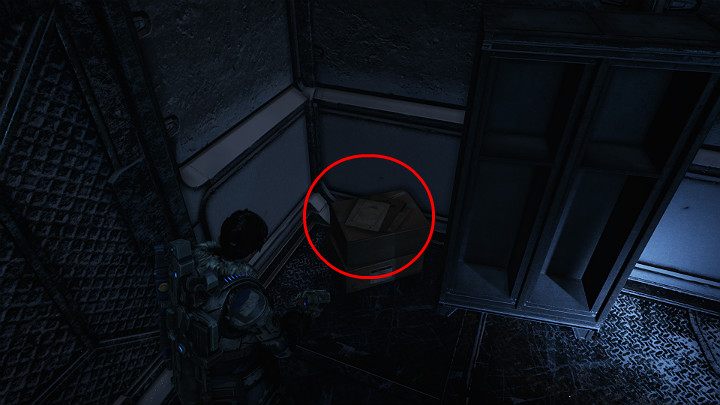
And in the corner of the room is a collectible -security secret. You have everything you need to open the North Substation gate. You must go there first.
Open the door and go inside. Now you need to find out what happened to Norsko.
There is one detail, in the corner of the building. Make sure you get it before you explore this room.
Norsk did not survive. Open the safe to collect an unusual upgrade: pulse and leave the building. Return to the east communications tower.
East Communications Tower - Part 2
Move straight ahead. Watch out for falling ice crystals and large boulders rolling down the slope. One boulder can kill you. Soon, you will participate in another battle. This time the blizzard will work in your favor. Eliminate the threat and continue climbing - watch out for falling ice shards and rolling ice boulders. You reach the tower door.
The first component is on the ground. To continue the mission, you must recuperate. Get Jack's help.
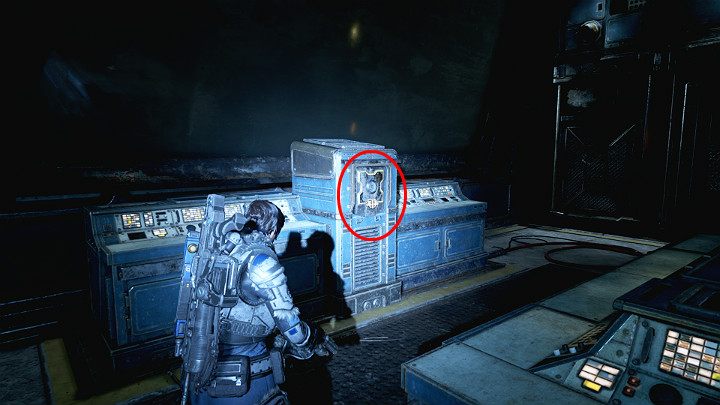
Let Jack into the ventilation shaft so he can do his job. Now you can connect to the console.
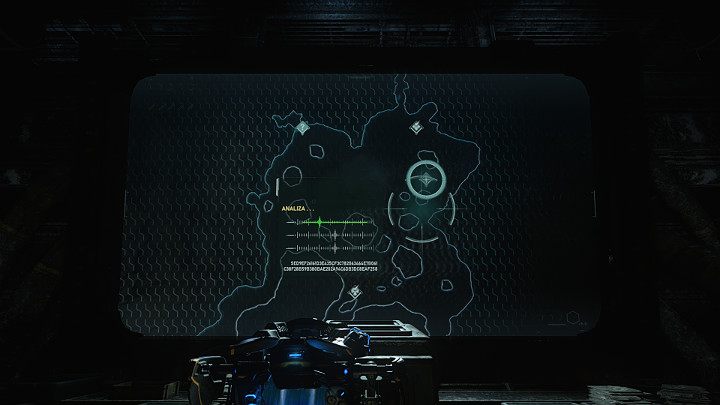
You must find the signal and download the required data. Hover your mouse over the dot highlighted in the image above and set the sliders to the correct position. Open the door and go into the next room.
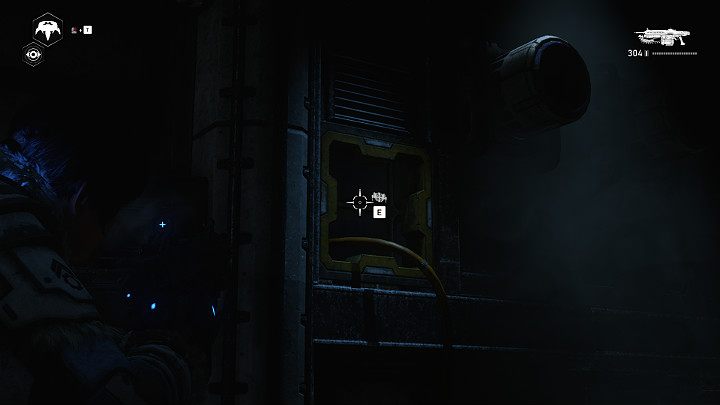
Look at the supply shelves. There you will find the component. Ask Jack to bring it.
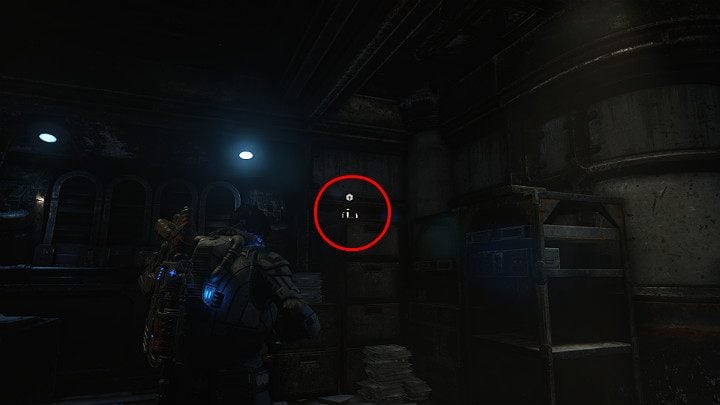
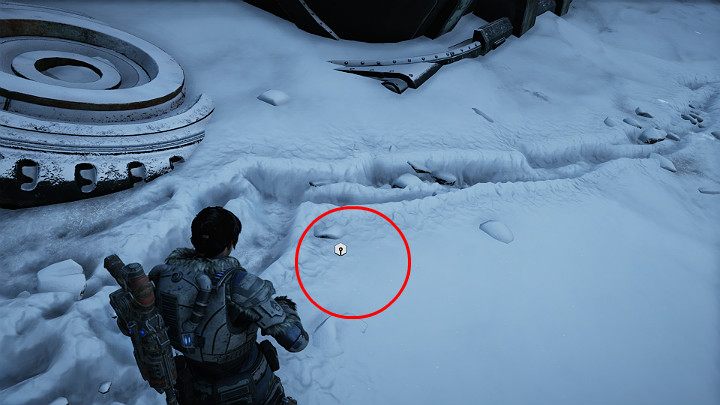
There is one more detail in the next window. We go outside and go to the place indicated by the coordinates of the mission. In case of problems, use the compass at the top of the screen.
When you get there, order Jack to scan the ice. There is something under the ice, and you have to get there. To do this, you must first go to an abandoned mine to get explosives. The coordinates will be marked on the map.
Additional mission - "Storm in the crater"
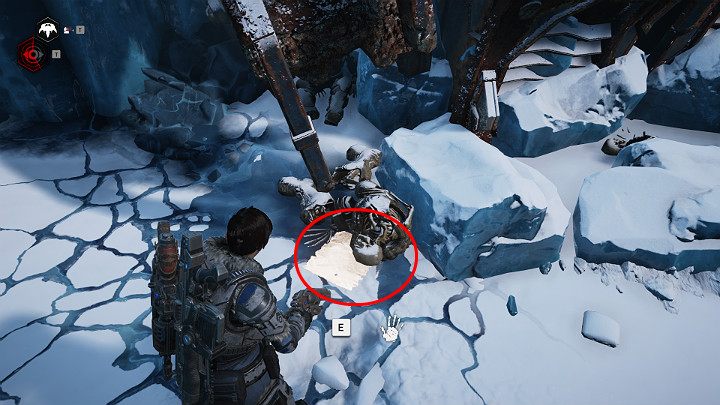
When you get to the place, look for the yellow flag. There is a collectible on one of the skeletons -Order of Ketor Scourge. The goal of the extra mission is to find parts to cool the elevator.

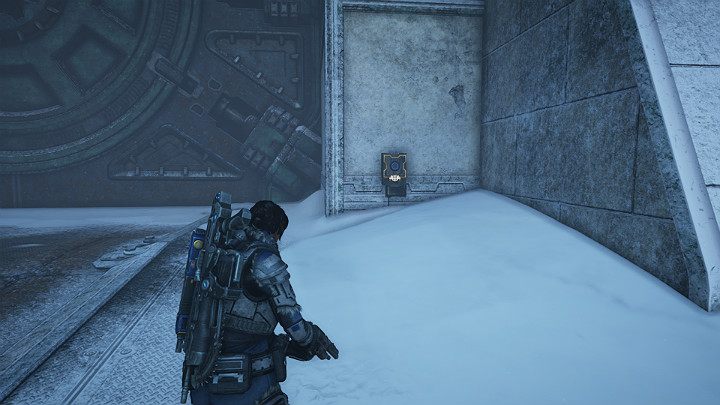
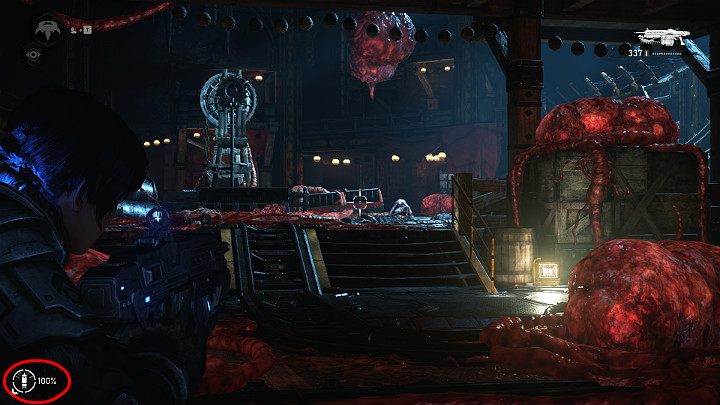
As soon as you go up the stairs and try to get to the cache presented in the picture above, the opponents will begin to storm your position.
Deal with the first wave and prepare for the next. The grenade launcher came in very handy here. After the fight, return to the cache. Another Collectible is behind the yellow door-drilling elevator delivery detail. Congratulations, you managed to find the item needed to complete the main task. Continue on your way to the mine.
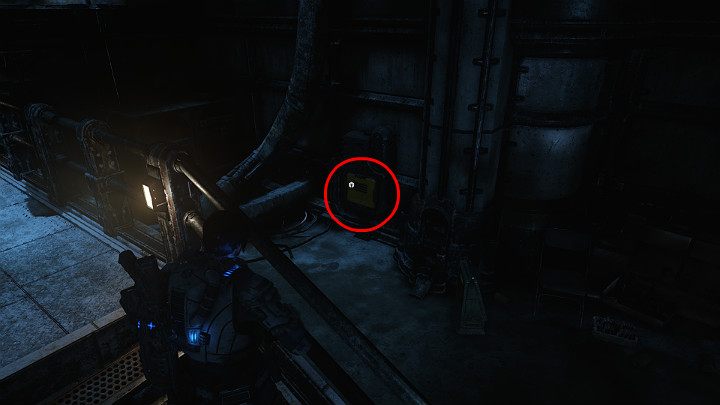
The component lies next to a large silo located in front of the mine - it is not visible, the part is buried in the snow. Ask Jack to get it. Keep moving forward until you reach the mine.

The component is in an abandoned vehicle. Go to the mine.

On the ice, you will face several fortified enemies. Pay special attention to the one who throws the explosive.
Abandoned mine
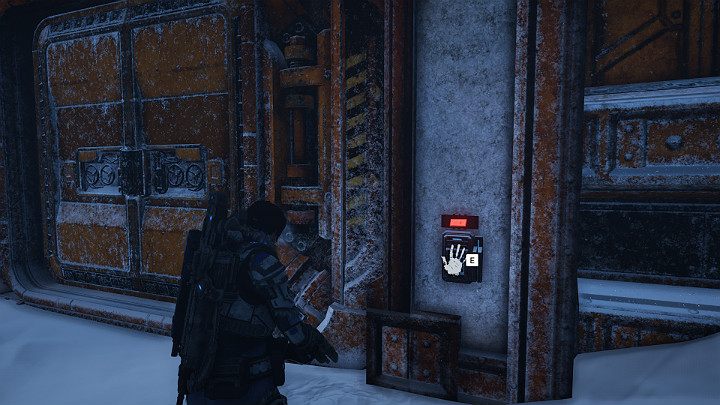
The entrance to the mine is through these protected doors. Tell Jack to open the elevator and get ready to fight.
Enemies will attack you from all sides. Some of them will be supported by defense robots. You have to deal with them to continue the mission. Take the elevator up.
Climb up the stairs to the tower. Another collectible figurine is upstairs. Climb down and enter the mine.
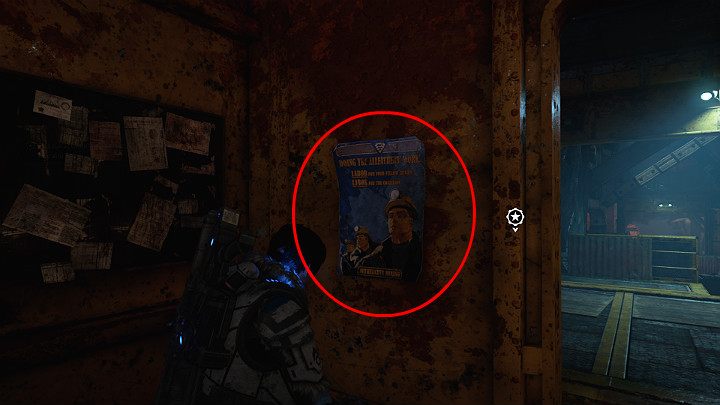
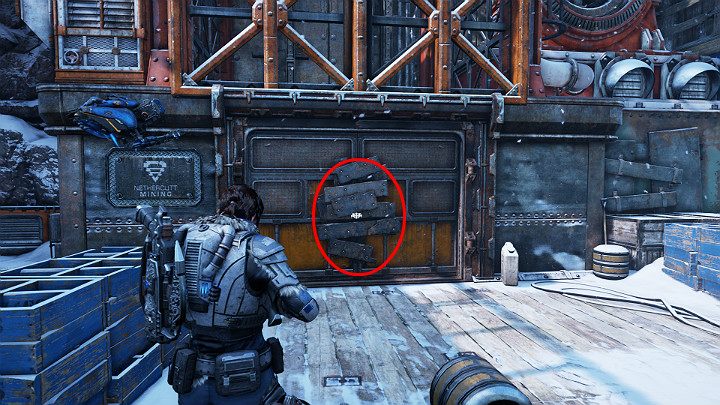
Open the hangar gate. Inside you will find a collectible -poster from the Nethercutt mine. There is also a safe here - open it to get a component. Go forward. You will reach a yellow door - open it.
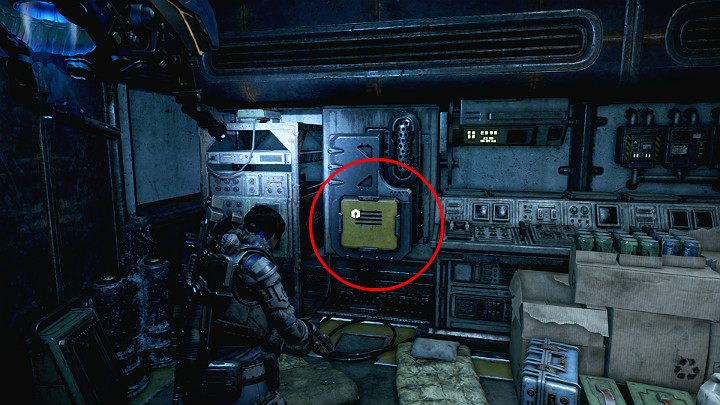
Another collectible is in the room on the left-Miner's diary from Nethercutt. In the same room, you will also find the part - in a yellow box on the wall. Collect items and head down-along the tracks. Open another gate.
Here you will find one pouncer and several smaller opponents. Kill them and then look for a container with phosphorus fuel - this item is explosive.
The container is in front of you. Tell Jack to take it and get ready to fight.
You have to break through the hordes of monsters. Important - the container with phosphorus fuel has a resistant rod. Protect Jack and don't let anyone shoot the robot. Take the fuel back to your car and follow the signal from under the ice.

Go to the place indicated on the map and create a passage down. Please note - once you leave the valley, you will not be able to return.