Act 3 Chapter 1 - A Chance for Salvation | Gears 5 Walkthrough
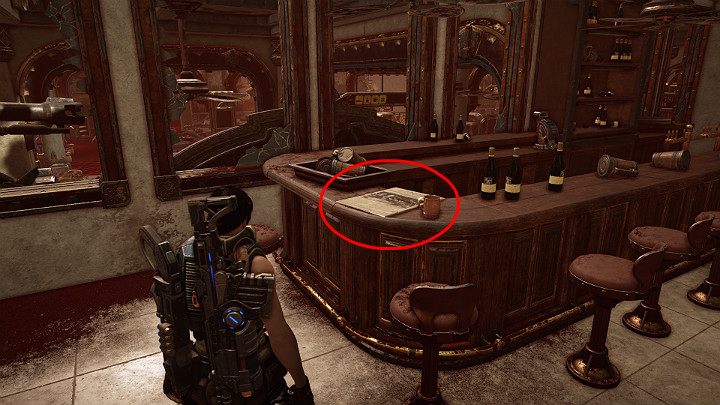
Baird takes Kate and Del to the buried ruins of Vasgar to meet an old friend. We pick up the newspaper "Korisku" immediately after the cut-scene - this is one of the collectibles.

One piece is in a small office behind the bar. Exit the room and head towards the luggage compartment.

On the right you will notice a long counter with computers. The other component is at the end of this counter.
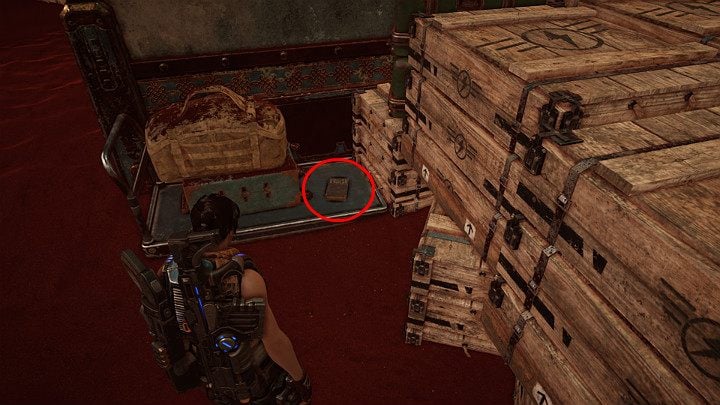
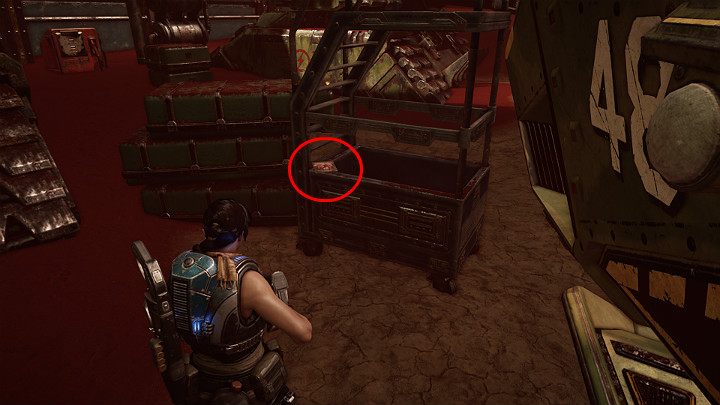
«Doomed Empire by Logan Hobbs, one of the collectibles, lies on a small cart, next to the luggage compartment.

Enter the room next to the luggage compartment. One component is on the top shelf. Ask Jack to pick it up for you.
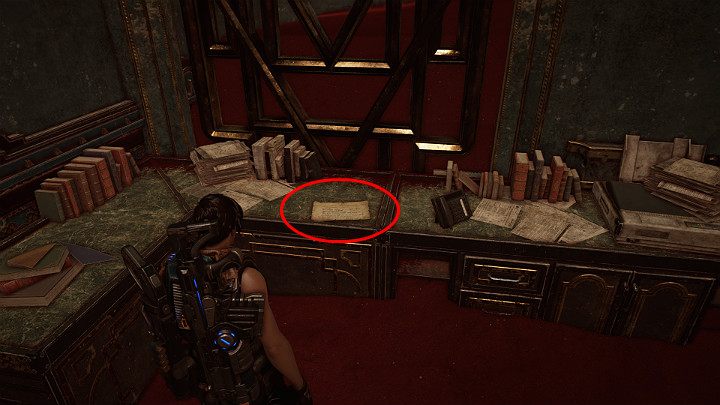
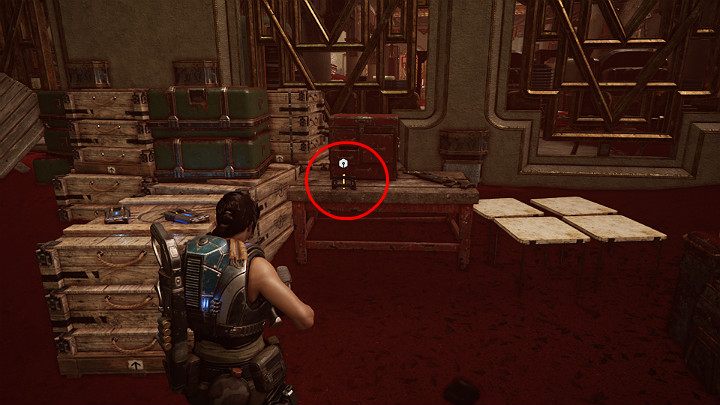
Go through the security gate on the left. Then turn right and keep moving forward until you enter a room with computers. Open the yellow box on the left wall to get the component. Another collectible lies on a table with stacks of other documents -message to agent 9.
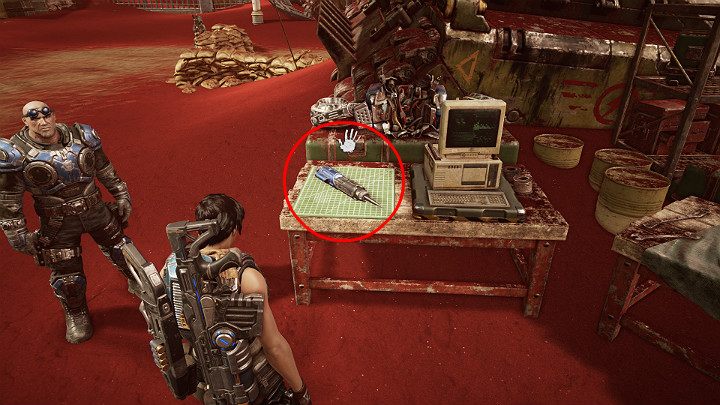
Exit the building and go to Byrd. Collect new upgrades for Jack - hijacking.
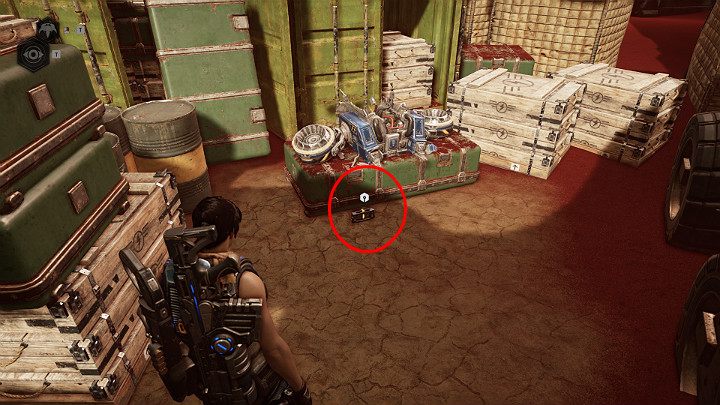
Another detail is located a little to the right, near the boxes and barrels. Install the new update and follow Baird's instructions to test it out.
When you get outside, go past the Paduk, collect the component that is on the table on the left, and then turn right behind the container.
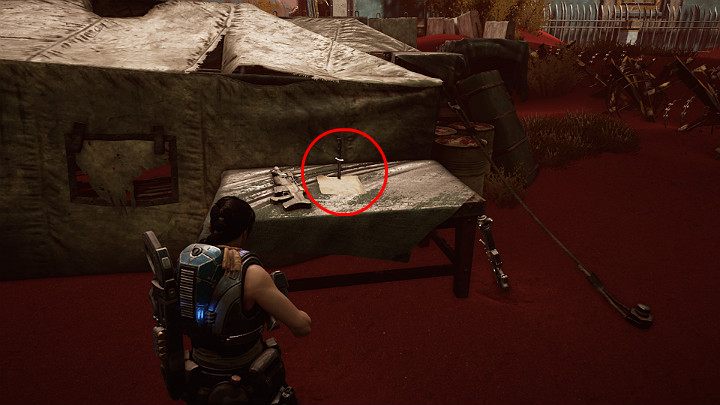
The next collectible is on the table on the left, next to the tent - nomad's commandments.
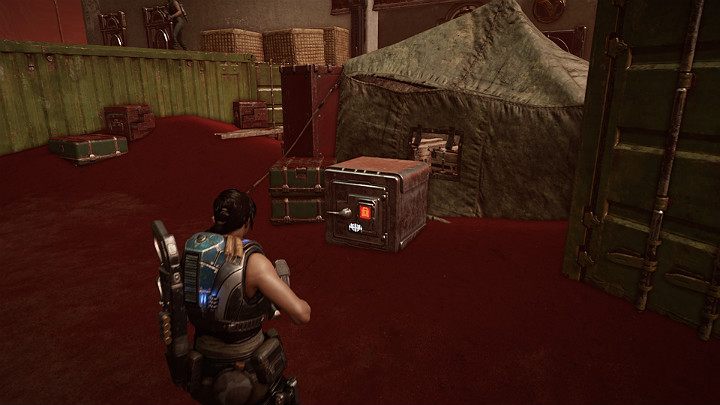
The safe behind Paduk's tent contains one component.
Go to hangar 4. The exit from the base is next to Paduk's position. Turn left next to the tank and go forward to the gate. Another collectible is next to the helicopter-amazing lightning rangers!
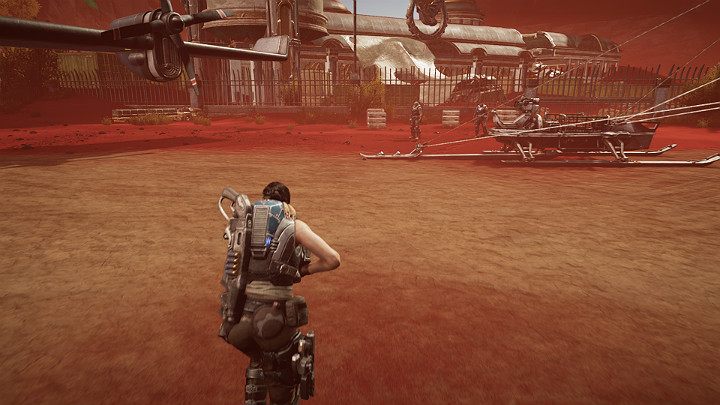
Get into the transport and go to the place marked on the map - to the rocket hangar.
missile hangar

This place is guarded by many monsters. Pay special attention to the machine gun turrets located a little further up the hill. The best way to eliminate opponents with turrets is to fire explosive barrels or throw grenades. The explosion will quickly eliminate the threat. As soon as you get close to the entrance to the missile hangar, another wave of enemies will storm your positions. During the battle, shoot from the barrels lying on the ground and use the previously captured turrets. Go to the hangar to start the Chapter 2 Rocket Plane.