Act 3 Chapter 2 - A Chance for Salvation | Gears 5 Walkthrough
The Delta team enters the missile hangar to find parts of the Hammer of Dawn satellites. Go forward and up the stairs. Look between the ammo stocks on the right - you will find one set. Get down the stairs and move forward into the depths of the Hangar.
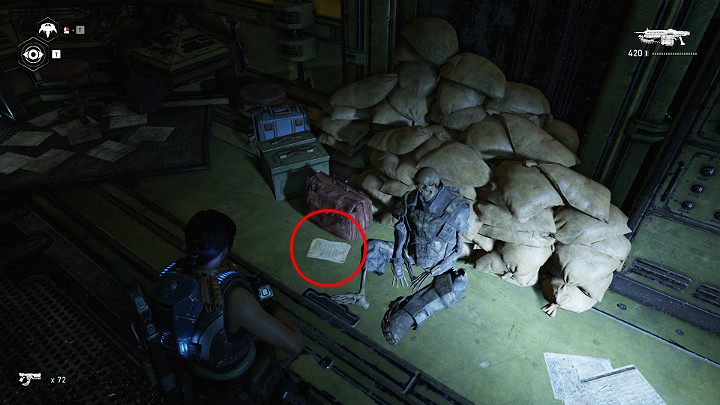
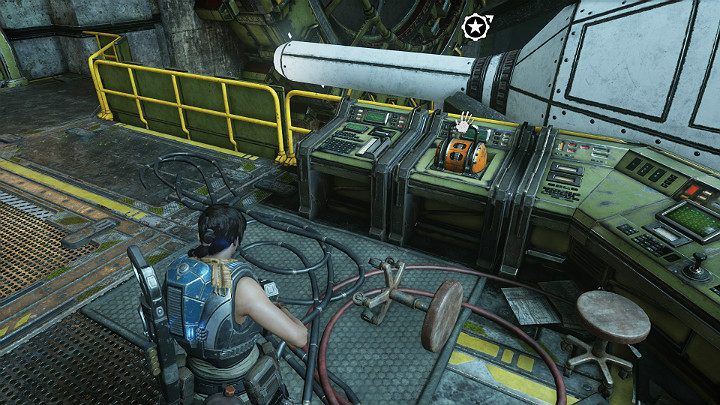
Another collectible is near the corpse of a soldier lying against the wall on the right-Suitcase with Hammer of Dawn Codes.
Connect the connector to a computer to download the required data. When the data loading procedure is completed, go to the main hangar.
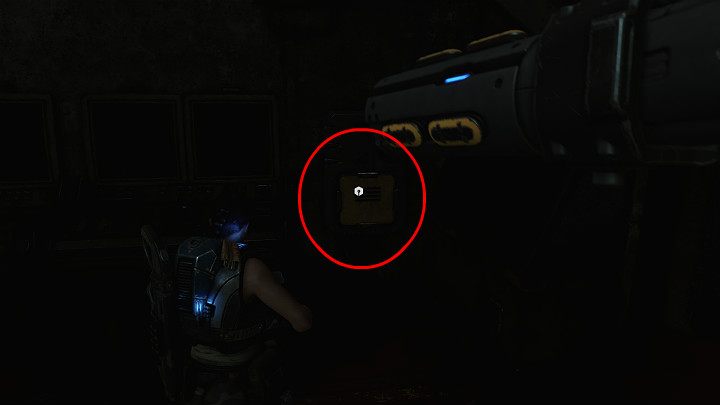
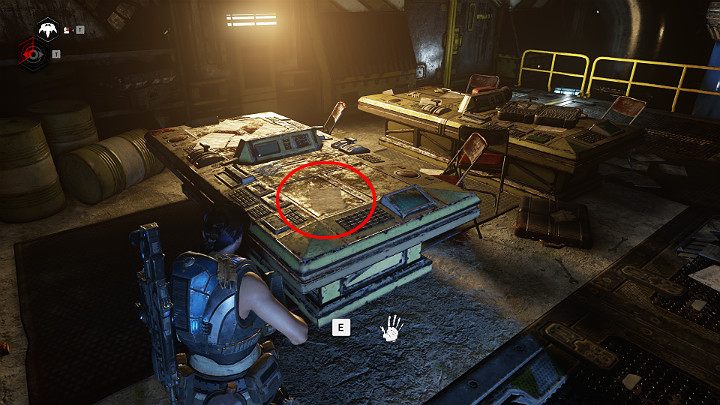
Before you open the next door, go down yourself and head to the control room in the corner on the left. On the trunk you will find another collectible -order to destroy ozp-11.
Get back to your team. Send Jack to start the portal mechanism.
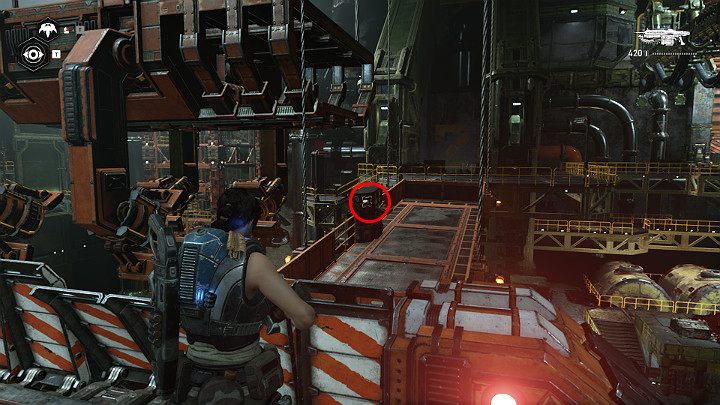
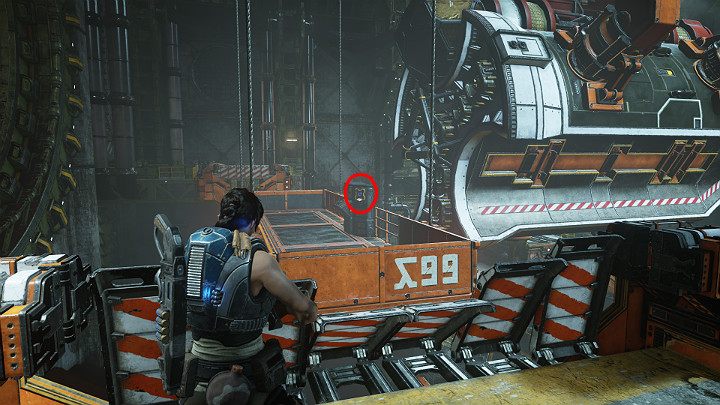
Before you go through the other door, turn left and go all the way forward. In the dark corner on the right, you will find one component. Return to your team and open the gate.
Once you've dealt with the enemy squad, go to the short wall on the right - it leads to a well-hidden room.
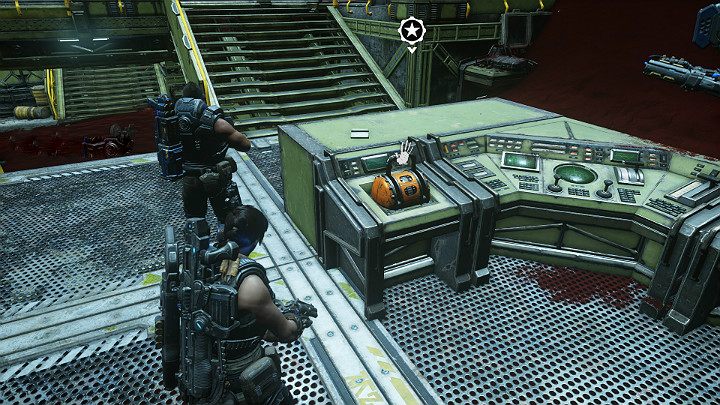
Pick up the collectible lying on the table - description of the OHP space program. Exit the room and return to your team. Go to the next room.
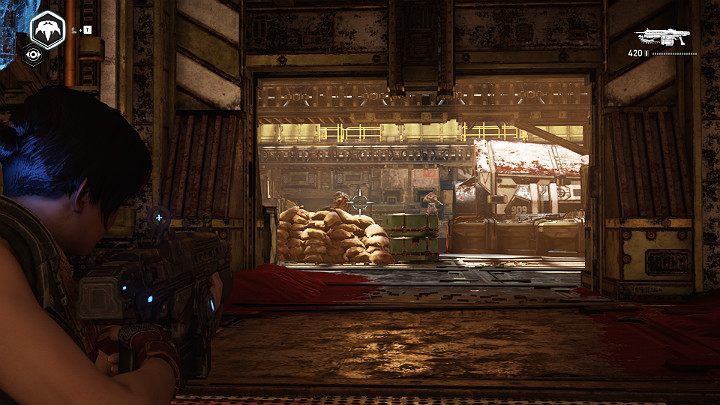
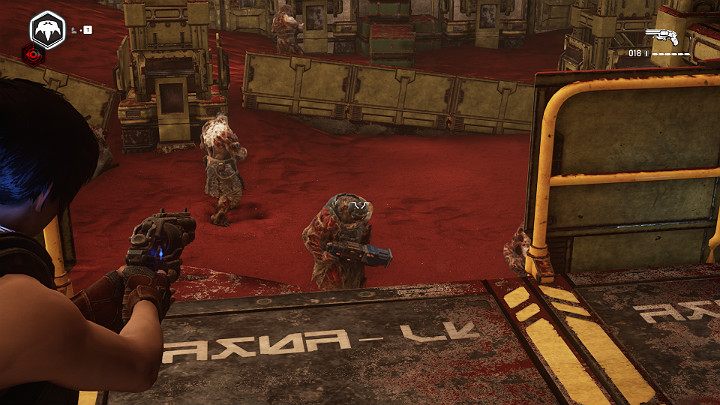
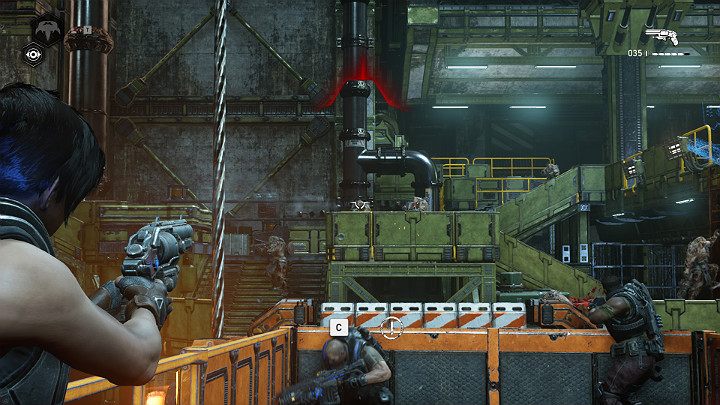
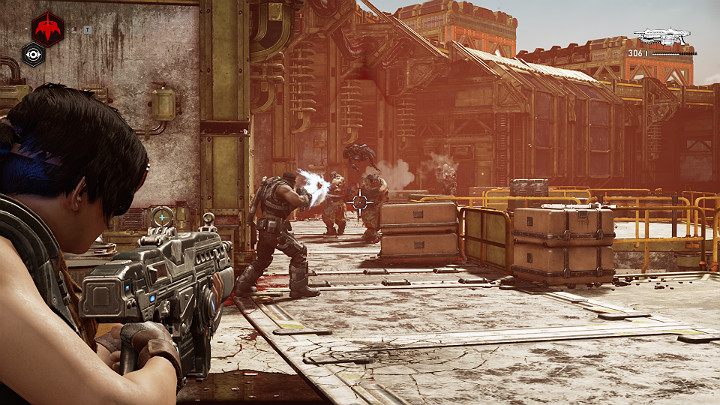
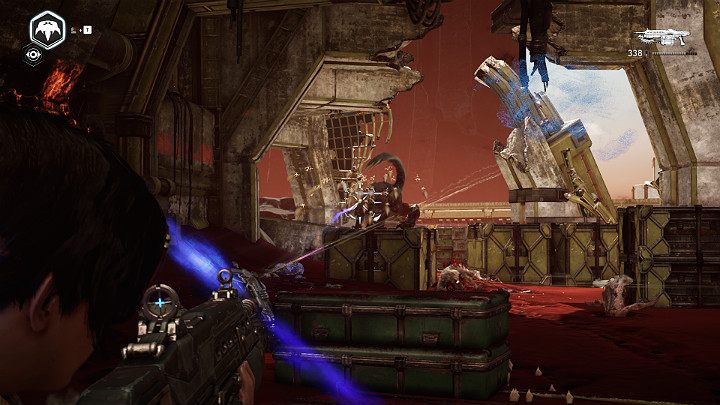
Another battle awaits you. Pay special attention to several snipers located on the bridge. Try to eliminate them one by one - do not expose yourself to unnecessary damage. Go to the door on the other side of the Hangar. Watch out! They will be open on their own. Three enemies will attack you. Go ahead and order Jack to open the passage.
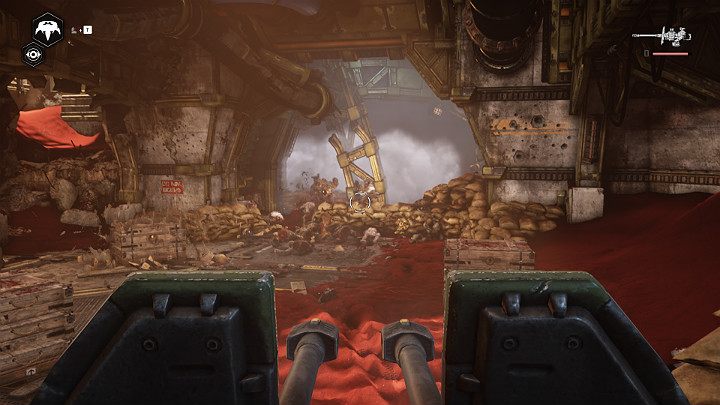
Once Jack gets to work, use the tower and get ready to defeat the incoming enemies.
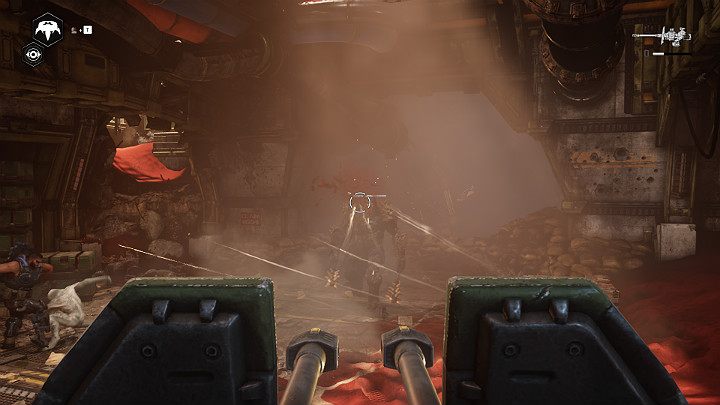
crystal warden-Last Enemy - Don't forget to knock off his helmet first and then shoot him in the head.
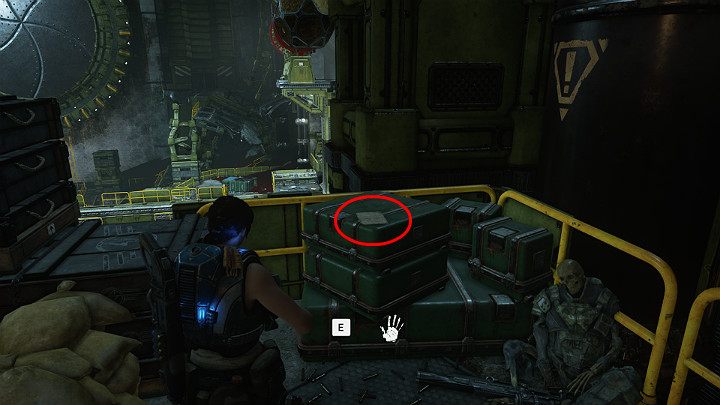
Another collectible is in the right corner, just behind the sandbags- Major Toli's Order to Loyalists.
Send Jack to the console to summon the portal.
Approach the console and move the lever to lower the first satellite. Unfortunately, the mechanism is stuck - you have to unlock it. Climb up and use some force to move the mechanism. Soon you will be attacked by two bouncers.
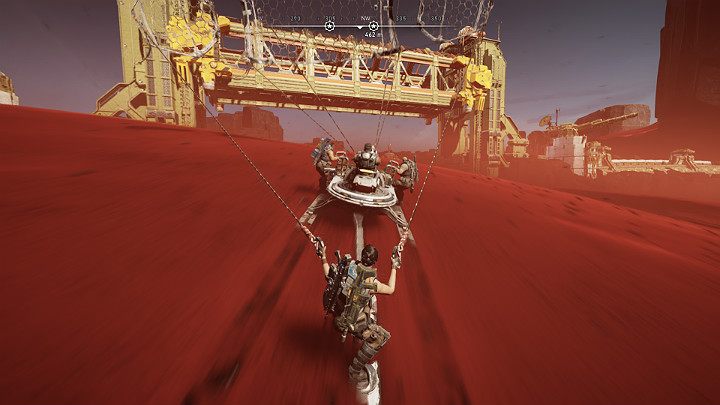
Return to the portal and open the second satellite. While driving you will have to deal with a large group of enemies.
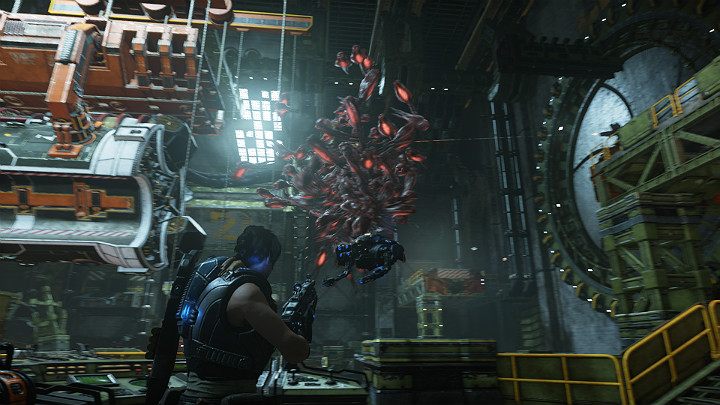
When you go down the stairs to the lower level, you will be attacked by two swarms of leeches. Focus on one enemy and avoid attacks by dodging to the side. Once the first target is eliminated, focus on the next one. Then use the console and move the second satellite. Return to the portal.
Go to the console and open the hangar doors. Move forward.
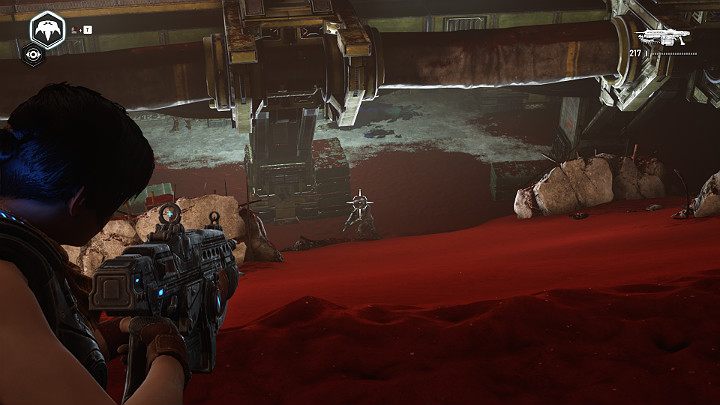
The road leads down the slope. Eliminate several enemies.
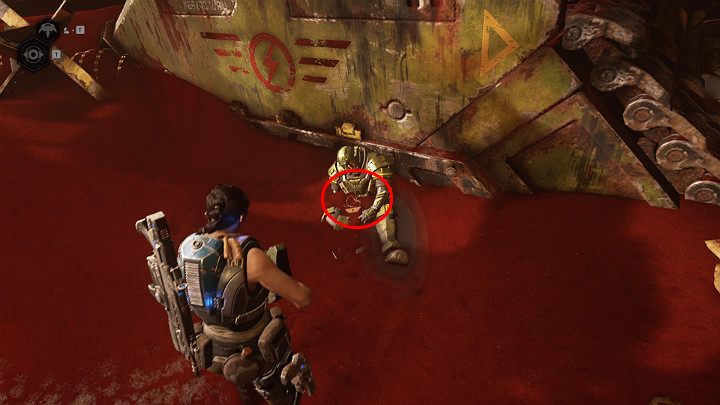
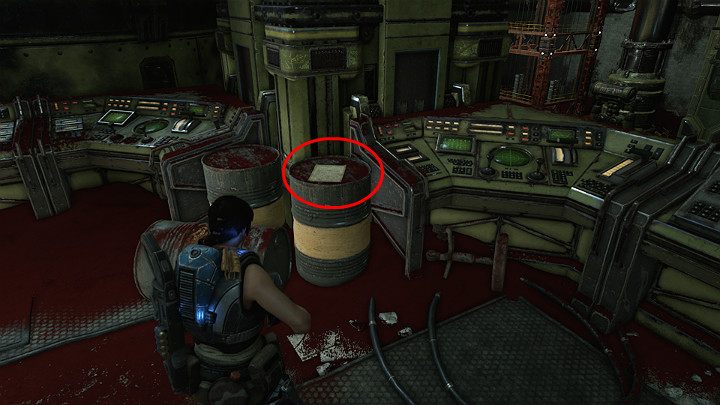
We go to the corpse near the tank. Pick up the collectible lying on the ground wire tag: only major.
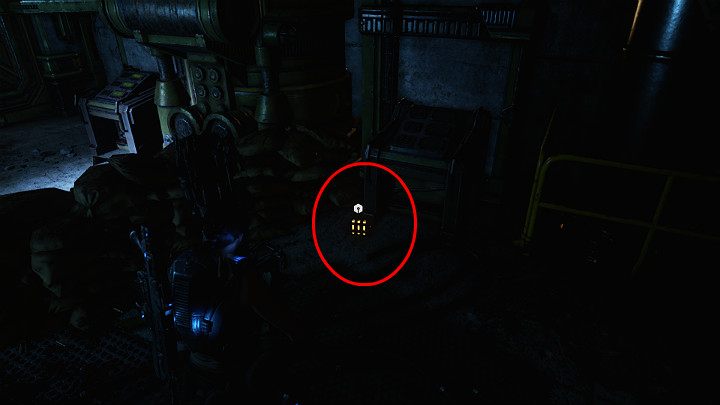
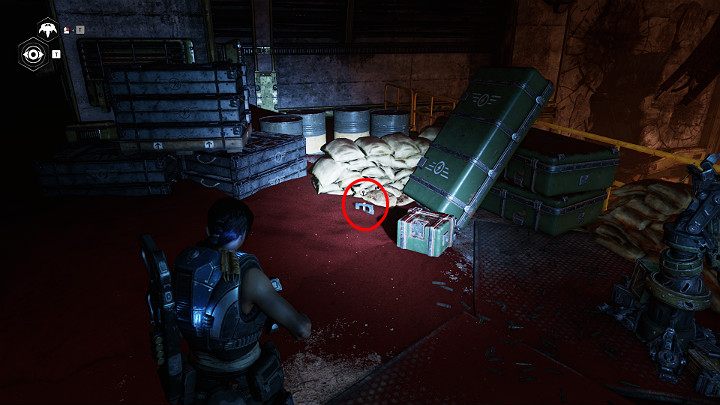
Go down the dark corridor. Remove the component by the sandbags.
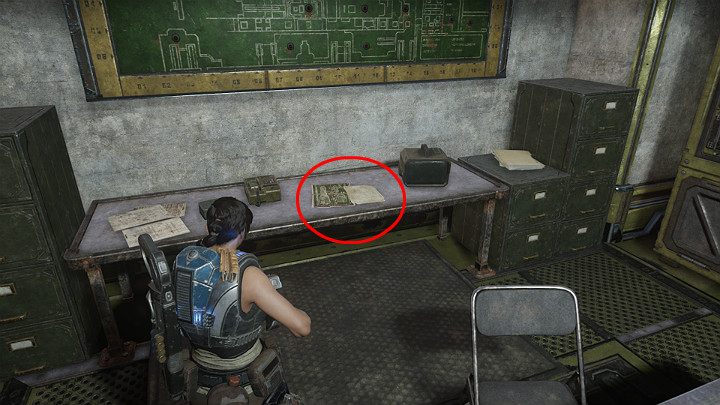
Enter the room that looks like a command center. Take out the collectible lying on one of the consoles-major's speech. Go through the gate.
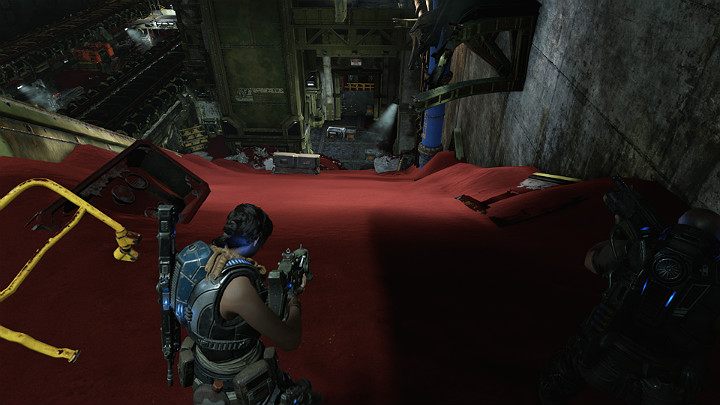
The path leads down the slope. Be careful, several creatures are waiting for you below. Go down the road.
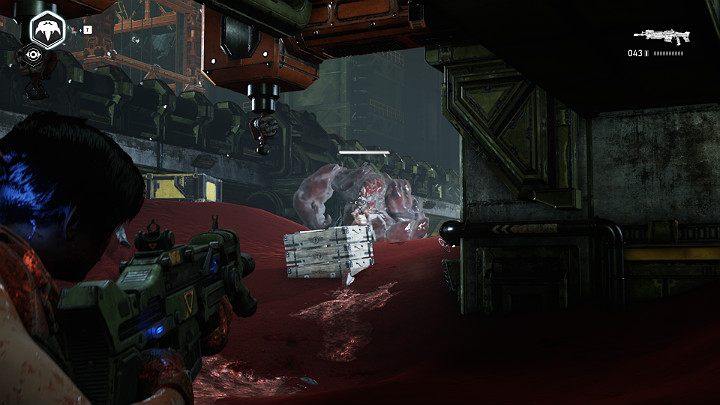
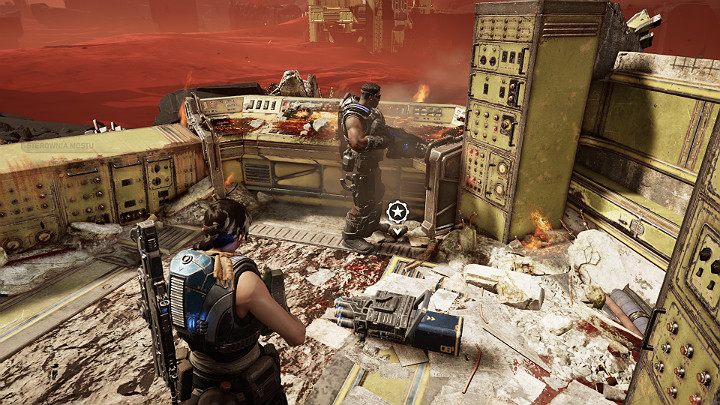
You have to defeat another enemy carrier. At the end of the corridor, ask Jack to open the door.
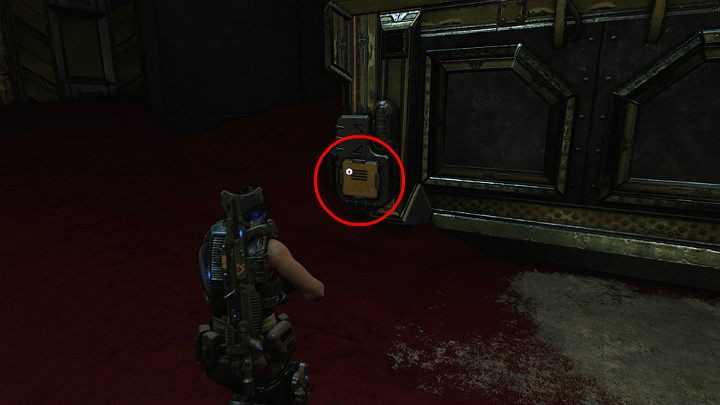
Open the yellow box on the right to get the component. Enter the service elevator and go upstairs. Exit the hangar through the main exit - no one else will bother you along the way. Return to the car left in front of the complex. Go to the railway bridge - the place was marked on the map. Then head to the railway turntable.
Railway turntable
Get ready - there are a lot of enemies in the new location. Among the opponents you will find 2 stronger and better armed. Pay special attention to enemies with grenades and machine guns.

The last enemy to eliminate will be the Crystal Guardian, accompanied by a drone that gives the enemy a shield. Eliminate the little robot first. Walk forward and go through the door to the control room. In the corner of the room is a collectible UIR tag: Lieutenant Melih. The yellow box contains one component. Finally, order Jack to move the railroad turntable. Return to the car and follow the train.
Go to the control bridge. Unfortunately, you will encounter another sandstorm. Try to avoid fiery whirlwinds - they will slow you down. Crystal Pillars are destructible.
There are several enemies at the destination. Get rid of the danger, go to the control room, pick up the rocket launcher.
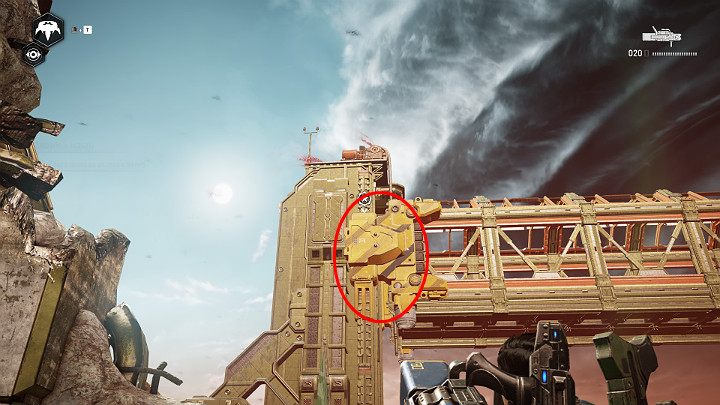
Shoot in the direction of the bridge - aim at the spot marked in the picture above. Wait for the train to pass safely and then return to the car.
On the way back, you will encounter a pouncer and several smaller opponents. This is the end of Act 3, Chapter 2 gears 5.