

The April Anomaly will bring great changes to Fontaine and beyond! Yes, yes, you heard right! Update 4.6 is already on…
Archive. Geography in Genshin Impact. All Viewpoints of Teyvat.
0

One of the funniest ideas tucked away in patch 1.1 of Genshin Impact is the new town and viewpoint reputation system. Like views and vantage points in larger adventure games, the geography screen hidden in the new Archive menu hides 27 hyper-specific locations for players to explore in both Mondstadt and Li Yue.
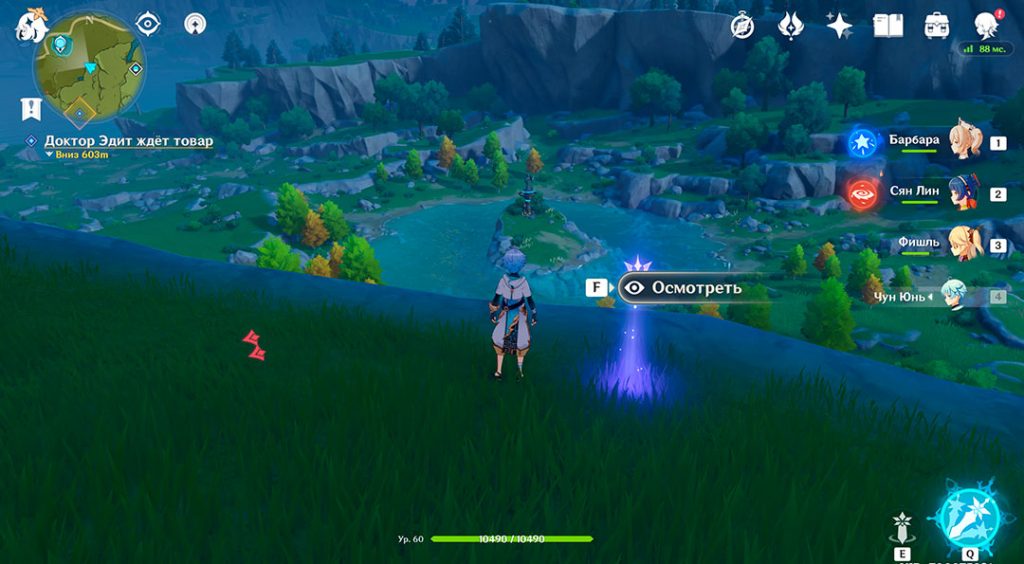
Until you find a certain viewpoint, its slot in the menu will remain dimmed. There is also almost nothing on the way to the clue, so finding them can be tricky. You will need to interact with the glowing blue waypoint to add the viewpoint to your geographic archive. If you're having trouble finding them, we listed all 27 geographic viewpoints below so you can quickly add whatever you're missing to your collection and get back to shredding materials. If you need to open the link on another screen, go to the Interactive Maps page.
Mondstadt
Entry 1: Mondstadt - Windy City
Entry 2: Starfall Lake - The lake that guards the statue
Entry 3: Valley of the Winds
Entry 4 : Springvale - Cradle of the Spring
From the last point, you should be able to drive south to the right until the road forks into Springvale. Slide down the hills or climb them right at the crossroads to find her.
Entry 5 : Rassvet Distillery - Dawn Rays Manor
There is another set of rocks not far south of the arena where you regularly fight Boreas. They overlook the distillery and actually appear quite flat and close to ground level as you get closer. Stay on the penultimate level and you should find a low angle view of the vineyards below.
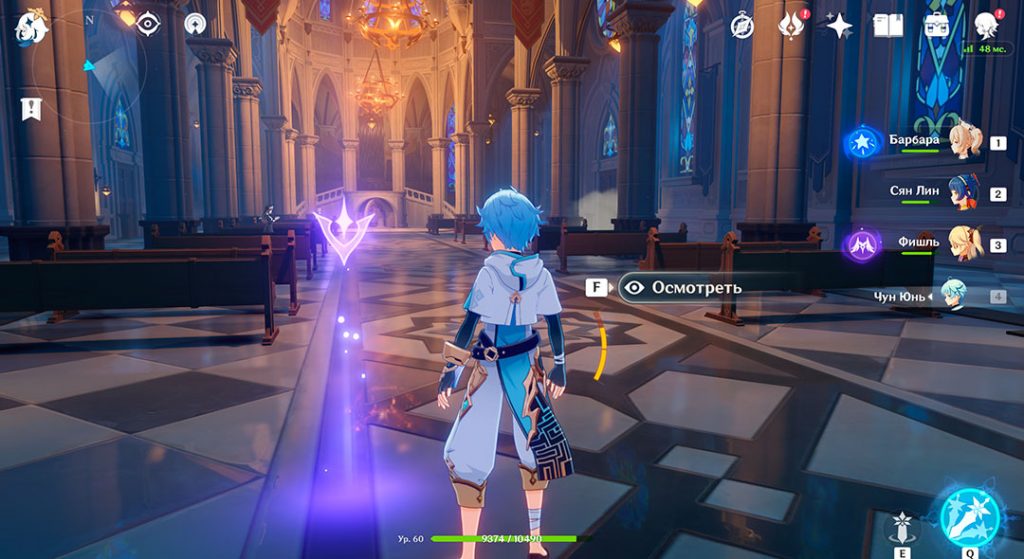
Entrance 6: Mondstadt: Cathedral of Barbatos
It is literally in front of you as soon as you boot into the cathedral in Mondstadt. Take the waypoint to Favonius Headquarters, slip to the front stairs and go through the large front doors. Easy.
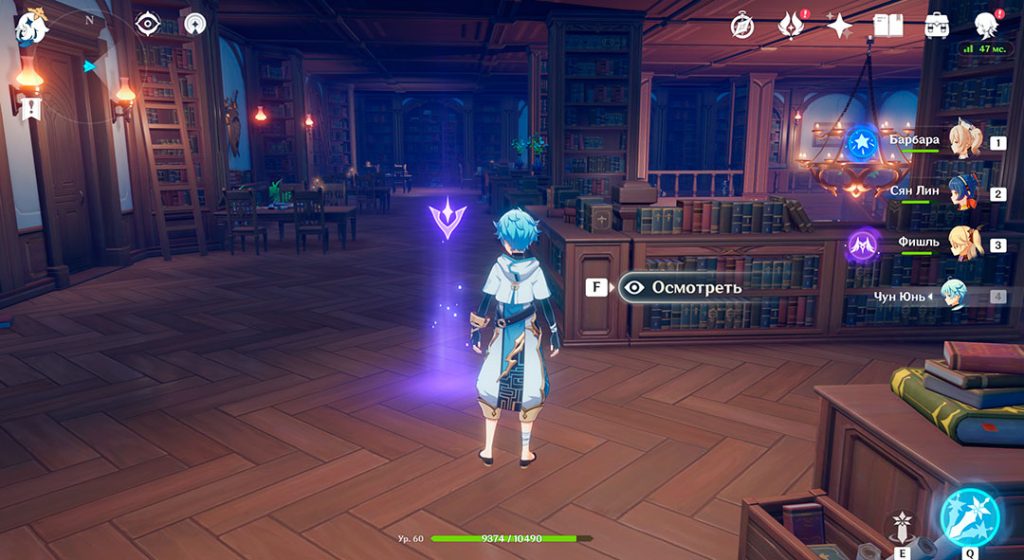
Entry 7 : Mondstadt - Ordo Favonius: Library
If you haven't already flown out of the Favonius HQ waypoint, drop down to the front doors and enter the battle door on the right to find entrance 7 on your right.
Entry 8: Temple of the Thousand Winds - Desert Temple of the Thousand Winds
Okay, time to head back to the Alchemy Furnace event location. Instead of fighting the Ruin Guardian roaming the center, sneak around him to the far end of the area. Climb up to the grandstand and climb onto the piece of construction stuck in the mountains on the left and you should find the next location.
Entry 9: Dadaupa Gorge - Nameless Graveyard of Swords
Now it's not difficult at all. This is a path that you have probably walked many times before. Take the western road through the Daduapa Gorge and you will pass it as you approach the water. Just keep on the path and you won't be able to miss it.
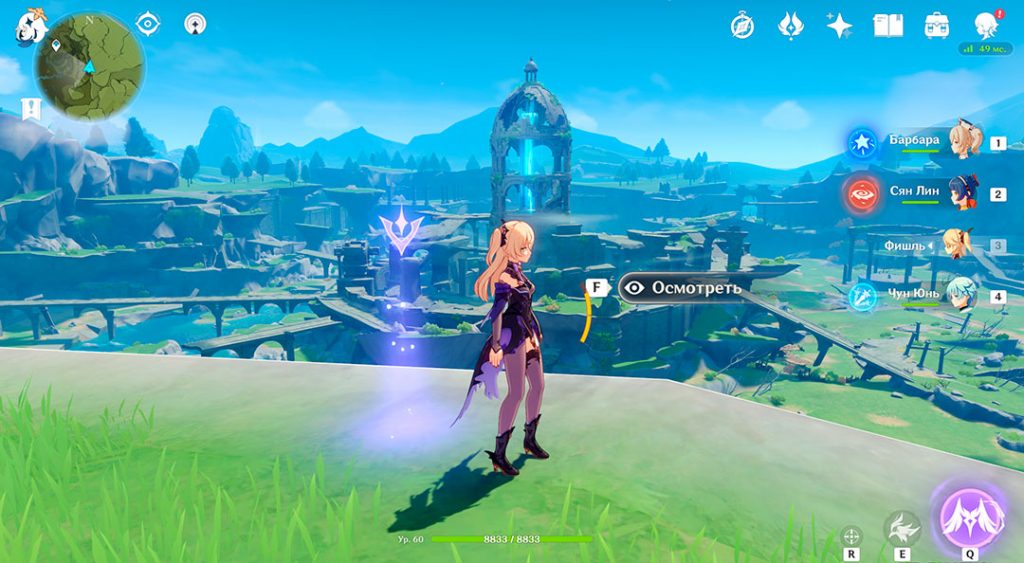
Entry 10: Stormterror Lair - Ancient Capital of Slicing Winds
Again, it's good to remember that this isn't necessarily in the great dragon's lair. Instead, it's a great view. Take the Brightcrown waypoint northwest of Mondstadt and head up the plain to the edge of the valley, which is Stormterror Lair . You will find a point on a rock.
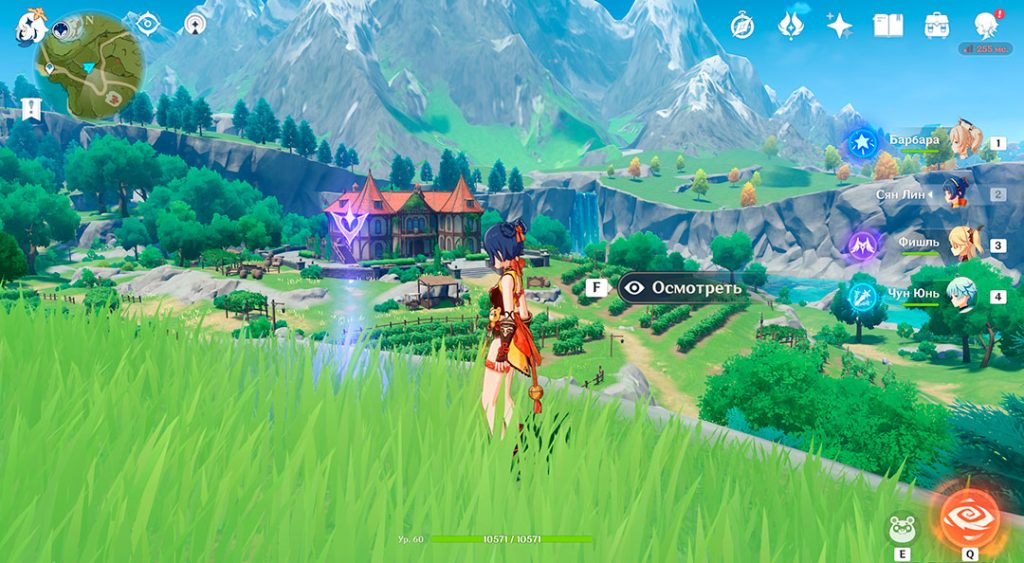
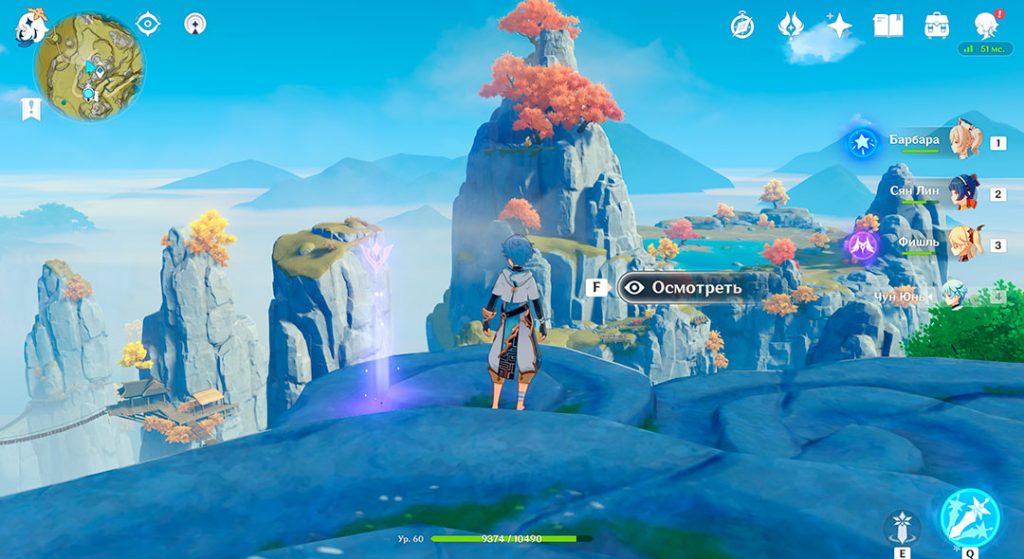
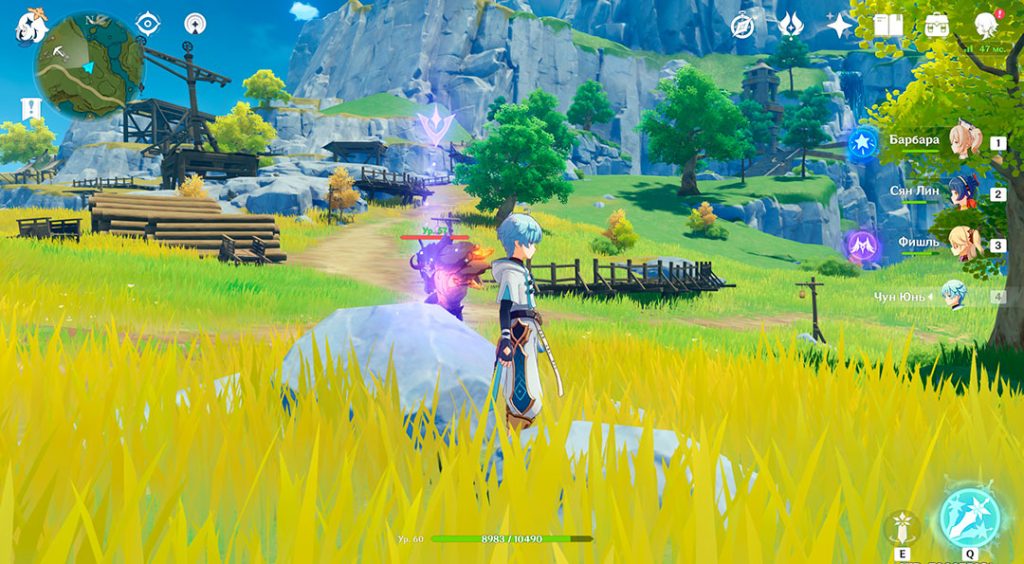
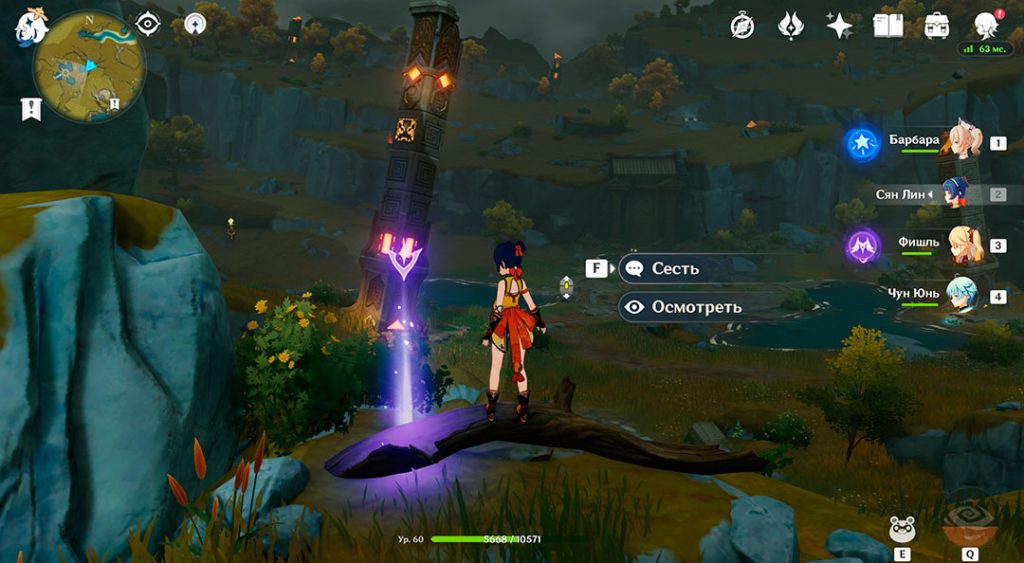
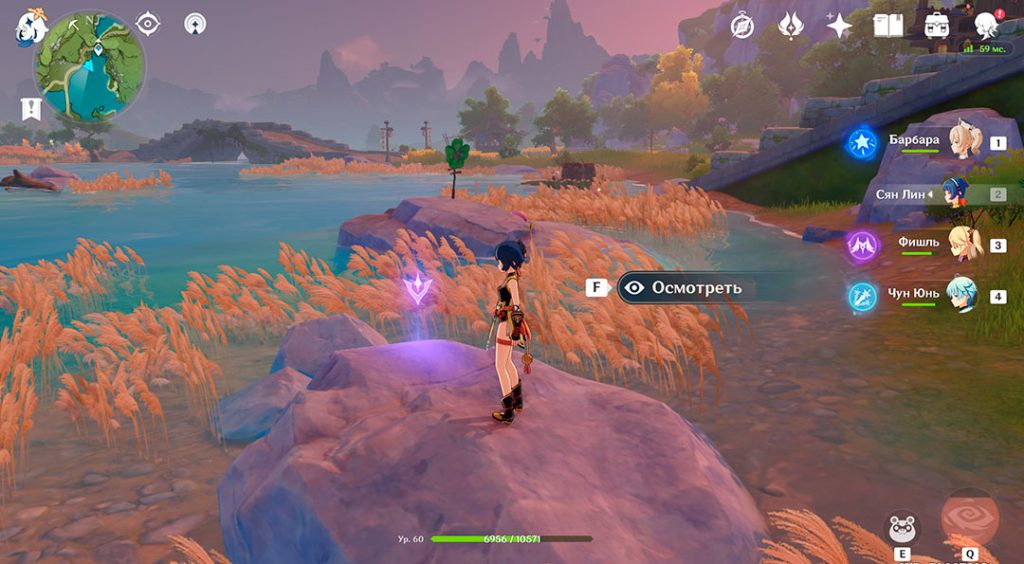
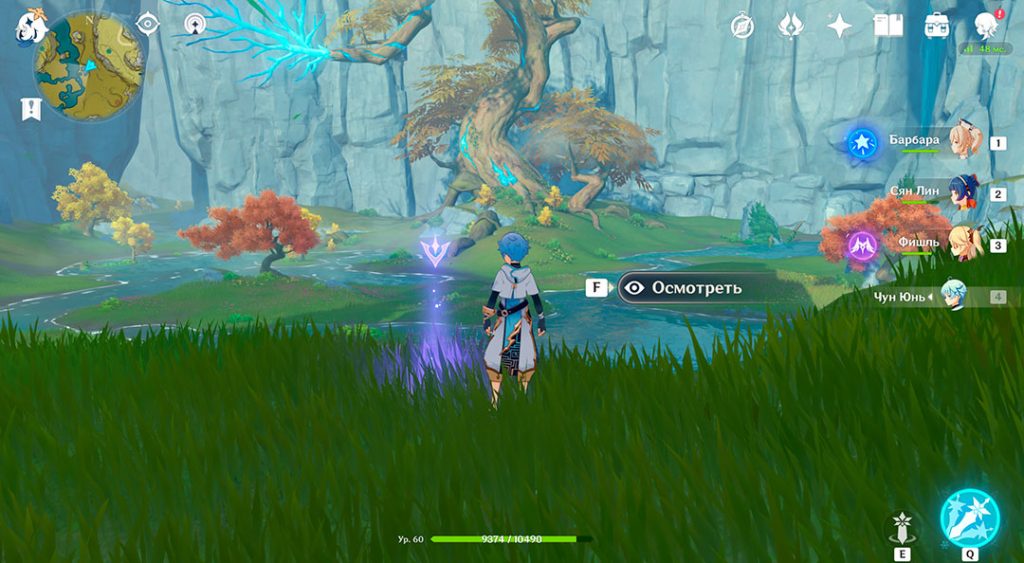
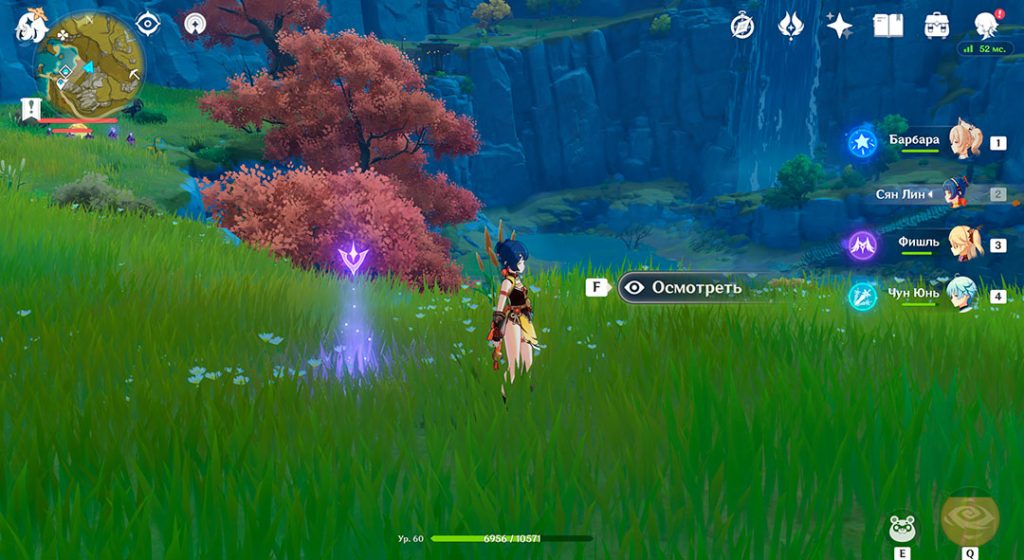
Here's what these dots look like in game:
Li Yue
Point 1: Li Yue Harbor - Sea of Ships and Merchants
Before heading to Li Yue Harbor to find the three lookouts lurking inside, you'll want to take in the sights that sailors see as they prepare to disembark after their epic voyage. Pick up a waypoint on the road to town and move away from it. Climb the first cliffs that start to jut out towards the ocean and you will discover the best view of the port you have ever seen.
Point 2: Li Yue Harbor - Feiyun Market Square
Just stop and take in the view that the general public gets when they cross Li Yue commercial area, you will find this observation deck right by the guards under the archway.
Point 3: Li Yue Harbor - Tiger Mountain
It's a bit hard to see in the screenshot above, but you'll find a dot on your way to the easternmost area of the city. It's in a walkable area, so don't worry about it being hidden up or down somewhere.
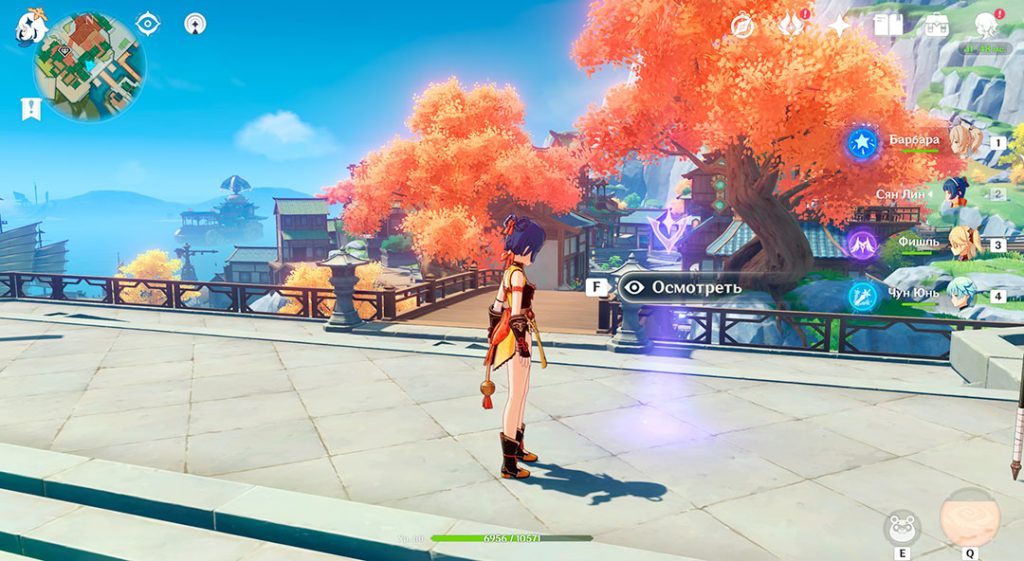
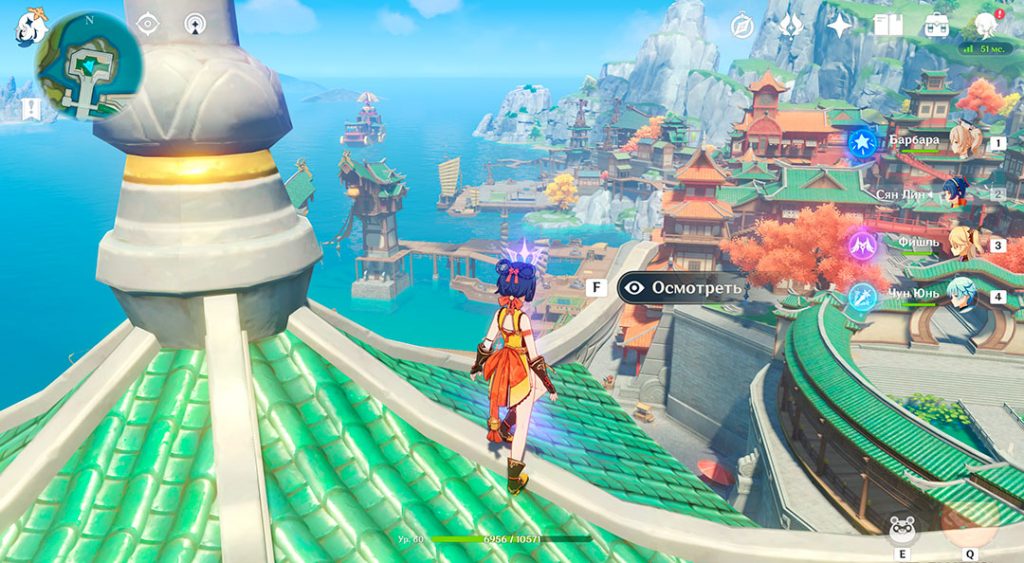
Point 4: Li Yue Harbor - Yujing Terrace
For this you are going on an adventure. It's time to become Li Yue's Spider-Man version who climbs a tall building. If you take Venty or Geo Traveler with you, you can scale quickly. Climb to the roof of this grand structure and you will get a divine view of Li Yue's skyline.
Point 5: Vanshu Inn - Point of Infinite View
Built right into the rock, Wangshu Li Yue is truly worth seeing. To visit it, you need to go back along the path you probably took to find the point. Jump onto the stone wall of the bridge and you'll find your vantage point.
Point 6: Reed Islands - Swamps and Reeds
Use the waypoint to teleport back to the old stone stairs leading from the distillery to Li Yue. Go down the stairs and down the path, then jump down to the strip of cliff left below when you reach the end of the path. You should see a stone washed by the ocean among the reeds. This is where you will find your waypoint.
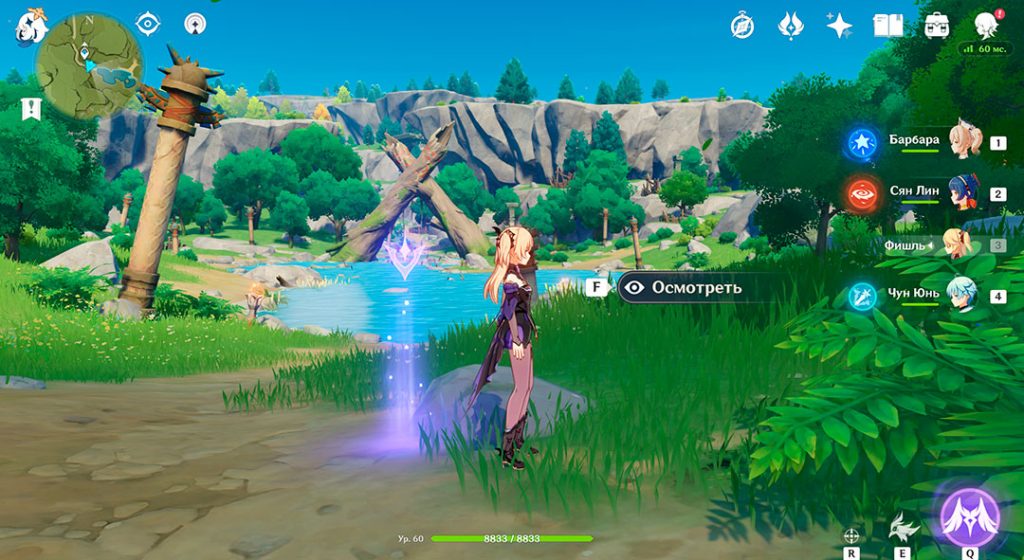
Point 7: Guili Valley - Forgotten City of Guili
Back to where some mostly useless explorer sent you, the ruins around this Li Yue area hide a beautiful view. Follow the path and hold on to the rocks to your left. Soon you will be at a spot overlooking a curious perfect circle of water.
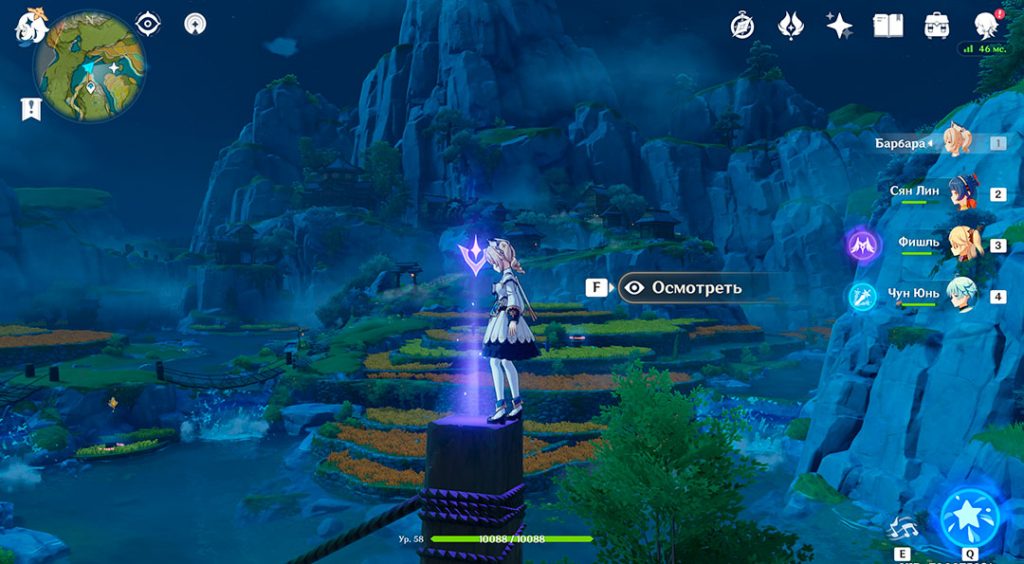
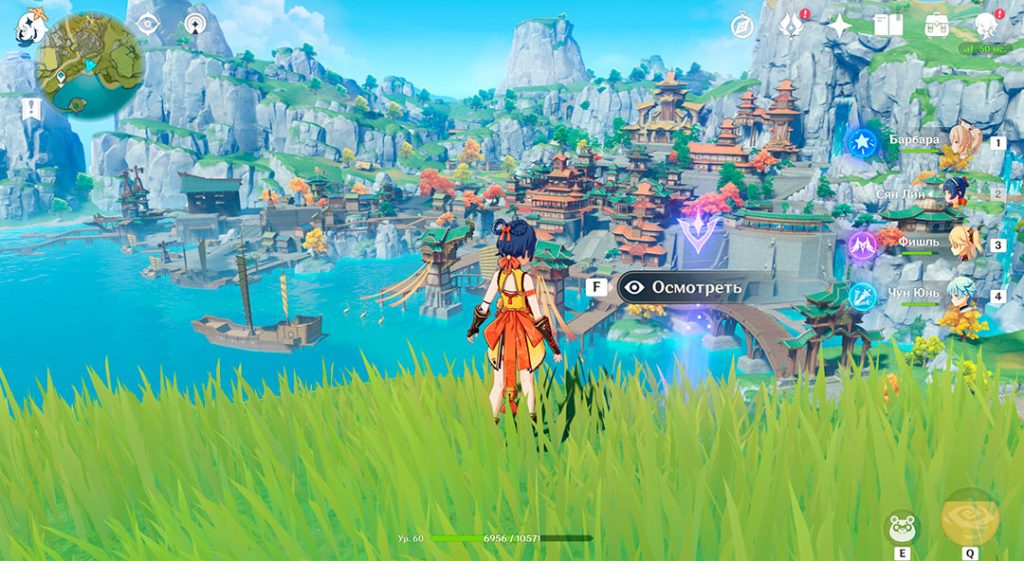
Point 8: Qingce Village – Qingce Intermountain
Teleport back to Qingce Village and ride through the rice paddies on the surrounding waters. On a small plot of land between the two bridges, you will find eight Li Yue lookouts located on the pillars of the second bridge.
Point 9: Cloudy Limit - Cloudy Peaks
Right in the southern part of Li Yue is located CLOSE-BLOCK LIMIT - and an area that must have something to do with those chilis with the same name that you will find scattered around this place. This is a rocky area, but follow the path to the beach. However, stick to the upper cliffs to the east and you'll find your waypoint offers a clear view of the clear water below.
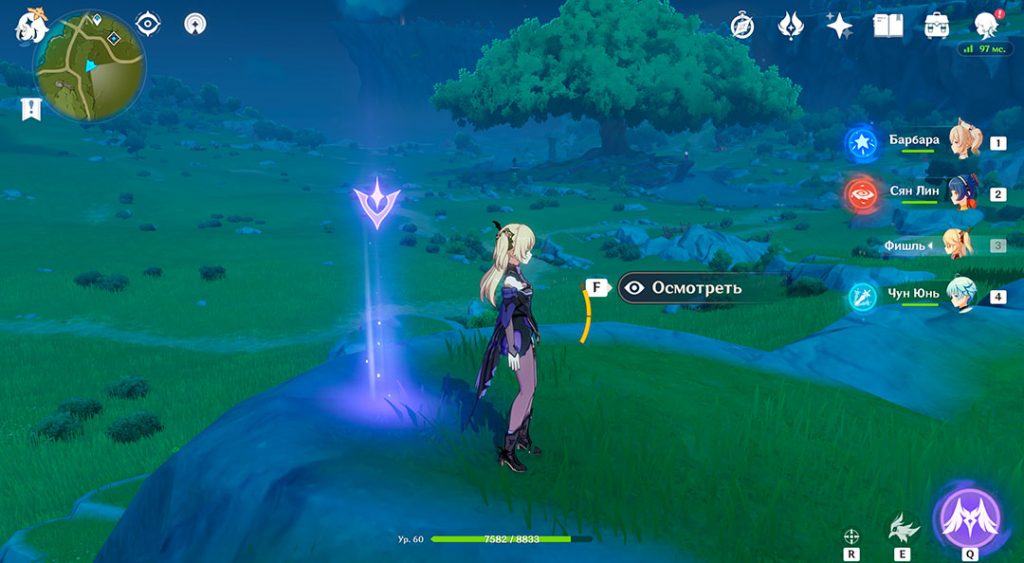
Point 10: Southern Heaven's Gate - A tree bathed in moonlight
Head a little further west from the last point, either by following the road and going down the mountain, or by squeezing through a gap in the rocks as the trail begins to move north.
Either way, you want to get close to the first patch of mottled swamp, the puddle. Stick to the hills and you'll find this lookout just above them.
Point 11: Huaguang Stone Forest - Stone Forest in the Sea of Clouds
Huaguang Stone Forest is a place with flat rocks with swirling motifs. You might think that they look a bit like giant mushrooms growing on the side of a cliff. Well, whatever you think of them, they are your entry point 11. Climb back from the last point and you will find it close enough at the top. Just sit on the edge.
Point 12: Luhua Lake - Cradle of Tears
Let's go back to the place of rather excruciating pain. Proving that the guy who lost his brushes high in the mountains is good at landscapes, you'll find this glowing marker on the stump he sat on to get a good view of the stone pools.
Point 13: Guyun Stone Forest - Guyun Boundless Sea
Back at the spot overlooking Li Yue Harbor, instead of sitting on the edge of a cliff, you'll want to dive down to the beach below. You will find this blue marker on a rock near the wall. Feel the wind on your skin while you are there. Find time for yourself..
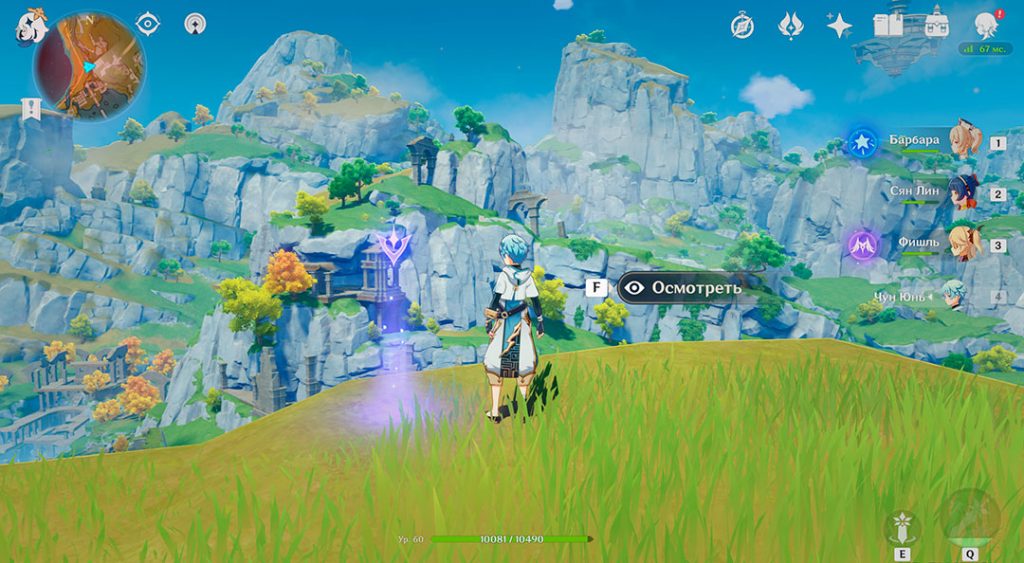
Point 14: Rift - Near the Rift
At the end of Li Yue to the west is a once-popular mining site known as Fault. Either follow the road through the mountains or slide off the cliffs to the east. After landing, you will be on mostly flat ground, so look out for a dot on another small rock sticking out of the ground. It's actually right off the dirt road that runs around the mining camp, so follow it if you get in trouble. It doesn't show up on the map.
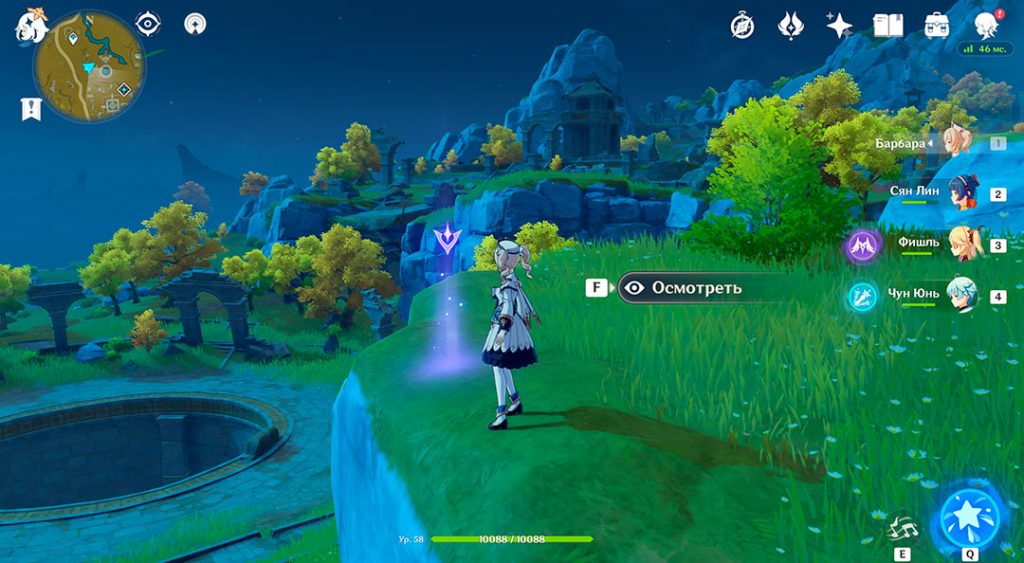
Point 15: Dunyu Tomb - Dunyu Ruins
After that, head north to the ruins of Dunyu. Go through the dilapidated area to a less waterlogged area. Go around the edge of the mountain on the left and start climbing by squeezing through a small building and you should find it on the other side of the cliff high up. Your mini-map will start flashing when you get close to the end of the explored area.
Point 16: Qingxu Lake - Qingxu Lonely Tower
It's simple. Just slide away. Teleport to the waypoint south of the marker on the map, and you can glide straight from it all the way to the edge of the cliff where that blue viewpoint marker is. He comes out on a large rock with a tree root sticking out of it on a small island.
Point 17: Kingfisher Slope - Nine World Columns
Of course, we could not finish this journey without seeing the nine stone pillars scattered along the Kingfisher slope. Take the Mingling teleport north of the zone on the map and climb the mountain to the south. Run straight through the camp and jump off the cliff. Climb down, keeping an eye on the left side of the cliff and it should open up to reveal a blue marker on a log.
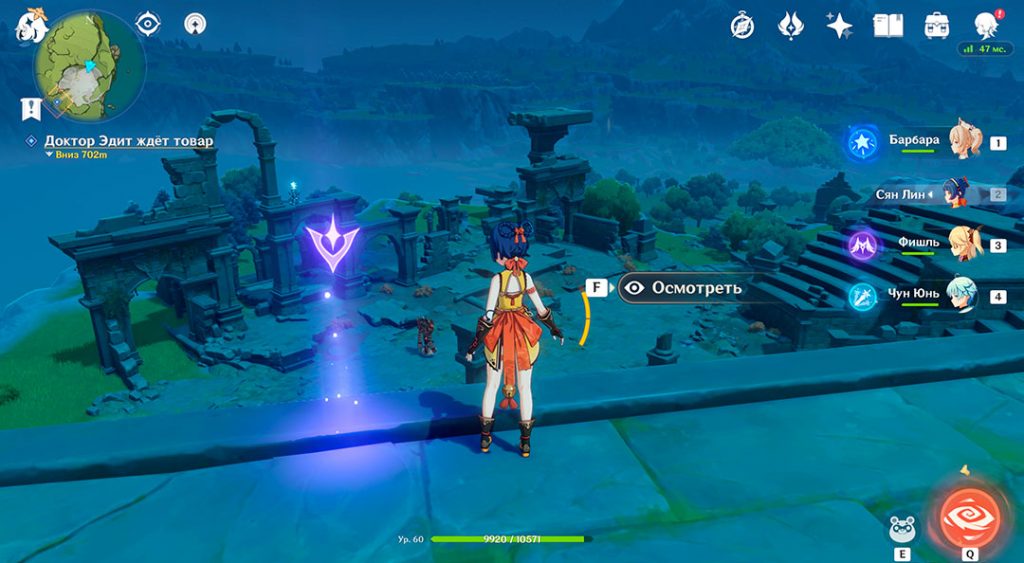
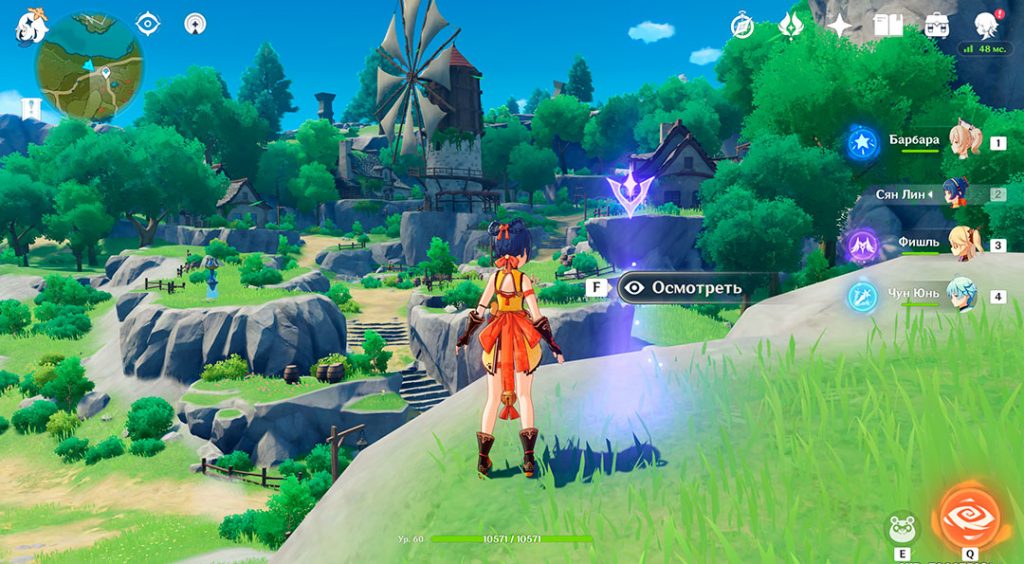
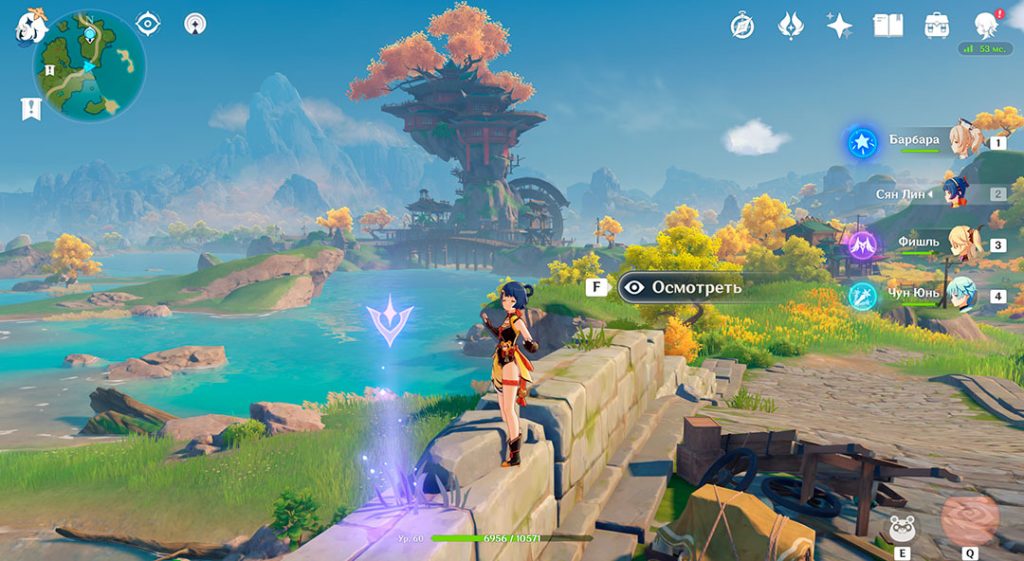
Here's what these dots look like in game:
More about Genshin Impact
Was the article helpful?
 Thank you very much!