
In Lost Ark there is a collection of "Souls of the Islands". Collecting "souls" is not just the extraction of some items, but addictive, sometimes long, sometimes ...
Shadow Tower in Lost Ark (1-50 floors) Guide
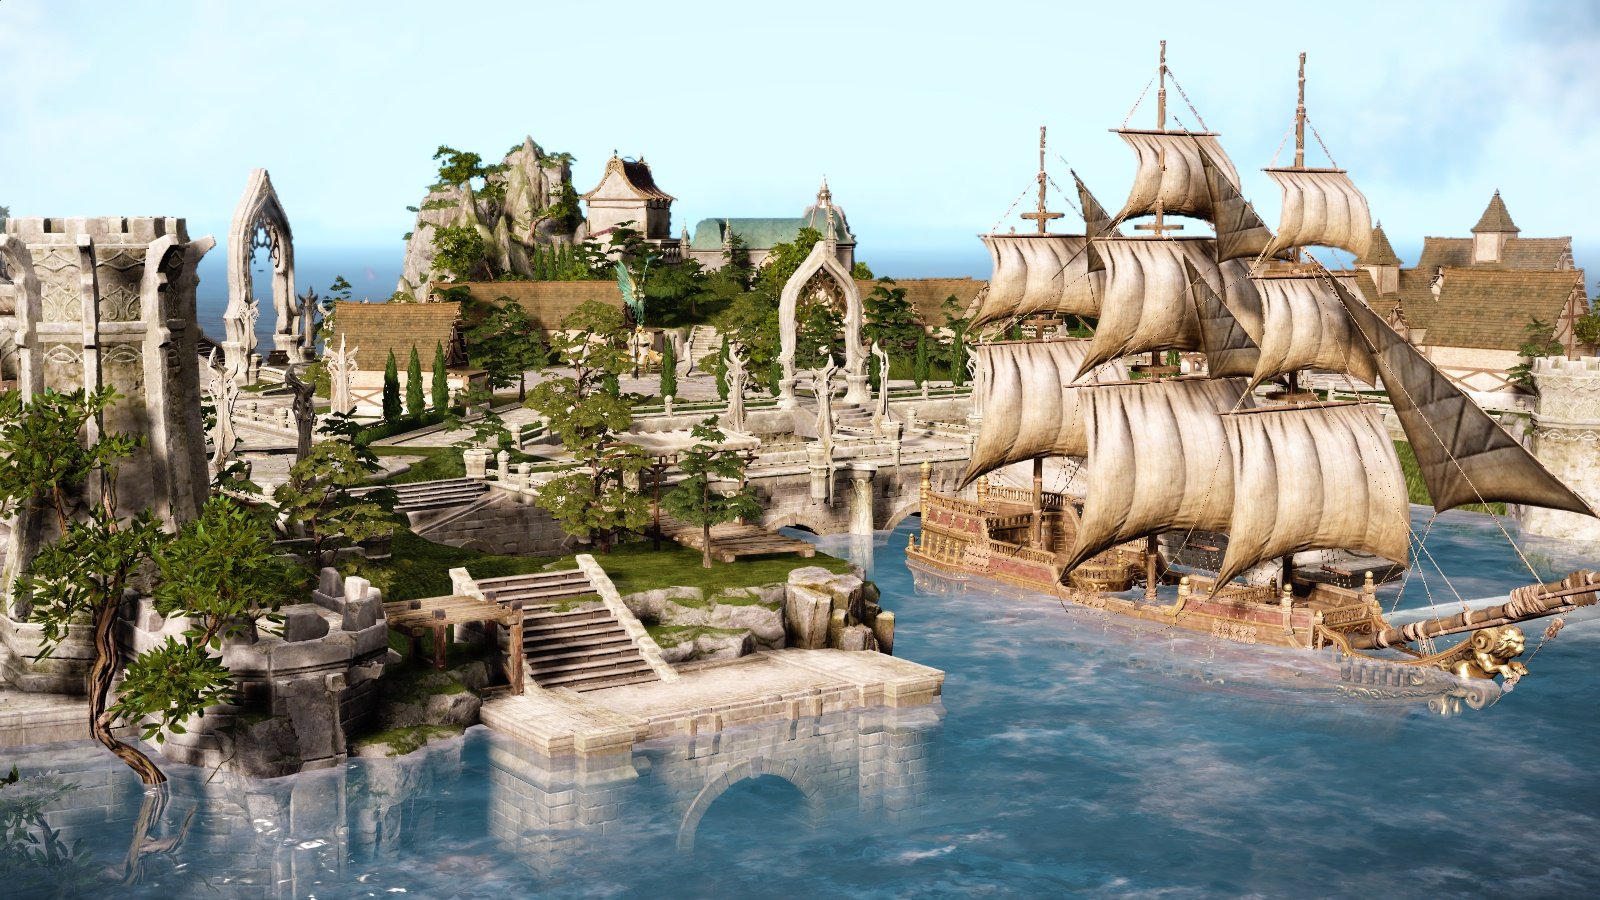
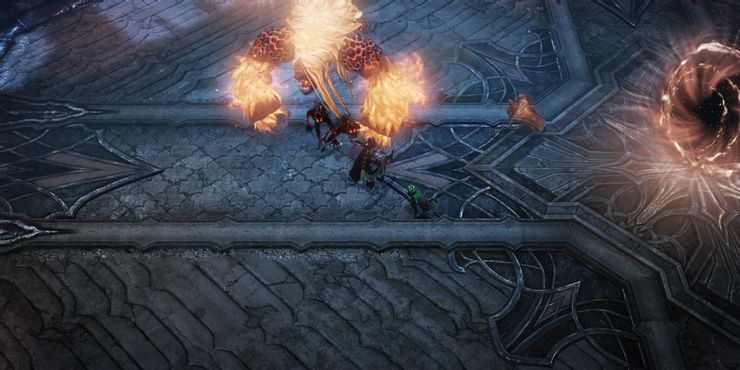
shadow tower is the first tower you unlock in Lost Ark and is arguably the most important of the two available when you launch NA. This is one of the best sources for Lost Ark engraving recipes, as well as other rare collectibles and stat-boosting potions you'll need to level up your character. And if you decide to clear it, you will receive a large amount of materials to upgrade. Let's dive into the rewards for this activity and how to clear all 50 floors of Lost Ark Shadow Tower.
Shadow Tower Overview and Rewards
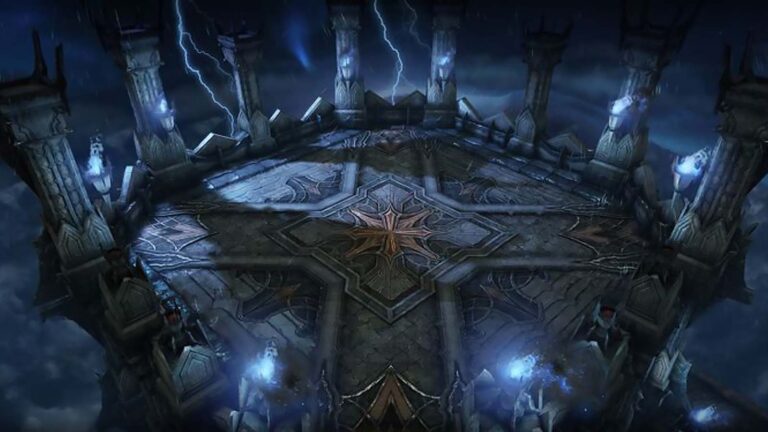
The Shadow Tower consists of 50 floors, each of which is a room inhabited by a wide variety of monsters. Your main task is to destroy the monsters, which will provide you with a passage to the next level. Accordingly, each subsequent floor will be more difficult than the previous one. For each of them you get a reward.
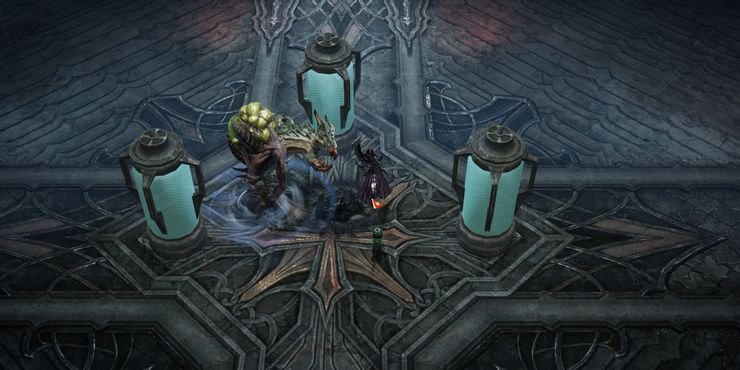
There are several types of rooms in the Labyrinth of Shadows in Lost Ark, each of them differs in mechanics:
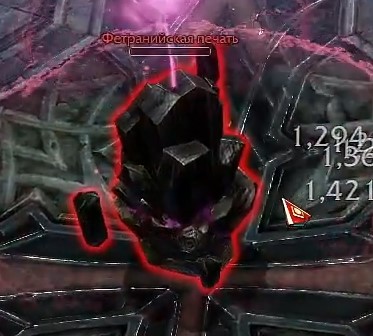
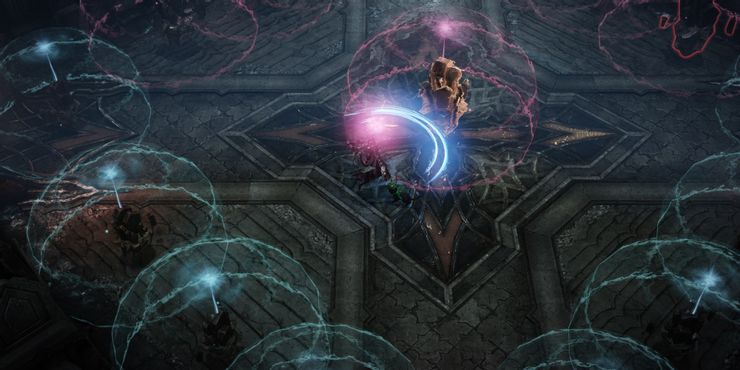
- Crystal Destruction: you need to destroy the Fetran Seal crystal or crystals that are located in the room:
- Full cleanup: you will be required to kill all the monsters that will spawn inside the room. Clear speed does not affect the number of spawning enemies in any way.
- Unique Enemy: a monster whose strength is increased, in addition, he also has skills from other monsters.
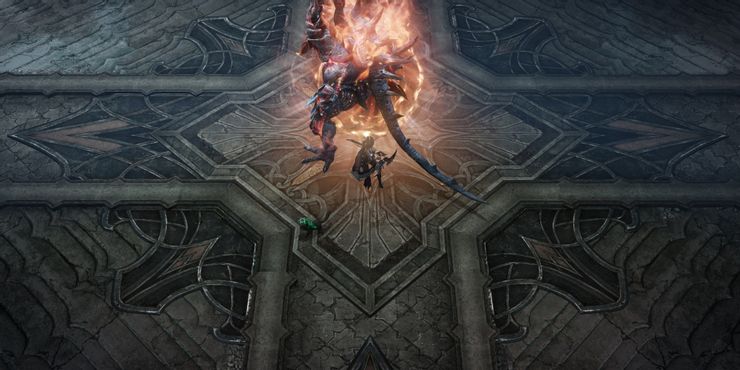
- Boss: the most common boss.
- Decisive choice: a small interactive, as a result of which you need to guess which of the levers will open the passage to the next room for you. On unsuccessful attempts, monsters will appear.
Note: if you decide to start over from the first floor of the Tower of Shadows in Lost Ark, please note that you will not be able to receive the rewards already received for the second time. Accordingly, it is just a waste of time.
How to get to the Tower in Lost Ark
You can get to the Tower of Shadows in Lost Ark as you progress through the chain of story quests. It will lead you to Eastern Lutheria, and from there to Lutheran, where you can take the appropriate task and discover the Labyrinth of Shadows.
Note: You can't use potions while playing through Shadow's Refuge.
Please note that you must have Royal Orders tickets to enter. They are awarded to players daily, but completely burn out when their number is 10 pieces. The best option is to keep 9 pieces and spend daily.
Rewards for completing the Labyrinth of Shadows in Lost Ark
The rewards of the Tower of Shadows in Lost Ark are varied. Users can receive both standard consumables, as well as more valuable items that will be required on the path of your development, as well as after level 50 to increase GS and other characteristics.
Shadow Labyrinth 1-10
| Floor | Boss |
|---|---|
| Floor 5 | Giant stone spider |
| Floor 10 | Perfect Infected |
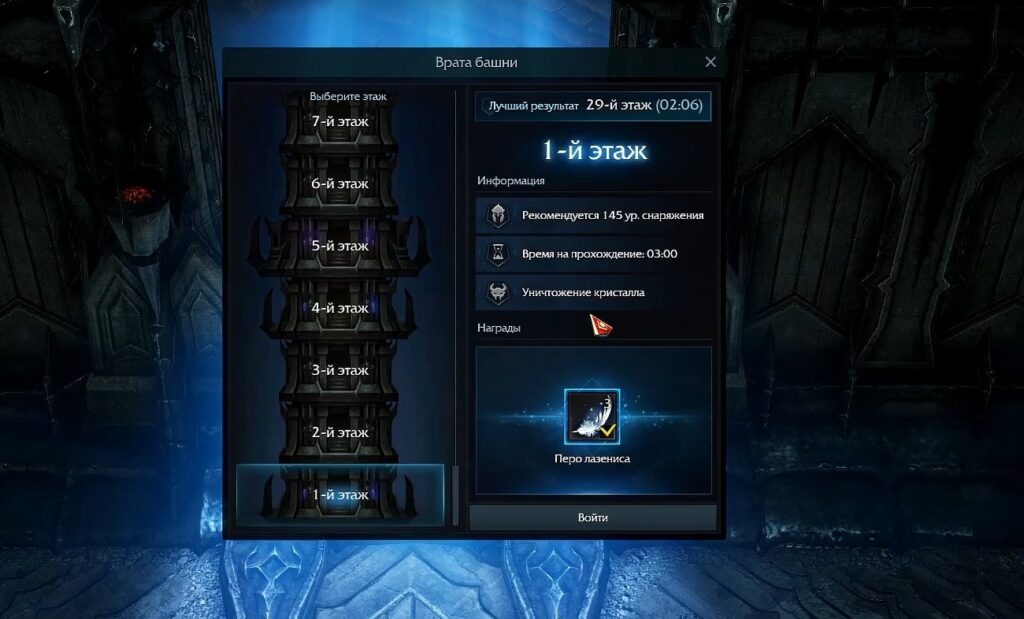
Floor 1
| Item level | 302 |
| Time limit | 3:00 |
| The task | Destroy the seal stone |
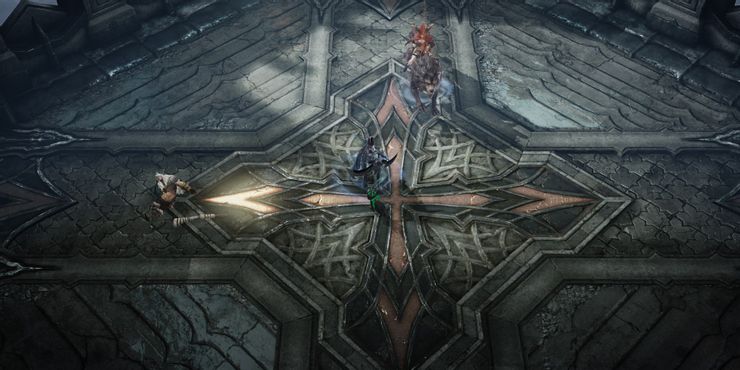
Use any ranged attacks to damage the Seal Stone in the center of the floor. He will not take any damage from melee attacks. He doesn't have much health, especially if your character is leveled up.
Floor 2
| Item level | 302 |
| Time limit | 3:00 |
| The task | Destroy enemies |
Gargoyles and stone enemies will spawn in every corner of the room. Kill them.
Floor 3
| Item level | 302 |
| Time limit | 3:00 |
| The task | Defeat the monsters |
It's basically the same as the second floor, although a miniboss will spawn towards the end.
Floor 4
| Item level | 302 |
| Time limit | 3:00 |
| The task | Destroy enemies |
Swarms of insects will spawn around the arena. Let them get close before using any AoE skills.
Floor 5
(Giant stone spider)
| Item level | 340 |
| Time limit | 5:00 |
| The task | Defeat the boss |
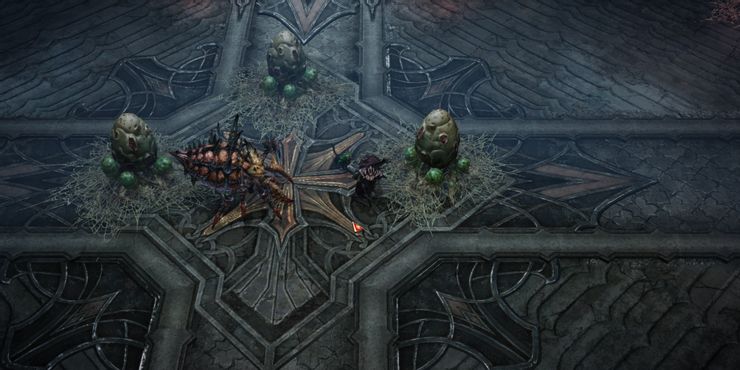
The spider will spawn in the center of the arena, guarding three spider cocoons. You only need to kill the spider boss to complete this floor. Destroying a kakon will spawn additional spider minions, one of which mimics the boss.
The boss has a melee attack and a web attack that will slow you down by 70% for five seconds when it hits you. Kill the boss spider by attacking its back whenever possible. He usually responds with a web attack, but his sluggishness gives you enough time to move. If possible, avoid AoE spam attacks near cacons.
Floor 6
| Item level | 340 |
| Time limit | 3:00 |
| The task | Defeat the monsters |
Kill the Acid Bug Mother in the center of the arena to end this encounter.
Floor 7
| Item level | 340 |
| Time limit | 3:00 |
| The task | Destroy enemies |
Insects will spawn in the corners of this floor. Try to group them before using any AoE skills.
Floor 8
| Item level | 340 |
| Time limit | 3:00 |
| The task | Defeat the monsters |
The miniboss will spawn on the left side of this floor. Attack this target from behind to quickly destroy it. You only need to kill the miniboss to complete this floor.
Floor 9
| Item level | 340 |
| Time limit | 3:00 |
| The task | Destroy enemies |
Infected melee and ranged enemies will advance towards your position. Group up melee units whenever possible and focus on ranged enemies whenever they appear.
Floor 10 (Perfectly infected)
| Item level | 380 |
| Time limit | 5:00 |
| The task | Defeat the boss |
The infected boss will spawn above the three experimental devices. Like the spider boss, destroying these pipes will spawn a weaker version of the boss with a similar set of moves. This boss has a long attack animation and only uses melee attacks, so attacking him from behind should be fairly easy for most characters. Be mindful of AoE attacks and be sure to keep your distance when the attack starts.
Shadow Labyrinth 11-20
Floor 11
| Item level | 380 |
| Time limit | 3:00 |
| The task | Destroy enemies |
Minions will spawn on the north and south stairs of this floor. They will charge up your location, so releveled or tanky characters can just wait for them to gather before using AoE attacks. Otherwise, alternate covering the north and south entrances to take out the enemies as they appear.
Floor 12
| Item level | 380 |
| Time limit | 3:00 |
| The task | Activate switch |
Activate the bottom switch (closest to the south stairs).
Floor 13
| Item level | 380 |
| Time limit | 3:00 |
| The task | Destroy enemies |
Insect enemies will throw ranged attacks at you. Consider using your own skills to quickly clear this room.
Floor 14
| Item level | 380 |
| Time limit | 3:00 |
| The task | Defeat the monsters |
| Featured Product | Scarecrow |
Ghostly figures will appear and try to create some kind of fight club. Ignore their concept of honor and kill the mini-boss in the northern part of the room. Killing him will instantly complete this room. If your damage is critical, deploy the scarecrow before taking on the room.
Floor 15
| Item level | 400 |
| Time limit | 5:00 |
| The task | Destroy enemies |
| Recommended items | Scarecrow and/or stealth robe |
Hordes of ranged units are about to rain down arrows on your character. Circle the arena as fast as you can, killing groups of archers as you do so. You may want to use a scarecrow or stealth robe for this part. Eliminate all ranged enemies and then destroy the spinning contraption.
Floor 16
| Item level | 400 |
| Time limit | 3:00 |
| The task | Destroy enemies |
This encounter will spawn explosive enemiesthat you can't kill. Get close to these chubby enemies and then immediately run away to avoid their AoE blast. Treat other enemies like fodder.
Floor 17
| Item level | 400 |
| Time limit | 3:00 |
| The task | Destroy enemies |
Melee enemies will spawn on this floor. Group them up and then punish them with your AoE skills.
Floor 18
| Item level | 400 |
| Time limit | 3:00 |
| The task | Defeat the monsters |
Defeat the fire giant at the north end of the arena to complete this floor. He will use a wide range of AoE attacks and melee attacks, so have your movement or dash skill at the ready. It is recommended to stay behind the fire giant whenever possible.
Floor 19
| Item level | 400 |
| Time limit | 3:00 |
| The task | Destroy enemies |
This is a repeat of the 17th floor with demonic enemies thrown into the mix. Defeat the ranged enemies - demons with flaming heads - before dealing with melee minions.
Floor 20 (Prodigal Stoker)
| Item level | 420 |
| Time limit | 5:00 |
| The task | Defeat the boss |
| Featured Product | Scarecrow |
A portal will appear in the center of this floor, spawning various demonic enemies. A small assortment of fodder minions will spawn first, one of which holds a spear and shield. Defeating these minions will spawn the Prodigal Stoker boss, a fire giant with much more deadly attacks.
Prodigal Stoker has the following attacks:
- Melee Slash: Stand right in front of the boss and he will take a short swipe at you.
- Three hit combo: The prodigal stoker will extend his left arm before swinging forward three times.
- Car: If you distance yourself from the boss, he will release a massive fireball that tracks. Try your best to avoid this.
- Meteor Swarm: The Prodigal Stoker will kneel before firing a short burst of fireballs across the arenas, covering a small area.
- fireblast: The boss will release AoE fire around him after a short windup. It is slow enough that you can get out of the attack without too much trouble.
Apart from the boss, you will also face a constant stream of demonic minions throughout this fight. You only need to kill the boss to complete this floor, so focus on the boss above all else. Your safest moment to hit is a three-hit combo. Get behind the boss when he starts attacking, land a few hits and back off. Repeat as needed. If the minions give you trouble, deploy the scarecrow before the start of the meeting.
Shadow Labyrinth 21-30
Floor 21
| Item level | 420 |
| Time limit | 3:00 |
| The task | Destroy enemies |
Melee units will swarm towards your location from the corners of the arena. They shouldn't pose much of a threat to you.
Floor 22
| Item level | 420 |
| Time limit | 3:00 |
| The task | Destroy enemies |
This is similar to the previous floor, but with a different enemy faction. Group enemies, use your AoE skills and repeat.
Floor 23
| Item level | 420 |
| Time limit | 3:00 |
| The task | Defeat the monsters |
| Featured Product | Scarecrow |
After killing a few demons, you will face a large demon mini-boss. This miniboss has fast attacks with short telegraphs, so multiple movement skills are recommended. If your class doesn't have good mobility, consider bringing a scarecrow to this floor.
Floor 24
| Item level | 420 |
| Time limit | 10:00 |
| The task | ?? |
| Recommended items | Grenades, shield potions |
The Seal Stone can be found in the center of this floor. Destroy it to bring forth the Sword of Purification, Lear. Lear is a massive NPC that will help you with this maze. The purpose of this floor is simple: defeat all enemies and bosses that appear.
The demonic enemies from the previous floors will flood the arena first, nothing that should pose a threat. Shortly after, the four Perfect Infected Bosses that you fought on the 10th floor will spawn. They can't do much if you stay at a distance or attack from behind, so let Lear get their attention.
Two prodigal stokers will appear after the perfect infected bosses are killed. Once again, you fought this enemy already on the 20th floor. Let Lear dive into the prodigal sons to get their attention, giving you a moment to deal some damage. If you're a melee class, position yourself behind any boss to deal bonus damage while staying safe. Once both Prodigal Stokers are dead, the objective will be completed.
Floor 25 (Combat Addict Joe)
| Item level | 440 |
| Time limit | 5:00 |
| The task | Defeat the boss |
This isn't so much a boss fight as it is a DPS check. You will be fighting an enemy named Fight Addict Joe. He only has two attacks:
- Melee attack: Joe brandishes his sword at you.
- Cone Explosion: Joe slams his sword into the ground, dealing massive damage in a cone.
On top of that, Joe also has two doppelgangers on the edges of the arena who occasionally throw a sword at you. As long as you pay attention to doppelgangers, swords are fairly easy to dodge. Focus on killing Joe to end the fight. If you ever get confused as to which Joe is the real one, look for an enemy named "Combat Addict Joe". The replicas have a different name.
Floor 26
| Item level | 440 |
| Time limit | 3:00 |
| The task | Destroy enemies |
Defeat hordes of bandit enemies to end this encounter. Enemies on this floor shouldn't pose much of a threat.
Floor 27
| Item level | 440 |
| Time limit | 3:00 |
| The task | Destroy enemies |
This is the same as the 26th floor, but with a lot more enemies. Focus on killing archers before dealing with melee units. Once again, AoE skills are your friend here.
Floor 28
| Item level | 440 |
| Time limit | 3:00 |
| The task | Defeat the boss |
Like combat junkie Joe, this boss is more like a DPS check than anything else. After defeating a few bandit enemies, you'll have to defeat Samoha the Wolf Girl, a wolf-wielding gun-wielding bandit. The wolf has short close range with a long telegraph and the woman fires her weapon in a straight line. The boss will buff herself periodically with increased attack speed and damage for a few seconds, but you can just wait for the buff to expire before attacking her again. Run in circles around her, wait a minute to hit, and then step back.
Floor 29
| Item level | 440 |
| Time limit | 3:00 |
| The task | Survive |
| Featured Product | Robe of swiftness |
Enemies in this encounter are invulnerable. We recommend that you bring a few movement skills with you.
Unlike previous floors, your job on this floor is to survive. Explosive enemies will spawn throughout this encounter and attempt to self-destruct as they approach you. Smaller enemies don't pose much of a threat on their own - you can get out of the blast radius easily - but larger enemies will need a movement skill or swiftness robe to avoid. Get close to enemies to start their explosion animation, then immediately move out of the explosion radius. Repeat until the meeting is over.
Floor 30 (Essence of Greed)
| Item level | 460 |
| Time limit | 10:00 |
| The task | Defeat all bosses |
| Featured Product | Scarecrow |
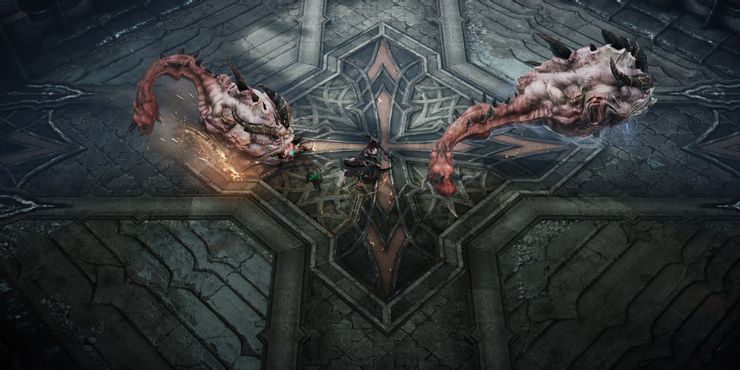
This encounter features two Essence of Avarice bosses, worm-like creatures that can easily overwhelm your character. Essence of Greed uses the following attacks:
- Bite: This is a worm melee attack. It will move and try to bite you.
- Accusation: After a short animation, Essence of Avarice will charge forward, knocking your character down if it hits.
- Bile: The Essence of Greed will vomit in a wide cone, stunning you for XNUMX seconds if it lands.
- Vile meteors: Several projectiles will land around the arena, dealing moderate damage in a small area.
Both bosses will try to stun you with their charge and bile abilities. It's best to use a movement or dash skill to avoid any attack whenever possible. If one of the bosses stuns, you can easily stun the chain. Wait for the boss to charge or use his cone attack and then damage the boss from behind. Repeat until both are dead. Focus on one boss first to make the second Essence of Greed easier to kill. For those who are struggling to get an opening for any boss, bring a scarecrow.
Shadow Labyrinth 31-40
Floor 31
| Item level | 460 |
| Time limit | 3:00 |
| The task | Destroy enemies |
Another wave of feed enemies can be found on this floor. Assassin units replace regular human melee units, so bring a good AoE skill.
Floor 32
| Item level | 460 |
| Time limit | 3:00 |
| The task | Destroy enemies |
In addition to the typical fodder enemies, this encounter features Root Guardian Element, a miniboss that relies on melee skills to deal damage. It's pretty slow, so more mobile characters shouldn't have a problem removing it. Slow characters will want to use crowd control effects to make this fight easier.
Floor 33
| Item level | 460 |
| Time limit | 3:00 |
| The task | Defeat the monsters |
This is a repeat of the 32nd floor, only now there is a mech miniboss instead of the Root Guardian.
Floor 34
| Item level | 460 |
| Time limit | 3:00 |
| The task | Survive |
| Featured Product | Robe of swiftness |
As in the 29th floor, you will need to avoid explosive enemies in a fairly small area. Unlike the last survival floor, there is a permanent black hole in the center of the arena that reduces movement speed by 60%. Use a mantle of swiftness or skill stands that provide movement speed to counter this debuff. Most of the explosive enemies spawn near the center, so stick to the corners to lure their explosive attack.
Floor 35 (Elemental Dark Knight)
| Item level | 480 |
| Time limit | 10:00 |
| The task | Defeat the boss |
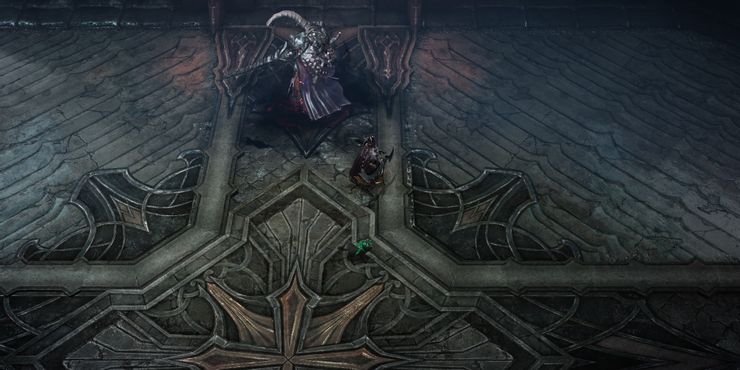
This floor contains the Elemental Dark Knight, a boss that uses a wide range of attacks that can stun your character. This enemy has the following attacks:
- Melee Slash: This is the default melee attack that the boss rarely uses.
- Accusation: The Elemental Knight will dash forward or launch a sword in a rectangular area. Hitting this attack will launch you into the air.
- Tornado: Four tornadoes will spawn and track your character continuously. If they make contact, you will be knocked down. Tornadoes will disperse in a few seconds.
Ranged characters shouldn't have too much trouble with this fight. Avoid using abilities that lock your character until Elemental Knight uses his charge attack. When he summons his tornadoes, focus on killing the minions until they drop. The default attack on this boss has a deceptively long range, so try to stay behind or away from the boss.
Floor 36
| Item level | 480 |
| Time limit | 3:00 |
| The task | Defeat the monsters |
Melee units will charge your position. Let them get together before using your abilities. The mini-boss will eventually spawn, but can be easily killed with good positioning and ranking skills.
Floor 37
| Item level | 480 |
| Time limit | 3:00 |
| The task | Destroy enemies |
Two massive soldiers act as minibosses for this encounter. One of them is a melee unit and the other one wields a giant flamethrower. We recommend killing the flamethrower miniboss first, but fighting any miniboss should be your top priority. The rest of the meeting moved past that quite easily. If you have trouble with this part, you can bring a scarecrow or some grenades with you.
Floor 38
| Item level | 480 |
| Time limit | 3:00 |
| The task | Defeat the monsters |
A wyvern miniboss will spawn on this floor. He is quite weak, doesn't have many lethal attacks, and is supported by minimal enemies. Stay close to the wyvern's back and you shouldn't have too much trouble clearing that floor.
Floor 39 (Follower of Leshara, Witch of Neiha)

| Item level | 480 |
| Time limit | 10:00 |
| The task | ?? |
Some ghostly enemies will appear at the start of this encounter. Killing them will spawn a miniature army of ghostly enemies. Remove them as quickly as possible, as the next part will take a few minutes.
Sword of Purification, Lear, comes back to help you in this meeting. The objective of the 39th floor is to defeat a boss named Leshara's Follower, the Witch of Neiha. Unfortunately, this boss is nearly invulnerable to all of your hits, so you'll need to rely on Lear's attacks to kill the boss. Your goal is to kill all the stern enemies while Lear is dancing with the boss. It takes Lear three to five minutes to kill the boss, so be mindful of your timing.
When you have eliminated every minion in the arena, the only thing you can do is break the Neiha witch's balance, damaging her repeatedly. This will cause the boss to stop moving for a few seconds, giving Lear the perfect opportunity to damage her. Don't even worry about damaging the boss on this floor; only Awakening skills deal noticeable damage to this boss.
As for witch Neiha's attacks, she only has four that are worth mentioning:
- Accusation: The boss will slide forward after a short spin, knocking your character down if hit.
- Cone attack: Neiha will damage and stun anyone directly in front of her.
- Country: The boss will cover the ground in toxic sludge, dealing damage over time.
- Tornado: Neiha will spawn several tornadoes that will move in the same direction, dealing damage to everything in their path.
Floor 40 (Doujebe Bladder Manifold)

| Item level | 500 |
| Time limit | 5:00 |
| The task | Defeat the boss |
Lear has returned to help in the fight against the boss of this floor. This time, you'll face the Doujebe Bladder Collector (yes, that's its real name). Unlike the last boss, you can actually damage this enemy. The following attacks occur in Douheb:
- Default melee attack: Doujebe brandishes the scythe at anyone in front of him.
- Spin attack: After a short twist, Doujebe swings the scythe around his body twice.
- Scythe Throw: Doujebe will throw his scythe at you if you go too far. If it hits you will be temporarily stunned.
- Poison pools: Throughout the fight, the boss will summon pools of poison that deal massive damage if you stand in them. They fall off after a short period of time.
You also have a 10% attack speed penalty for the duration of this fight, though it's low enough to be unlikely to have an impact. You only have five minutes to damage this boss, so make him count. Let Lear get Doujebe's attention while you attack the boss from behind.
Shadow Labyrinth 41-50
Floor 41
| Item level | 500 |
| Time limit | 5:00 |
| The task | Defeat the monsters |
| Featured Product | Scarecrow |
You only need to kill one enemy to complete this encounter. A mini-boss named Guardian Behur will launch lightning projectiles from his spear throughout this fight. He doesn't move at all, but he does have a few invulnerable minions that will haunt you throughout the fight.
This meeting is all about juggling movement and damage. You'll want to walk to the edge of the room as the boss charges his spear. As soon as he is about to make contact with the ground, use your movement skills to dash behind the boss. Get a few hits and then go back to avoiding minions. Repeat as needed. Use the scarecrow to taunt the minions to give yourself a longer DPS window.
Floor 42
| Item level | 500 |
| Time limit | 5:00 |
| The task | Defeat the boss |
| Featured Product | Robe of swiftness |
There is only one boss on this floor: Pokan. It is a massive beast that has slow, albeit deadly, melee attacks. It is quite slow at the beginning of the fight, although Pokan will get angry quite early in the encounter. Once he enters the fight, Pokan will hit harder and start using his charge attack more often. Speaking of attacks, here's what the Pokan is capable of:
- Default melee attack: Pokan hits you multiple times for low damage.
- Accusation: Pokan will give a short telegraph before dashing across the arena.
- Jump Slam: Pokan will jump to your location three times, dealing damage in a moderate area each time.
This meeting is about distance management. Wait for the boss to charge, get behind him, land a few hits, and then retreat. As long as you have some distance between you and the boss, dodging the charge attacks should be pretty easy. If you're struggling to kill this boss, consider using the Swiftness Robe to better avoid his attacks.
Floor 43
| Item level | 500 |
| Time limit | 3:00 |
| The task | Defeat the monsters |
This is a DPS check. Large melee units will spawn on the north and south stairs of this floor. They are pretty tanky so make sure you have good tripod and gear skills at this point. If you can't defeat these enemies, get ready and come back later.
Floor 44
| Item level | 500 |
| Time limit | 5:00 |
| The task | Survive |
| Featured Product | Shield Potion |
This is the 17th floor with a lot more enemies and new mechanics. In the middle of the encounter, an enemy type called Leshar's Left Eye will spawn. These strange shell-looking enemies will attack you if you get too close to them. You can't get past these enemies, but you can run through them.
Not many Leshars will spawn to start, but you will end up dodging exploding enemies with dozens of Leshar enemies trying to stab you. In general, you'll want to be near the center of the floor throughout this encounter, moving into the corners of the arena if you get overwhelmed. When the arena splits in half, first move to the right side, then move to the left side. The final wave of explosive enemies will spawn near the center, so stick to the sides of the arena whenever possible. Besides healing potions, you can consider shield potions to increase your character's survivability.
Floor 45 (Dark Wolf Riku)
| Item level | 520 |
| Time limit | 5:00 |
| The task | Defeat the boss |
| Featured Product | Scarecrow |
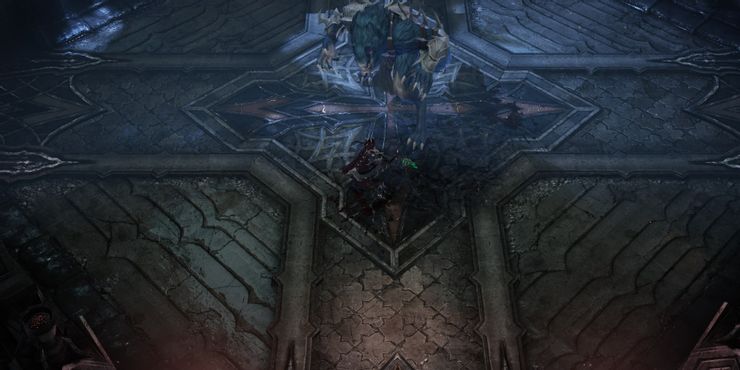
Dark Wolf Riku is the boss of this floor, a massive werewolf that has a wide variety of dangerous attacks.
- Default melee attack: Riku will hit in front of him several times.
- Jump Slam: After a short completion, Riku will jump to the top of your character.
- Enrage: Riku will jump into the fight, making it tougher and unlocking a few new attacks.
- Shadow Strike: Riku will disappear from view for a few seconds, reappearing with an attack aimed at your character's back. If it hits you will be stunned for a few seconds.
- Enrage: Riku will quickly swing his claws in a wide cone, dealing high damage while causing bleeding.
- Cloak: The werewolf will disguise itself and attempt to strike from the shadows. He will eventually reappear in the center of the arena, giving you a chance to strike.
In the second half of this fight, Dark Would Riku can also inflict a Dark debuff on your character, preventing you from seeing. To make this fight easier, we recommend bringing a scarecrow with you. The deadliest attack is Riku's teleport attack. When he disappears, get ready to run perpendicular to where Riku reappears. Stay on the move, use your abilities wisely, and consider using your Awakening skill if you get stuck.
Floor 46 (Burning Yeghat)
| Item level | 520 |
| Time limit | 10:00 |
| The task | Defeat the boss |
| Recommended items | Scarecrow, Robe of Swiftness |
Burning Yegat is the boss of the 46th floor, a flaming demon that acts like a faster version of the prodigal stoker. It slams the ground, attacks forward, and slams the ground in a self AoE attack. Scarecrows or robes of swiftness are highly recommended.
Floor 47 (Tortured Pagans)
| Item level | 520 |
| Time limit | 5:00 |
| The task | Defeat the boss |
| Recommended items | Panacea, Scarecrow, Horn of Luterra |
The boss of this floor is Tormented Pagan, a demonic priest who summons worm monsters throughout the battle. These worms spew out toxic AoE attacks that will blind you if they come into contact, so panacea is highly recommended. Watch out for the following attacks:
- Energy Beam: The Tormented Pagan will fire an energy beam in a straight line, dealing heavy damage. This attack has a short telegraph.
- AoE Slam: If you get too close, the boss will use his helmet slam to push targets away from him.
- Clones: The tortured pagan will create multiple copies of himself that will mimic his attacks.
- Toxic sludge (worms): Worms in the arena will fire toxic projectiles that will blind your character for a long time.
This fight is incredibly hectic, perhaps the most chaotic fight in the entire Tower. To defeat this boss, you will need a scarecrow and Louretta's Horn to distract the attention of the boss and his worm minions. You will also need a potion of Panacea to clear the darkness debuff that blinds you. As for the boss, he usually teleports to the corners of the arena. It's best to draw out an energy beam attack and then use that moment to deal some damage. Melee characters will have a hard time here, so be sure to bring some movement skills to avoid any sudden AoE telegraphs.
Floor 48
| Item level | 520 |
| Time limit | 3:00 |
| The task | Defeat the monsters |
| Recommended items | Grindez, Stealth Robe, Scarecrow |
This encounter is invincible unless you have a combat item that can damage the enemies. Grenades are required.
Floor 48 is just a gear check. You will be silenced upon entering this arena and will not be able to attack in any capacity. To defeat this encounter, you must defeat the Assassin mini-boss that spawns in the center of the arena. You can only use grenades to end this encounter - Horn of Loretta not working. Take two types of grenades with you that deal damage to enemies to do it quickly. The longer you take, the more enemies will appear. Minibosses will spawn if you take too long, so be quick. You can also use the scarecrow and invisibility robe to stay alive while you wait for the grenade to finish reloading.
Floor 49
(Mignon Lechard "Organ Extractor")
| Item level | 520 |
| Time limit | 10:00 |
| The task | Defeat the boss |
| Recommended items | Scarecrow, Stealth Robe, Horn of Luterra |
The Giant Rock Spider and Tangled Soul Cluster mini-bosses are back. These enemies shouldn't be a big problem at this stage. Group them up and use AoE attacks to kill them.
Once both of these minibosses are dead, the real boss will spawn. Leshara's minion "Organ Extractor" is the same boss that you fought on the 40th floor. Use the same tactic as before to take this boss out by attacking from behind and maintaining a good distance. If this boss fight takes too long, perfect Infested minibosses will start appearing to give you even more trouble. You only need to kill the Organ Extractor to complete this floor. If you're struggling to juggle all the enemies in this encounter, bring a scarecrow or Luterra's horn with you.
Floor 50 (Destructive Light Leatherd)
| Item level | 540 |
| Time limit | 10:00 |
| The task | ?? |
| Recommended items | Panacea, Swiftness Robe |
Your last task to finish Shadepire is to kill Corrupting Light Leatherd, a boss that has a wide range of AoE attacks.
- Energy Explosions: Leather projects three conical AoE attacks from his body. The direction of the AoEs depends on where you are. If you are on his side, he fires two AOEs instead of one.
- Energy Beam: After a short spin, Leatherd launches a beam of energy that deals massive damage.
- Explosion area: Leather unleashes waves of energy from his body. If you stand next to him, the AoE will cover the floor next to the boss. If you are away from the boss, the AoE will cover everywhere but his body.
- Darkness: Halfway through the fight, Leatherd will shroud the floor in darkness to hide his AoE attack stats.
- Blind: During the second phase, Lezerd can blind your character for a few seconds.
This boss can anger himself in the second half of the fight, giving himself increased attack power and allowing him to use his energy attack beam more often.
Basically, this fight is all about managing your positioning and reading telegraphs. You can manipulate which AoE attacks the boss will use depending on where you are. Standing in front of the boss will force him to use an AoE frontal cone attack, for example, allowing him to avoid it purely from muscle memory. For explosive attacks, you'll want to alternate your space from the boss. If you are close, move away from him. If you are at a distance, come closer. Even when the floor is covered in darkness during the second phase, you will need to consider your positioning in order to predict the boss's attacks and successfully avoid them.
You want to alternate your character's position with each attack to stay safe by weaving in attacks whenever possible. Ranged characters want to stay closer to the boss than usual, and melee characters always want a movement skill ready in case they make a mistake. To counter the blind effect in the second phase, use the Panacea potion.
Was the article helpful?


