Battletoads 2020 Walkthrough Act 2 - Battle Toads
Welcome to the official Battletoads 2 Act 2020 walkthrough page for Xbox One and PC.
Navigating the Guide
Here we will break down everything you need to know about this step, including how to get from start to finish and how to find all the items in between. Act 2 consists of five different stages and is one of the shortest in the game. It has several new mini-games and additional collectibles for you to find. This walkthrough will not only walk you through each step from start to finish, but also tell you where each collectible can be found.
QuaJumpToad 2: Re-Toaded
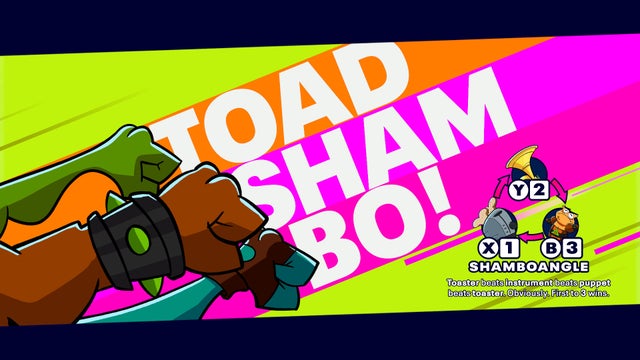
This step will take you less than a minute. It's literally a four-person game at Toad Sham Bo. Win or lose, the result is the same, it's just a cutscene.
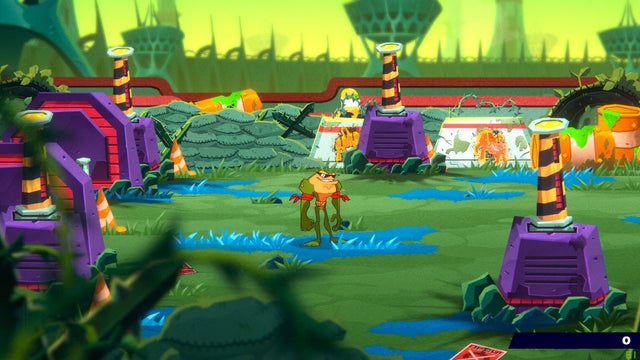
Stump Stump
Optional collectible goal: Reach an A rank in all battles.
When this stage begins, you will find yourself on some kind of alien planet, which, apparently, is a highly protected base. Let's go right. Fight the first wave of enemies and keep moving until you reach the hack computer.
You will need to slowly move towards the middle part, dodging falling blocks along the way. In the middle section, you will need to enter and exit the middle square in such a way that the four blocks on the right line up. When they line up, go to the right and if you time it you will have a clear shot to the finish line.
Head right and get ready to fight a couple of waves of enemies. But before that, be sure to spit at the bird pictured below:
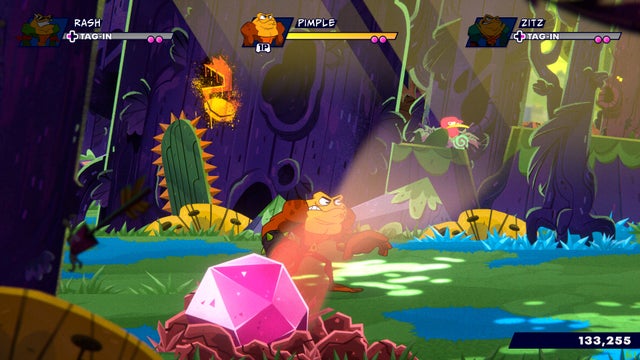
One of the new enemies here will throw axes at you, which is very annoying. You will see your toad's avatar appear above their head. When you see this, be prepared to dodge.
After eliminating these enemies, you will need to go deeper into the forest area. Follow the bird in the nest pictured below. Spit on her to make her fly away. This will be important later for getting the collectible.
Go right and get ready to fight the enemies in the background. After finishing them off, be sure to come back to the front and go straight to the dead end ahead. You will see the target circled in red. Spit on it to open a collectible.
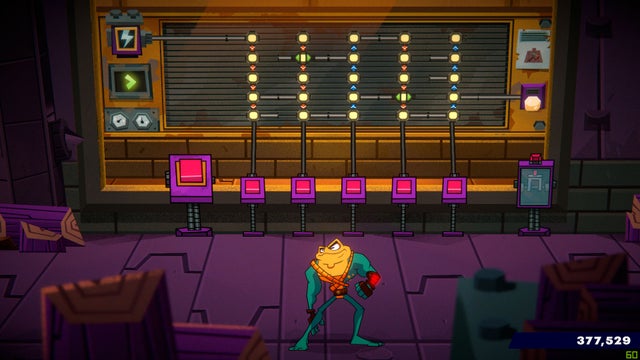
Return to the background and continue to the right. After killing a couple of enemies ahead, jump to the front and go left until you reach the electrical circuit puzzle pictured below.
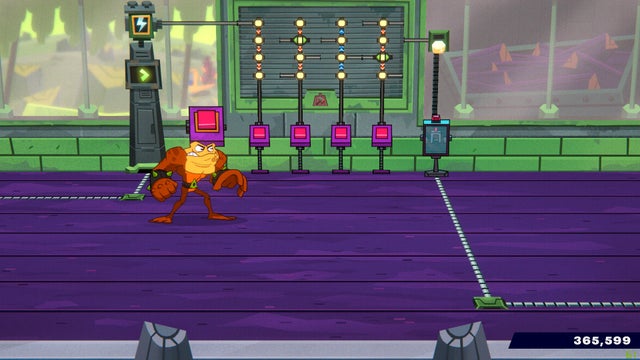
It's the same puzzle you solved before, except it has one new addition. This yellow square with a green arrow to the right and left will reflect any electricity going in the opposite direction. This is important as you will need to bounce electricity back and forth to create a solution. The solution is shown above.
This puzzle will open the door on the right. Go there and spit on the bird.
Immediately after that, you will have to fight three enemies. Take them out and go to the room pictured below. Spit in the two "eyes" of the machine. If you look in the top left corner, you will see a poster that gives you the solution. Spit on the left eye until it looks like the left eye on the poster, and do the same with the right eye.
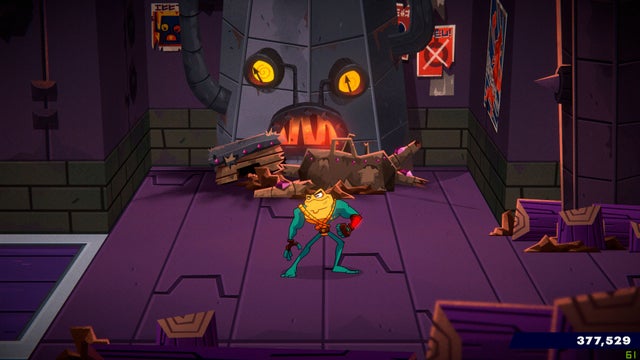
In other words, spit in the right eye three times and once in the left eye. After that, a collectible will appear.
Go to the right and you will be in front of the biggest electric circuit puzzle. To solve this problem, you will need to use what we just learned about the green arrow squares. The solution is shown below.
Go right until you reach a dead end. Pull the lever in the corner to open the background.
Kill the enemies here and travel around the background until you reach where we are at the bottom. If you look at the boxes to the left of the brown pillar, you will only see a hint of a collectible. Be sure to come back to the front to pick up this item.
Go right and fight enemies all over the store. While passing through it, watch out for the puzzle pictured below. The solution is in the picture. If you want to solve this problem yourself, look at the bottom of the screen and you will see various items sold in stores. Find these items in stores, see which symbol represents them, and then paste those symbols into the background wall.
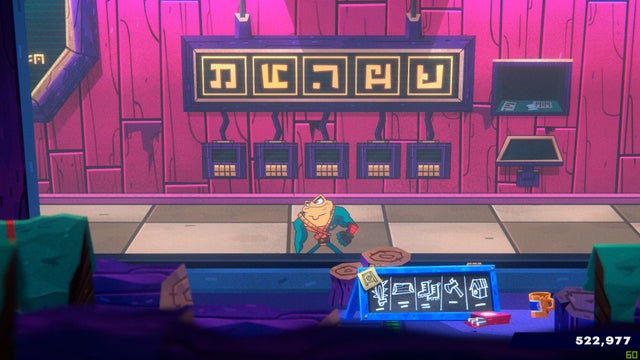
After connecting the appropriate symbols, interact with the safe on the right and you will find a collectible inside.
After that, you will return outside to an area similar to the beginning of this stage. There is a bird in the background that you can spit on.
Continue to the right and take out the last wave of enemies in this stage. At the exit, you should see a nest with four birds (the birds we spat on) and the fifth collection on the stage.
Walk to the right and the scene will be completed.
Clumsy work
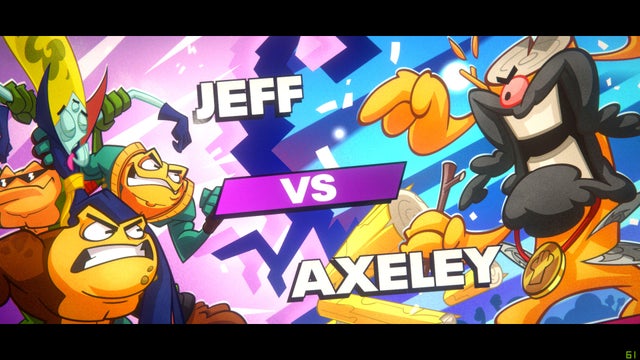
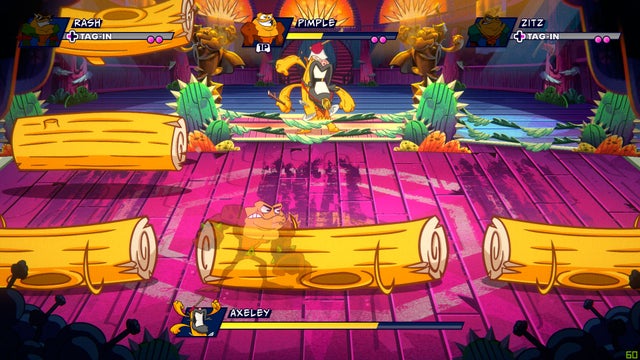
This stage is purely a boss fight against Axeley. When the fight starts, Akseli will go offstage. He will start throwing bomb-like projectiles at the ground. A yellow circle will appear around them. Make sure you're not in the yellow circle or you'll take damage when the projectiles explode.
Eventually, Axeley will jump onto the stage. Every time he jumps, he flies high into the air. You will see a small yellow circle on the ground. Make sure you are not in this circle. When it lands there, a much larger yellow circle will open across the stage. Jump over this circle to avoid damage.
When his giant ax gets stuck in the ground, it's time to attack. Mourn him until he takes off again.
When it bounces back into the background, it will start rolling logs towards you. Jump and dodge them to avoid taking damage.
This cycle will keep repeating, and eventually he will throw logs at you, as well as throwing projectiles that look like bombs. You will need to dodge very quickly.
When you get his health bar all the way down, he will start begging for his life while kneeling in the center of the scene. Stand next to him and press X to kill him.
Refuge of the Devastating Horse
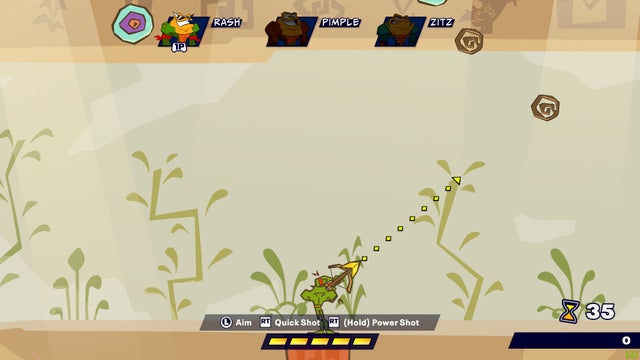
This stage is short because there are only three mini-games. In the first mini-game, you will wield a bow and arrow. Use your analog sticks to aim your arrow at falling targets and press RT to shoot. You can hold RT to fire a stronger arrow that can pierce multiple targets in a row.
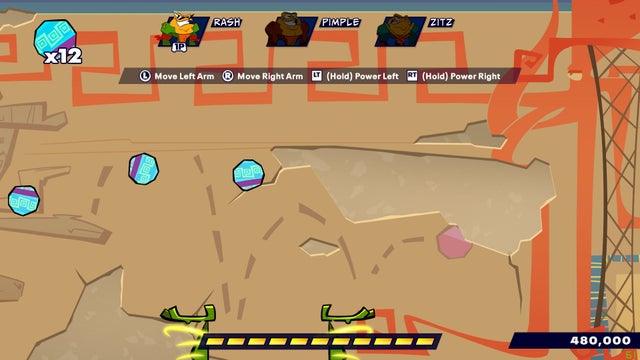
The second mini-game is ball juggling. The balls will be thrown towards you and you must use Rash's left and right hands (left and right stick respectively) to bounce and carry the balls to the target on the right.
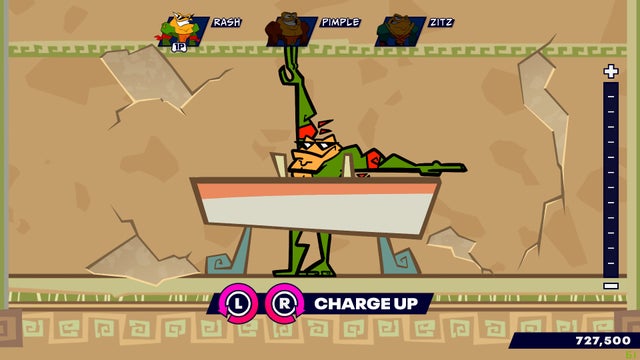
The third and final mini-game is the gymnastics game. You will need to rotate the left and right sticks counterclockwise and clockwise respectively to speed up the jump. You will then need to press RT and LT in order to time the launch correctly. Aim for green, not pink.
When you are in the air you need to press Y, B, A or X to select a pose and then use the left analog stick to match the pose to the background. You will need to align as many poses as you can before falling to the ground.
Mistreatment
Optional buildable goal: Finish the level in 6:00 minutes or less.
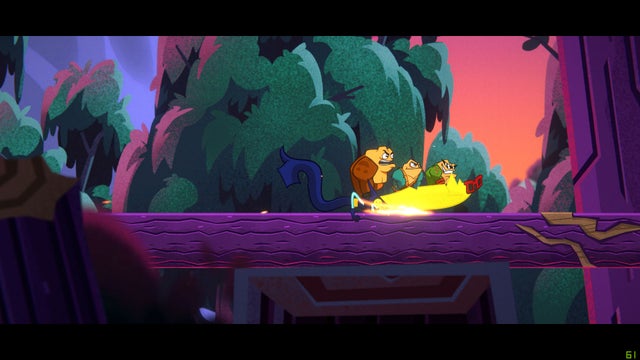
After a few cutscenes, the Battletoads will attempt to escape by sliding over Jeff's body.
You don't have to worry about moving to the right - it happens automatically. In the meantime, get ready to jump through multiple gaps by pressing A. You can press A for a quick jump, or hold A for a longer, higher jump.
Eventually you will reach the ice. You will need to grind this ice by pressing X to slide over it.
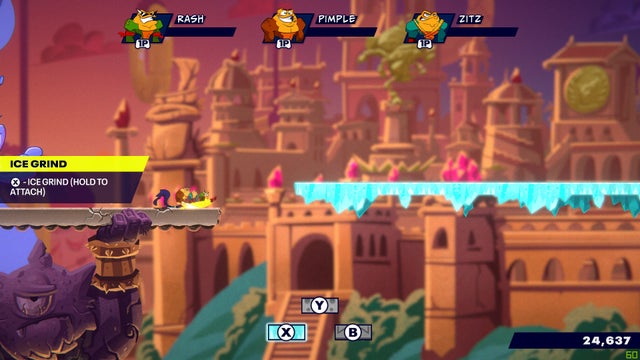
If you see a sponge railing, you will need to sand it down with a sponge by pressing and holding Y.
The last thing to learn is carpet sanding. When you see a red carpeted railing, press and hold B to wipe the carpet.
Keep an eye out for collectibles along the way, because after the game teaches you the three types of grind, collectibles will start to appear. The first one will be on the carpet. You will need to quickly jump onto the carpet to avoid jumping over the collectible.
If you see a crack in the railing - the carpet is at the top and the standard railing is at the bottom - be sure to take the top path. This will lead to collectibles.
Keep moving forward and when you are at the bottom of the slope, get ready for the long jump at the top. You need to land on the sponge, not the standard rail underneath it. Follow this path and at the end you will see a collectible that can be reached by jumping.
As you continue moving forward, you will be able to choose either the upper or lower path. Be sure to take the top path, as it will eventually lead to the collectible.
The last collectible can be found on a standard wooden railing piece. As you jump from ice to tree, carpet to tree, sponge to tree on stage, look out for the yellow collectible on the tree.