Dungeons are some of the most challenging activities that Guardians will face in Destiny 2. Although they are not as difficult as…
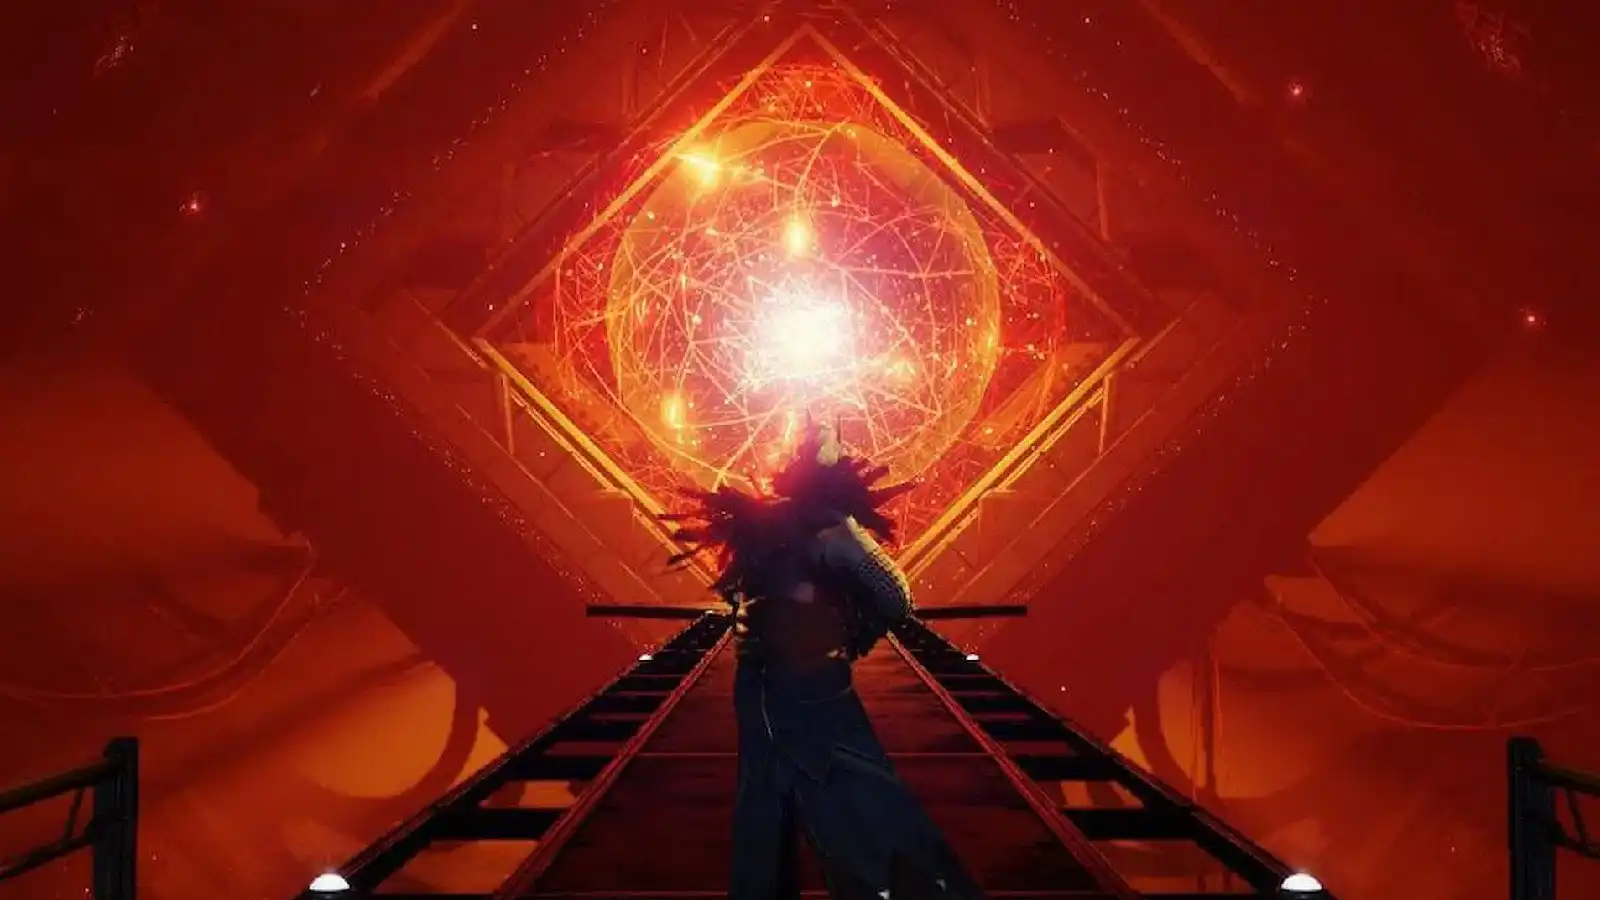
Destiny 2: Exotic Weapon Divinity │ How to Get?
0

The big change in Destiny 2's Shadowkeep expansion is that you have a 100% chance to earn one of your best exotic weapons, unlike Forsaken, as completing its raids didn't guarantee an exotic drop. True, the implementation of Shadowkeep quests causes certain difficulties and it is not so easy.
To get Divinity, you need to build a team of six players to complete the Garden of Salvation raid. But there are a few steps you will need to complete outside of the raid first. Here is everything you need to know to begin your quest for Divinity.
Steps Before the Raid
The first thing to do is get the quest item. He is at Lord's Gate, which can be found on the Moon in Havens of Sorrow. Lord of the Gate, this is the minotaur guarding the main gate in black garden. He will only appear there after you have eliminated a whole bunch of Vex spawning near the gate. Killing him will give you a quest item. What is this?
Flight to Ness
You will need to find the Vex constructs in order to decipher the item you received from the Gate Lord. As the exotic quest description notes, you won't find them on the moon. Instead, head to Ness. At this stage, you will visit three different Lost Sectors: location Artifact Edge, Refuge of the ancient (location Node) and Merger (location Storage tank). It should be noted that you won't have to clear or complete these Lost Sectors to get what you need.
Start at Artifact's Edge and go inside. This is a simple Lost Sector, consisting mainly of a large room full of enemies. Before heading up to the boss section of the room, make your way to the left side of the room and look for a small hole in the wall. You will slip into a hidden room where you will find a digital network that you need to scan. Activate it and kill any Vex that will appear to get in your way. Note that the activation process must be repeated twice.
The next network is in the location Storage tank lost sector Merging. In it, the hidden room is located on the right. Here everything will repeat itself: scanning the data network, triggering an alarm, the appearance of a bunch of Vex, destroying them and rescanning up to 66%.
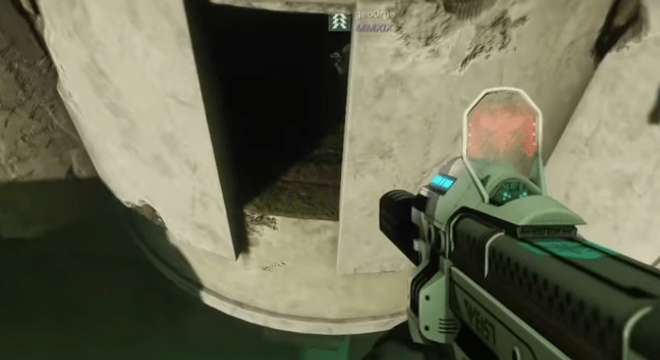
The last network is located in the Lost Sector Refuge of the ancient in location Node. In the location, look at the wall on the right and you will see another gap, relatively easy to spot from the ground. Jump in and slip inside for the third oracle and your last piece of the puzzle. We scan and update the quest item.
Vex Assault Arena
With the completion of the Lost Sectors, you'll be faced with the next step to earning Divinity: killing a whole bunch of Vex on the Moon. You will need about 150 resources Fragment of the decryption core, which you will receive for killed Vex.
Charging Core
The next quest step says that the item you found from the Gate Lord now matches the energy signature of the Nightmare Entities. Head to lecturer magic at the Sanctuary of Eris Morn on the Moon, and you'll find that you can charge the item with the Phantasmal Fragments you get from defeating Nightmares. You need 30 to activate the next step in the quest. If you don't have enough, you have two options: buy Ghost Fragments or complete contracts to kill Nightmares. The fastest way to find nightmares is to go to Haven of Sorrow
Now you are ready to fly.
Raid Garden of Salvation
The final steps of the quest require you to find hidden rooms scattered throughout the Black Garden and you will have to complete all raid encounters.
To unlock Divinity you will need to find some hidden relays and use your teammates to complete the circuits. This is the main mechanic of the raid: one person stands near a special cube that sends an Energy Beam to another person. The beam must then connect with a third person, creating a chain to link the cube with a special padlock-shaped plus sign. There are several hidden rooms throughout the Black Garden with these cubes, and you will need to link them to their respective locks as you progress through the raid.
Step 1: At the Start of the Raid
Your first step in this process happens right at the start of the raid. When you arrive through the gate, turn around and jump down. Under the platform you will find the entrance to the room.
Activate the desired puzzle in the room and get out of the room on the platforms that will appear after interacting with the relic.
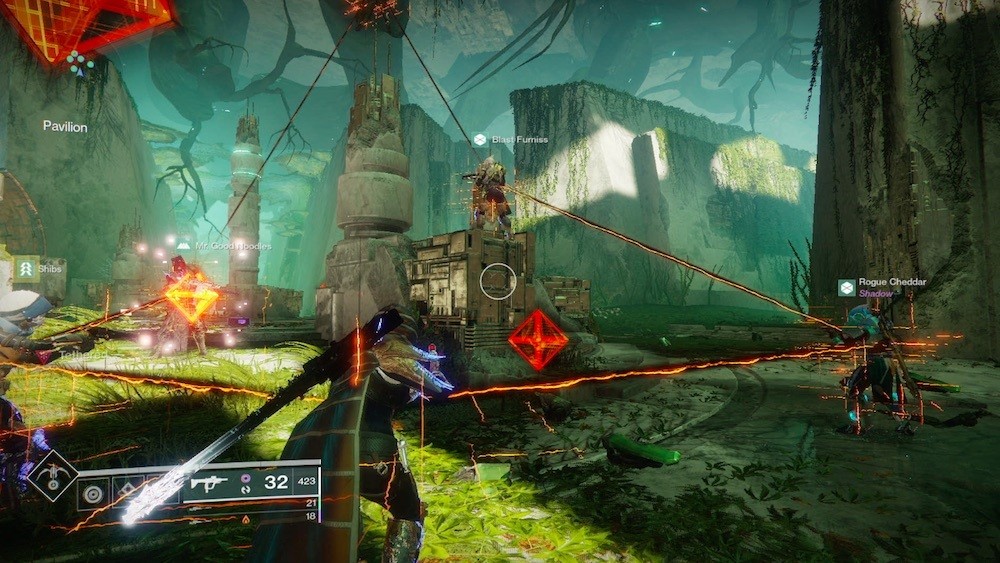
Step 2: Chain of Players
Your team needs to divide into two triples and disperse along the two sides of the corridor, as in the picture below:
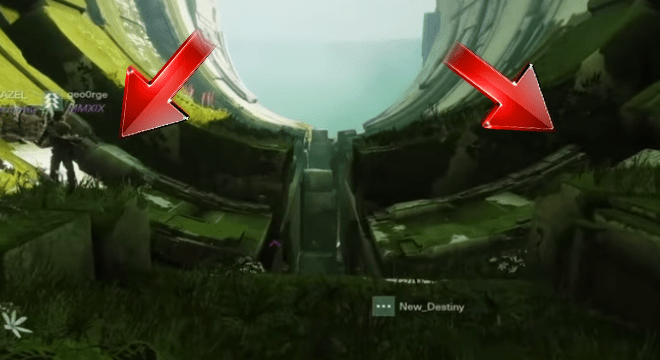
Players line up the steps inside the hall and pass the beam along the chain, passing it through each player and completing the chain. It should look like the screenshot below:
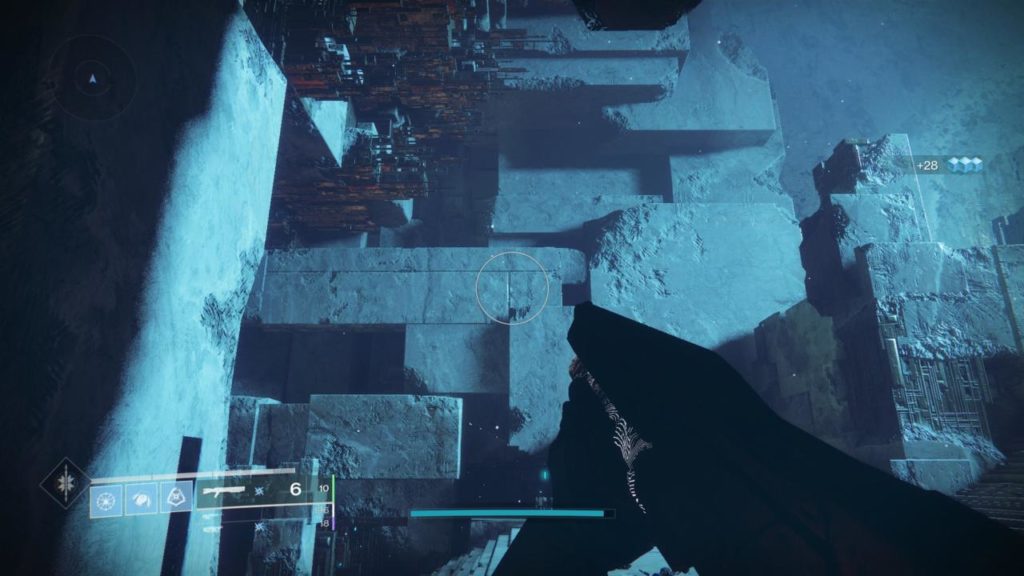
Step 3: Large flower field
Complete the first Encounter with the Initiate Mind and you will be outside in a large open flower field. Go around the edge of the field on the right side and shield a small tree with pink flowers approximately in the middle of the field. When you find it, look for a small opening that you can slip into that leads underground.
Move slowly through this area; you are in an interconnected network of rooms surrounded by a central cylindrical barrier. Your goal is to create a chain of partners through all these rooms in order to disable the force field. Near the entrance, you should find a lock that will receive your beam, but the start is at the far end. The thing is, most of the exits through these rooms are one-way, so save yourself some trouble and don't jump into all the openings you find until you're sure you're ready to move forward.
The trick is to leave people in different places when you go around the barrier. Look for round gaps that look like portholes on a ship - these are the places through which you will transmit the beam from one player to another. If you leave someone in every room where you find a porthole, the circuit will close. To find the start, go all the way through the adjoining rooms until you see a path outside. Continue forward along the path that skirts the wall of a large platform with a field on it until you see large, knotty tree roots - very similar to what you saw on Nessus. Climb up the roots to find the last room. Once everything is in place, you should be able to easily beam through the holes and gaps between each of the rooms to lead the chain to the castle and reset the force field.
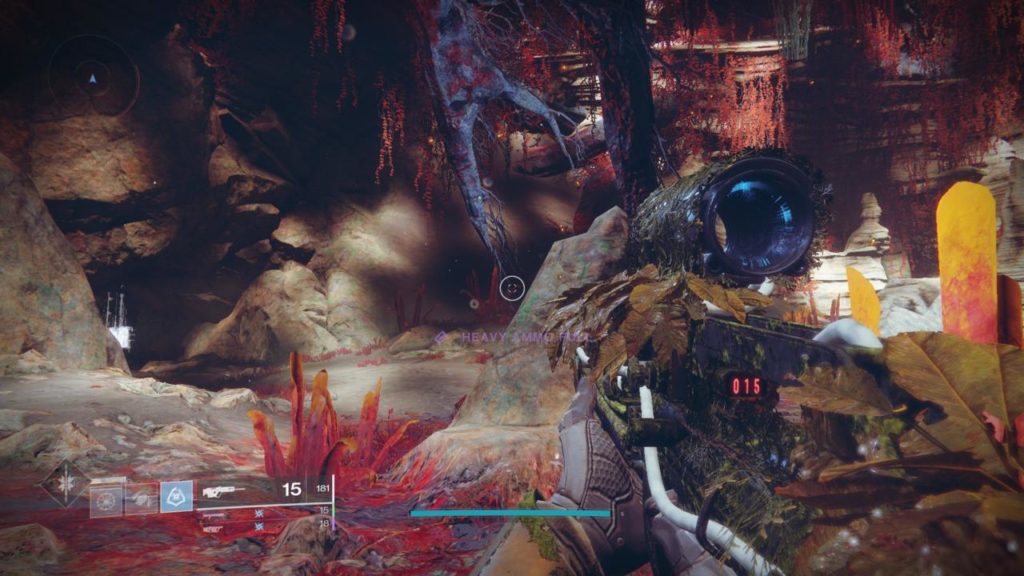
Step 4: Green Roots
As you move forward to the next meeting, you will again descend underground, to an area called undergrowth. Your next Divine Castle is here. Instead of following the path forward, follow the wall from the beginning that goes to the right, towards the large hanging tree roots. Jump over to one of them and look to the side farthest from you, to the cube, a little below your feet.
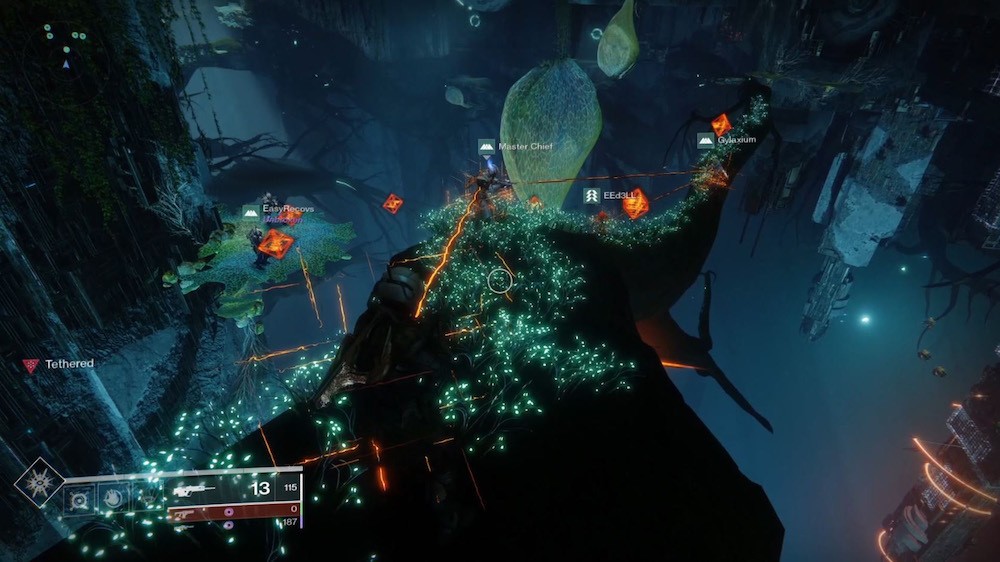
This puzzle sets the stage for a few more ahead of you, and it's different from what you've done so far. You need to create a chain that you need to run around the ring by passing it through all the orange locks. So the trick here is to make sure you position everyone correctly so that nothing interrupts the beam once you've made your circle.
Step 5: Chain Transfer
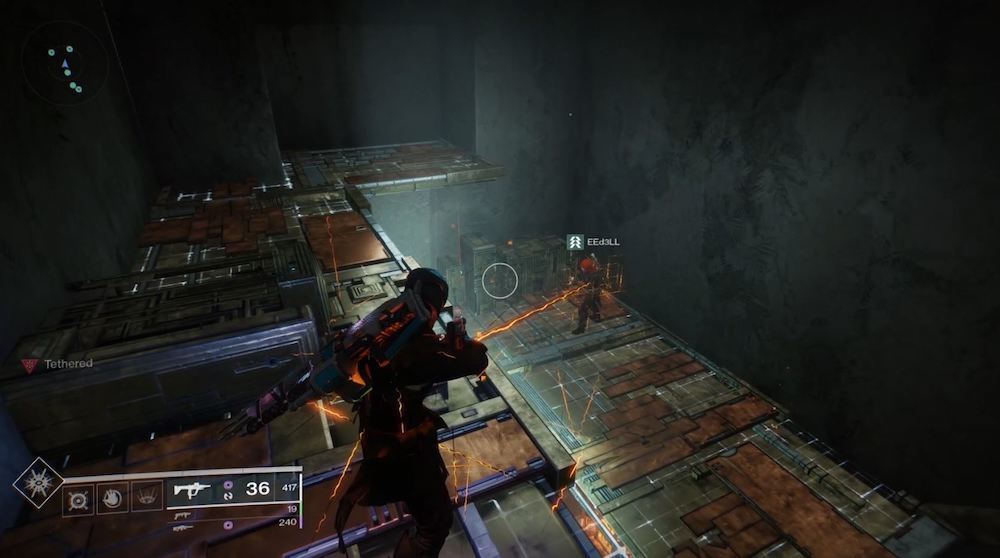
When you do this, do not leave the area. Look at the corridor without a floor. Just behind the ledge, you'll find another orange cube. Activating it will give you six more diamond-shaped locks, so just like last time, you will need to make a circle to activate them all.
It's a little tricky and finicky compared to other puzzles. The nodes are located around part of the Vex architecture, which means you need to get people on top to complete the circle without breaking it.
Be careful and make sure your team has enough space. To get the circle above the platform, you need one person to climb the high part of the spire while the neighbor stands on the lower part next to him. Eventually, you will need the person on the spire to jump back in coordination with the person on the bottom platform to get the beam to the other side of the pipe.
The most difficult part is to carry the bundle to another place. It's easier to jump on wobbly platforms, but you can also just walk around. When you get there, place yourself in positions and let the stream pass through all 6 castles.
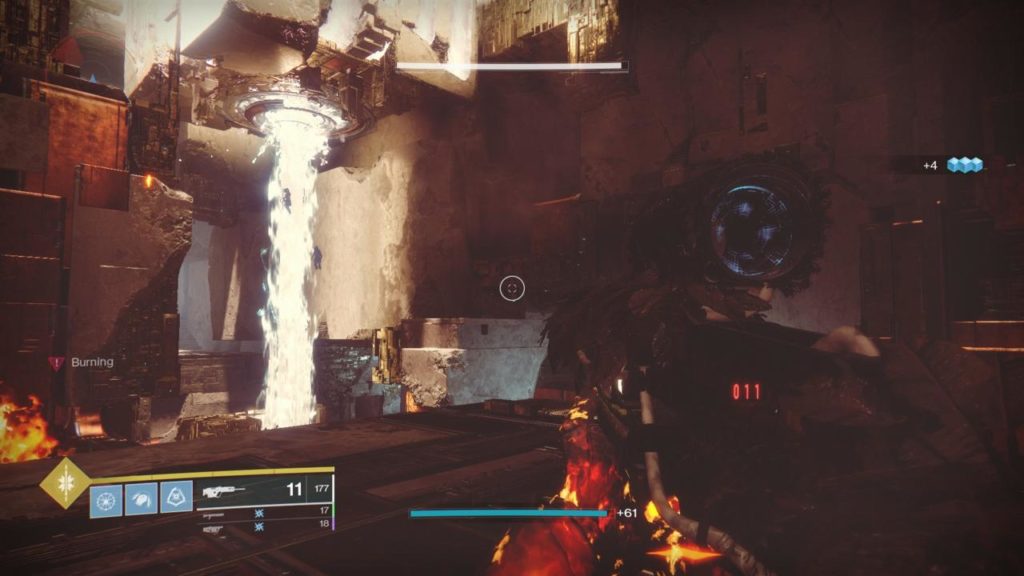
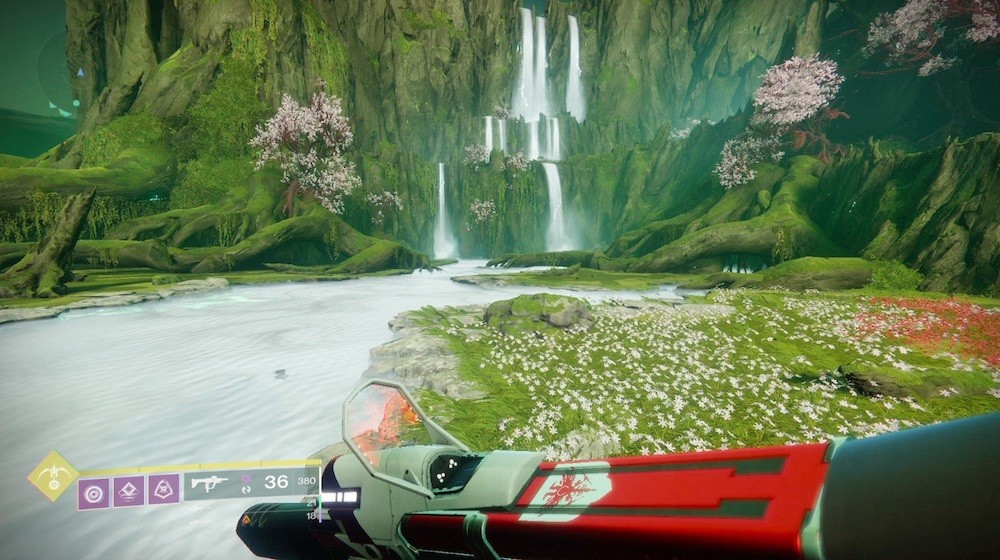
Step 6: Waterfalls
Keep moving forward to the last puzzle. You will eventually climb up the wall to an area with huge trees and waterfalls. Hidden between the waterfalls is a cave opening that you can slip into, which hides the final two puzzles of the Divine Quest.
As you progress towards the back of the cave, you will find a cube next to a series of six white crystal holograms and a castle next to them. Ignore the white crystals and the castle for now, as this is part of the last puzzle, but not part of the one you're working on. Instead, return to the cave entrance. You should see a tree root hanging from the ceiling above you against the back wall. Jump there and look behind him to find the right lock. It's hard to find, but once you find it, the solution is easy.
From the cube, use all six players to move the beam back to the tree's root lock. You may need to really stretch the ligaments for this. Just ask each player to move one at a time while tied to see how far they can get to the line break, and then have them stop at their farthest position. With someone close to the castle, you shouldn't have any problems completing this quest.
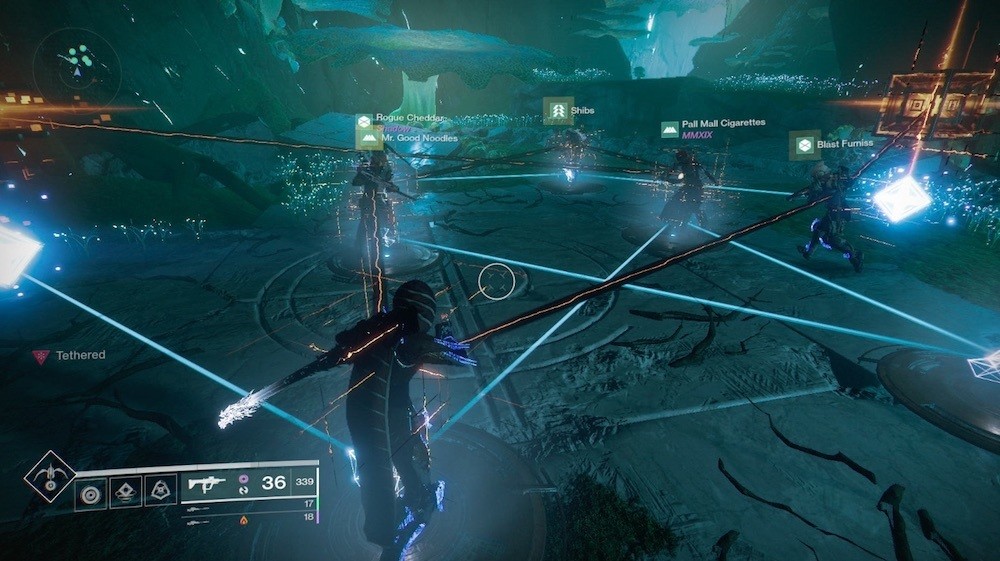
Step 7: The final puzzle
The last step is probably the hardest puzzle you will face. You are trying to bind to the last lock in the room at the back of the falls, but you will need to beam through each of the white crystal holograms. Start by creating a tether line (not a circle this time) from the cube, through each player, and out to the castle. Then arrange each person in order so that they stand on one of the white crystal nodes between the cube and the castle. You will need everything in the order they are linked.
Here's what happens: after a few seconds, the cube will generate a white line that will go through each of the white crystal nodes and then end at the lock, creating a pattern on the ground. Your job is to replicate this pattern by moving your team members around, matching your tether line with the white line that the cube creates, as Positional Simon's game says. It can be confusing at first as everyone is clambering around, but it's not too much of a concept once you figure out how to replicate it.
The solution to the puzzle is this: the cube sends its line through each node in the sequence, which means you can count them. From the cube to the first crystal comes the number 1, from this crystal to the second - the number 2, and so on. In the same way, number each member of your team in order when they bind, starting with the person closest to the cube. Every time the cube generates a line, person number 1 sees where line number 1 is and takes that position; number 2 takes the place associated with number 1; Number 3 takes place after 2; etc. To make this even easier, ask players 4, 5, and 6 to watch where the line from the castle leads. On this side, the first crystal associated with the lock is 6; the one associated with it is 5; and the next one is 4.
You will need to make six different models to complete the puzzle, and you won't have much time to do so, so make sure everyone is focused. After completing this step, you will see a message notifying you that security has been disabled. That's it - you've completed the Divinity quest, but before you get it, you still need to defeat the final boss of the raid to get the weapon.
Was the article helpful?
 Thank you very much!