If you're playing Halo Infinite on Legendary difficulty and you're caught in a boss fight, this guide will explain how to beat...
Halo Infinite - Legendary Bosses

If you're playing Halo Infinite on Legendary difficulty and you get into a boss fight, this guide will explain how to defeat the boss on Legendary difficulty.
Legendary boss guide for Halo Infinite
Weapons for maximum damage
1. Weapons
You might think that anything but a high damage impact weapon like a sniper rifle is useless. It is not true. Using two heavy weapons in battle does not guarantee success. The first key to defeating all these enemies will be, first of all:
- Kill normal enemies around as soon as possible
- Deplete boss shields: This is where the high damage per second (DPS) and accuracy of ranged weapons pays off. I'm not saying don't bring heavy weapons with you, but it's best to store them somewhere memorable so you can come back to them later. Remember also that you can constantly change weapons to transport more firearms to the boss area.
Weapons to use:
sentinel beam -That's right, it has a lot of ammo, good for killing normal enemies
Commando rifle - Accurate and instant removal of normal unarmored and armored enemies with a headshot.
machine gun turret - High damage, high DPS, no overheating, can stagger bosses all the time, depletes health of bosses well and prevents them from closing the gap
Power Cells - Ridiculous name. Use them like grenades, they will instantly kill all normal unarmored enemies, including direct hit critters, and save you from wasting valuable ammo, they are good for bosses too.
Dynamo grenade - Using them in combination with a heavy weapon like a rocket launcher or a hammer can mean the difference between getting into a corner with normal armored enemies or fighting at the last second.
Weapons to avoid:
Hydra - Don't worry about this weapon, its damage is ridiculous, its power is lousy. You will regret choosing it even over a pistol, even with a grunt.
Plasma Turret You will surprise the boss, but they will instantly overheat
All vehicles, except for the Scorpion tank - In several scenarios where you can access vehicles, none of them will last long enough to do anything. Cannot damage bosses, don't try to run away
Destroyer — Hand weapons, not effective!
energy sword Yes, don't use it. You might be able to land a few kills on normal enemies, but the lack of an area knockback effect like Gravity Hammer will mean a close encounter with something stronger than a fully protected elite that can turn you into a dead Spartan.
How to kill bosses
2. Bosses:
Tremonius - Difficulty: 6/10.
This fight will set the stage for understanding what awaits you. This fight is tricky because it's hard to predict which weapon he'll be using. It is best to always seek shelter, trying to keep your distance, taking jackals somewhere on the go. If you manage to destroy all the Jackals, you will find peace of mind, but this is not always possible.
Use the weapons in the room to lower their shields. He moves quite slowly, even with the impulses from his jetpack, they are predictable. But stay in cover… he has spikes and even a sniper rifle, and he knows how to use them.
Chuck Lok - Difficulty: 7/10
This will be your first test against an invisible elite opponent. Use your combat time wisely. I suggest you start evaluating the Threat Sensor if you haven't already. I did this without any modifications to the Hook, so you might find this fight a little easier.
There are many Energy Cells scattered throughout the corridors in this area, using them is best for you. Be careful when using sticky grenades, they are fast and can lunge at you if you get stuck. Luckily, it has a vertical obstacle, so a quick roof grab could save your life.
Bass - Difficulty: 8/10
This is your first hammer boss. This is also likely to be the first boss you think is impossible to beat. Don't stand still or move for too long, his hammer lunge is an instant kill whether or not you think you dodged it. If you see his feet lift off the ground, it's already too late and your fate is sealed. It's best to fire the first volley with heavy weapons from the start, and then instantly fight in one of the two rooms on either side of the room. If you're lucky, you can grab a battery along the way and fight back to the far end of the room facing the entrance. Your goal here is to put enough distance between you and him so that you can fire/load grenades at him when he enters the room to kill you. Before you get in range of the attack, run away, return to the room, and quickly repeat the process in the opposite room.
Assistant Resolution - Difficulty: 5/10
Luckily, there's something better. This is a normal boss fight, he won't be happy and you will have to kill him. Hide behind cover, fire his weapon, and stick a grenade in his eye socket as it flies out. Avoid his charged eyes.
Tovarus and Hyperius - Difficulty: Almost Impossible / 10
This fight is going to be like hell, be prepared for some hardship.
The best way to start this fight is to get one of the ghosts from the AA gun emplacements. This one will give you a tactical advantage if you keep your distance and try to engage one of the two bosses, specifically Chopper. If you manage to destroy his car, you can easily kill him, but at the same time, you should avoid the other boss as much as possible. Once you get rid of the first boss, try to clear the area of normal enemies so you can focus on the flying boss. If you're still holding the wraith, take advantage, its quick shots will give you the advantage of lowering your shields, and its movement will allow you to dodge all bomber attacks. If you lose a vehicle and the boss is low on hit points, you can try to approach the Warthog in the ruins and use his turret to finish him off, the vehicle will survive a few explosions.
Helper's Solution (again) - Difficulty: 7/10
He's back and wants revenge. Pretty standard again, only he has friends... Your best bet is to grab a Shock Rifle or a Sentry Beam and use them to shoot at the approaching enemies. Don't let them build up, prioritize them as soon as you see them. Once again, stay behind cover and use your grapple wisely for cover. Remember the places to reload ammunition. Be careful with their rocket attack, even from cover you can't be immune from damage. An acceptable strategy might be to use final shots to destroy one of his limbs when he launches a rocket attack, as he will hopefully disable it before he can rip you apart.
Jega' Rdomnai - Difficulty: 8/10
Hope you improved your hook. This enemy is difficult to see even with a sensor, it can completely disappear. This will test your ability to hear. Energy Cells work well, as they do in Chuck Lock combat, although they are rare. This opponent seemed especially vulnerable to high DPS weapons when his shield went down. Shotguns, grenades, rockets - anything that has AoE damage will help to reveal it, stagger and lower shields. I think in most cases you will run away from him. When you hear his footsteps, stick to the farthest wall and try to find him. There is no high ceiling here, so be careful when trying to step over it. Descending levels can be the key to escape and respite.
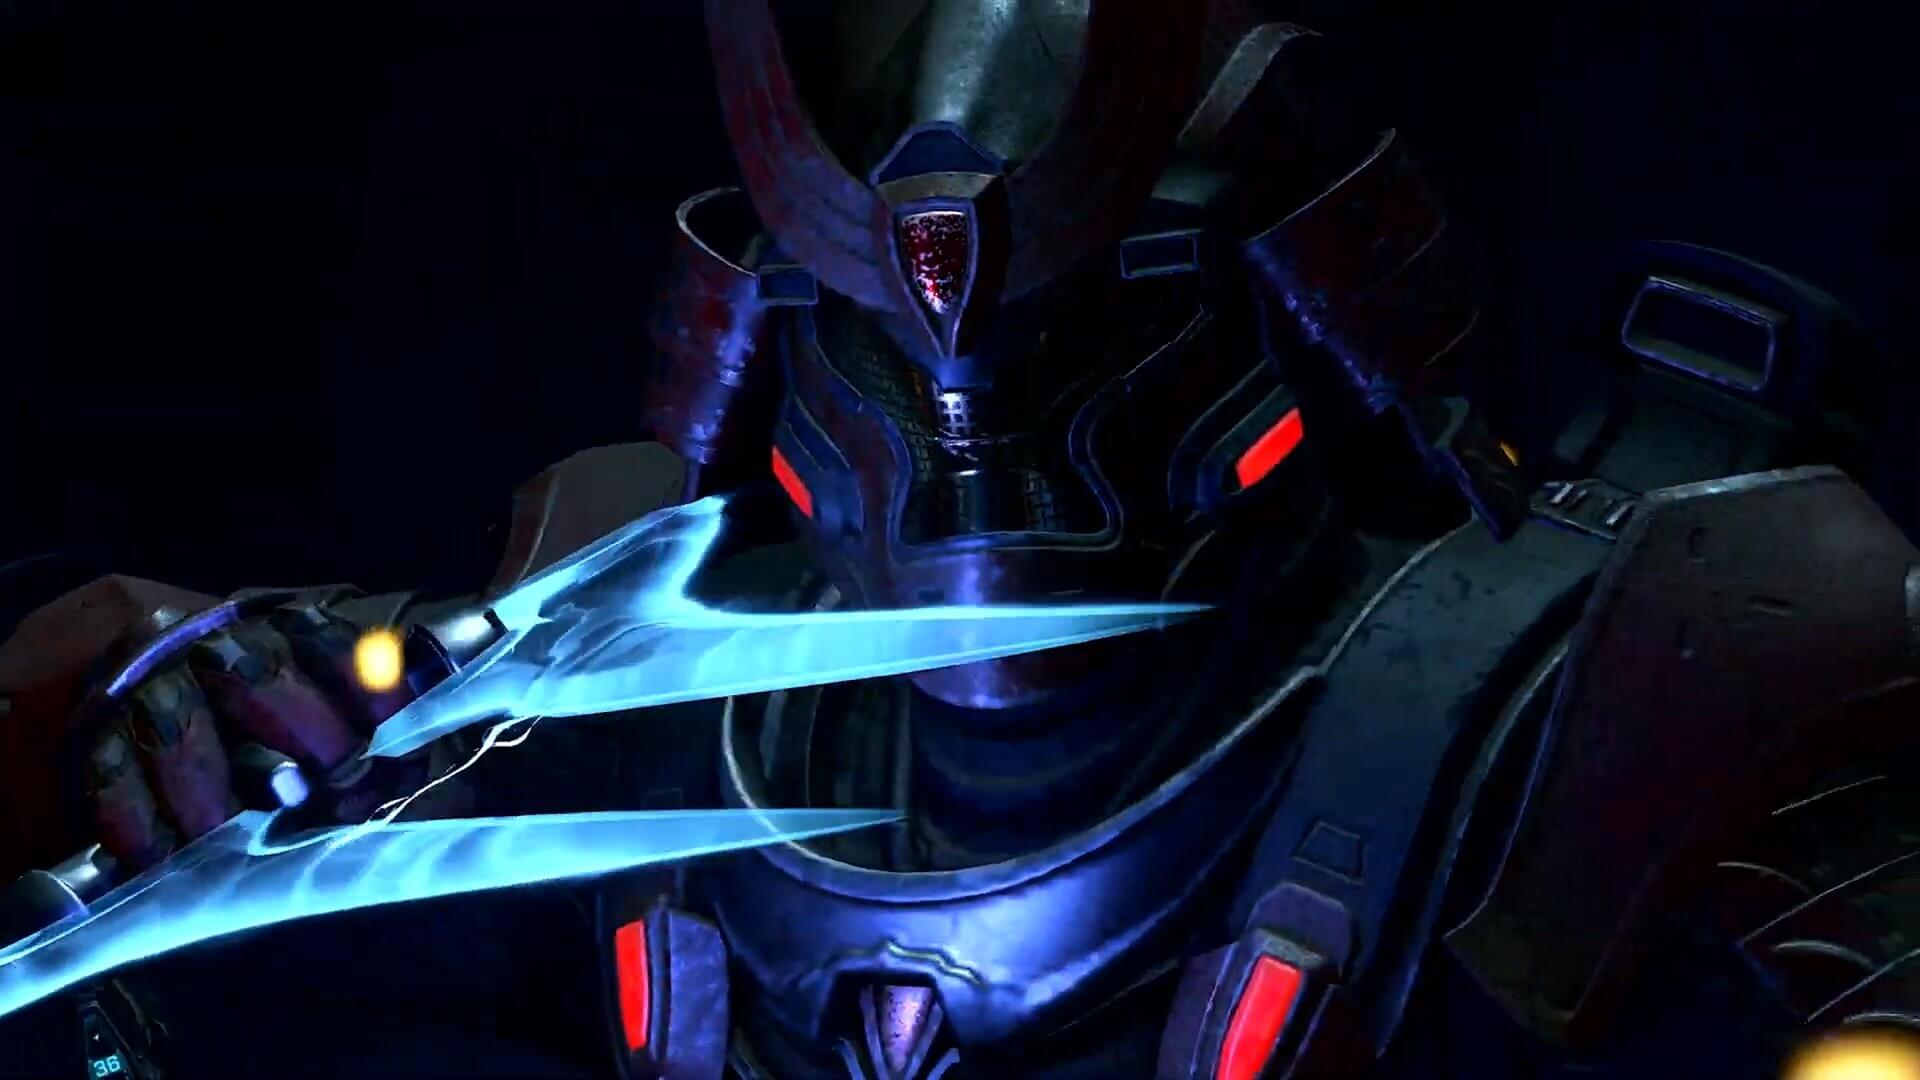
Escharum - Difficulty: 9/10
It's time. You've heard his voice too many times. Your new AI will help you find its weaknesses. I suggest keeping heavy weapons in reserve until the end of the battle, after you destroy their shield generator. Must have a skewer. Use any means to damage him as much as possible at the beginning of the battle. Once your shield generator is online, swap out your weapon for something profitable like the Pulse Carbine to fire at the planes. The moment his shield drops temporarily, hit him with the best heavy weapon you have. Try to keep the grenades for yourself, you will need them for the power move.
Once his last reactor has blown up, get in a good position to slam as many grenades into him as he staggers around. Then run! For those of you who have improved things like evasion, this might be easier. However, I did it with only a slightly improved grapple and threat sensor. Once you get him below XNUMX health, it's time to finish him off. Find a machine gun turret, it will be in a section of the corridor opposite some junk. Make sure you are at a safe distance and open fire. This will permanently stop him and hopefully he will use up all his remaining life points. Then steal his hammer and keep it until you meet the Herald.
Herald - Difficulty: 10/10
You are not yet a legend, the battle is not over yet.
This fight will test your patience. Bring a rocket launcher if possible, and I hope you brought Esharum's special hammer. The common enemies you have to fight while fighting the Herald are terrible in and of themselves. It might not seem that bad, first a wave of light and then a second wave from a handful of elite, brute and skimmers. However, this is the second wave that you will spend the most time on.
Start the battle by killing the first wave, they will be typical enemies. There are several supply racks in the room that hold "Heat Wave", DO NOT USE THEM (don't use Esharum's hammer either!) At least not on the first wave of enemies, they are too valuable and should be used on the Herald. Instead, get your enemies close enough to the supply racks that the moment they all die, you can immediately trade your weapon for Heatwave while still carrying the Hammer of Esharum. The moment the last enemy in the first wave is killed, the Heralds' protective barrier will fall. Shoot him as many times as you can with Heat Wave until his shields are down, then beat him back. Now for the second wave.
It's difficult. Your number one goal is to kill all enemies except for the beast protected by the hammer. Wait for one of the doors to open, kill the enemies inside by any means and hide in it. Drop your shield and wait for them to come, they will come quickly. The moment you see the speeder, throw a grenade, whatever. They will devastate you with their own Dynamo grenades. There is no easy way to take out all these enemies, just beware of the protected beast and beware of the elite who have a sniper. Once the beast is left alone, hopefully your game will be saved. I've found that the best way to kill him is to aim a sentry beam at him, step off one of the platforms as soon as he reaches you, make him jump to follow him, and then quickly grab him again. He will have to escape the ramp again to follow you, so shoot him and repeat the process.
Now that the beast is dead, quickly use Heat Wave again on the Herald, this time using cover to avoid its ranged attack. As soon as he swings, finish him off with a hammer.
That's all we're sharing today with Halo Infinite - Legendary Bosses, feel free to leave a comment below!
Was the article helpful?