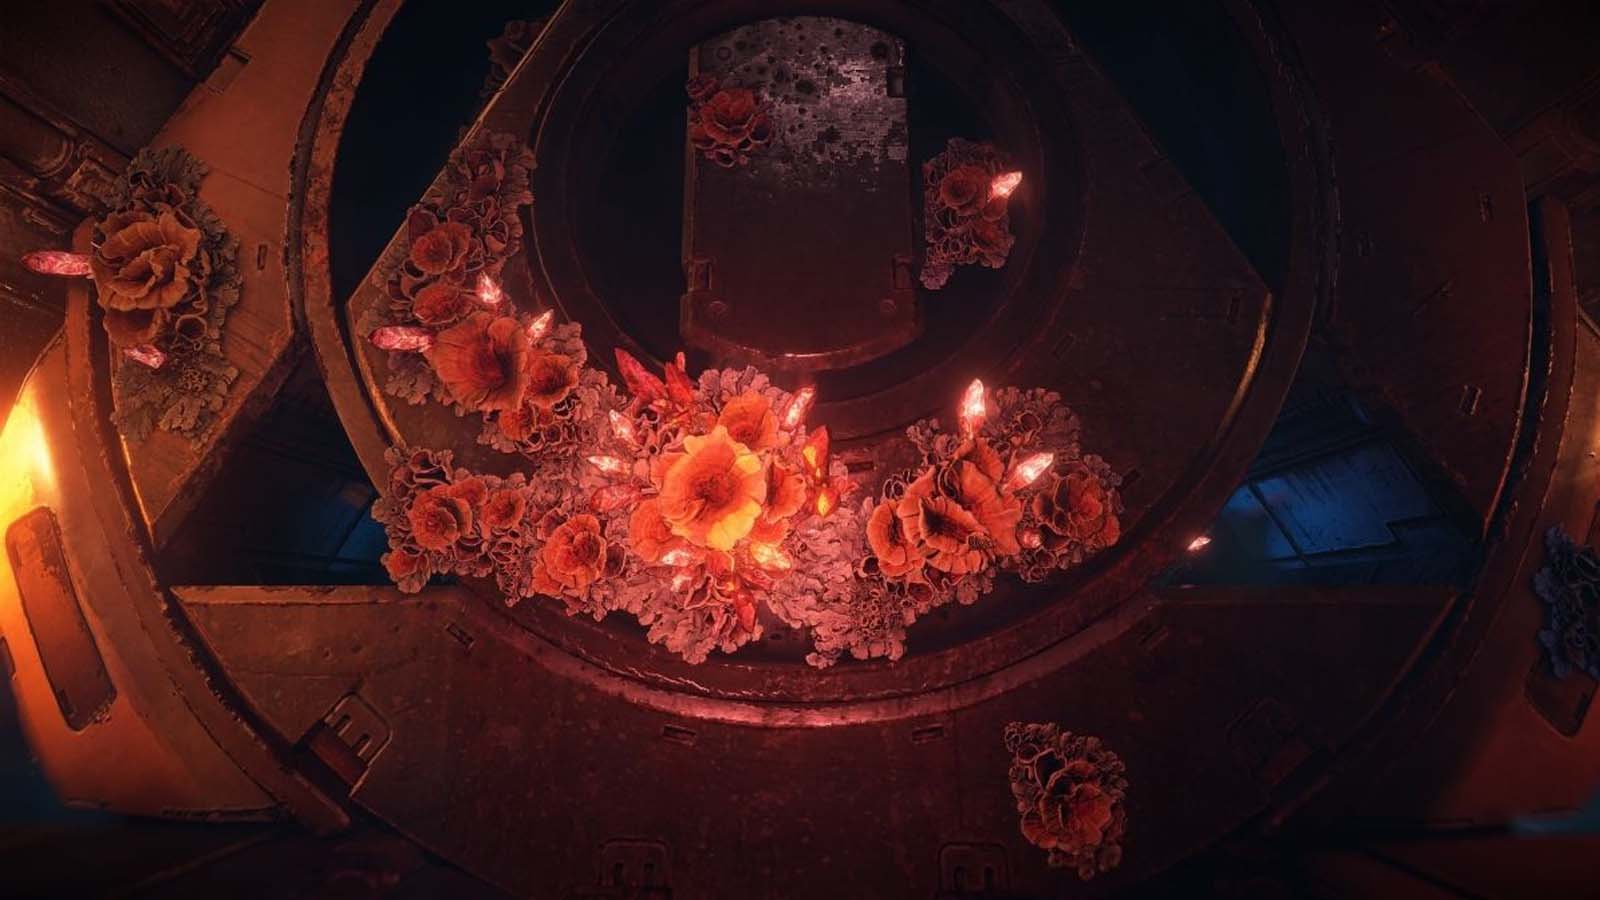
While playing Horizon Forbidden West, players will encounter red crystals known as Fire Glitter. Here is a guide to help you...
Horizon Forbidden West Broken Sky Walkthrough

Walkthrough of the story mission "Broken Sky" in Horizon Forbidden West.
Job level: 17
Demand: Automatically starts after completion earth eye
Reward: +8500 XP, +2 skill points, +1 Tenakth Conqueror
Broken Sky Walkthrough Horizon Forbidden West
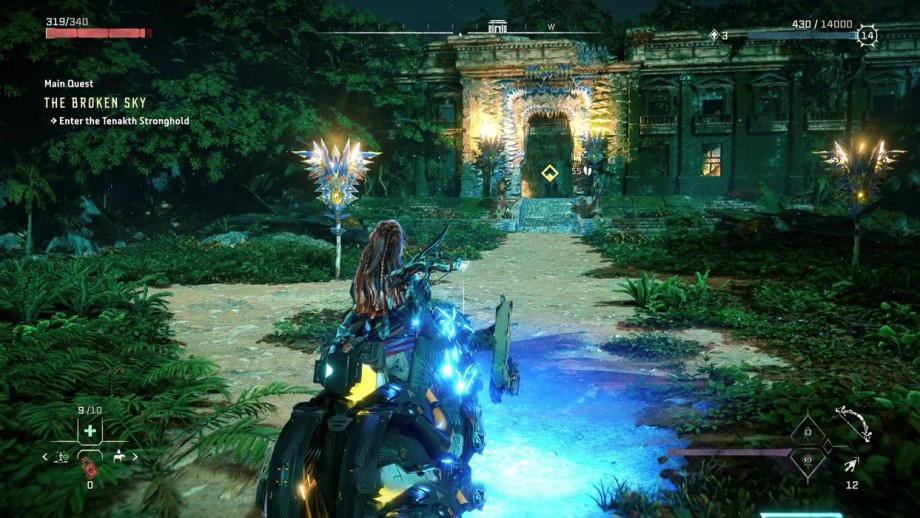
Make your way to the AETHER coordinates, scan and engage or ignore the vehicles. At the location, approach the guards at the entrance to trigger a cutscene.
Follow Decca to the throne room to speak with Chief Hekarro. If you like, you can go to the hologram to learn more about the Visions. When you get to the throne room, select "I'm ready to see the chieftain" when prompted. During the cutscene, Aloy learns the whereabouts of AETHY, but Chief Hekarro asks Aloy to help protect Kulruth, the society of the clans, and in return he will grant her access to AETHY. It's time to head north to convince the Heavenly Clan to cooperate with the chieftain.
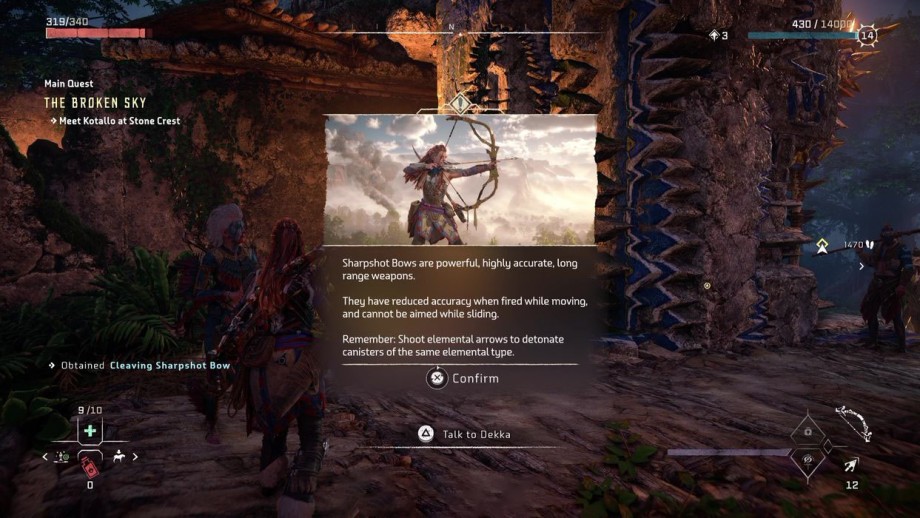
Exit the throne room and return to Decca at the fortress entrance to continue. She will give you a new weapon to help you on your mission, the bow cleaver.
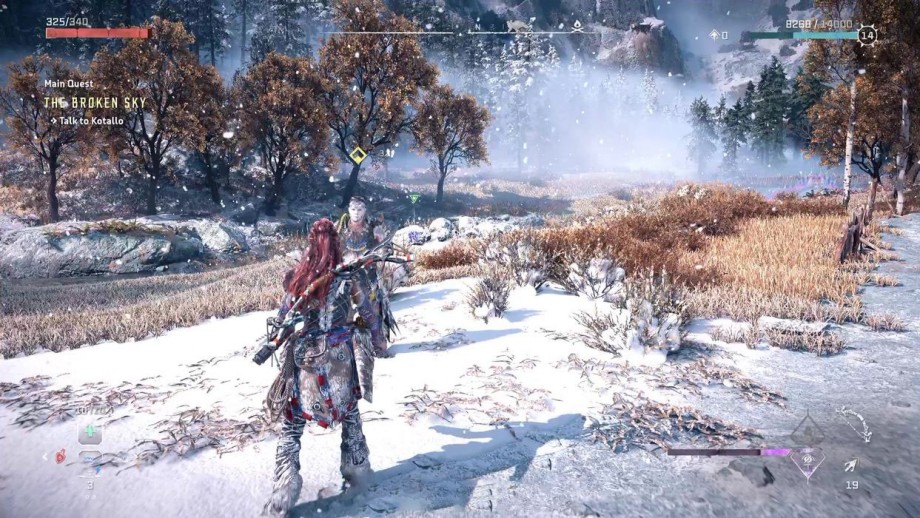
Head to Stone Crest and, as usual, scan for any new vehicle along the way and engage or ignore it. On the spot, you will be distrustfully granted access to Stone Crest. Once the two guards give you access, use the wooden scaffolding to travel to the center of the settlement and then join Cotallo at the cliff. Follow Cotallo to continue on your way.
When you follow him, you will have the opportunity to kill the Regalla rebels. Rebels are weak to acid, so use acid arrows to get rid of them quickly, especially those with a laser shield. When you reach your destination, talk to Cotallo.
Once you gain access to the Bastion, continue to follow Cotallo. Once you get to the top, talk to the standing guard. He will give us access to Tekotte's throne room. Tekotteh is unwilling to send his rivals to help Hekarro, and will only do so when the walls of the Bastion can no longer hold. However, Aloy has a back-up plan: destroy Bastion itself to convince Tecotte that maybe he should change his mind!
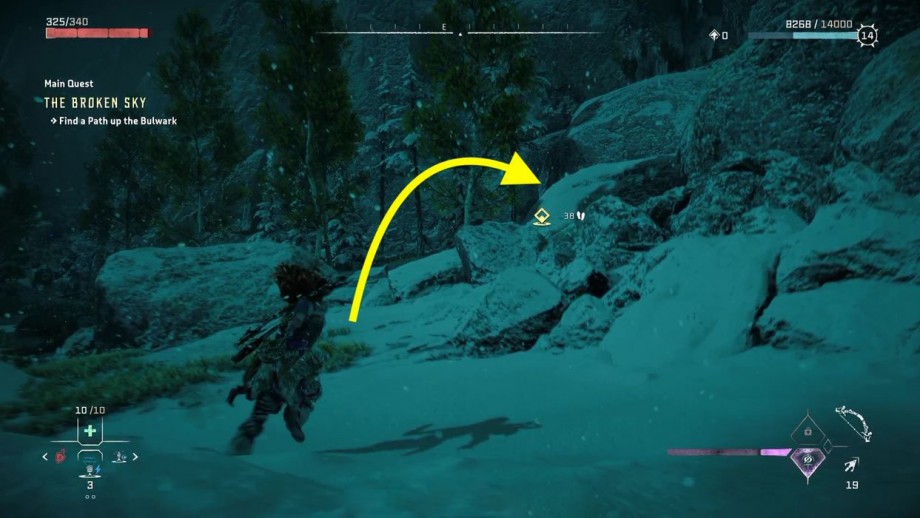
Go back where you came from to the bottom of the elevator you used to enter Bastion. Just a few meters north of the ski lift is the Observation Deck. From the vantage point, activate your Focus and look for the orange ancient debris. Look at the screenshots below for the location of the map and the object to select with Focus.
It's time to climb the Bastion. Approach the new quest marker and climb the wall (use Focus to see the yellow climb points), then open the stone wall to continue.
Continue down the passage until you reach a frozen lake. From here, activate your Focus to scan the ancient debris again. It's time to return to Cotallo to tell him about our findings. Return to the observation point where Cotallo is waiting for you and talk to him.
Now we need a cannon to get to this wreck. Some rebels stationed in the north might have what we're looking for. However, this is no easy feat, as the cannon we need is part of the Tremortusk, a giant elephant-like machine whose main weakness is Frost.
First, stay in the grass and get rid of any rebels unnoticed. Ideally, you don't want to scare the Tremortusk. Once you've got rid of all the rebels, we need to take care of Tremortusk.
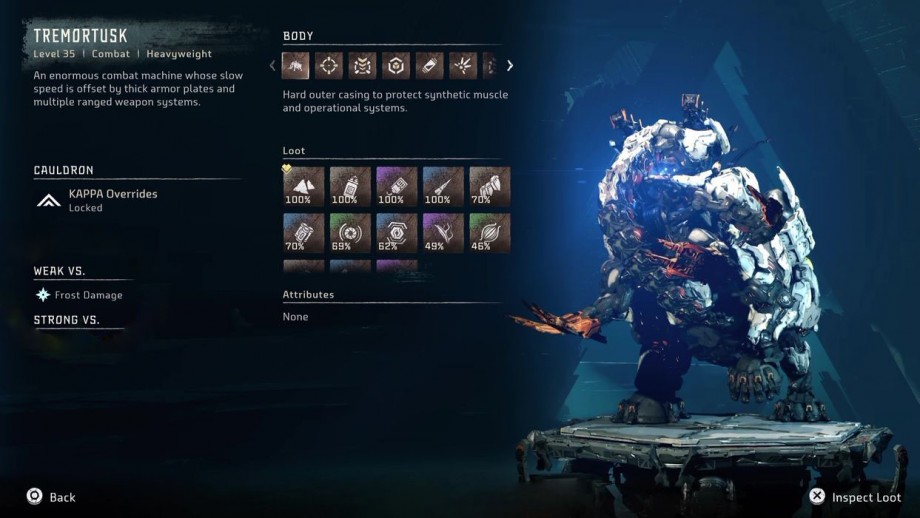
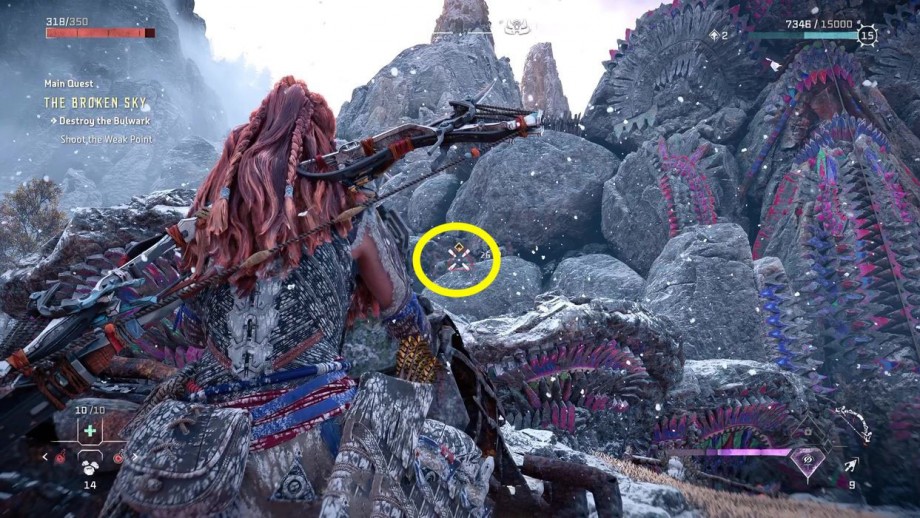
Since his main weakness is Frost, you may prefer Frost Blastsling. Try to sneak up on him, and once you're close enough for Blastsling to hit him, drop whatever bomb you have. Once you weaken him, finish him off by shooting arrows at his weak spots (highlighted in yellow). Another great way to deal significant damage to the tremorfang is to place a Precise Tear Arrow in its fire sac (the bottom of the tremorfang) well. Now finish off all the remaining rebels.
Now approach the Tremortusk to pick it up, including the cannon. Cotallo will volunteer to return the cannon to Bastion. Return to Bastion. Take the cannon. Aim at the weak spot indicated by the quest marker. Shoot the weak spot multiple times to trigger a new cutscene. Tekotte will now surrender and send his rivals to Kulruth.
Was the article helpful?