This guide to achievements in Pathfinder: Wrath of the Righteous is a list of available trophies and achievements. Meet the requirements for each trophy to complete…
How to Customize a Custom Portrait in Pathfinder: Wrath of the Righteous
Character creation in Pathfinder: Wrath of the Righteous offers you several options to help you create a unique look. This includes new portrait pickers as well as artwork from kingmaker. If you weren't given default options, you can always add your own. Here is our guide Pathfinder: Wrath of the Righteous, which will help you create and use custom portraits for the character creation system.
Note: For more information check out our character creation guide to help you get started.
Pathfinder: Wrath of the Righteous – How to use custom portraits
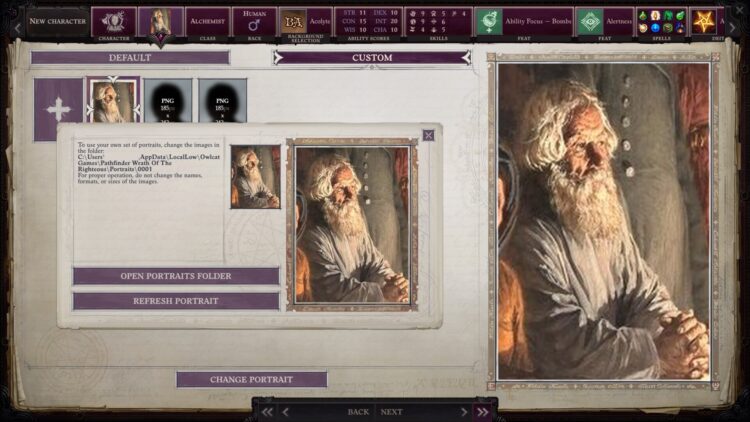
When you go to the portrait panel in the creation system characters Pathfinder: Wrath of the Righteous,you will see two choices for "Default" and "Custom". Click on the latter and you will notice a "+" icon. This allows you to create new custom images in separate folders.
Navigate to "C:\Users\ \AppData\LocalLow\Owlcat Games\Pathfinder\Wrath of the Righteous\Portraits\ The numeric part indicates the specific set of images that belong to the folder (i.e. "001" is the first custom portrait you have).
If you open this folder, you will see three files: fulllength.png, medium.png and small.png.
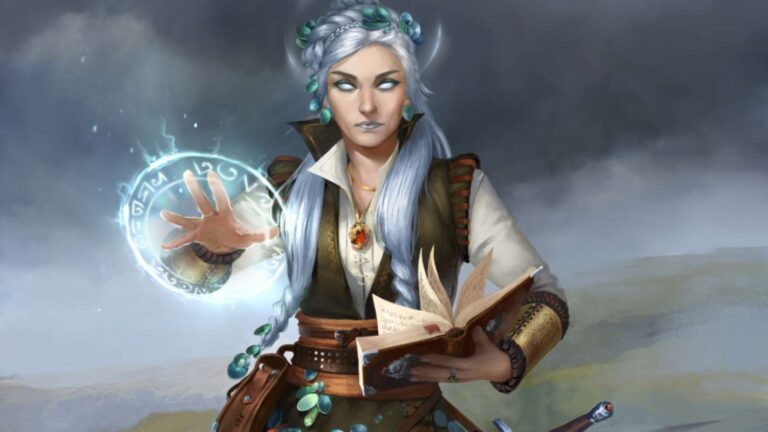
Then find the image you want to use for your custom portrait. In my case, I just searched on Wikimedia Commons photo of the "sorcerer" until I found something that I liked.
Open PNG files with a program (i.e. Paint.net), copy the image you want to use and paste it there. Save it when you're done and don't forget to make sure the dimensions are still correct.
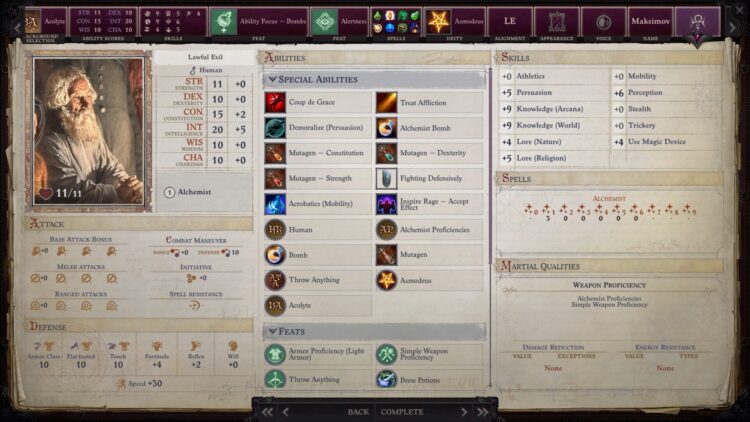
On the character creation screen, click "Update Portrait". This will show the photo you just purchased. Choose the race and class of your character and get ready to go on an adventure.
Note: To avoid errors, make sure you only open the default PNG file and paste your custom image there. If you just rename your custom image file to something like "fulllength.png" it won't work.
Pathfinder: Wrath of the Righteous available through Steam.
Was the article helpful?