

Passage of the game Lost Lands 9: Tales of the First Brotherhood 100%. All the secrets, puzzles, mini games, collectibles and achievements in one place...
Kingdoms of Amalur: Re-Reckoning Walkthrough, Guide, Guide

Prologue
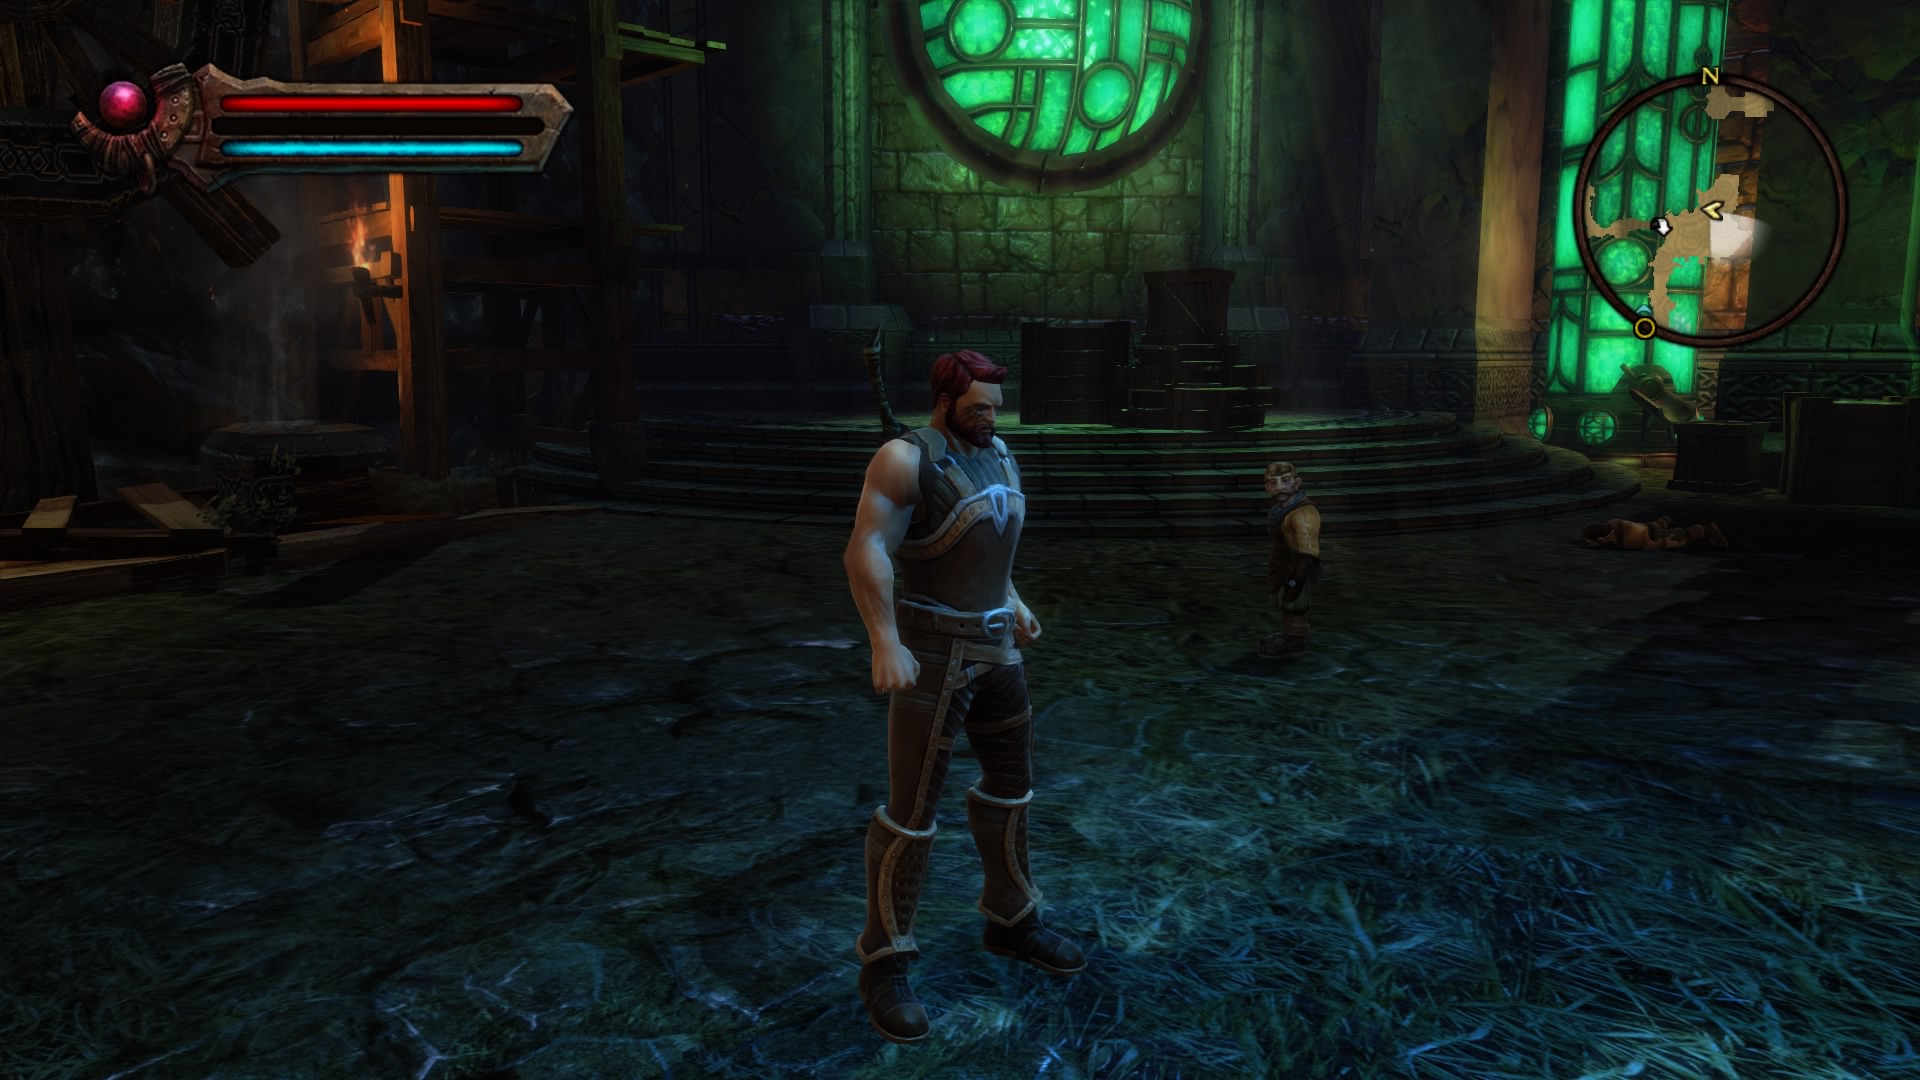
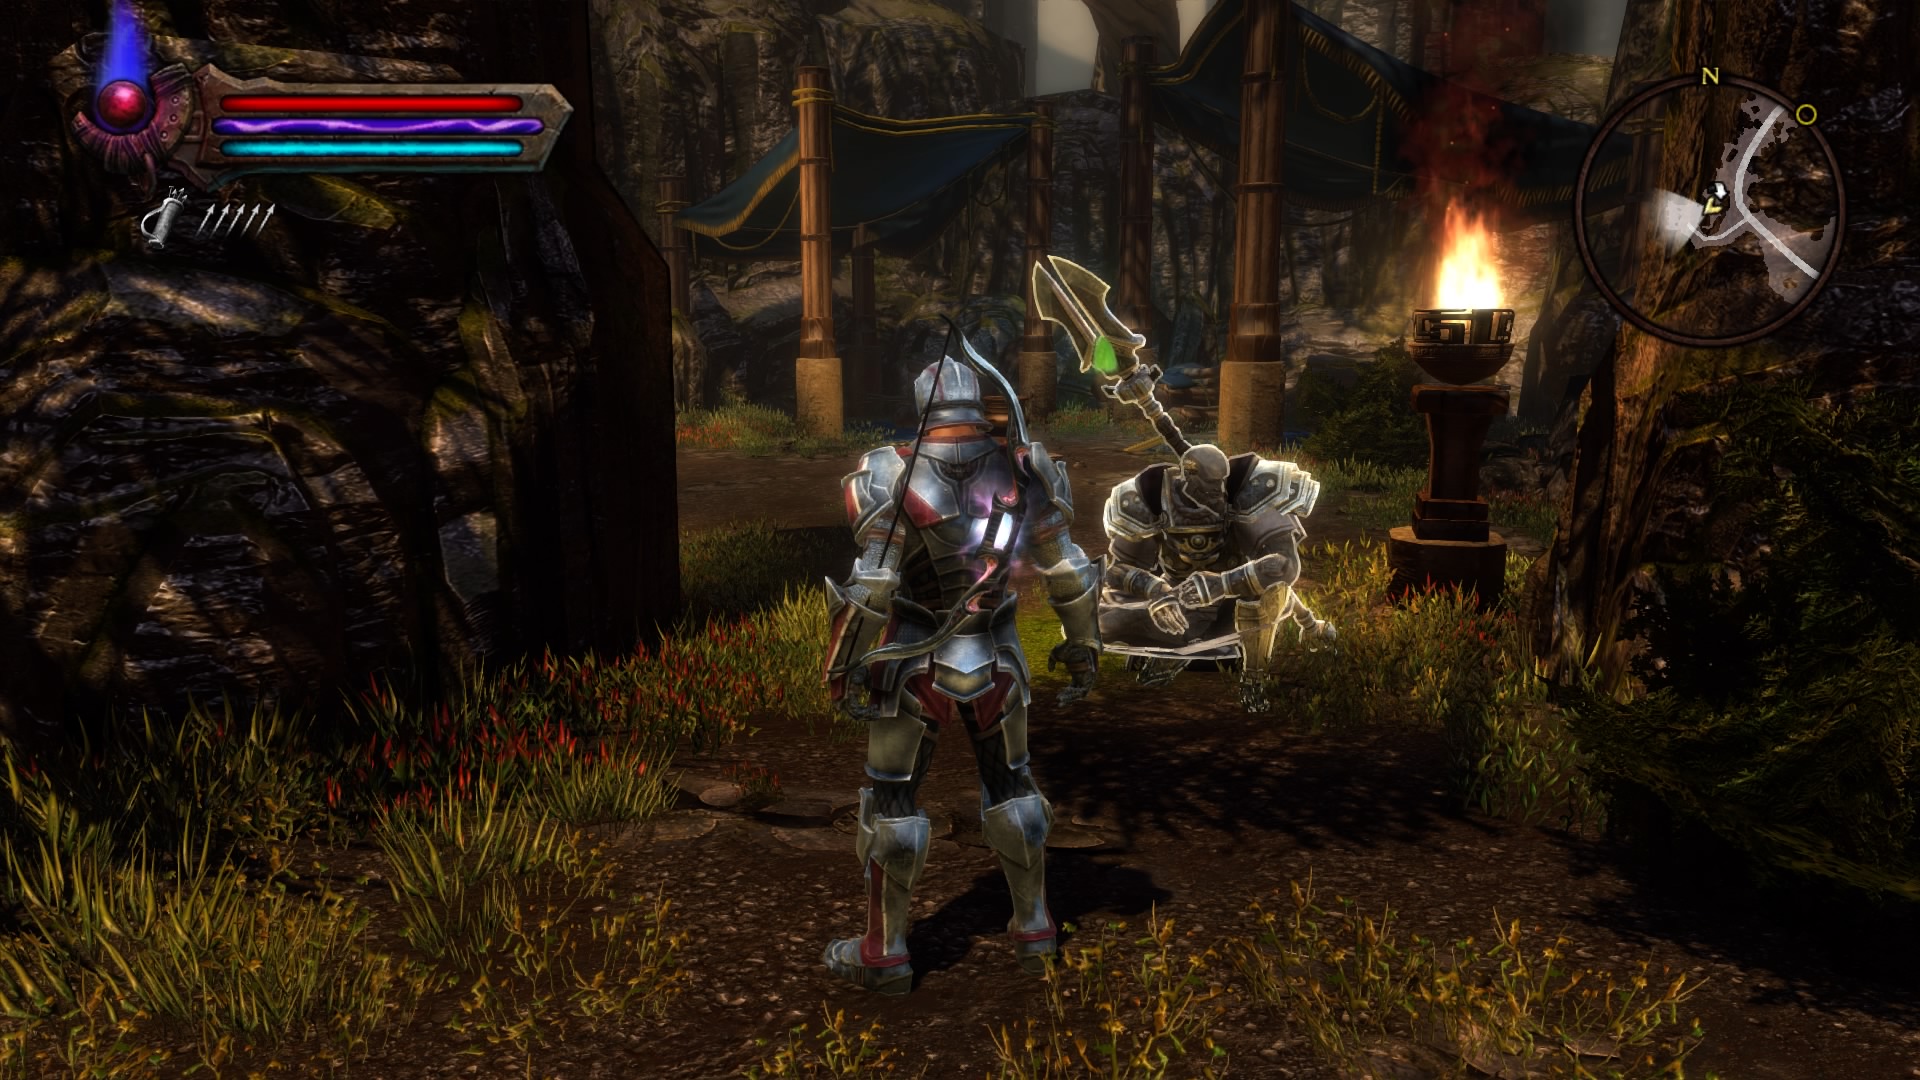
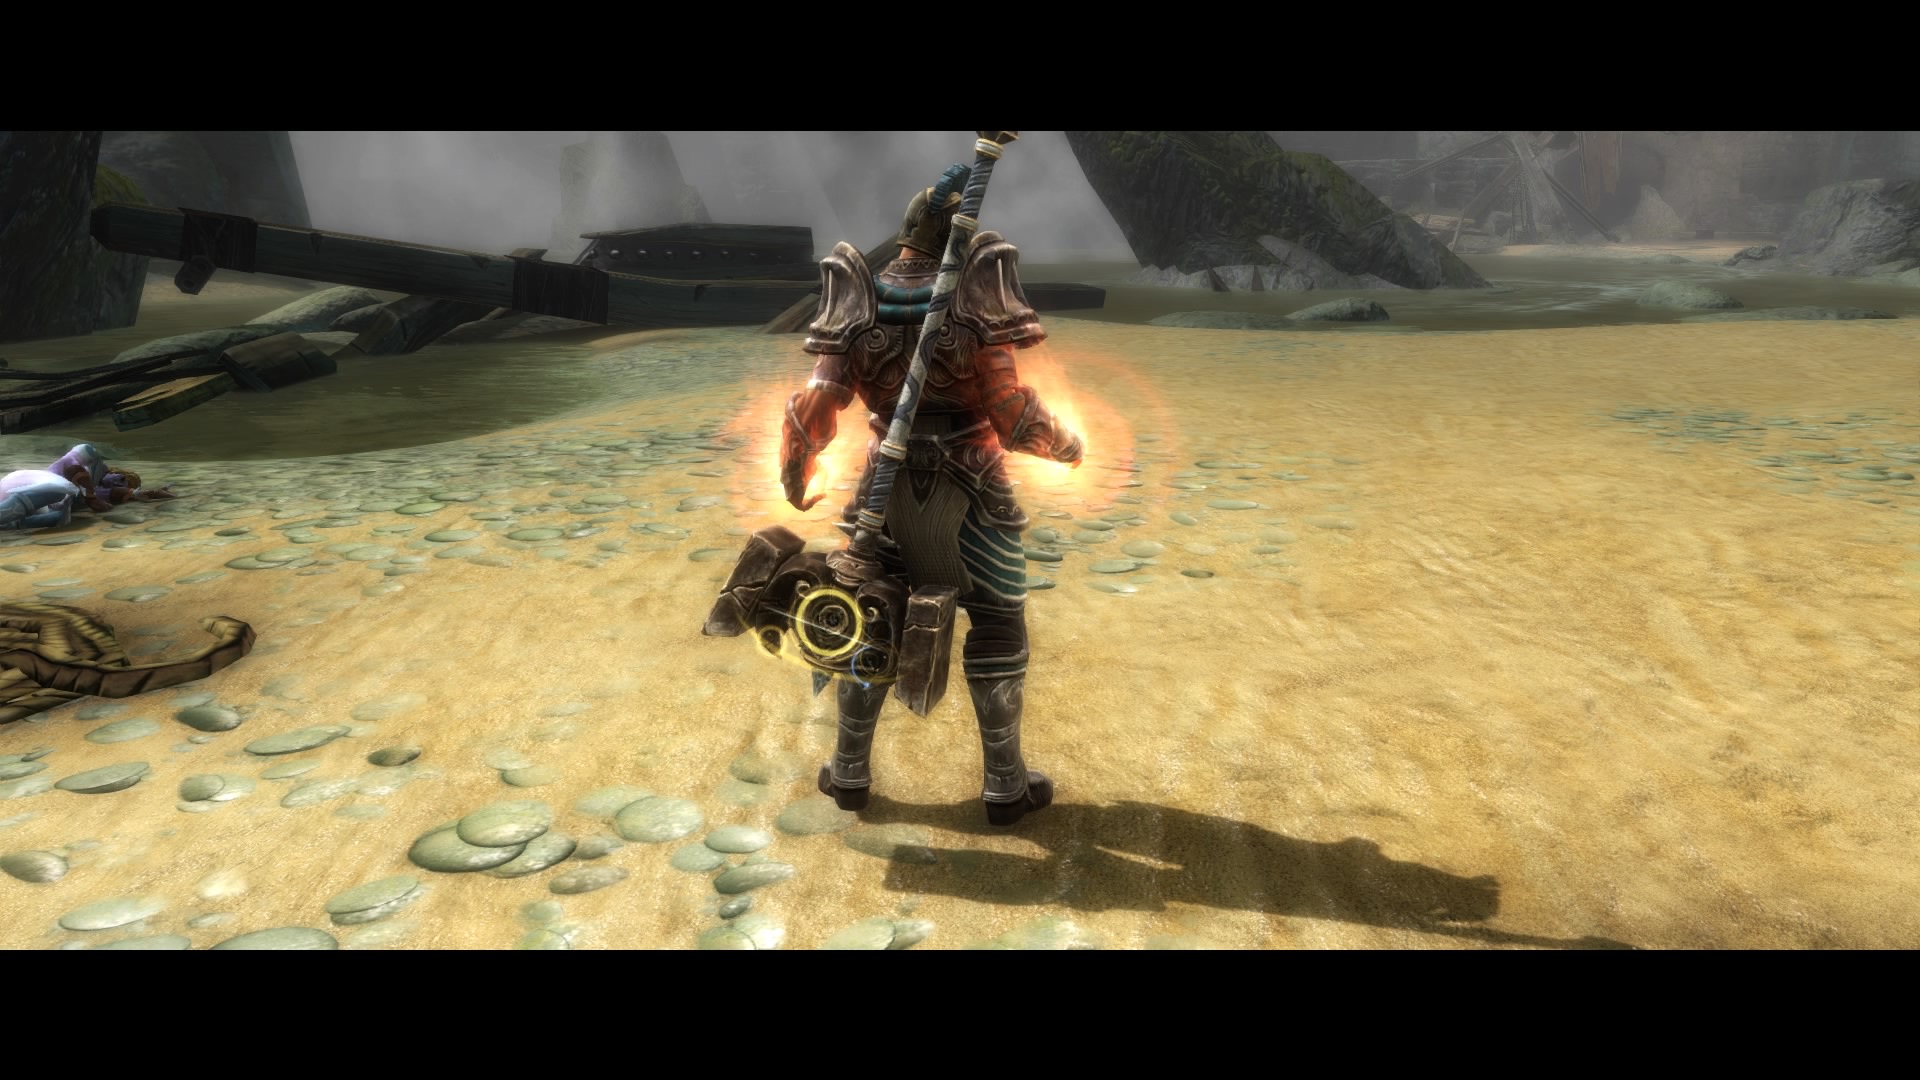
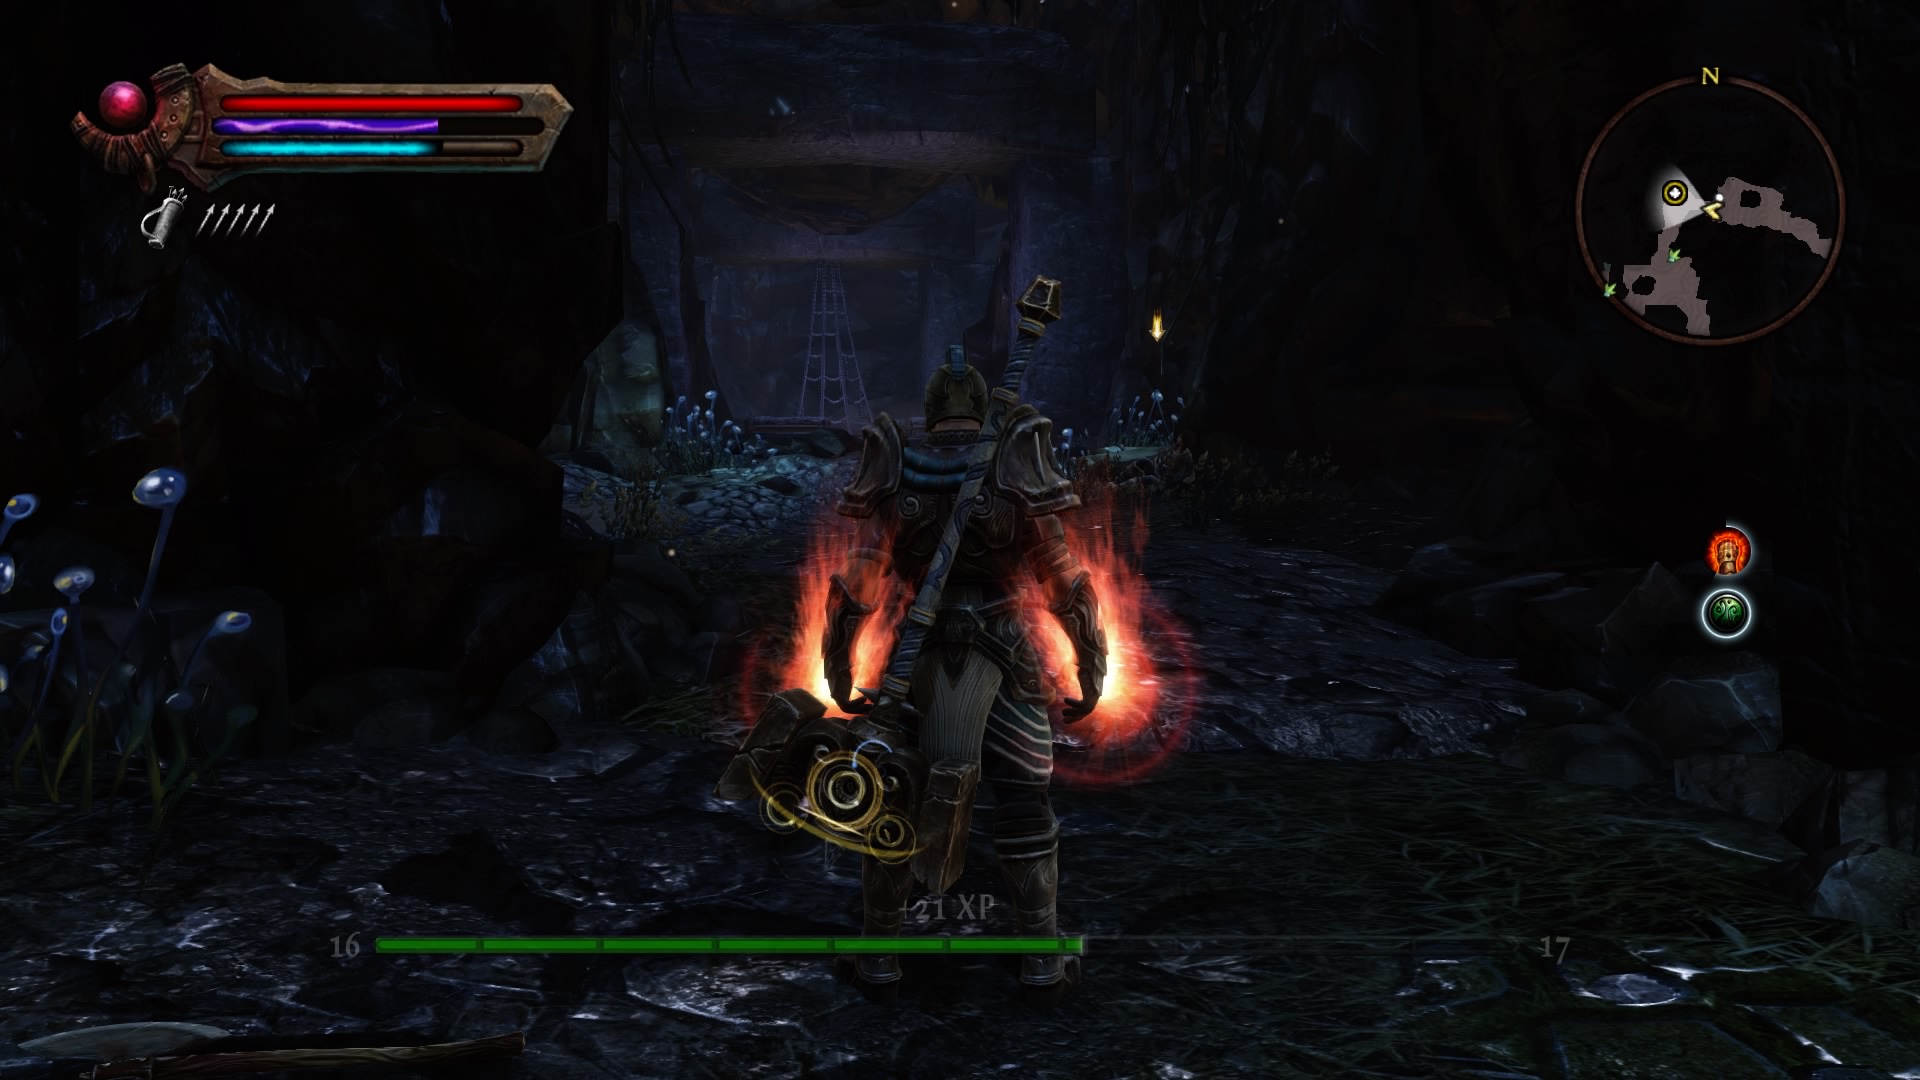
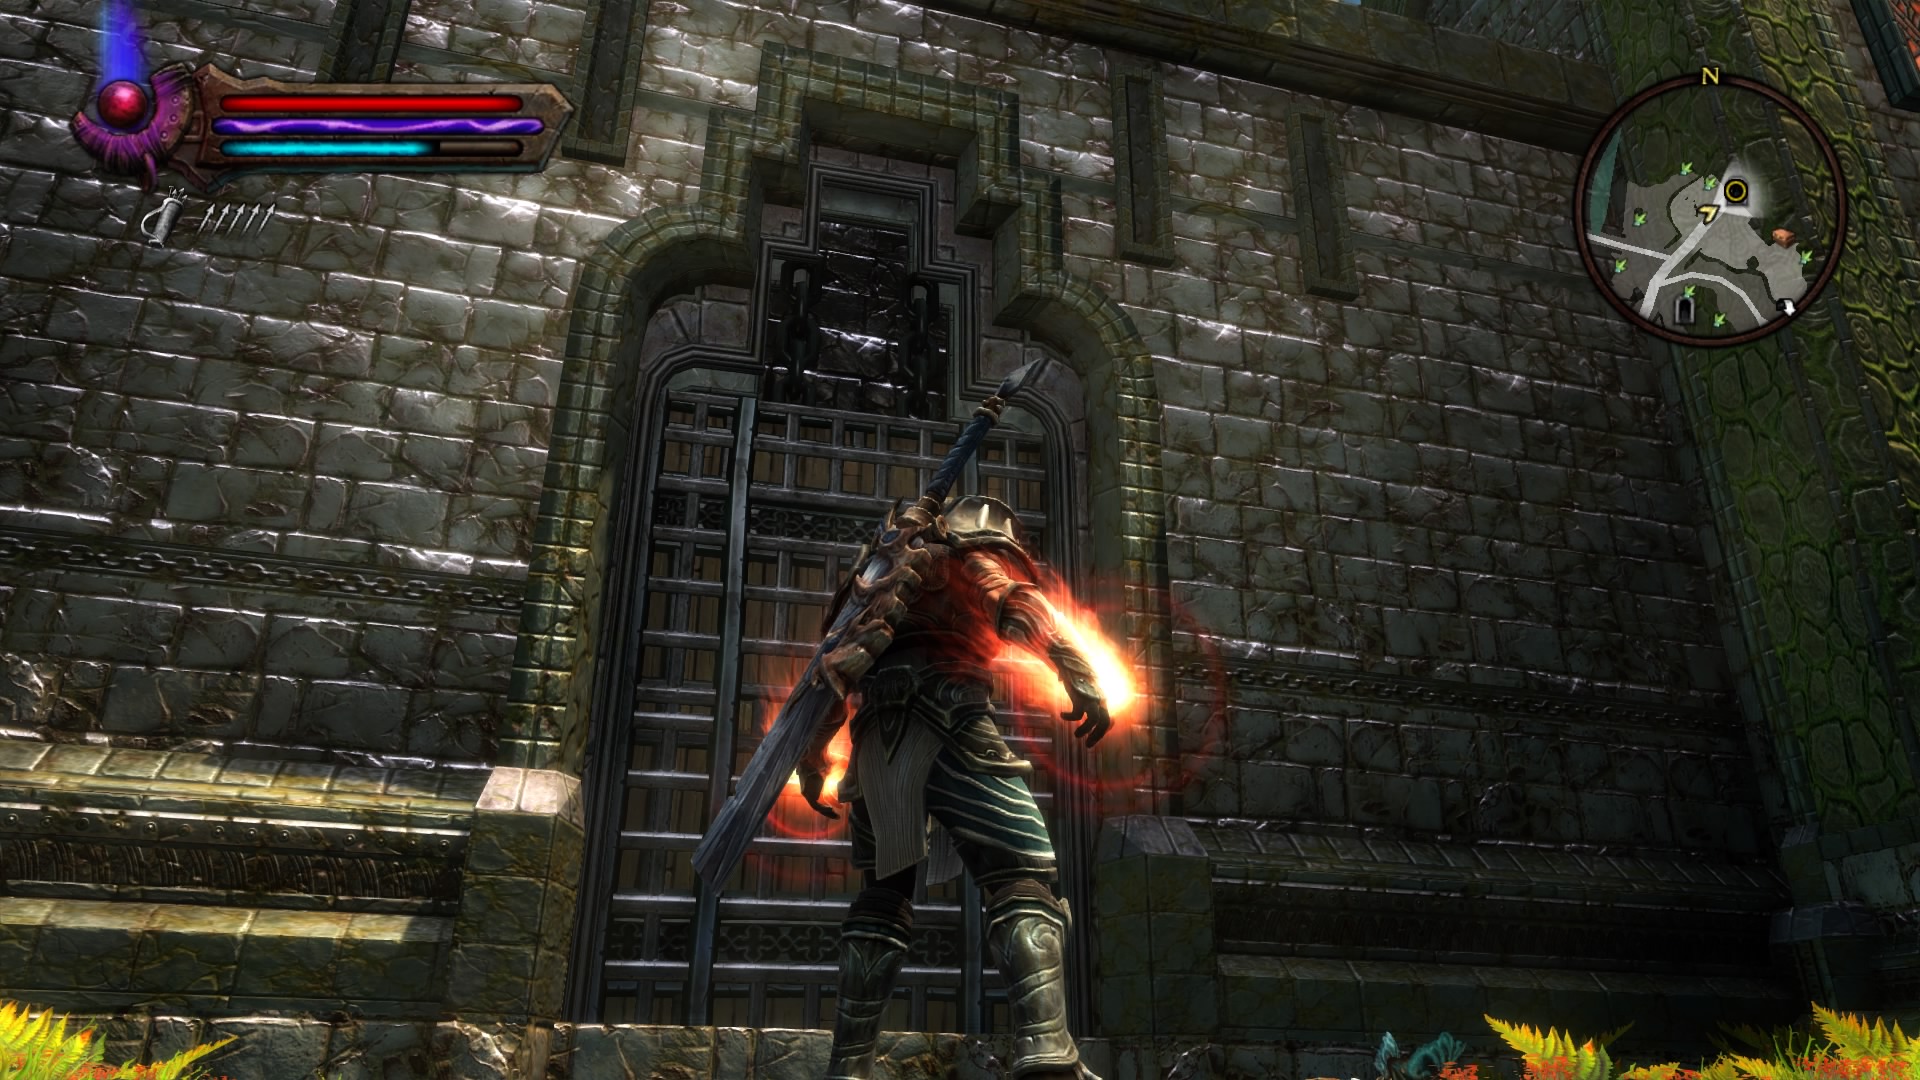
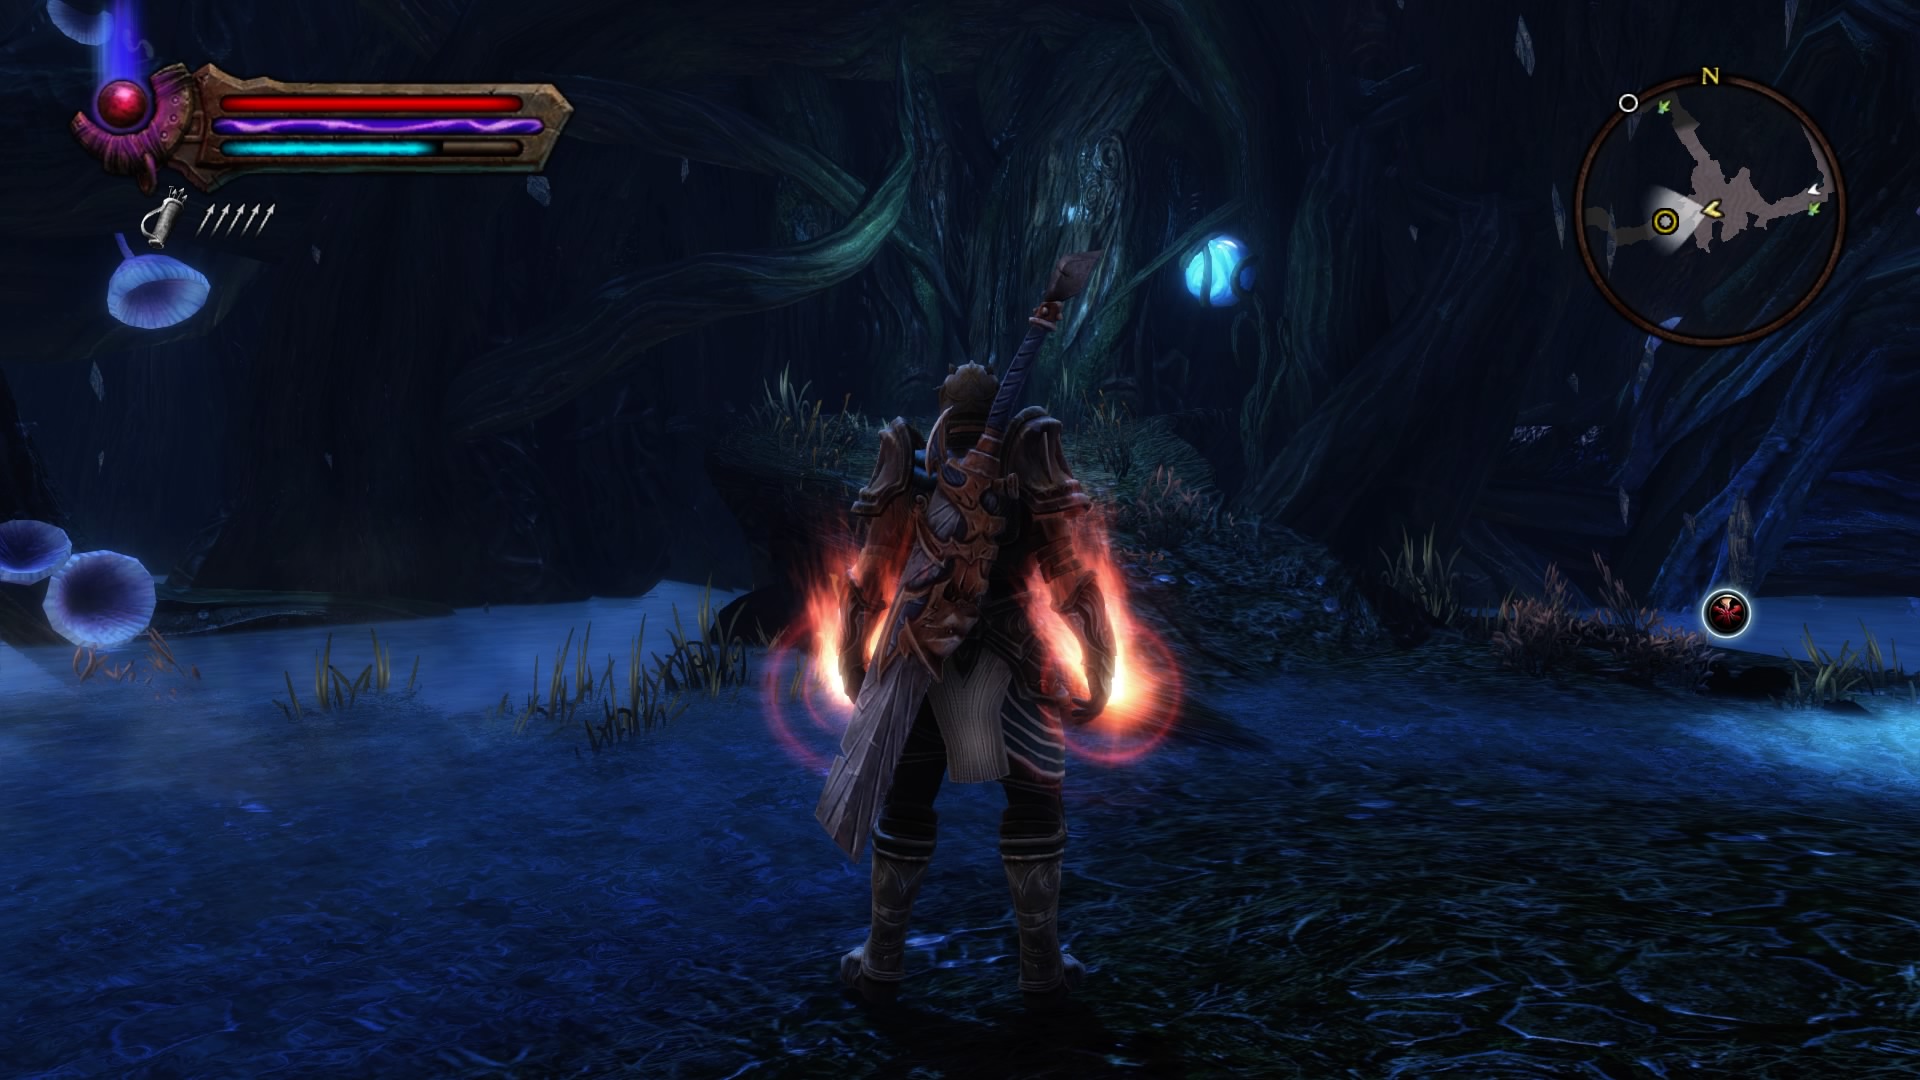
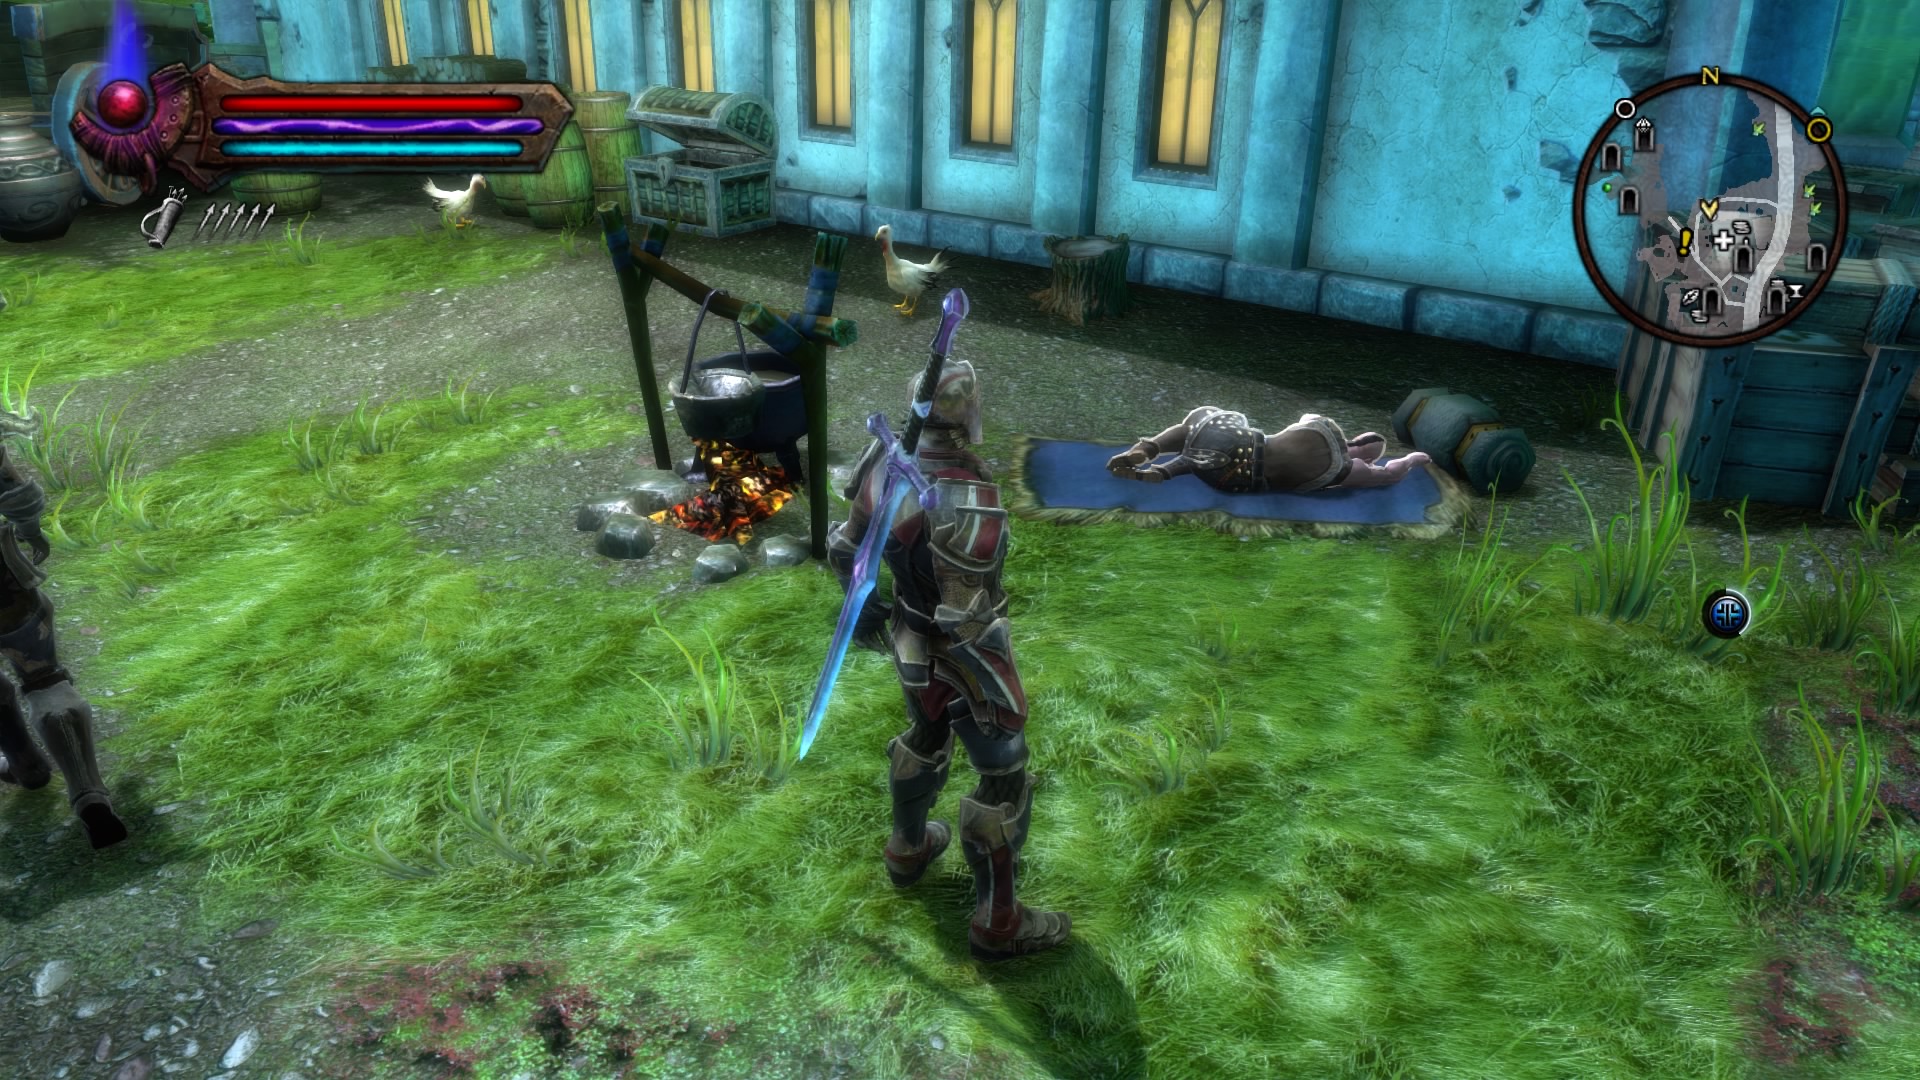
After the introductory video, select the class and characteristics of the character. We watch a short dialogue between two gnomes and set off in search of adventure. We move up the stairs, study the note and collect gold from the skeleton behind the mountain. We return and go straight, equip a rusty sword and go through the opened door. The location is straightforward, so we move forward, destroy all enemies and put on the first armor. We communicate with the rescued gnome and follow further. We rest against the closed gate and pull the lever. We find a rack with weapons, take away the shield and after a small skirmish with the enemies we raise the bow and use it on the enemies on the other side of the cliff. The dwarf will open the locked door. We go further, do not forget to search all the chests along the way and collect items from defeated enemies. We raise the dagger and in stealth mode we destroy the nearest creatures.

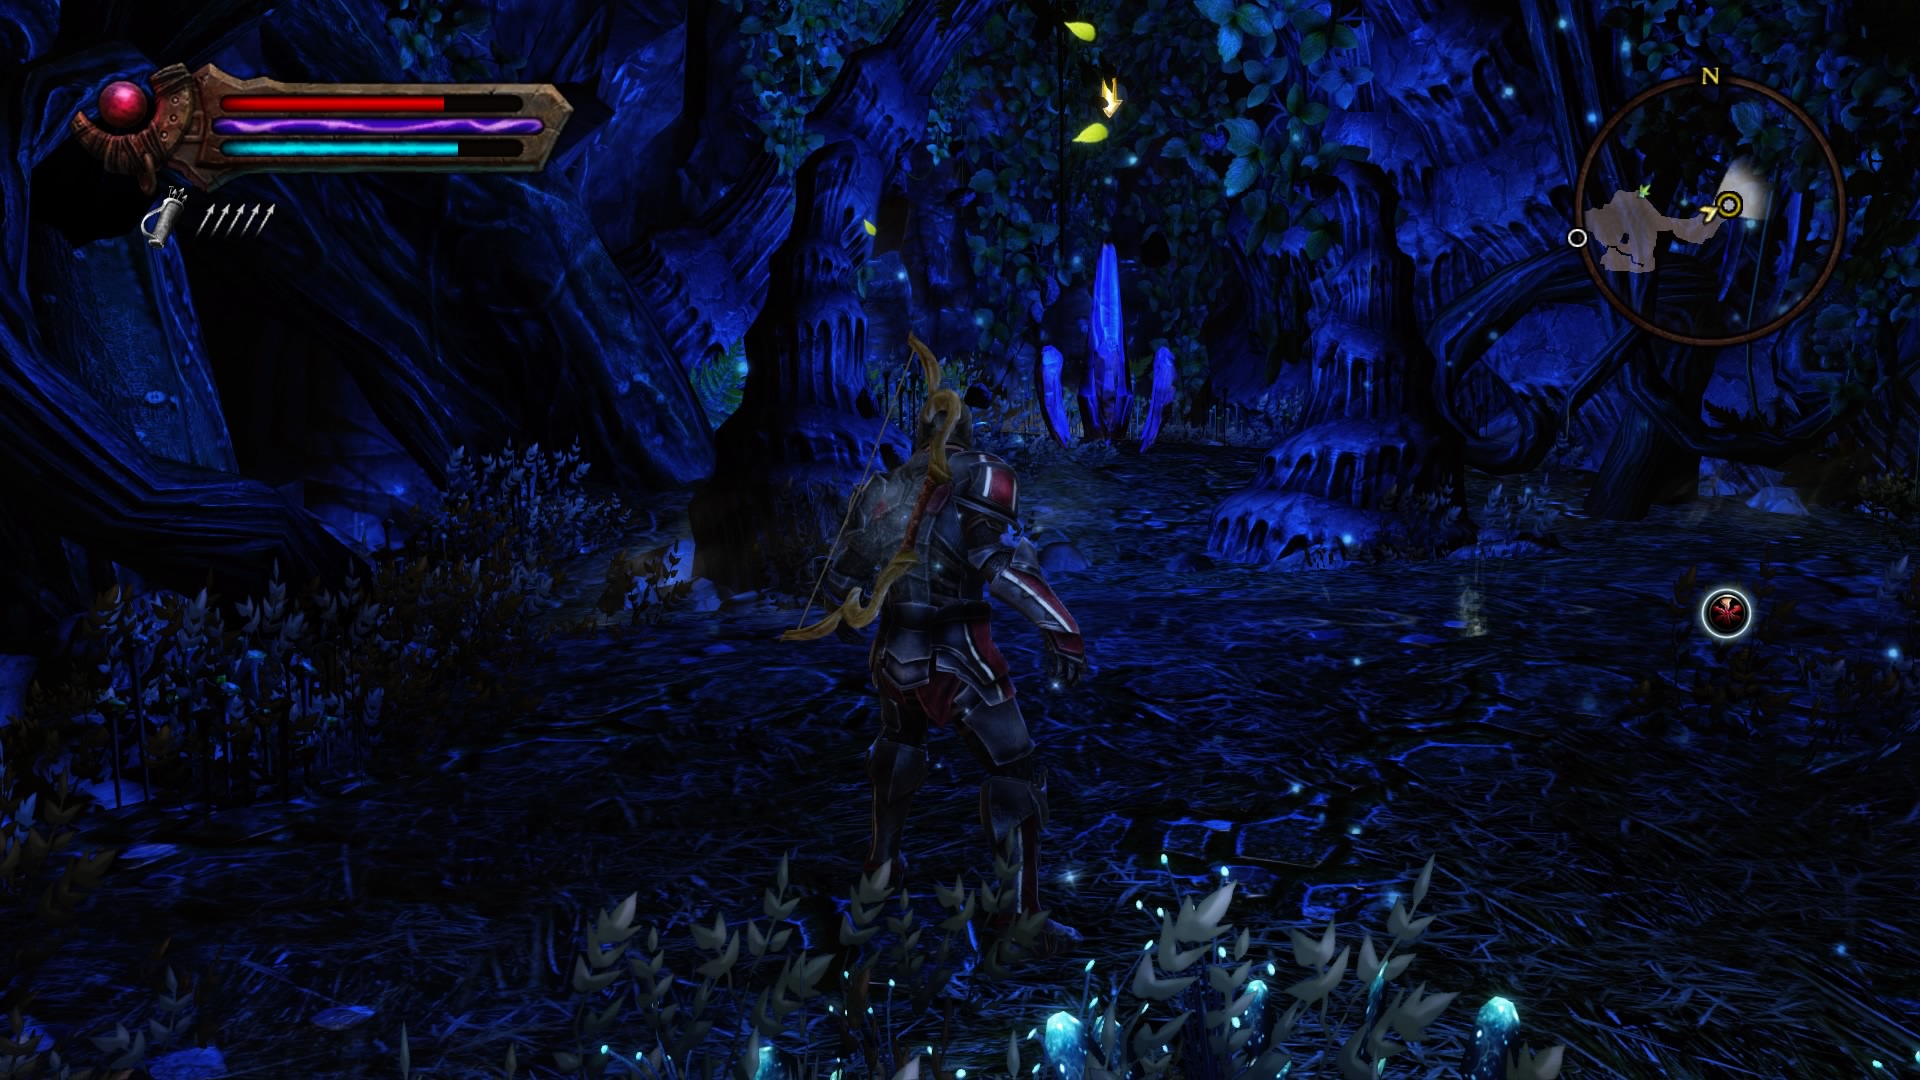
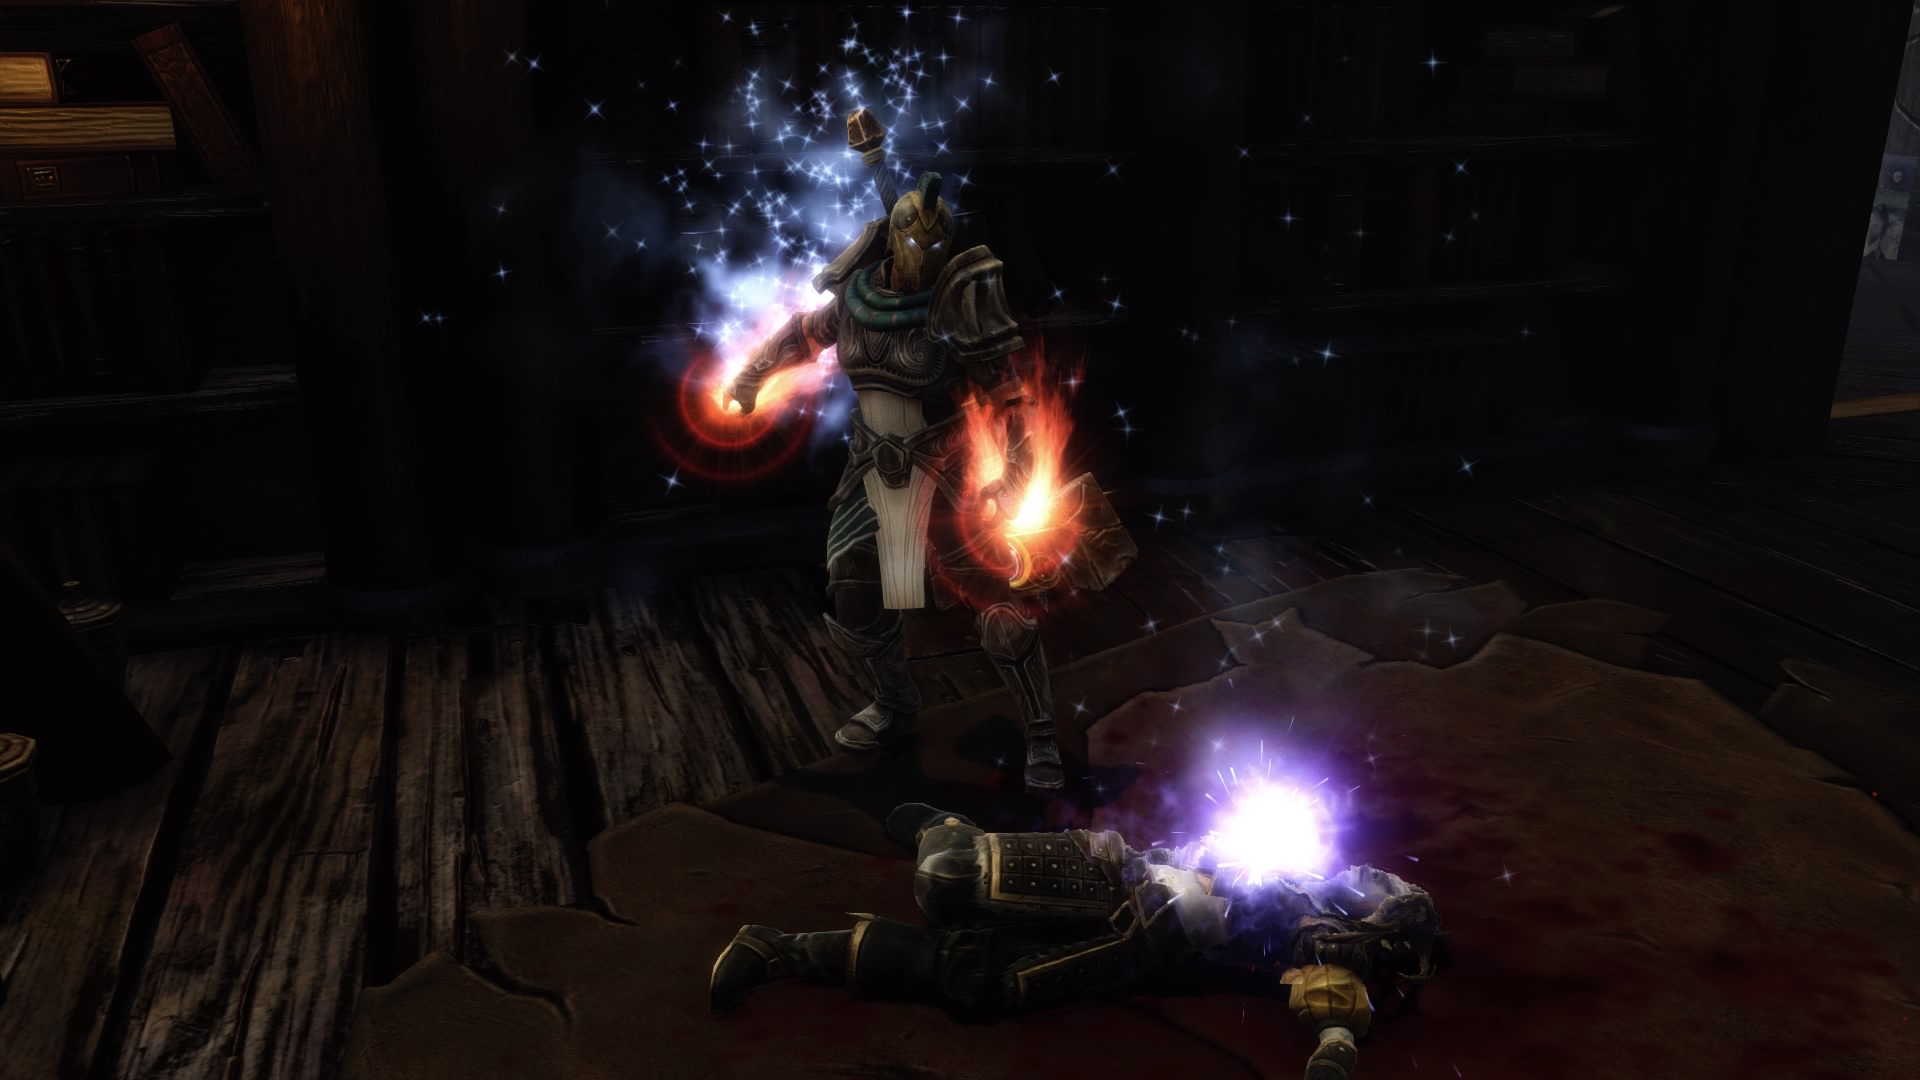
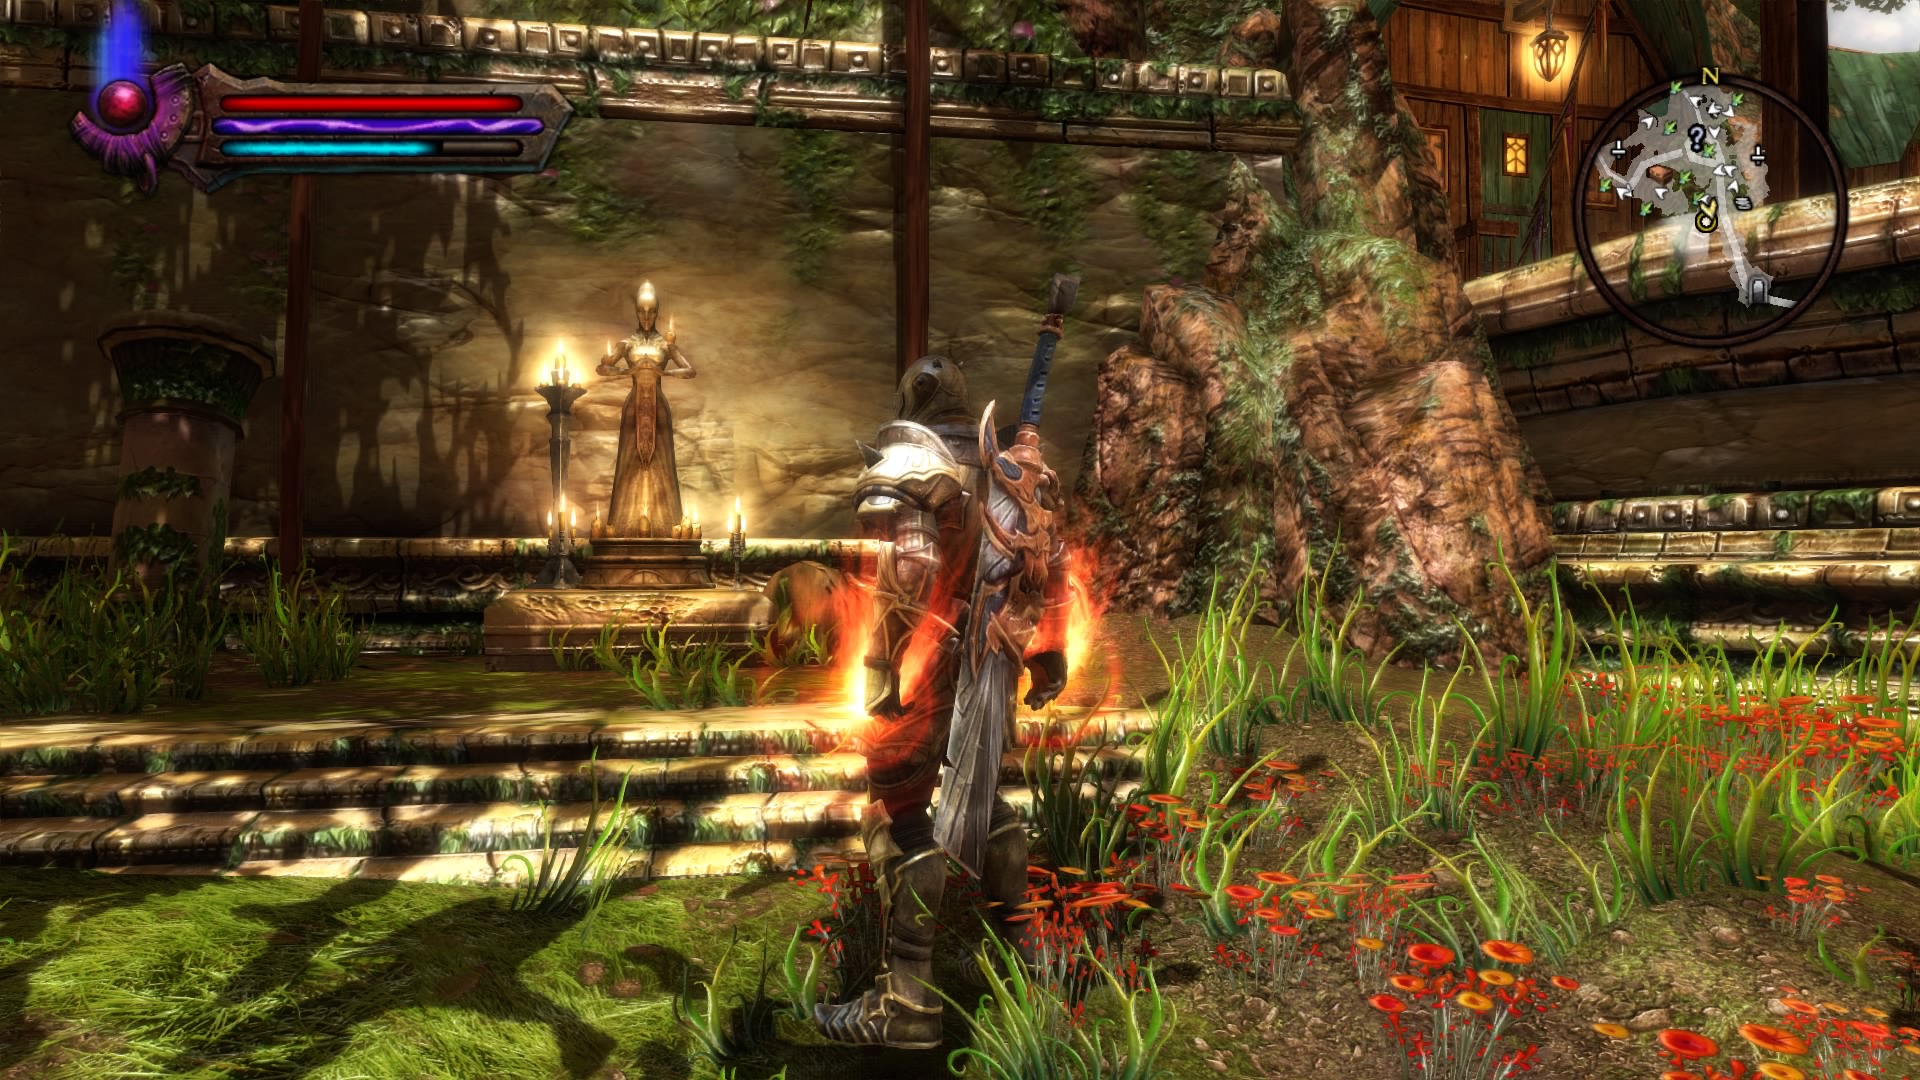
In the large hall, use ball lightning on the monument, study the notes and chests. We move on and find the staff. We equip the item on the hero and use it against spiders. In the hall with gnomes, we can ask our partner to stay with us, but the gnome will refuse to barricade the door. We open the gate and go around the green pillar of light, use the door and go to another location.
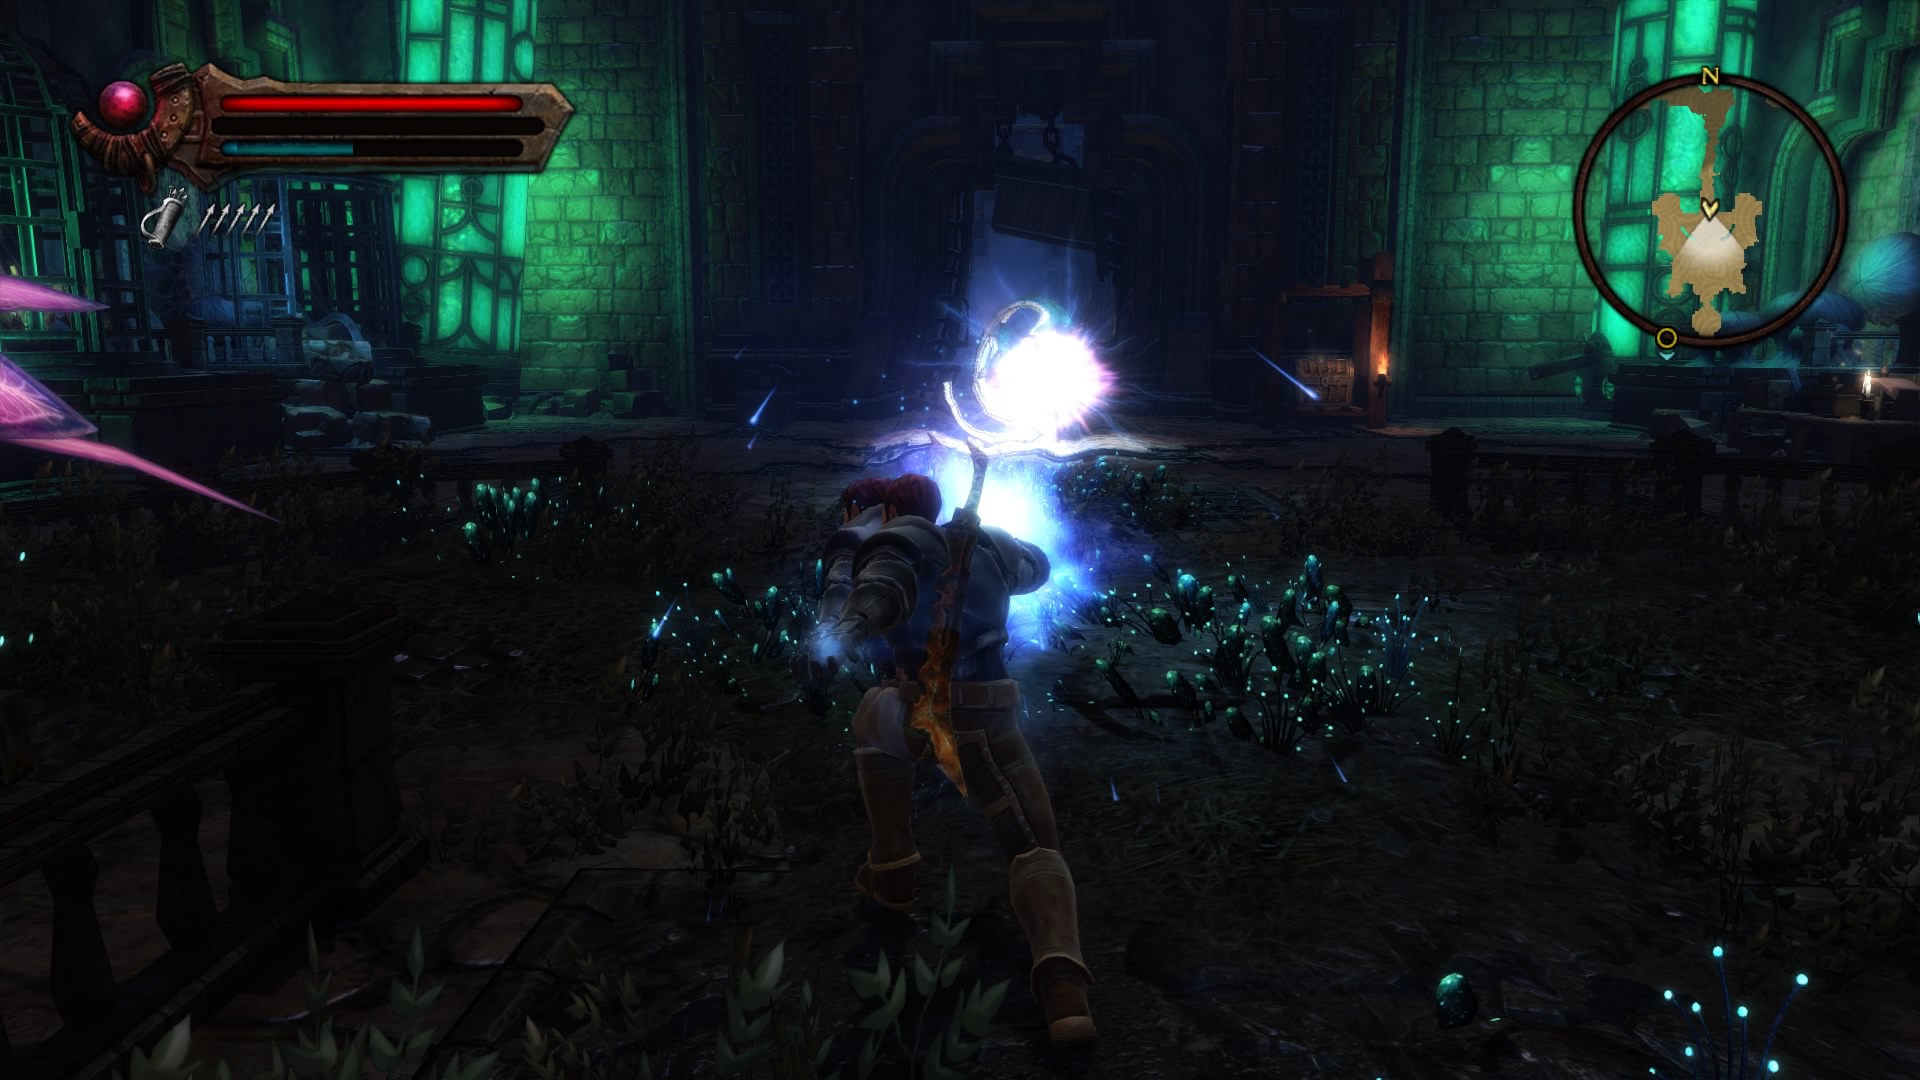
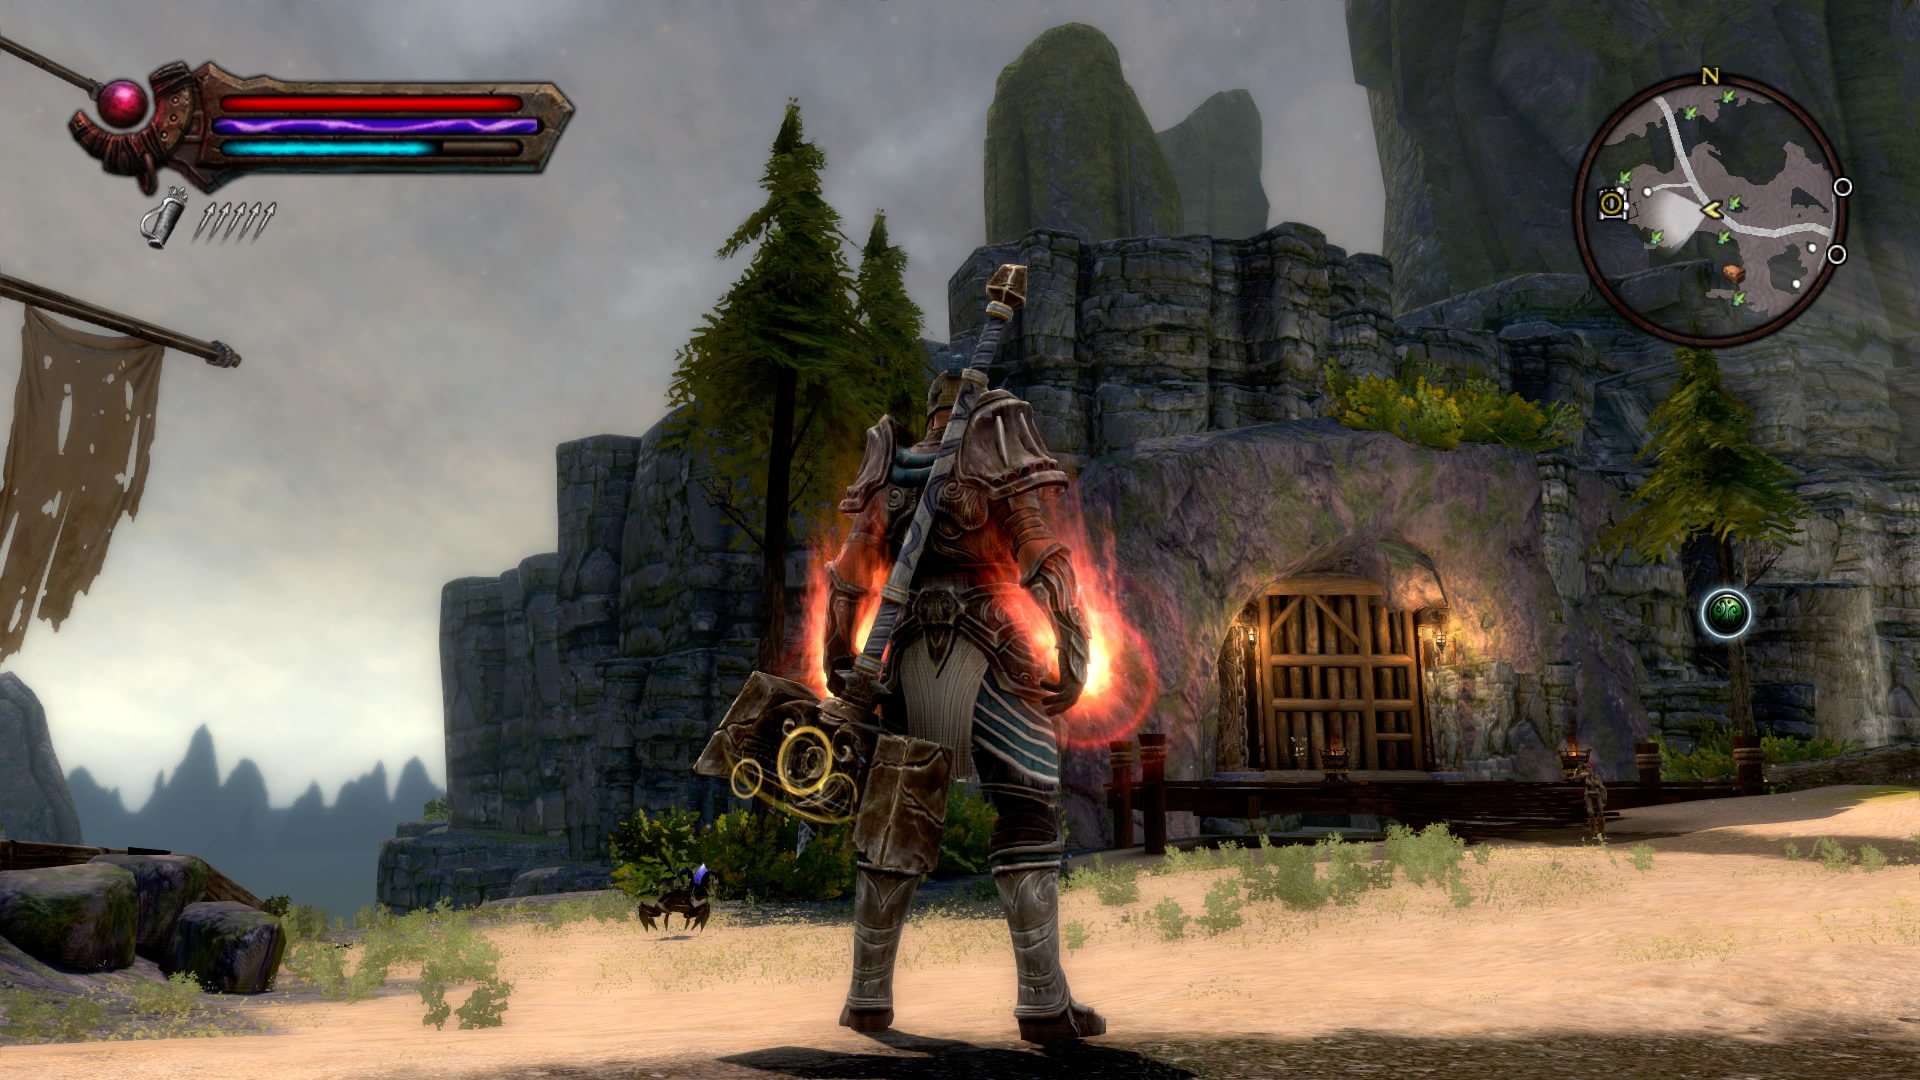
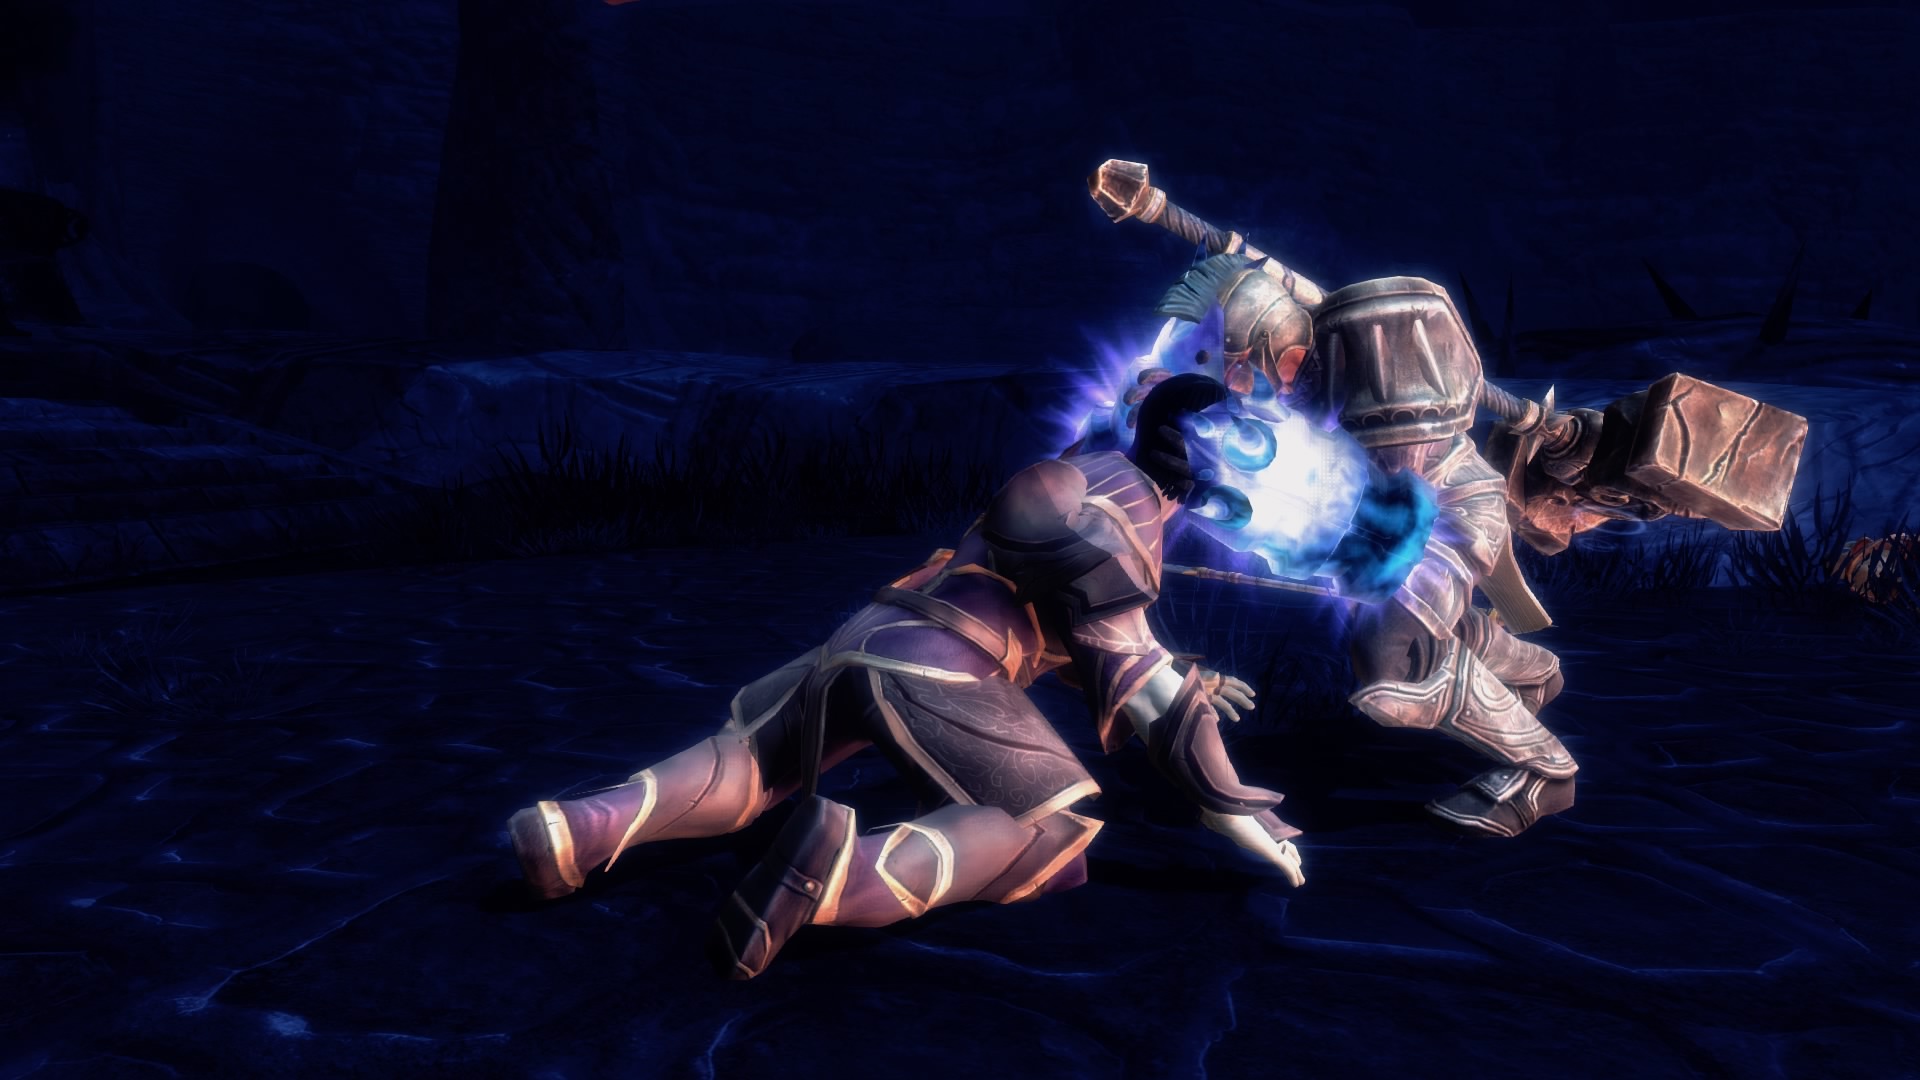
We move forward and after a short video we follow further. On the way we dodge falling boulders. We reach the arena and meet the first boss, the mountain troll.
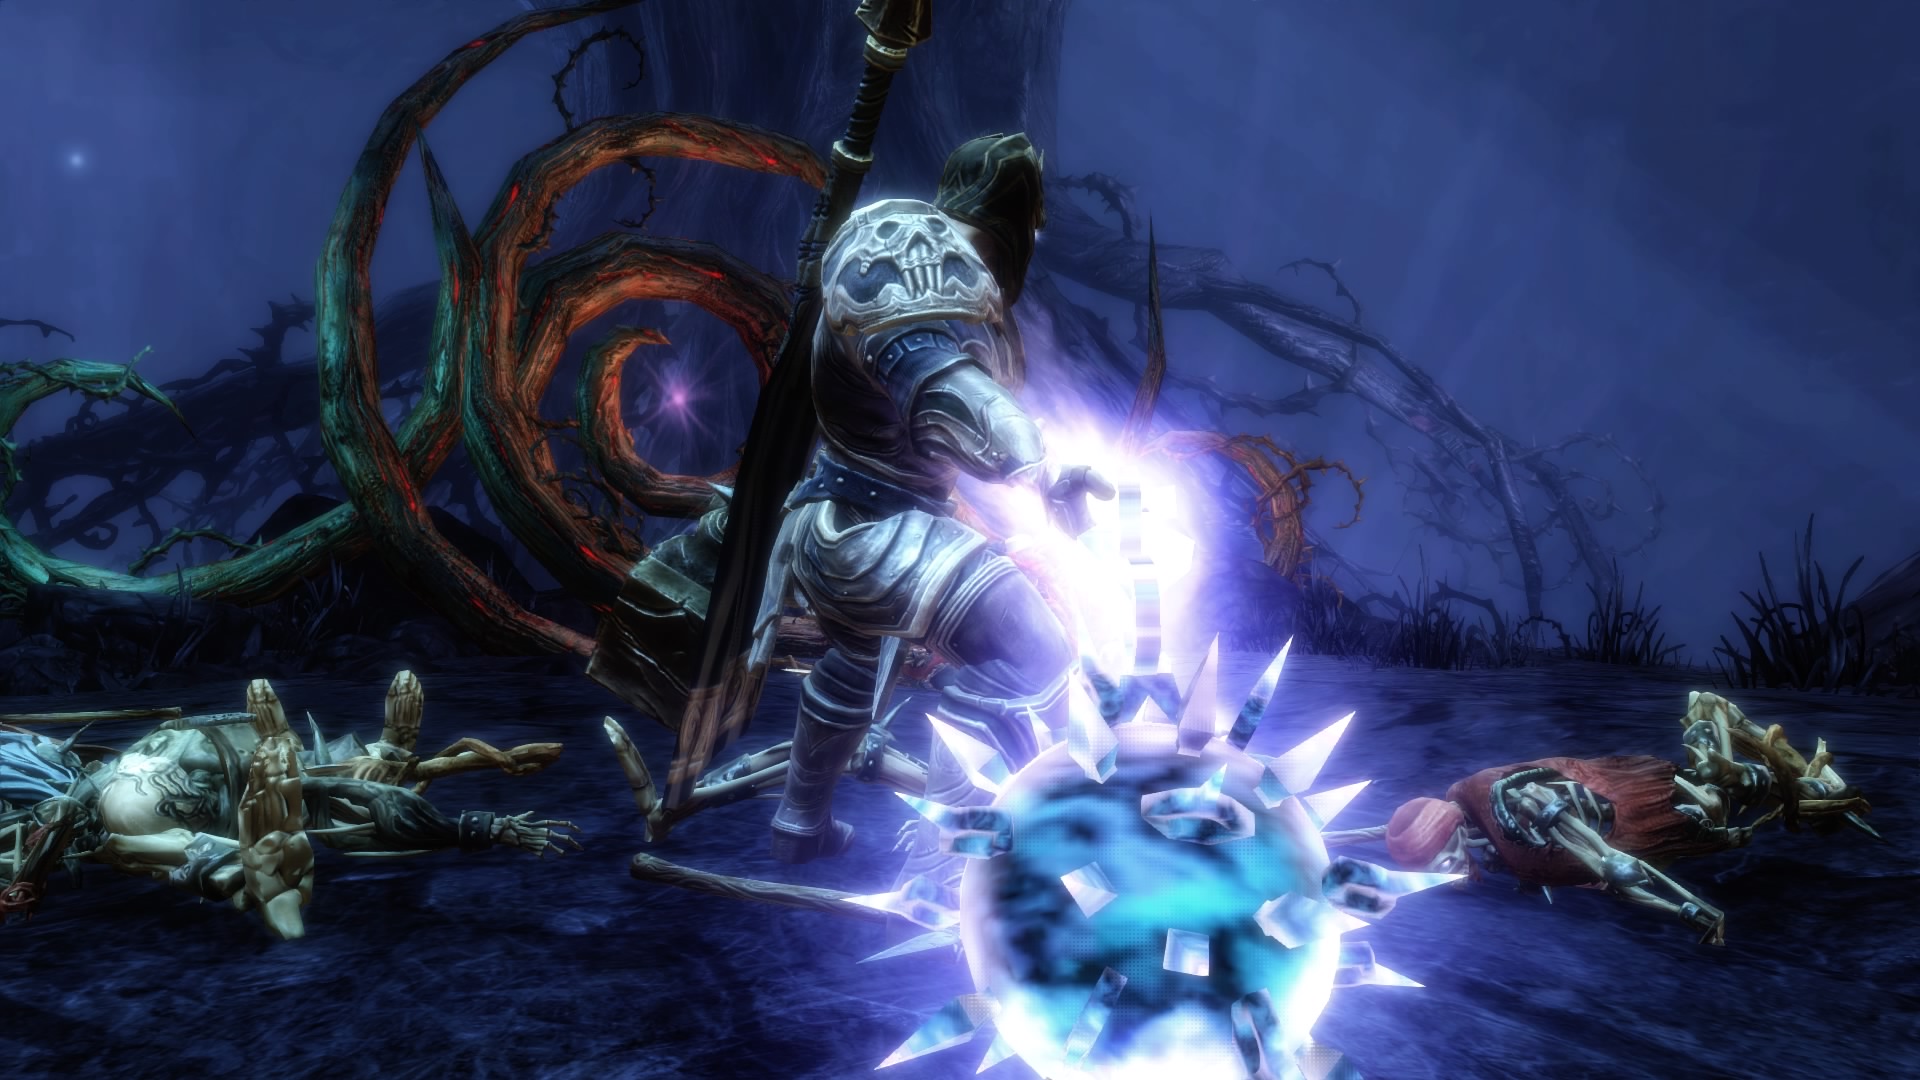
How to defeat a mountain troll
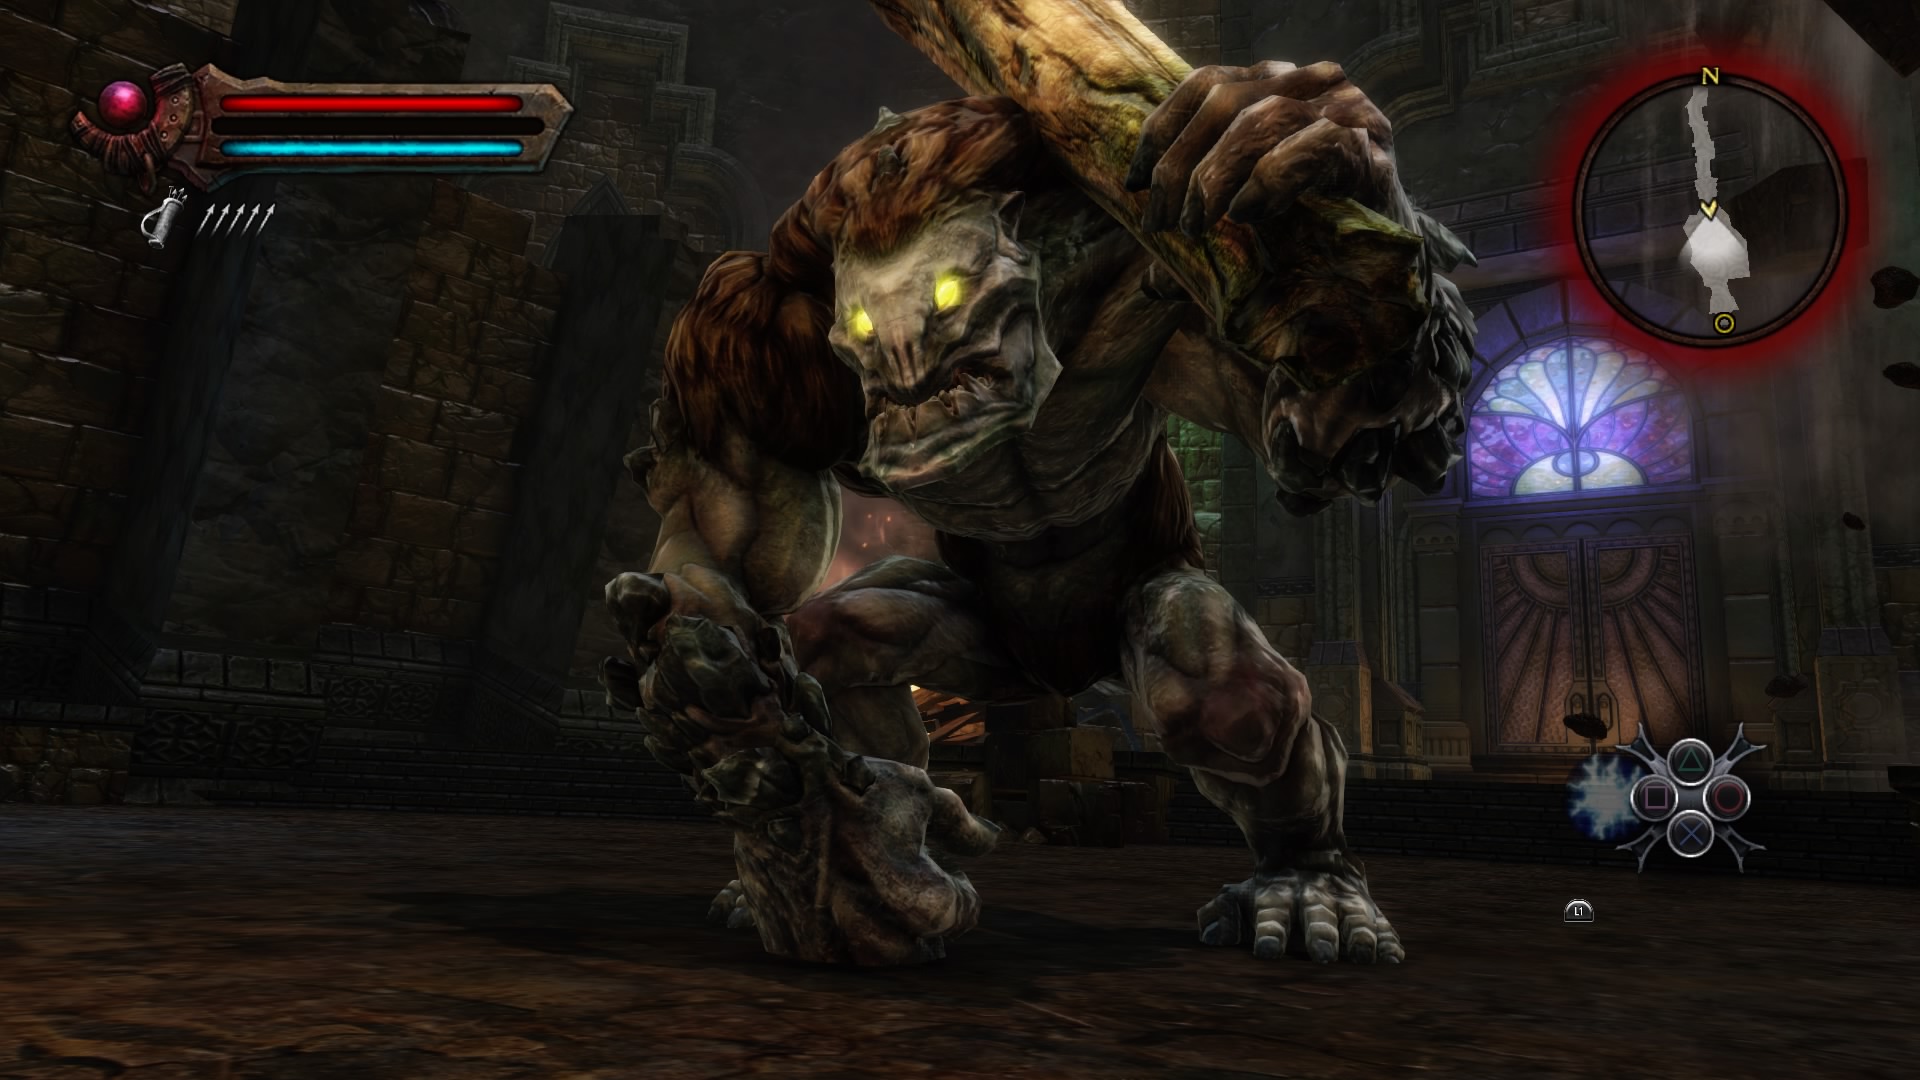
Dealing with the first boss is not difficult. The enemy uses only two attacks:
- ➤Melee attack with hand.
- ➤Attack with a stone hammer with a large radius of destruction.
We run up to a close distance and inflict a lot of blows. During the swing of the enemy, we dodge to one of the sides. Sometimes we run away and shoot arrows and fireballs. The enemy will be defeated within a couple of minutes. As soon as the troll's health level drops to zero, press the appropriate key and use QTE. We collect all the loot and leave the fortress.
To the light
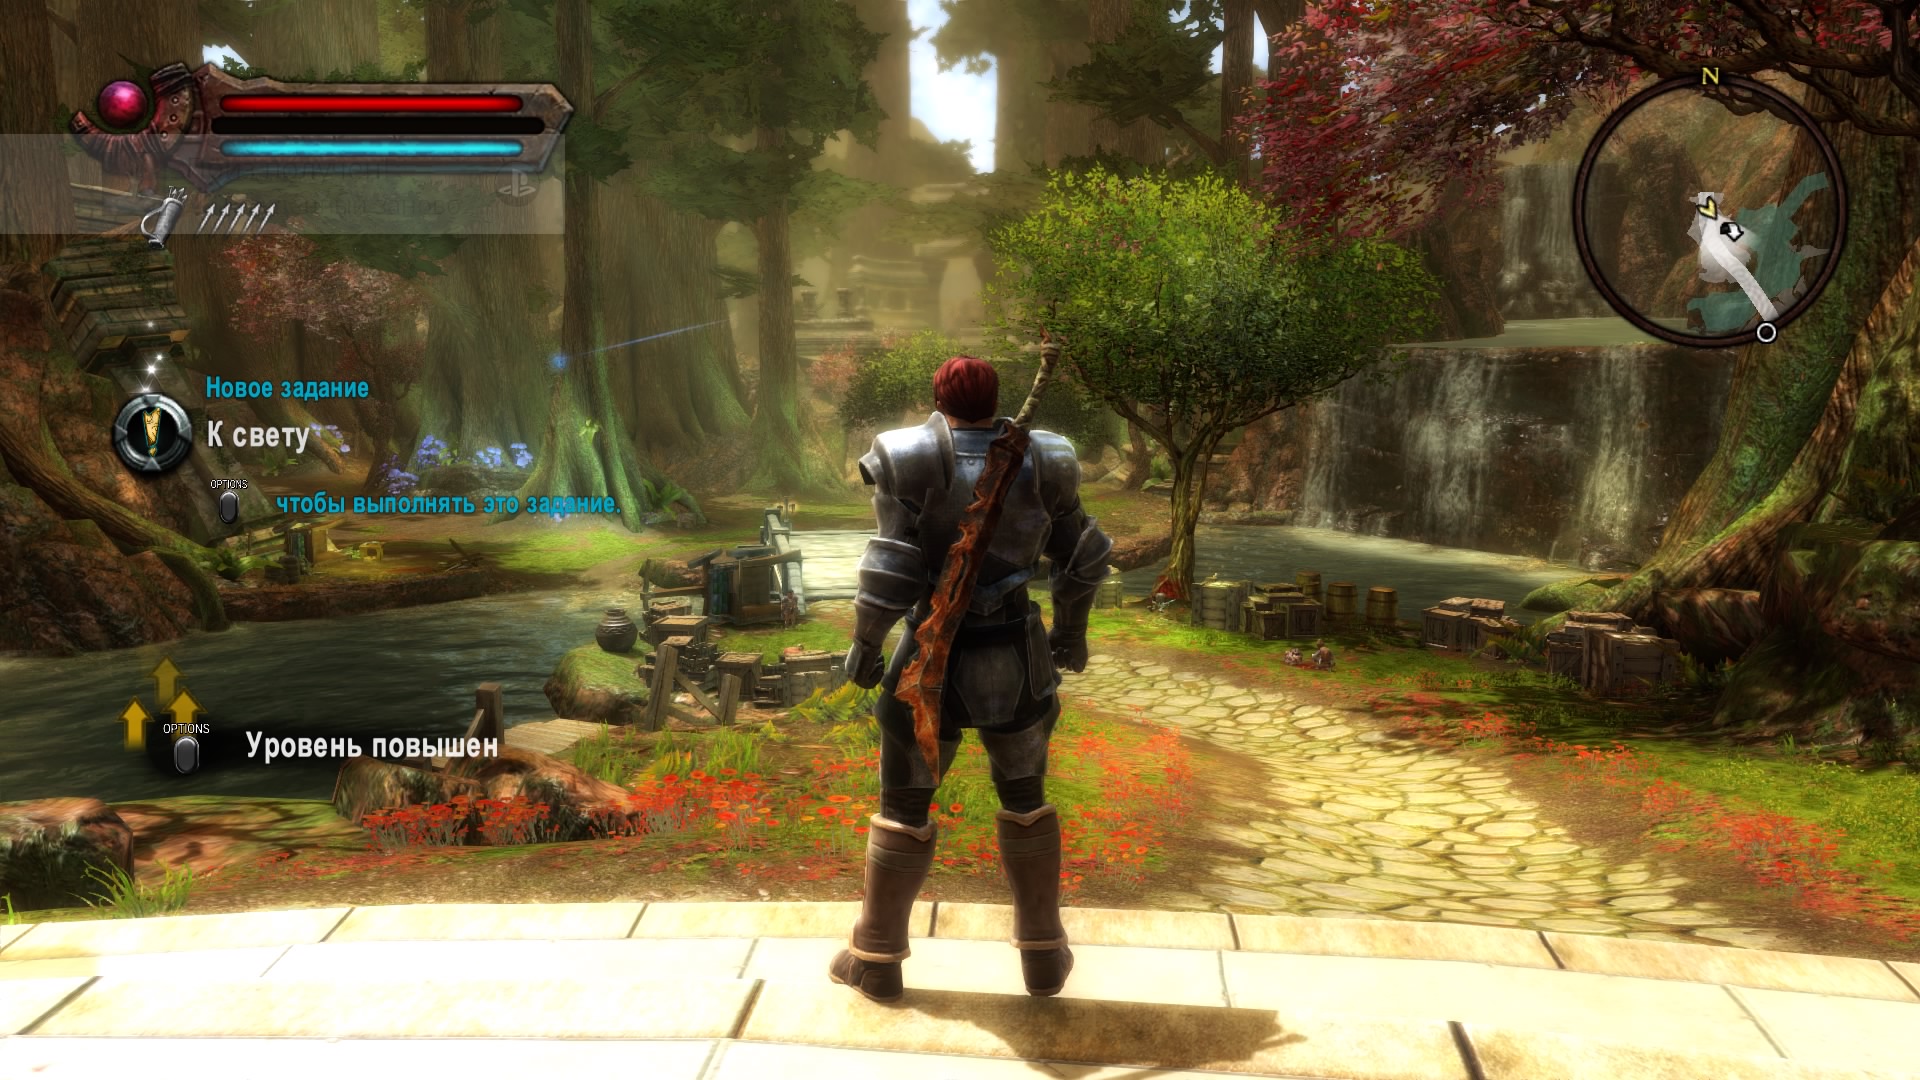
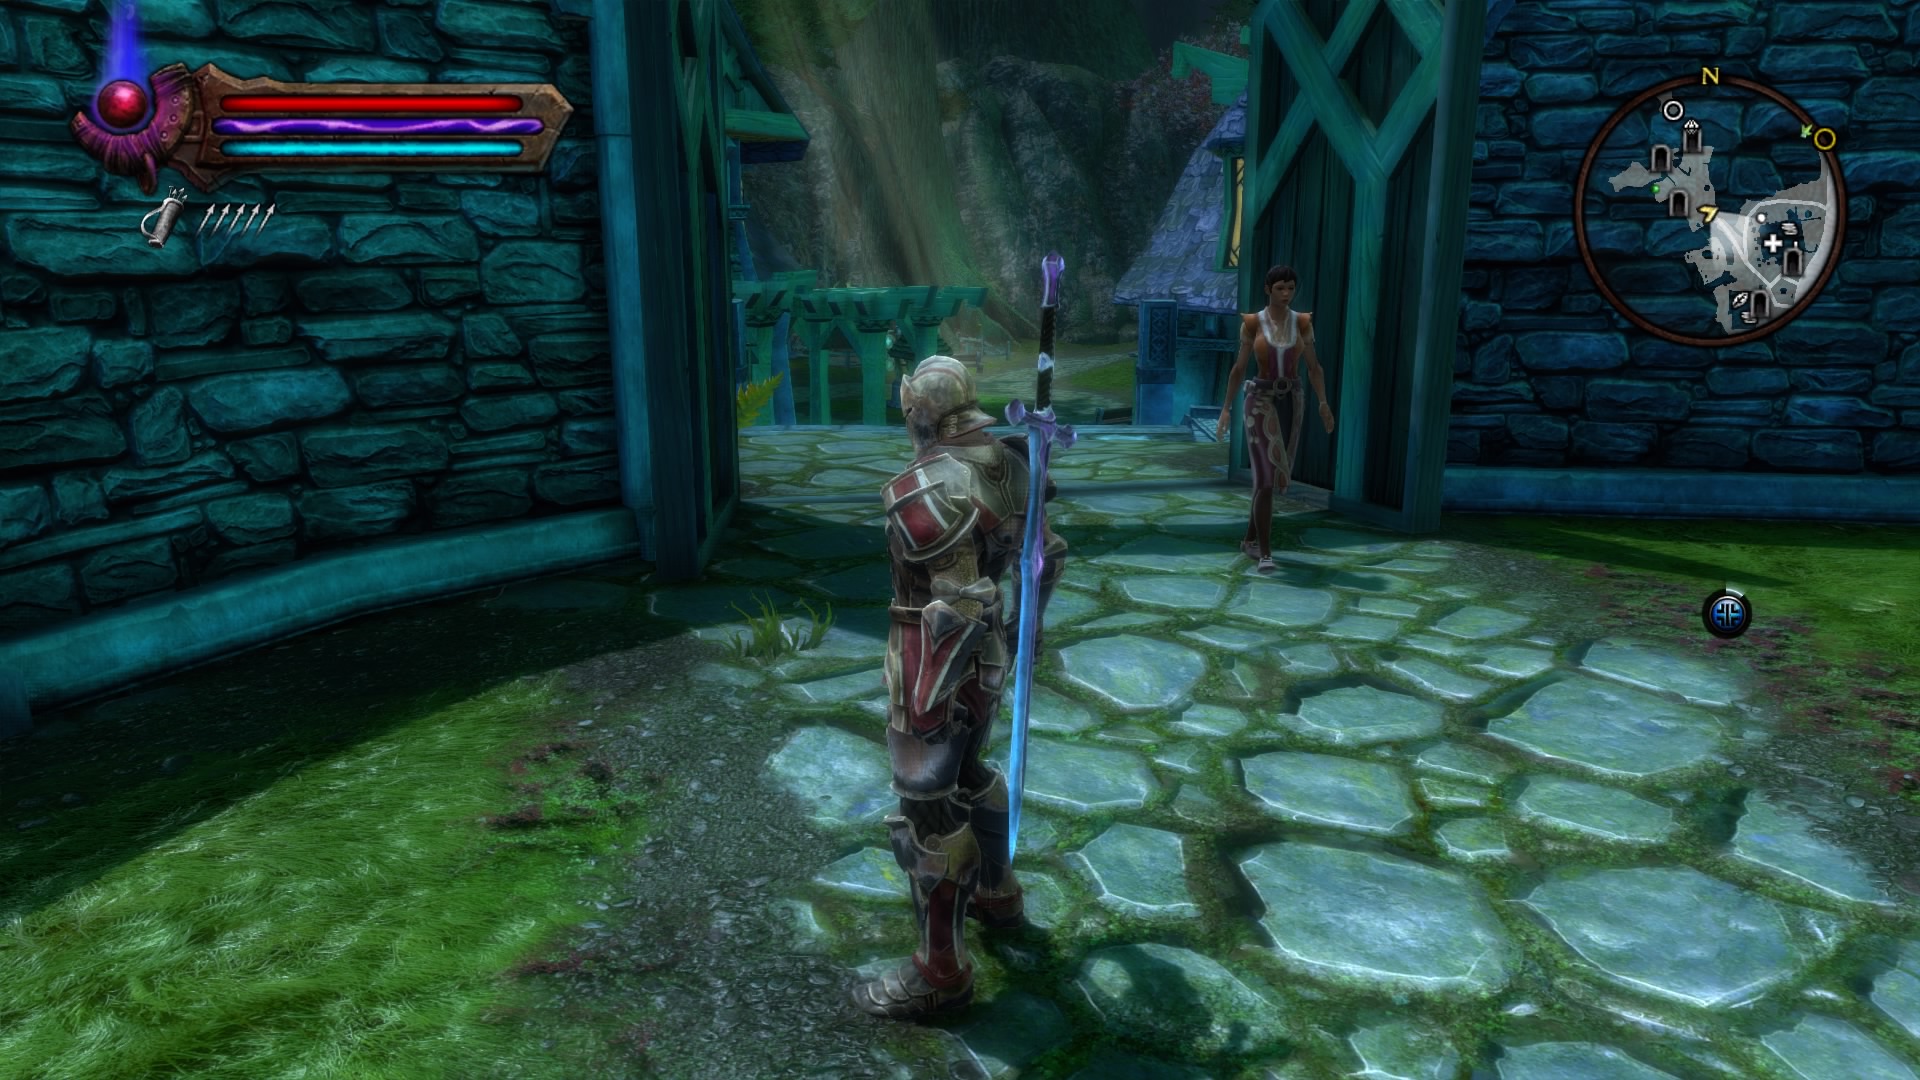
Dwarf Hughes from the fortress sent the hero to talk to the Weaver of Fate in Gorarth. We go forward along the path and rest against the Weaver. Enemies will attack the heroes, so you will have to use a new skill to destroy them. Agart will not be able to read the fate of the hero and offers to go to a meeting with Yolvan.
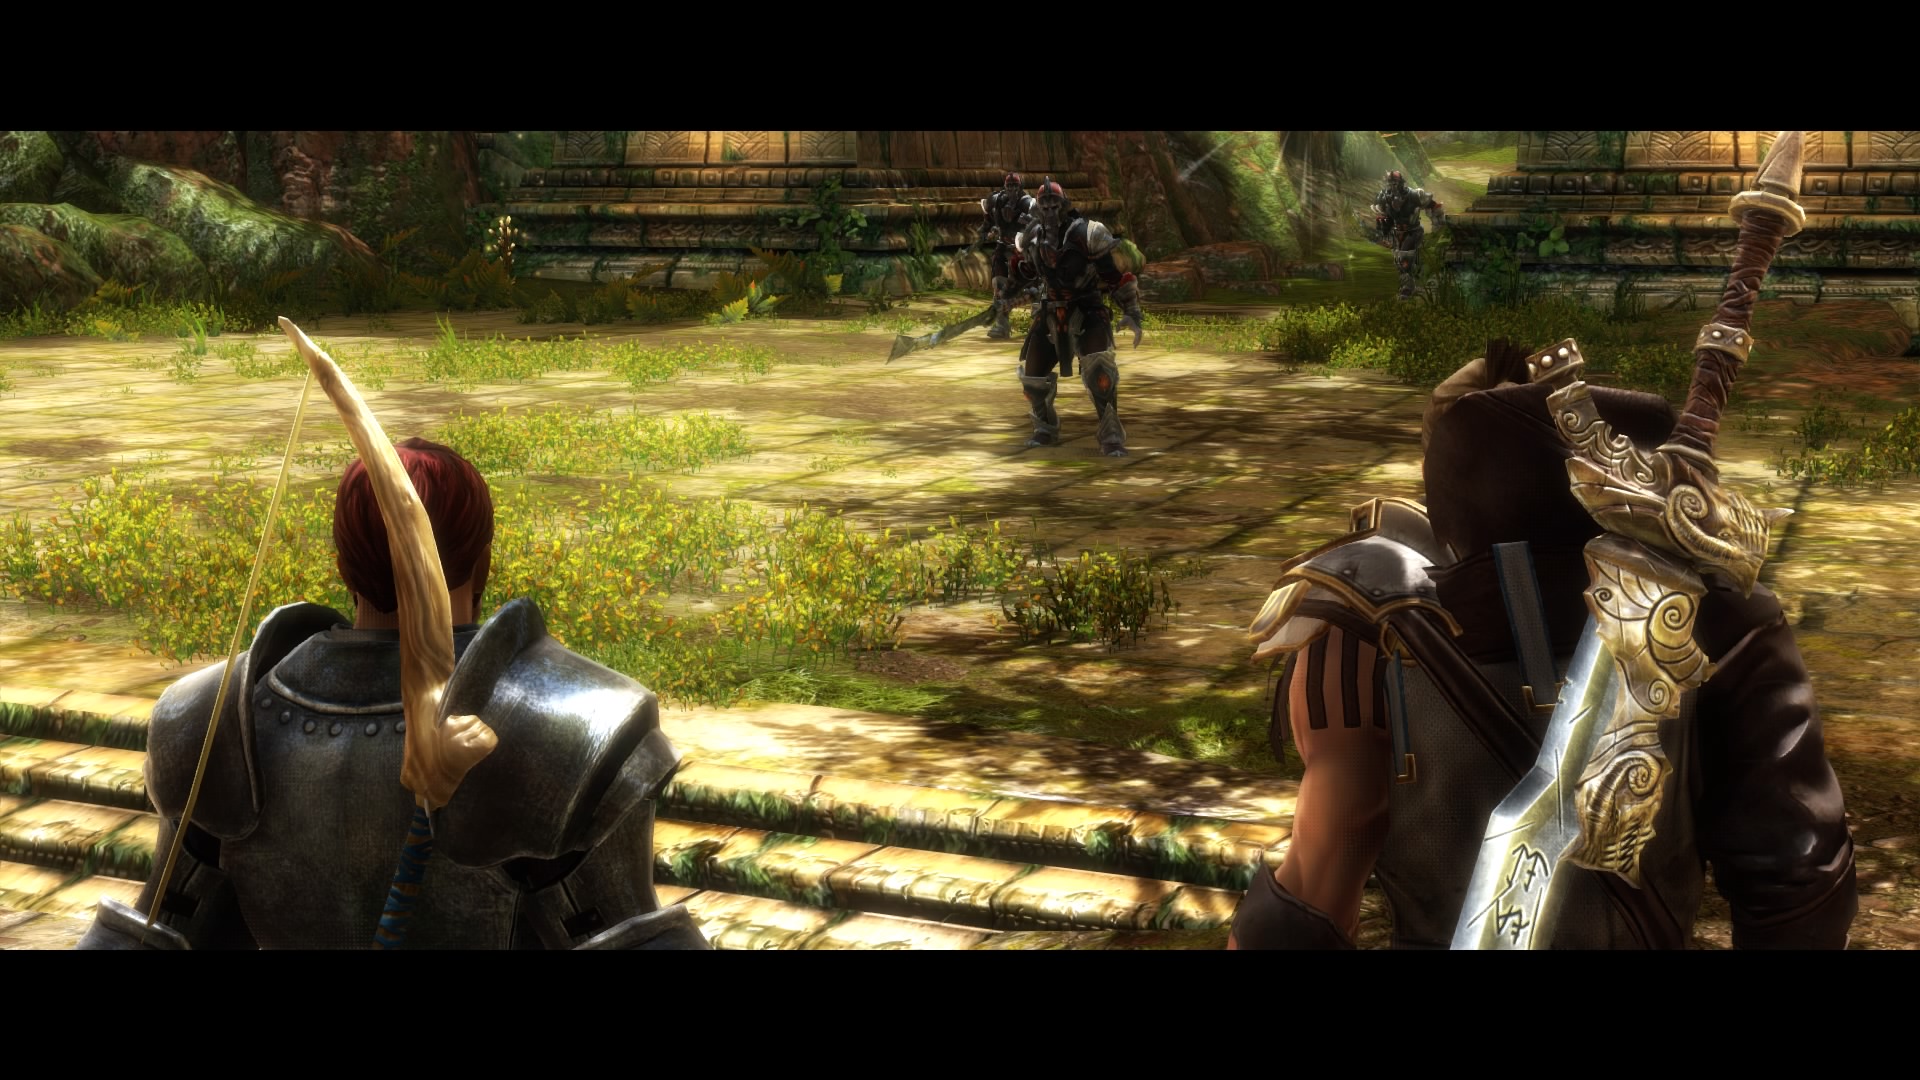
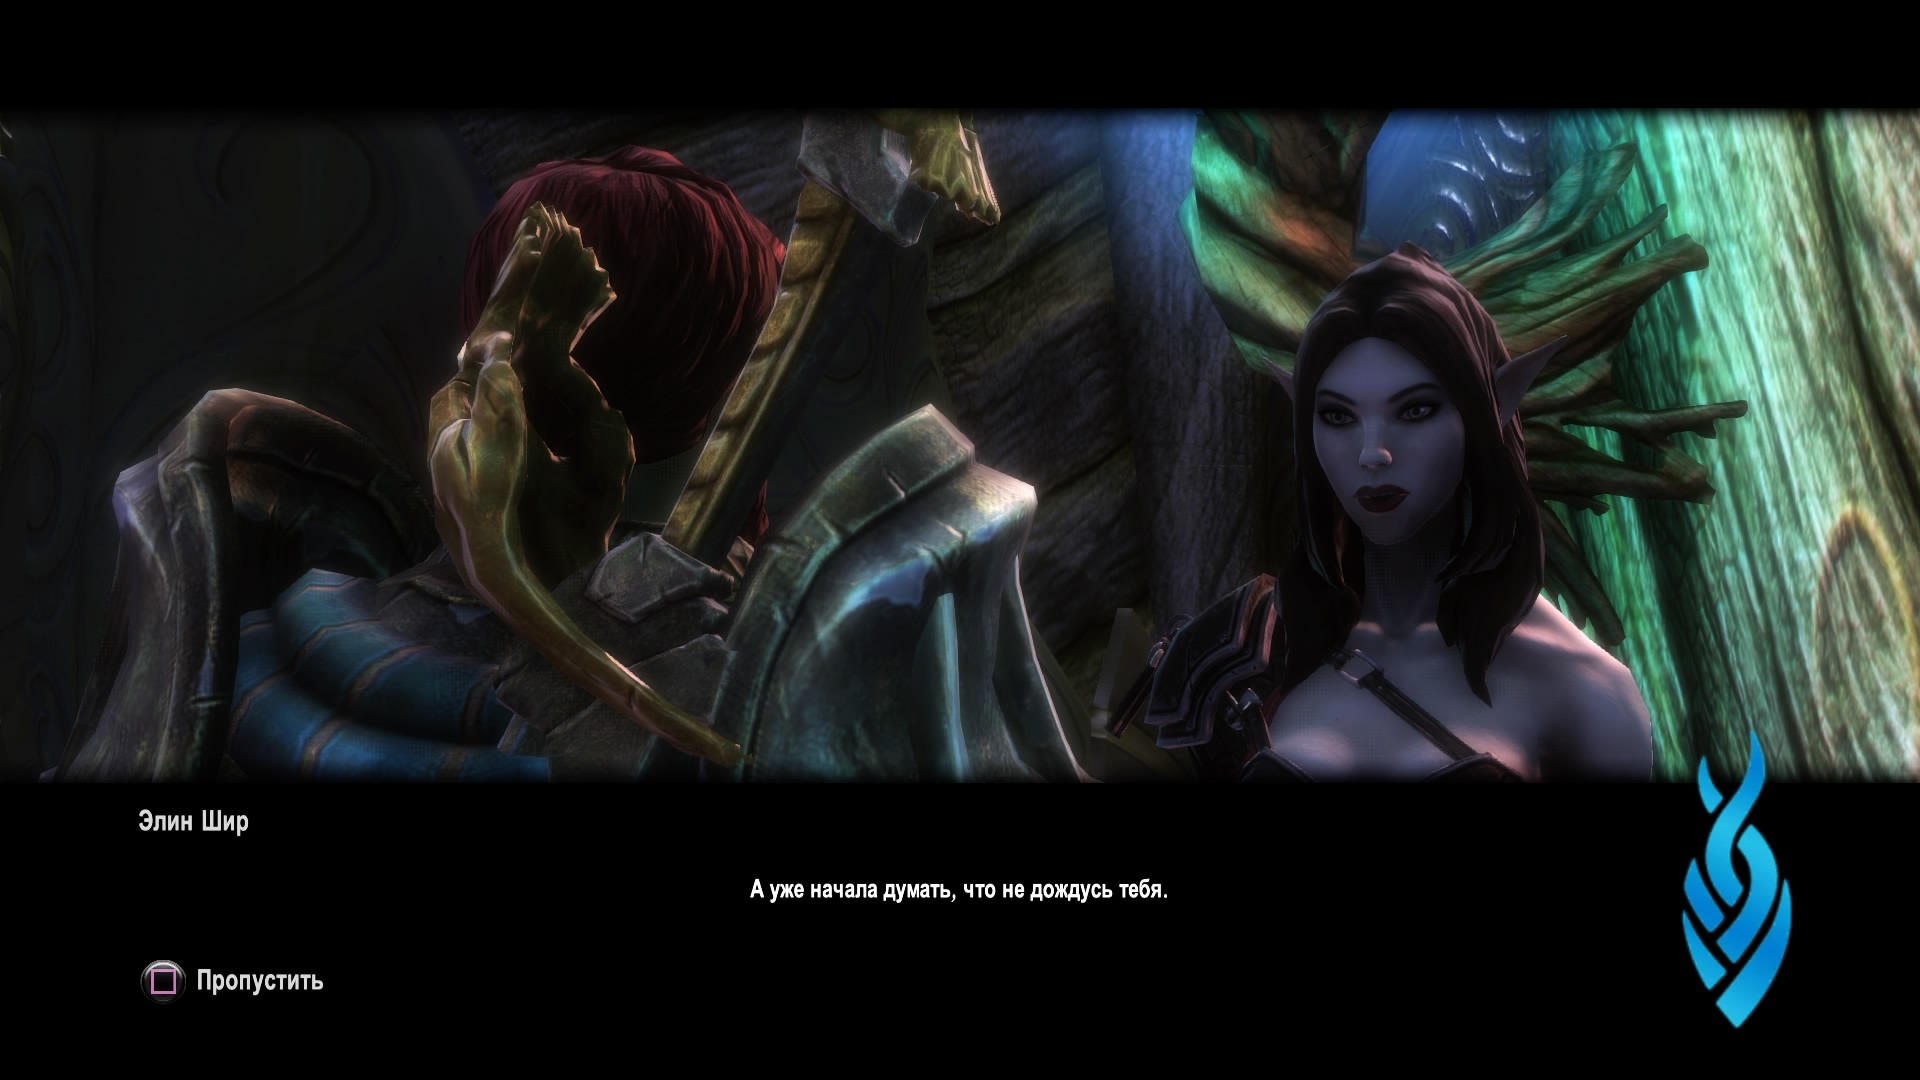
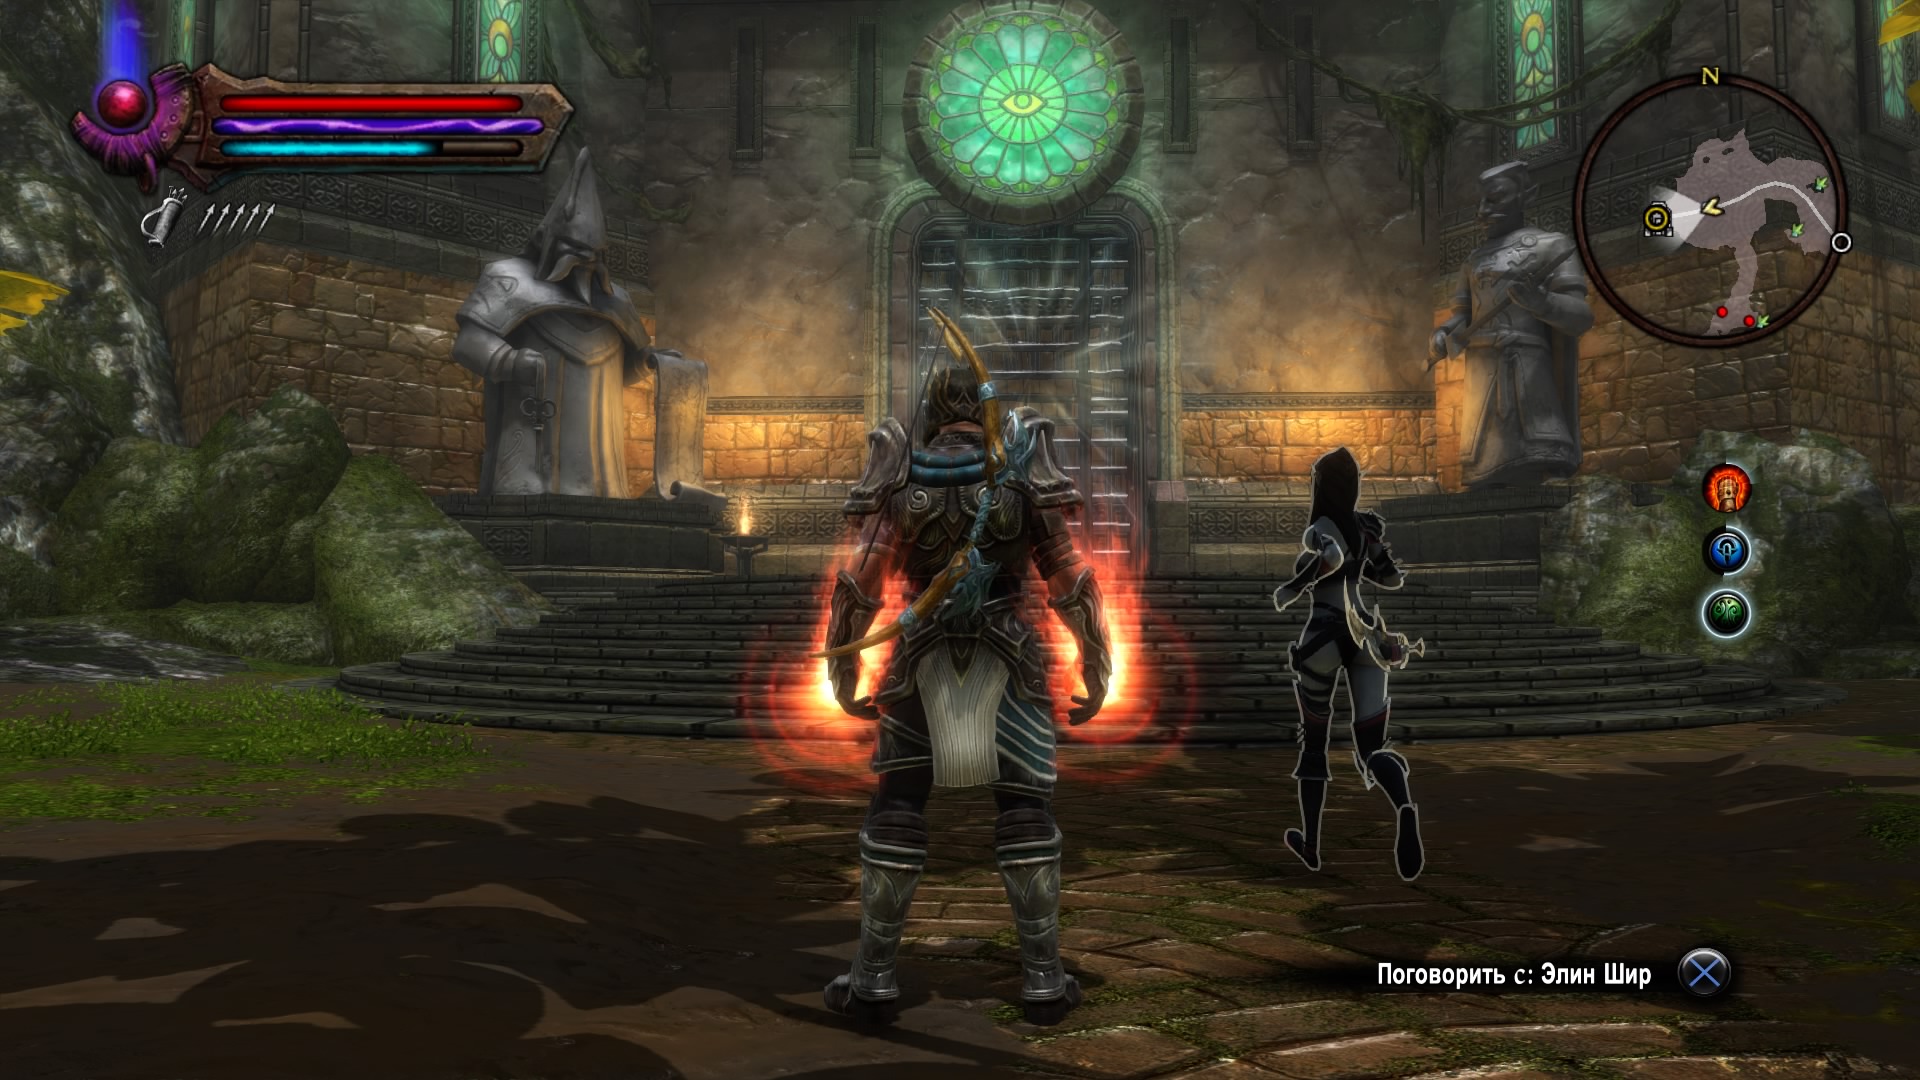
To do this, follow the marker on the map to Arden's Hut. Inside we meet Elin Shir, who will tell you that the Weaver was killed by the tuats who are looking for the hero. After a short dialogue, the girl disappears and Agart appears, who offers to meet in Dellah. We run to the marker and near the entrance to the location we destroy two mountain trolls. After that, we go with Agarth to the Caves at the Theater of Fate.
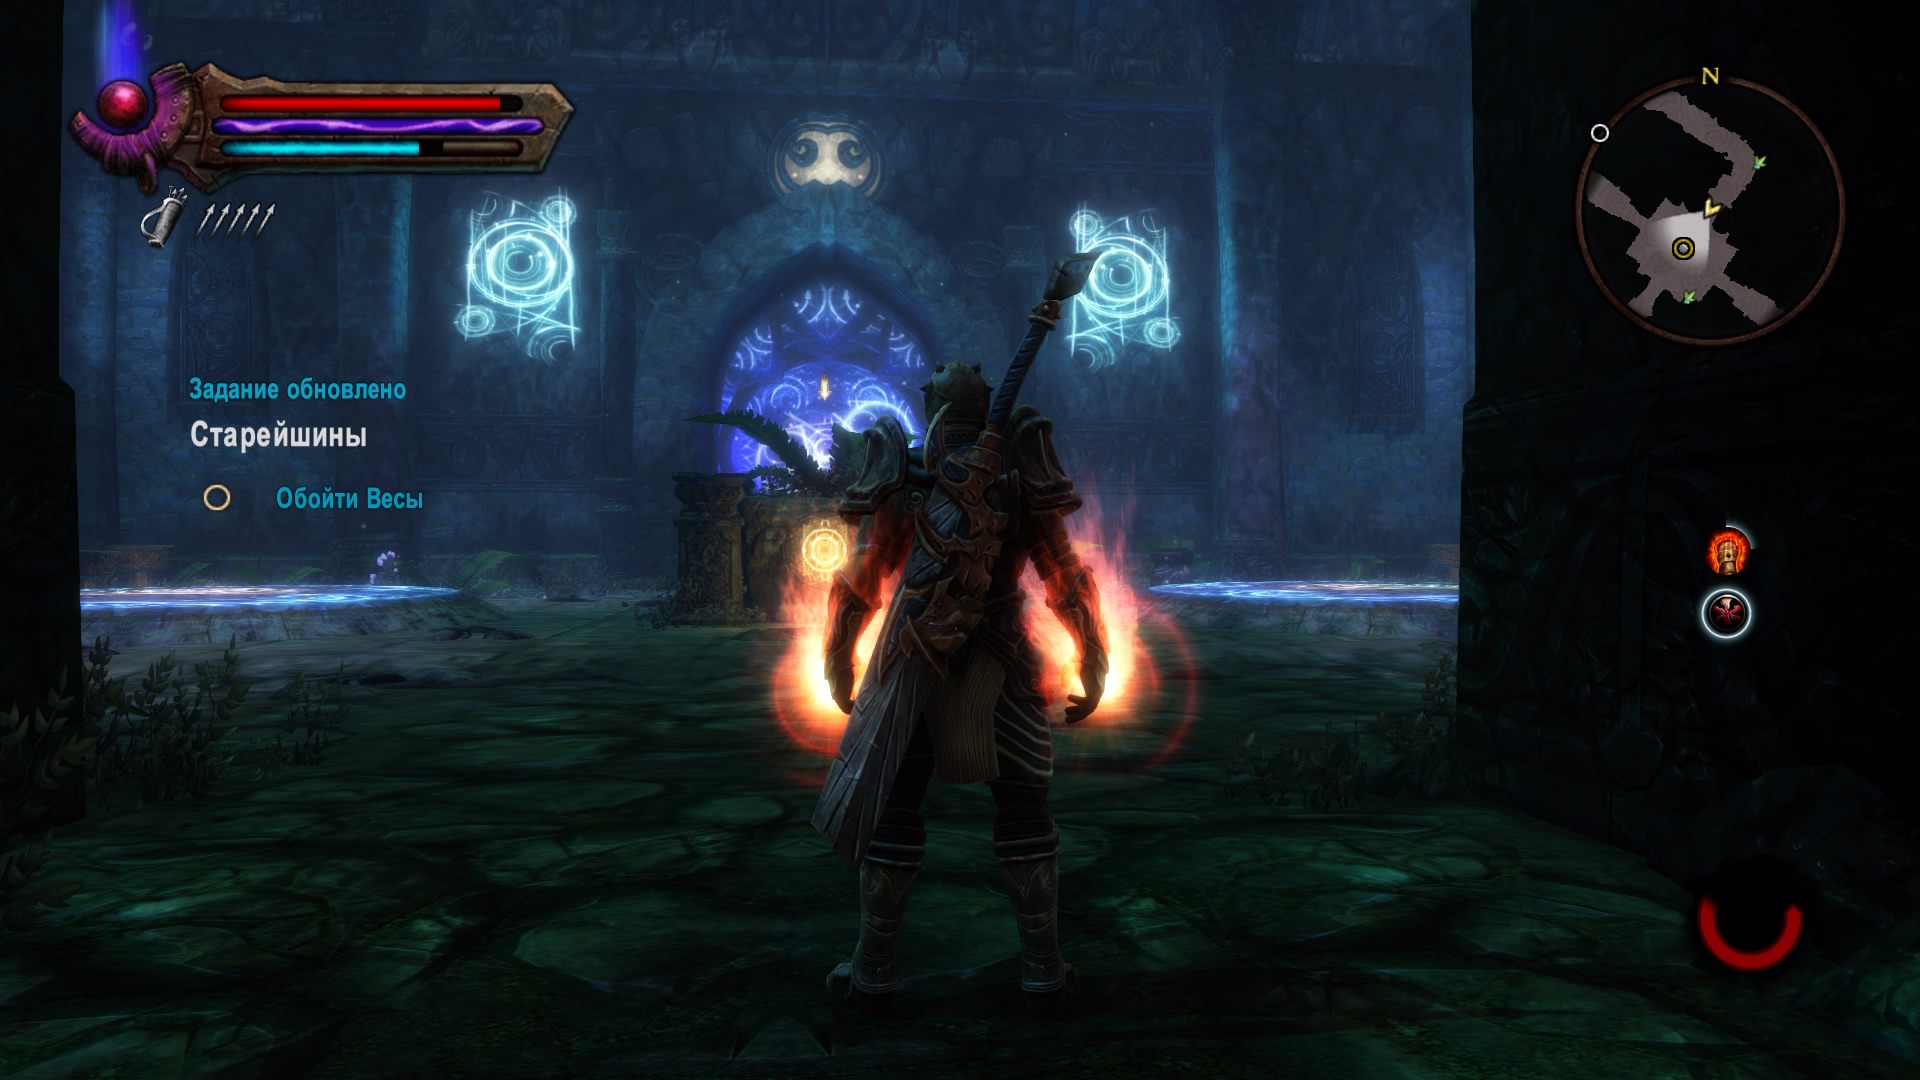
We pass through the entire location, destroying all enemies on the way. We open the glowing doors and get to a small hall. We deal with kobolds and trolls, then open the blue door. We destroy the powerful troll and go to the Theater of Destiny. We pass a little forward, destroy two guards and touch the Stone of Destiny. The Tuats followed the heroes, and Elin Shir was also there. Together we cope with the attack of the elves. We communicate with partners and complete the task.
hunter hunt
Agart can help track down the Tuatha, who has been chasing the hero all this time. We are moving to a hotel in Dydenhill. The partner managed to track down the enemies. We choose in the dialogue through which entrance the attack will be carried out and go to the Hunting Pit to the enemy camp. We make our way through the hordes of opponents until we stumble upon a soldier with a red crystal. We break the stone and, after short dialogues, we get out of the cave. The enemy camp has been destroyed. We learn that the King of the Tuats Gadflow was personally acquainted with the hero in his past life.
Old friends, new enemies
We leave for the House of Ballads to Elin Shir. She promised to help read the Code of Destiny obtained from the Theater of Destiny. We communicate with the elves and learn that only the High King can fully decipher the artifact. To meet him, you need to meet Niralim and earn access to the Gardens of Isa. We go to a point on the map and go to a new location.
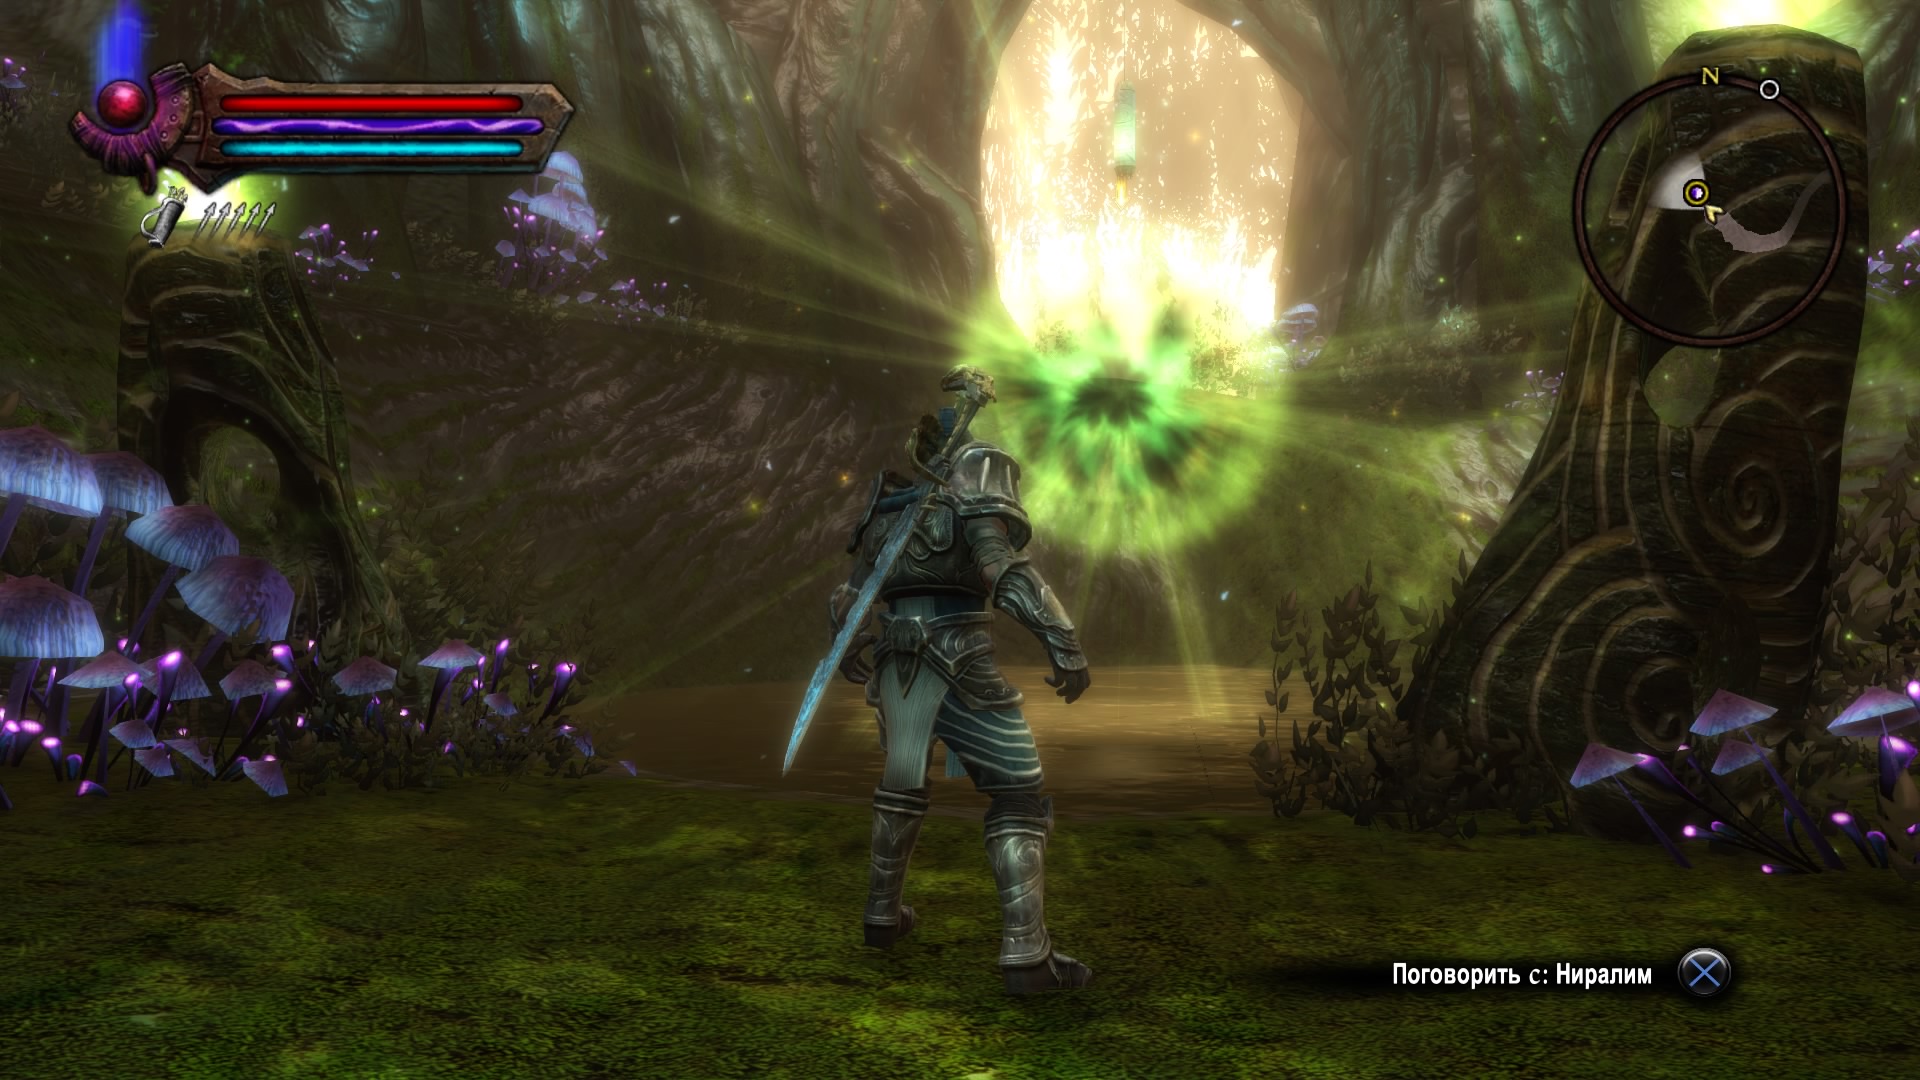
We talk with a green eye and hurry to Gnarsh. Niralim asked to slay the troll in order to protect the fairies living nearby. We move to the Husky Dam and explore the cave until we meet the enemy.
How to beat Gnarsh
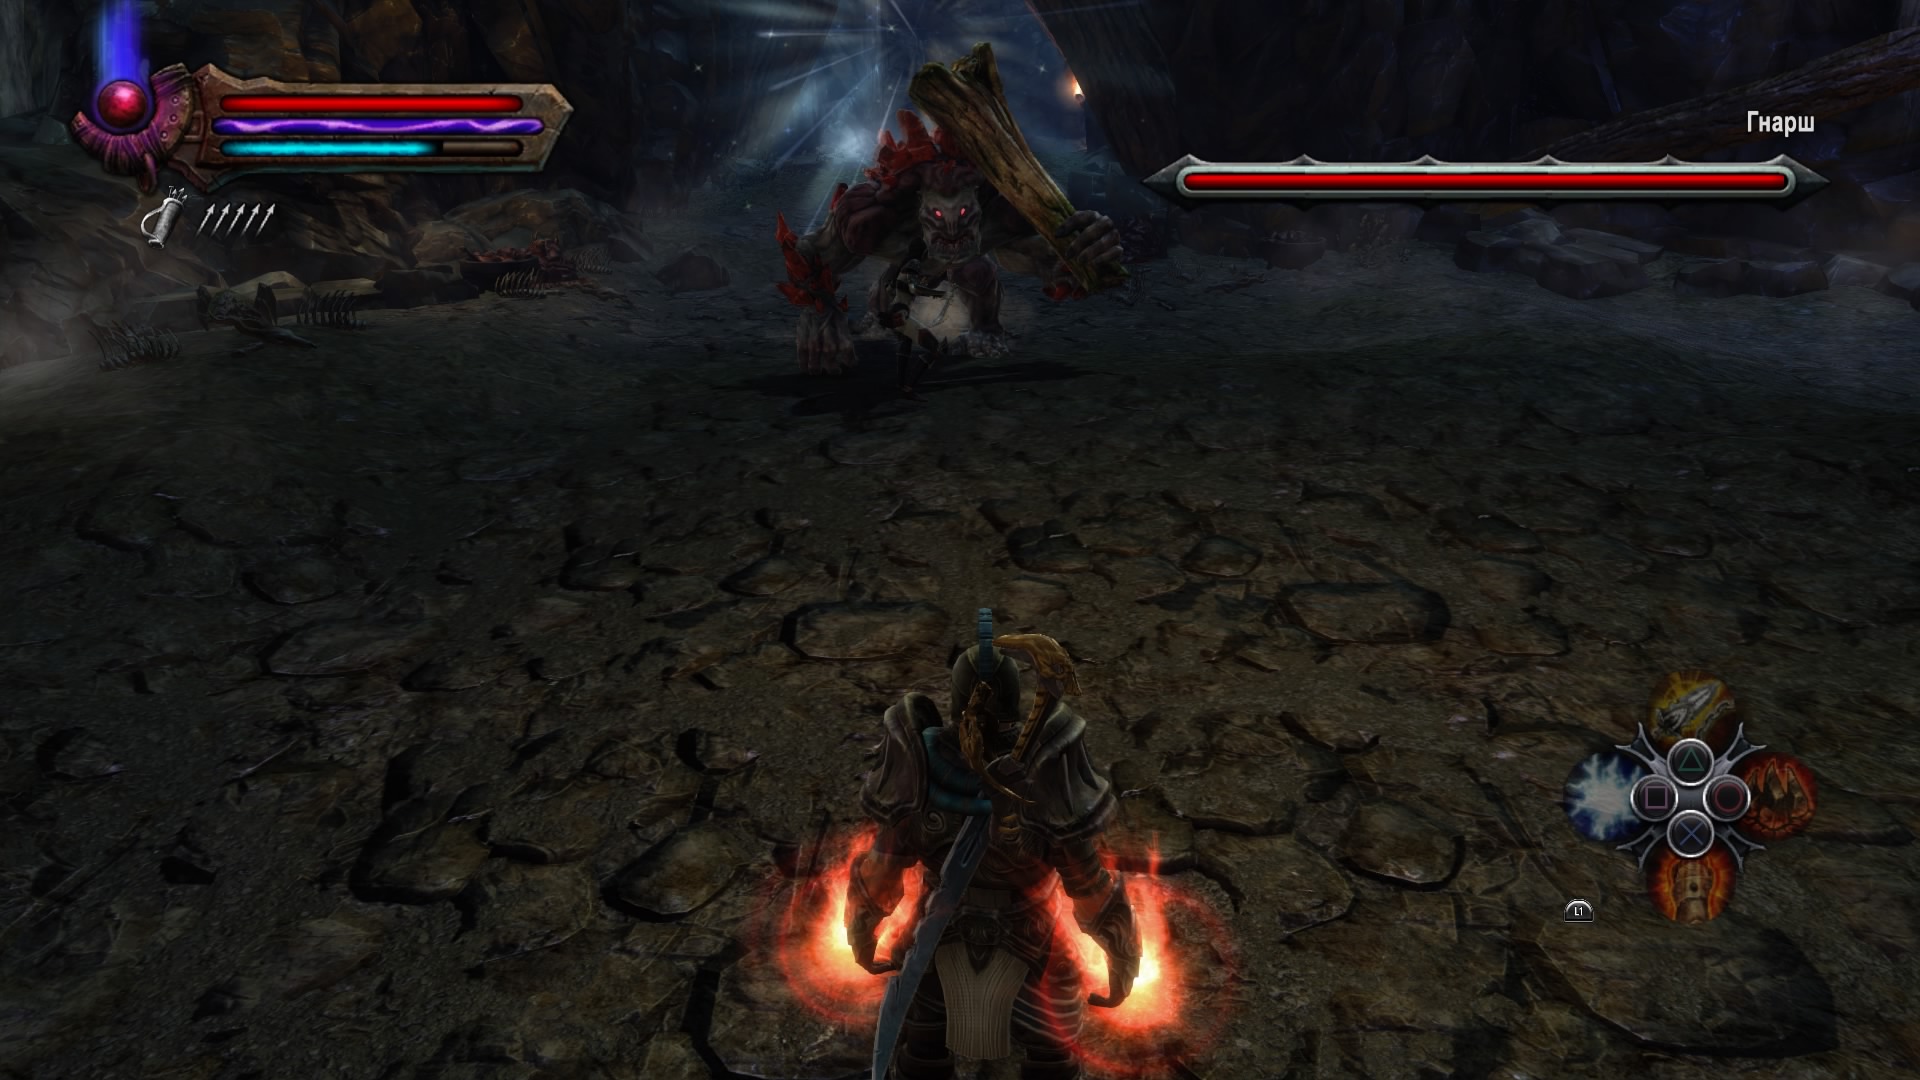
First of all, it is worth keeping the enemy at close range. His moves are easy to dodge, and his combinations of strikes will allow you to stun the enemy for a while. Do not forget to use magic, but the bomb is easily destroyed in close combat. Enemy attacks are exactly the same as regular trolls, but do more damage, so do not forget to immediately drink healing potions when your health is low.
The troll clan is defeated and the tuats are once again exposed. We return to Niralim and warn him about the presence of the enemy in these lands. We persuade him to help, after which the green eye sends the hero to meditation near the pool in the Heart of Shi. A secret passage will open and the hero will be in the Gardens of Isa. After a short dialogue with the Chancellor, the task will be completed.
coming storm

We go to King Titarion, who will be able to decipher the Code. The hero has no predetermined fate. He will have to face in the east with the power of Gadflow, his minions and the power of an unknown god.
Now we have to ask for help from Elin Shir and Agarth. After a video and a short conversation, the task will be completed.
old friend
We talk with an old friend next to the pedestal. Agart is informed that the dwarf Hughes, responsible for the Well of Souls, may still be alive. We go to the templar Oktien in the camp in the Wastes of Dethir. The dwarf believes that Hughes can use the old Salt Caves as a laboratory, so we go to the south of the wasteland and go down to the indicated dungeon. We break through the zombies and find an old friend. The heroes are attacked by robbers, from whom they will have to fight off for quite a long time.
Enemies in the High World
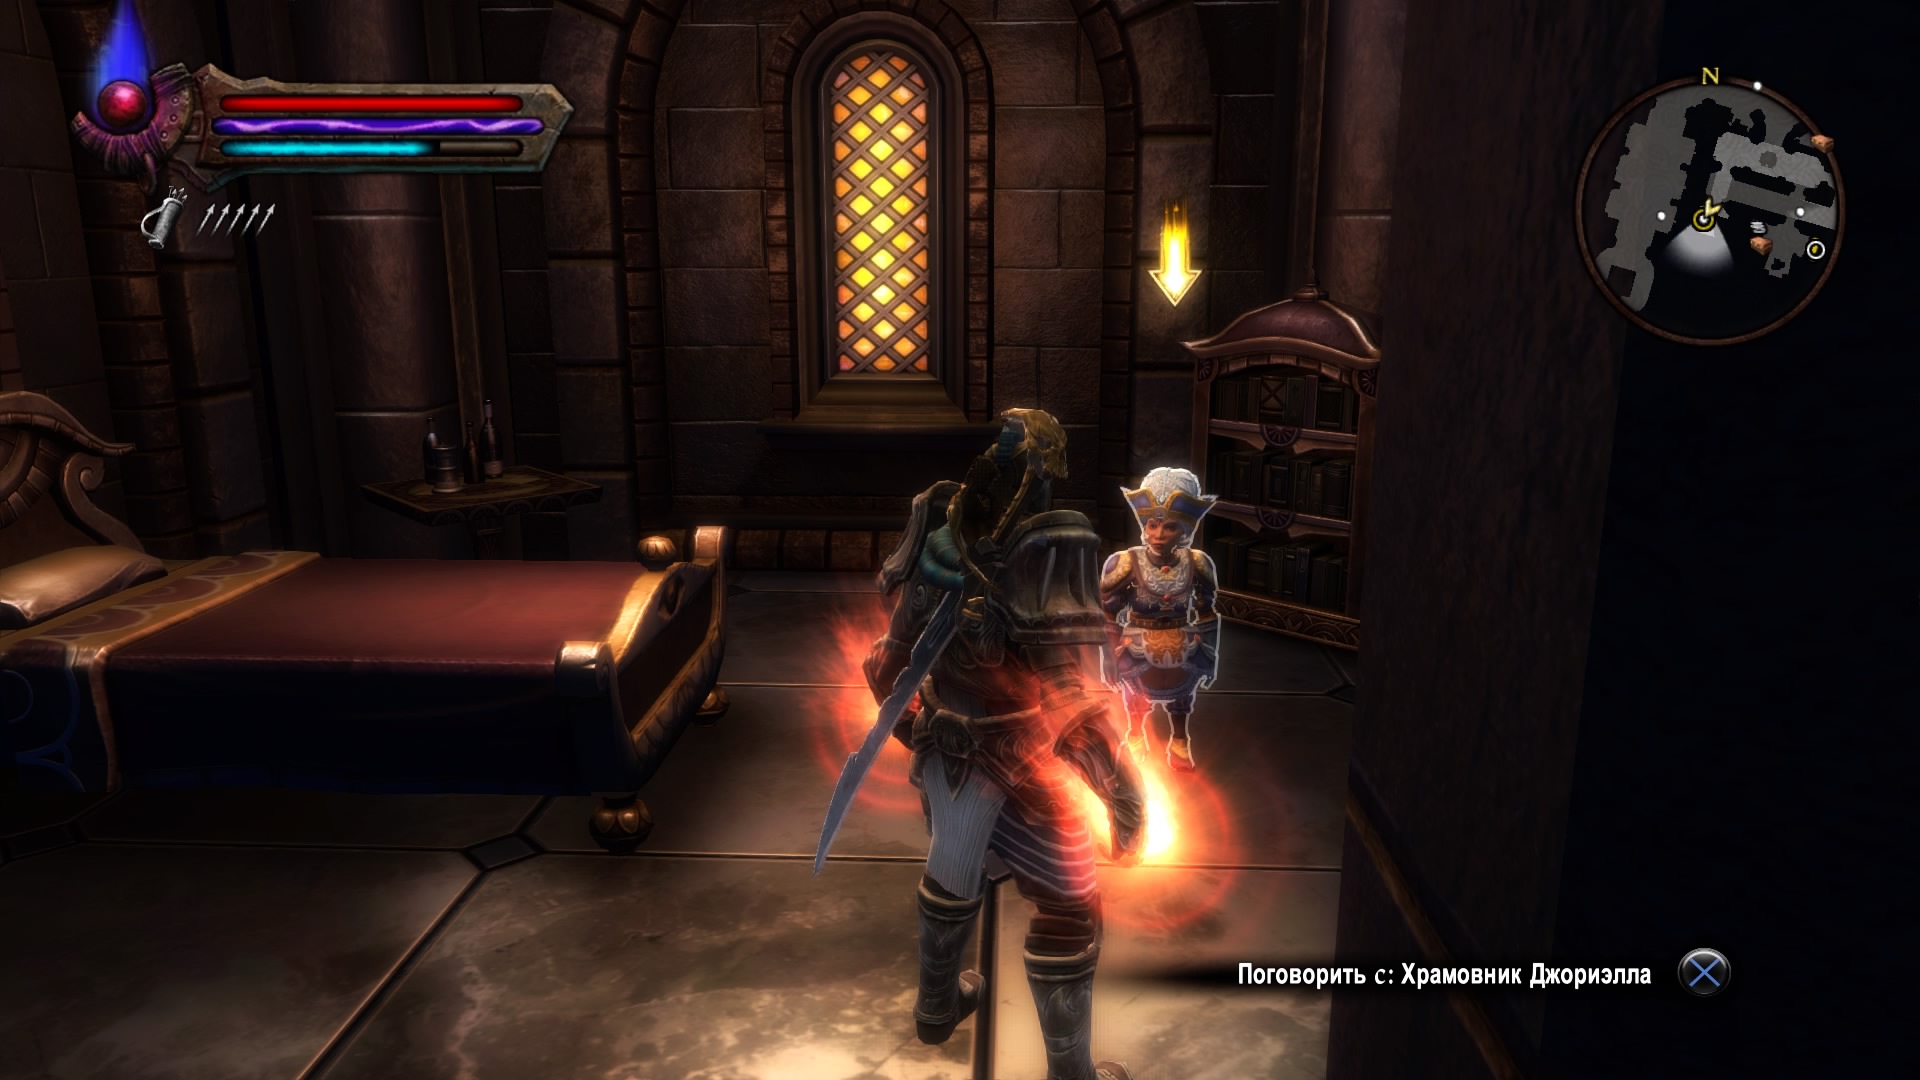
After the fight, Hughes informs that Octien is not to be trusted, passes the list of the templar's crimes, and sends Joriella, who is in the eastern part of the Wasteland, for help. We pass into the city and get the key to our personal estate. First of all, you need to inspect the house and take the task from the gnome, and then head to the templar's house.
The desired replica will not be available immediately, so you will need to complete the side quests Help the Old-Timers and Return to Sender.
Return to sender and Help from old-timers
Two interconnected side tasks, without which it is impossible to continue the main story.
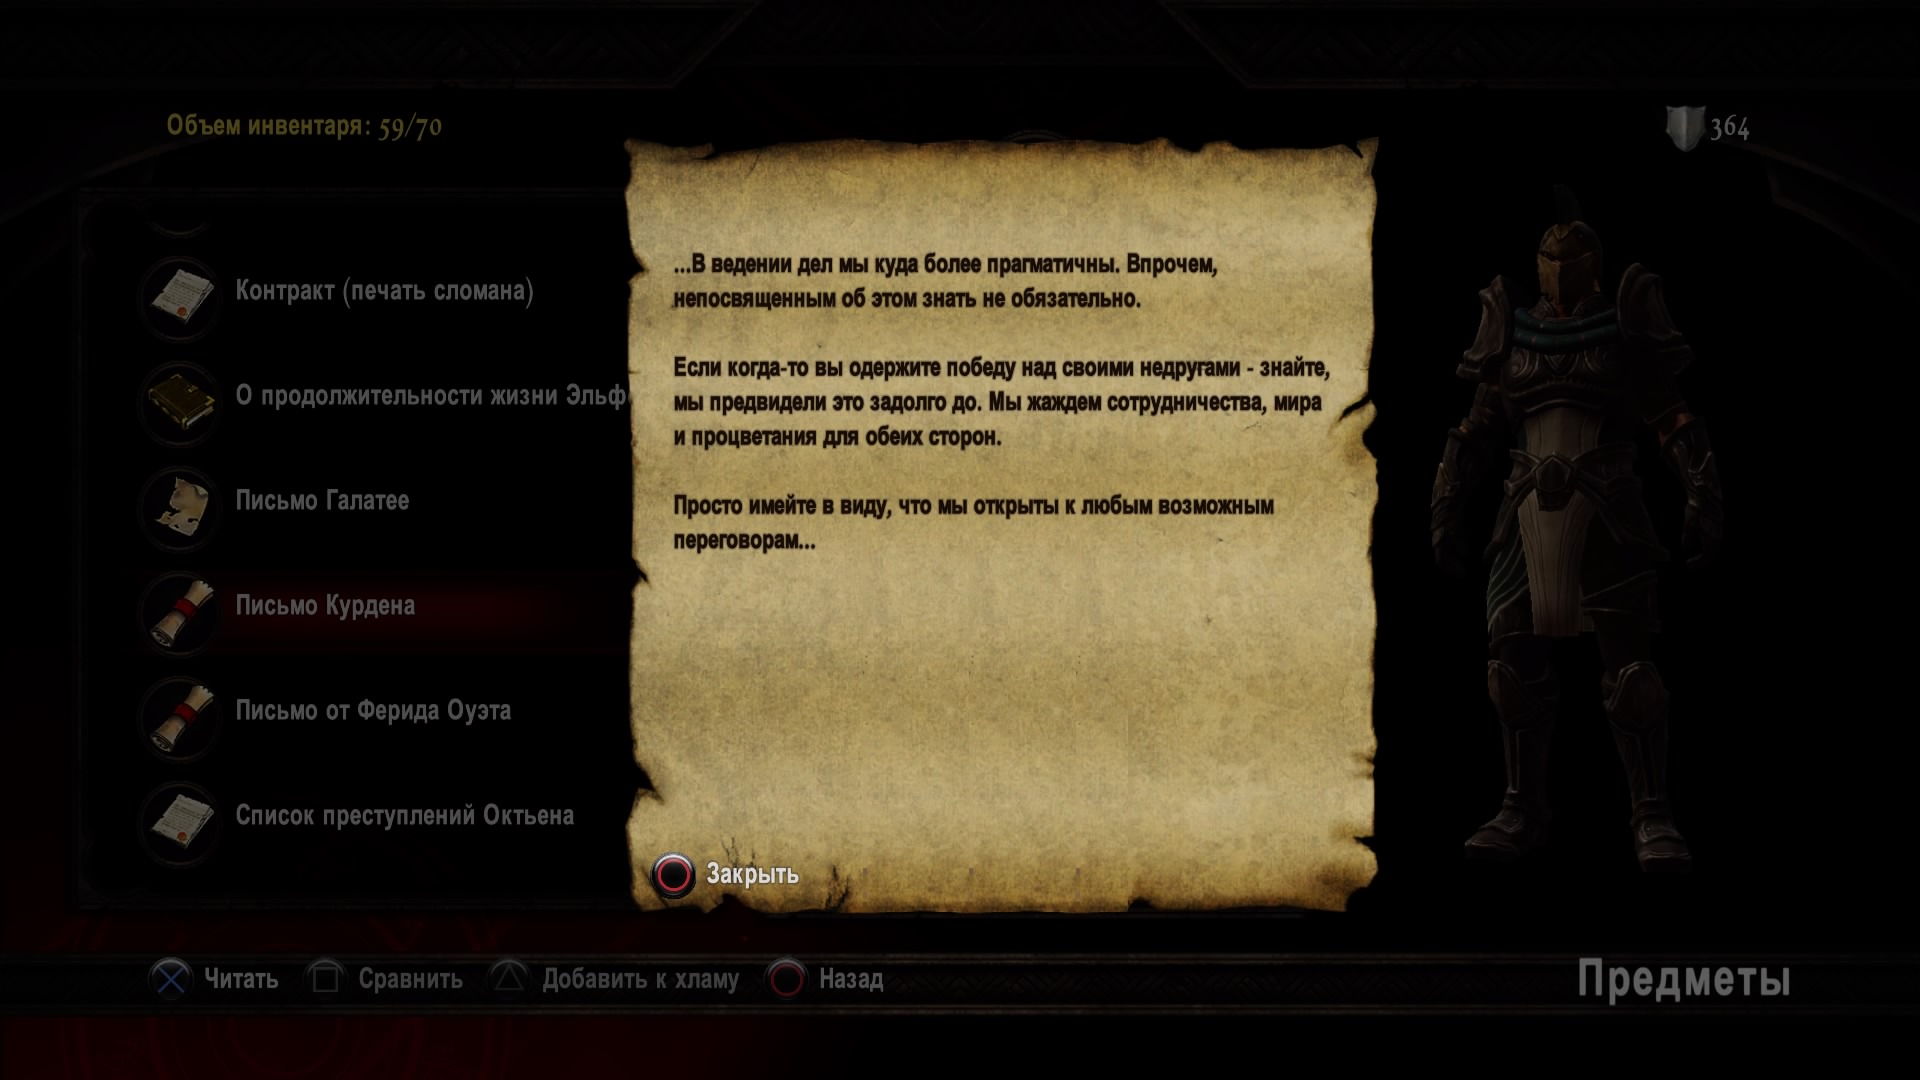
Gnomish scribe Kurden Passant asked for the missing letter to be returned. The messenger is the first to be suspected, so we go in search of him to the Rogue Camp. We find the right person and persuade him to give the letter. We learn that Kurden's boss ordered this message to be thrown away, and the obedient assistant Parven threw it into the quarry in Apotira. We move to the necessary mine and go down to the very bottom. Not far from the entrance to the dungeon there will be a scroll. We return to Curden. He will send the hero to the boss on the Islands for an explanation.
Ayrankurt wanted to frame Kurden, but after the disclosure of the deception, she resigned. We return to the gnome and report the information received. We learn that the templar Joriella is that mysterious stranger who is watching the hero. This will complete both tasks and you can continue the adventures of the main mission.
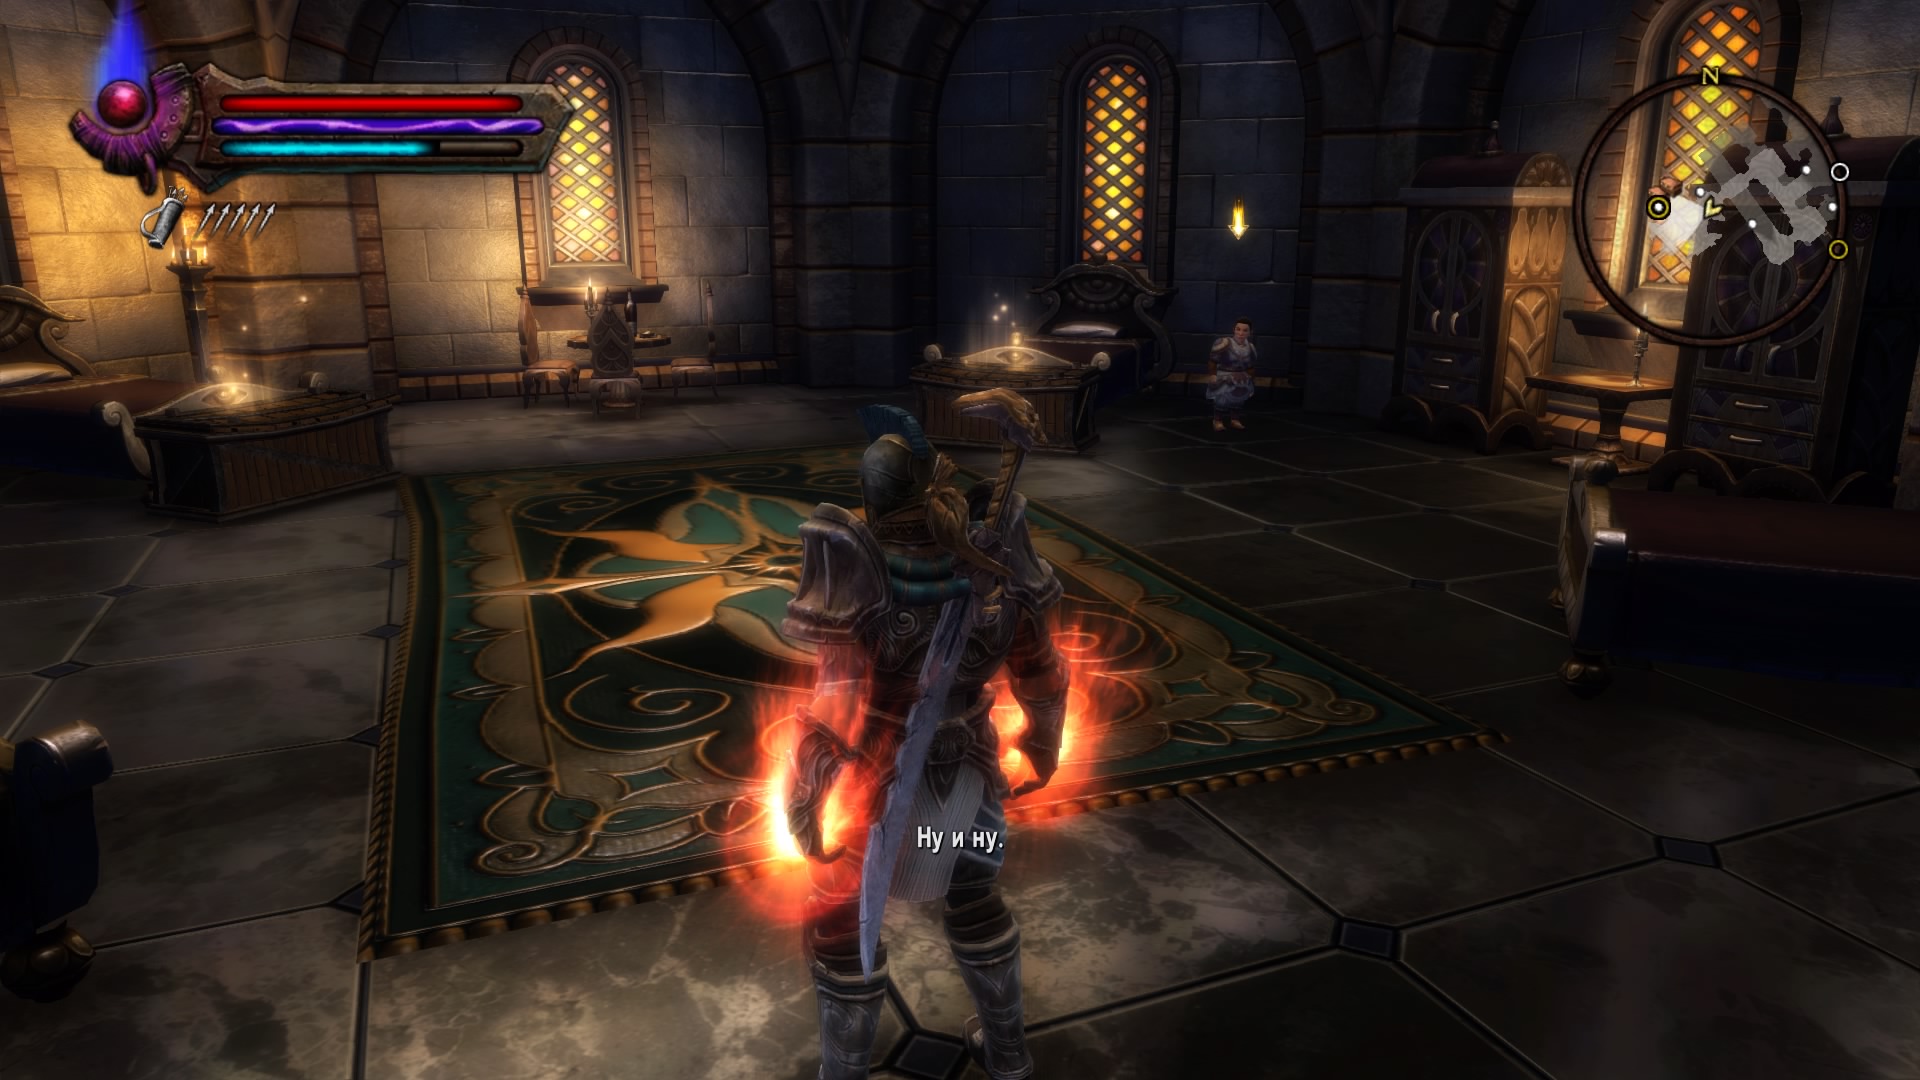
After completing the tasks, we hurry to Joriella. She does not want to believe that the templar Octien is a traitor. We move to him in the Livrarium of Edissa to try to persuade him to confess to the atrocities. The dwarf easily admits to all the misadventures and sets all his assistants on the hero, while he himself tries to hide on the roof of the building.
How to beat Octien
This crafty dwarf will try to fly away and strike from afar throughout the fight. During the battle, the wards of the villain will jump out of the boxes, who will try to keep the hero away from their master. At such moments, Octien puts up an impenetrable wall of light. We deal with the robbers and the path to the boss becomes open again. The rest of the time, the dwarf moves away and forms an ice block, which flies towards the hero after five seconds. During the battle, we always reduce the distance to the enemy and deal with ordinary enemies. At the very top of the tower, you will be able to finish off the boss and jump after him through the broken glass into the castle.
supervised
The bodyguard Bruten, who was sent to help the hero, turned out to be a traitor. He was hired by a mysterious stranger seeking to replicate the Well of Souls experiment and recreate his own large army. We kill the gnome in a fight and notify Joriella about it, which was supposed to be Bruten's next target. In gratitude for revealing the conspiracy, the templar promises to stop following the hero and transfers the villa for life use.
sandstone villa
Activated after a conspiracy against the leaders of the city is uncovered. It is necessary to find someone who can repair the estate. We go to the desired point on the map and go into the building. We communicate with the gnome and for three payments of 2660 gold coins he is ready to renovate the villa. After that, the task will be completed.
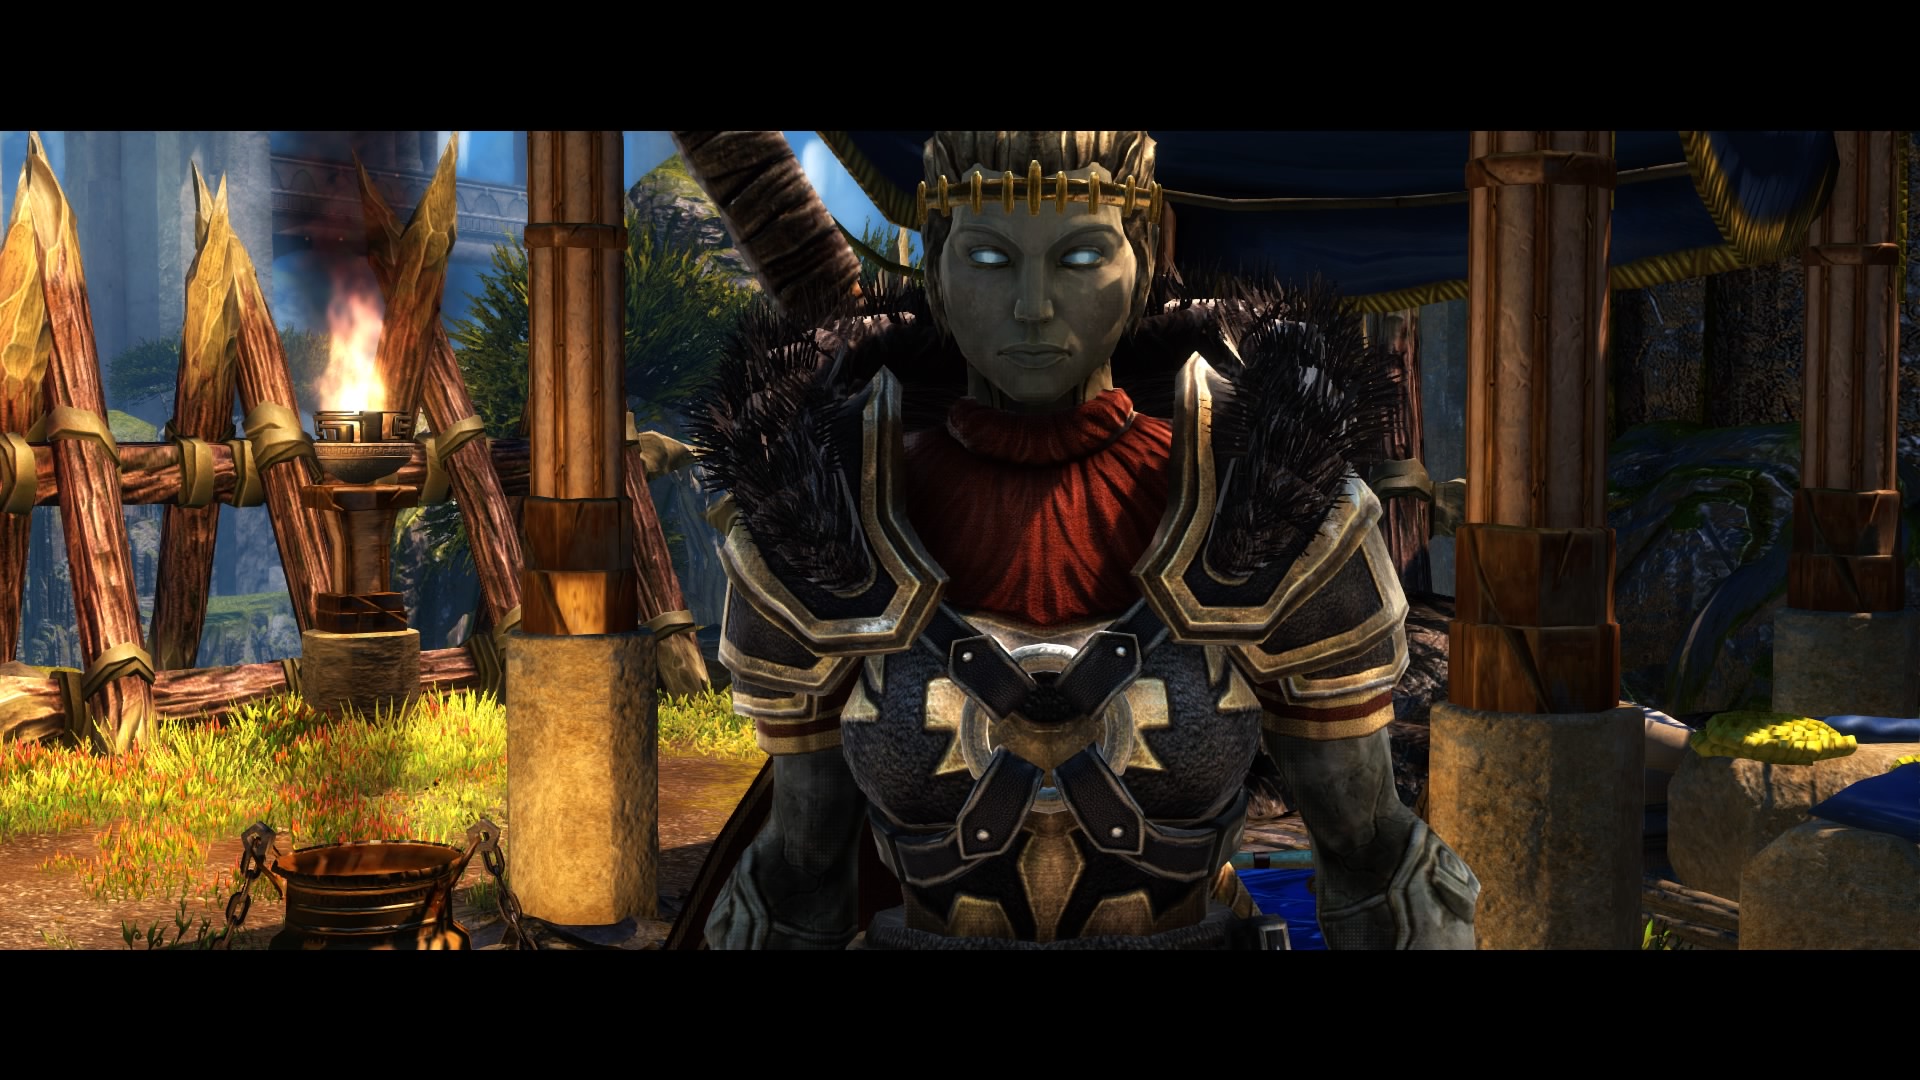
Great General

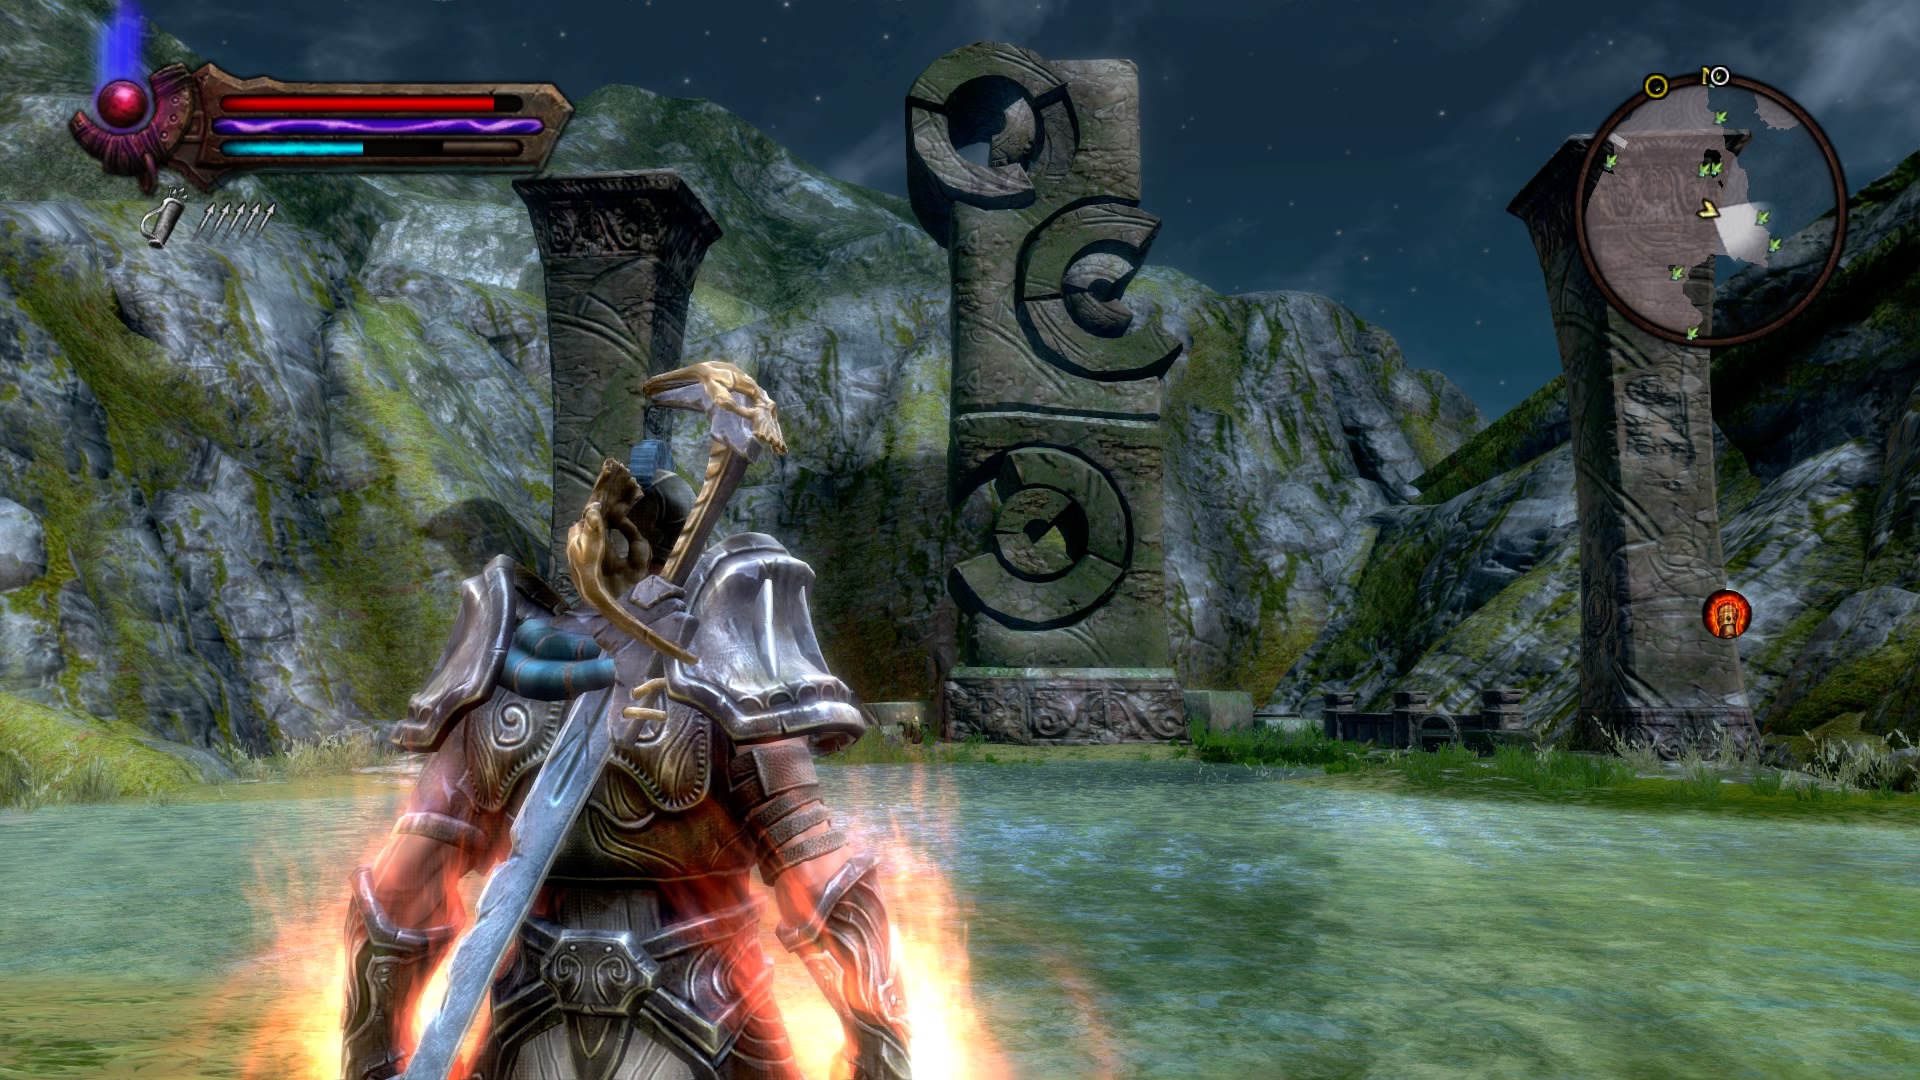
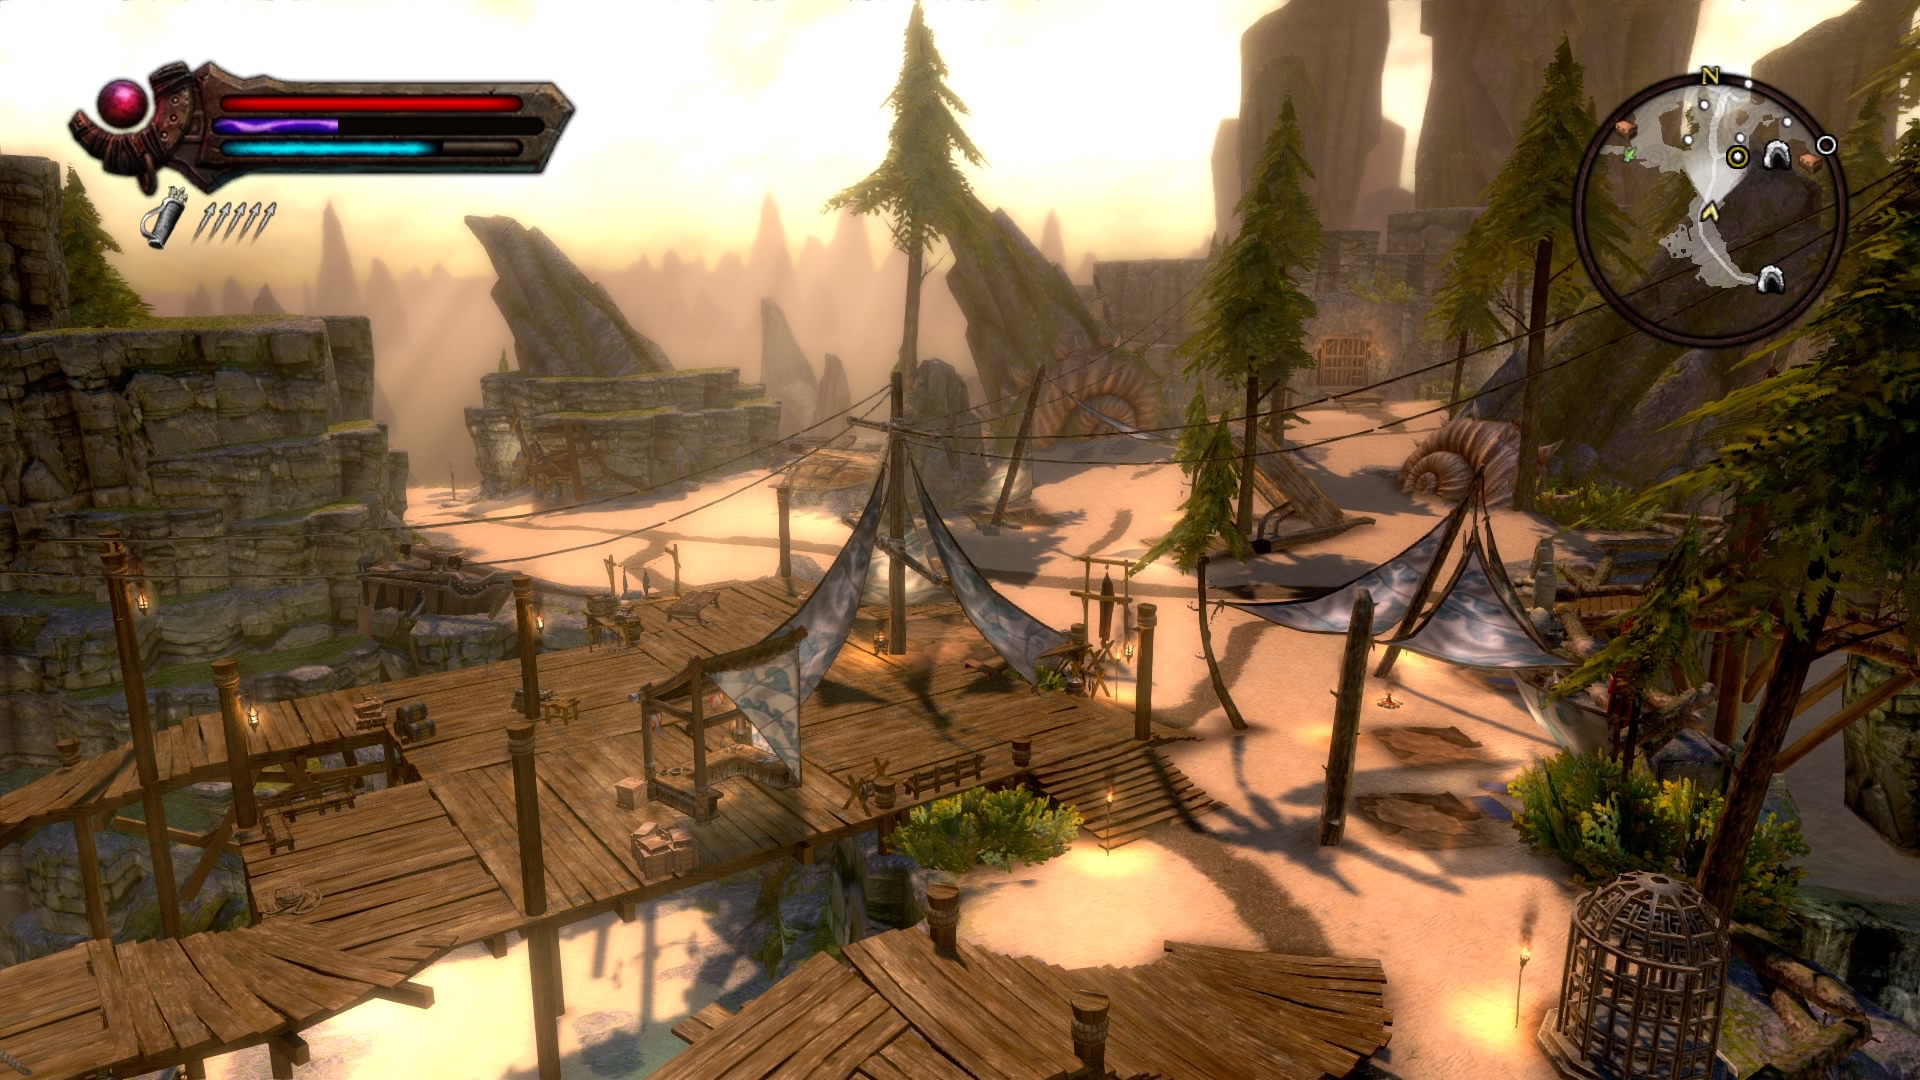
We communicate with Elin. Although the hero does not know her motives, however, one can be sure: the elf is ready to help in the fight against evil. She suggested that the heroes could find an ally in the Plains of Eratell. We leave for the village of Imair to meet with a partner. We leave on the central road and move to the northwestern part of the map. We are moving to the new location of the Eratella Plains. In the tavern in the north we meet a friend who will advise you to talk with General Tilera in the Urul Tusk. The general will ask you to awaken the Wind Stone. To do this, activate a large monument nearby, which will allow you to perform Wind Music.
The hero managed to slightly open the locked gate. We head to the other four stones and activate them, and then return to the general and report the successful completion of the task. We open the sealed gate and move to Urul-Task with Tiler. We move through the entire location to the very end to find the Piercing Light. We destroy all enemies. The general will climb onto the pedestal and try to pull out the spear. The hero must deal with all the enemies and prevent them from getting to the partner. At the end of the battle with normal enemies, a boss will appear.
How to kill Azagaal
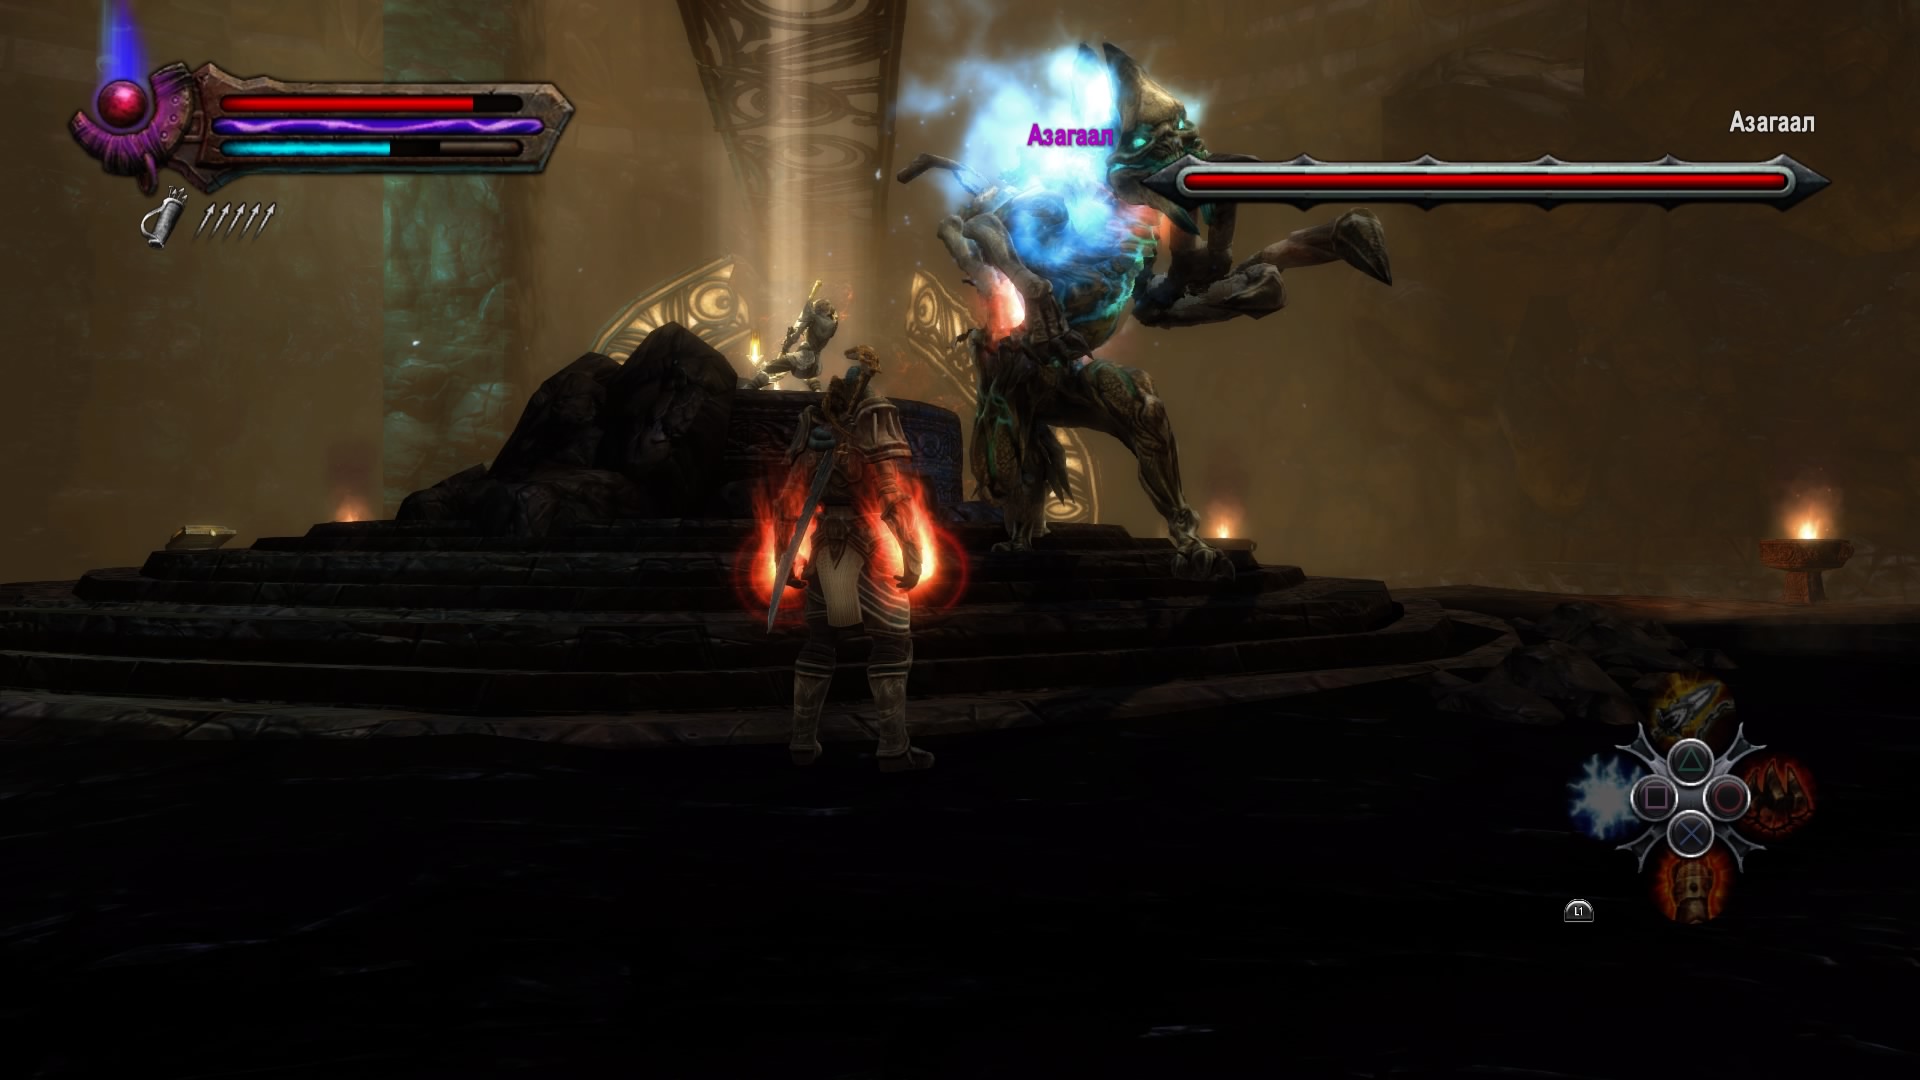
The enemy is no different from the previous bosses.
All combinations consist of four attacks:
- Close hand strike.
- Roundhouse tail kick.
- Direct hit to the area.
- Fire breath.
We do not let the enemy get close, it is best to be away from him to the left or right in order to have time to dodge straight-line attacks. With the right combination of circumstances, a small combination of sword strikes will deal good damage to the enemy. We wait for his attack on the area, dodge and use all kinds of skills. After killing the boss and a short cutscene, the mission will be completed.
Siege Break
We leave for Ratir to meet with Elund Kart. We convince him that Tilera's plan has a chance of success. The elves will present a passage to Mel Senshire. We hasten to Captain Dodwin and sail from Rathir to the war. We talk with Commander Oveiglin. He fears that the fortress will soon fall. We hurry to the battlefield after watching a short video.
Together with General Tilera, we set off in search of the sorcerer Melvin, who must be eliminated before the opponents call on Lord Niskara Balor. We run forward and destroy all enemies on our way. In one of the halls we throw off the stairs, otherwise the passage will remain closed, and the enemy reinforcements will be endless. We rise to the roof of the fortress and find Melvin, who manages to summon a huge monster to the battlefield. We are watching a colorful video and hurry to get rid of the new threat, otherwise Captain Tyler's sacrifice will be in vain. We pass to the end of the wall and enter into a grandiose fight.
How to beat Balor

We dodge the beam and strikes with claws. As soon as one limb pierces the wall, we run up and carry out several melee attacks. At some point, the boss will fall and there will be an opportunity for a good combination of techniques that will allow you to deal suitable damage. Repeat several times and the enemy will fall.
Basic attacks:
- Claw attack.
- Eye ray attack.
And there was silence
The battle has been won, but it is too early to talk about victory in the war. We set off in search of a secret group of jungle warriors who must be persuaded to join the hero's army. At the exit from the fortress, we get acquainted with Kiden, who is ready to help break the tuat. To do this, follow the main path to the Enemy Hearth to meet with his countrymen. The ancient Frostfrost clan has been asked to help destroy the enemy's Phantom Chapels in order to cut off their leader, Gadflow, from contact with the main army.
To destroy, you need to break three red stones around the chapel. After that, the connection will be broken. After the destruction of three targets, we return to Kiden's camp.
Echoes of the past
In gratitude for the destruction of the Phantom Chapels, the hero was opened a secret path to the tower of Ventrinio. Elin Shir and Kiden are already waiting at their destination. We talk with a friend and go into the shadows. Once on the island of Dannestar, we deal with the zombies and go into the tower. Climb up the stairs and split up with your partner. Elin will cover the stairs, and the hero must continue his way further up. We deal with enemies and find a gnome who conducts experiments with the Well of Souls. We fight with the sons of Laz, not allowing Ventrinio to be killed. During the battle, the fortress breaks down and the heroes miraculously get out.
Pride comes before a fall
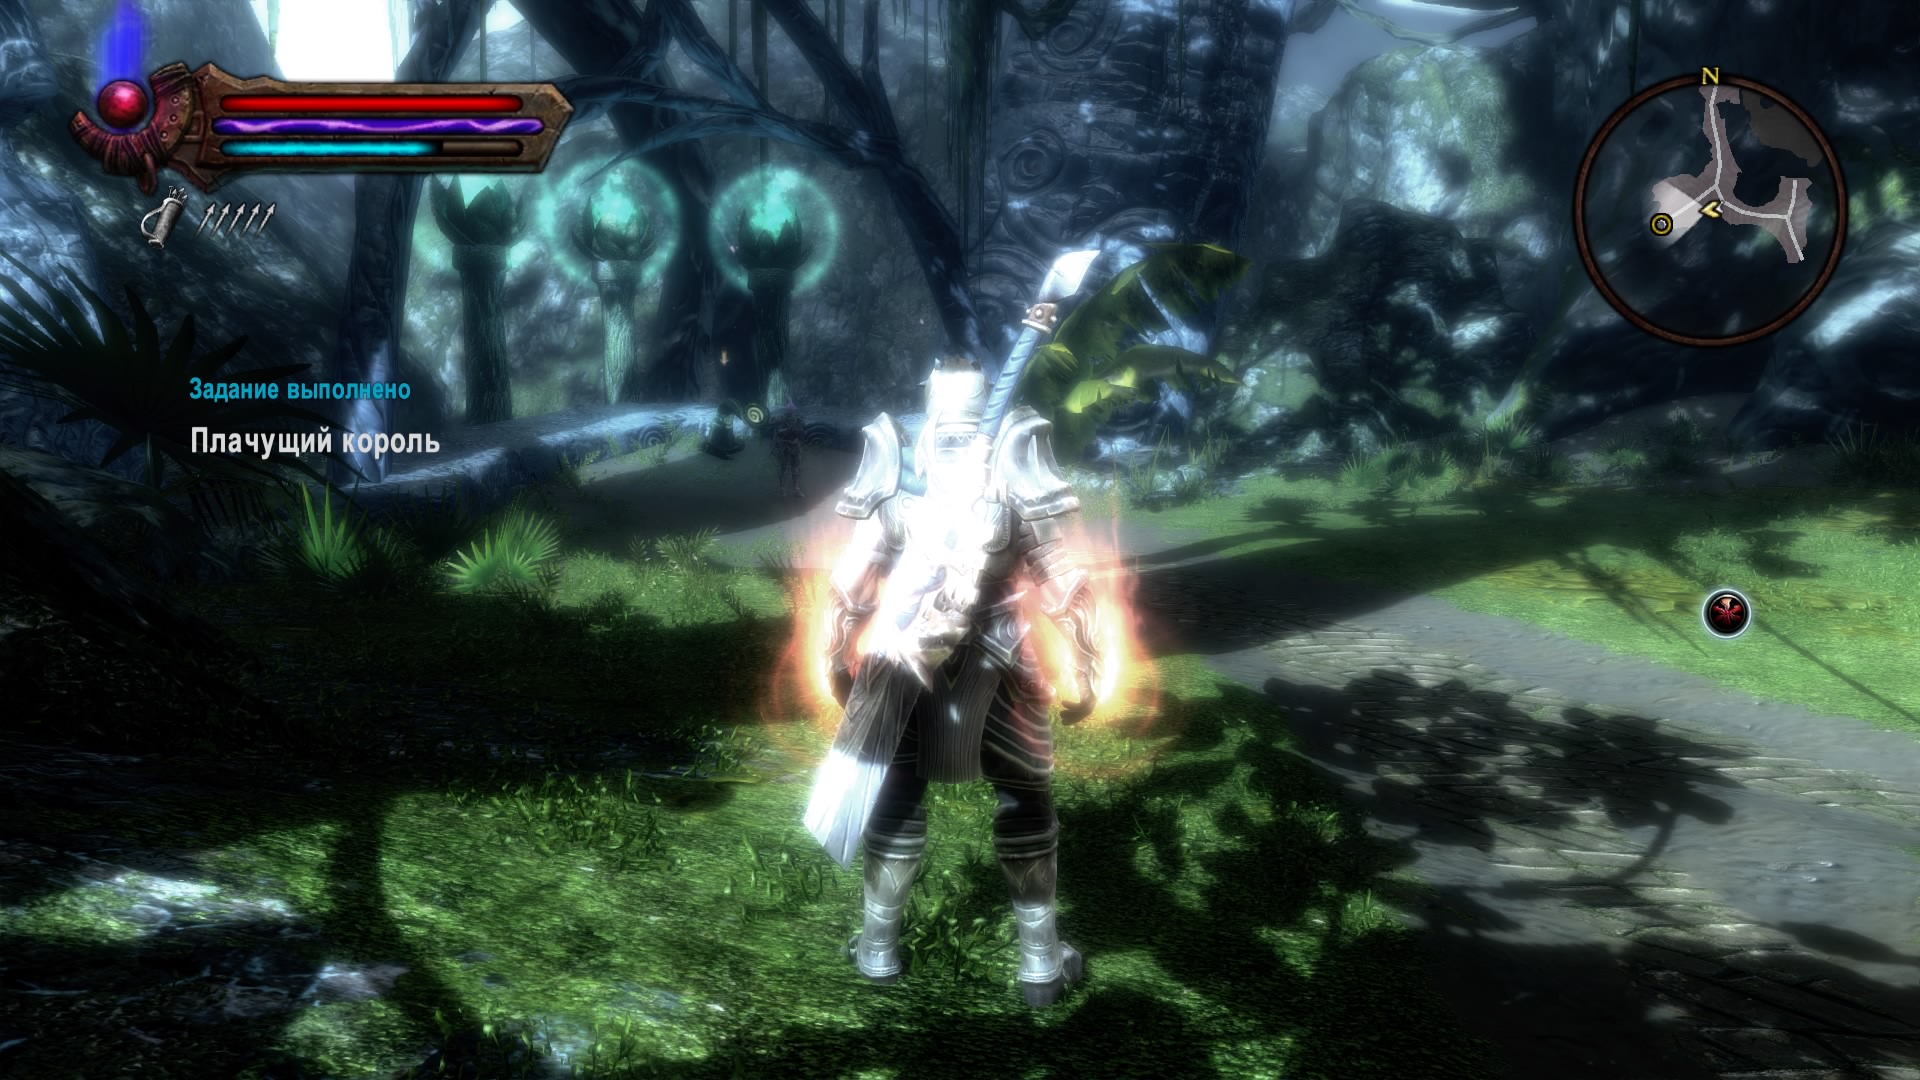
The dwarf knows how to get into Alabastra. We move to the desired gathering point with allies on the map. Thanks to Ventrinio, with the Essence of the Protector, the hero is not affected by Dren's attacks. It's time to check if the team can inflict serious damage on the enemy right now. Protective magic protected the hero and his opponent from injury. After a senseless fight, you can try to persuade Dren to retreat, but he took an oath that obliges him to fight until his death. Ultimately, the forces leave the enemy and the hero kills him with his sword. We pass inside the fortress and free the House of Pride from the invaders. We get to the central hall, where we destroy the magician Myrn.
How to defeat the sorcerer knight Myrn
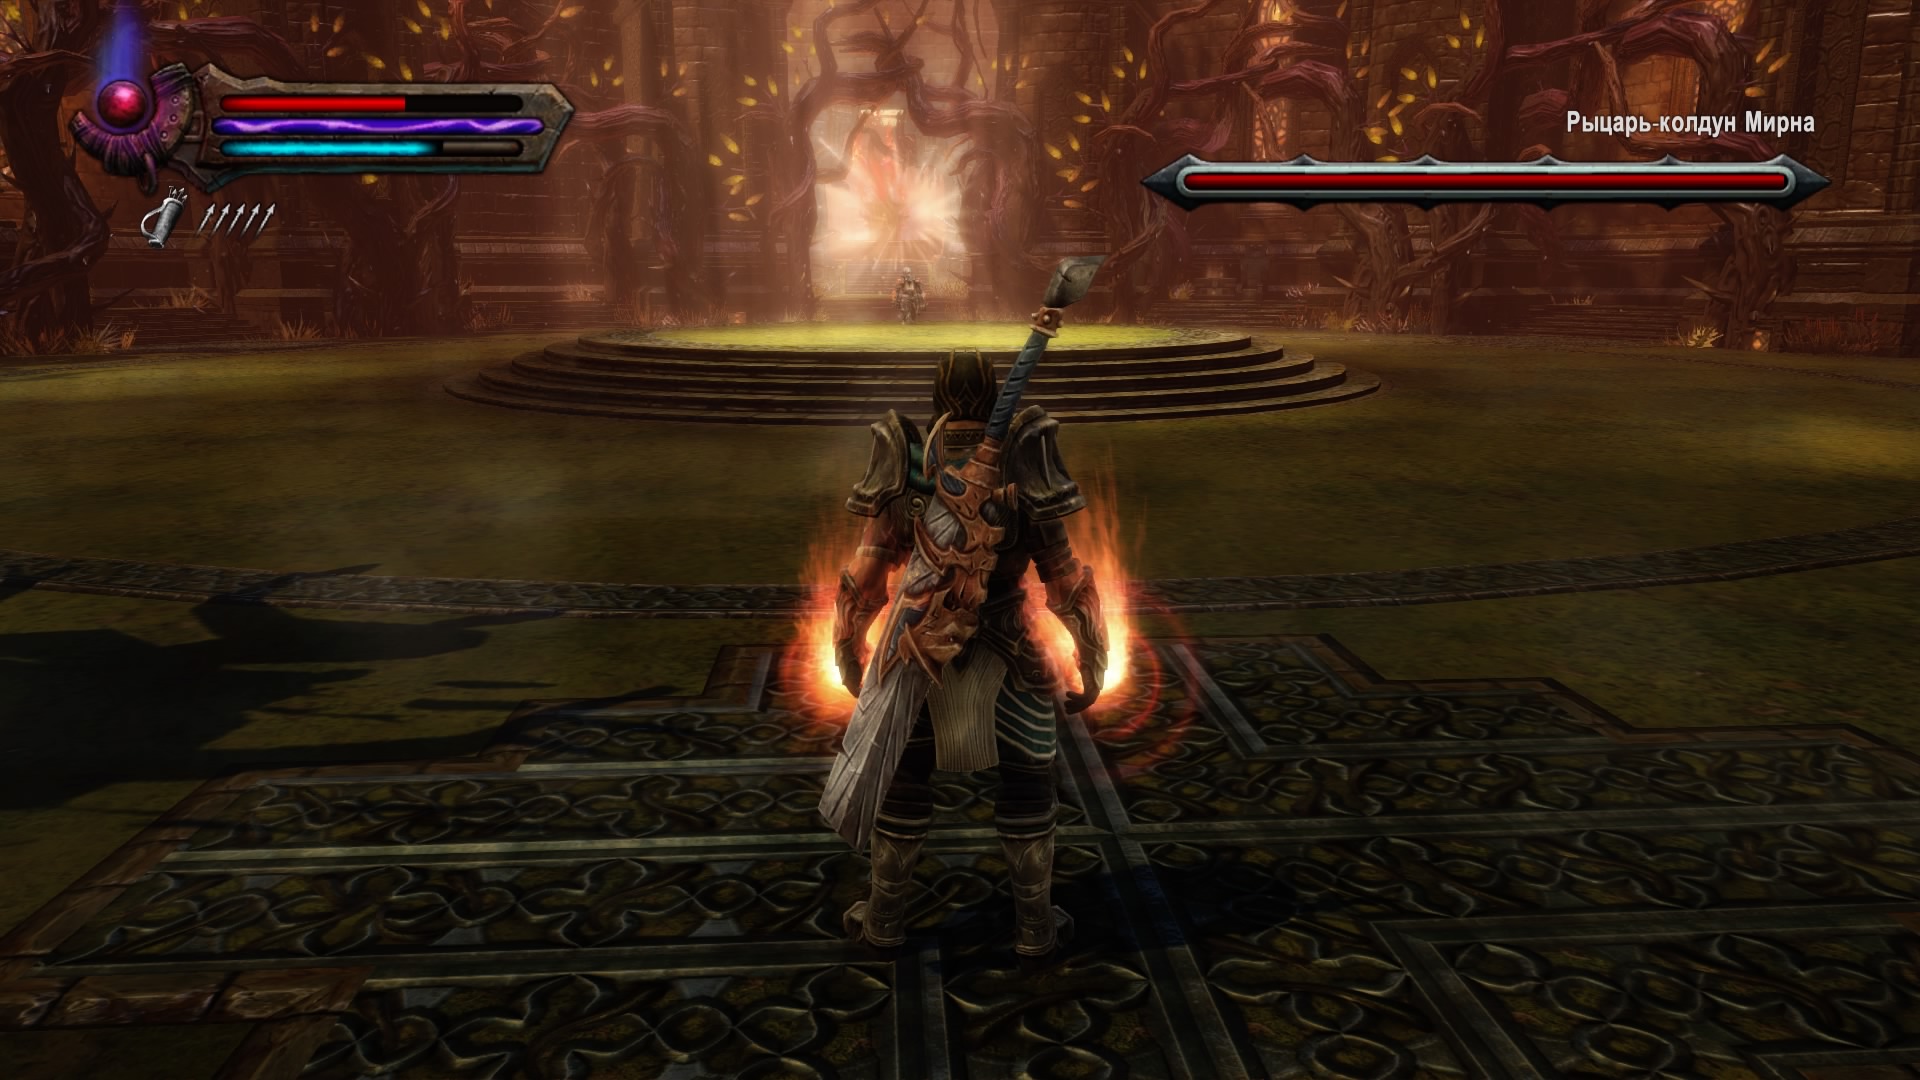
We run into close combat and carry out a couple of good combinations on the enemy. Dodges magical abilities and deflects hits from minions. The enemy often teleports and freezes the hero.
Basic attacks:
- Frost.
- Attack with magic balls.
- Summoning Skeletons.
We pass into the next room and destroy another point of contact between the enemy and the army. We talk with Jack and accept the unconditional surrender of the House of Pride, now the path to Alabastra is free.
Revenge
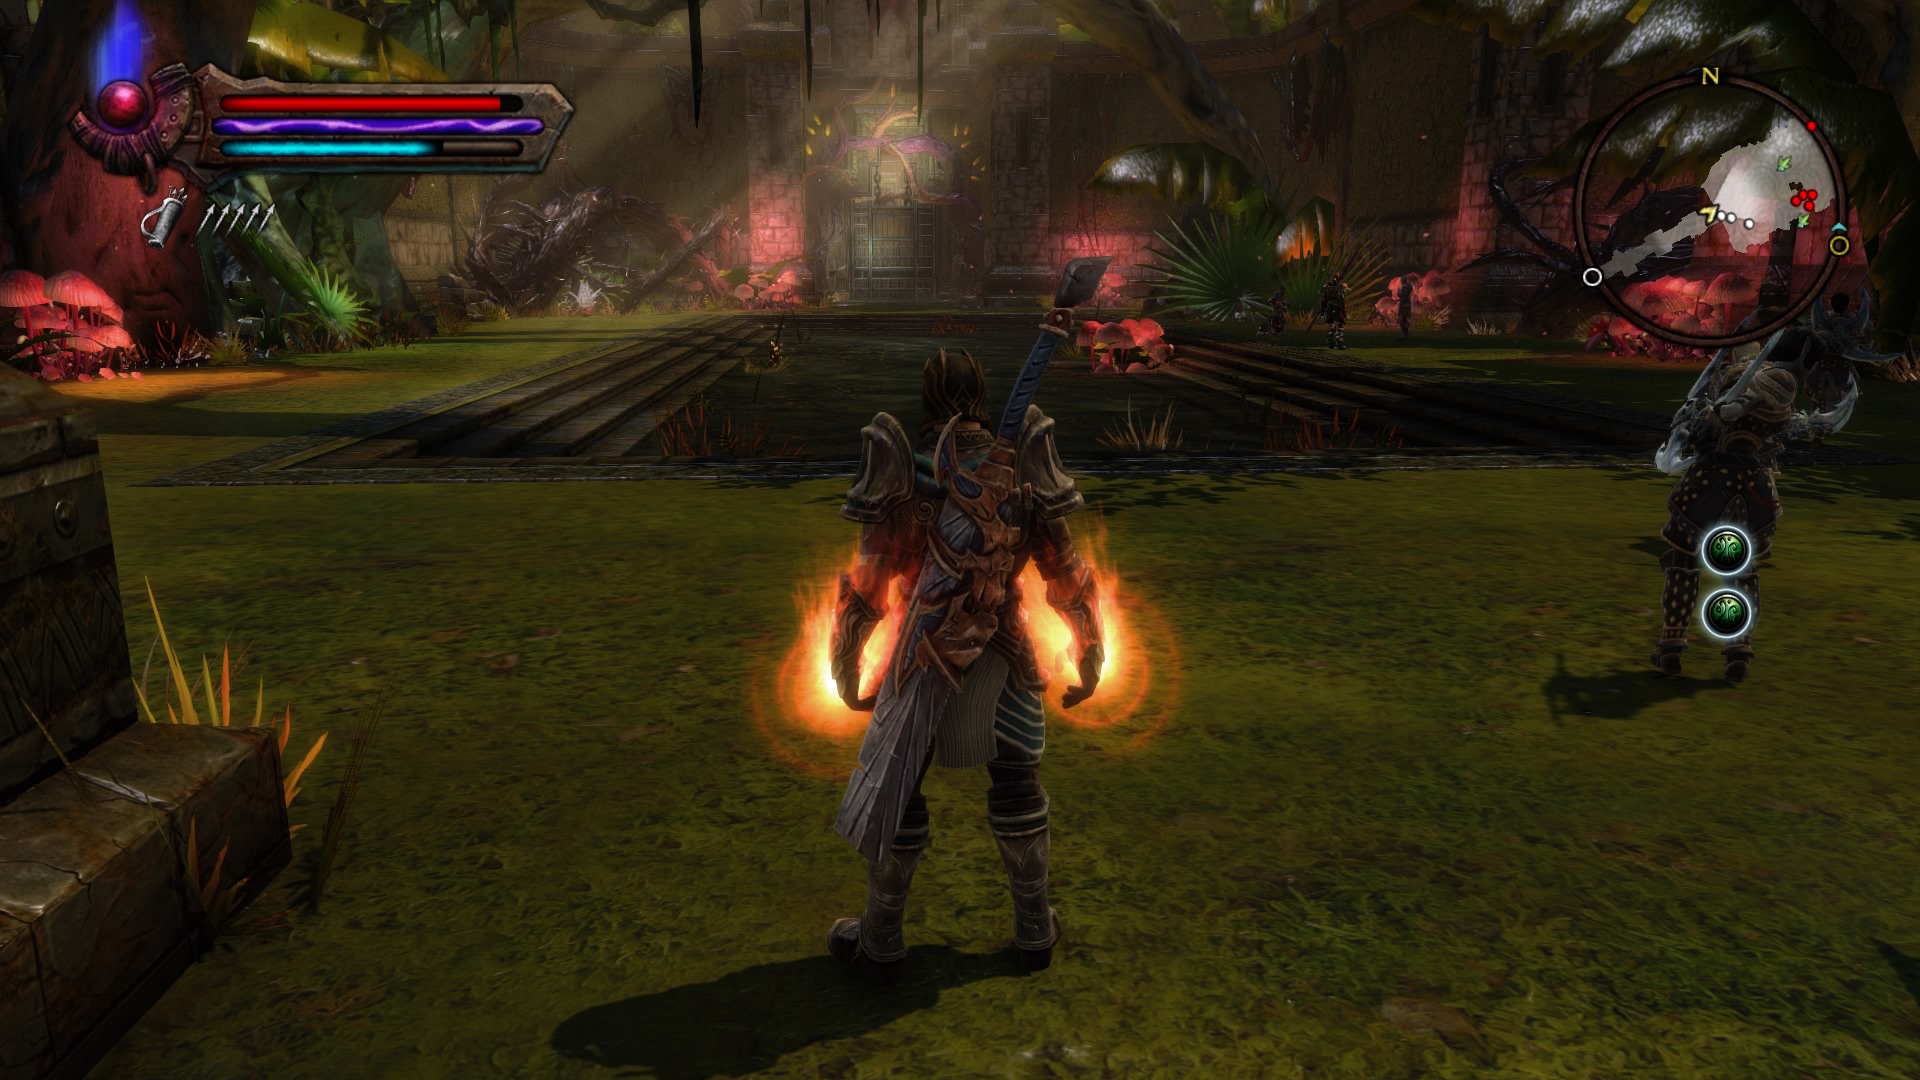
We leave the fortress and join the allies in the camp. After a short dialogue with Elin Shir, we set off along the main road to Amaura, to the location of the House of Vengeance. The rest of the team will arrive at the mark on their own. We make our way through the whole area through the crowds of enemies, which are very strong here. You should be careful, otherwise you can easily die in the first battle. We can not fight, running around all opponents. On the way you will meet all kinds of enemies: swordsmen, archers, monsters and trolls. At the House of Revenge we fight side by side with Kiden and wait for Agart. He does not intend to wait for Elin, so the team goes into battle without an elf. We defeat all enemies and go into the fortress. We easily deal with all opponents and meet another boss.
How to defeat the Hound of Vengeance
Summons not only tuatha, but also nisara. There are a lot of enemies in the hall, so we break through to the boss with all our might. It deals quite strong blows, so we try not to miss a single enemy move.
Basic attacks:
- Summoning helpers in large numbers.
- Circular magic attack from the air.
- Ground slams with area damage.
- Combination of quick strikes.
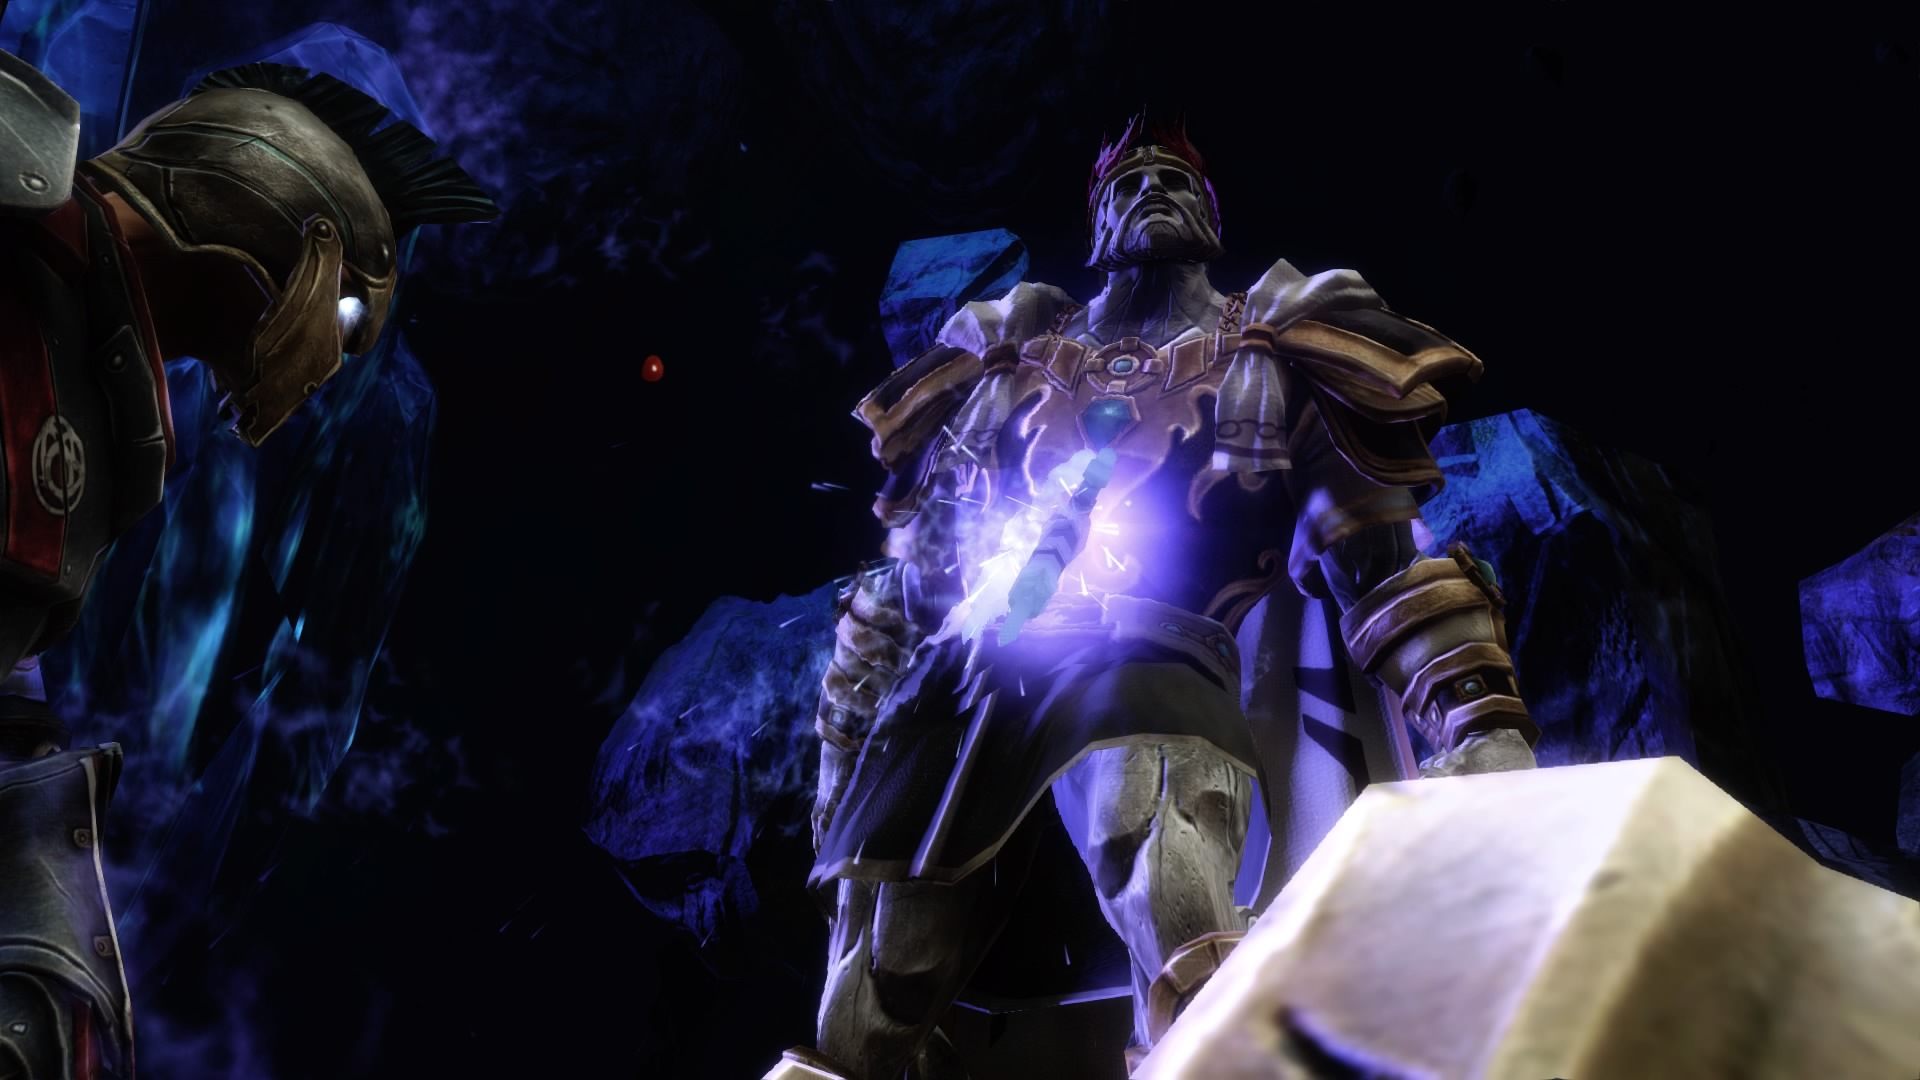
After winning the duel, we pass to the next location. Agart and Kiden keep the gate open, so the hero will have to enter the ruined city of Bile alone and look for Gadflow. Meeting Elin, who talks about how Ventrinio attacked her: she had to get rid of the dwarf and get to Bile herself. It remains only to break through to the villain and destroy him. Along the way, the elf will tell you many interesting details about the hero's past. We go into the Winter Palace and get ready to fight Gadflow.
How to beat Gadflow
The strongest enemy in the game. It is worth being afraid of any blow. Able to summon twins, which are distinguished by a bright red aura. Launches fire and frost balls. We try to dodge the magic shots of the enemy. Do not forget to replenish your health on time and after a couple of minutes of battle, the enemy will be defeated.
Basic attacks:
- Fire balls.
- Tornado.
- Lightning.
- Explosive waves.
Retribution
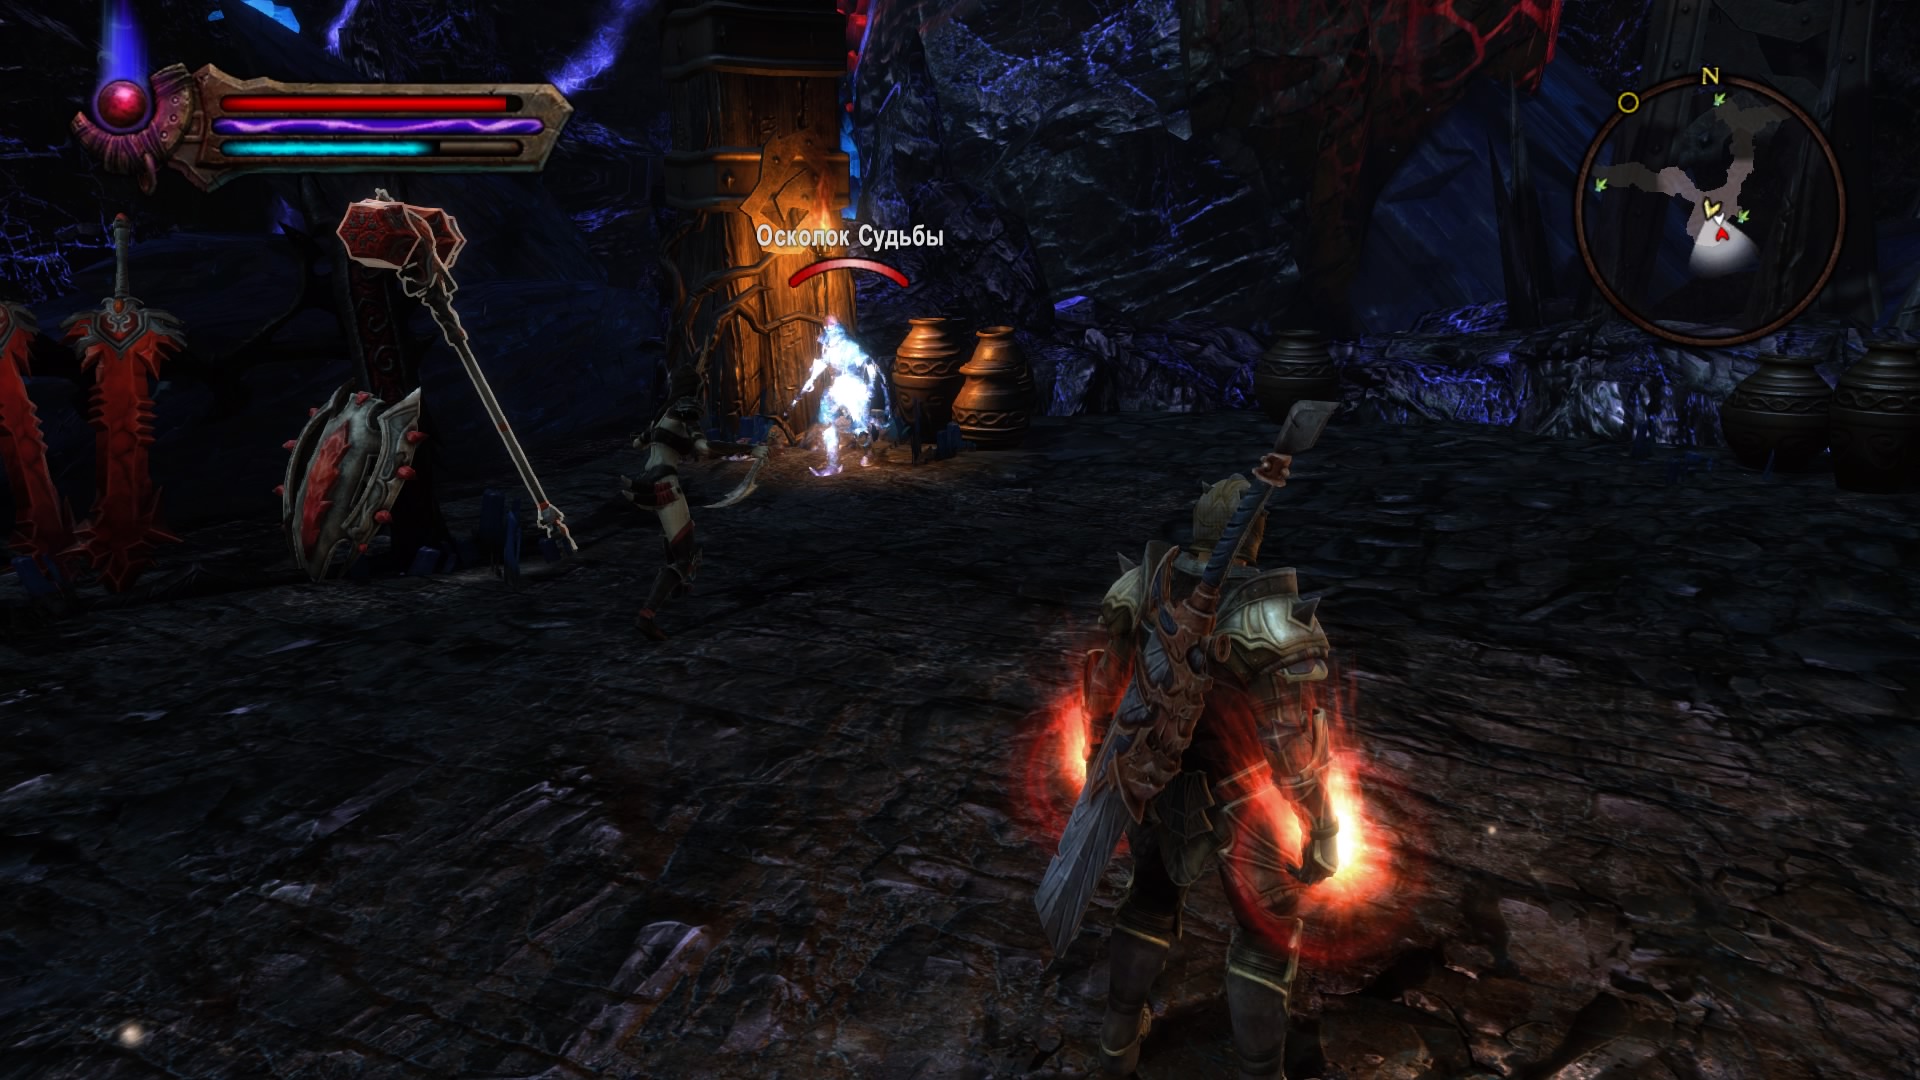
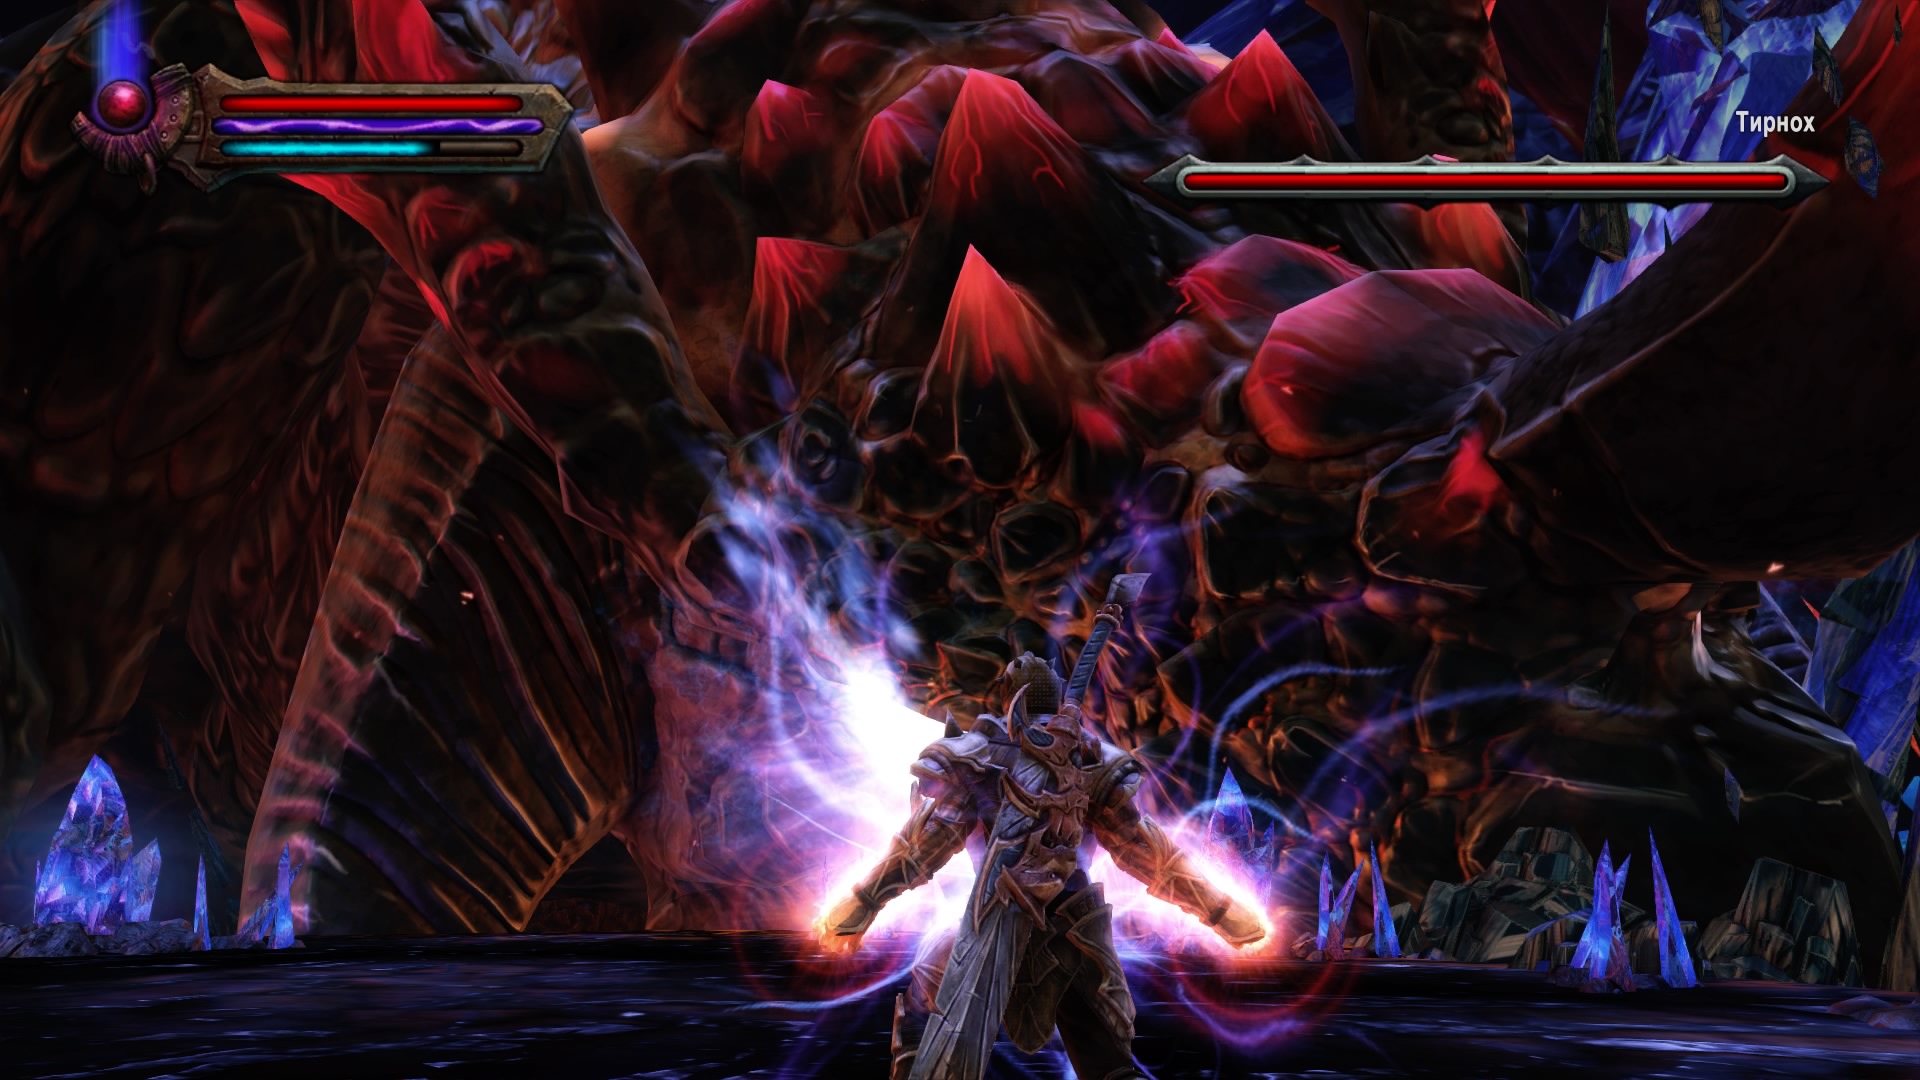
Turns out Gadflow wasn't in the room. He hides deep in Amethyne, where Tirnoch is shackled between worlds. The hero with Elin Shir must find him and prevent the demon from being released. We run after the elf to the point and go to Ametin. We run through the location and along the way we kill the Soul Shards that Tirnokh tears out of the hero.
Elin has closed the exit so the evil can't get out. We go in the door, we pass along the bridge and, after a short conversation with Elin, we pass to the boss through the red throne. We watch a video in which Tirnoch kills Gadflow and begin the final battle.
How to beat Tirnoch
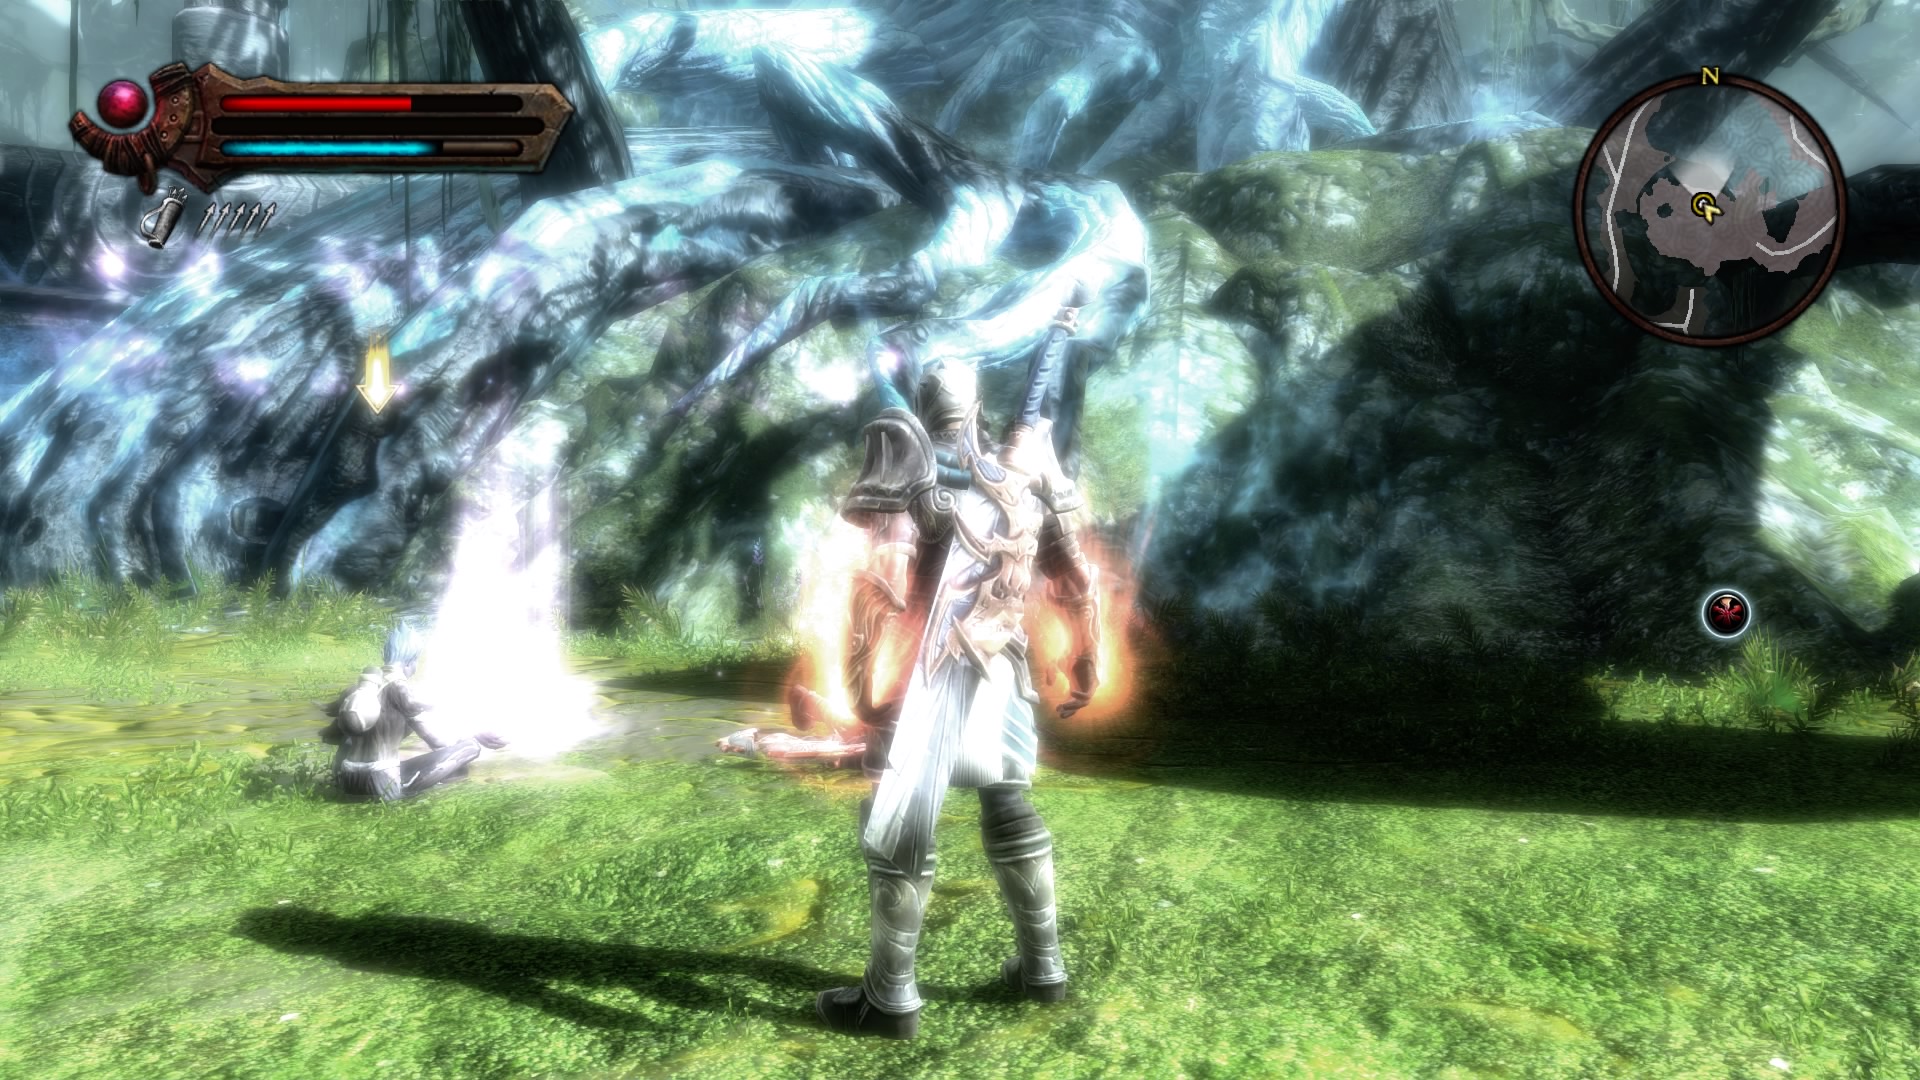
The demon drains the hero's strength, summons Shards of Doom, and occasionally slams the ground with its horns, dealing area-of-effect physical damage. Each Shard has a unique set of skills and weapons. First, we break the blue crystals and wait for the enemy to call on ghostly helpers. We deal with enemies and accumulate a charge of energy for a special ability. As soon as the strip is full, use the technique and the boss will fall to the ground.
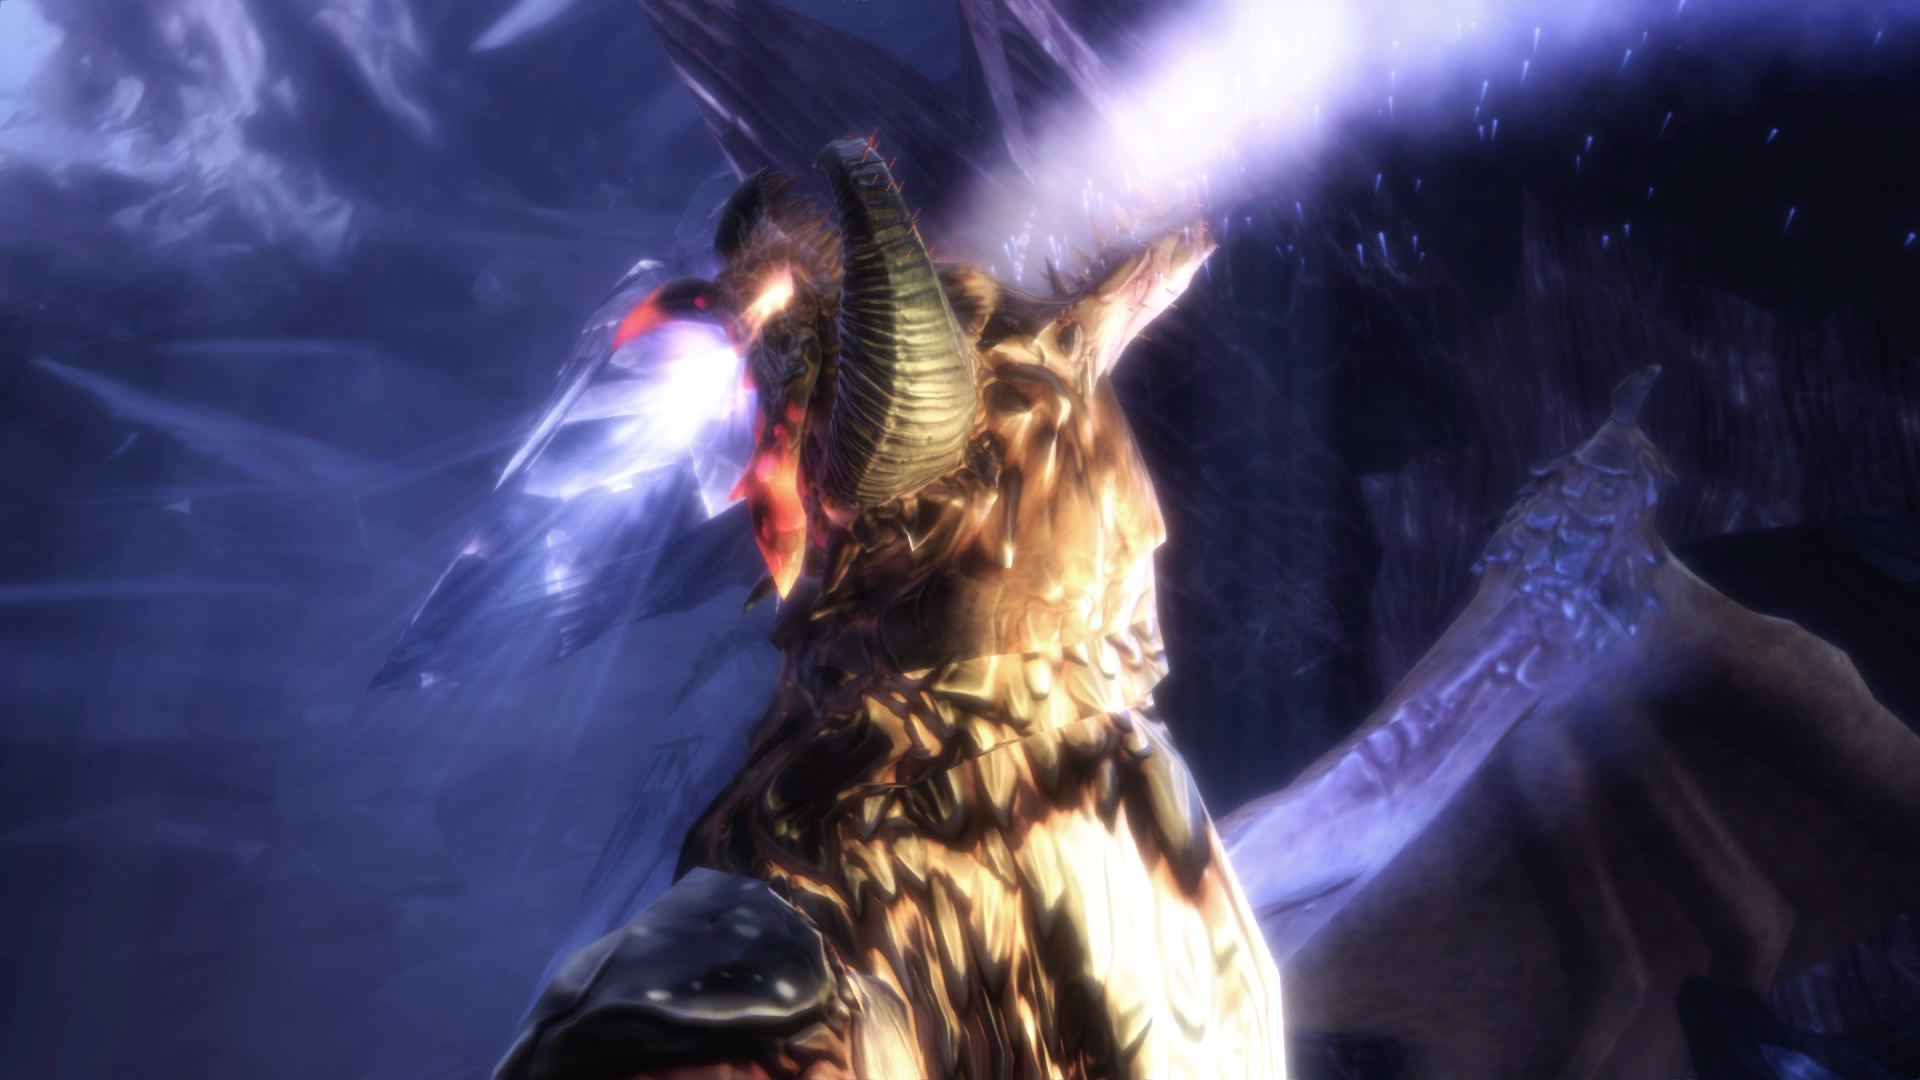
We strike and go to the second phase. Now the enemy will summon two Soul Shards, as well as throw blue crystals, which you need to dodge in time. We repeat all the same and go to the last stage. Tirnoch will launch lava from the ground and summon three assistants at a time.
Basic attacks:
- Hitting the ground with horns.
- Call for helpers.
- Throwing crystals.
- Launching lava from underground.
After defeating the enemy, watch the final video.
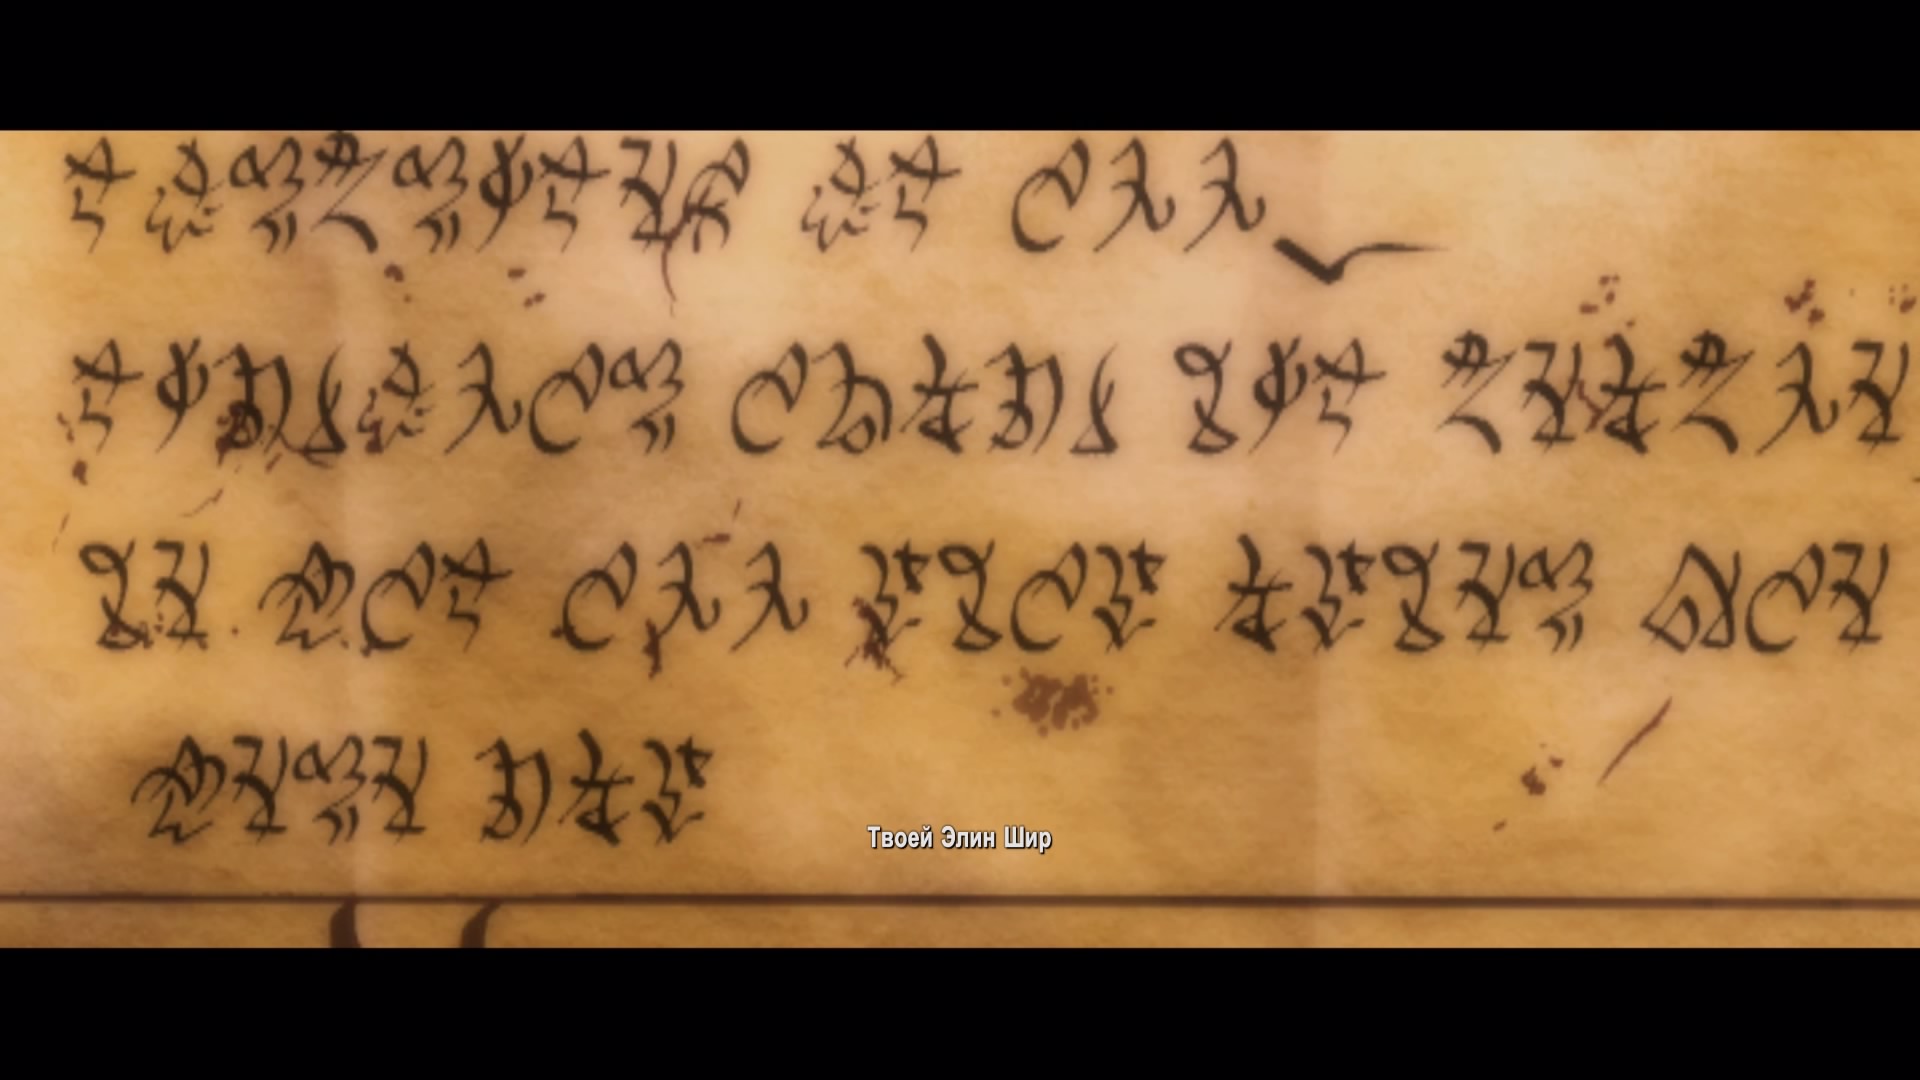
Last words in a letter from Elin
Fangs of Naros
Fangs of Naros
We leave for the expedition of mercenaries who have discovered the way to the Fangs of Naros. To do this, we move to the south of the location and go to Ettinmer. In the camp we communicate with Helik and follow to the South Passage. After a short video, we hurry to help the team. We kill spiders and continue the journey together with other participants in the campaign. Throughout the journey, the hero will lose his partners. At a certain point, Helix will be injured, so we give him a healing potion and continue on our way alone. We move forward, pick up a strange artifact and exit the dungeon.
Rites of passage
Once outside, we jump down and get acquainted with the giant Sekandra. We help her deal with the Jotuns. After that, the warrior will tell you that in order to meet with Primus, to whom the talking statue sent the hero, you first need to help destroy the cruel commander Karunk. To do this, we go to Remes for more information. He will tell you that the enemy captain is in the tower. We get a bow from an ally and go to the mark on the map. We make our way through the crowds of enemies and go to the very top of the tower, where the hero will fight the boss.
How to beat Karunk

The enemy often charges his warhammer and surrounds himself with a magical shield. It is advisable to use magic from a distance. If the enemy comes too close, then we dodge a series of blows and inflict a powerful blow from the back.
After defeating the opponent, we jump down and decide the fate of the Jotuns together with Sekandra. We follow with her to the city of colossi Aidilla. With the help of the Henge artifact, the hero will be able to enter inside. Use the monument and move to the next location.
Forged in evil
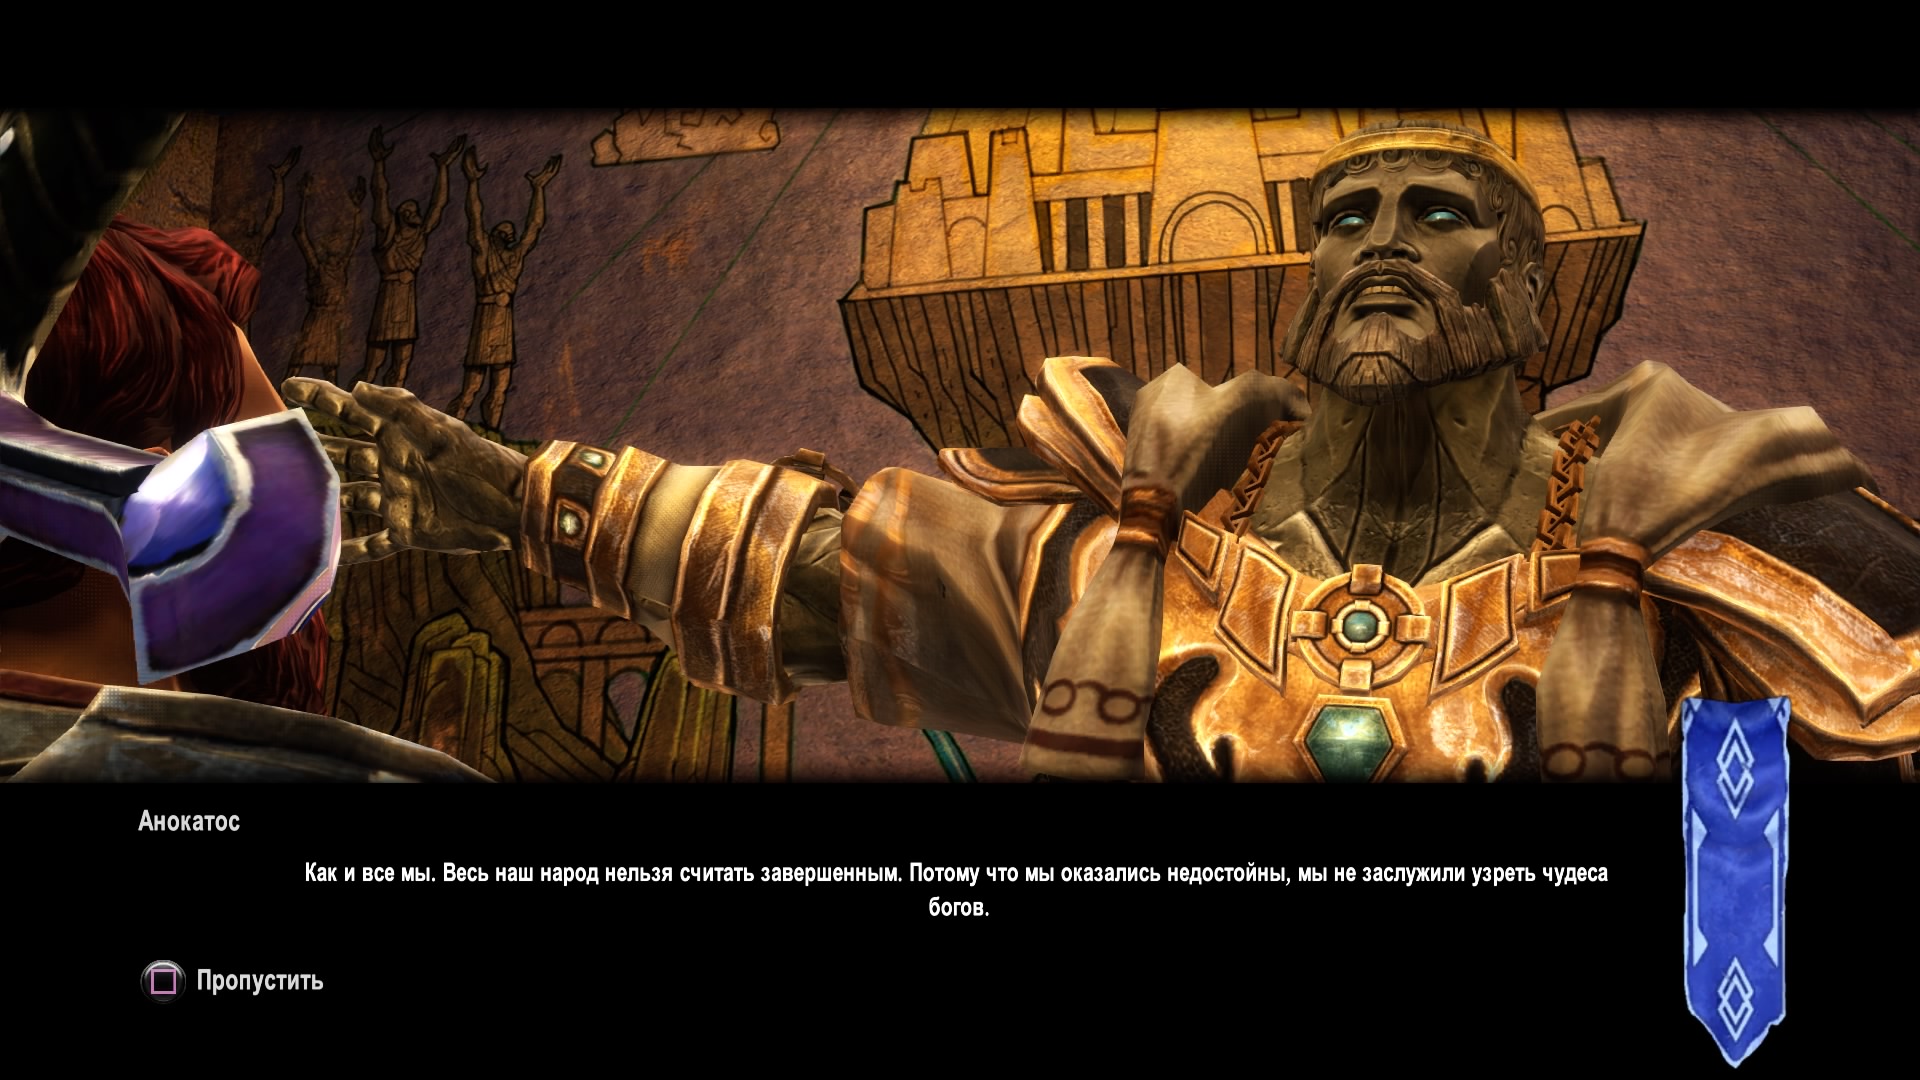
Primus needs to be contacted. Sekandra suggested that the current leader of the colossi is Anokatos, who is now in his chambers. We follow the giantess to the destination and go inside the building. After a short dialogue, we go to the tomb of Arkes. In it, we need to find the lost Hoop, which will be required to create the Wreath of Forgiveness. We run through the entire location to the desired door and move to the next location, where Sekandra is already waiting. We make our way further, destroy the enemies and open the sarcophagus. We pick up the item and return back to Anokatos.
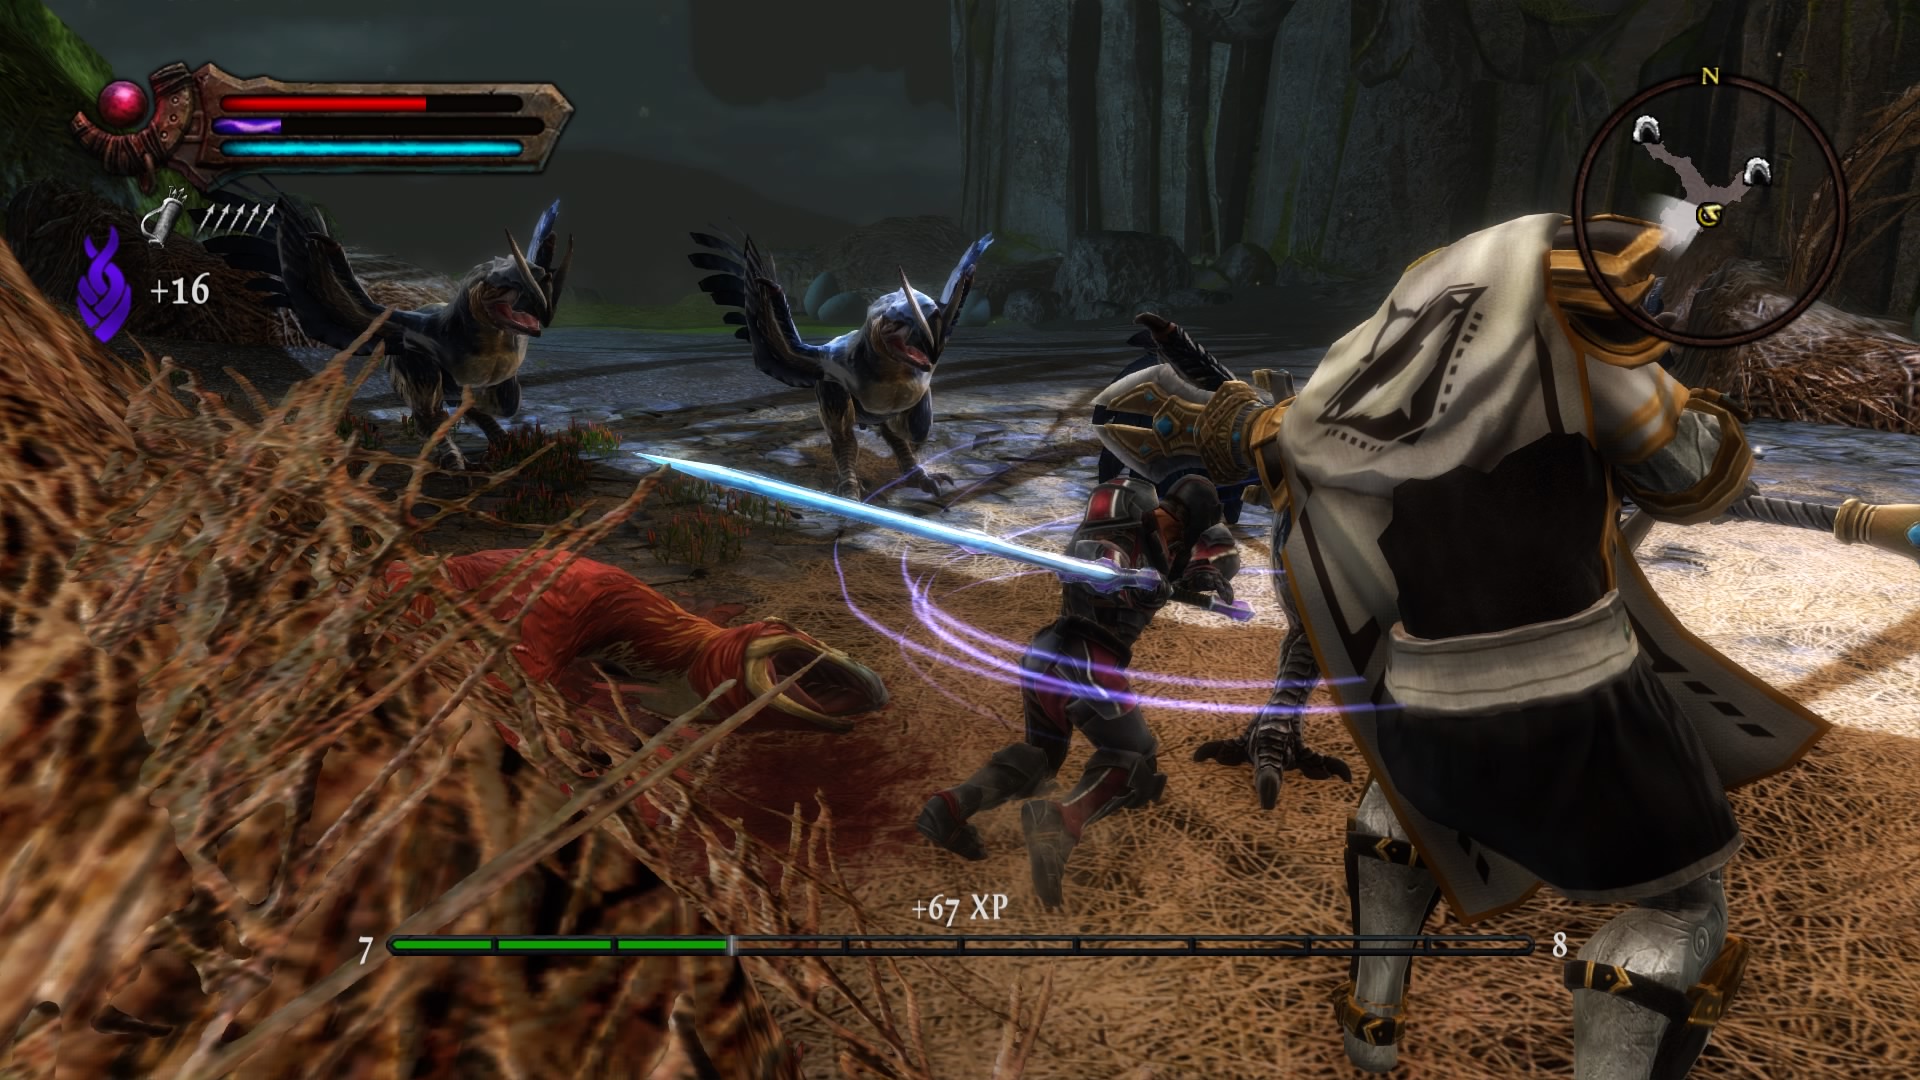
To complete the task, you will need to restore Pteryx Feathers, so we go to a perch in the wilds of the Fangs. We meet at the appointed place with Primus and go in search of Pteryx feathers. We fight with the birds, pick up two feathers and move to the Top of the Eagle's Nest. We destroy the last enemies and pass into the temple of Hyperian. We follow forward, restore bridges and perform a rite that will open a further path. Anacontas betrayed the hero: he broke the creed and closed himself inside the temple. Now we have to get out through the crowds of his followers. Having reached the exit, we meet an old friend and together we try to get to the exit.
Endless despair
Sekandra said that there is another way to print Hyperian. She suggested searching the catacombs of Nyxaros to find a clue and prevent the entire city from being destroyed. We move to the desired point on the map and go down to the dungeon. We move on, destroying everyone in our path. The stone statue will open the passage below. We move forward and find out that Anokatos killed all the contenders for the post of leader. We continue the Path further and decide who to save: slaves or adviser. If you sleep slaves, then the adviser will not survive. We talk with the dying giant and finish the intermediate task.
Ascension
As they spoke, Sekandra felt a wave of magic wash over her. The partner fears that Primus will be able to destroy the city. We leave the dungeon and return to Idilla. We go to a point on the map and after a short conversation with Sekandra we go to the Sanctuary of the Earth. Another stone statue will open the passage to the caves. We go inside and follow the green light. At the end of the dungeon, we touch the Sanctuary and set off in search of the sanctuary of Air. we pass through the secret passage, which will open the green light and get out. Run north and print the Air Temple Caverns.
Activate two pillars of air in the northwest and northeast. We return to the center of the dungeon and go straight along the airflow. we deal with the mountain troll and activate the Sanctuary of Air. We leave the location and go to the traitor Anacontas in the temple of Hyperian. We make our way through the crowds of enemies and pass to Primus.
How to defeat Anokatos
In battle, the boss uses four moves:
- A volley of lightning.
- Stone volley by minions.
- Jump with a hit on the ground.
- Close combat moves.
We dodge melee attacks and try to deal as much damage as possible. As soon as the enemy jumps onto the platform, get ready to dodge the stone statues to the left and right, which move in a straight line. Then we maintain the right time and dodge the opponent's jump. With a small amount of damage, Anakotas will start throwing lightning at the hero with a volley of three to four shots. We dodge and repeat everything again.
As soon as the boss is defeated, we leave the Hyperian complex until the temple collapses. After a short cutscene and a short conversation with Sekandra, the Colossi quest line will be completed.
Legend of Dead Kel
The Alfar Merchant Navy is looking for a diligent and courageous man. We go to their representative, Commander Garrick, in a tavern in Ratira. After meeting with the quartermaster, the hero should go to Rust Brattigan, the captain, who will take the hero to the Land of the Hangman, where he will have to track down the pirate Dead Kael. We communicate with the commander of the ship and move to a new location. Let's watch a short video. The ship was shipwrecked, after which three survived: the hero, Captain Brattigen and Tari.
To maintain good relations, one should not speak rudely towards the girl, therefore, in all dialogues, we support her. We follow to the flooded cave, the passage through which should lead the remaining team to the mainland. In the dungeon we get rid of rats and scavengers, we wait until the captain blows up the corresponding passages. After the second blockage, the explosives will end. We jump off the ledge and swim to the mark, pick up explosives in a pile of garbage and set off in the opposite direction. We use dynamite on two floors and get out of the Flooded Cave. We communicate with Alder Mall and go in search of a pirate.
What will remain
Once in the Shelter of the Hanged Man, we talk with Brattigan and go to the mark in search of survivors. We follow to the east through the mountain gorge. Meet Thorir Arding, boatswain of the ship. He reports that his wife Asa survived, having been dragged by scavengers into a tunnel near Rocky Gorge. We go down to the dungeon nearby. We communicate with the archer and follow deeper into the cave with a new partner.
Asa is fine, but claims that Dead Kael somewhere in the tunnels decided to profit from the supplies from the destroyed ship. The roots will part and a new path will open. We continue to move forward and get acquainted with the pirate personally. After a small fight, we leave the cave and move to the Cape of Solace, finish the mission by talking to the captain.
dark bay
The leader of the Cape of Solace, Alder Malloy knows someone who can help in the search. We obtain the necessary information, but in return he asks to take the amulet to his wife Bridget, who is preparing to become the next Heir, the spiritual leader of the village. We go down into the cave, but the guard does not let the girl in.
We pass the amulet through it and go to Kway. He knows about Dead Kael, but will not say anything until the hero can secure a ferry from the island. It is necessary to steal the pirate's ship, so we go after him to the Dark Bay. We make our way through the crowd of skeletons and monsters and go down into the cave, where we see the pirate's ship.
We release four mechanisms to open the barrier, and return to Quei. On the way we meet with the boss.
How to defeat the Bloody Roar
We try to keep the enemy at close range. At the beginning of the battle, the enemy will call for help skeletons, which are not necessary to kill. We use combinations of blows and magic. The boss is much weaker than the previous ones. All tricks are harmless, and during a circular attack, it is enough to roll back a little further and the blow will not reach the hero.
Basic attacks:
- Normal melee attack.
- Charged strong melee attack.
- Summoning Skeletons.
- Circle attack.
After the duel, Kwei will come running into the cave. After a short dialogue, we hijack the ship. The task will be completed and access to the departure from the location will open.
To the grave
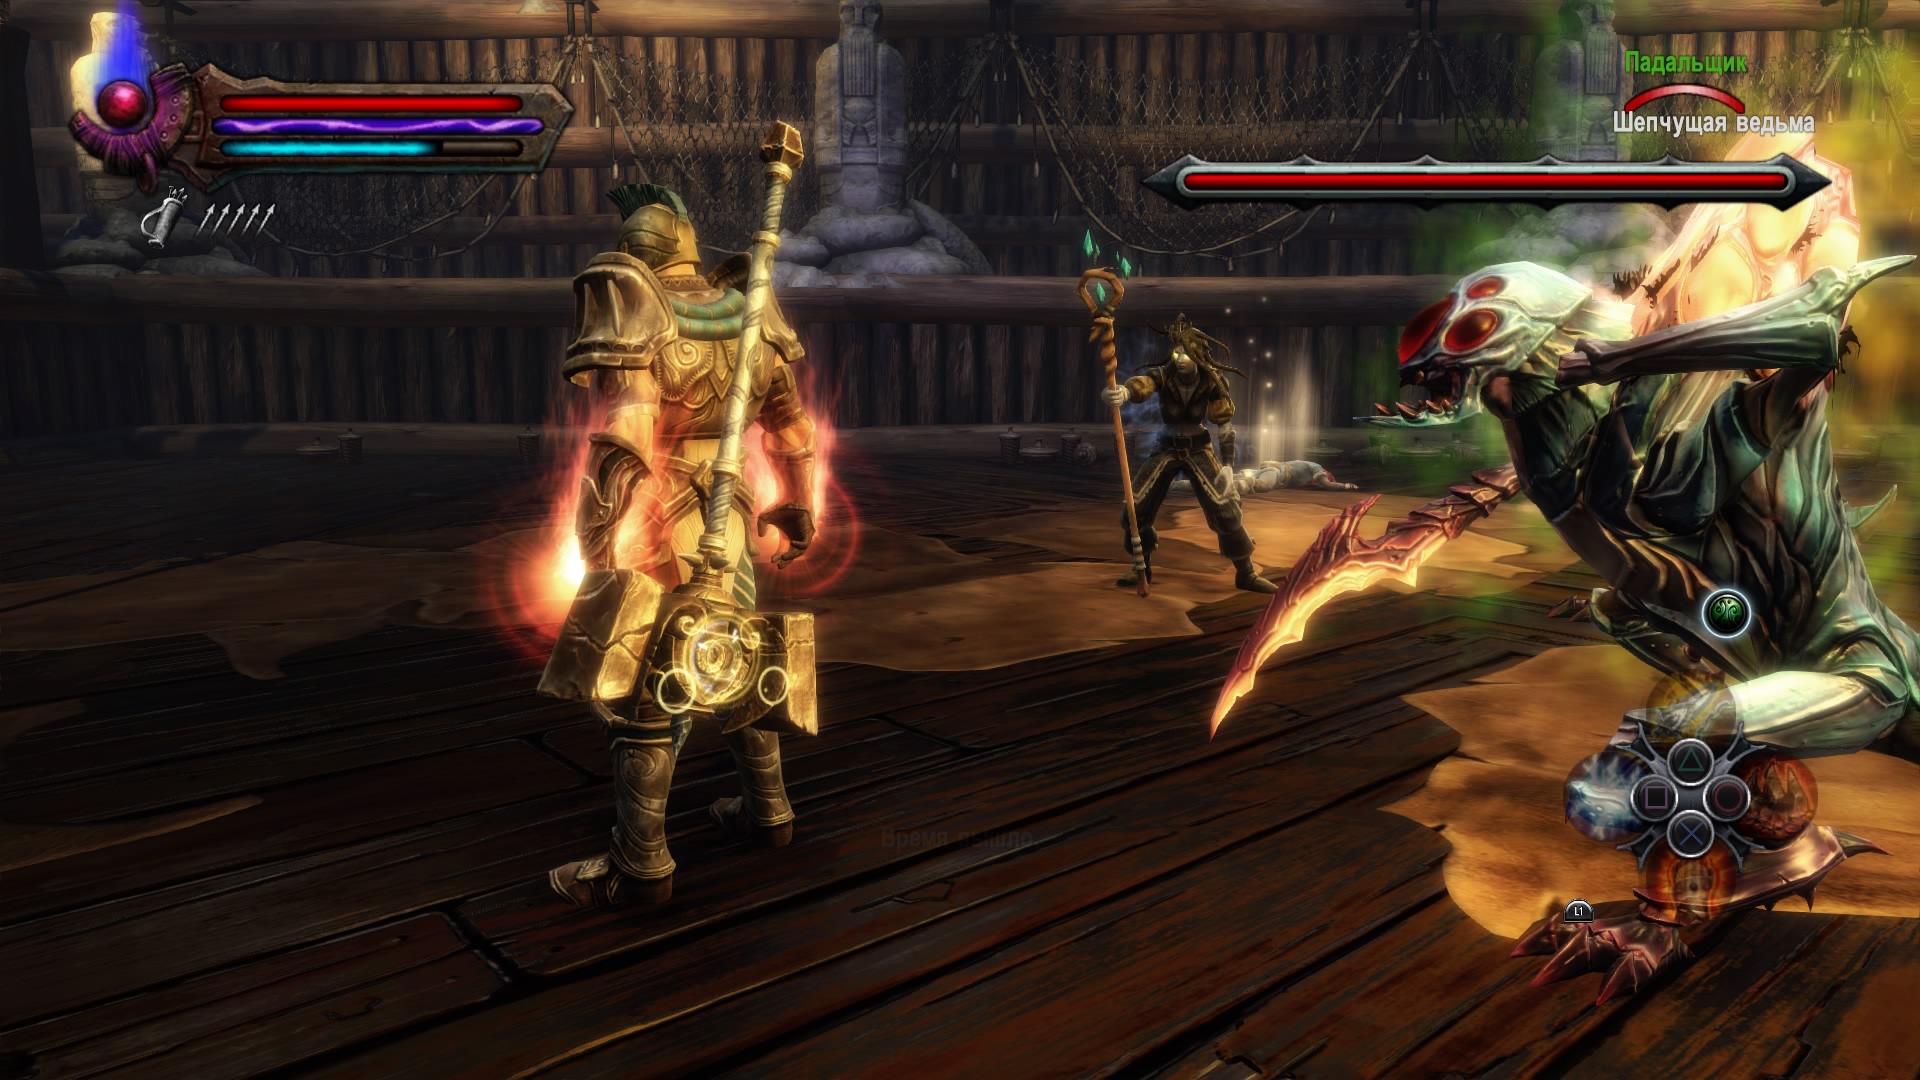
Kwei learned that there is a spy in the village at the Cape of Solace who wants to harm the future Heir. We leave for the Spiritual Gorge to find her and warn of the threat. Bridget Meloy put up a defense and for some reason disappeared into the tunnels. We need to make sure that she is safe, so we follow her on the trail. Having reached the large hall, we find the Heir. Bridgette's mind is drugged by the Whispering Witch, who kills the girl from the inside and attacks the hero.
How to defeat the Whispering Witch
The boss does not have a very large number of lives. Physical attacks deal quite a lot of damage. Constantly teleports around the map, dodging attacks. Restores health to allies. You should get close and conduct a series of successful tricks.
Basic attacks:
- Summons helpers.
- Launches spheres in the direction of the hero.
- Magic area attacks.
- Teleportation with damage.
After the destruction of the enemy, we go to Alder Mall and talk about what happened to his wife. In the dialogue, you can offer your candidacy for the place of the Heir of the village.
Offering
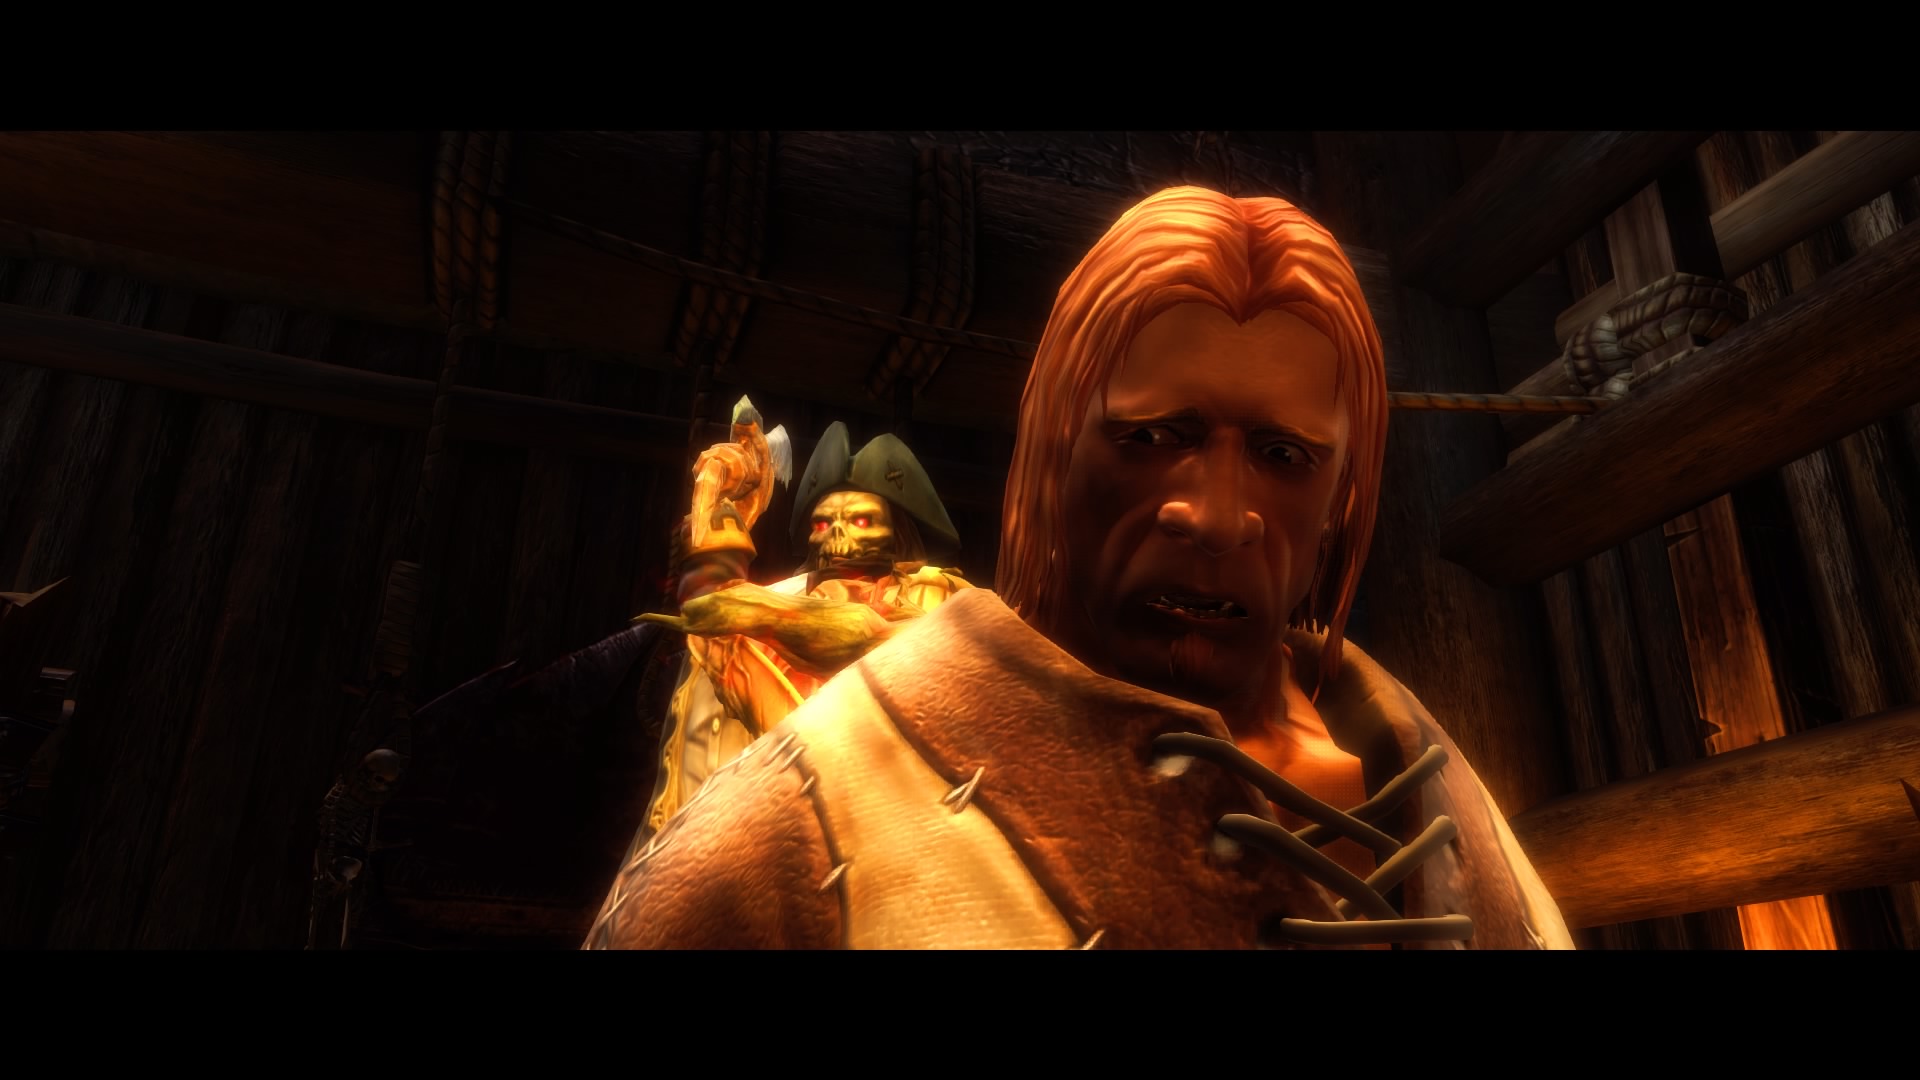
After the hero decides to take the place of Bridget Malloy, you need to go to the ruins of Akara-Tor in the mountains in the north, where Captain Brattigan will be waiting. The villagers begin the Offering ritual. Everything goes smoothly until Dead Kael appears, followed by the new boss Baronet.
How to beat the Baronet
This opponent uses only magic skills. Divided into three copies, it fires one spell after another at the hero. Only melee strikes do significant damage, but some skills, such as Earthquake, will also be appropriate. The enemy is constantly teleporting around the map, so it's not very easy to catch him. After each copy dies, the enemy recovers some health. The best warriors of the village also participate in the fight.
Basic attacks:
- Tornado.
- Fire balls.
- Lightning.
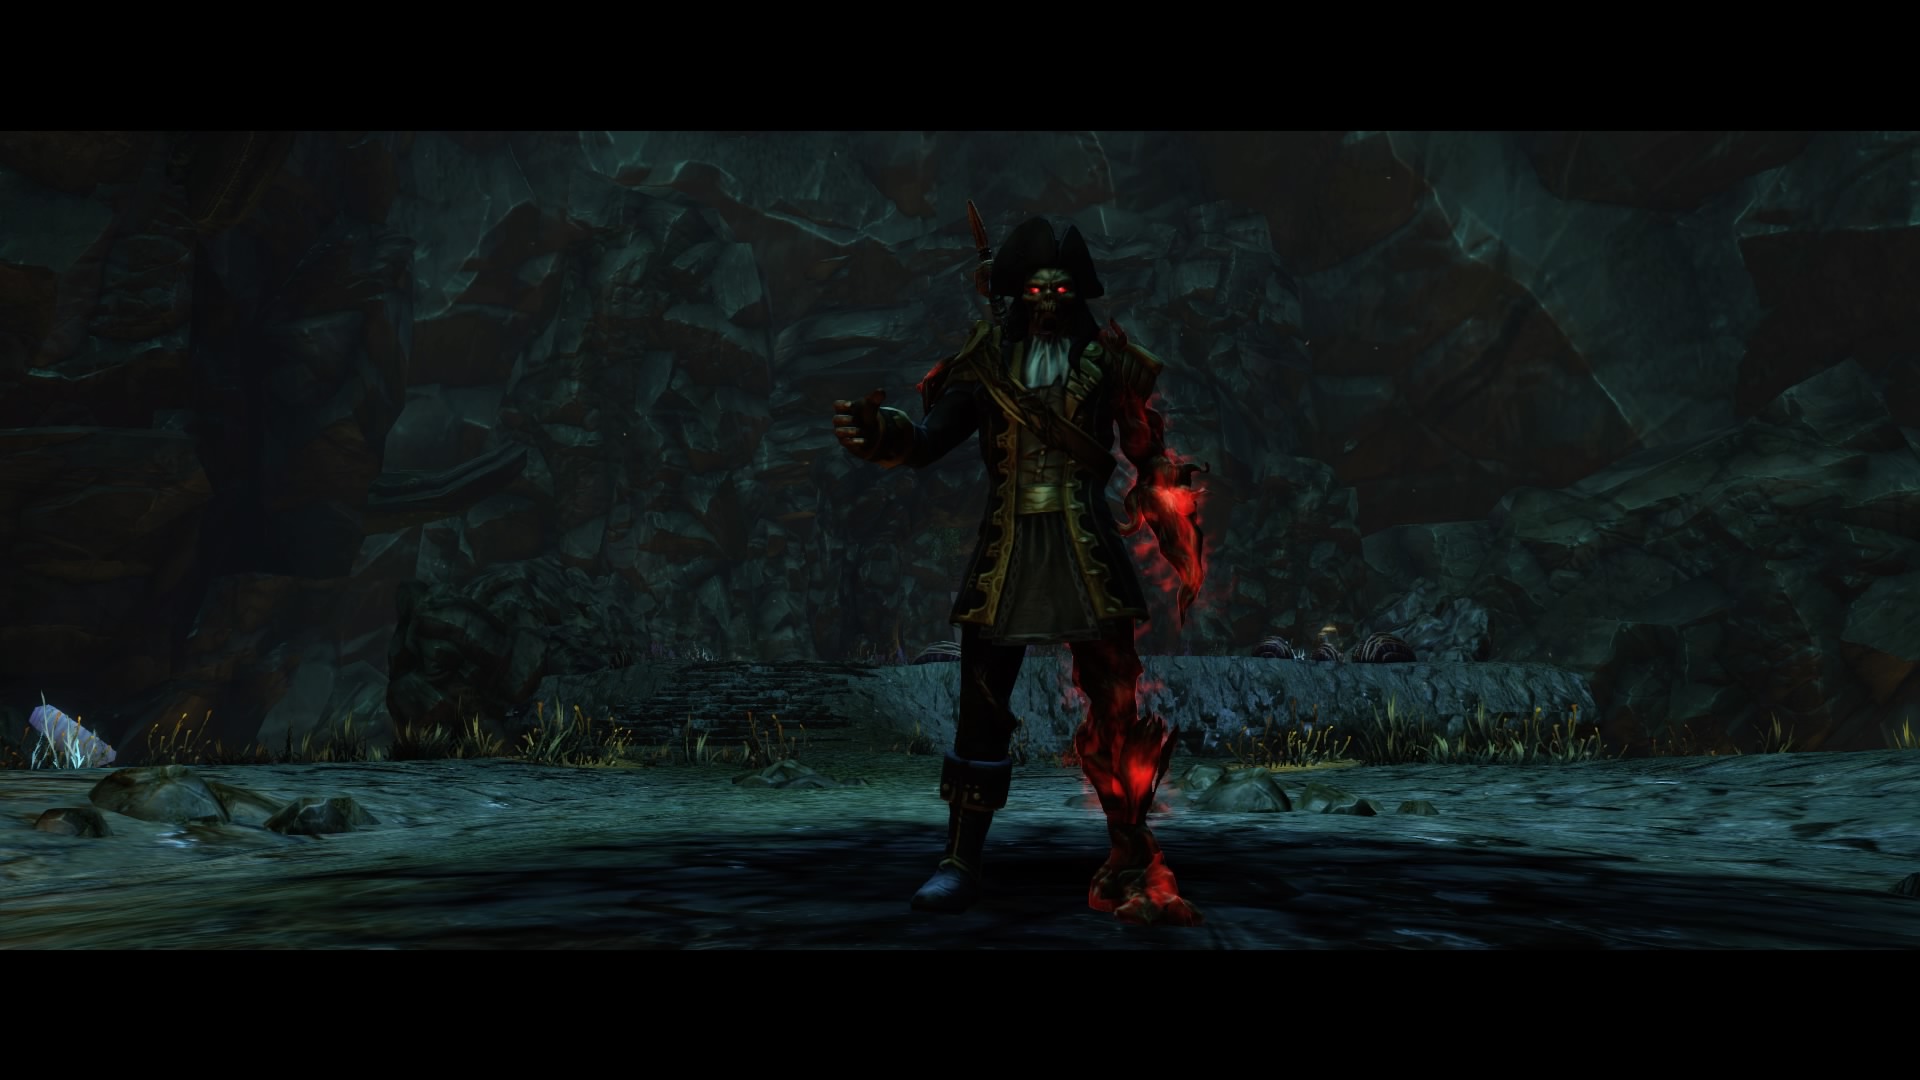
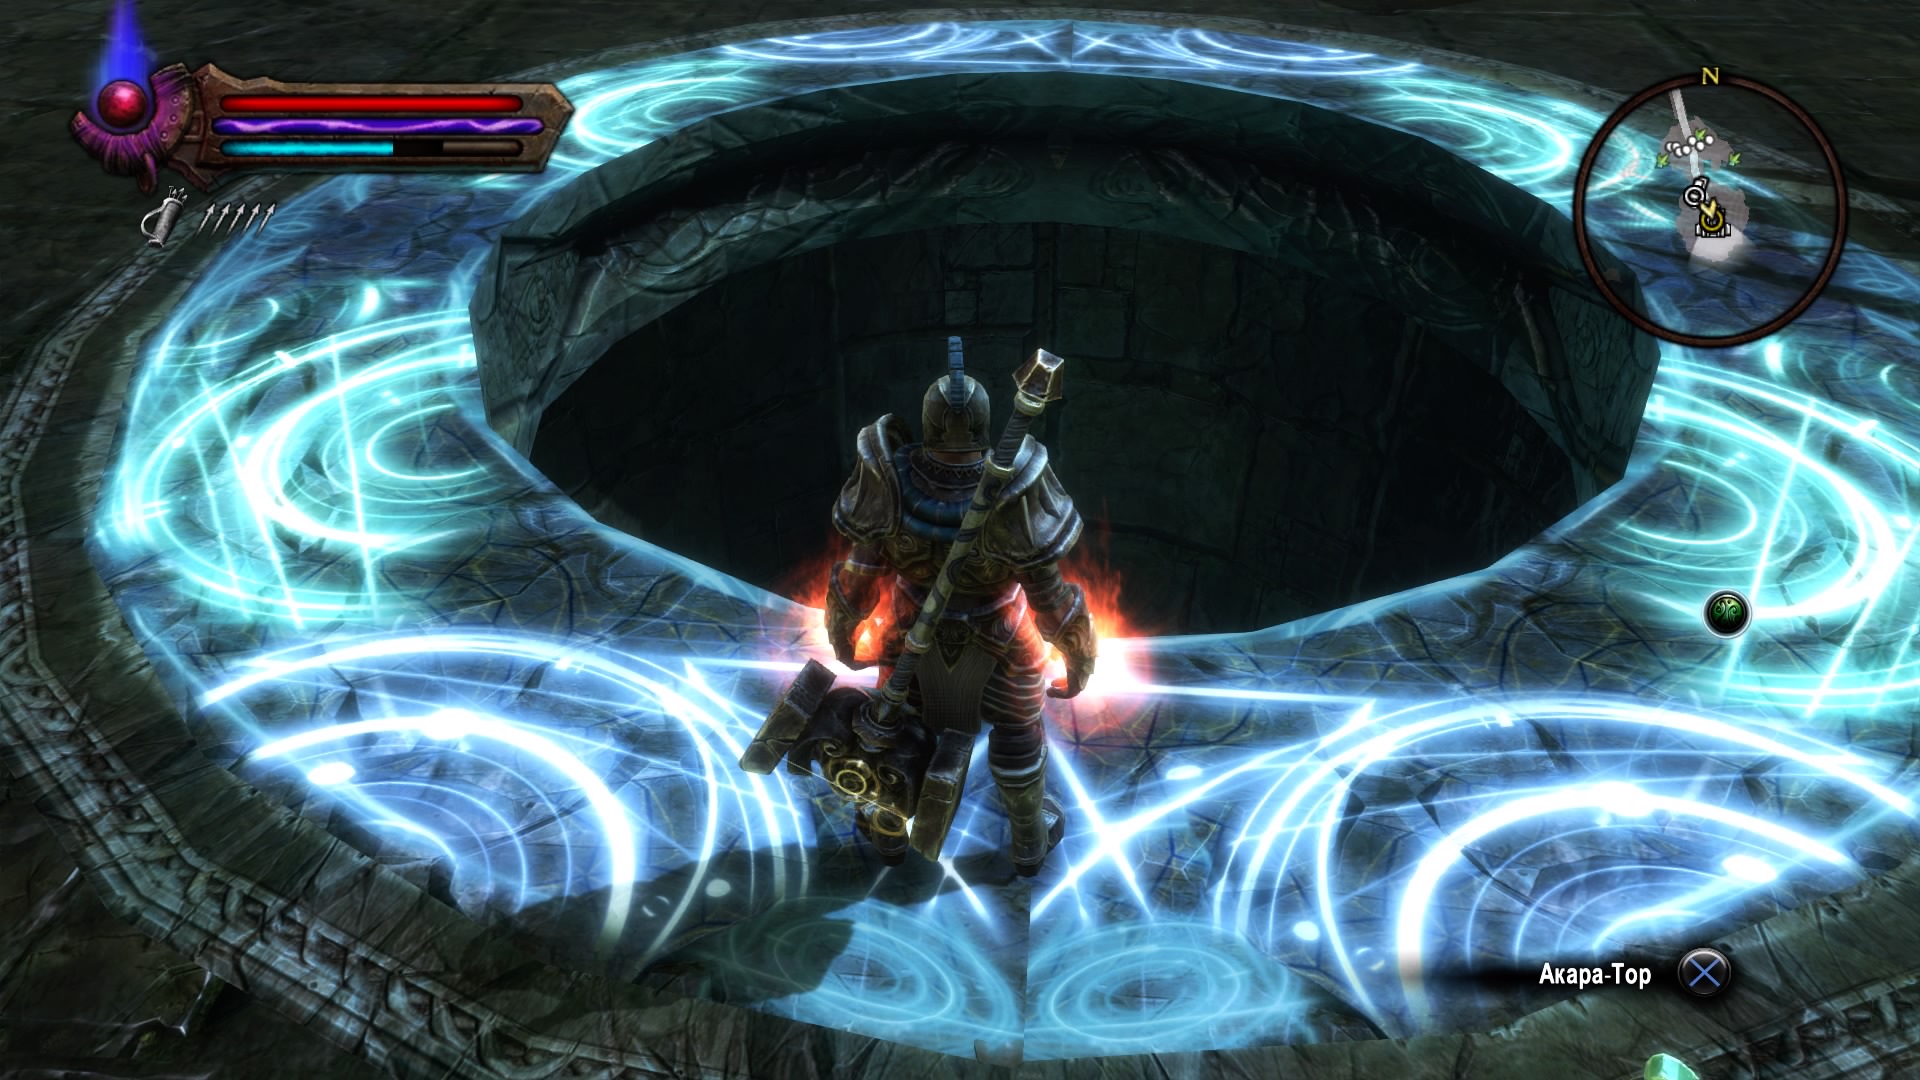
Dead Kael fled to the ancient ruins of Akara-Tor under the mountain. We choose one of the partners and pursue the villain. We go through the entire cave until we find a huge mahogany. We talk with Akara to find out the whole truth about the island.
Outcasts
After a short dialogue, we fight with a pirate
How to defeat Dead Kael
Constantly summons skeletons that pull all focus and damage to themselves. We make our way through the crowds of minions and strike at the enemy. We dodge his attacks on the area. Often grabs the hero with a root and moves to the side. After such a technique, the enemy bursts into battle with a combination of quick strikes.
Basic attacks:
- Capturing the root and moving to another point.
- Combination of quick strikes.
- Summoning Skeletons.
After the long-awaited victory over the pirate, we escape from the dungeon, otherwise the heroes will be overwhelmed by the rubble of the mountain. At the exit from the location, we communicate with the captain and move to the village. We hasten with good news to Kay. The dead Kael was gone forever, and Akara's era ended. Now the Weaver is finally free, and the pirate quest line will be completed.
Faction Quests
Warsworn Faction
Approval
The first task for joining the Warsworn faction. To get Osta Ordura's recommendation, you need to destroy two robbers: Oscar in the forests north of Gorarth and Medgar on the eastern road. We go to the marks, deal with the villains and return to the knight in the city to get his written approval.
Highway Patrol
Having Ost's recommendation with us, we go to the Shieldring fortress to search for Tain Delfrik to join the ranks of the War Sworn. We go inside and find a soldier who will send the hero on patrol, but first you need to find Will Rending in Didenhill. We follow the map to a small village. We communicate with the knight and go to the Guard's Bridge. After talking with the captain, we study the evidence in three areas. To do this, we alternately inspect the crime scene and move from one area to another. By the time all the evidence is found, only one knight will remain in the squad. It turns out that niskars appeared in these lands. We follow the trail to the monster camp. We kill two creatures and complete the task.
Sibun's Heart

The patrol is over, but Ordura intends to continue on to the rogue caves. From there, niskars appear, which must be urgently destroyed.
We go inside the halls. We make our way deep into, carefully go around all the traps and find magicians who are trying to subjugate the niskars. Unfortunately, Ost Ordura dies, but the hero must complete the work of his captain. At the very end of the cave we come across a magician who summons a huge monster. We deal with him, take the Sibun's Heart and take it to the Shieldring fortress. This will complete the task.
Key and lock
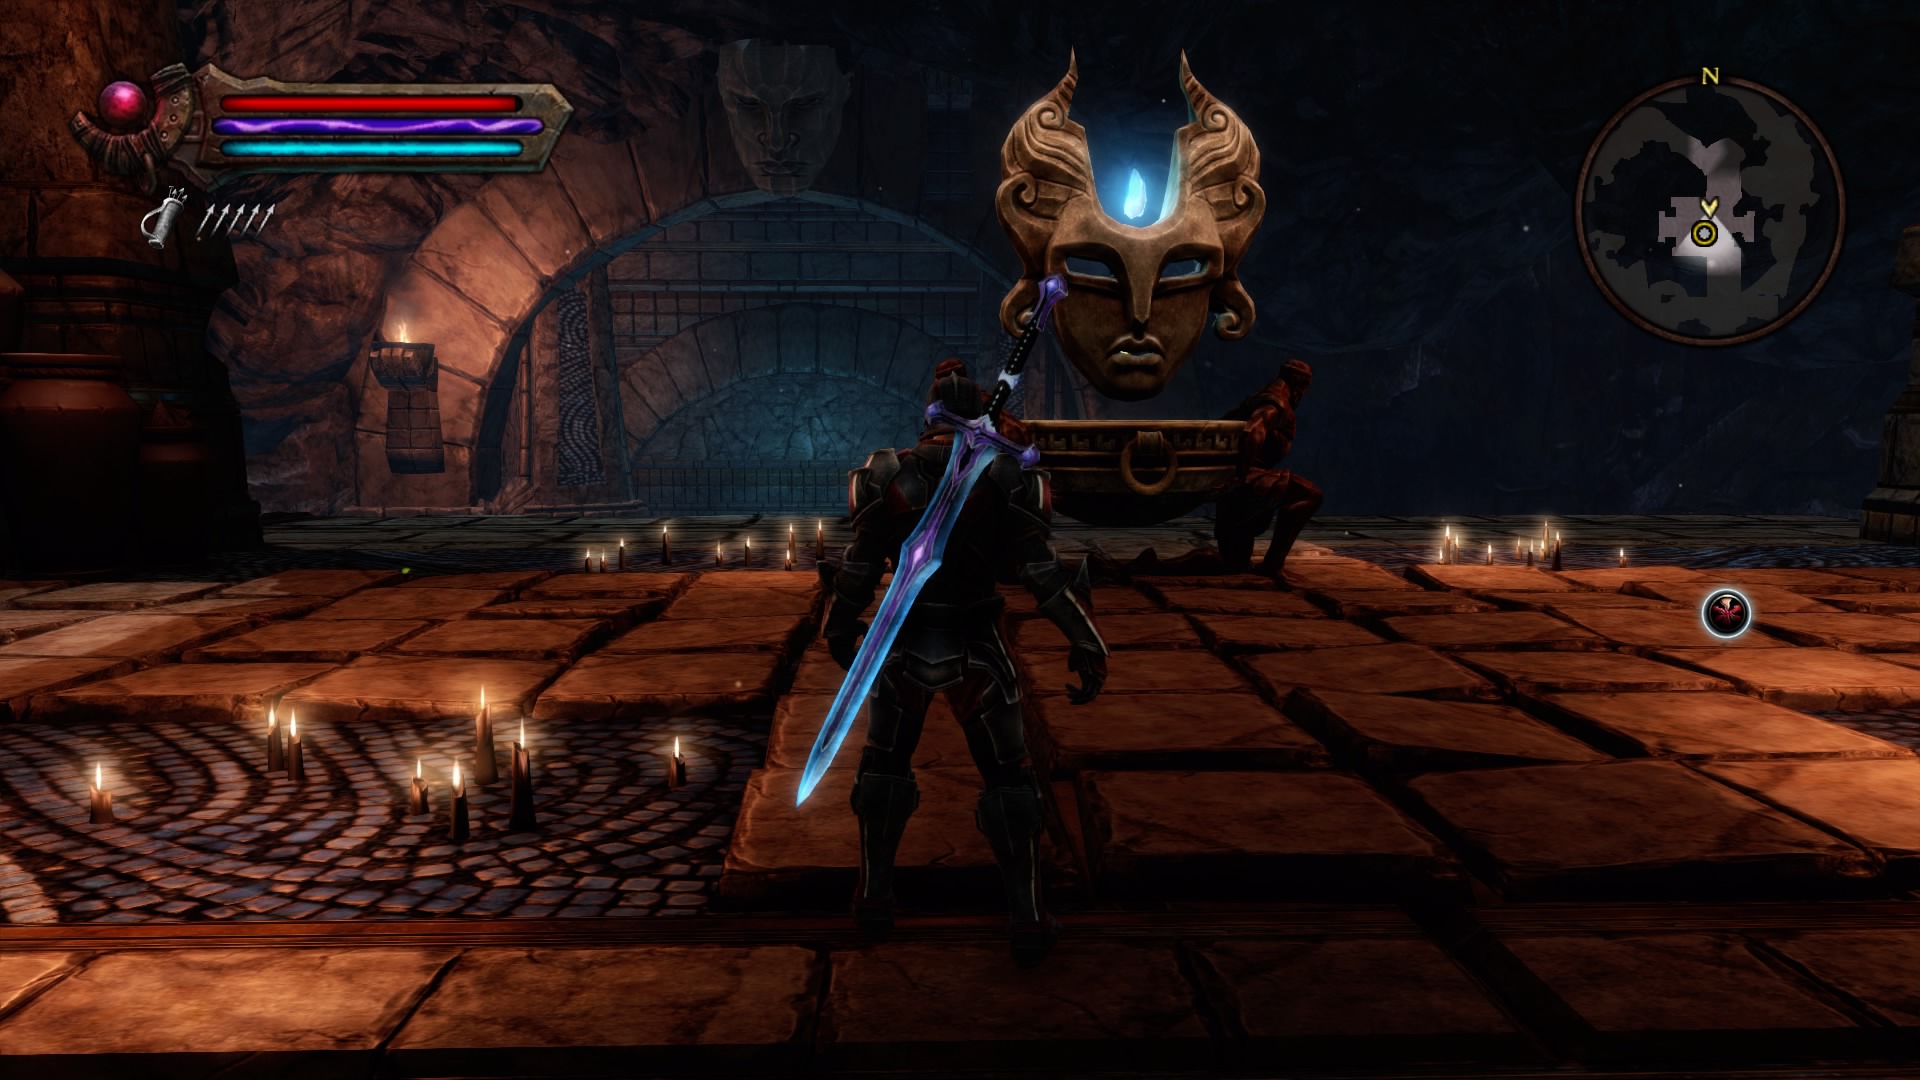
The relic that the hero found in the Cave Hall of the Robbers was actually stolen from an ancient vault. It is necessary to investigate the theft of Sibuna's Heart. We leave for Helmgrad to clarify the circumstances of the crime. The head of the fortress sends Gwyn Envi along with the hero to an ancient vault in the south of the location. We reach the point, communicate with the assistant and go inside. It turns out that the Vault door is not sealed and there are mages inside that should be destroyed. After a short battle, we move back to the fortress. The captain considered Gwyn a traitor. We take away from her the key that was found on the body of one of the enemies, and then show it to Grian Shane. We go to the dwarf Tarionom to establish the origin of the item. We pass into his laboratory, but the cult is already inside and wants to kill the gnome. We deal with the magicians and learn from the master's lock cases that he made a copy of the key for Fenan. We return to Helmgard and transfer the information received to the leader of the fortress, after which the traitor will be captured and sent to prison.
House without doors
It is necessary to interrogate Livia Fenan, who copied the key to the ancient vault and handed it over to the enemies. It turns out that the elf met Albin Melok, who promised to end the Crystal War. He took the key to the vault and now the hero should find him. Gwyn is released and sent on another mission. She can be met in Ratira after completing her part of the task. The man who fooled Fenan said he was working for someone else. His employer's name is Hurst. To meet with him, you will need a password, so we go to Ratir in search. We persuade the man behind bars to say the password and follow the enemy's camp in the Catacombs. We learn that the leader of the magicians who stole artifacts from the Ancient Vault works for Lord Besin. We kill Mad Hurst and go to meet Gwyn Envy.
Eamonn Island
The team decides to pursue Lord Besin, who is sailing to the Isle of Eamon. Gwyn reported her plans to Delfric. We follow the captain of Gontorm to the pier for help. Having reached the island, the heroes decide to find out the reason for the Lord's arrival and his future plans. We go to the marker on the map, kill the cultists and go into the castle. We make our way through the crowds of enemies and after a complete cleaning of the territory we study the fresco on the wall. The lord was not in the hall and the heroes need to return back to the Shieldring fortress for a full report to the faction leader ..
Hammer of Mystery

This ancient artifact has long been buried among the remains of its owner in Eagon's Tomb. Once upon a time, with the help of this weapon, the Farlangi magicians were able to stop. Besin hatches a similar plan: the release of the god Niskaru from the mountain prison. We move to the dungeon and go down. We pick up parts of the hammer from the tomb and go to the Ironfast fortress to meet with our partner. Gwin believes that the hammer can only be reforged in the Hall of the First, so we follow there with her. We will find the right place in the south of the Wasteland. We go inside. We go along the eastern path, we reach the locked door and change fate. The passage has opened, so we hasten to the forge to reforge the Hammer of Secrets.
mountain prison
Niskaru Kamazandu is located on Cloud Ridge Mountain. There, the heroes will be able to find Lord Besin. We leave the hall and run to the desired dungeon. The leader of the knights also came to the rescue. The whole team goes inside and climb to the very top. We equip the Hammer of Secrets and destroy the processes that close the passages.
As soon as the opponents performing the ritual become visible from afar, it is necessary to make a backup save so that there is an option to replay the completed mission. To get a good ending, you should refuse Kamazand's offer. Otherwise, the quest Gift of Kamazandu will appear, in which you will need to destroy all the guards, the entire faction will become hostile and the side quests will fail.
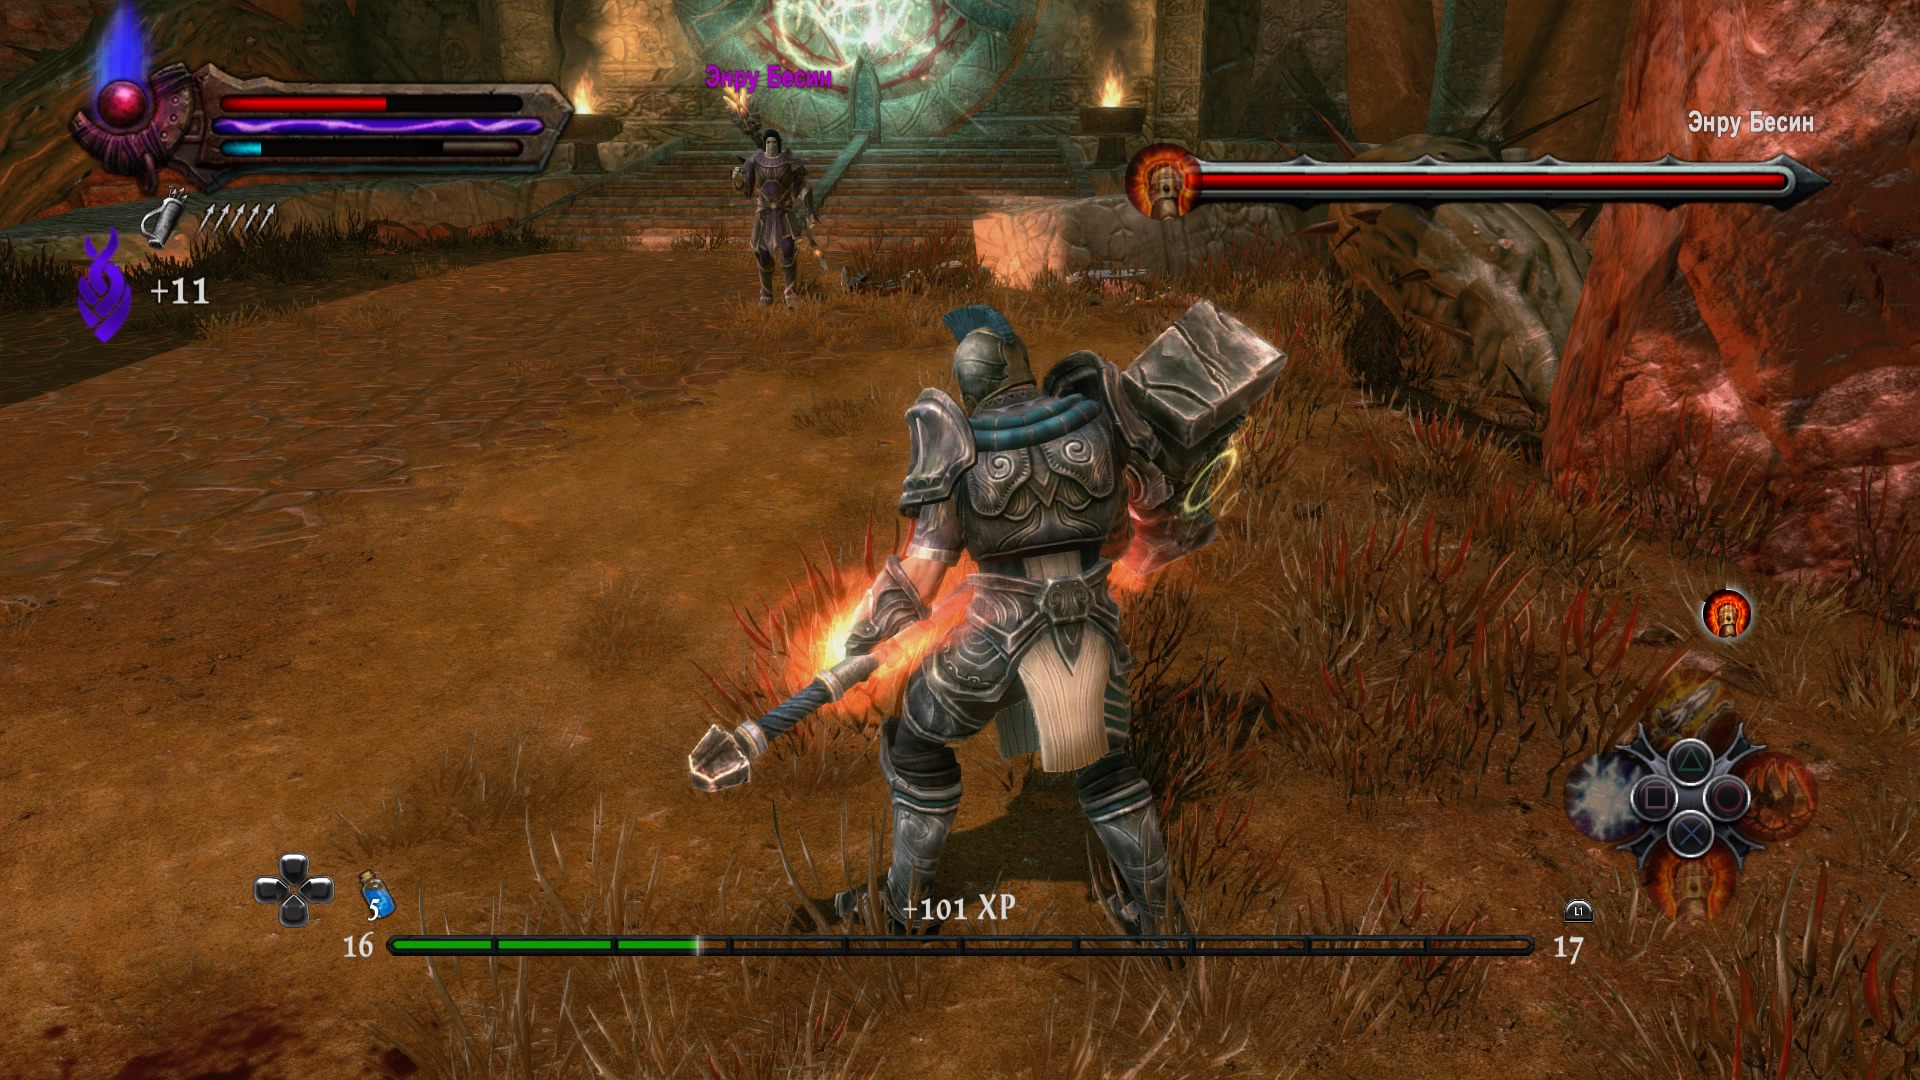
We interrupt the ritual of the cultists and fight Enri Besin.
How to defeat Lord Enri Besin
First of all, it is worth getting rid of the usual cultists, so the boss will be invulnerable. Next, the enemy calls for three niskara, which are not recommended to be touched. Besin will constantly replenish the ranks with new ones to replace the old ones and heal them indefinitely. We focus all the damage on the boss and dodge his ranged attacks. Do not let the enemy go a long distance and fight only in close combat.
Basic tricks:
- Summon additional allies.
- Healing allies.
- Basic ranged staff attack.
- Volley magic attack.
After defeating Lord Besin, we talk with Gwyn Envy and return to the Hall of the First. We communicate with the Council of the Brotherhood. After that, the quest line of the Warsworn faction will be fully completed, and the hero will receive the title True to the Truth.
Elf faction
Song of Sir Sagrelle
This quest unlocks the Elf faction. We leave for Gorguat and, after a short dialogue, we go along the left passage to uproot the vines.
We return to the beginning of the location on the right side and follow the opened passage, where we destroy the Grave Thresher. We go further, search the corpse of an elf, talk with a partner and destroy two more Threshers. We return to the village of elves and get membership in the House of Ballads.
Ballad of the Bloody Bone
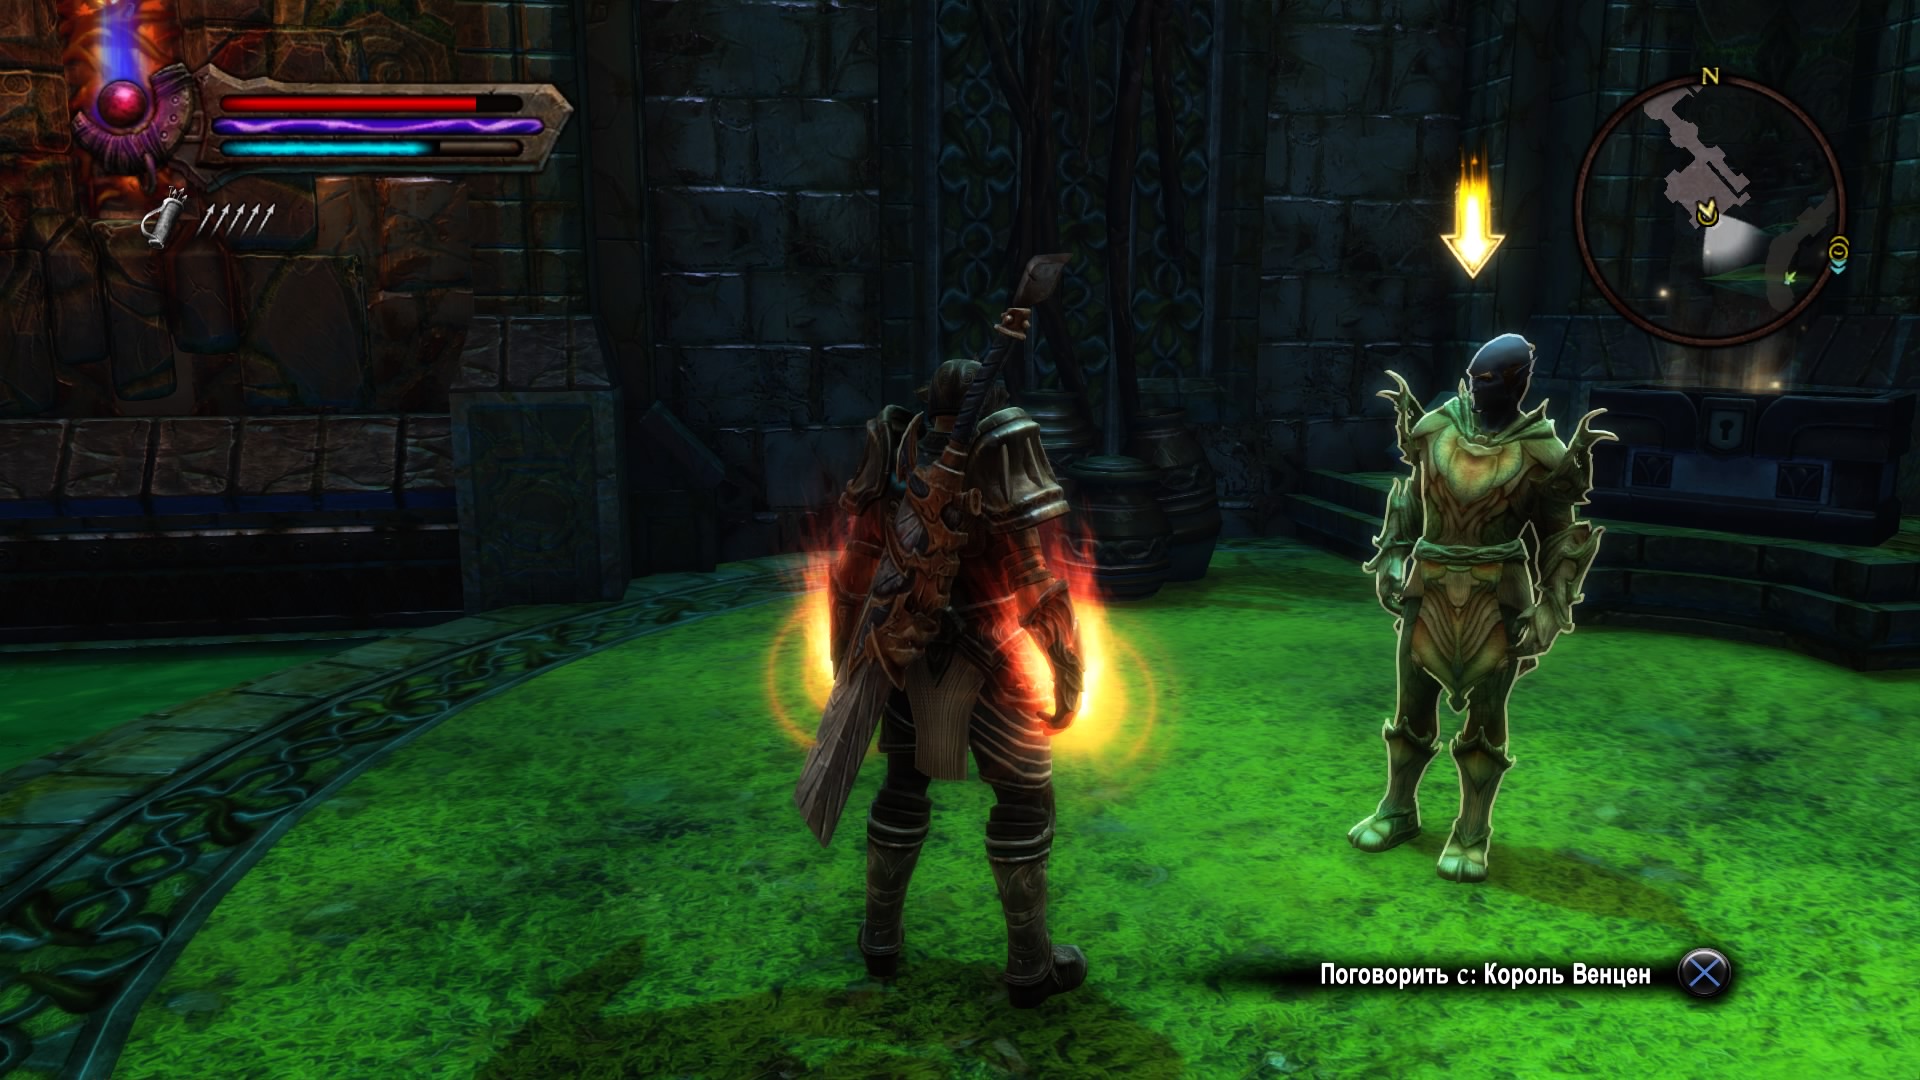
After the hero joined the elf alliance, Hallam the White sends him to the palace of King Wenzen in Ettingmere. He told the hero that the legendary knight Sir Farrara pursued Bloody Bone to his lair in Uduat Cave. Let's go in search of him. We go into the cave and go west. We help Sir Farrar cope with the monsters and open the cage with the prisoners. It turns out Bloody Bone is holding the entire settler camp captive. Then we study the dungeon and save the remaining people. In the next room, Bloody Bone awaits the team. After a short dialogue, we deal with the opponent and move to the House of Ballads to King Wenzen.
Two knights and a troll
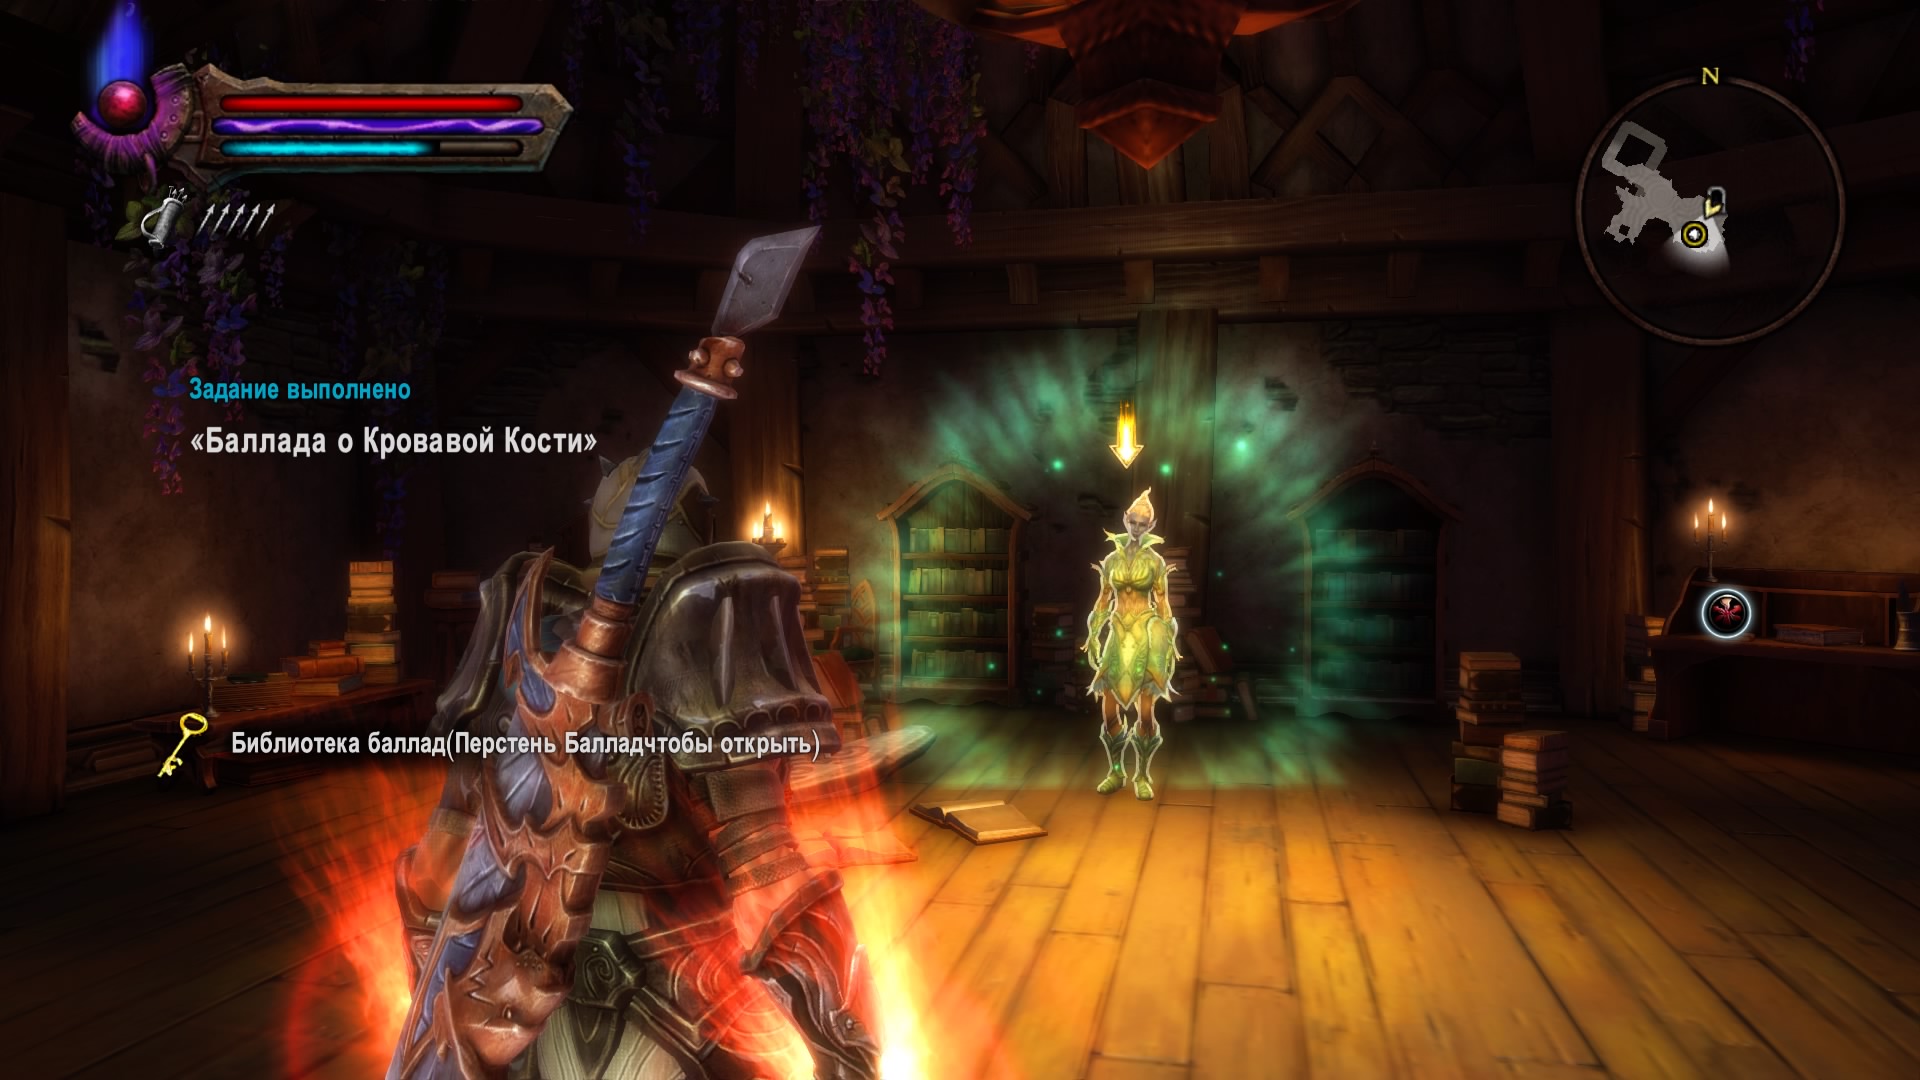
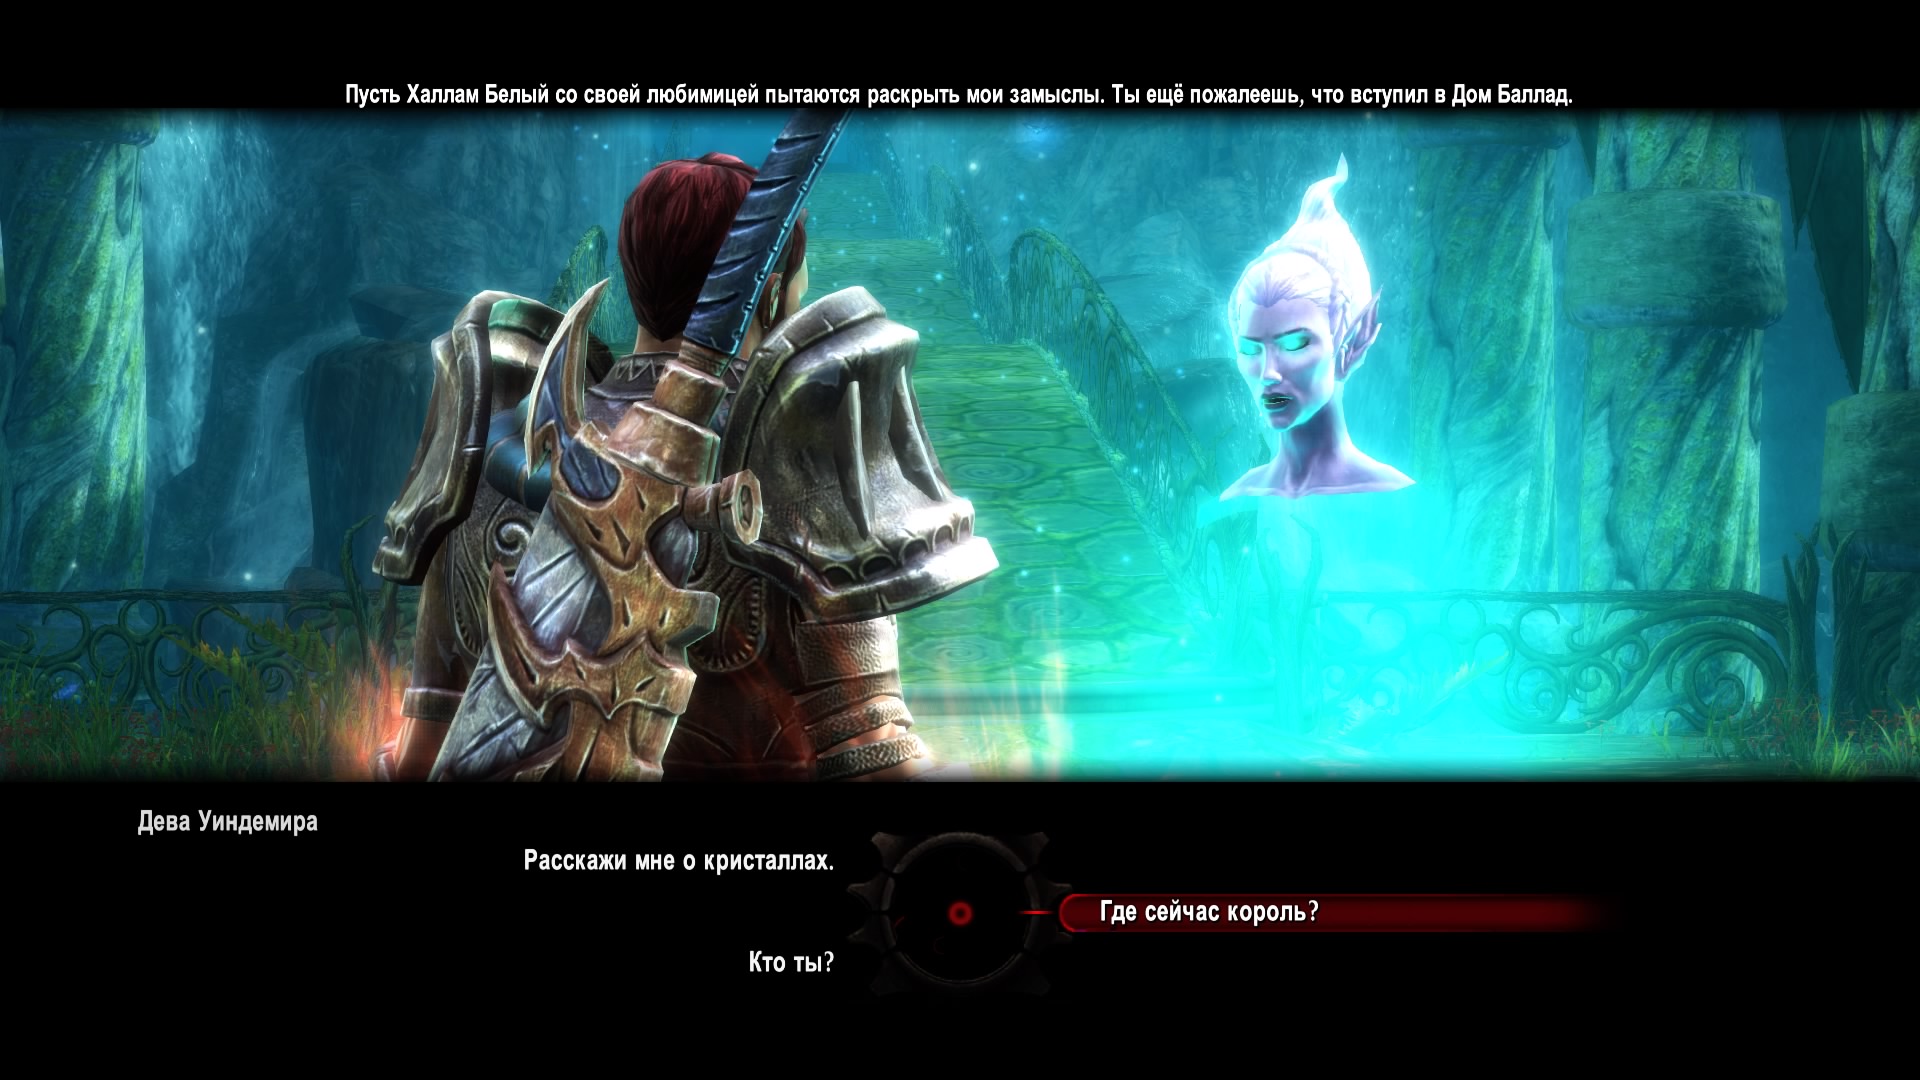
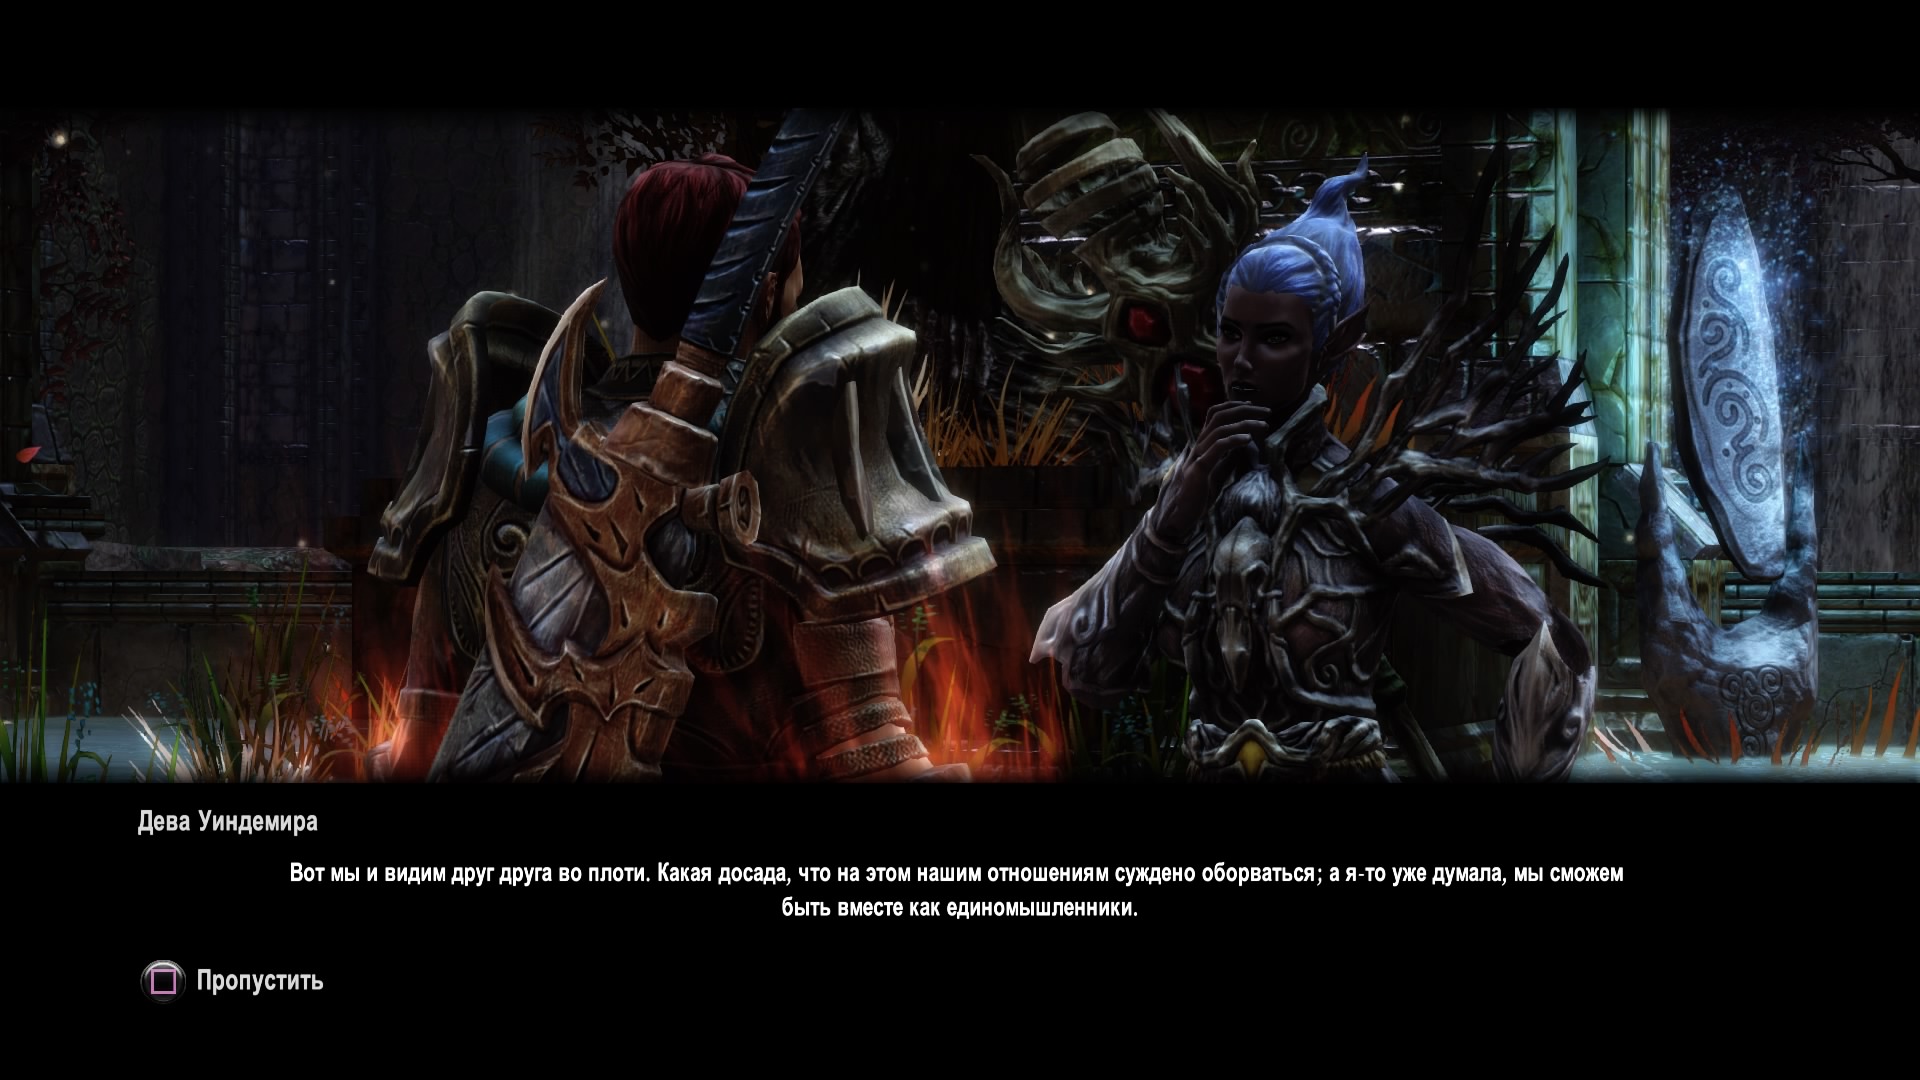
The king sent a hero to find an elven treatise. To do this, we move to the Library of Ballads and communicate with Tenva. It turned out that the elf was captured by the spell of the Maid of Windemere. The words from the ballad will help remove the curse, so we go to a point on the map in search of ancient Cairns. All of them are located in the Sandura cave. As soon as the entire treatise is collected, we return to Tenwa. We use the stone in the house to study the ballad and tell the elf that she is a man. Now Tenwa is free, but one of the treatises in the collection is missing. We return to King Wenzen, but he is not in place. The Maid of Windemere appears and reveals that she has kidnapped everyone in the Arcane Court. We leave the chambers and talk with Hallam the White.
Under cover of secrecy
The elf sends the hero to the alchemist Itea in St. Edric's Parish, but he turns out to be dead. We find out the details from the monk on the street. We return back to the house and search the table of Father Itea. He and Brother Wolfe discovered strange crystals while digging a well.
We examine the well on the street and go down. We select crystals from the kobolds and at the end of the flooded cave we find Brother Wolfe, who confesses to the murder of Father Itea. We take the items from the body, use the scroll and find the last crystal. We swim out of the dungeon and return to the House of Ballads.
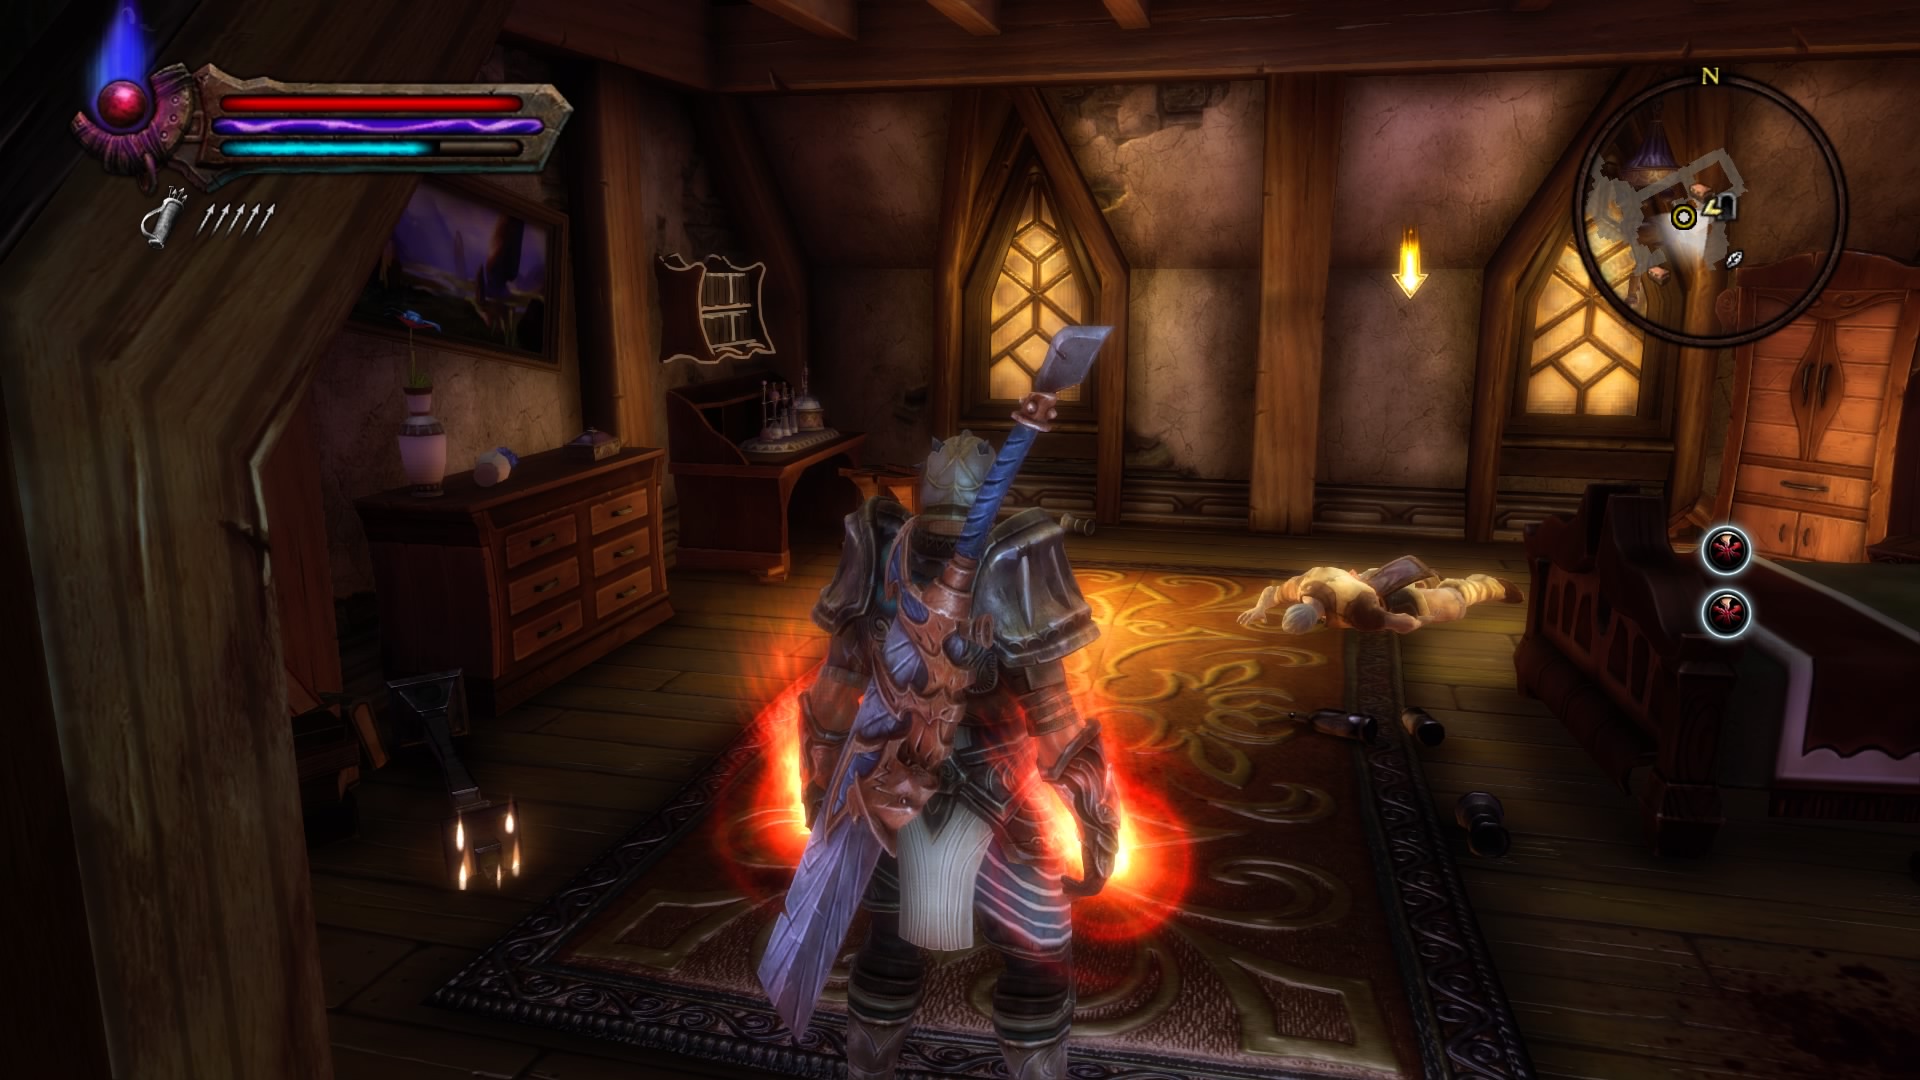
Защитники
The ghost of the Maiden invited the hero to come in person to save the Arcane Court. We receive the blessing of Hallam and the Elixir of resurrection. We set off on our journey north to the kingdom of Windemere. Along the way, we meet the Virgin, who warns that only a person in the Armor of the House of Ballads can pass through the Wall of Thorns. We get to the Wall and offer the elf to fight for armor.
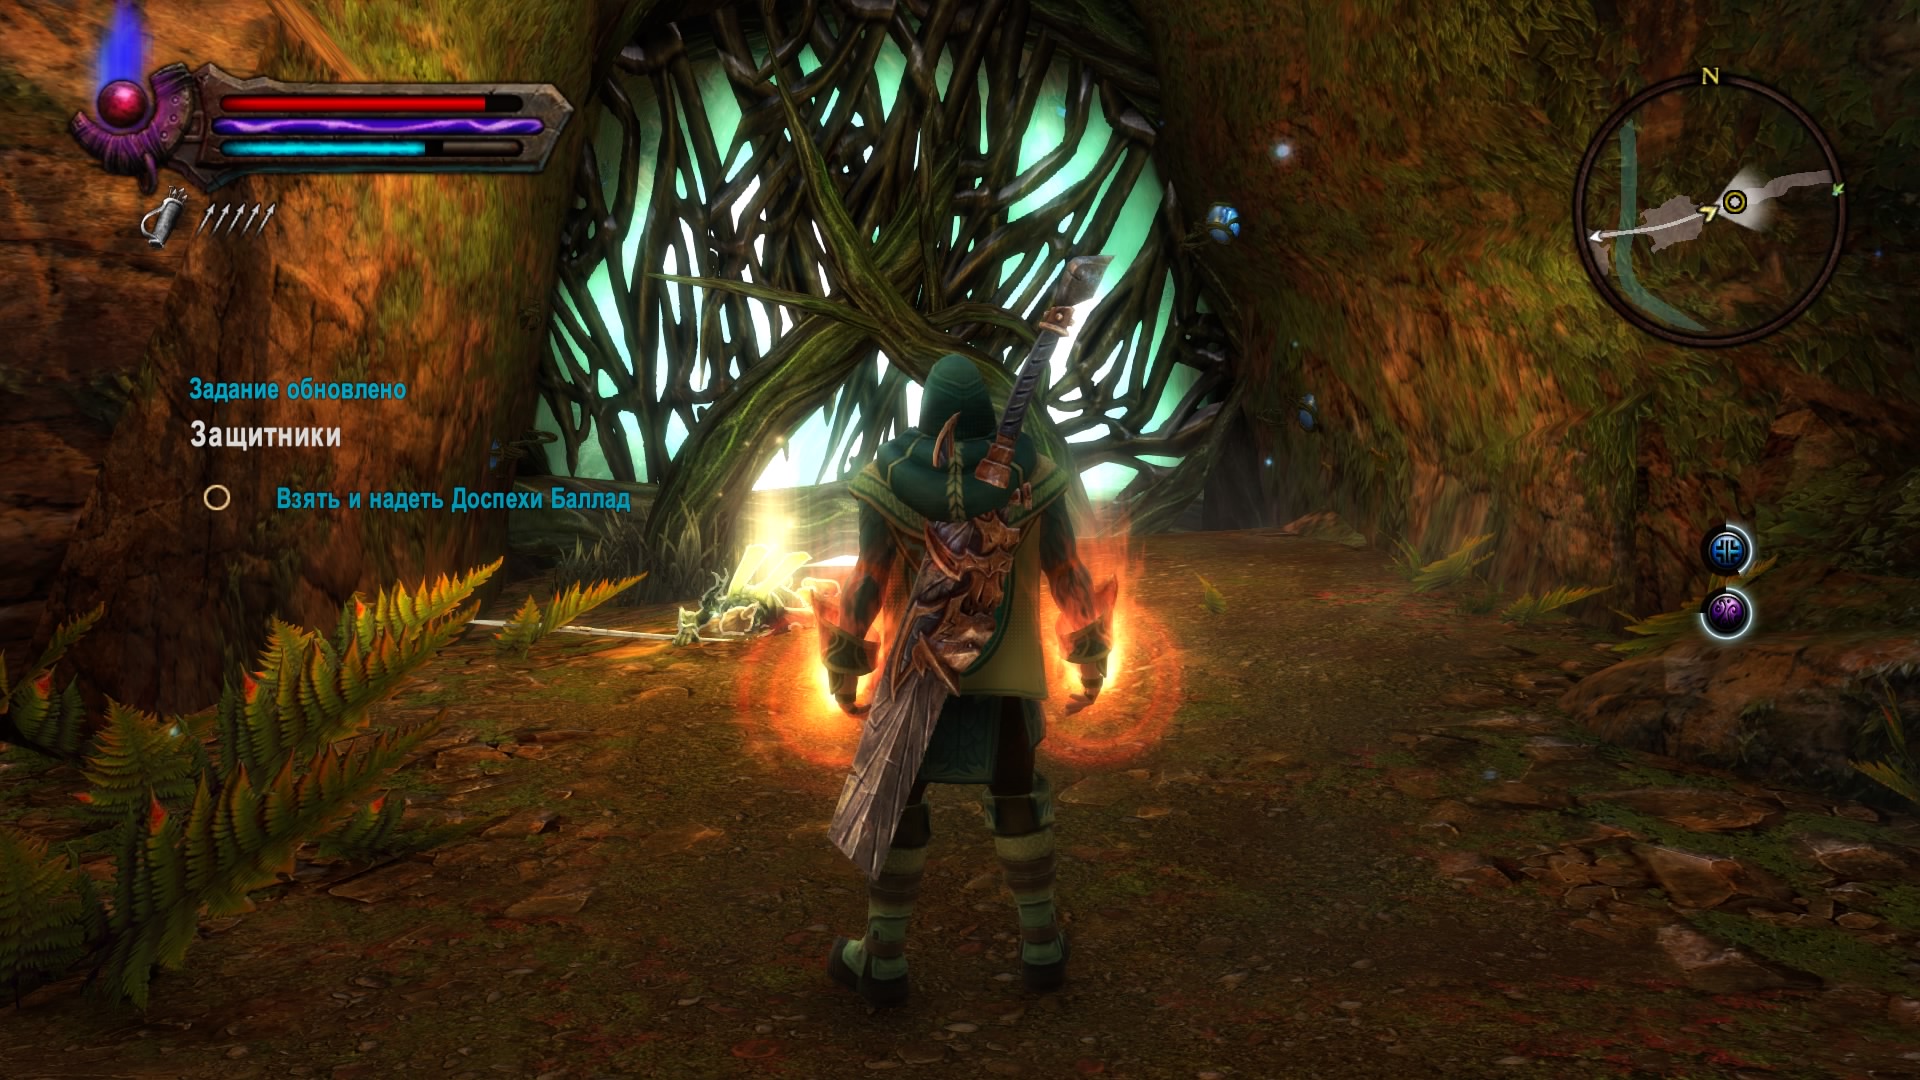
We defeat the enemy, raise objects and put them on the hero. We pass forward and climb onto the bridge. The maiden will tell that the path will open only to those who can defeat Sir Elsvin, but he is already dead. We go down into the crevice and find his corpse. We use the Resurrection potion and defeat the elf in battle. We rise upward and the path through the bridge will open. At the entrance to the cave we meet another Defender. We deal with him and go inside.
cursed kingdom
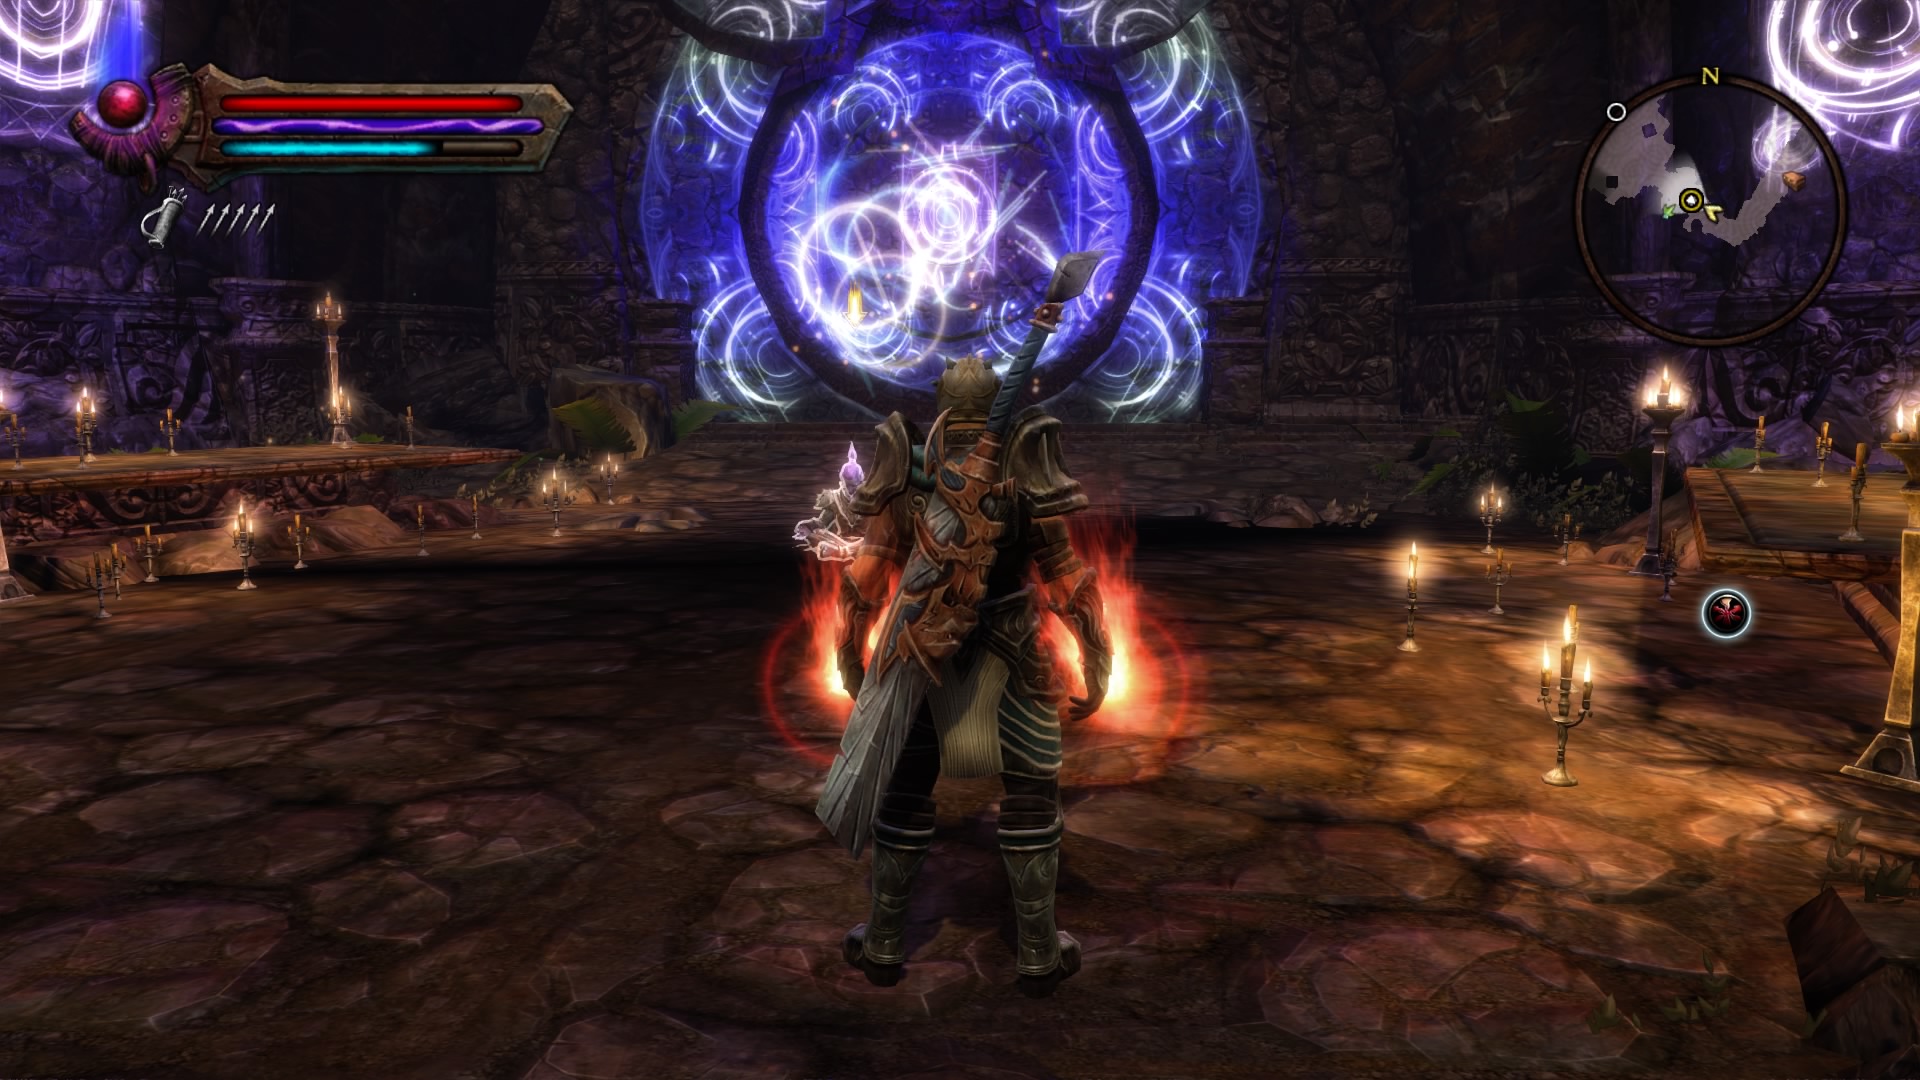
We communicate with the Virgin and go to the Chancellor, whom the elf mentioned. This time the monsters will not attack, so we go up the stairs and go into the house. We communicate with the elf and use the whistle on the street. There are crystals that need to be destroyed. We run up to each one in turn and break it. Do not forget to set the item to quick use, as you will have to whistle very often. After destroying the last crystal, all monsters will become hostile. We return to the former Segrellu and go to the old bell tower. We rise to the second floor and use the bell, and then we go to Windmere Castle.
Hero and Virgo
The lady assured that King Wenzen and the rest of his subjects were still alive. We need to hurry: perhaps the prisoners are under the same spell as the Defenders at the entrance. First we meet Sir Farrar. He is bewitched and will have to kill him. We head to the right and meet two elves, who will also have to be defeated. There remains hope that King Wenzen has not yet been bewitched. We go to a point on the map and take the elf with us. We follow the barrier, but at the last moment King Wenzen decides to escape, so you will have to fight the Maid of Windemere alone.
How to defeat the Maid of Windemere
Summons a lot of minions, constantly teleports and throws magic balls. We are in dodge mode. Get closer to the enemy and deal more damage. It is pointless to touch assistants, since the elf constantly heals them. Before the fight, it is advisable to drink a couple of potions for stamina and damage. When the enemy has too few lives left, the fight will end. Virgo will offer to share the throne with her. You can agree or refuse.
Basic attacks:
- Ranged magic ball attack
- Summon Helpers
- Teleportation.
We return to the House of Ballads and complete the faction branch.
Halls of Trials
Call of Sorrow
Bisaran gave instructions regarding the House of Sorrow. It is necessary to find the Halls of Trials and undergo training. We get to the marked location and go into the cave. We talk with the flower, destroy the enemies and move to the next point. We save the woman from the monsters and move on. We do not kill the poisoned elf and proceed to the third test. We refuse to fight with another elf and after a short dialogue the task will be completed.
Voices of the Dead
It is necessary to find the former watchman of Kadorok. He killed his brother and defected to the Tuath. We help Tybrea get to Midden to inspect the corpse of the victim and find out all the circumstances of what happened. The elf found out that Kadorok was hiding in the Crypt of Sioran. We leave for the flooded forest to establish a connection between the fugitive and the tuatha. The traitor attacks the hero. We kill the enemy and return to Bisaran to report on the progress of the mission. In the absence of the hero, the House of Sorrow was attacked and destroyed. We need to make sure Bisaran isn't hurt.
house divided

The entrance to the House of Sorrows is closed from the inside, and there are clear signs of a struggle all around. We leave for the Hall of Tests, which is teeming with Bolgans and go through the dungeon to a secret passage. The House of Sorrow was badly damaged. We find Bisaran and find out what happened. In the absence of a hero, a revolution took place. We follow the deserters to the Fallen Hall and help to cope with the Tuatha, who ambushed the elves. Having reached the Halls, we save the survivors from enemies and follow in search of Saturnin. The leader of the taut has locked himself deep in the dungeons. You can open the passage with the help of three locks. We break the seals and move through the opened door. The team was wrong. In fact, the mercenary Mercury was behind the attack. We defeat the enemy, but it will not work to do justice: the villain will disappear with the help of magic. We return to Bisaran and report the situation.
Elders
The elf asked to go to the dungeons of Damalrok to find the former members of the House of Sorrow and persuade them to return to Midden. Together with Bisaran, they can find the Sorrow and hide it from the Tuat. We make our way through the amphibious enemies and use the button in the large hall. We deal with a small group and move along the left passage to Elder Kelrod. He promised to help, but first you need to talk to his sister. We return to the Great Libra and open the way to Alarna. When the brother and sister meet in the central hall, the hero will receive the Talisman of Sorrow. We choose the magician Kelrod or the robber Alarna as our future partners and go to Sinsear.
crying king
We move to Flaming Sin and go inside. We communicate with a partner and get the first of the four totems of the elements. By markers on the map we find enemies from which the remaining items fall out. We deal with each opponent and collect the Vows of the Leaf, Water and Flame. We approach the flower in the center of the cave and open the passage. We go deeper and near the waterfall we use all three levers. The path will be open. We pick up the Withered Branch, and return to Bisaran in the House of Sorrows. The elf turned out to be a traitor Saturninus. The Tuatha invade the House and brutally kill the Elders.
Sweet Sorrow
Tybrea revealed that she was the reincarnation of the Weeping King, whom the elves had been looking for for so long. Together with her we go to Esharra, the mystical home of all Sorrows. Bisaran hid behind a magical barrier that needs to be destroyed. We reach the first of the four links and fight with Kelrod, and then we break the mechanism. At the second link, we defeat Alarana and go to the third, where the hero is already waiting for Tuatha Mirsir. We kill him and at the last link we fight with Kadorok. Now the barrier has fallen and we hasten to Bisaran, which will not allow us to release Sorrow on the Alfar army.
How to beat Bisaran
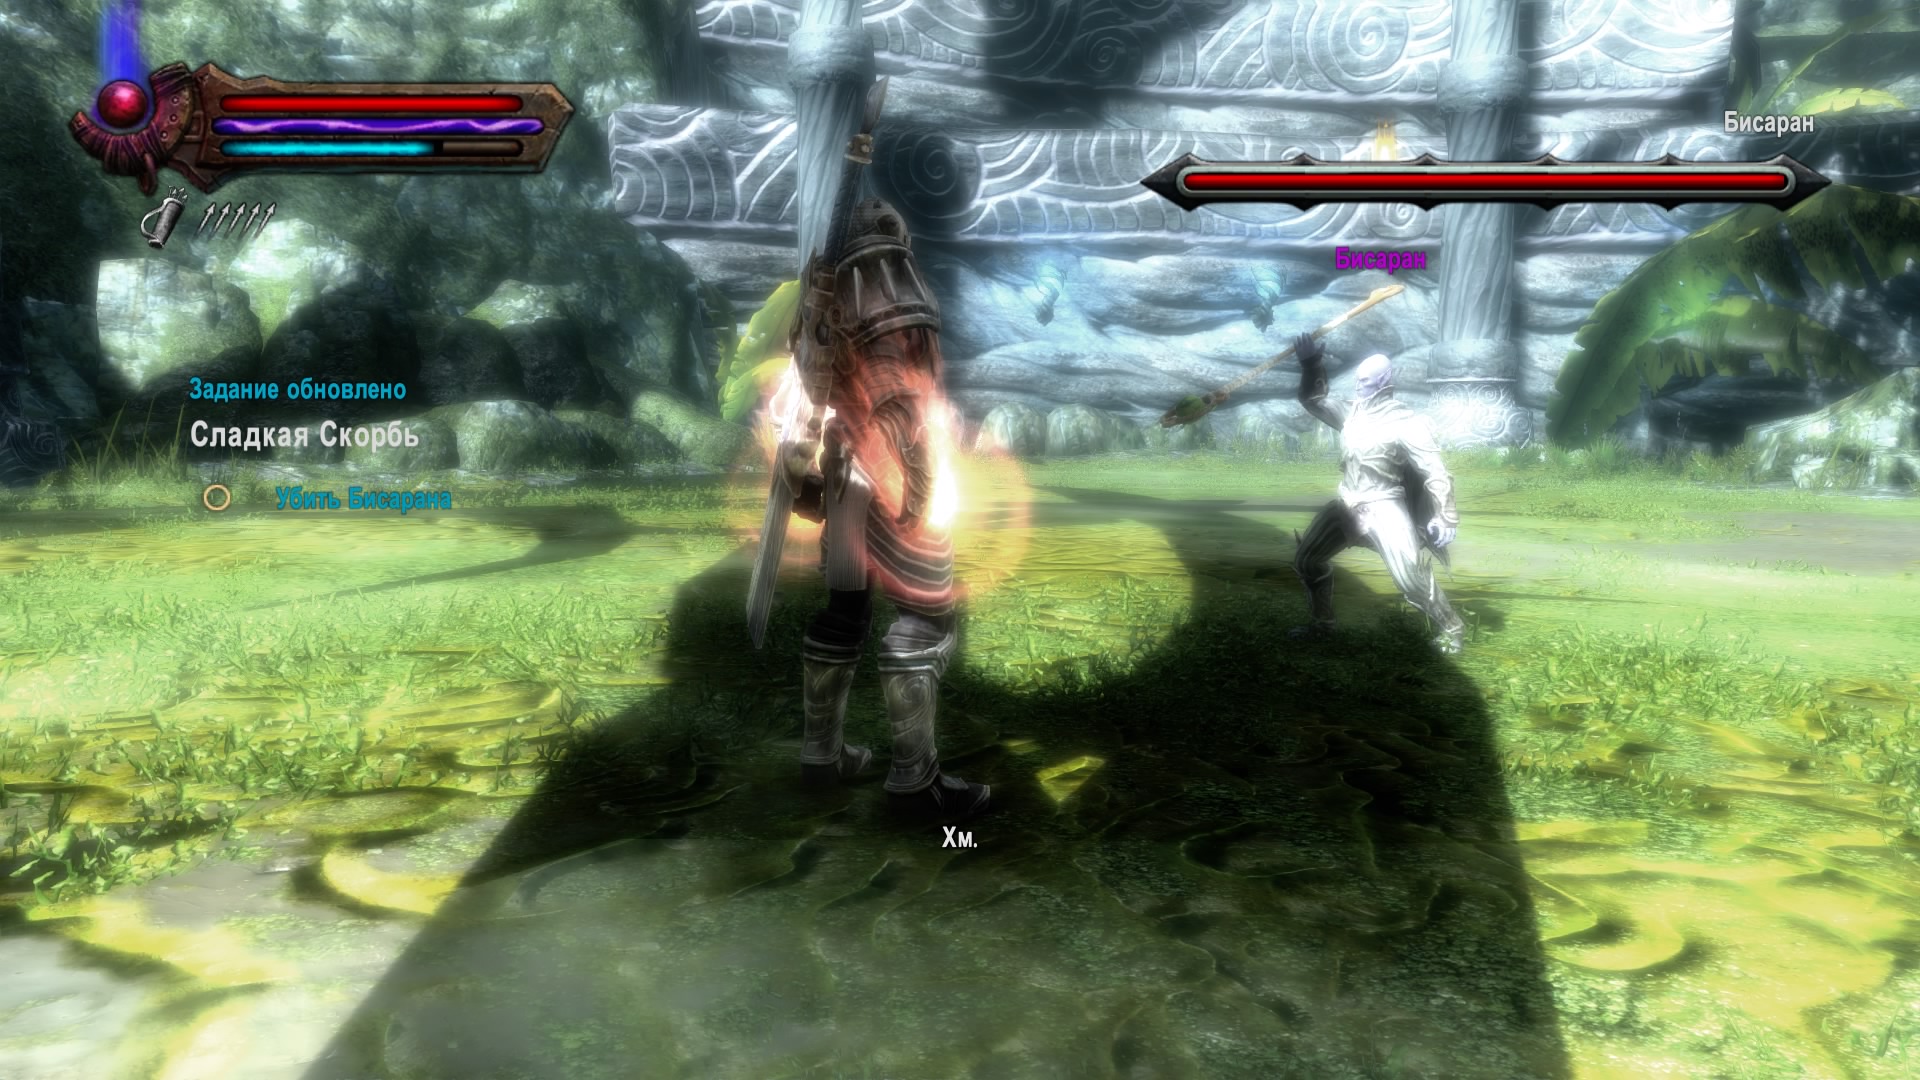
The elf constantly summons all sorts of monsters that are not worth wasting time on. We try to fight only in melee so as not to hurt the assistants, and all the damage hit only the boss. Often uses area damage. We inflict a couple of blows and dodge spells.
Basic attacks:
- Call for helpers.
- AoE magic damage.
After defeating the enemy, Tybrea will return the hero to the world. We pick up the Sorrow weapon and complete the faction branch.
Gravehal Castle
Gravehal Castle
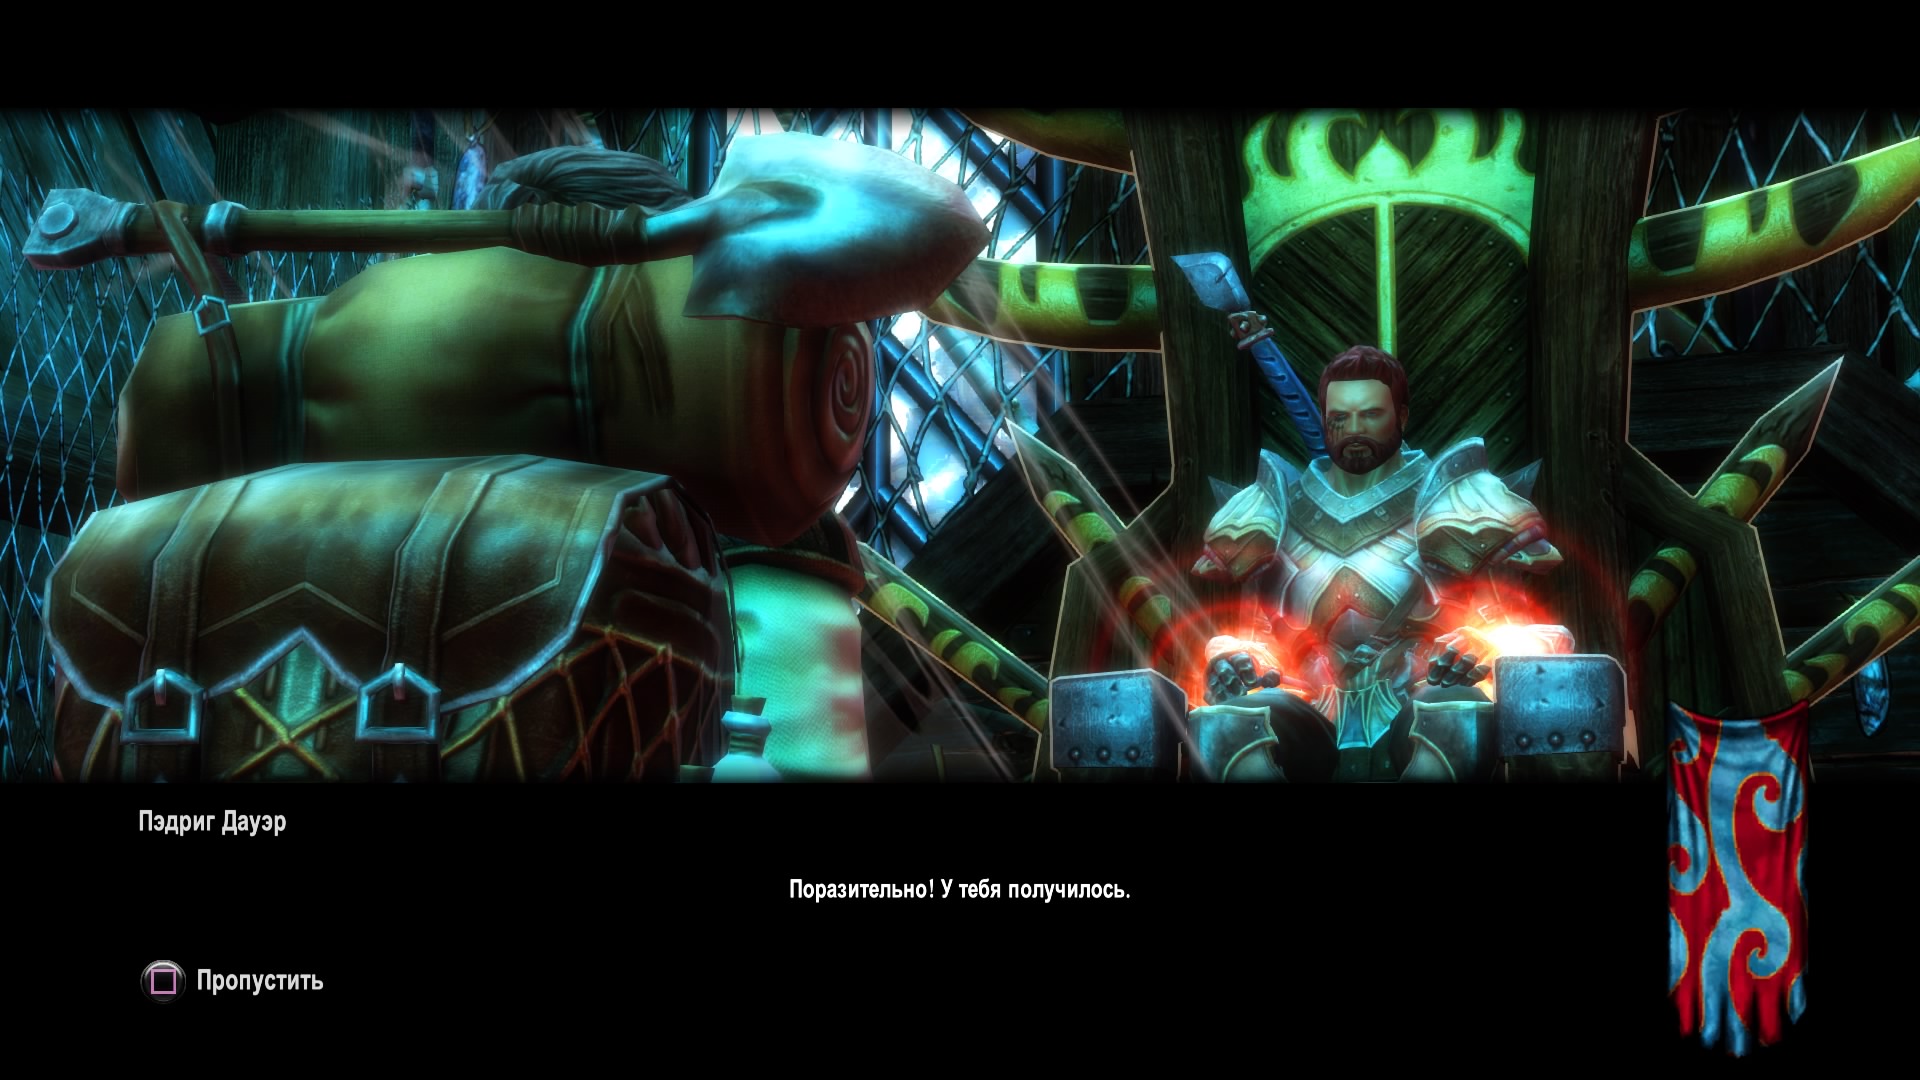
A dwarf named Padrigue Dauer offered to take them to the castle, which is supposedly haunted. A new friend wants to help acquire Gravehal Castle. We set off on a journey with a partner. We move to the north and go inside through a large gate. We destroy three Scavengers. The gnome will open the next gate. In the throne room, we kill the remaining monsters and sit down on the throne. Niskaru will get out of the underworld, we destroy it and after a short conversation with Padrig we go to search for materials to restore the castle.
Gravehal Restoration
We go west to the location of the Forsaken Shore to find the necessary materials. At three points are the wreckage of ships, having examined which we find everything we need. We return to the castle. We give the materials to the dwarf and leave the castle for a while. It is better to do a couple of quests and come back after a while.
Graveheal Arsenal
Padrigue is ready to build the Arsenal, so we go to the southeastern part of the island to collect materials. As in the previous task, we search three points and return to the gnome. After several similar tasks, the restoration of the castle will be fully completed.

Don't forget to chat with the animal trainer. In the dialogue, select the desired assistant and go in search of similar creatures. We collect the necessary items from dead animals and return to the castle.
Tramps
Guided hands
Grim Onvig invited the hero to join the Rogue faction, a notorious gang of thieves. We leave for the camp in Dalentarth to the leader of the Krilgarin. We talk with the head of the faction and pray at the sanctuary of the Hierophant. Only the worthy can join the gang. The statue told me to steal three items: Grilrikas' Medallion, St. Edric's Relics and Draug's Toothpicks We move to the Parish and go into the house. In order not to catch the eye of the inhabitant of the hut, it is enough to switch to stealth mode and hide behind a piece of furniture. We stand behind the Relics and wait until the monk begins to read prayers, and then we search the monument. With Toothpicks, things are a little more complicated. We persuade the person in the tavern to tell about the location of the daggers or steal a map from the chest on the second floor. We go outside and run to the marker. We kill the monsters and search the pile of stones. The medallion can be obtained with a little trick. We steal any item from the chest in front of Grilrikas, then we kill him and take the item for ourselves. We pay the guard a fine and return to the Rogues in the Star Camp.
silent step
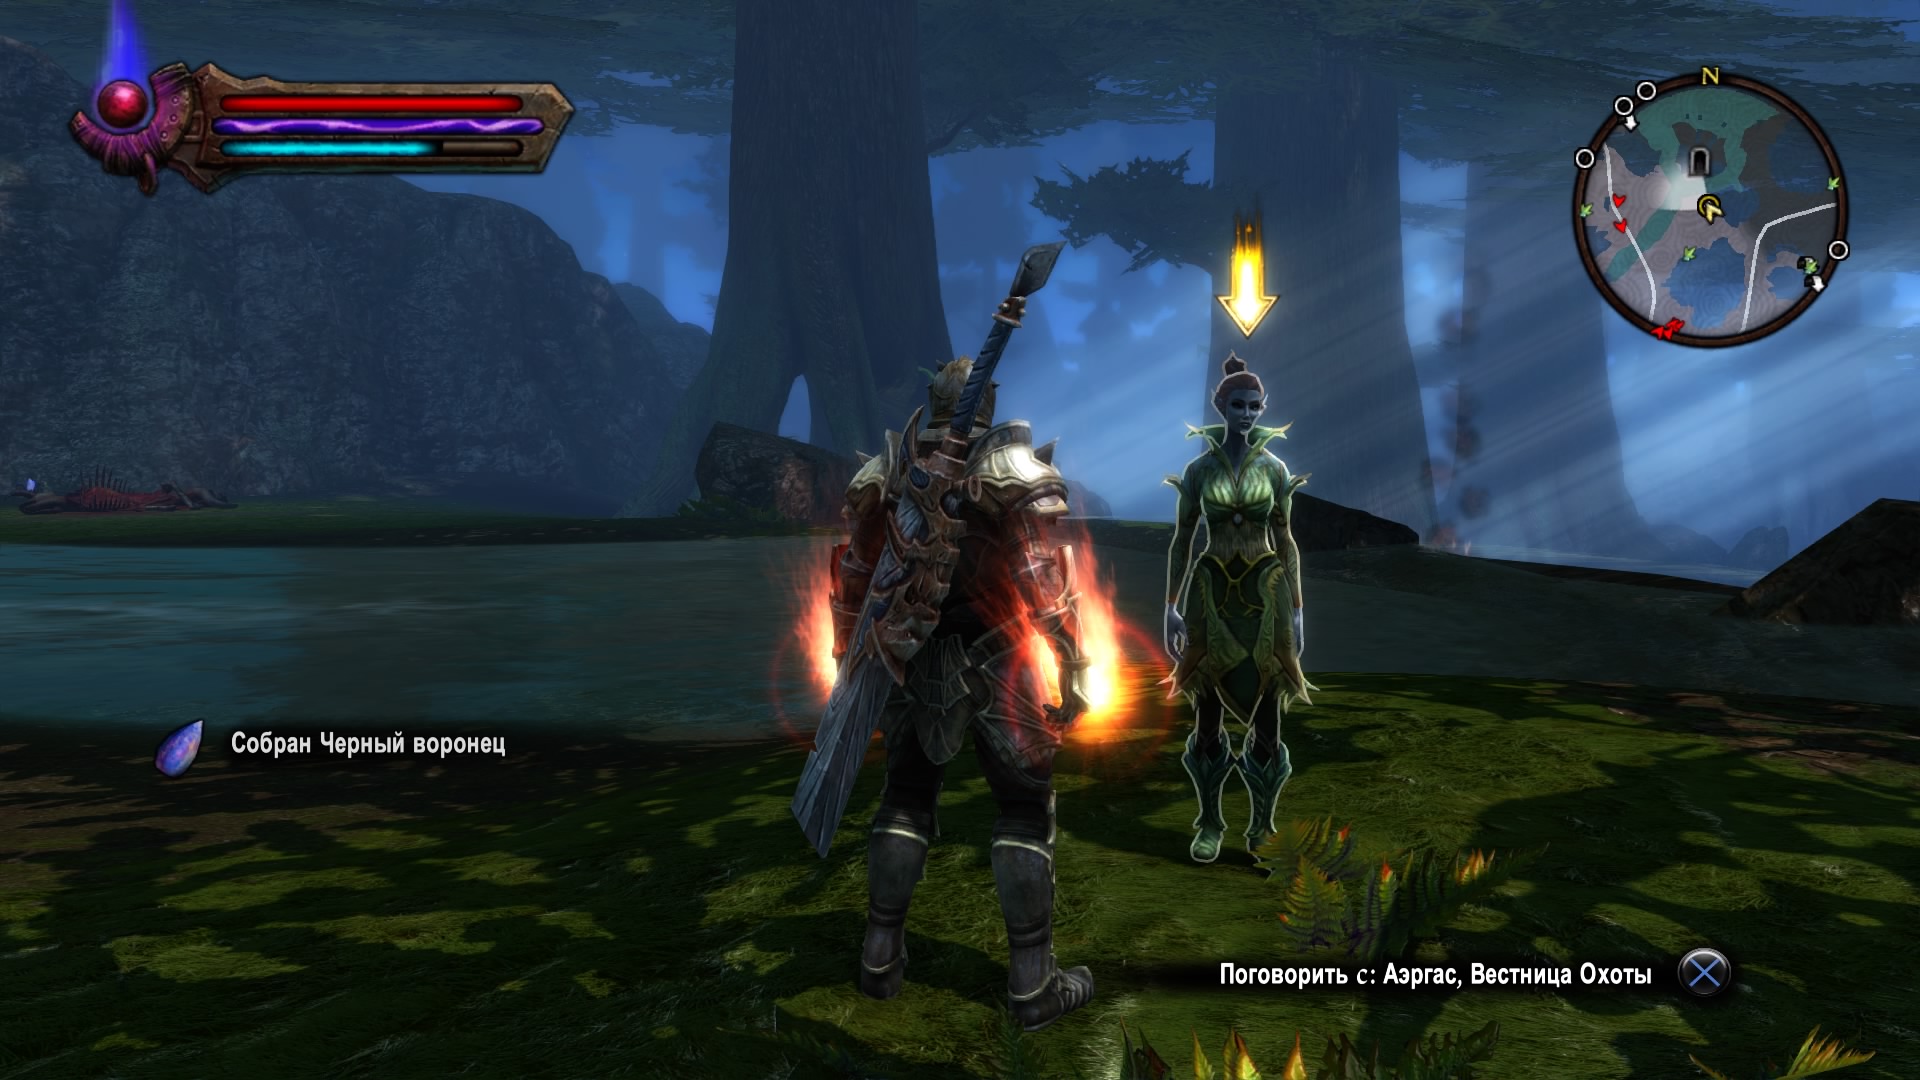
This time, the hero will be asked to steal Buru's magical boots. To do this, we go to a meeting with Aergas. Her master fell under the influence of a spell that lay on his boots. We follow to Arduat. Unfortunately, it is impossible to save the elf, so we fight with him and free him from a long-standing curse.
How to defeat Amethair
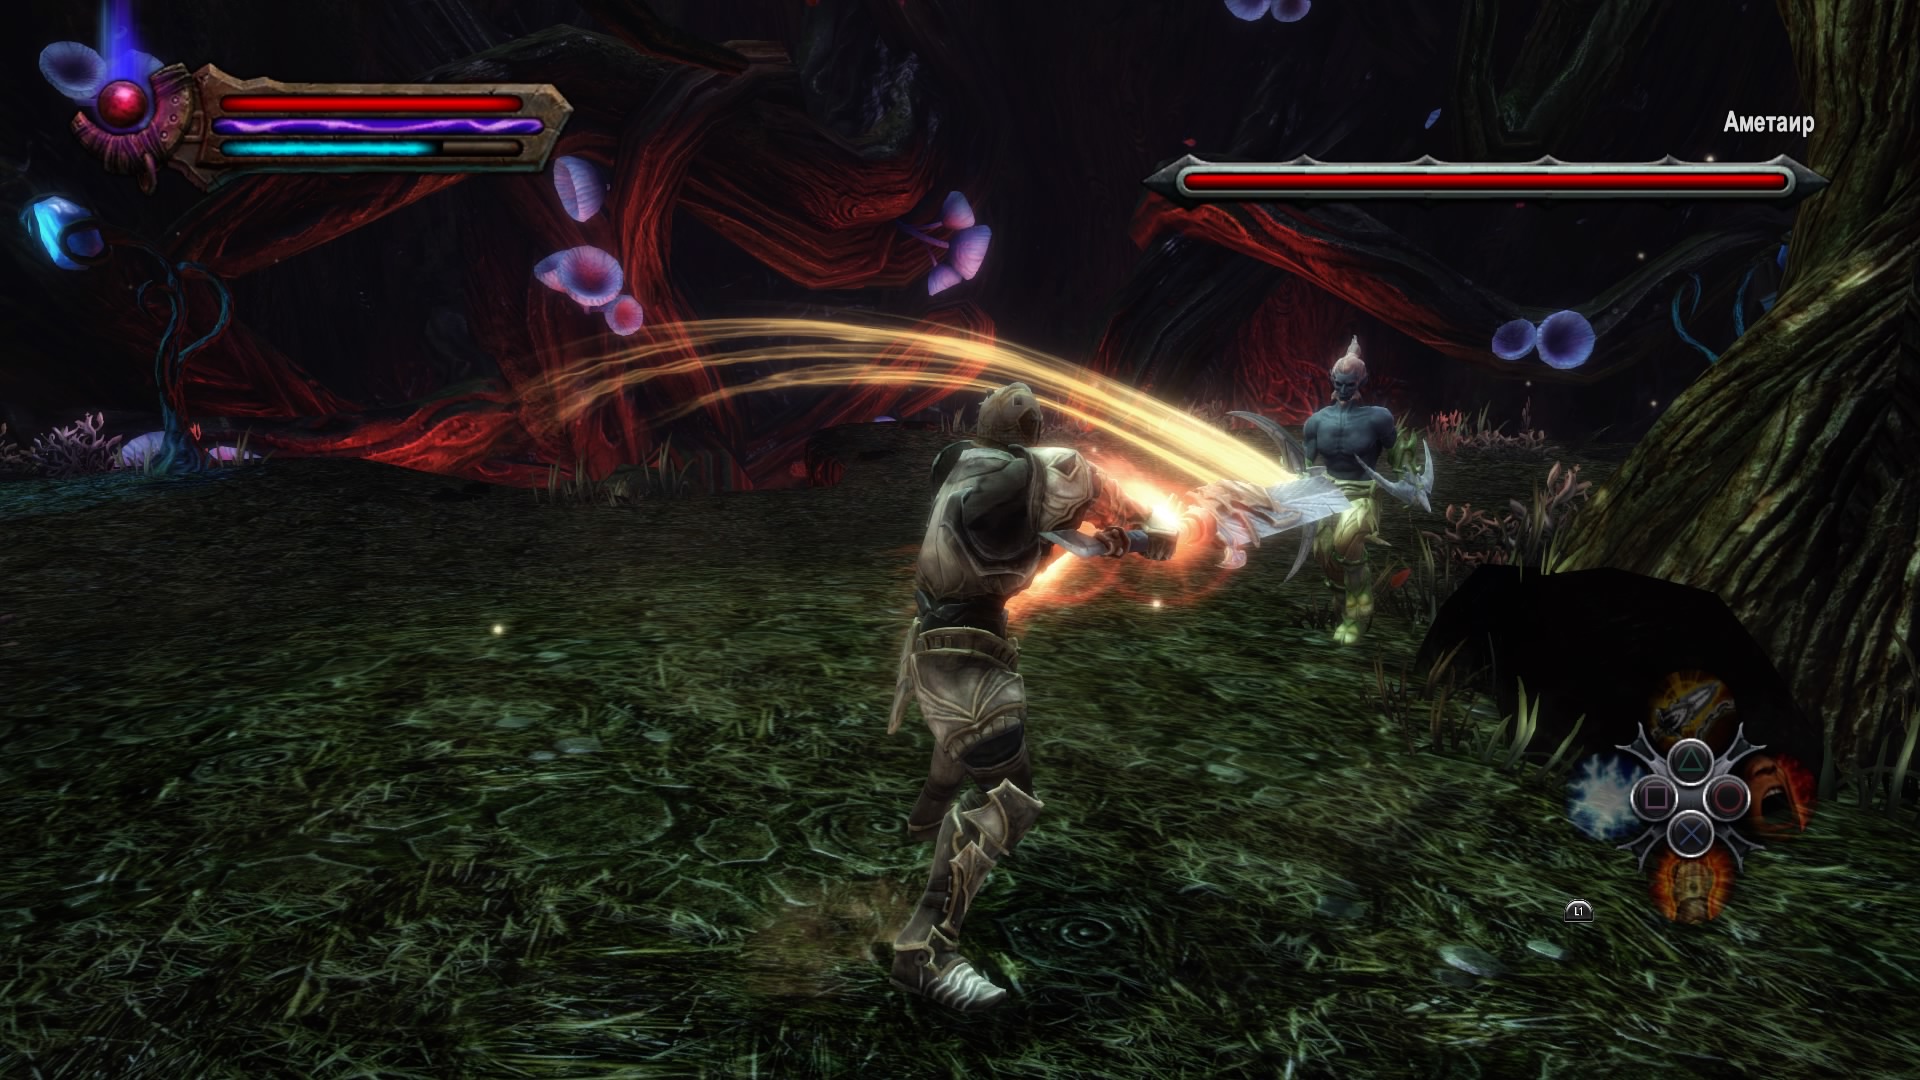
One of the easiest contenders. We inflict several blows to the boss and run deeper into the cave. Does not use any special skills other than teleportation and short-term invulnerability. We move from one part of the location to another. After the death of the boss, we pick up the boots and give them to the leader of the Tramps.
Jailbreak
Grim Onwing, who adopted the hero into Rogues, is missing. We follow where he was last seen. It turns out that the thief ended up in a gnome prison. We leave for the western part of the location and pick up the book. We go east and give the item to the dwarf in exchange for the freedom of a friend. We return to the camp to Krilgarin and complete the task.
A thief in the night
The camp leader was impressed by the success of the hero, so she sends him to another camp, not far from Ratir. we talk with Iroion Tala and get a new task. He is upset by the loss of his loved one, so we pray at the sanctuary and move to a neighboring city to steal new items. We rob people in stealth mode and return to the camp. This branch of fractions is considered one of the longest. We perform similar tasks for the Thieves Guild one by one and get the long-awaited reward.
Additional tasks
Special Delivery
You need to get to Gorarth and open the chest, which will contain many useful items: armor sets and weapons. Depending on the class, one or another set of items can be used. After opening the chest, the task will be considered completed.
Crisis of Faith
Father Dinvel of St. Odvig's Permanent Mission is worried about his subordinate, Brother Egan. The monk disappeared into the forest to the north. It is required to find him and find out what happened to him. Boggarts attacked the novice. We help him fight off enemies and he will tell you about the treasure he is looking for. The fairies promised Egan magical powers in exchange for the relic, so we accompany the monk to the Waterhall Down caves. We destroy all enemies on the way and go inside the cave. Follow Egan to the tomb, dodge the blue bolts of lightning, pick up Selgi's Veil and exit the cave. We deal with the robbers and meet Finna. She turns out to be not an elf, so we try to deceive her and do not give the Veil. We return to the Parish of St. Odwig. This time, the door to the locked location will be open. Here the hero will meet Father Dinvel, who will be glad to see his student again whole and healthy.
From past
This quest can be obtained from the Reliquary in St. Odwig's Parish after rescuing Monk Egan. Brother Delph asked for help to avoid the revenge of Edward the Red, so the hero will need to find the daggers of three former members of the gang. The Dagger of Delph will already be with the hero. You can get Ugnar's dagger from a person near the Parish. To do this, you need to fight him or persuade him to give the dagger just like that. For the third dagger, you need to go to the lands of the fairies. We fight with a warrior or buy a dagger and go to the Bloody Jasper Abyss. We reach the leader of the robbers and decide to help the bandits kill brother Delf or refuse. In the second option, you will have to kill the leader. We return to the novice for a reward.
No entry for unauthorised people
We get the task from the girl at the entrance to the Parish. Sister Zelda wants proof that women are allowed to join the Mitaru Order. To do this, we hasten to the Reliquary and steal a book in the dungeon. We take the received item to the girl. Now she will be able to unite her life with the brethren of the Mission of St. Odwig.
Construction of bridges
Gorarth's elder, Herc Edwold, hopes to save a young fairy who has recently been assassinated. The hero needs to go in search of the fairy Aeri, who is watching the village from a height. We orient ourselves on the map and find the fairy a little north of Gorarth. After a short dialogue, we go to the alchemist in the city. We buy a medium healing potion for 1300 coins from the gnome and go to Herk Edvold in the tavern. He will send the hero to warn the rest of the fairies in the House of Ballads. We hurry to the point on the map and go to the House of Songs. We talk with the nearest elf and return to the elder and pass on the information received.
A recipe for trouble
Alchemist Nanny Hanri has a secret formula stolen from her. The dwarf suspects his apprentice Kart of the crime and asks the hero to find the missing apprentice in the ruins of Agnur Farhal. We find the missing student in the dungeon. He works for the Red Legion and wants to transport the dangerous alchemist's formula to the east. We deal with the traitor and go in search of boxes that need to be broken. We clean the entire location and go to the robbers' camp to the north. We destroy the remaining boxes and return to the city to Nanny.
Violent by nature
On the way to the east, the hero will meet Ainmi, a strange lizard vagabond, who will ask you to bring a drink from the Wandering Well to break the curse. We leave to the east and find the necessary place. We destroy the guards, but the well disappears. We return to the stranger. After the conversation, we go for the Leech plant and run south to the well to collect the necessary water. To do this, select any one location of the well and wait until it appears nearby. We collect water and give it to Ainmi, who, after drinking the potion, will turn into a wolf.
Reprise of the massacre
A tramp named Penry Kell asked to take the ring from the troll by acting out a scene from the Ballad of the Fairies. To implement her plan, first we go to the forest and kill antelopes from a bow. We collect the heads, return to Penry and place them on the column nearby. We destroy the troll and persuade the girl to leave the ring to the hero.
Homecoming
Gisla Fullflack is waiting for her husband to return from the war. She had not received any news for a long time, so she asked the hero to go in search of her faithful Camden. We follow the mark on the map and find a wounded soldier in a tavern. We persuade him to return to his wife and set off on the way back for a reward.
belated return
One of the easiest jobs. All books are scattered around the world, so traveling from one location to another, you can easily collect the entire treatise of Til. In some places, you will have to steal manuscripts and pay off the guards for it. We return to the Parish and transfer the collected collection to the closet.
pestilence shield
You need to find Brother Fallon and collect a pestilence shield. We find the novice dead and follow the marks in the Glendar forest to collect the necessary details. follow the surviving robber. We destroy all the robbers and take three pieces of armor. We move back to the girl for a reward.
The fisherman's bride
A frustrated sailor asks the hero to find and save his bride. We follow up the road, deal with the wolves and the troll. It turns out that the wonderful nymph was an evil creature. We destroy the monster and get a reward from the fisherman.
Antelope
The girl Marga believes that her friend was turned into a Jotuna antelope. We go to their camp, destroy everyone and raise the silver necklace from the bowl of food. If you look around, you can also find Oreyn himself, he staged his transformation in order to escape from the girl, but was captured. We return to the girl and choose the dialogue options at our discretion: the girl will go home to her family and forget about her friend.
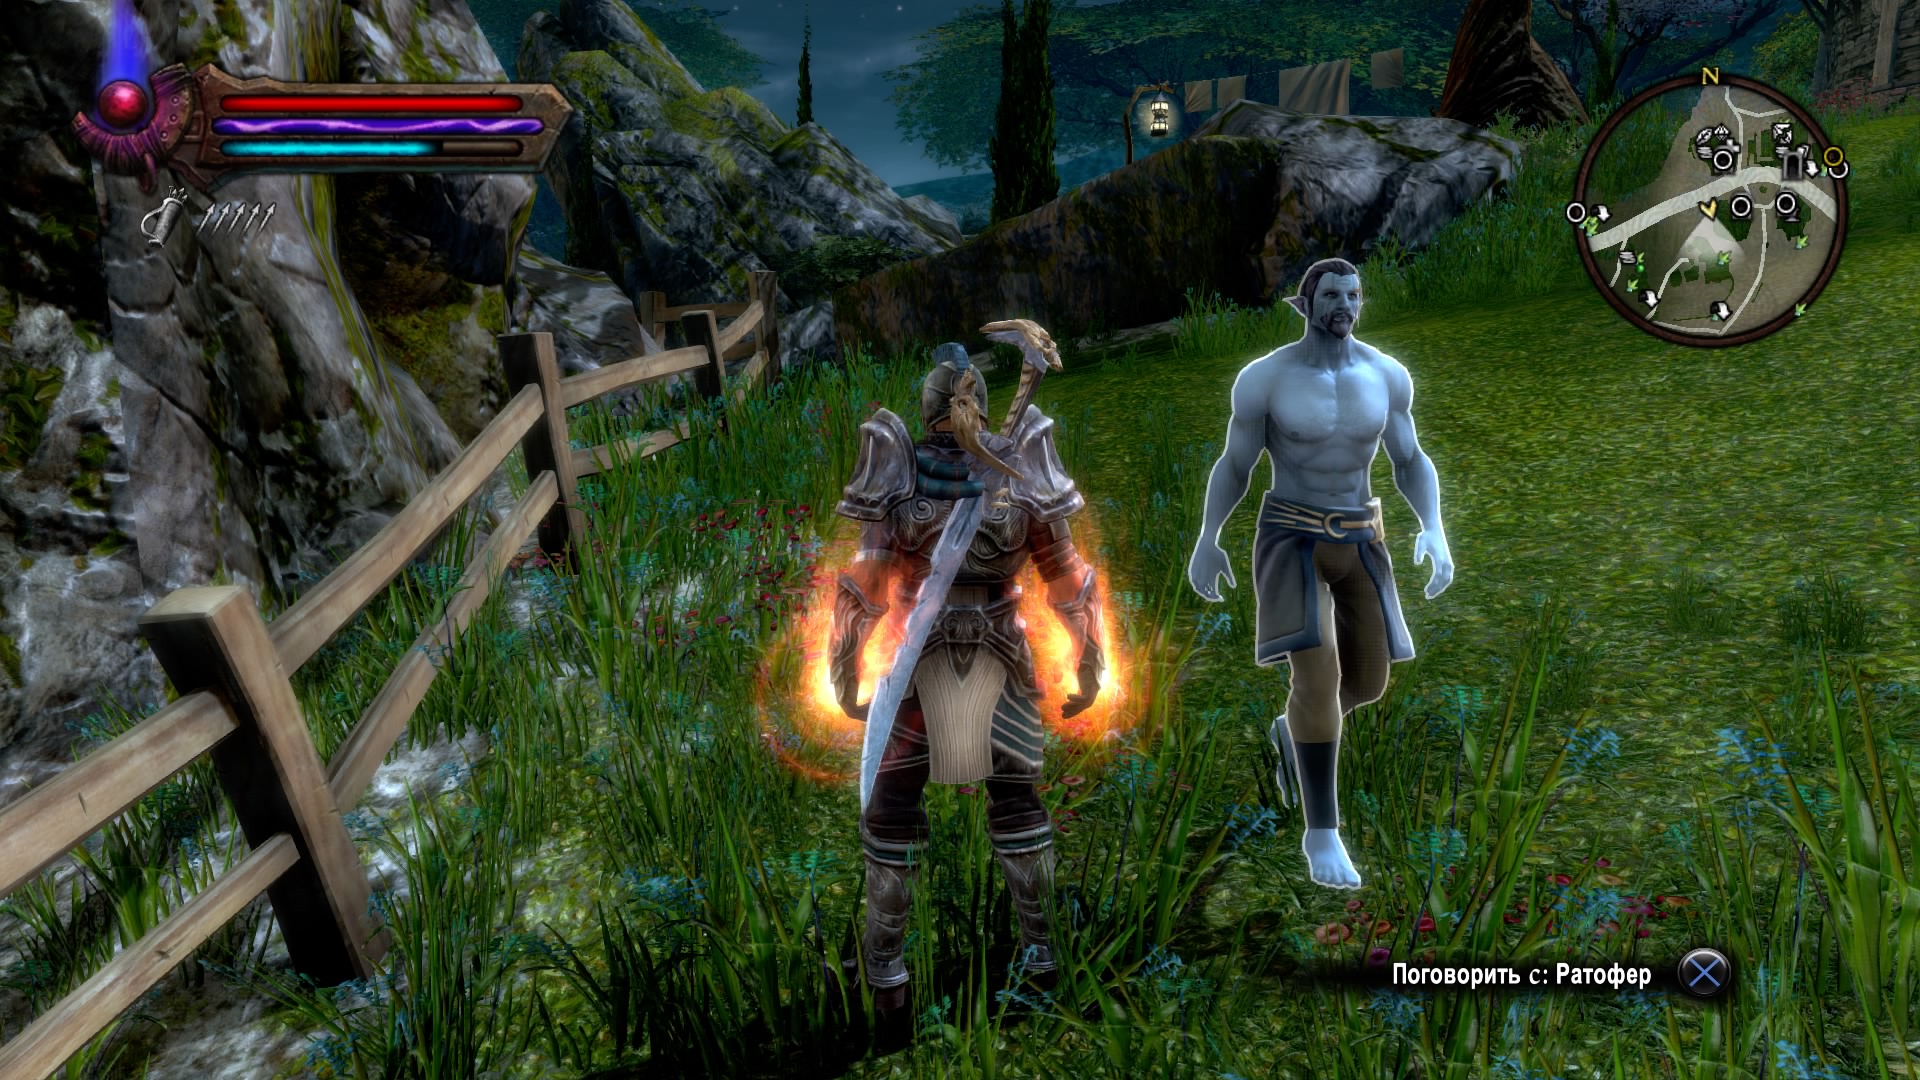
Rathofer's little things
The elf asks you to buy and resell your items in order to get a pass to Mel Senshire. The hero can help out the wanderer for 1100 gold coins or ask for one item for free for a trial deal. After the redemption of all things, a new task will appear to find a buyer
What is rubbish for one
We go in turn to four different houses and offer merchants to buy the items received earlier. Everyone will buy some item from the hero. You should not expect big earnings, however, the successful completion of the mission will bring some experience in addition to gold.
The best defense
Corporal Ivar asked to kill the bandit lord Konnovar, who is engaged in the slave trade in Kandrian. We go to the mark, destroy the entire camp of bandits, and after successfully getting rid of the leader of the robbers, we return to the soldier and receive a generous reward.
The Secret of the Fairy Pools
If you place the stones correctly, then a boggart will appear, which will follow the hero everywhere. We put purple in the north. We put red on the western bowl, and blue on the south. After that, a creature will appear and the task will be completed.
Lost Squad
The captain of the guard barely survived the hard fight with the enemy, but his entire squad remained locked up in Ansilla Castle. We pass inside and find Private Gotliff. We save him from death and follow to the throne room, where we kill the magician Tikneri. Before his death, he casts a curse of spiritual fetters on the hero, so we immediately rush in search of this medicine to the lower floors in the laboratory. We remove the spell from the chest and take the Mysterious Medicine. We use the elixir, leave the castle and return to the captain.
Was the article helpful?


