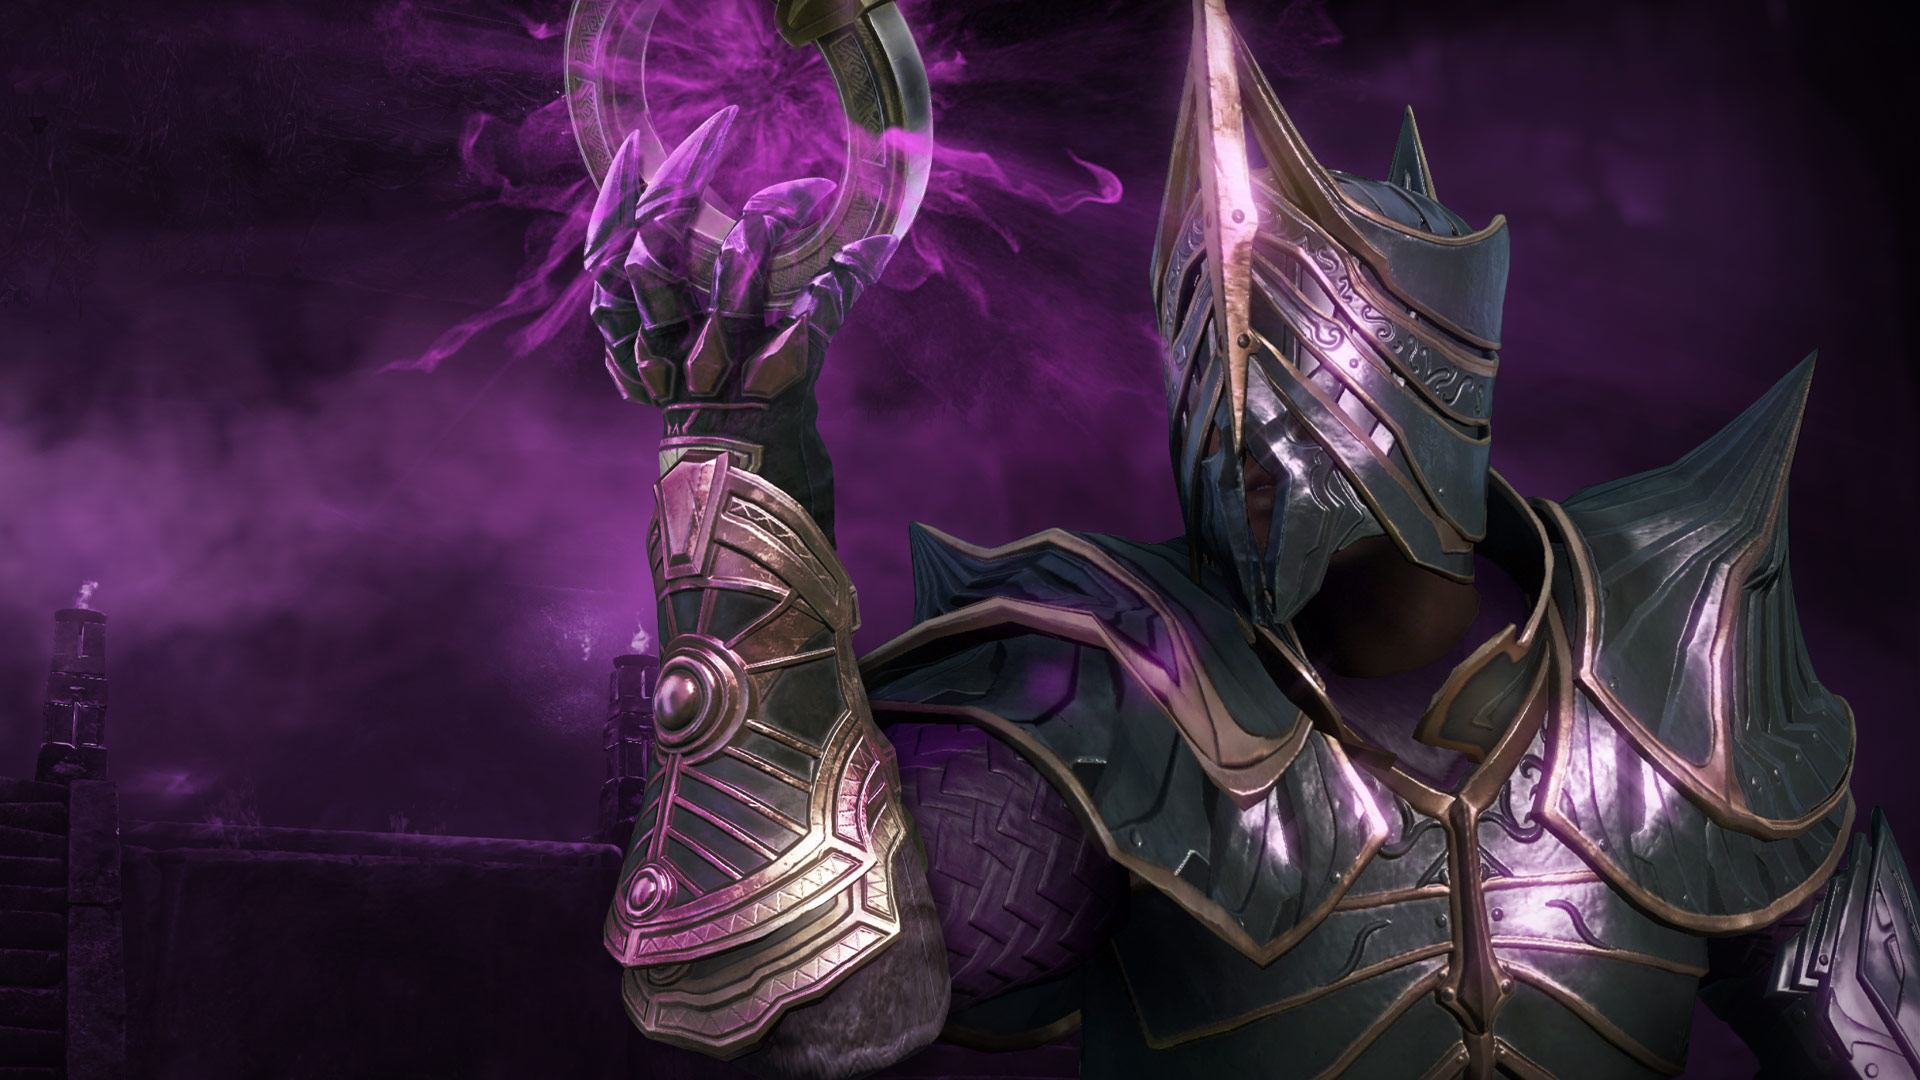
New World is a historical multiplayer action role-playing game with a third-person view. The game will send you to an alternative universe of the era of the colonization of America. The game world is filled with incomprehensible creatures, dark magic, spirits, living trees that are ready to kill at any second. It will be possible to defend yourself with the help of relics, spells against spirits, words of power. You will also need to protect your settlements from the invasion of thugs-players and supernatural dark forces, with the help of weapons and magic. Or you can explore the game world to discover new lands and strange curses.
New World — Amrine Excavation Expedition Guide
Special offer
The Amrin Excavations is the first expedition to the New World. This guide will fully prepare you and help you get the most out of this expedition!
Amrine Excavation is the first expedition or dungeon available in New World. By the end of this guide, you will be able to confidently take part in this expedition, because you are armed with valuable knowledge.
Preparations
Before starting Amrin for the first time, it is highly recommended to reach level 23. This will give you access to the repeatable side quest "Bones for Barkimede”, as well as to the tasks of the factions for the expedition. They will greatly increase the experience you get from a run and are very worth getting when you can.
When completing Amrine Excavation it is important that all players hit the Ravager enemies at least once before they die. Otherwise, the subject Succulent Bone for the side quest "Bones for Barkimede' will not fall out.
There is also a side quest chain from William Heron in Everfall that will eventually lead you to the Amryn dig. This side quest, along with the main story quest, will give you Amrin's Orb of Attunement, which gives you access to the Expedition. This side quest will also give a large amount of experience along with others that can be stacked.
If you're playing a tank and having trouble getting your hands on a Carnelian Stone, there's another side quest that starts with the Stew Without Confidence side quest in the Windward Tavern. For the side quest "No Simple Bow Shot" you will receive a Sword with Carnelian Stone, which will allow you to properly tank the Expedition. If you can, picking up a Kite Shield is also recommended so you can block the boss more reliably.
If you don't have a carnelian stone tank in your group, it's highly recommended to have a ranged weapon for the boss encounter. You will often have to kite the boss, and it will be slower than usual.
Completion of the expedition
If your level isn't high enough, you can expect this expedition to take at least an hour, depending on how smoothly the boss fight goes. If you are at a sufficient level, this can be done in 30-40 minutes.
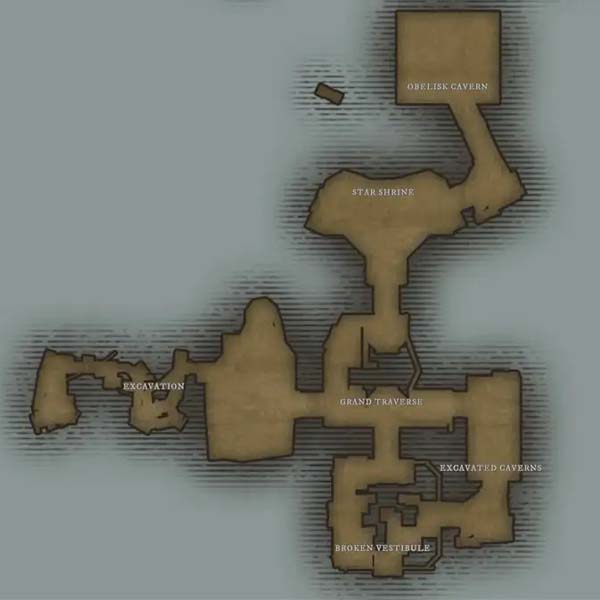
Above is a map of expeditions to the Amrin excavations. The sections below will list the names of each area on the map.
Excavations
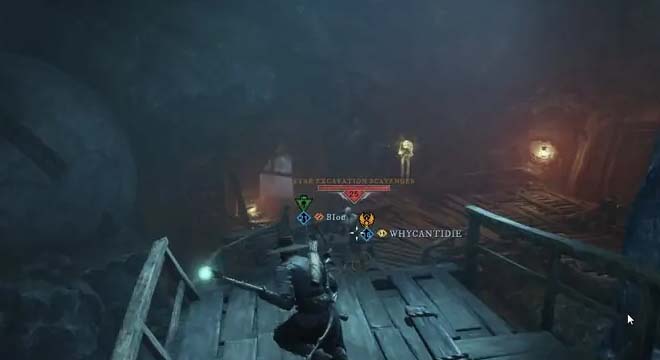
This section is pretty simple. When you first enter the Expedition and head further towards the excavation site, there is a Lore entry on the left that you can get for extra experience. As you go further, you will come across a Plaguegeist and another secret enemy. After sending them to the next world, you have two paths forward.
A speed path where you carefully jump over a chasm, or a safe path where you kill a couple of extra lost boobies while avoiding the jump. The only risk of the fast track is that if you miss, you will need to respawn. Which, fortunately, is not a very difficult jump, you just have to be careful not to block the body of those who jump after you.
After walking along the narrow paths around the abyss, we find ourselves in a more open room. If you wish, you can bypass the enemies on the left side by jumping over the railing on the right. This only lets through a few weak mobs, which won't take long anyway. At the bottom of this ramp will be an Abomination and a few standard Lost.
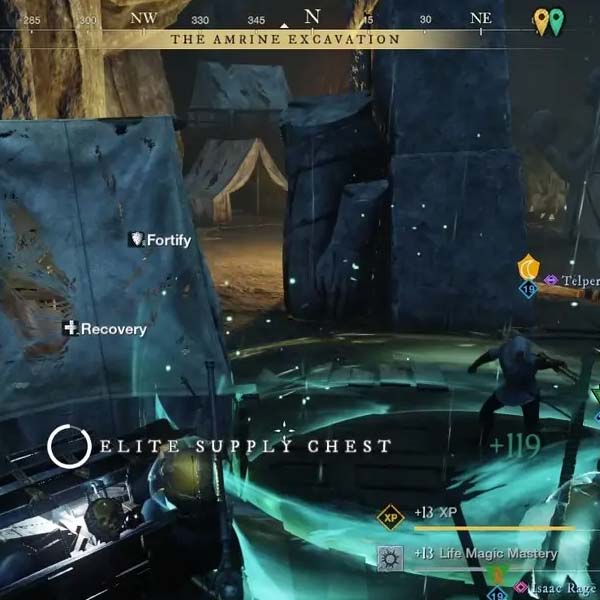
Right behind this abomination and the Lost Ones is a withered hive that will continually spawn more and more Common Lost Ones. Take it out quickly and then you can pick up the Elite Supply Chest next to the nearest tent.
On the left in the second abomination, you can find some Silver Ore Nodes. Once you clear the Abomination, you will be able to collect this Silver freely.
In the middle of the room are a few more Lost and a Ghost. Killing this group spawns another pair of Ghosts, one of which is an Elite. Pull them out to reveal the Nitrogen Seal in the next section.
Grand Traverse
In the meantime, we stick to the lower parts of the map. We'll be back later, but there's something we can take away from here.

In the northwest corner, there is a platform with an Elite Electrogreyst named Mad Mackenzie, as well as a Plague Geist. They use a lot of magical AoE attacks that you need to dodge or you will become electrified. Electrifying quickly depletes your stamina and will prevent it from regenerating until it ends.

After killing Mad Mackenzie, you can head down to the waterfall on the north side of the area to find a hidden Elite Supply Chest. Unlike other Elite Chests, those found in Expeditions are available for every Expedition run.


Breaking the ancient seal of Azoth will spawn additional Lost and several Famines in the outer area. One of these elite starving people was called Burnt Becca.
Burned Bekka is a very dangerous opponent, as she will cast a large AoE fire spell that deals heavy initial damage, leaves a dangerous area on the ground, and also inflicts several stacks of Burn on the first hit. This spell is indicated by a ring of fire on the ground, as shown below.

After that, you can return to the Grand Traverse. Be sure to grab the supply that is hidden behind the east pillar just outside the exit door. This will give you a few pieces of armor, purifying materials, and usually one or two potions.
Grand Traverse
Now back at Grand Traverse, we have a quick and easy puzzle to solve.
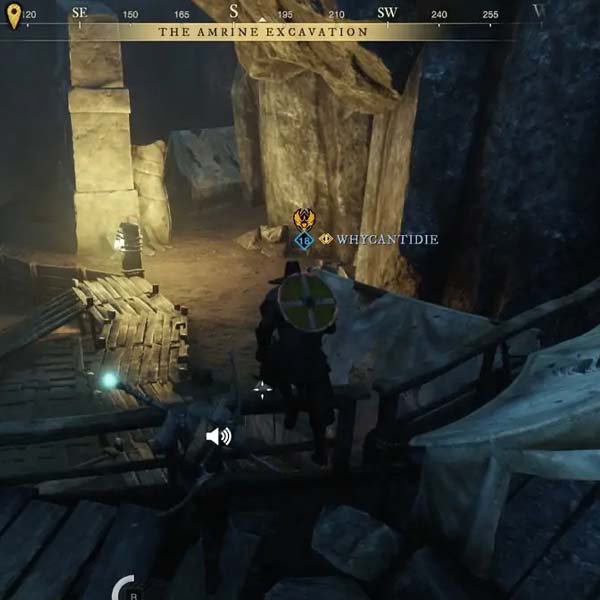
Start by clearing the lost around the first pressure plate. In addition to this pressure plate, two more pressure plates must be activated. The first one is on the lower west side where you fought Mad Mackenzie. The second one is near the east door, which you can go down.
When all three are activated, additional mobs will spawn. The area in the lower west will spawn a Plaguegeist, and an additional Ravager will spawn on the east door. Kite both mobs to the top level and AoE them down before continuing.
Before you cross the Bridge, you can taunt the mobs on the other side and stop them for a safer encounter. You can also fight them on the other side, only never fight them on the bridge . They have a high chance of making you dodge or simply push you back with an attack, dealing additional fall damage. Named Elites can also push you away with their death effect.

Among these mobs is an Elite Abomination named Security Officer Richards. They don't pose much of a threat, aside from the increased health and damage that the Elite provides. They are an explosive elite, which means less than 10% health, they will also try to explode on you if you don't stun them. They will cause the same explosion on death, so stay away or block them after you take them out. If your level is 19-20, this will be about half of your health. Kill the remaining Ravager and you can continue on to the penultimate area.
star sanctuary
Immediately to your left as you enter this area are Nakashima's Tools. This will give you the required item to start the upcoming mid-boss and only one person needs to grab it.
As you enter the lager area, there will be a few lost ones on your left, send them out before moving on to the larger threats in the room.

Further left is Plaguegeist, right is Abomination, and at the far end is Ravager.
Once they're cleared, you can go around the wall to the west to collect another hidden Elite Supply Chest.
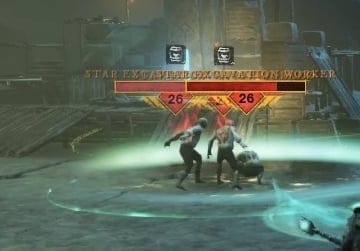
Mini-boss: Foreman Nakashima
You can now place the Candle you previously took from Nakashima's Toolbox to summon a mini-boss Foreman Nakashima . Brigadier Nakashima is a Holodomor enchanted with a few special attacks. All of their attacks deal Arcane damage. They also have a random pair of one offensive elite modifier (usually brutal or destructive) and a defensive elite modifier (usually resistance to a particular element).
This mini-boss can be tricky if you're unprepared and don't know the mechanics behind his special attack. When explaining, I will call this attack Cursed ring .
Explanation of the mechanics of the cursed ring
Foreman Nakashima targets a random player and places a Cursed Ring around them in a radius of about 5 meters. If you are in or near the Cursed Ring, do not stop trying to get through it. If any player steps through or evades the ring from any direction, all players inside the Cursed Ring and within 3 meters of the edge of the ring will be stunned.
While the cursed ring is active, Foreman Nakashima will spawn waves of ghosts that cannot be blocked or dodged and deal incredibly high Arcane damage. There will be gaps between these ghosts, indicated by paths in the image shown below. Stand in safe places to avoid damage.
If you are in light armor and you are the only player caught in the ring and the only player near the ring, you can safely dodge the ring and avoid incoming damage, but still suffer from the stun.
At 75% health, Nakashima will place a Cursed Ring on them and send the ghosts out of the center. There are still gaps where you can safely stand at the edge of the ring. Be careful, Nakashima will sometimes knock you back unless you also block their melee attacks.
Starting at 50%, Nakashima will use the homing version of Cursed Ring more often if there is a melee target when Nakashima casts the ability. Usually casts this version every 2-3 castings.
After Foreman Nakashima is defeated, collect your chest and knowledge nearby, then head to the east exit. There is another Ravager along this exit path, as well as a few Lost Ones that need to be dealt with before proceeding into the hall.
In this hall there is an Elite Famine named Ice Forrest, Plague Geist and a few lost ones. Frozen Forrest usually has a Brutal Modifier that increases its damage. Frozen Forrest can also use the Ice Spike version of the Ice Gauntlet. Combined with the Brutal mod they often wear, hitting the Mighty Spike part of this attack can deal significant damage.
After this hall is cleared, you have reached the final spawn point and reached the arena for the final boss.
Obelisk cave
This last area is just a boss arena for the boss of this Expedition, Simon Grey. This room also has an elite supply chest near the exit, as well as an altar from which you draw your Heartgem, which is required for the main story quest that will lead you here.
There are also a few Lost here that you can kill to get a lot of damage per second at the very beginning of the fight, as this will make him summon minions as his first action.
Expedition Boss: Simon Gray
Simon Gray is a massive Ravager-type enemy that uses many attacks similar to regular Ravagers, but has additional effects here. Aside from basic attacks, Simon Gray has two key skills that he uses to make things a little more difficult. If you're tanking this boss, be prepared to dodge if you don't already have a Kite Shield.
Basic attacks
Simon has two basic attacks that he will use: a swipe attack and a punch attack. Each of them can be blocked. The strike deals significantly more damage when unblocked and can also stun.
With a Kite Shield and the Hard Grip passive, each of them will deal 65 blocking damage, leaving you with 45 stamina. Without the Sturdy Grip, they will deal roughly 76 block damage. Against a round shield, they will deal approximately 84 blocking damage without a solid grip and 72 with it.
If Simon targets a player who is not already in melee range, he attacks them and performs one of those two attacks while in range.
Combo attacks
It's a fast attack skill with a two-to-one difference that can kill someone if they get hit with both parts of it, especially if they're not leveled up. Simon will perform a Slam attack, stunning the player he hits if they are not blocked. This is quickly followed by a swipe attack.
When tanking with a Kite Shield, it is best to block the hit and then dodge the hit. Hit Block prevents the stun and forces you to eat both hits. Dodging the second completely drains your stamina, but allows you to avoid all damage without being stunned by a block break. If you drop block immediately after hitting Slam, you might still have enough stamina left to not completely lose stamina after dodging, but only with a Kite Shield.
The round shield will take too much stamina damage from blocking these attacks, so it's safer to dodge both. Dodging both requires better timing, but can result in your stamina not being completely depleted, as you can recover enough between attacks to almost run out of stamina.
Summon minions
Simon will stop attacking for a short time to summon additional minions. Simon will do this if he has living beings. This summoning skill also has an internal cooldown of approximately 30-60 seconds when he won't use it even if the minions are not currently active.

With the right tank, it's best to save any AoE taunts for when those minions are summoned. This will allow your group to quickly kill them with an AoE while dealing damage to the boss.
frenzied vomit
Like the Ravagers, Simon Gray has a Vomit attack. It's not just a one-hit attack though. This attack cannot be blocked, but the first hit can be dodged.

Simon Gray will "vomit", dealing moderate damage to anyone in front of him and inflicting illness. This Vomit will create hazardous terrain that deals nature damage and inflicts disease with each tick of damage while you stand on it.
If Simon Gray has Minions active, they will immediately run towards that vomit and "swallow" it, gaining rage. While enraged, briefly increases their speed and damage. This status is visually represented by red particle effects around the minions.
Berserk
Simon Gray himself can also go berserk, increasing his damage for approximately 20 seconds. However, this does not increase their block damage, so tanks can block normally. However, Simon will not use this ability unless he is below 50% in most encounters. He can rarely use it when health is above 50%, but it is used much more consistently when below 50%. This status is indicated by red particle effects around Simon.
If the DPS is pulling aggro while he's in this state, it's possible to shoot him if he doesn't have enough health or armor. Usually, if you are level 23+ and in full light armor, you can survive even after one hit. If you're level 20 or less, with no Constitution, he can shoot you fairly consistently. In any case, it is better to dodge his attacks.
Strategies for defeating Simon Gray
Now let's talk about the general strategies for defeating Simon Gray. Two strategies are often used here: the kiting strategy and the tanking strategy.
kiting strategy
The kiting strategy will take a long time to actually kill Simon Grey, but it's the easiest way to deal with this boss while he's not level enough. To do this, you will need some ranged fighters and a healer. Generally, it can also be great if all players have a few skill points in Life Staff, as this allows any player to be a healer or DPS in that fight. Simon Gray, like most other Lost Ones, is weak to nature.
If you are going the Life Staff Route, you will need at least 6 Life Staff Mastery as you will need to spend a minimum of 5 points. These points should go to the Tree of Defenders, capturing all three skills and the Orb of Protection fist upgrade, as well as the Ultimate from the Healing Tree. This will give you the ability to deal damage at no mana cost, and the kiting player will have healing and buffs.
Whether you're stacking Lifestaves or not, it's best to have one player kite the boss and the other the minions. It's best for the player kiting the minions to use a melee weapon to deal damage and block from time to time to keep the aggro at bay a little easier. This will allow the remaining players to safely deal ranged damage to the boss.
When the boss starts and you see his health bar, the group should immediately open fire on him. He immediately summons minions, leaving him open to attacks for quite some time.
After that, Agro can tweak the DPS a bit. Healers should focus on keeping whoever is currently kiting the boss at or near full health, occasionally healing minions kiting the boss. The player kiting the boss must be ready to use health potions if they get hit by Simon.
Because kiting often causes aggro drift, the healer needs to pay close attention and not spend too much mana on healing when it's not needed. This not only wastes mana, but can also cause aggression in both the boss and the minions. With a mixture of medium and light armor (but still in the light armor class), most players should be able to survive one hit.
tank strategy
This is a much easier way to kill the boss, but it requires a well-equipped tank. To do this, they need a Carnelian Stone Sword and a Kite Shield. You can refer to the "Preparation" section of this guide to find out where you can get easy access to the Sword that comes with the Carnelian Stone in it. Kite Shield will be a buy or a random drop.
The tank in this case will be heavily armored but will have more damage oriented attributes. This is because in order to consistently keep aggro on your DPS, especially if they are higher level, you will need to deal a lot of your own damage. The carnelian gem will help you keep the aggro, but you also need to generate more.
The tank needs at least 4 skill points to spend it by taking on Grip, Shield Bash, Defiant Stance, and Shield Bash. Additional points can be used to gain additional damage, such as Empowered Stab and Whirling Blade; or additional protection, such as the Defiant Stance buff. But these two skills and the mentioned passives are the bare minimum needed for this fight.
Early in the fight, it is important to have the tank positioned to backstab the boss on his first appearance so they can generate a lot of aggro early on. The melee DPS should hit him from the front so he doesn't risk taking damage from an early attack, but also so they don't generate high aggro before the boss is taunted.
Do not use the Taunt Skill until AFTER Simon has summoned minions. Use this free early window to get as much backstab aggro as possible. Once Simon has summoned minions, use Defiance Stance. It will taunt him and all his minions. Hopefully your team should have enough AoE damage to take out the minions while damaging the boss. Once the initial taunt is over, use Shield Bash again to taunt Simon.
From now on, the tank must remain in defiance stance when summoning minions. This should allow you to keep your group free for DPS as long as you keep the boss relatively still.
This concludes our Amrin Expedition Guide. We hope that you will now be able to take part in this expedition with absolute confidence and understand the strategies and mechanics of each of the bosses in this expedition.
Was the article helpful?