A Plague Tale: Requiem is the sequel to the third-person action-adventure game A Plague Tale: Innocence. Amicia and her brother Hugo will embark on a new journey. Heroes will once again face a deadly plague, swarms of rats and hostile soldiers. In the sequel, the girl's skills have grown up, so it will be easier for her to deal with opponents.
Walkthrough A Plague Tale Requiem - Chapter 11 "Cradle of Ages"
"The Cradle of Ages" is Chapter 11 in A Plague Tale Requiem. This step by step guide will guide you through all the tasks of the tenth part The Plague Tale Requiem.
Collectibles: 1 item for Hugo's herbarium, 2 memory, 1 secret chest, 1 knife, 1 tool chest
Trophies: ![]() Cradle of Ages
Cradle of Ages

Walkthrough Cradle of Ages in A Plague Tale Requiem
After starting chapter 11 (Cradle of Ages) in A Plague Tale Requiem, you must reach the ruins. Our walkthrough explains how to avoid the rats, how to unlock the wheeled cart, and how to find the exit to the underground area.
Reach the ruins in the center of the island
You start this chapter in the main area of the island once more. Beware as it's night and the place is infested with rats.
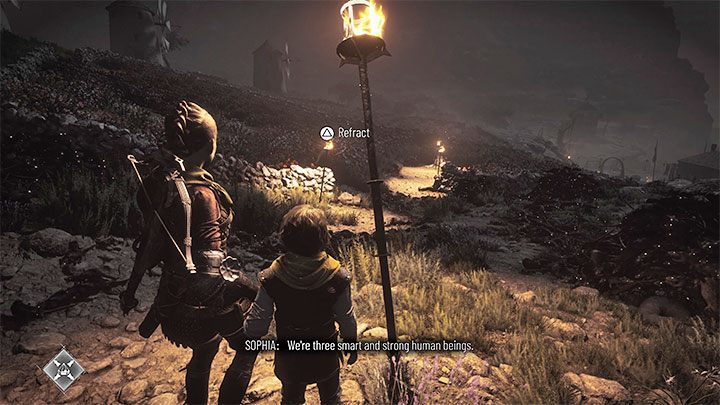
During the trip, you will have to use the Sofia Prism - as a reminder, first tell her to use it (L1/LB on controller) and indicate where to refract the light. In the example above, this is one of the torches. This technique can save you some of the gadgets that Amicia usually uses to keep rats away.
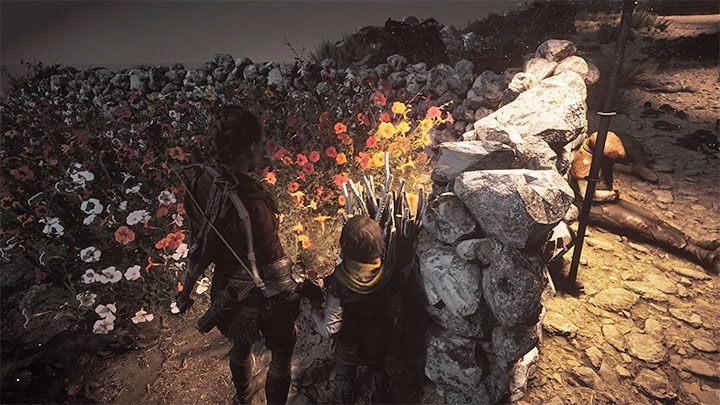
Fire the Ignificator at the distant extinguished torch. Don't use the prism, it's too far away. Instead of this you must find some sticks. Set fire to one of them and use it to get to the next torch.
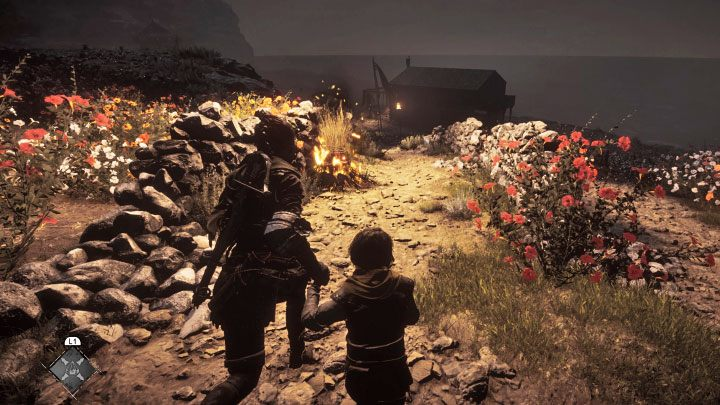
In the neighboring area set fire to the straw and run pastbefore it stops burning.
Do not try to save civilians who have been attacked by rats. You cannot help them. Head right insteadusing a prism to reach subsequent light sources.
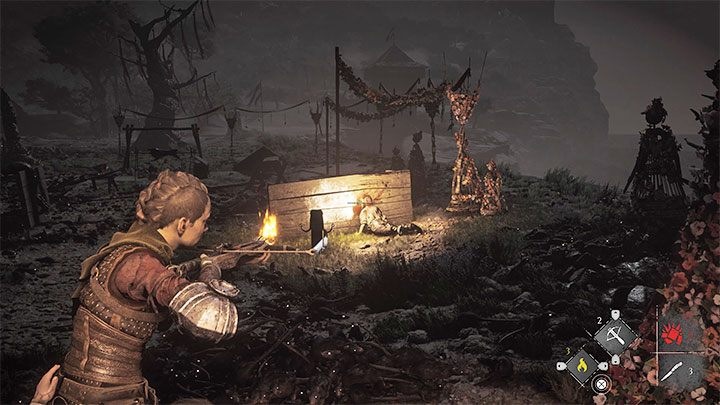
Eventually you will reach the basket. You can't move her since it is blocked by a wooden beam, from which you must get rid of.
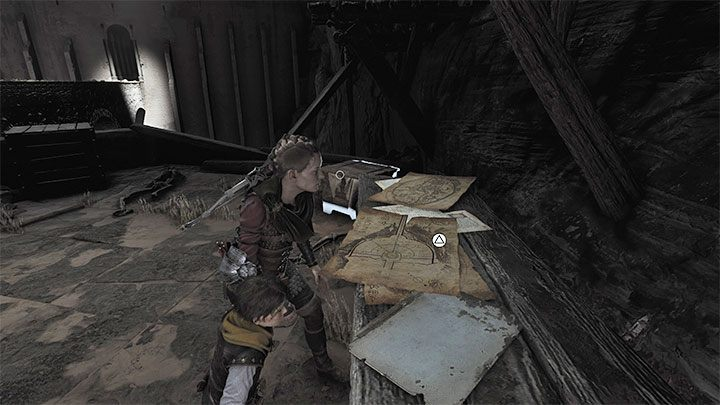
Find a bolt in the area and shoot an incendiary bolt at the next table, pictured above.
Ask Sophia to use the prism and reach for the flaming bolt pierced into the board (it is right at the border of the prism's range).
Interact with anchor point. You must aim your crossbow at the beam holding the cart.
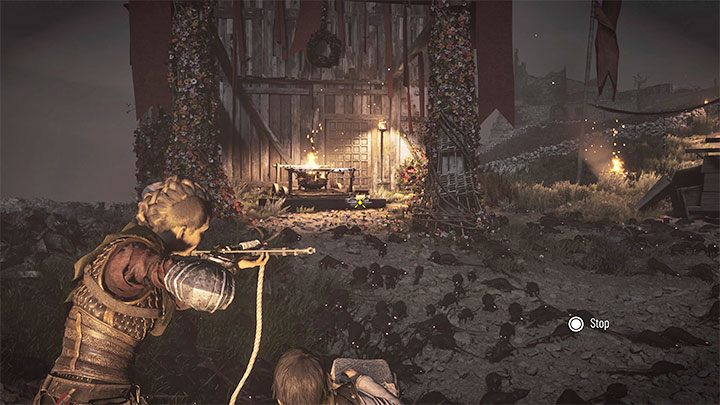
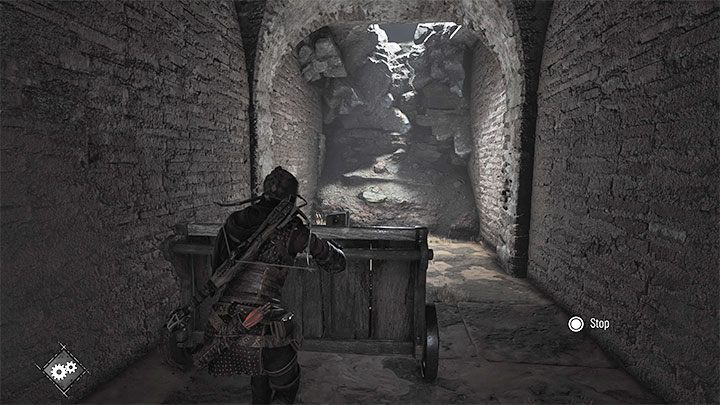
The cart will start moving - follow it and stay within its light radius. Once it stops, you can start pushing it. Do this until it stops forever.
Use the ignifier on the haystack and rush to the next area. A little further you can light a torch and use the prism of Sophia.
In the place pictured above, you can climb higher ledges, bringing you back to ruinsexplored in Chapter 9.
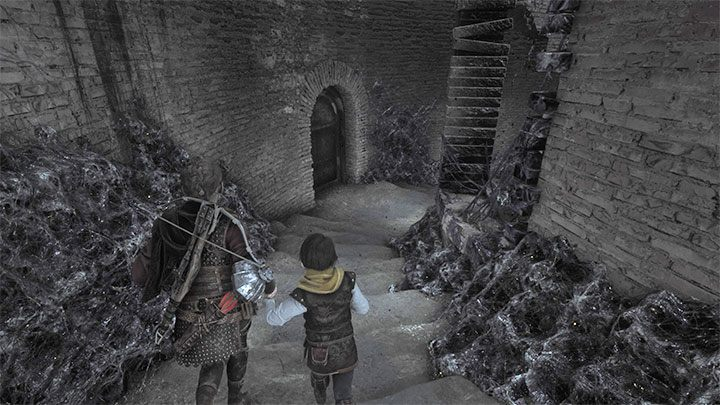
Find a way inside the ruins

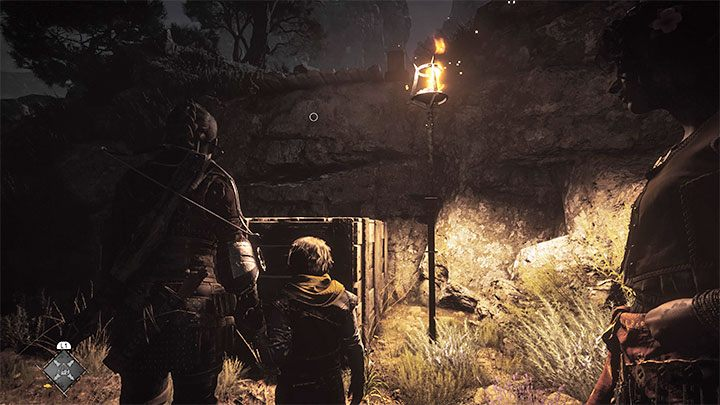
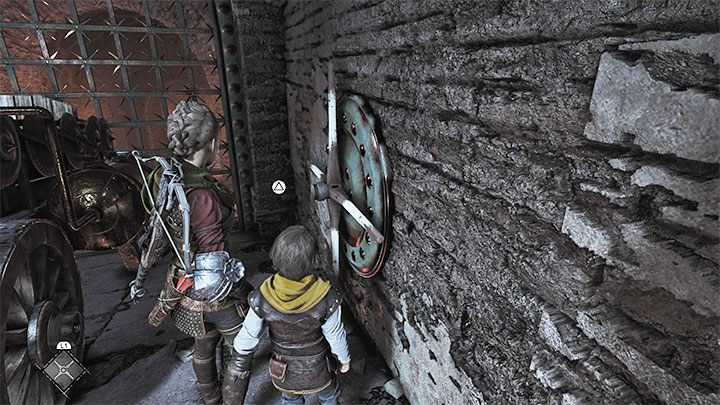
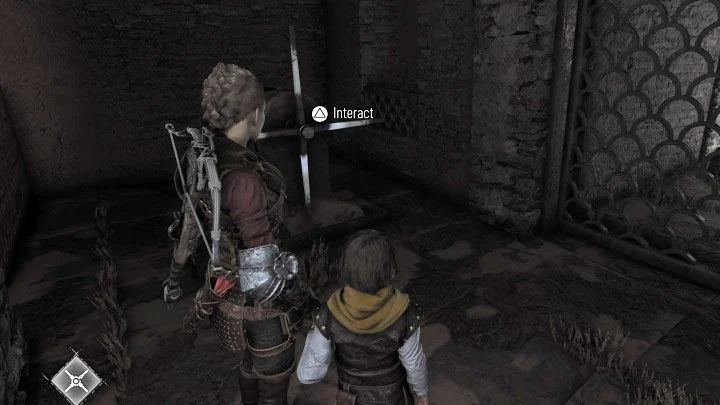
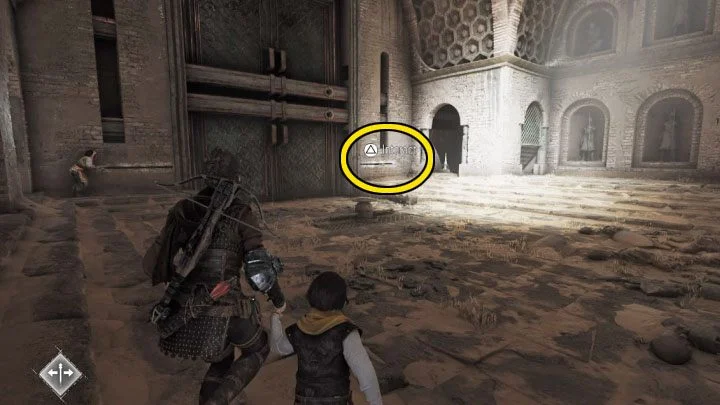
This is a very simple goal - one of the pillars is interactive (pictured above) and can be flipped. It will crash into the ground and open entrance to the dungeon you will pass.
Explore the underground area
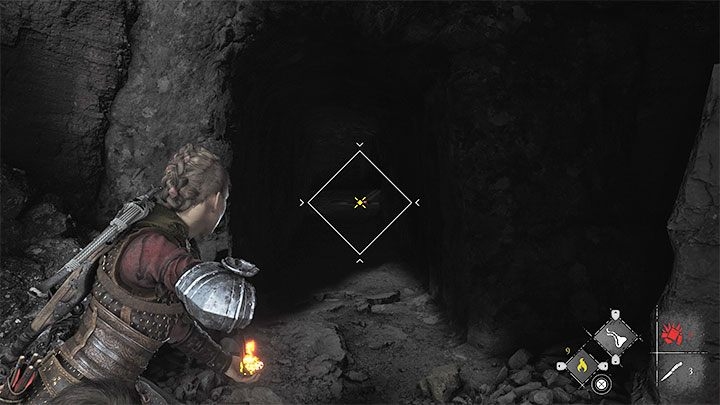
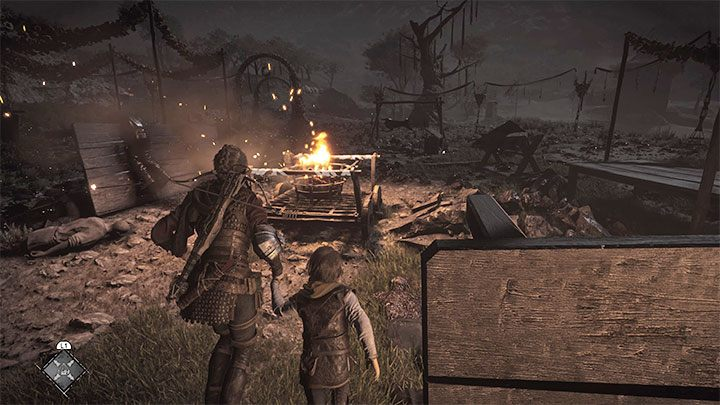
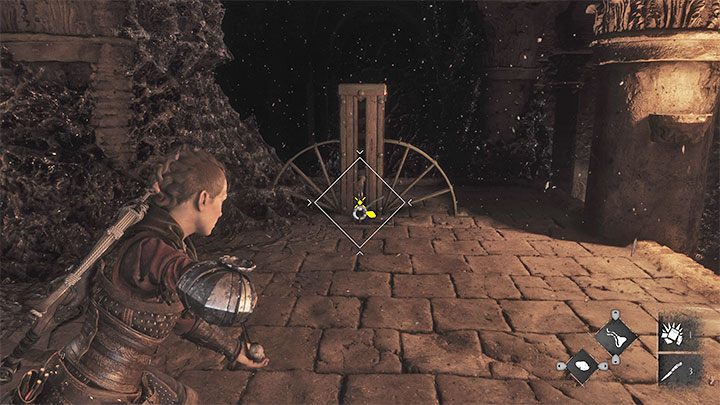
Follow the linear path. Reaching the dark area, use the Ignitifier on the faintly visible basket. This will light up the whole room.
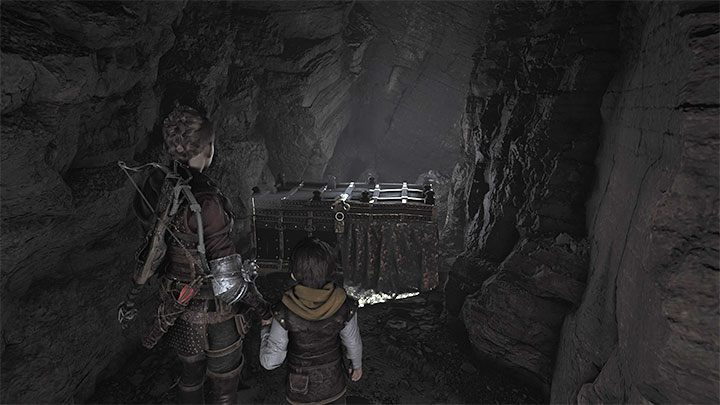
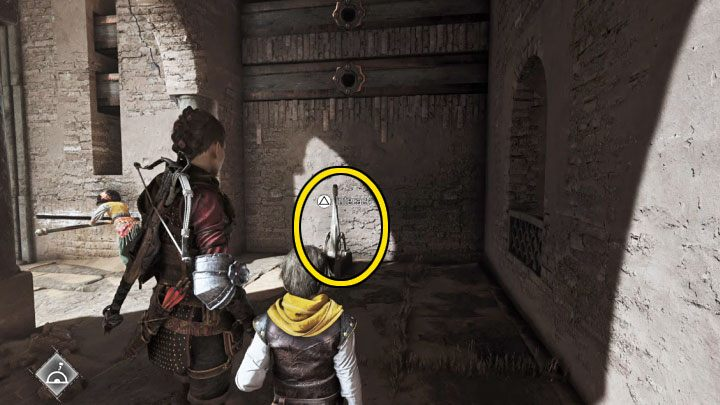
Explore a small area to the side before moving on. There you will find secret chestas shown above.
Follow the illuminated path and examine the three symbols on the ground in the next room. You will reach a gap through which you have to squeeze through.

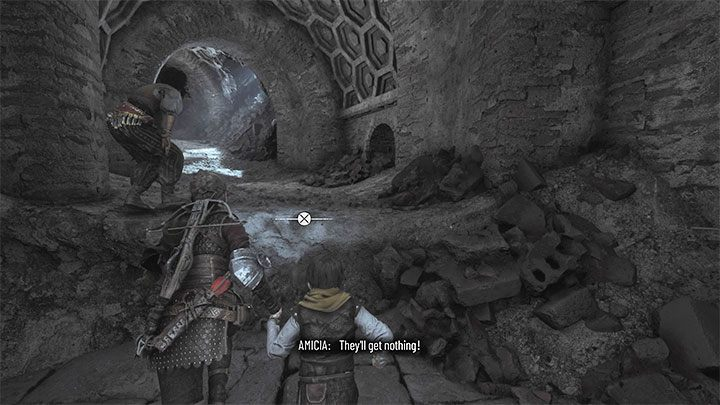
Jump down to the lower levels. You will reach the locked gate and find tanks filled with Greek fire, that is, copper. Sophia will let you know that they can be blown up. Wait for her to move one of the tanks near the locked gate. Move to a safe distance and fire at the tank with the Ignifier. The explosion will blow up the gate.
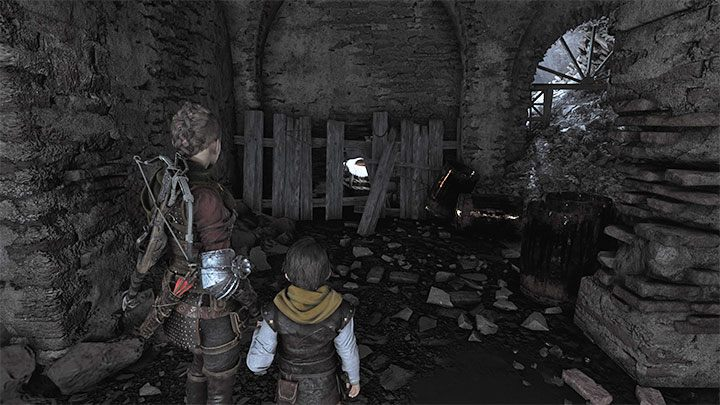
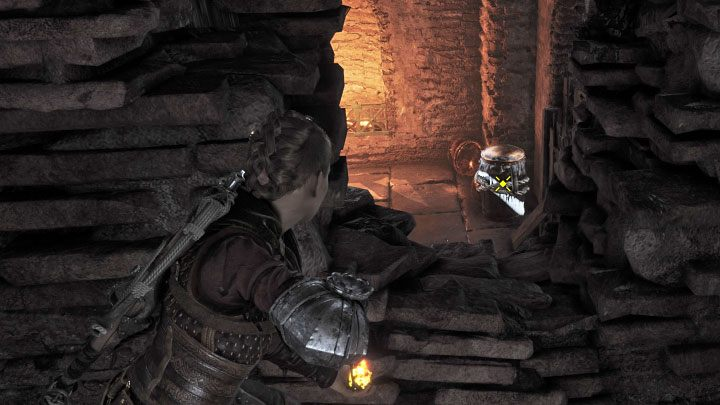
In this area you can find crafting table. At the location shown above, you can blow up another copper tank hidden behind the boards. This opens up a passage to a new area, hiding herbarium pen Hugo: European goldfinch.
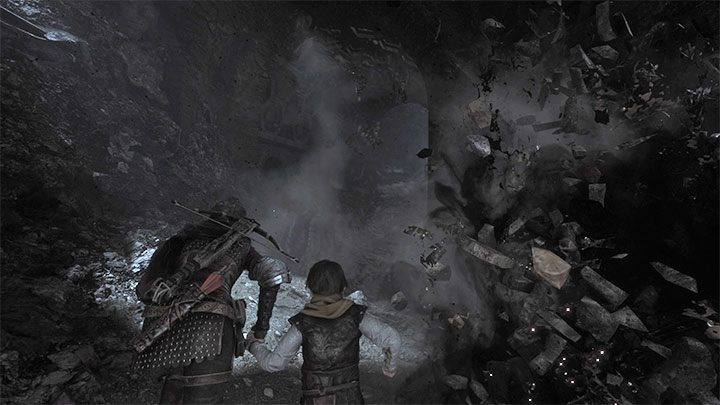
To advance, you must climb to a higher ledge and destroy the explosive tank through the hole in the wall (pictured above). The explosion will open a new passage.
In the new area, turn left and head up the hill to the big cart. Go under the damaged grate and use winch. Raise the grate and the cart will start rolling down the slope. This opens the way forward.
Puzzle "Three carts"
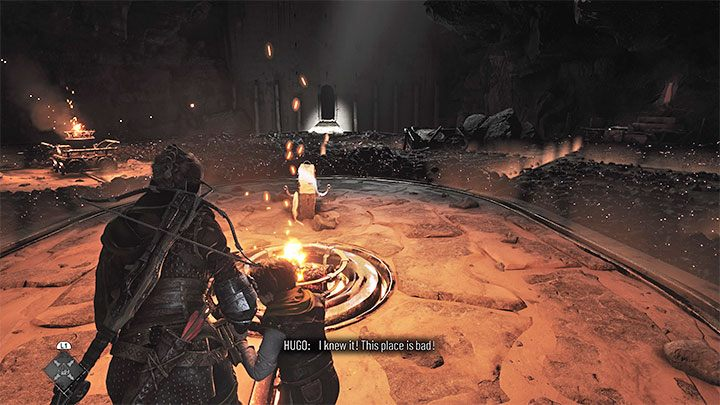
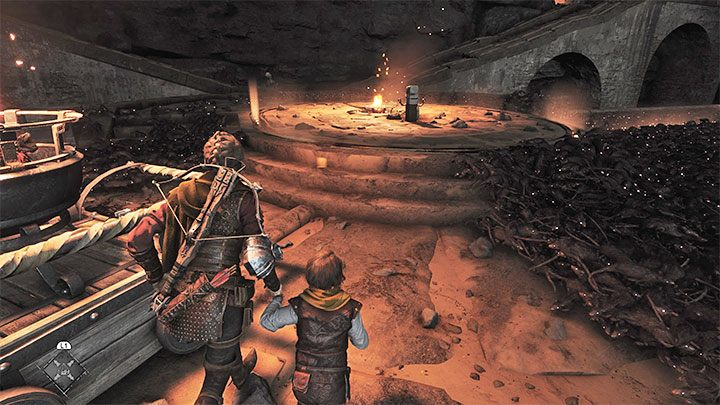
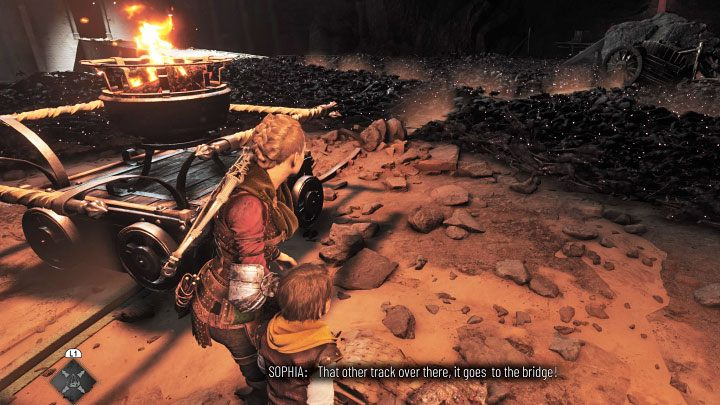
You will reach a large cave - start with the use of Ignifitor on the central fire, pictured above. There is puzzlewhich you must complete. You must create a safe path forward to the distant bridge. The rats will interfere. To solve the puzzle, you must use the three nearby carts on rails.
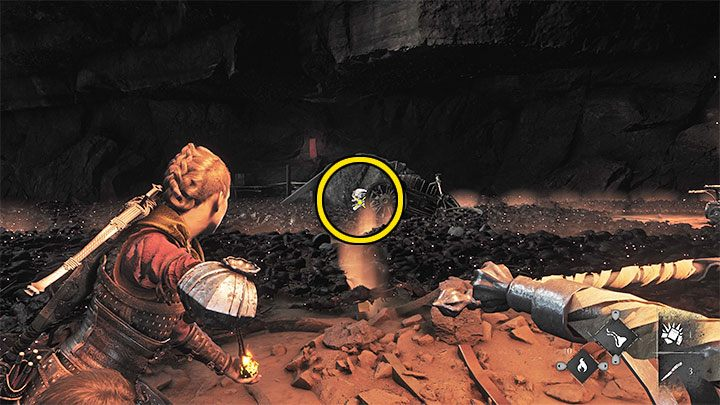
First, head to right carts (looking towards the exit). You can reach them by asking Sophia to refract the light with her prism.
Carts can be pushed, but only on rails. You may need to push them in different directions depending on your needs. Move the cart next to the side area pictured above.
You need to chase the rats away for a while, the easiest way is to throw resin into the fire to increase the radius of the light. Jump down to the lower ledge and inspect it. You will find Souvenir: Chateau d'Ombrage.
You should now safely return to a higher level. Shoot the burning basket inside the cart with tar. This will give you enough time to climb up and return to him.
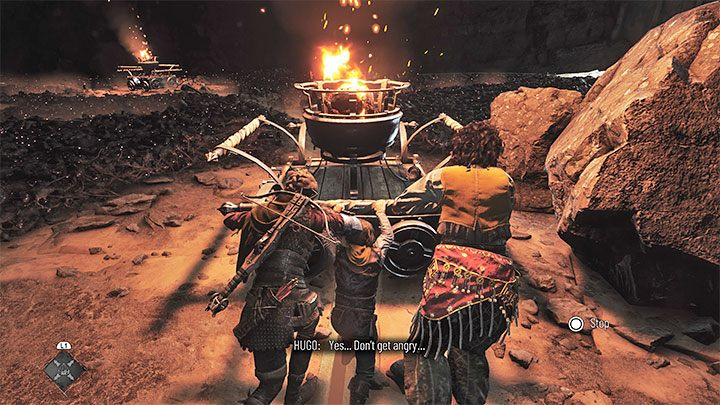
Push the cart towards the central structure (pictured above), next to which you started the puzzle.
In the center there is reference point. Stand next to her and aim the crossbow at the left cart, pictured above. Grab onto it and pull it a little closer.
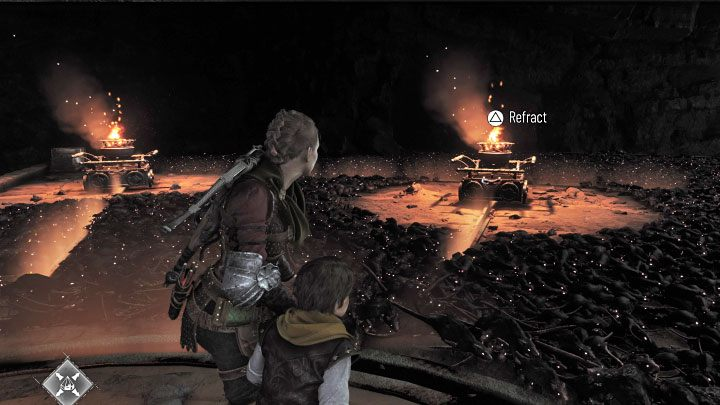
It's time to refract light again with a prism - get to the center cart firstpictured above, then to the left.
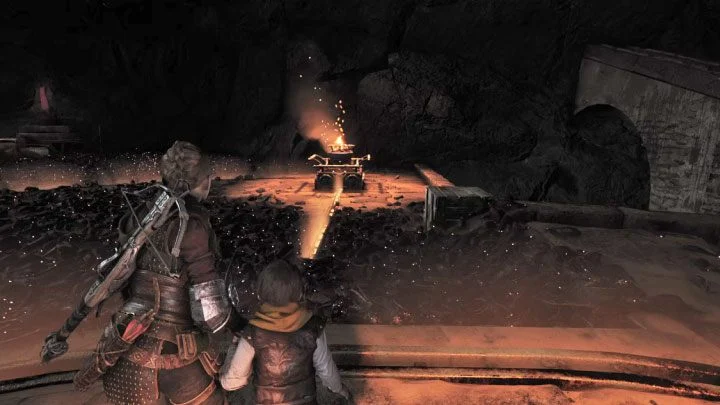
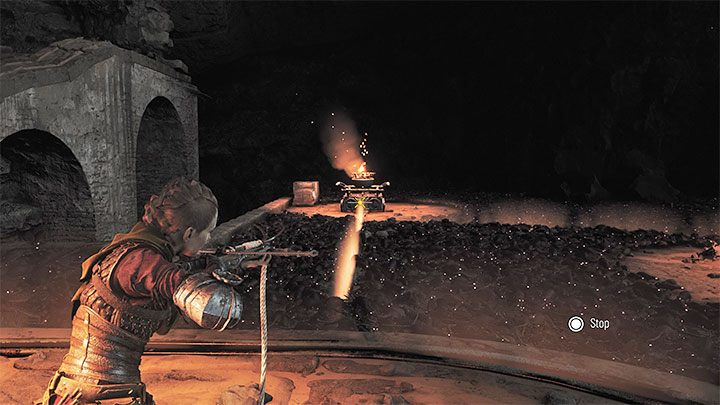
Start the movement of the left cart along the rails. Turn towards the exit of the cave and stop as soon as the rails end (pictured above).
From here you can blow up the copper tankpictured above using the ignifier.
After the explosion return to starting point, that is, on the central round platform.
One more time, start pushing the right cart (the one you used to get the collectible before). Thanks to the explosion, the way forward is now available. At the first fork turn left then right.
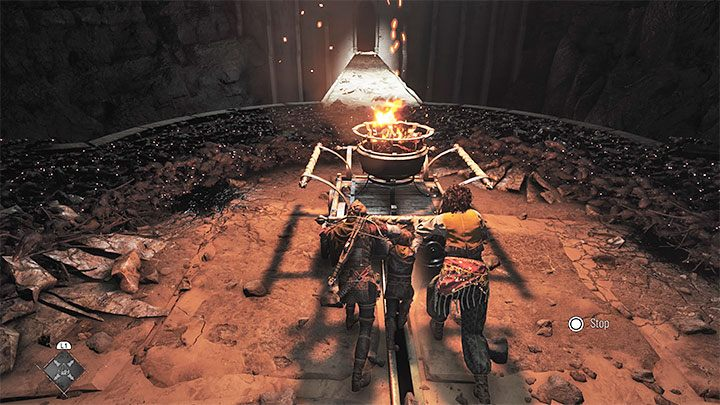
Following these steps, you will bring the cart to the bridge, which serves as an exit from the area.
open the gate
Next puzzle about to open the big gate. You will do this after removing 4 barricades blocking them.
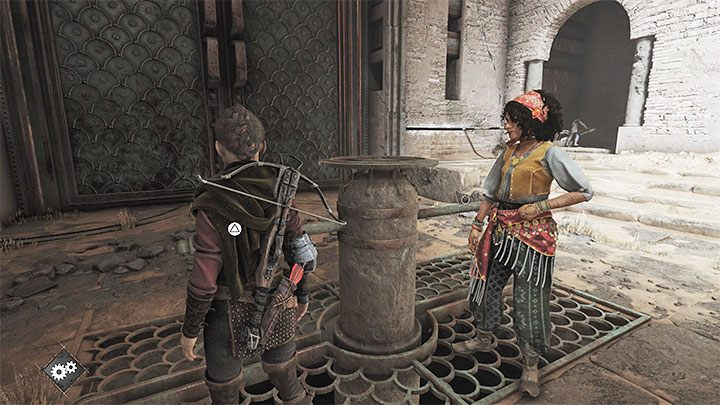
Look around the area to the left of the gate (when looking directly at them). Ask Sophia to use the handle.
The handle will raise the bar and you will be able to pull out trolley. Push him out of the side area and move him to the main hall. The cart should be stuck in place.
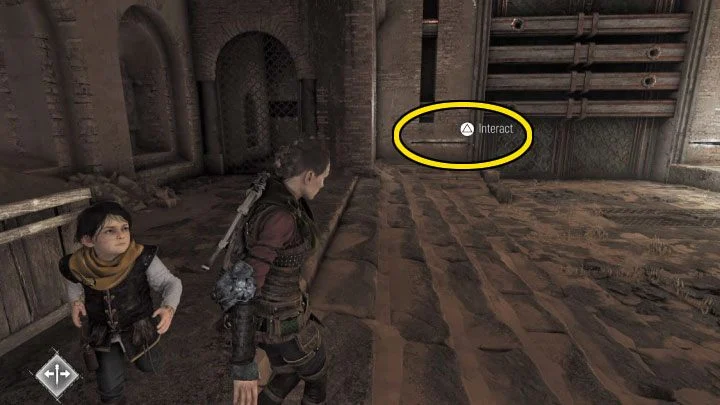
Ask Sofia to use the mechanism to the left of the gate We marked it in the picture.
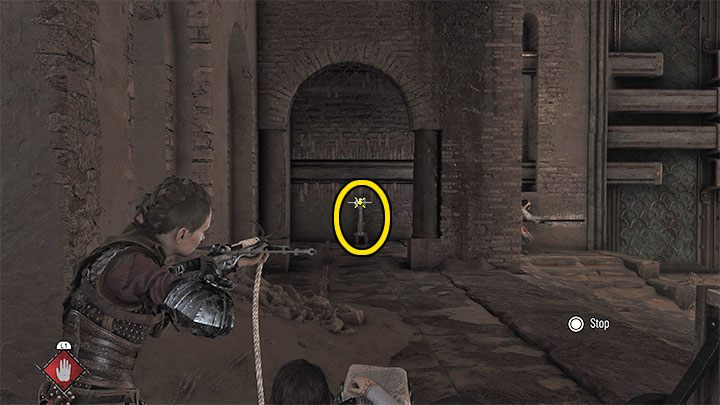
Stand by the cart it has an attachment point and here you can use a crossbow. Wait for the left gear to move completely and aim at the left lever, marked in the figure. Block 2 left barricades Only 2 left on the right.
Ask Sofia to use the mechanism to the right of the gate We marked it in the picture.
Wait for the correct mechanism to stop in its final position. Ask Hugo to pull the right lever (see picture above). Sophia and Hugo have to keep 2 different gears at the moment. You will block 2 barricades on the right.
Now you can interact with the central rotating mechanism. With it, a large gate will open - they are no longer blocked by any of the barricades.
Explore the rest of the underground zone
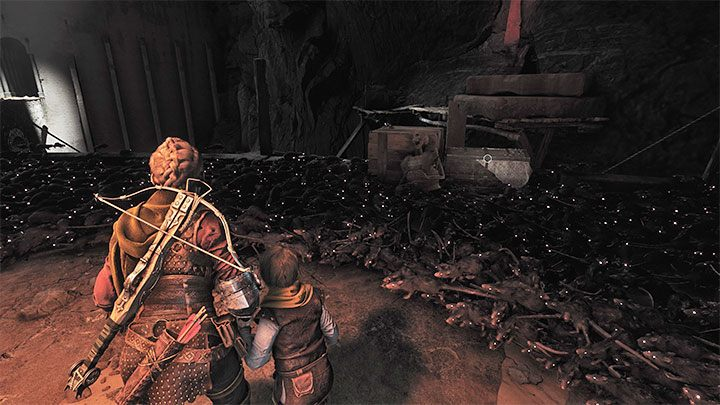
Use Ignifer on the new bonfire - the path leading further into the underground ruins will be illuminated and you will know that you have entered huge rat's nest.
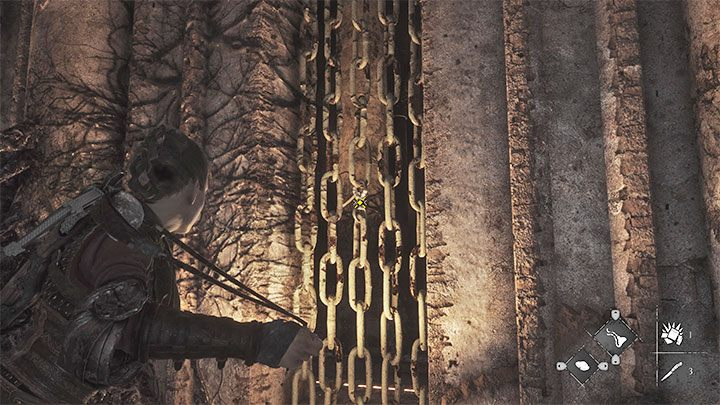
You will reach a cave with chains. Use the sling on the left mechanismto raise the bridge.
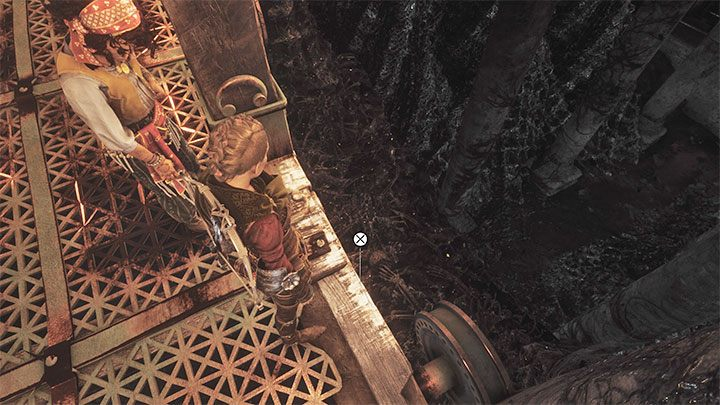
Not all platforms will rise - Amicia decides to figure it out and solve the problem herself.
Left can jump down to the nest. Run to the stairs.
When you explore the side areas, you can use numerous cracks to get to the other side of the bridge mechanisms.
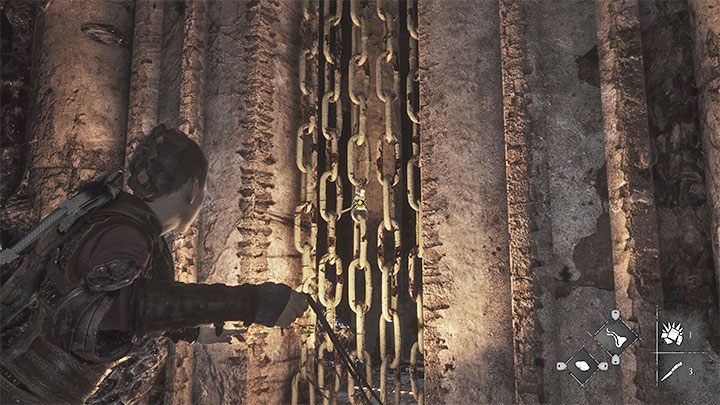
Use the sling on one of the chains (image above). The first of the two sections of the bridge will go up. Go through the gap.
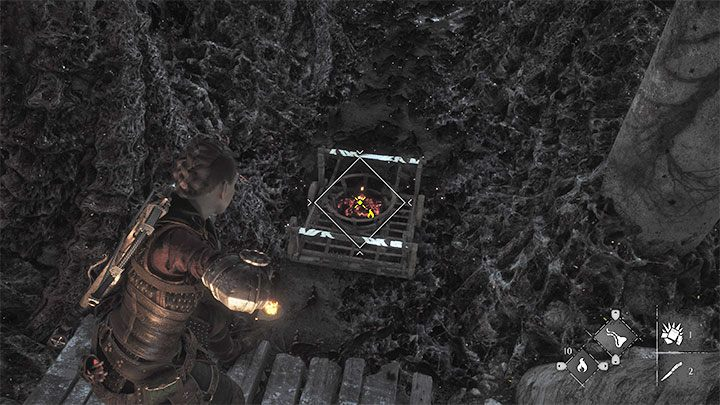
You must go through the lower area and use Ignifer to start the fire. You can throw resin on the flame to temporarily illuminate a large area.
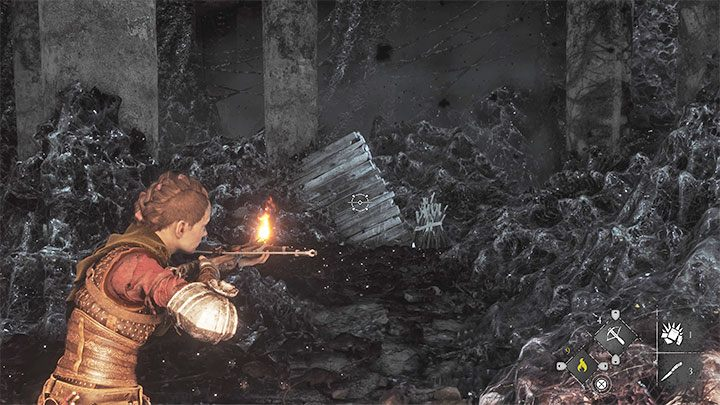
Go ahead and use flaming boltto hit the board in the picture above. Throw the resin back on the fire and run to the place where the bolt hit.
Next to the board you will find sticks - you can set fire to one of them. Take it to get to the extinguished basket and start the fire. Next to it you will find a shelf (above the image) - get to the upper area with new cracks.
Just like before, you have to hit the chain with the slingshot. The last section of the bridge will go up. Hugo and Sophia will be able to move on - Amicia must return to the top. Start by going through the gap.
If you wish, you can explore the last crack on the left. Behind her is locked workbench (requires 1 knife).
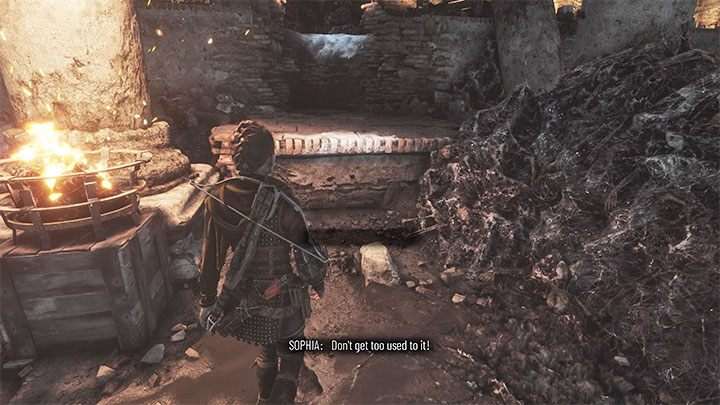
Find the cart below and set fire to her basket with Ignifer. Keep pushing her until she stops.
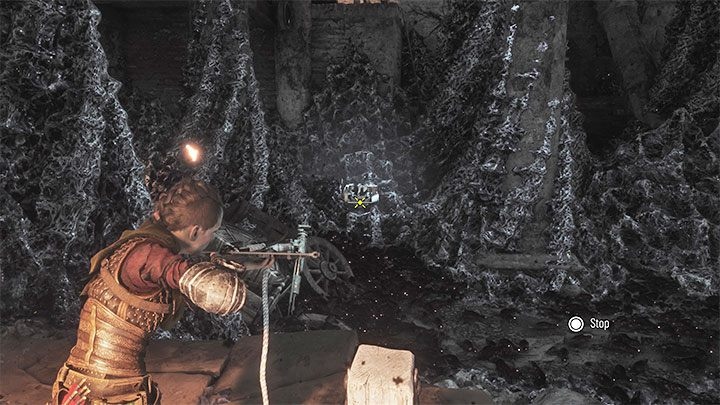
Create more lights in the area and reach them. Sophia drops a container of copper. stand near anchor point and shoot the container with the crossbow. Amicia will pull the container towards her and cause an explosion.
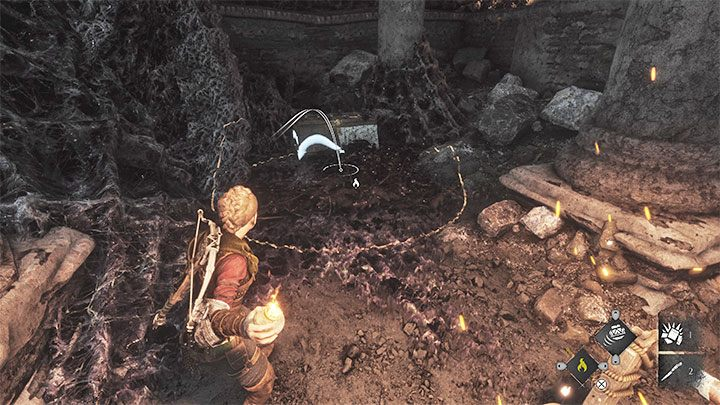
The obstacle will be cleared and you will be able to resume pushing the cart. Before you leave this place, you can find secret chest left. Access to it is "protected" by rats. Use gadgets, such as throwing a jar of tar or throwing tar into a basket.
Return to Hzgo and Sophiausing a ladder.
Resume exploration of underground territories. You will reach a large vertical arrangement - go down the stairs. When you reach the lowest level, you will trigger a cutscene.
Escape the carrier's prison
Time for one more escaping sequence - this one can be quite tricky. keep sprinting (R2/right trigger on controller) and quickly overcome all obstacles, otherwise the rats might catch up with you.
Avoid places where rats spawn (example in the picture) by quickly turning left or right. Otherwise, the rats can easily stop you.
The exit from the underground prison will end the long chapter 11. Now chapter 12 beginsThe life we deserve».
For all other chapters in A Plague Tale: Requiem, check out the full Walkthrough A Plague Tale: Requiem.
Was the article helpful?