
The protagonist is trying to solve the mystery of his brother's disappearance. The search leads to an abandoned medical facility. Gradually, the player learns the disturbing past of this place, as well as what happened to the people associated with it. Many dangers await the hero on the way to the truth.
100% Anthology of Fear Walkthrough

Anthology of Fear is a psychological horror game in which you investigate the disappearance of your brother. After being let down by the authorities, you decide to take on the case on your own. There are several spooky locations, including an abandoned medical facility. A short game, Anthology can be beaten in just a few hours, especially if you use our walkthrough to guide you along the right path.
Content
- 1 Take items from the drawer
- 2 Find the entrance to the basement
- 3 Find the blue door
- 4 Go to the object
- 5 Find control room
- 6 Searching for a patient's archive
- 7 Document search
- 8 Find Theodore's Office
- 9 Get out of the car / Look around / Open the door
- 10 Find fuel to start the generator
- 11 Check the key / Find the exit
- 12 Check the computer / Take the elevator
- 13 Look Around
- 14 Take the elevator
- 15 Computer use
- 16 Rabbit puzzle
- 17 Restoring power
- 18 Find phone / Make sure it's safe
- 19 Read Documents / Find Documents Alice Hill
- 20 Check Tape / Restart Backup Power
- 21 Go downstairs / Look inside the refrigerator / Prepare breakfast
- 22 Save Emily / Remember?
- 23 Go to the bathroom / Wait for Emily to hide / Look for Emily
- 24 Find your daughter
- 25 Play The Game With Emily / Restore Power
- 26 Do I remember? / Find Mom / Hide in the closet
- 27 Read Documents / Go to Head Nurse's Office
- 28 Escape from facility
Take the items out of the drawer
Head straight down the red-lit hallway, then turn left and then right. Turn on the flashlight and go straight until you see a bureau on your left at the end of the alley. Press the check button to interact with it, then open the drawer. Hold the inspect button again and raise scrap (which in turn will give you bunch of keys и magnetic card).

Find the entrance to the basement
Turn around and find the last green metal door on the left (just before the green lit corner) and examine it to open it (it will automatically unlock with a crowbar once you complete the quicktime event).

Inside, go down the stairs on the left (the stairs up only lead to a locked door). Open the green metal door below.
Find the blue door
Take a left into the room with the sink. Keep going left and straight until you reach another green gate. Open it to open the blue door and trigger the next cutscene.
Get to the object
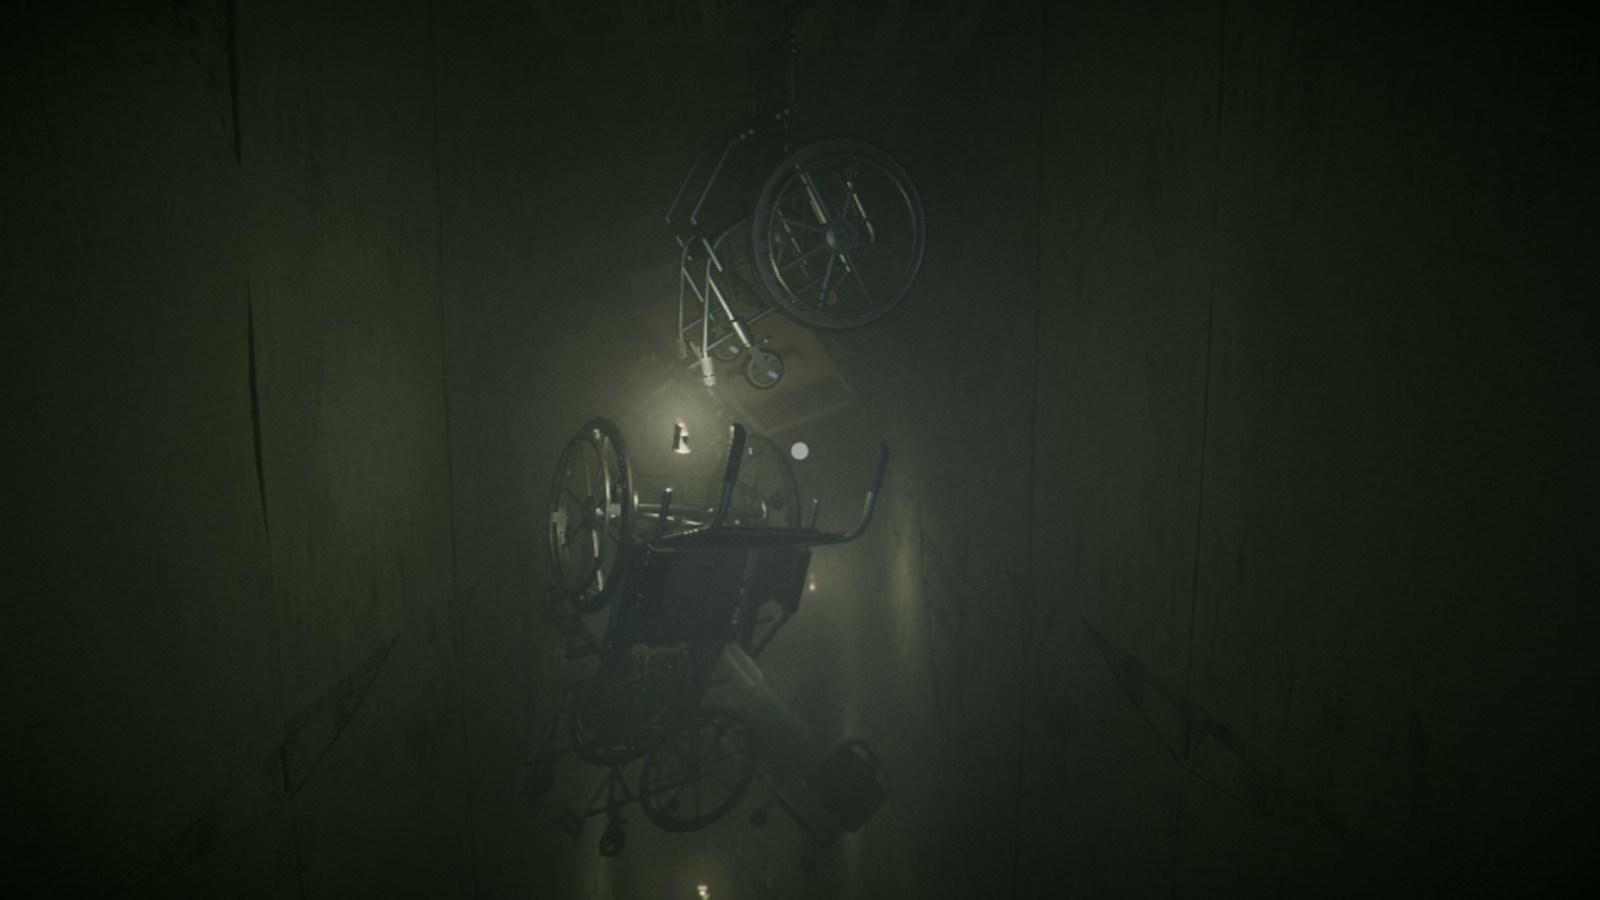
Open the nearby blue door with the Keychain. Climb up the stairs and do the same with the nearby blue door at the top.
Now in the wheelchair room, open the left blue door and enter the hallway.
Find a control room
Walk right past the table with the words Morpheus Medical Center above it. Go down the corridor with the stretcher at the front, then turn left to find room A53.
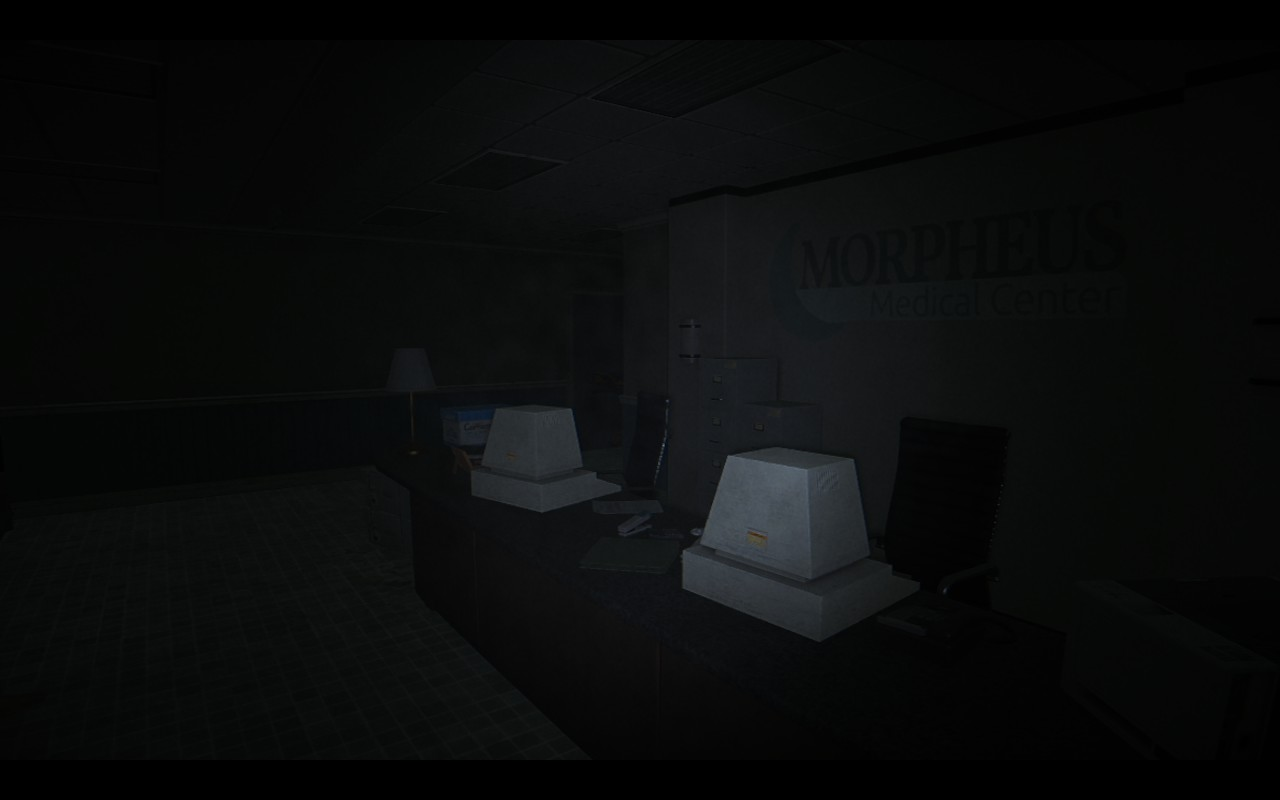
Look along the right wall for a large gray power supply labeled Backup Power and interact with it by pressing the three switches on the right side of the panel to activate the power.
Find patient archive
Use the magnetic card reader on the blue double door across the hall and go up the stairs to the left to reach the second floor. Ignore it for now and head to the third one using the magnetic card on the blue double door (next to C52).
Turn left and keep going until you see a blue door marked Patient Archive (it's around the corner from C09). Open the door with the magnetic card, then the door of the back room to find the archives.

Find Documents
Look for files marked "S" (for Sorren), only to find a note pinned to the closet indicating you want it to be moved to the nearest office.

Find Theodore's Office
Climb up to floor "D" and find Theodore's office at the end of the only hall. Look at the second shelf from the top on the left side of the bookshelf behind the desk to get documents и VHS cassette.
Get out of the car / Look around / Open the door
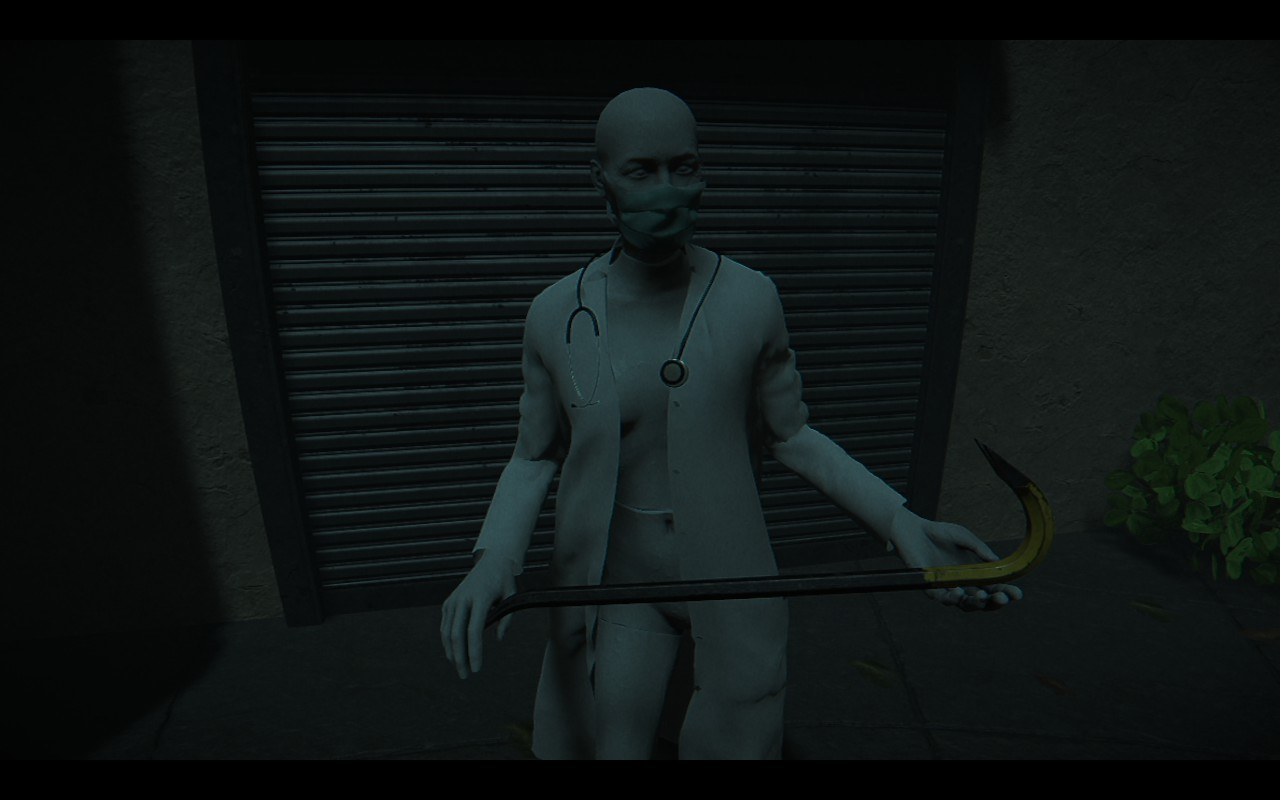
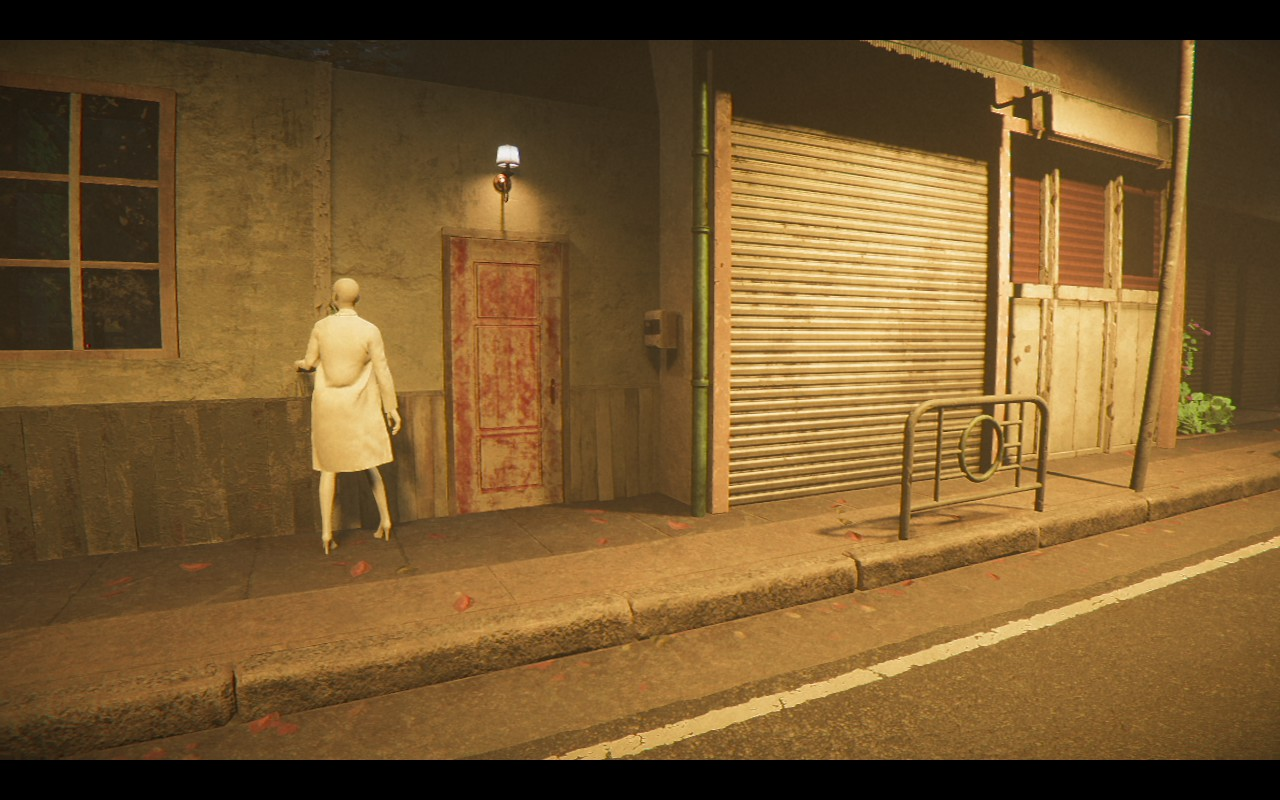
Open the car door and run down the street. Turn left and remove the crowbar from the statue. Turn around and continue down the street until you peek behind a bloodied door with a statue next to it (facing the wall). Open it with a crowbar.
Find fuel to run the generator
Approach the door past the generator to open it, then interact with the generator to find that it is out of fuel. Back outside, look for the red car (where you found the first statue, opposite the second one with the crowbar). Here you will notice that the statue is missing, and in the trunk there is fuel canister. Take it and use it on the above generator, then enter the elevator. Interact with the panel on the left again to start the next sequence.

Check Key / Find Exit
Go straight and down the corridor. Ignore everything and turn the corner. Go past the door that closes when you get close, then go down the stairs. Open the door at the end of the hall with the woman's shadow on the wall inside. Take small key from the table.
Go back up the stairs and use small key on the white door to your right (the one that closed on you earlier). Turn on the TV, then head towards the door. Interact with the statue.
Go back down the stairs and turn left into the elevator. Interact with the panel.
Check the computer / Take the elevator
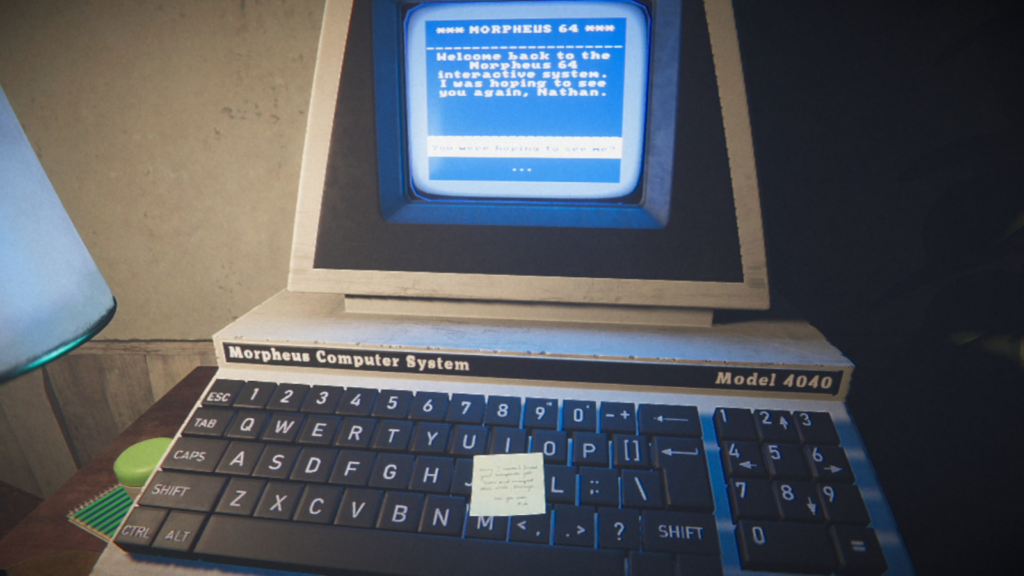
Open the white door in front of you to enter the apartment. Look around the computer, then press the Enter button twice (above the right Shift) to boot the system. Ask him for help (press the down key on the right side of your keyboard) and he will tell you to find Jericho. Return to the elevator and hit the panel.

Take a look around
Exit the elevator and head straight down the corridor until you find the crate opening and closing repeatedly on its own. Take audio cassette no1 from the box. Turn around and go down the stairs. Go straight ahead towards the statue (it's easy to see that you're heading in the right direction since it's the only illuminated area).
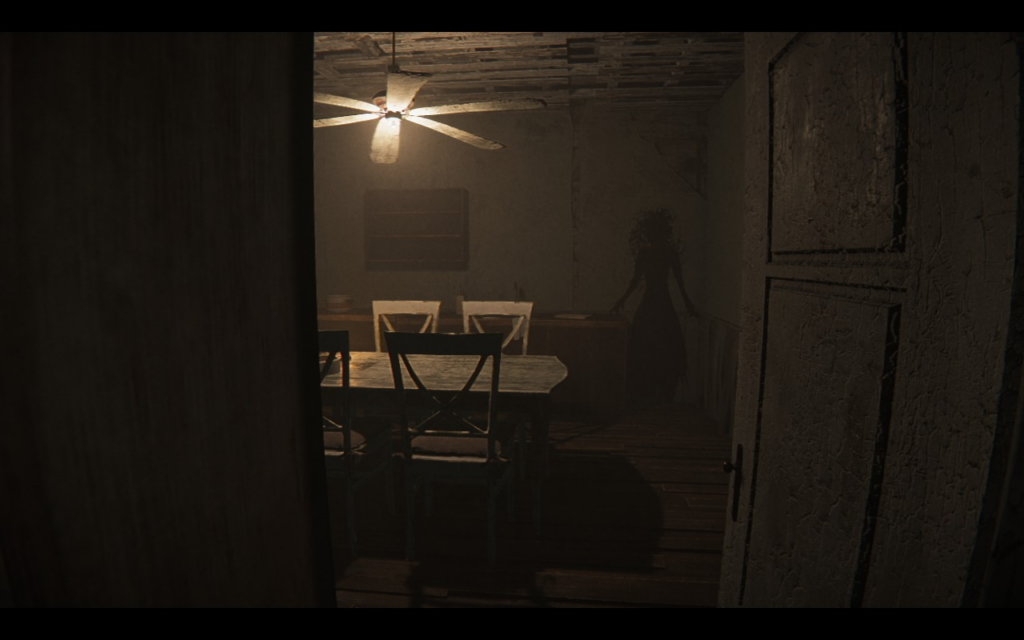
Go left into a room with a bunch of chairs stacked on a table. At about the same time, you will hear the phone ring. Return to the door and answer it. Exit the room. When the door closes, open it again to find the hall. Turn right and head towards the end, then turn around.
Look for a lamp on the floor in the hallway outside of the closet. Enter the closet and turn right. Continue until you are back in the hallway. Turn around and go to the elevator, after which several "statues" will appear to jump, scaring you.
Take the lift
The elevator is closed here, so just ignore it. Instead, go left and up the stairs, then open the right door and enter Audio casette #1 into the cassette player on top of the end table on the left.
Returning to the corridor, go down to the adjacent hall with chandeliers. Continue until you reach another elevator, then enter it and click on the panel.
Using a computer
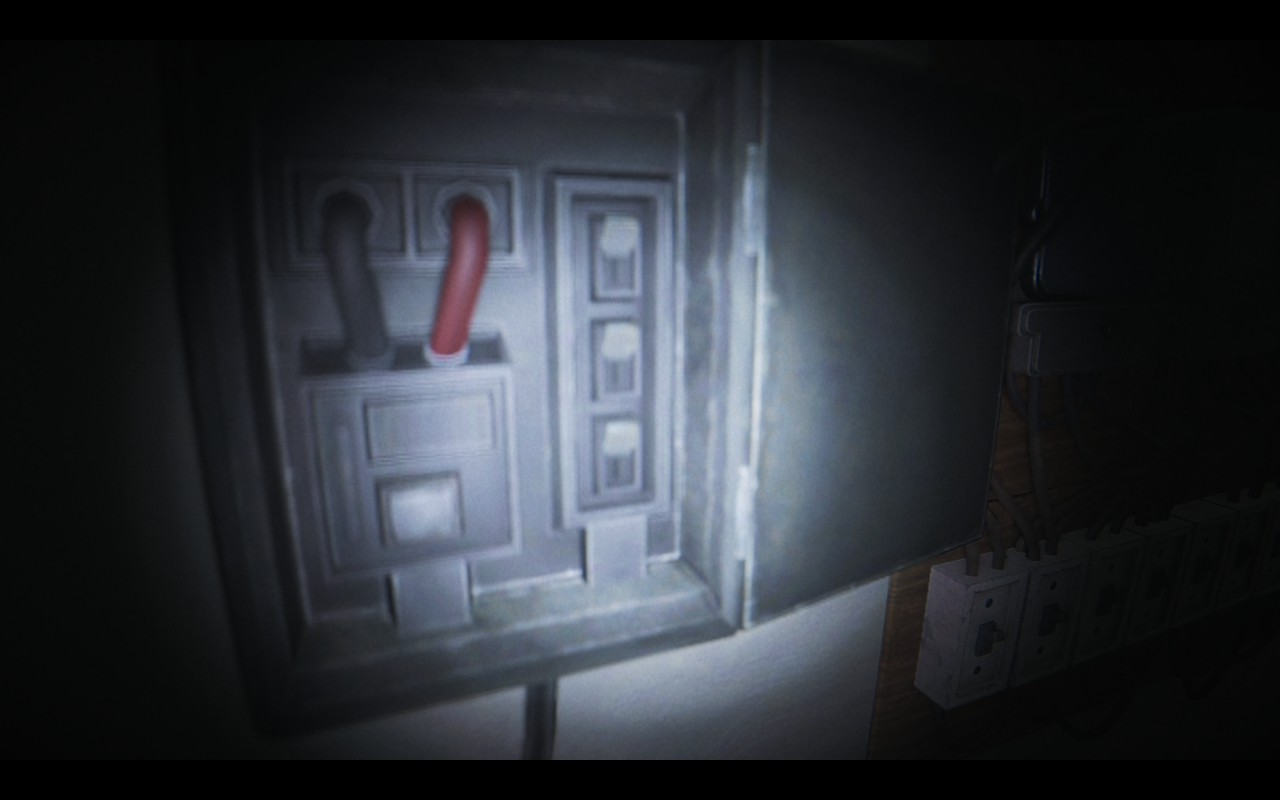
Access the computer again, this time in an attempt to contact the "other user". When you try, the electricity will go out. Restore it by opening the cabinet and hitting the switch. Back at the computer, you won't learn anything by talking to it, so just exit the apartment via the elevator.

Rabbit puzzle
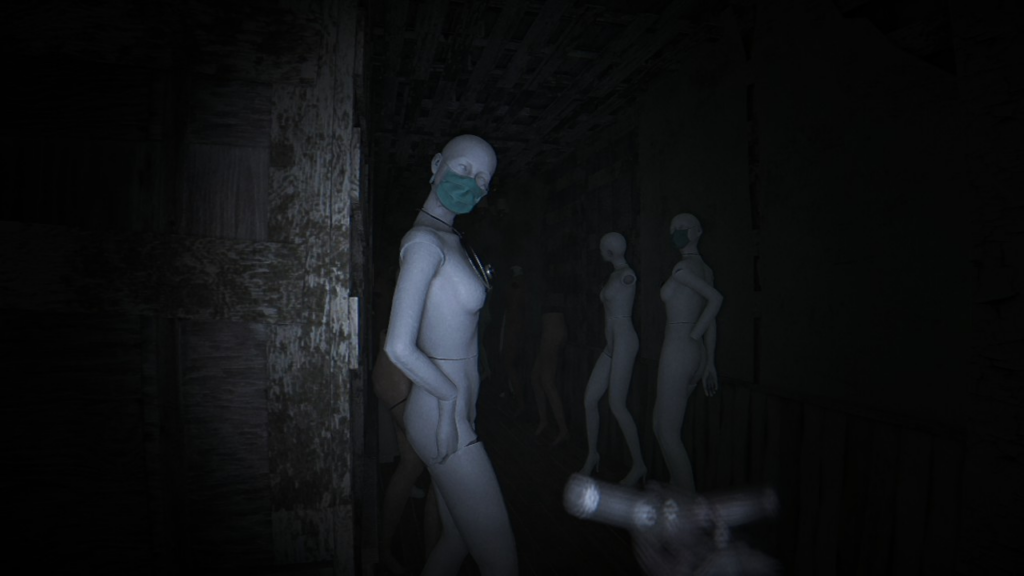
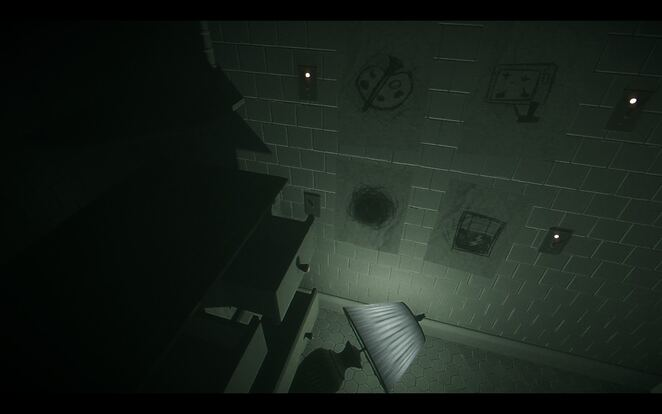
Your goal in this next area is to read the verses on the walls and note the names and causes of death, and then place statues on the names found in the rooms that match the causes of death. For example, David was killed with a knife, so the room with the stabbed dummy should have a statue in David's name.
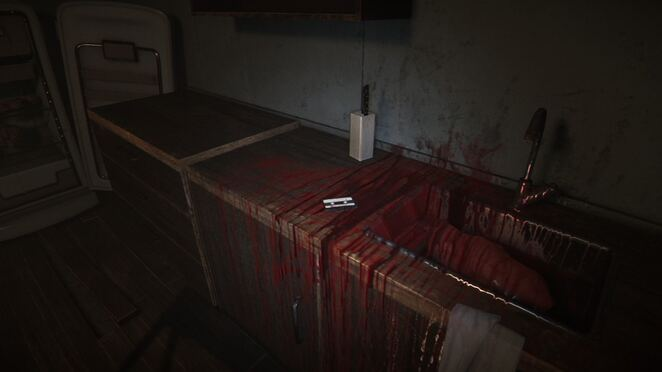
Go straight into the room with the guts in the sink and take it from the counter audio cassette no2. Read David's poem on the wall (cause of death: knife).
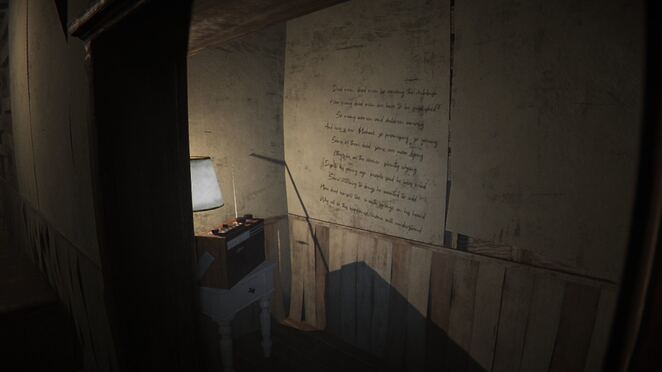
Return to the corridor, go to the small room on the right with Michael's poem (cause of death: drugs). Read it and insert the cassette into the player.
Continue down the corridor, up the stairs around the corner. Enter the desired room, at this time the sofa will move on its own. Read Jason's poem on the wall (cause of death: hanging).
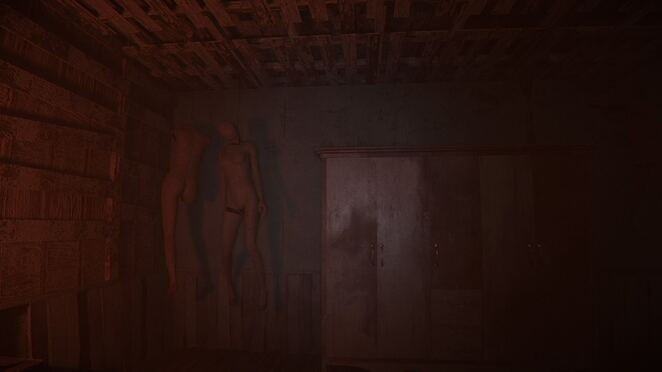
Walk down the hallway and swipe left into a room containing two hanging mannequins. Take the Rabbit statue from the table and place it inside the triangle on the end table adjacent to the door (the one marked with Jason's name).
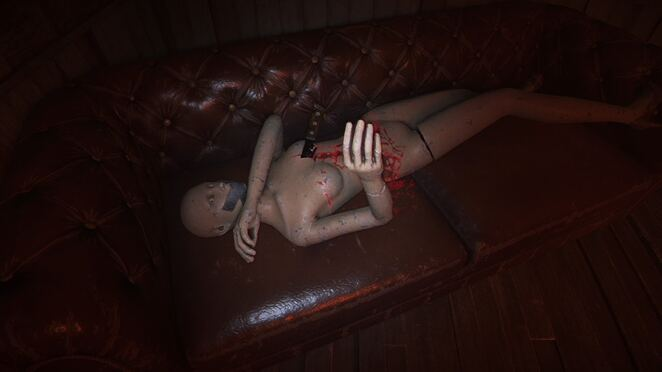
Further along the corridor, go straight to the room with the stabbed mannequin lying on the sofa. Take the Rabbit statue from the end table adjacent to the door and insert it into the triangle marked with David's name.
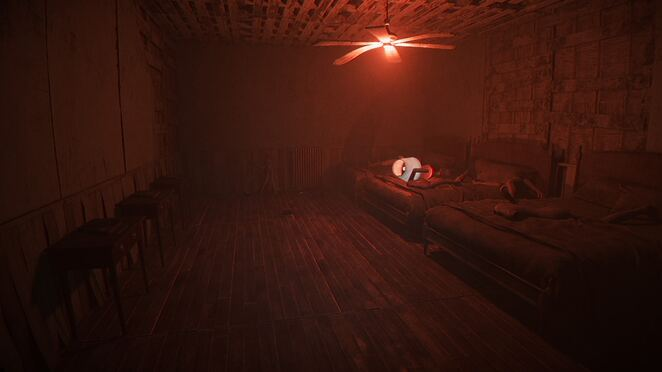
Return to the hall, press forward and go around the corner. Open the left door to find a room with a lamp on the bed and three triangles. Outside, just outside the door and on the left side of the hall, you will find another Rabbit statue on a porcelain cabinet. Take it and insert it into the triangle in the above room (the one marked with Michael's name).
Chase the sound you hear below. When you arrive, you will see the monster enter the room on the left halfway down the hallway. Ignore him and just enter the elevator at the end of the hall.
Power restoration
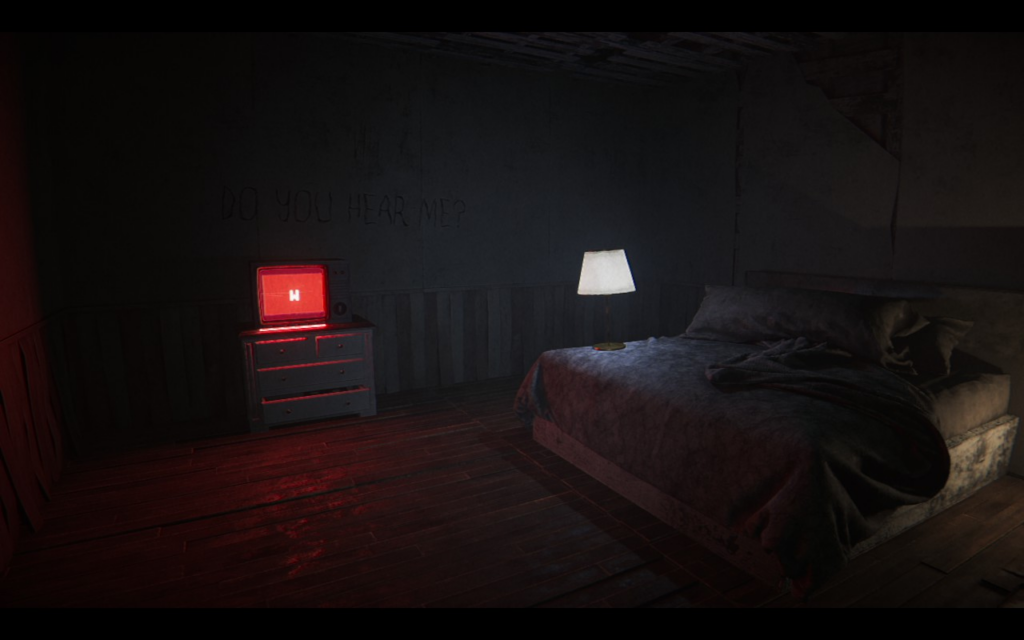
Go down to the end of the hall and turn right (next to the mannequin facing the wall). Go down the stairs, open the door, then turn right and open the next door (in the room with scribbles all over the walls). Next, you will be greeted with good (?) news: you have found Jericho.
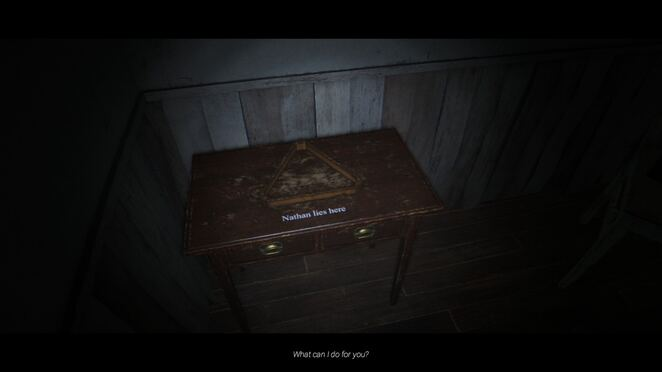
Take audio cassette no3 from the end table to the right and insert it into the player next to it. Take rabbit statue from the couch behind you and insert it into the triangle with your name on it (on the end table where you found the cassette). Take the gun from the drawer that opens.
Go back up the stairs and take your first left past all the mannequins. When a monster charges at you, ignore it until your pistol turns red. Turn left into the room, then hit the switch.
Turn around and go down the corridor with the mannequins again, this time to the left into the room with the piano. Hit the switch to the left of the piano.
Continue down the corridor, taking the last one directly into the room with the hanging mannequins. Hit the switch to summon the monster again. When it passes, exit back and turn right, then beeline for the elevator.
Find my phone / Make sure it's safe
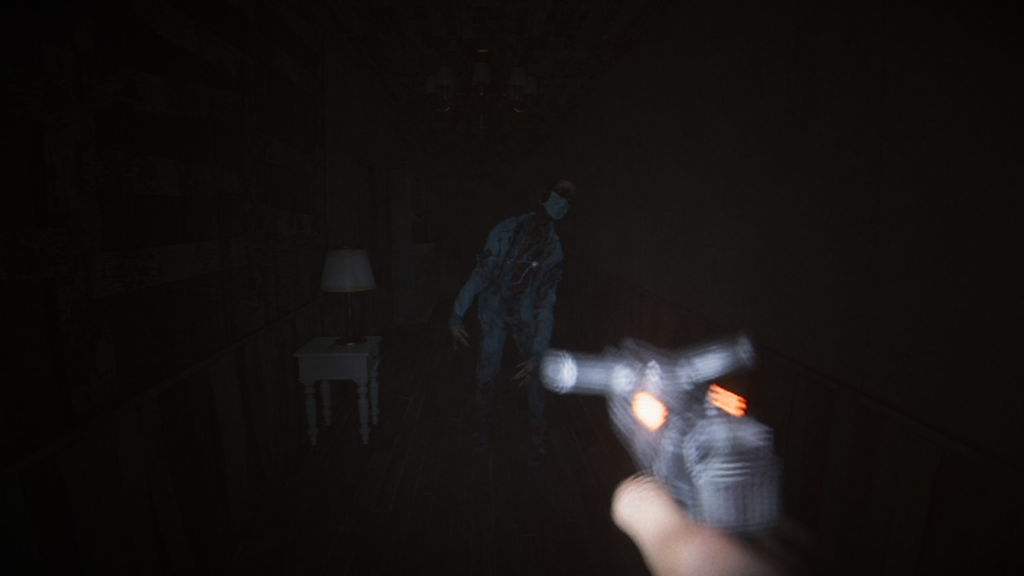
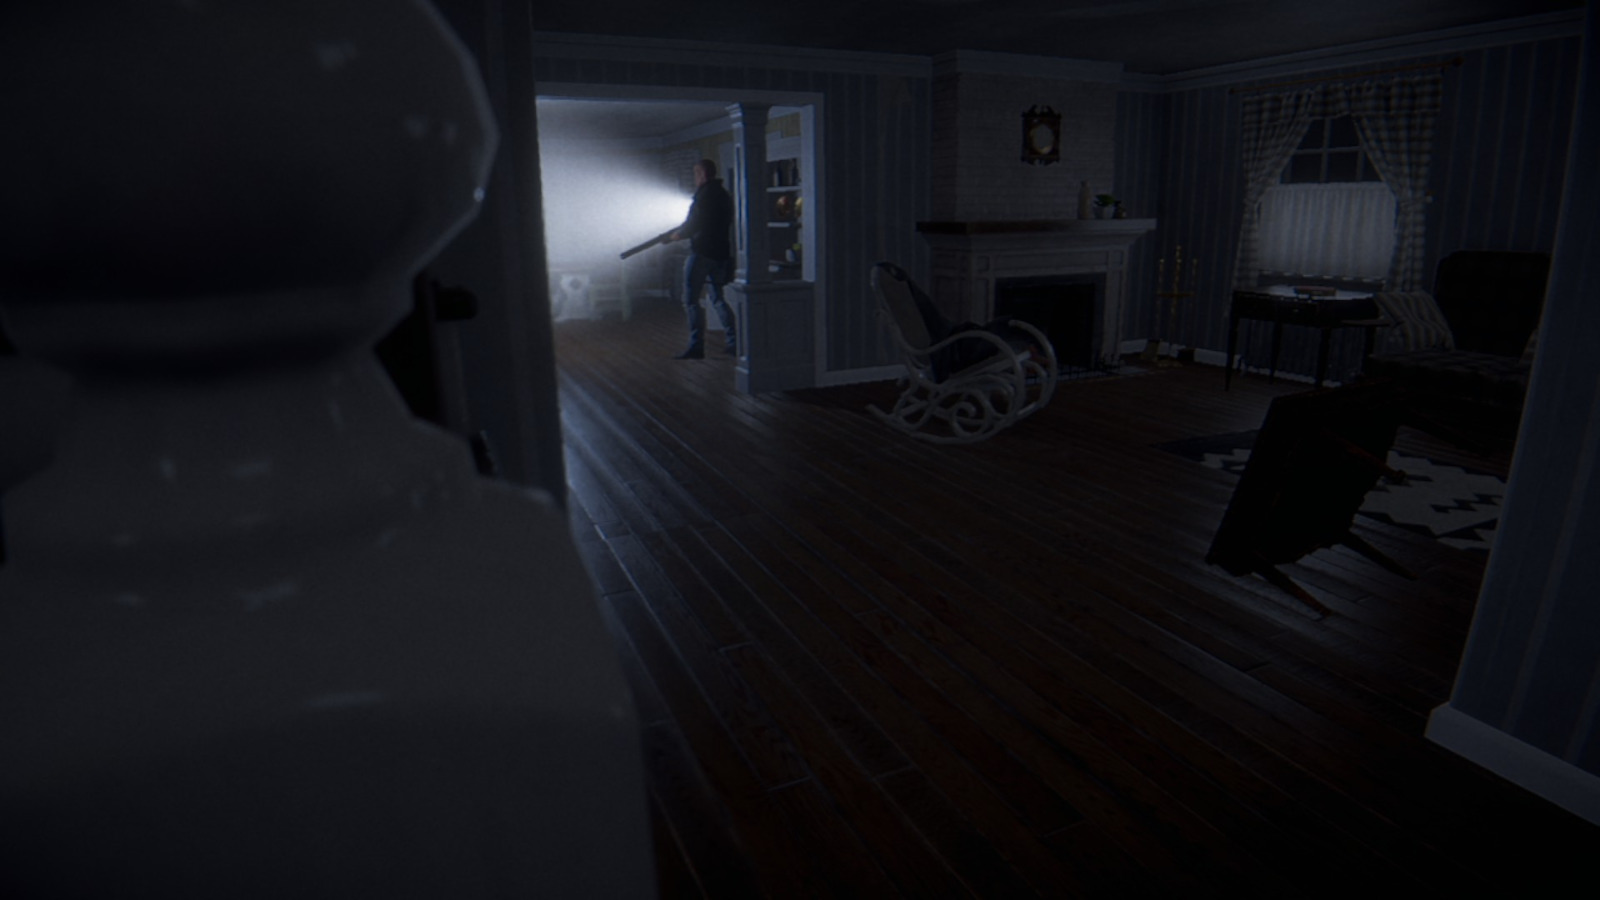
Talk to Morpheus 64 again and you will be instructed to use the elevator and pick up the phone. Open the elevator and head towards the white door. After you open it, the monster will appear again. Shoot him and run after the phone, shooting other monsters along the way until you are safe. Once all three are dead, pick up the phone.

Read Documents / Find Documents Alice Hill
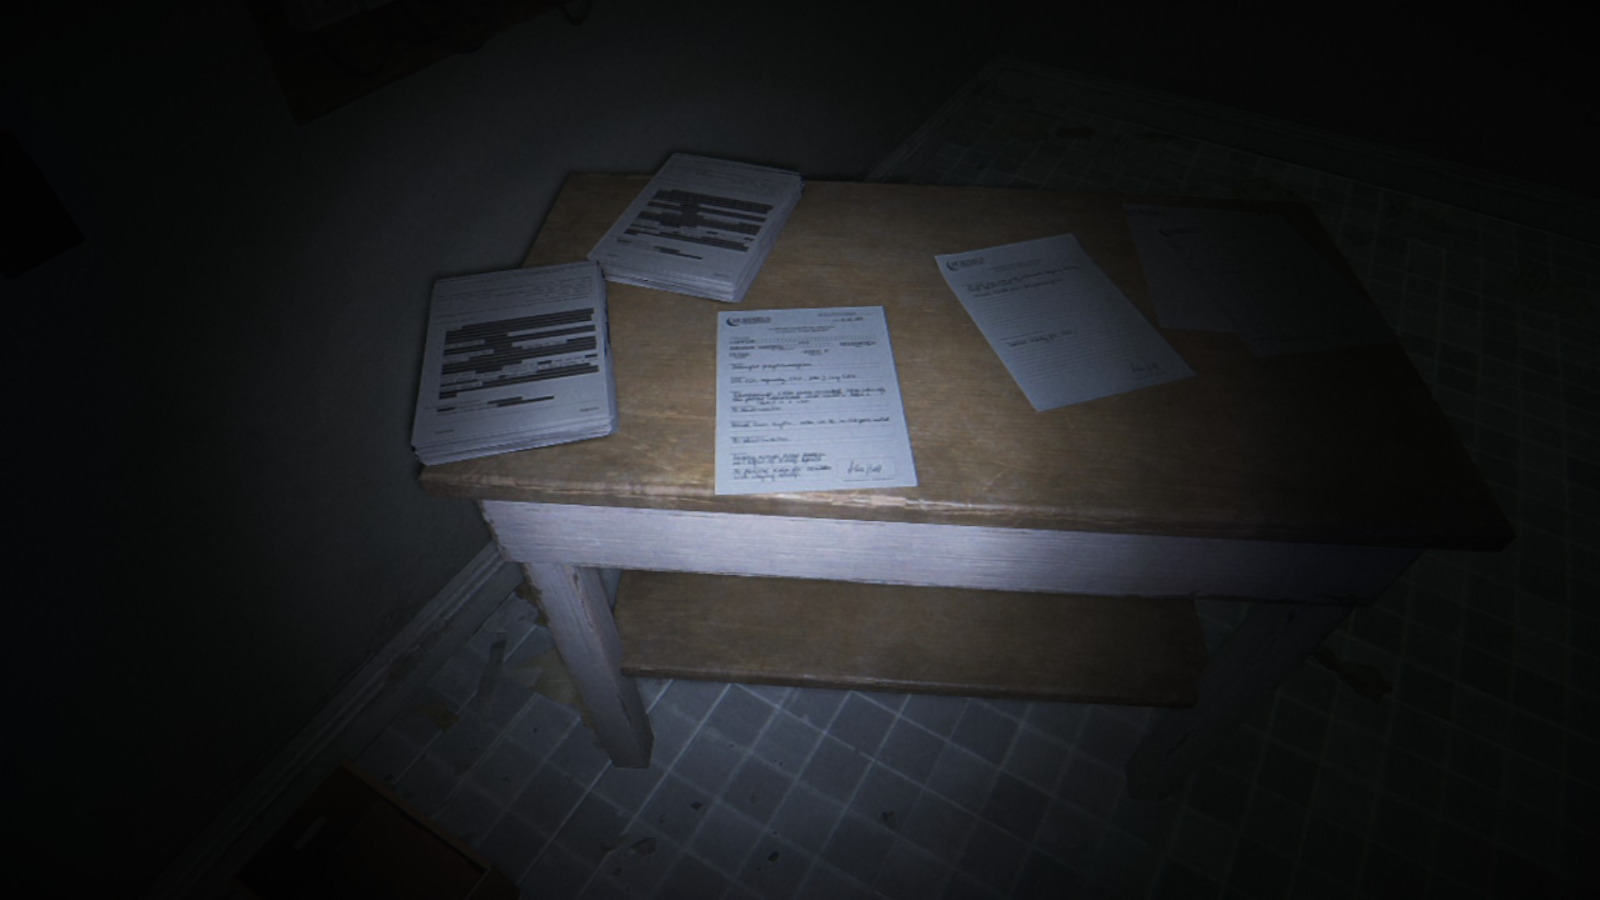
Examine all the documents on the table behind you, including the one that mentions Alice Hill (on the right side of the table). Exit the room and use the magnetic card on the double doors in front of you. Climb up to floor C twice and go straight until you reach the brown door marked Employee Archive on the left.
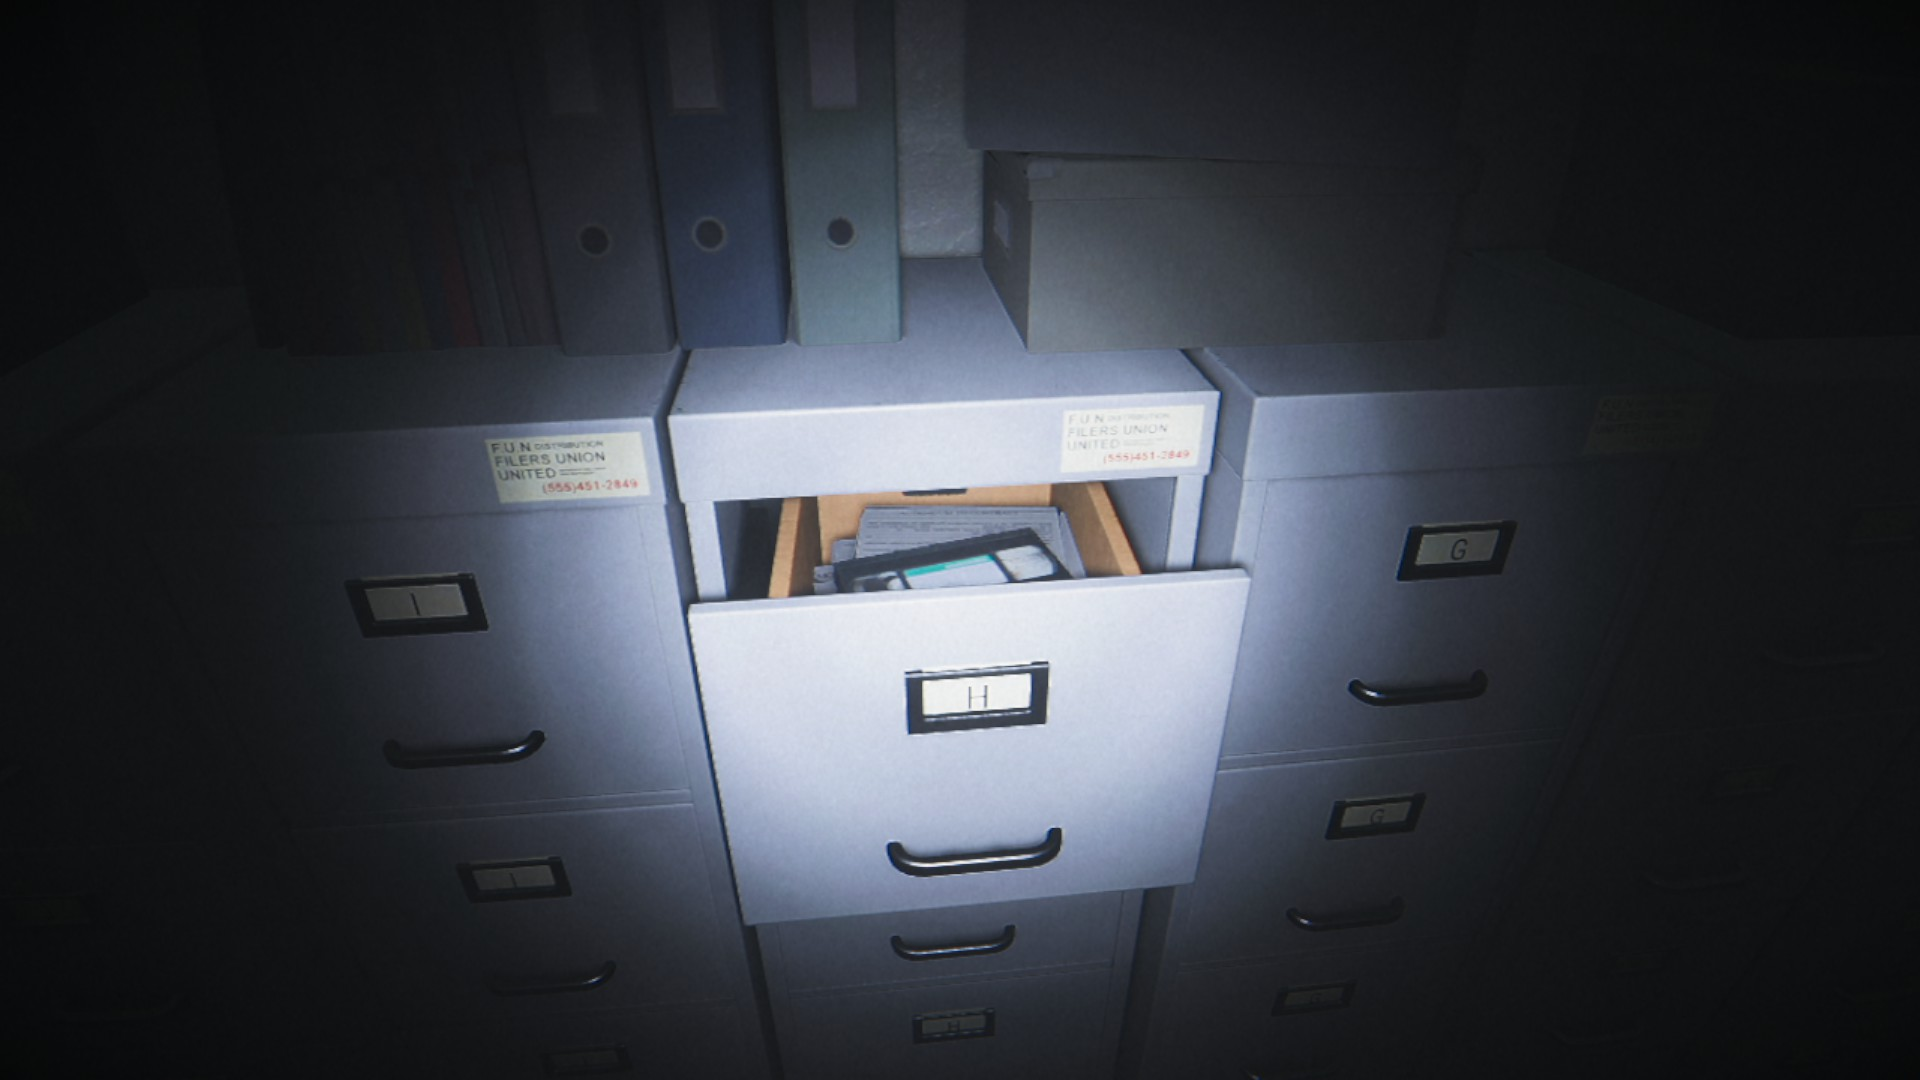
Open the file cabinet marked H and take the tape.
Check Tape / Restart Backup Power
Take the double doors back to the lower floor, only to be greeted with alarm. Once on the lower floor, go straight to a small room with a VCR. Press the switches of the Backup Power Box (all three), then do it again to restart it. Insert the tape into the VHS player.

Go downstairs / Look inside the refrigerator / Cook breakfast
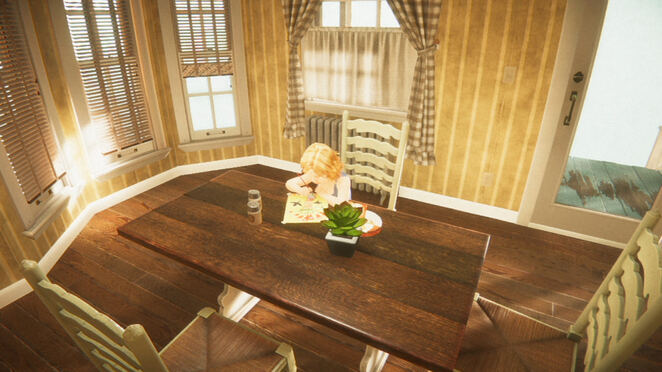
Look to the right at the window and inspect it. Go downstairs and check the refrigerator. Take the eggs from the left shelf, then the clean plate from the area next to the sink. Place the plate to the left of the pan. Use the toaster, then turn on the stove (use the handles directly under the pan). Open the drawer to the right of the stove to find a spatula and use it to move the eggs onto the plate. Put the plate on the table and go upstairs.

Save Emily / Remember?
When you reach the top of the stairs, Emily will scream. Run back down and interact with the radio on the counter to trigger a cutscene. Enter the living room to find Emily looking through the door. Go down to the basement and hit the elevator panel.
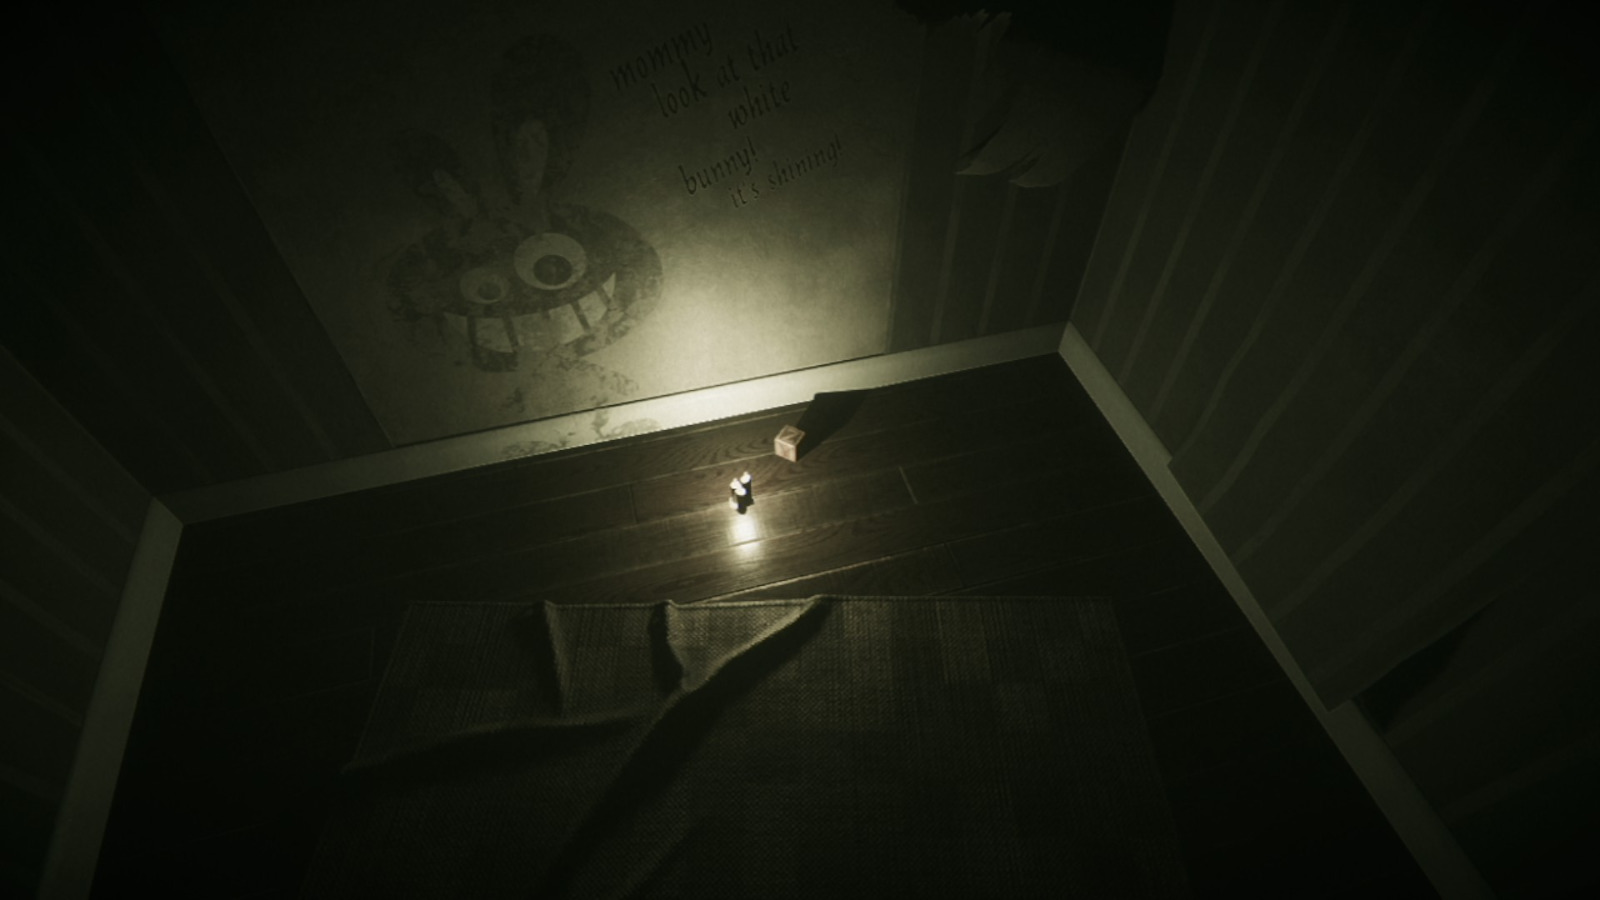
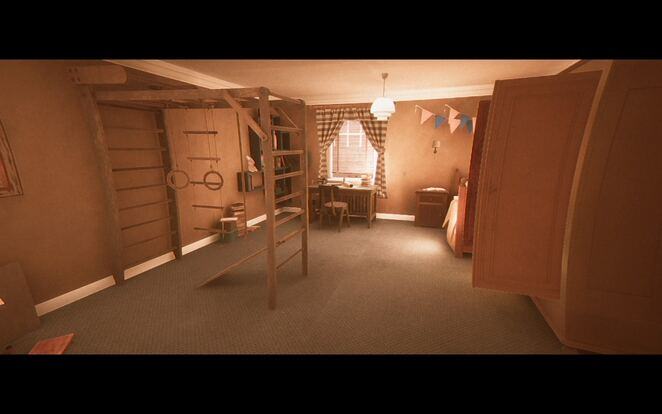
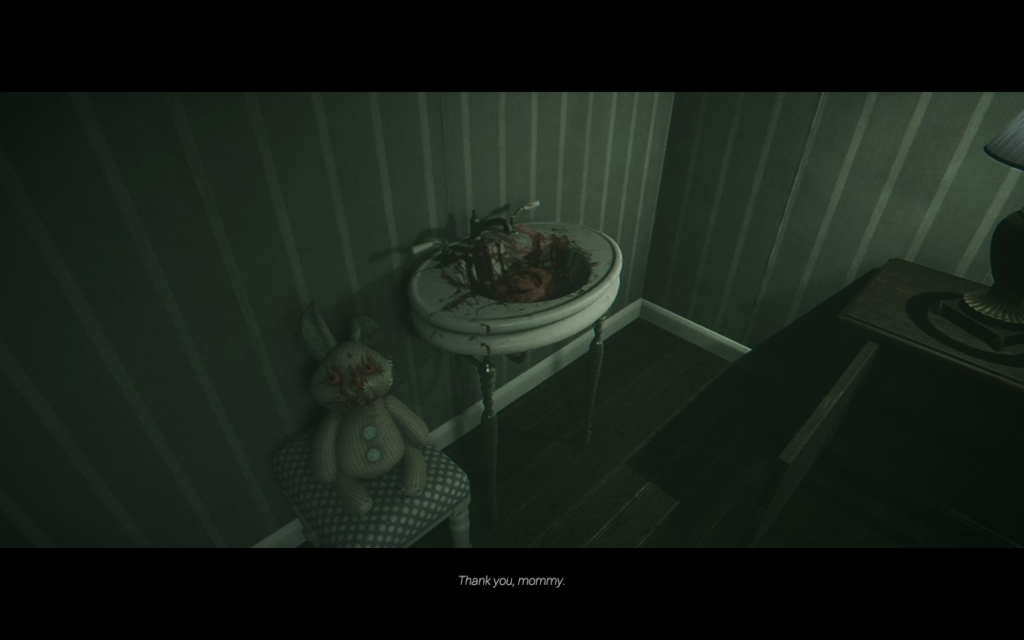
Open the left door and run down the corridor to the room with the bunny toy and the camera. Open the right drawer under the rabbit and pick up toy block. Place the block next to another on the end table. Now you start looking for the rest.
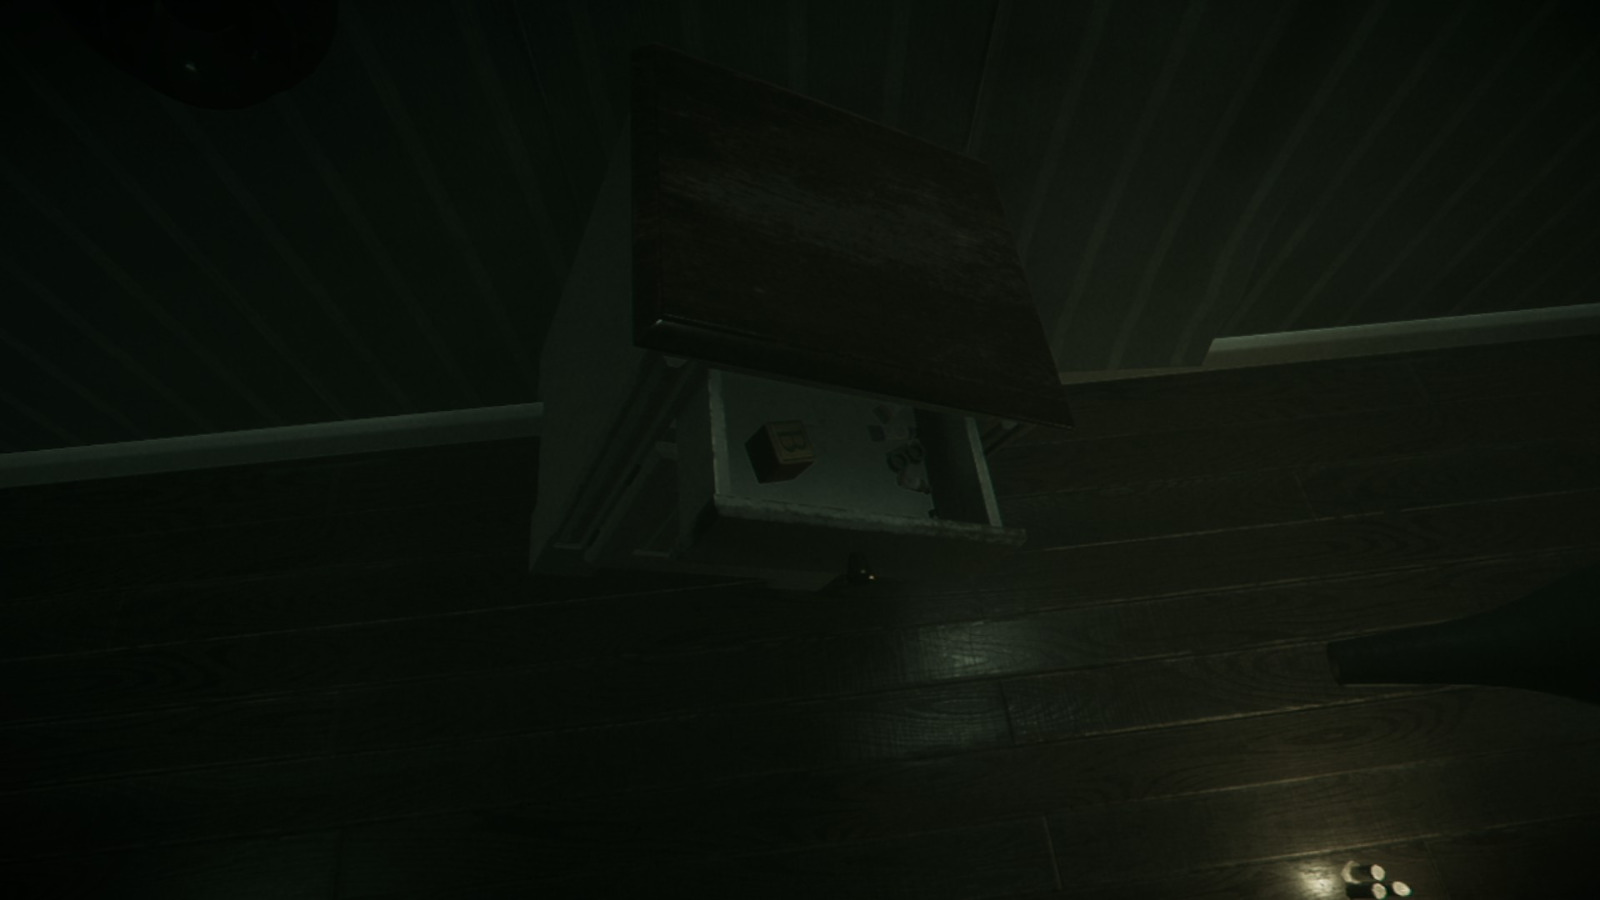
Turn around and open the door straight ahead. Toward the end of the hall, look for a white end table tilted to the right. Open the drawer to find a toy block. The third toy block can be found on the ground under the rabbit photo at the end of the hall. The last block is on the table with the player (look to the right of the player).
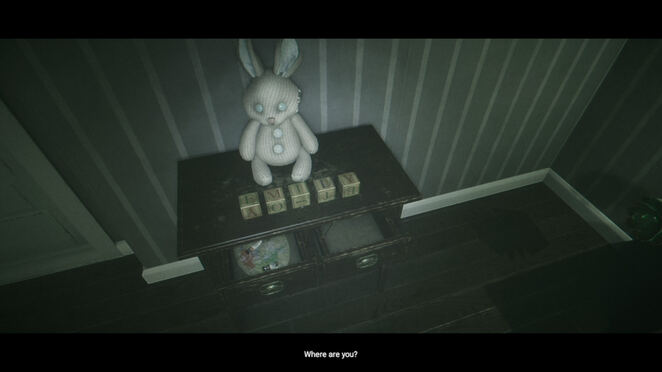
Place each of the blocks on the end table in front of the rabbit, then interact with them to position them so that the top of each one spells EMILIE. This will open the door to the left of the rabbit. Open.
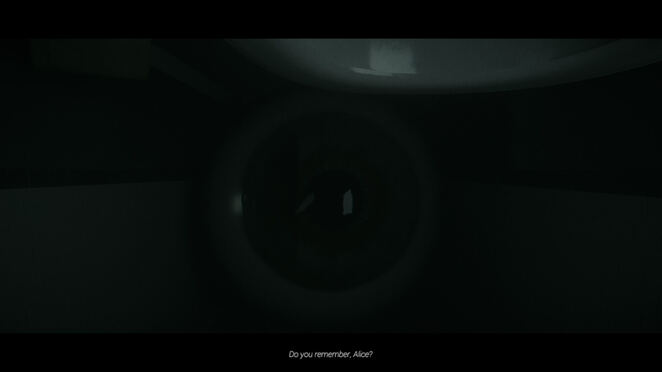
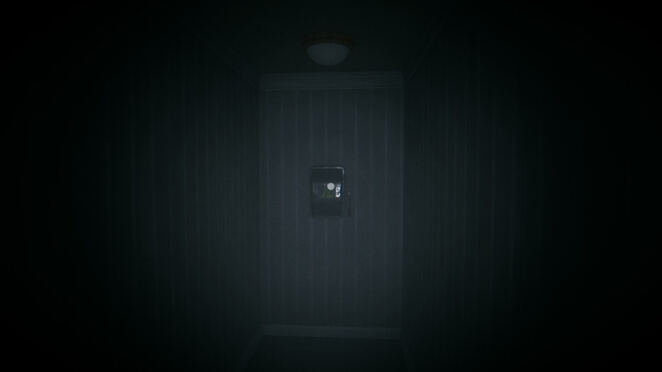
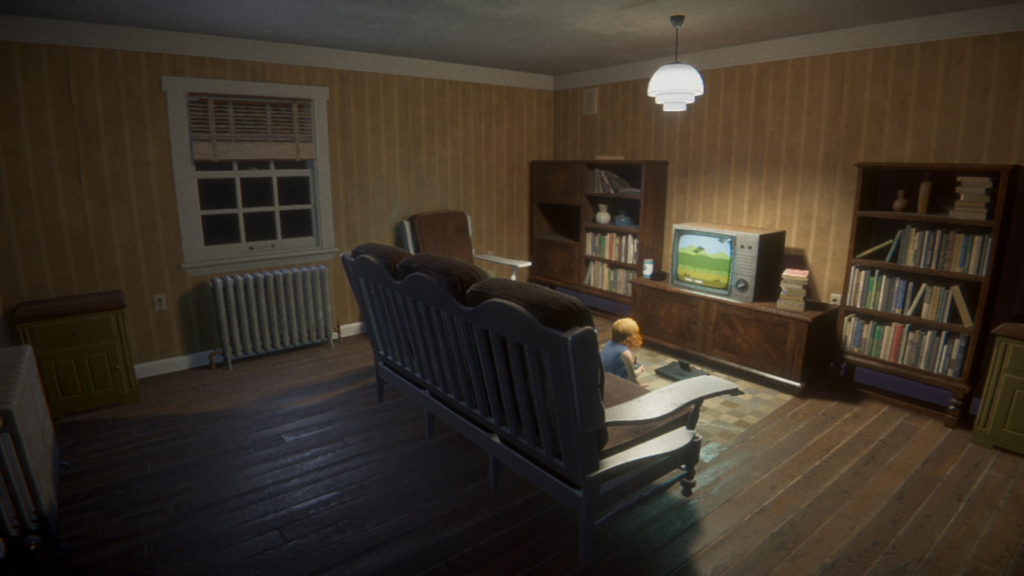
Turn first left, then right into the bedroom. Open the bathroom door and examine the large black circle at the back of the room to hear a voice asking you about Emily.
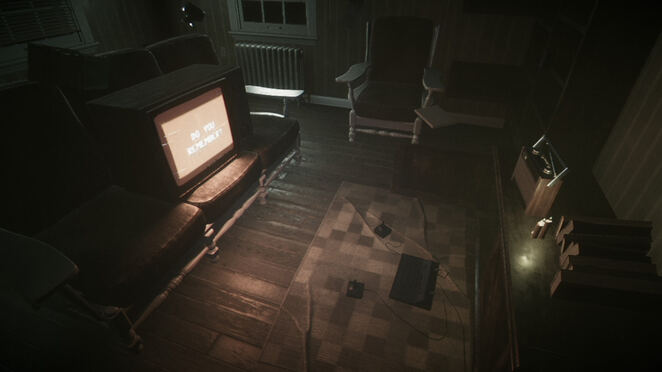
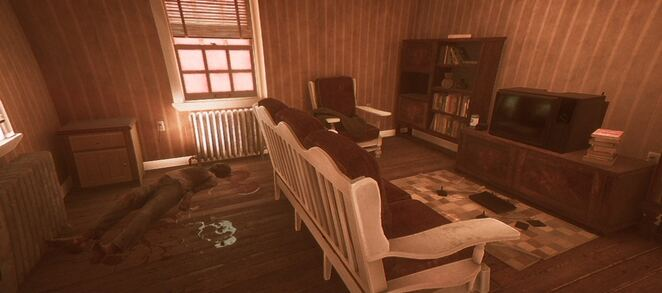
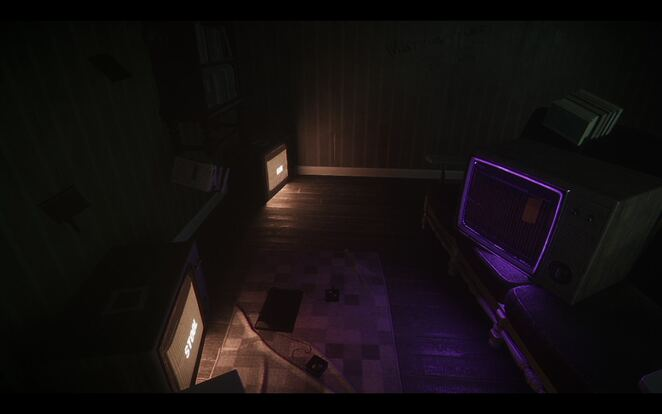
When you return to the hall, you will hear the words: "Emily loves to play." Turn on the flashlight, then take two left ones and one right one. Enter the room to the right of the player and turn left into a room with a white wooden sofa and TV. Turn on the radio in front of the TV.
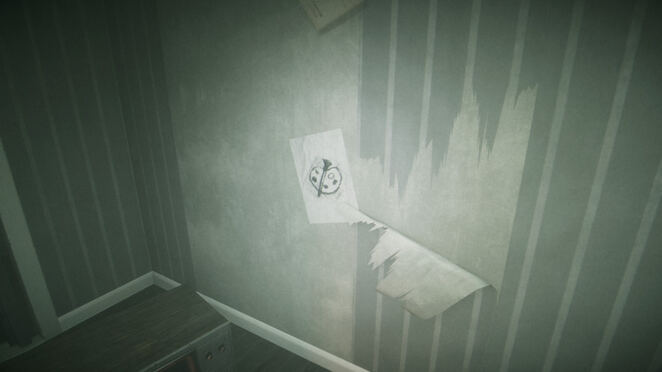
Exit the room and take the Drawing off the wall to the right of the TV on the floor (it looks like a brush and palette). Return to the hall, which now has a TV on the floor. In the room with the rabbit, take the Drawing from the wall opposite the blinking TV. Enter the hall to the left of the rabbit and look for the third drawing on the wall to the left of the next TV. Walk down the corridor towards the red light, then look left at the end of the hall for the final drawing.
Look in front of the TV and go straight to the bedroom. Open the bathroom door and have another chat with the big black circle ("What kind of mother are you?"). Stick the four drawings on the wall opposite the circle, then run the light switches over them in the order in which this sequence occurred (Painting > Window > Television > Black Circle).
Talk to the circle again, and then exit the bathroom. Open the new bedroom door and go down the stairs (blindly).
Go to the bathroom / Wait for Emily to hide / Look for Emily
Look to the left and press the look/interact buttons, then stand up and open the nearby bathroom door (next to the previous door where you saw Emily looking through). Enter it and wait a short while before opening the door again.
Head to the room at the top of the stairs and at this time you will hear Emily running downstairs. Check the kitchen, then go back upstairs to the same bedroom, which will now be locked. (Note: your frame rate may peak at this point; just go through it when it clears up in the next sequence.)
When the door opens, go downstairs and enter the break room on the right to find more bodies. Head to the basement and then the elevator to end the sequence.
Find your daughter
Go down the corridor to the central room with the rabbit. Talking to the entity in the shell will direct you to find the rabbit's eyes. Take a spoon from the drawer under the player. Open the door on the same side of the room and take eyes from the second body down the corridor.
Place your eyes in the rabbit's eye sockets, and then chat with the entity again. Take pliers from the left box and human teeth from the first body down the corridor. Place the teeth in the rabbit's mouth.
Walk down the hallway to the rabbit's left and open the door straight ahead (with the rabbit in front of it).
Open the cabinet on the green bookshelf to your right to find half rabbit statue. Open the back left door to find the other half of the rabbit statue (on top of the TV).
Place each half of the rabbit statue on the TVs that say "Chair" and "Loop" respectively (which is how you killed yourself). Take flashlight on top of the TV.
Hit the power switch.
Open the white door and go down the corridor with the rabbit by the door. Head back to the elevator (you're on the right track if the light comes on as you walk down the hallway), only to find a power switch instead. Hit him and turn around to be greeted by a vision of your daughter in the main room (where you put the eyes in the rabbit).
Enter the back hall (to the left of the sink) and head to the green bookshelf for another vision. Enter the room that used to have all the TVs (where you placed the two statues) and go to the back room (now unlocked). Talk to the black circle.
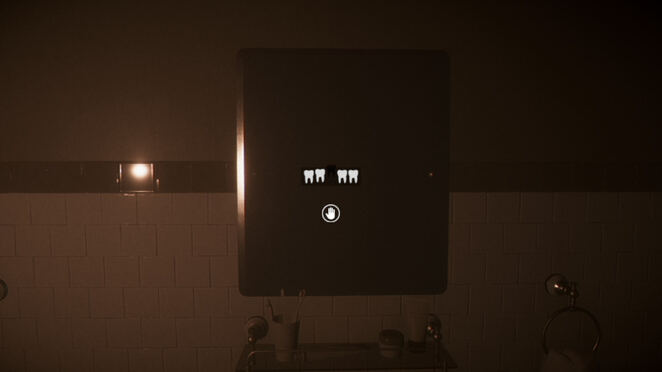
Take pliers from the left table, and then look in the mirror opposite it. Press Up constantly to pull out five teeth.
Play a Game with Emily / Restore Power
Open the bathroom door and head to the break room (at the bottom of the stairs). Interact with the Atari (game console) and watch the game play for a while until the power goes out.
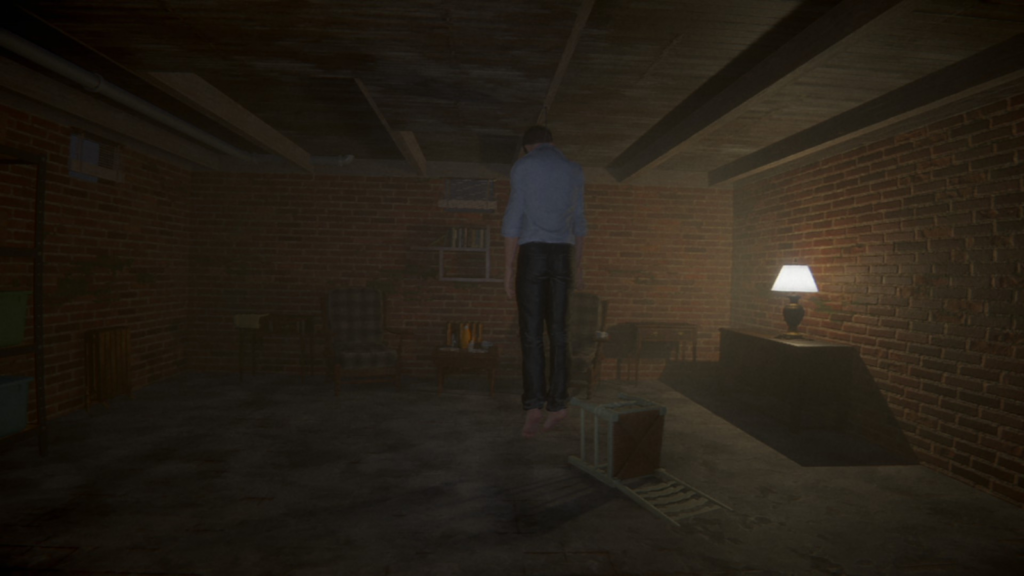
Open the crate in the corner to purchase a flashlight. Go down to the basement and press the three switches on the power switch. Go through the doorway with the broken door to find that your husband has hanged himself.
Remember? / Find Mom / Hide in the closet
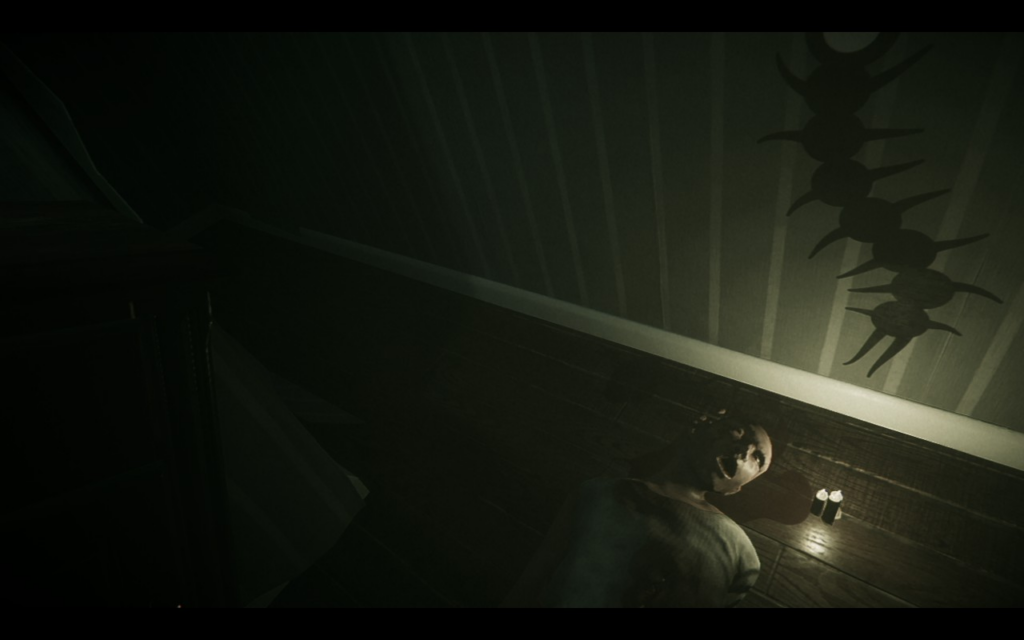
Just walk forward until you reach a door that you can't open and then turn around. Once you're playing as Emily, go downstairs, then go back and hide in the closet.
Talk to the black circle, then look at the window to the left of the aizel.
Read Documents / Go to Head Nurse's Office
Turn around and read the two documents on the table. Exit the room and open the double doors in front of you. Climb the stairs to floor C and turn left to find the head nurses' room.
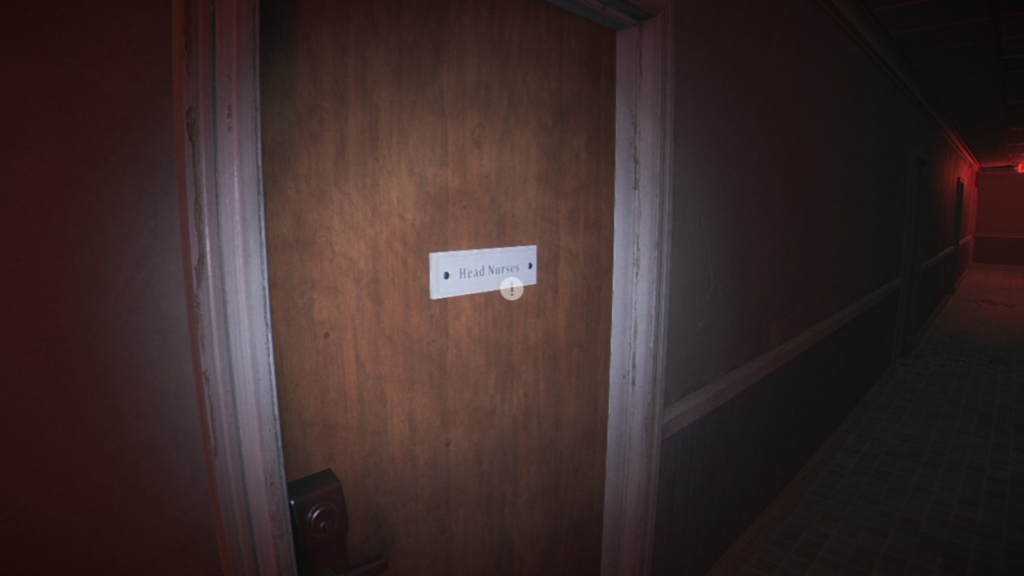
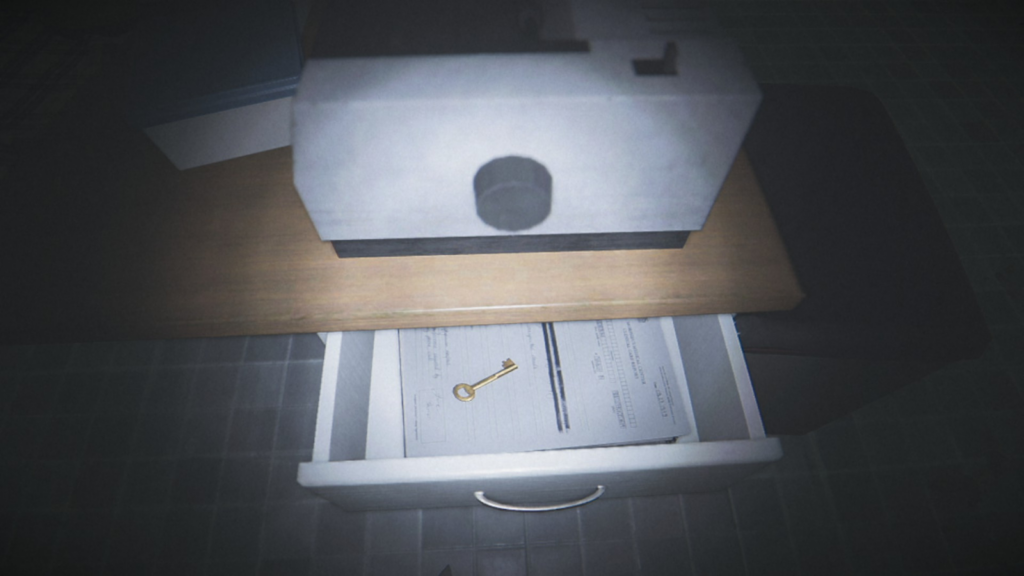
Open the top drawer directly in front of you to find small key. Return to the lower floor.
Escape from the facility
Run in the opposite direction from the device you dropped and use the small key on door A17 (to your left). Open the next few doors, then run straight to the door marked "Exit" only to get knocked down.

After the next cutscene, the game will end.
Was the article helpful?


