

Passage of the game Lost Lands 9: Tales of the First Brotherhood 100%. All the secrets, puzzles, mini games, collectibles and achievements in one place...
Walkthrough Digimon Survive 100%
The Complete Guide to Strategy and passing Digimon Survive guides you through all of the game's intricacies from the loading screen to the end credits, including a complete walkthrough of each of the game's chapters, combat strategies, decision making, outcomes for all decisions, digivolution lists, and more.
What this guide will offer:
- A complete walkthrough of the game from start to finish
- Strategies for all fights
- Making all decisions
- All results for decision making
- Much, much more!
Guide navigation
Management
Walkthrough Digimon Survive
Digimon Survive Prologue Walkthrough
When we hit "New Game" we immediately jump into the action, sort of. We see this pair of siblings running from what looks like Digimon and two others, Renamon and Gabumon. I wonder what's going on?
This is a small tutorial where most of the basics of combat are explained to us: movement, camera, attacks, positioning, etc. You can't lose this fight since it's all scripted. Look at the scenes that play out (some of them are VERY creepy!) and we'll end up in our world!
We meet all our main characters in this beautiful animation. Eventually, we'll end up in the VN (visual novel) aspect of the game, and eventually we'll get our first option to choose from:
SELECTION
Throughout the game, you will be put in a position where you will have to choose between several options. Often these options mean nothing and just change the next couple of lines before continuing with the normal story.
Others, however, are much more important. First, we have a choice that increases affinity. Intimacy in this game basically dictates our relationships with the other protagonists and how much we will help each other in combat. These options also change the story slightly (like the ones above), but do not change the main story of the game.
Another important choice is those that define karma. Karma in the game mainly affects your Digimon's Digivolution tree, as well as how well you will get along with certain types of Digimon. We have 3 of these types of karma:
- Morality: this is always the answer on the left and this is preferred vaccine Digimon.
- Angry: this is always the answer from above and this is preferred Virus Digimon.
- Harmony: this is always the answer on the right and this is preferred Data Digimon.
Personally, I'm going to complete Harmony for this walkthrough and walkthrough so if you see anything different please let me know in the comments.
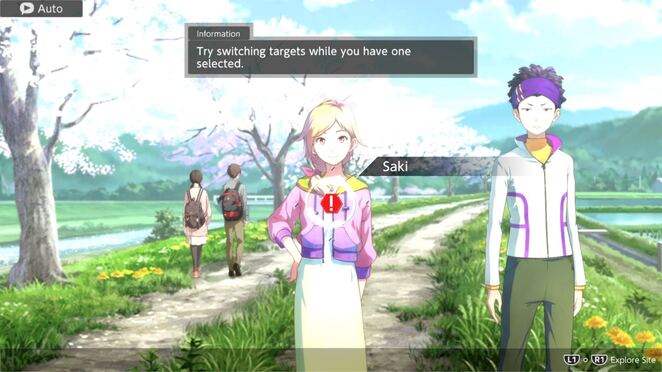
Keep watching the scenes and we will end up in front of cherry blossom trees. When Aoi asks:
After the answer, we will see that our other two main characters are here, Saki and Ryo. After a little conversation, we have some information about talking to people.
NOTE: in such places we can explore the background (in this case, the stream and trees), as well as talk to people / Digimon (once you find them). You'll want to leave the ones with the big red!, because talking to them will continue the story.
In the meantime, feel free to talk to Aoi and Minoru, check out the trees, the stream, and other campers passing by. When you're ready, go ahead and talk to Sakito advance the story.
Once you talk to her, she will eventually go to landmark with Ryo. Go ahead and talk to Minoru and Aoi to continue the story.
On the way to the landmark, we will see that the police blocked the street due to a landslide. Dang it. Go ahead and examine the vertical sign, police car and police tape. There is also an old sign and the same campers from the past on the left side.
When you're ready, talk to the rightmost lady to trigger a little conversation between them and the cop. After that, talk to the policeman to find out why they closed the road: a landslide. Talk to Aoi and Minoru and then talk to the policeman again.
When you do this, you will hear a little girl. We find Ryou and Saki here, next to another little girl. Her name is Miu and she wants to teach Saki and Ryo this temple. Hm. We get the option here:
Remember that a couple of lines will change after you make your choice, but they will eventually leave us 3 here on their own. Hm. However, we end up following them to get to a tunnel, very spooky. Finally Shuuji will overtake us. He is a couple of years older than us and is one of the people in charge of our group.
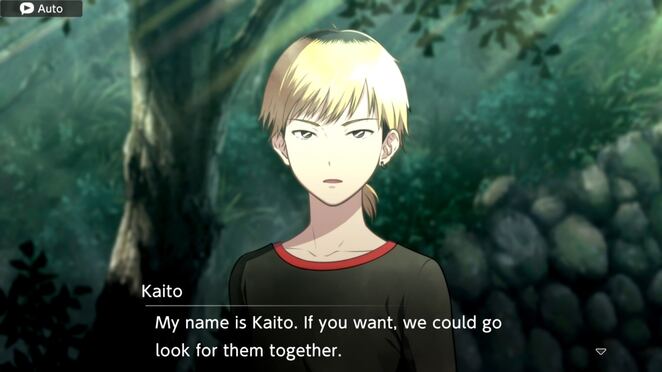
Here we need to talk to all 3 of them to continue, but you can look around the tunnel first if you want. Talk to Minoru, Aoi and Shuuji to keep the story going where we meet another of our main characters, Kaito. He is the older brother of Miu, a little girl from the past. He decides to join us in search of our classmates.
When we enter the tunnel, we have a new selection dialog:
Once we cross the tunnel and reach the other side, you will see that it is not snowing anymore. Looks like we're going to explore this area a bit and see what we can find before heading to the temple.
When possible, talk to Shuuji and then research the Spider Lilies and talk to Aoi after that. Once you do that, we will go to the temple. Go ahead and explore the Old Temple itself (it's the only thing you can do right now). Minoru will start taking photos of this place and we will choose again:
Right after this and the scenes it's time research.
STUDY
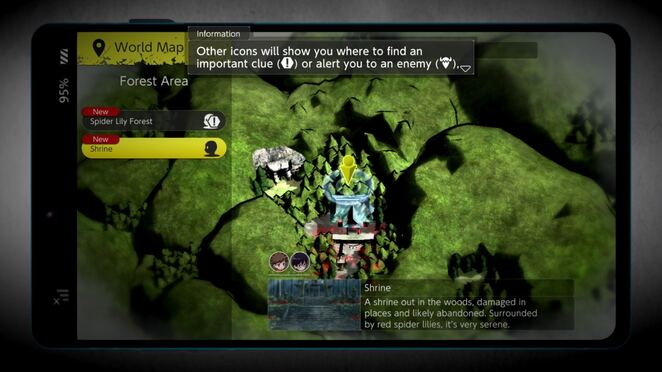
The good thing here is that we have a map and we can navigate from different points in it. You can open the map with ![]()
The game will show you that there are different icons next to the locations to show you what is happening there: head on its own are just areas with people you can talk to. Head with ! means there is a person(s) who will advance the story so you can save them for last.
And with that feel free to first go to Sanctuary and talk to Shuuji and Minoru. Feel free to look around the temple and the temple gate, but leave and go to Spider Lily Forest. First talk to Aoi here and then talk to Kaito to advance the story. We'll help them look around, so head back to the Sanctuary to see that the whole gang is here.
Talk to everyone here, but don't forget to leave Minoru finally. He gets flustered and tells us to pull out our phone's camera to take a look around. Hm?
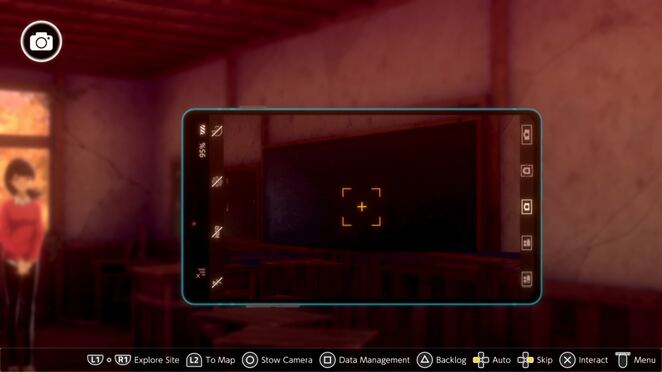
PHONE CAMERA
You can take out the phone's camera by pressing . You can scan the area with your phone (which will have a fisheye effect) and you will be able to find interference in areas that you cannot see with the naked eye. Usually you'll be told when to use this, but I'll be sure to point out anything weird I find out!
And while doing so, pull out your phone and check the left side (to the left of Minoru).
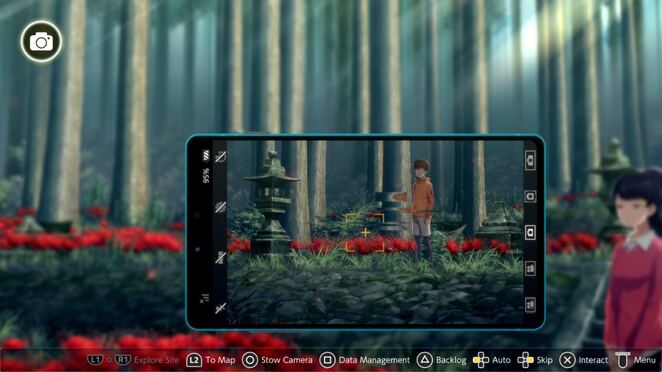
When you check you will see a black little monster here just looking at us. What is this thing? This looks very creepy! It seems like we can only see it with the camera... that's not good at all! What is this, Fatal frame?
Keep watching scenes and you'll make your way into... some ruins with a small shrine inside. Okay, this is very creepy. Before we decide what to do, we need to make a choice:
When you go inside, you will see frescoes on both walls. Yes, it's definitely a Digimon!@ I recognize Meramon and Sidramon, but that's it! Here we will have one more choice:
Eventually we will meet an old man here. I love how everyone is acting so casual. I would scream like crazy, haha. In any case, he Professor… and that's it. You don't need to know his name.
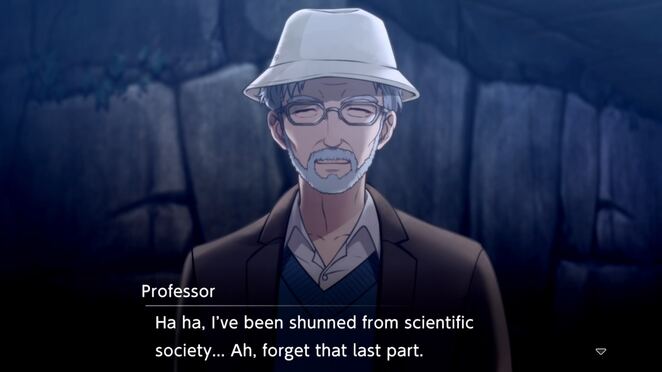
Eventually, you will need to talk to the professor, so do that right after you can explore the small cave as well. Go ahead and check both walls here, ending with a conversation with the professor. After that, we will finally meet with Miu. What is she doing here alone?
When we go outside, we find Saki and Ryo, but they are next to one of those creepy black things. In the end we will have another choice.
Choosing here simply changes the next scene and doesn't affect anything. Eventually, we will be surrounded by these things, and we will also be in the middle of an earthquake! What else can happen to us here? During this, the earth will open up and we will fall into the unknown.
We get the opening of the game as it happens (which, by the way, is beautiful).
As soon as we regain consciousness, we will immediately receive a trophy!
 | Adventure begins: Embark on your own adventure. |
Takuma starts calling out to everyone... but no one answers. Oh no. We will also look here. You can check out Spider Lilies here, but you'll want to check out both. deep forest hintsto advance the story.

Eventually we will return to the shrine. There is no one here, not even black little monsters. It is very strange. There seems to be something in the bushes nearby. We get select here:
These options don't change anything other than how you approach the situation, so there's not much RP here. However, right after that, despite what you have chosen, you will have another choice:
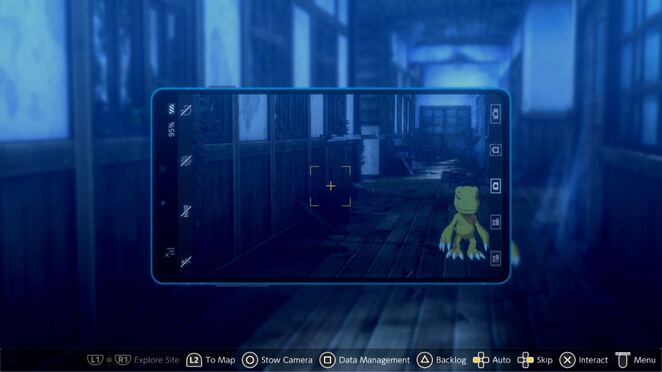
Takuma decides to take out his phone to see if he sees anything here. And of course we can! The little creature runs away. I feel like I know who it is! After that, we will return to the normal position, and we need to keep looking for it.
Check the right side for interference. The little creature is there again! And yes, I know who it is! Now check the one on the left (not next to the stairs) to find the little creature again.
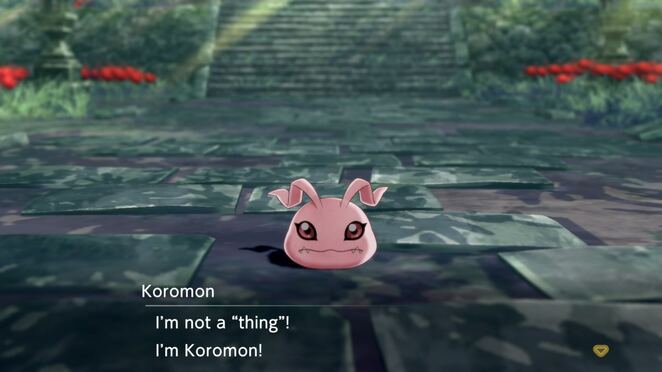
After you've checked them both, check the worry near the stairs for a small creature to pop out. He will start talking to you and introduce himself as Koromon. Yes, I love this little guy!
Look at the scenes that play out and how we try to run away from Koromon only to be attacked by another of these monsters. We will immediately be thrown into a fight, and at the very start we will also have a choice!
No matter what you choose, the monster will eventually kill you and Koromon will come to save the day. Check out the very beautiful scenes that are played out here and we will have one more choice:
Right after that, we have the very first digivolution! Koromon now becomes Agumon! We will also get a trophy!
| Look at me now!: Agumon had reached the beginner level. |
And now we're actually in the fight!

GOALS
| VICTORY | DEFEAT |
|---|---|
| Gotsumon defeated | Agumon dies |
Okay, this is our first real battle (if you don't count the one from the beginning) and we're being told about the combat system again. We are taught protection, which occurs automatically, but only occurs if you are not attacking or using an item. You can move, but you cannot perform an action.
However, this is not ideal, as it only affects attacks coming from the front. Side and rear attacks will still deal 100% damage. For now, however, we'll have to use it to block Gotsumon's attack. We are told that it also helps to deplete the opponent's SP, which is a good thing.
Now we can attack. Do it using pepper breath Agumon. This will almost defeat Gotsumon. You can move after the attack, but you don't have to. When it's your turn again, just use Pepper Breath again to defeat Gotsumon and win the battle!
At the end of this fight, Agumon will definitely reach lv.4.
After the fight, we will have some information about equipping items or accessories. If you go to the right, to the "Evolution" tab, and you can see all the evolutions of Agumon. Yes, it will depend on the karma you receive! I fully support Greymon and the original evolution line (I'm old, I know haha).
Here we will have many conversations between Takuma and Agumon, and the Prologue itself will come to an end!
Chapter 1 Walkthrough
This chapter starts with Minoru and Aoi being chased by tons of Gotsumons (now we know their names!). Two other Digimon show up to help them! Takuma eventually catches up to Minoru, who in turn left Aoi behind. We'll also get a choice when we catch up:
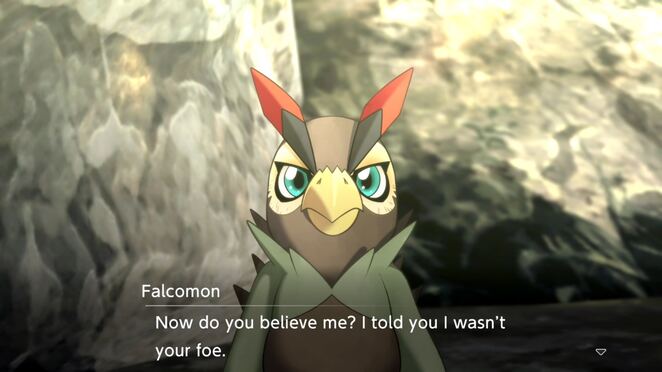
Once selected, we will continue with scenes where one of these Digimon will introduce himself as Falcomon, and it appears to be Digimon Minoru. Very nice!
Right after that, we'll be in another battle!
GOALS
| VICTORY | DEFEAT |
|---|---|
| All enemies are defeated | Everything is destroyed |
Similar to the previous fight only with Agumon, this one is basically a tutorial. We start this fight with Falcomon just guarding so Agumon can get close to him. Luckily for us, his Pepper Breath has a long range so you can attack Gotsumon from there. Here you will also see how closeness works with your other main characters: Falcomon will eventually help Agumon attack. With this, you will eventually kill the first Gotsumon in one hit. Careful.
Right after that, you will be able to talk to your Digimon. This helps you strengthen them, similar to how attachment works. You can only speak and empower one Digimon at a time, so keep that in mind and use it however you see fit. Of course, right now only Takuma can talk to Agumon, so do that and get close to Gotsumon to defeat him.
At the end of the fight, Agumon will go up to lv.5 and Falcomon will be very close behind.
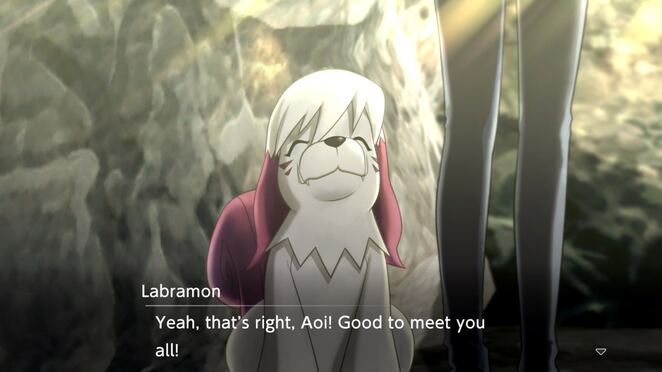
Keep watching the scenes after the fight and Aoi will catch up with us. She met her own Digimon Labramont. I'm not going to lie, before I started the game I thought this was the weirdest Digimon (since it's just a dog) but the more I see her the more I like her haha.
After the introduction, we will again have a choice:
Keep watching scenes now that we're together and eventually we'll be back at school... just that he looks a little different. Yes, this is definitely not the same school as before.
Once there, Agumon will ask us a question:
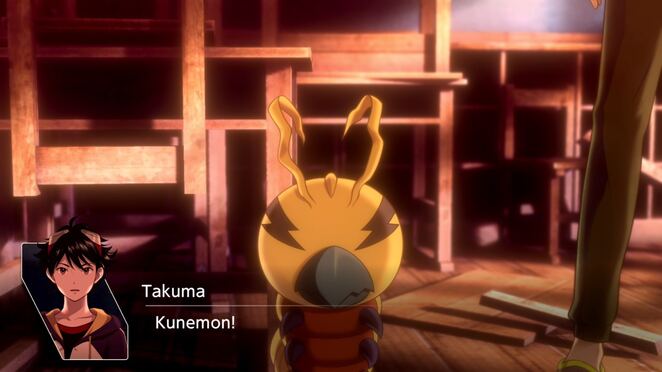
In the end we will head inside the building where we heal Labramon and even find Ryo here, but he is very excited because there is another cold Digimon next to him, kunemon.
Right after that, we can explore the class we are in. Talk to everyone here, including Kunemon and Ryo, then take out the camera and examine the board.
When you do this, tons of webs will appear out of nowhere. It's more and more like Fatal Frame haha! We'll get another selection here:
They won't change anything, so choose what you want. The map will open up and we'll have a whole bunch of areas open up. Among all of them, we also have free battles.
As the name suggests, you can fight Digimon here, which have nothing to do with the story. Perfect for leveling up and recruiting a new Digimon.
For now, it's mandatory and we'll learn how to talk to other Digimon. If you've played the Persona games then this is very similar. You should answer them with what you think they will like. Right now the game will hold your hand throughout the process and you will eventually score betamon.
We will also get a new trophy for this!
| Astute recruiter: Free monster recruited. |
Once the battle is over, we can explore the school. Let's start at the top, leaving Corridor finally. Go ahead and go to school corridor 2F. Not much going on here, but there are some riots here. If you check the one on the left with your camera, you can find Salve Pack. A back injury is a fight.
Go to classroomto find Ryou and Kunemon. Check the table on the left side to find what looks like a "spirit lamp". We can't get it because of the webs, but Ryo tells us to look for vinegar to get rid of them. Okay, now we know what to look for.
Before you leave, be sure to check the locker to find another one Salve package.
faculty room, check the shelves on the left side to find another one Salve Pack. Man, the game is just throwing them at us right now! But that's all. Feel free to check out other things here, but leave and go to tunic.
Here, check the locker in the back corner to find bandage.
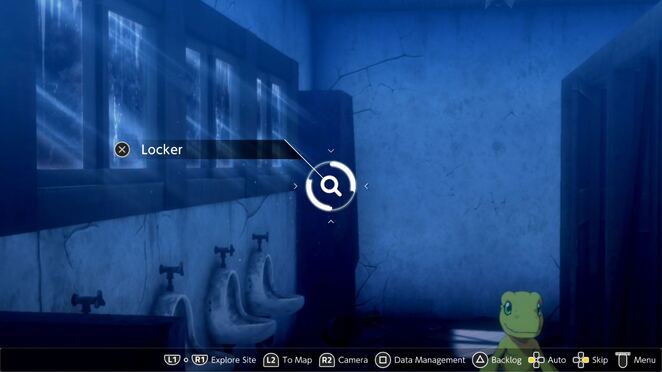
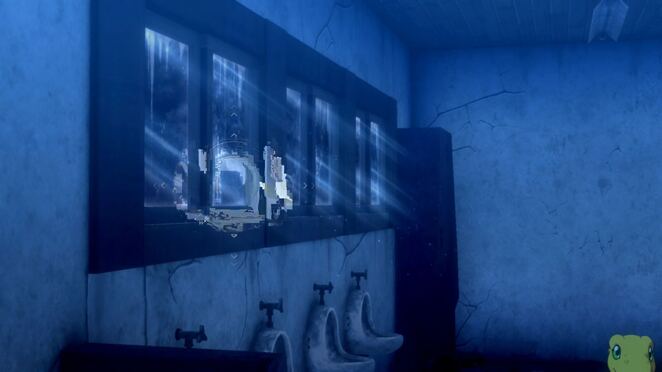
If you talk to Agumon, he will go to the women's bathroom, haha. Poor Takuma is all excited. Feel free to also use your camera to check the wall behind Agumon to find another one. Salve package. Good!
Go ahead and enter cafeteria now to find Labramont herself. Here, check the locker in the corner to find vinegarwhich we were looking for. Good!
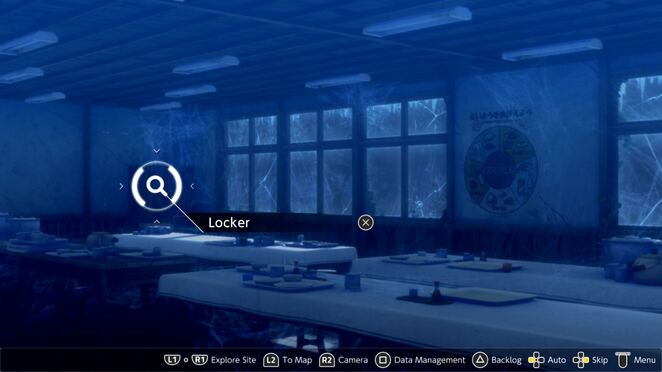
You can check under the table for a small fight. You can also talk to Labramon if you want, but there's nothing else to do. Gym completely closed so you can't log in right now so go back to classroomwhere Ryo is and look at the table again. Takuma will use the vinegar we just found to get Spirit lamp kit.
Get out and go to Corridorto find Minora and Falcomon. Go ahead and explore everything, leaving Minora for last. Okay, why this horror game? It knocked me out 100%!
When you're ready, go to classroom and talk to Ryo. Yes, this game is definitely creeping out of me. Once Ryo passes out, head to tunic very quickly and check the window on the left side to find bandage with your camera. Good!
Go to corridor 2F and try to go to the Music Room. Watch the little scene and go to gym right now. Talk to Labramont and we will have a choice:
These options do not affect anything, but I like the second one. After that, go to faculty room and examine the table on the right side for scenes to continue. We will have a choice right after:
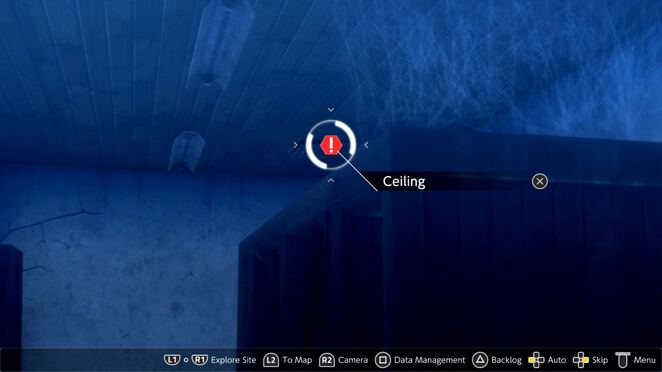
After that, go to tunic and check the ceiling.
We'll end up in the Music Room earlier and we'll even meet 2 ghosts that aren't ghosts but feel like ghosts... what? Haha. It seems that they are the same children from the very beginning of the game. What's up with them?
Anyway, they tell us about a monster roaming the school and it's a Digimon named dokugumon. Right after that we get a choice:
- Are you going to fight?: Increases angry proximity
- We'll be fine!: Increases moral proximity
- Will you two be all right?: Increases affinity Harmony
Keep watching the scenes as we go to the cafeteria and then go through the secret passage to the gym. Scenes will continue here and we will end up in a fight against Dokugumon.
GOALS
| Win | THE LOSS |
|---|---|
| All enemies are defeated | Agumon or Labramont dies |
Once the fight starts, we'll still have Takuma and the others here. We will use this Spirit Lamp we received and throw it at Dokugumon. Of course, it won't kill him, but it will weaken him. Also, we can only have 4 Digimon for this fight, so you might as well put in all the starters. Labramon and Agumon are a must.
So for this fight, we have to fight more than 1 Dokugumon. We have our main one (the big one in the corner), it's lv.5. The other smaller ones are lv.1 and 2. For reference, my Digimon is lv.7 thanks to a couple of fights I mentioned throughout the walkthrough.
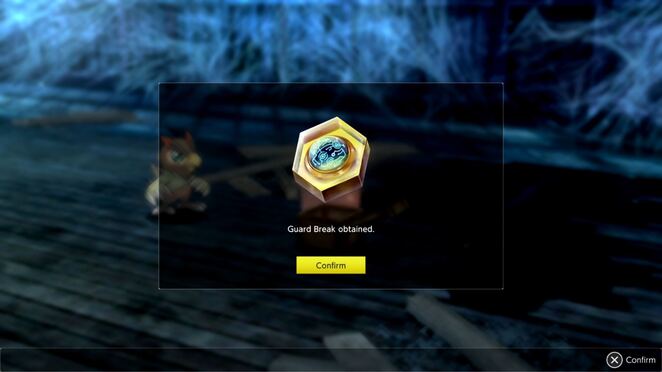
However, they do have a fire attack that can hit Falcomon and Cunemon quite hard as both of them are weak to shooting. However, you can get them to move forward towards 2 Dokugumon and have them guard. Lure the Dokugumon to attack them, then you can finish them off with Agumon and Labramon. While you're here, you must break the crate nearby to get guard break.
NOTE: I don't know if they spawn randomly in fights. Please let me know in the comments if you received the same item.
Make your way to the big Dokugumon (human, Agumon's Pepper Breath deals a TON of damage to them) and once you attack him, a small scene will play out where Agumon will evolve again to be on par with Dokugumon, who is a "rank" above Agumon.
This is where your karma comes into play and Agumon will change depending on what you have decided so far. Since I chose the path Harmony, I made it evolve into tyrannomona. I'm sad because I wanted Greymon haha, but this one is cool too!
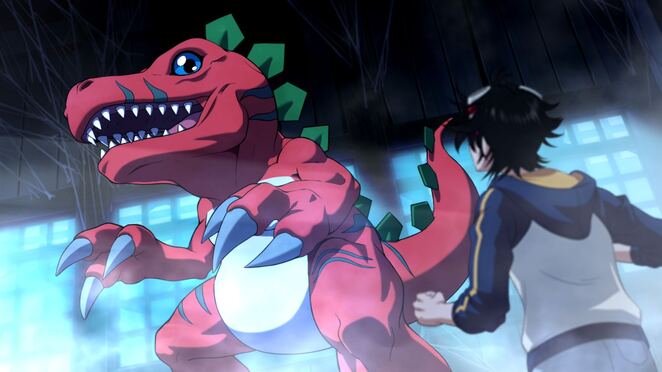
For this we also get a trophy!
| Bow to the Champion: Agumon has reached champion level. |
We'll regain control right after that, and you'll see that Tyrannomon (or whoever you got) is now the Champion rank, not Rookie. Good. Be sure to talk to Agumon with Takuma to increase all of his stats (even more haha). Dokugumon should get away with just 2 or 3 attacks from your new champion Digimon, which is pretty wild. Just be careful and you don't have another Digimon nearby because Dokugumon is strong enough (despite being a couple of levels lower) to shoot at them.
| Downed Dokugumon: Bey Dokugumon. |
After the fight, we will have several scenes where we save Aoi and talk about tomorrow. Eventually, the chapter will come to an end and chapter 2 will begin.
Was the article helpful?


