Evil West is a bloody third-person cooperative action game in which the Wild West setting was supplemented with mystical creatures, including vampires. An action-packed action game awaits you, which can be played both alone and in the company of a friend. The game world combines myths and legends told in the setting of the Wild West. There were also mysticism and bloodthirsty monsters. The main character is one of the last agents of a top-secret organization to capture vampires, who has to save humanity from the forces of evil.
Walkthrough Evil West 100%
An Evil West walkthrough containing guides to all chapters of the game, collectibles and solutions to all quests in this cowboy-vampire action shooter from Flying Wild Hog.
Contents:

Doubtful cargo
Doubtful cargo - the first level in evil west. It basically serves as a prologue, teaching you many of the game's core combat concepts.
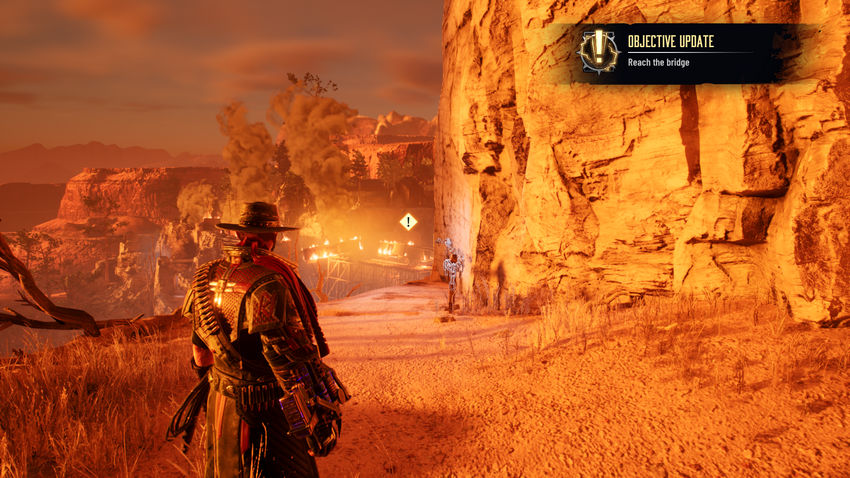
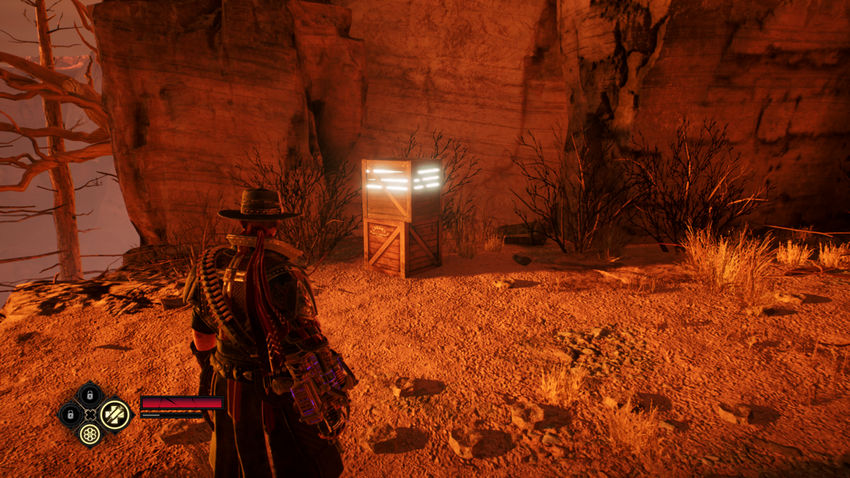
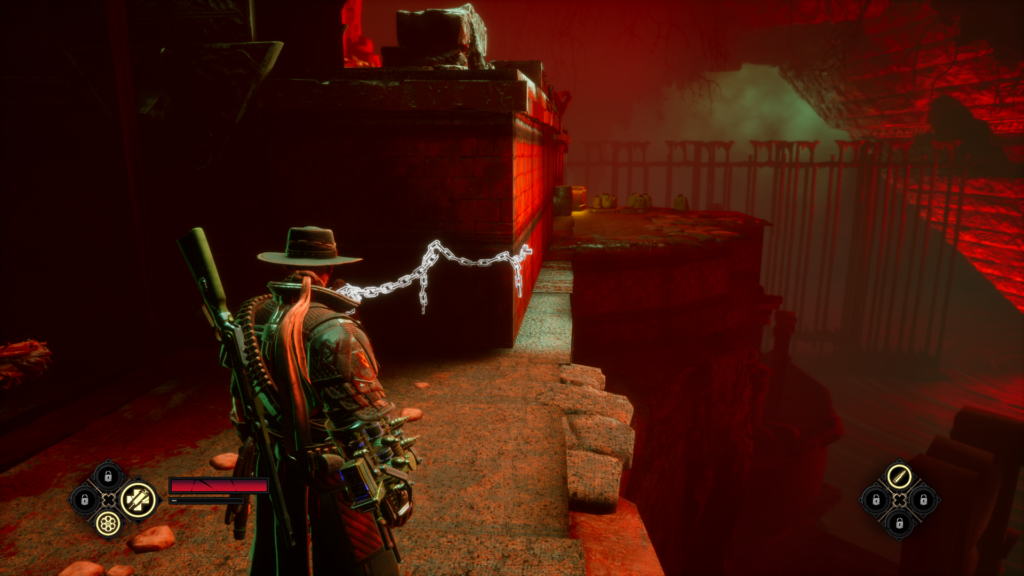
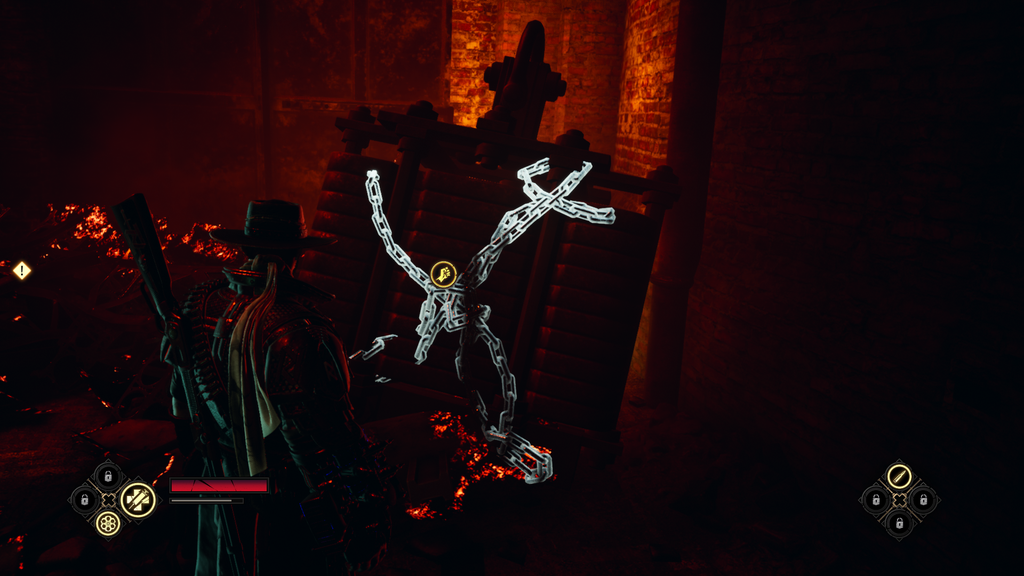
This level starts on a cliff overlooking the crashed locomotive from the opening cutscene. Go straight ahead where you will see a wooden post with a glowing chain. These glowing chains mean there is a path or secret ahead. It can be a rock that you can climb sideways, a crevice that you need to crawl through, a chain that you can climb, etc. In this case, it is a rock. Cross the cliff to get to the other side. From here you will go forward, turn around the corner to another glowing chain. This one allows you to descend to the ground below you.
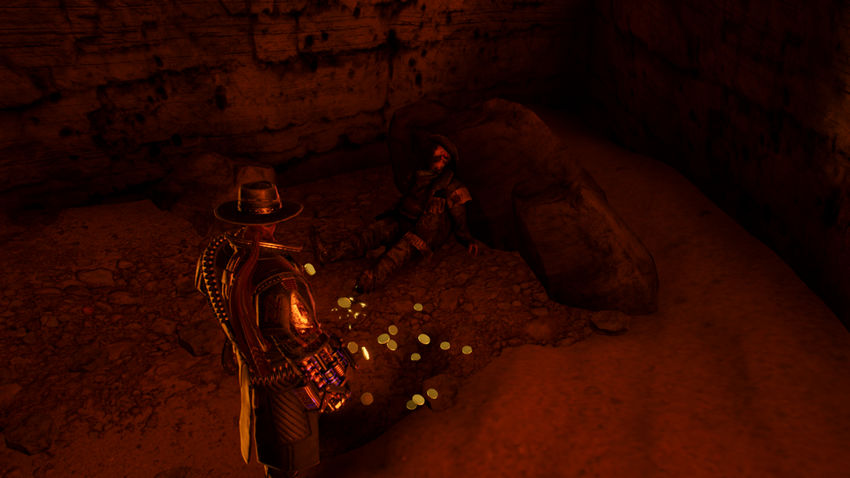
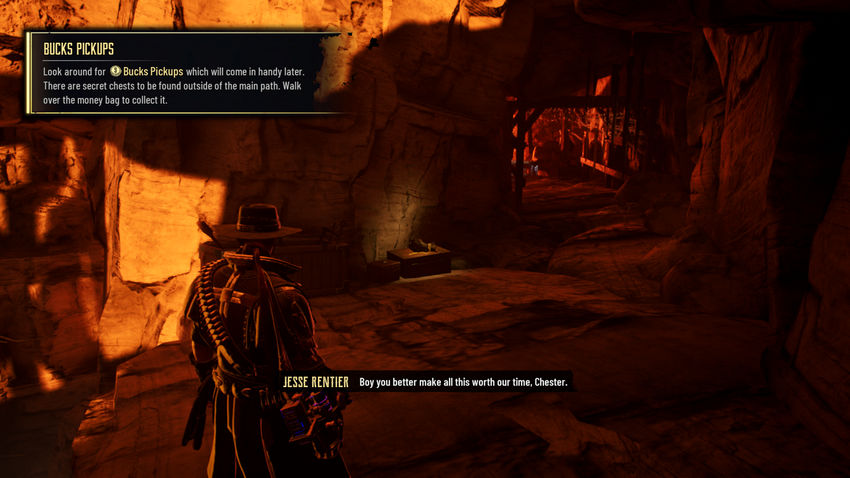
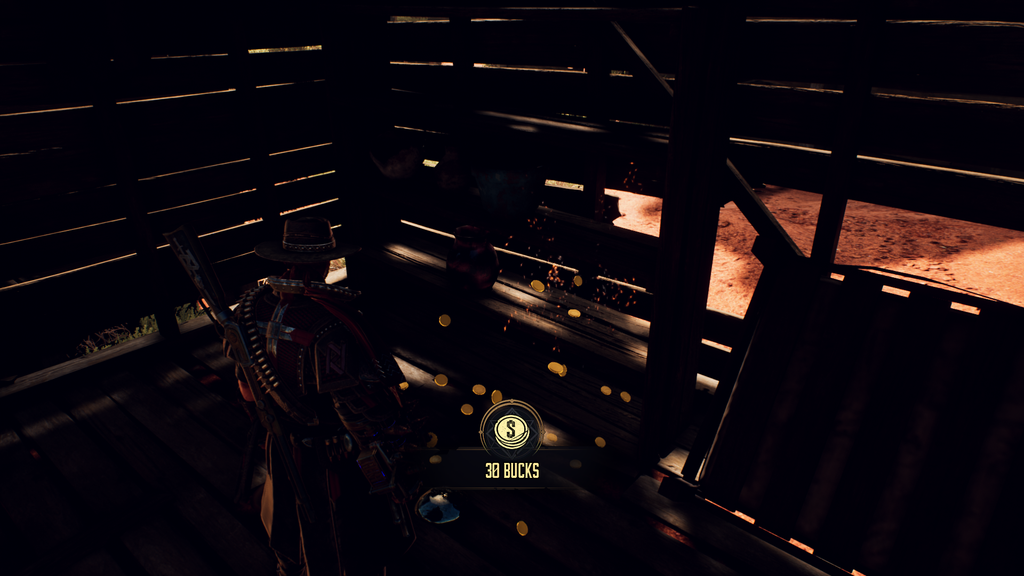
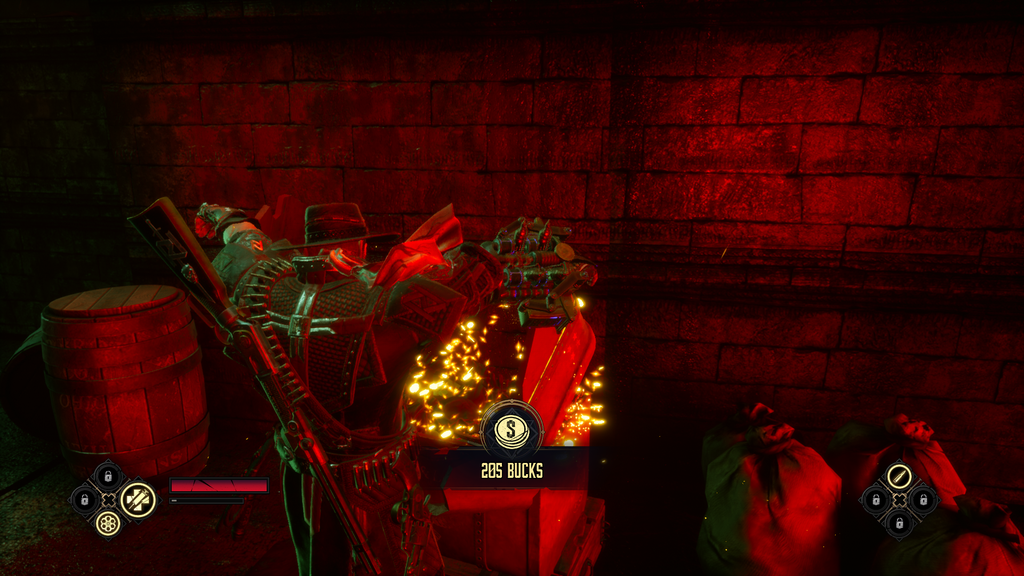
Once you regain control, turn around and grab the small bag of bucks lying on the ground behind you.
Bucks are an upgrade currency that allows you to upgrade your weapons. There is a limited amount of bucks to be found in the game, and you can see how many there are in each level in the Knowledge menu.
Turn back and keep moving forward to the next area. Around the corner you will see a short cutscene, after which you will fight the enemy for the first time!
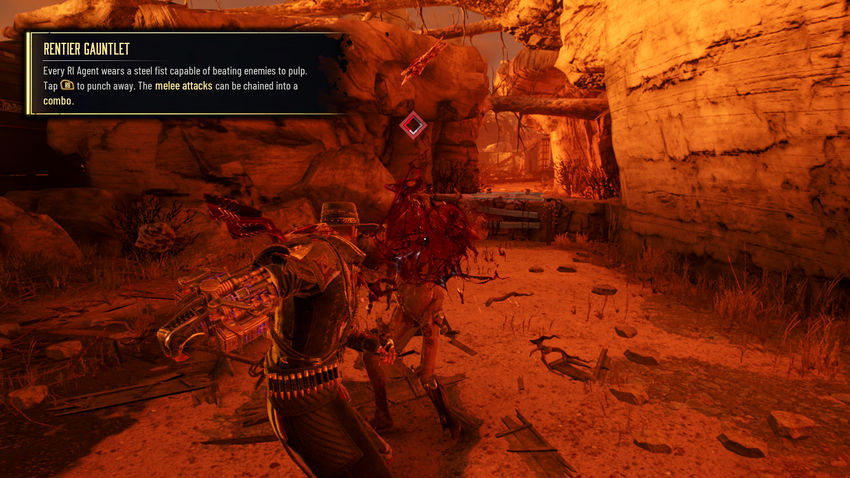
This tutorial will teach you how to use Rentier's Gauntlet, which is used for melee attacks. You can tap the melee attack button multiple times to perform a combo and defeat this infected enemy easily.
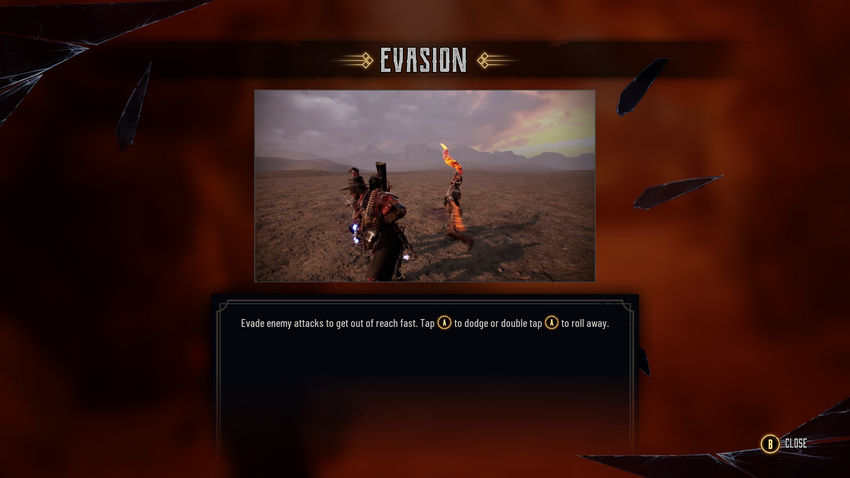
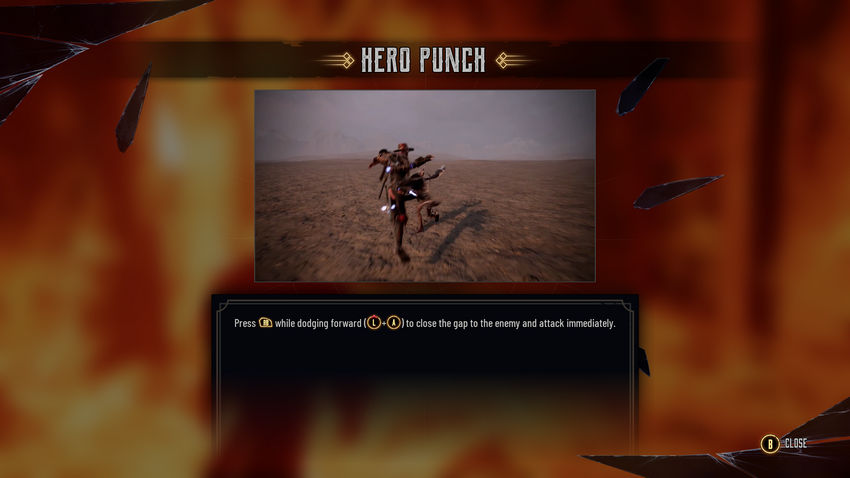
Jump over the glowing obstacle behind the enemy and follow forward to go to another area. This time you will learn about evasion. Dodge once to dash and dodge twice to dash and roll. This allows you to avoid enemy attacks, but it doesn't give you invulnerability, so you'll still take damage from AoE attacks if you try to dodge too late. Use melee attacks to clear the area and then explore the area.

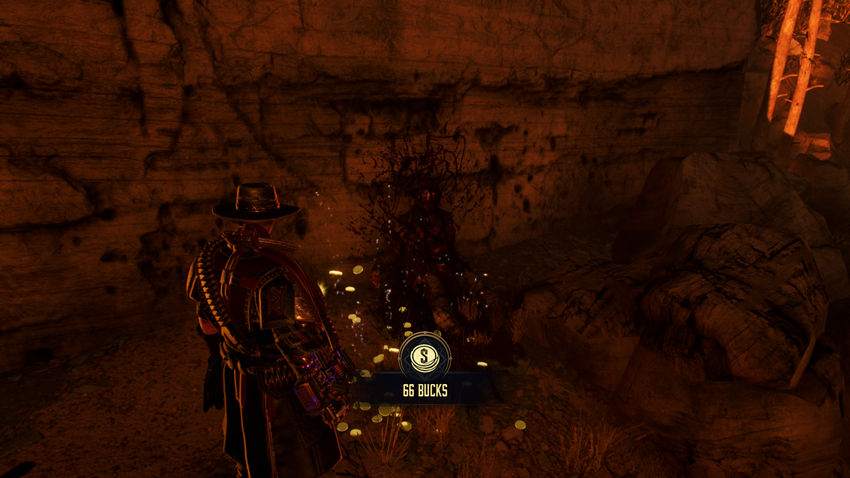
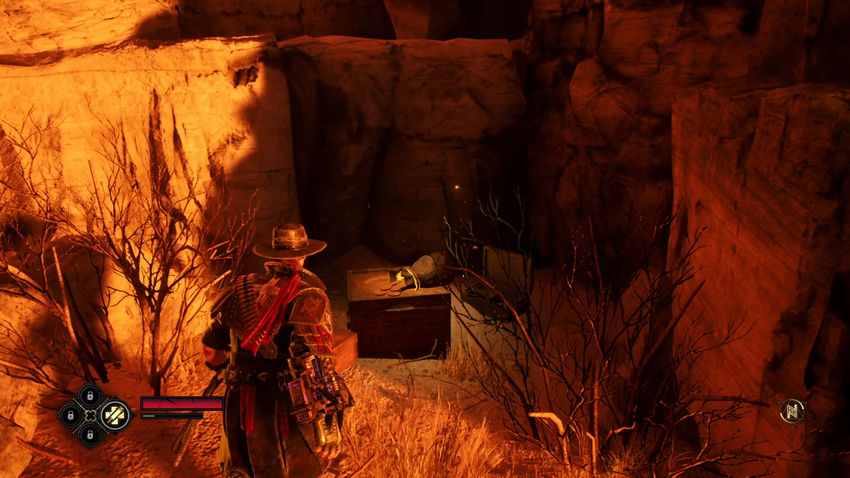
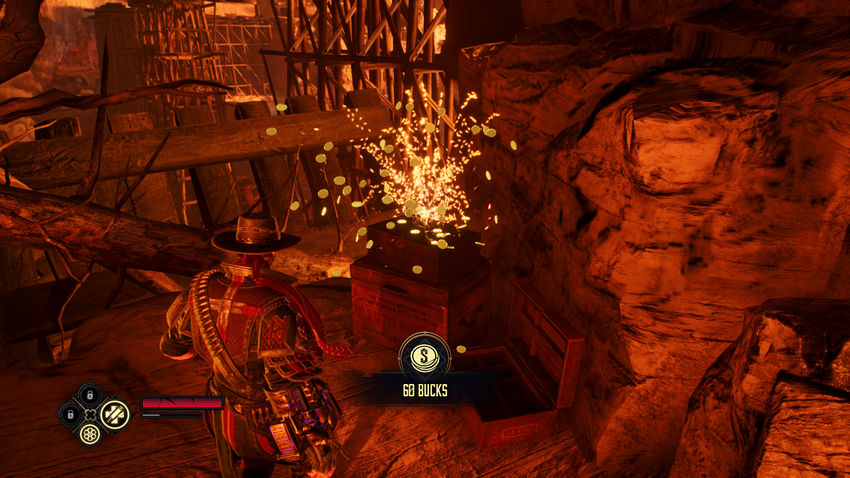
To the left of the train tracks, you will see another obstacle leading to a red chest. This is another way to get bucks that will bring you a little more money than bags.
Return to the ways. Follow them to the end to see an obstacle leading into the train car, but don't forget to check the cave to the right of the train car to find another bag of bucks.
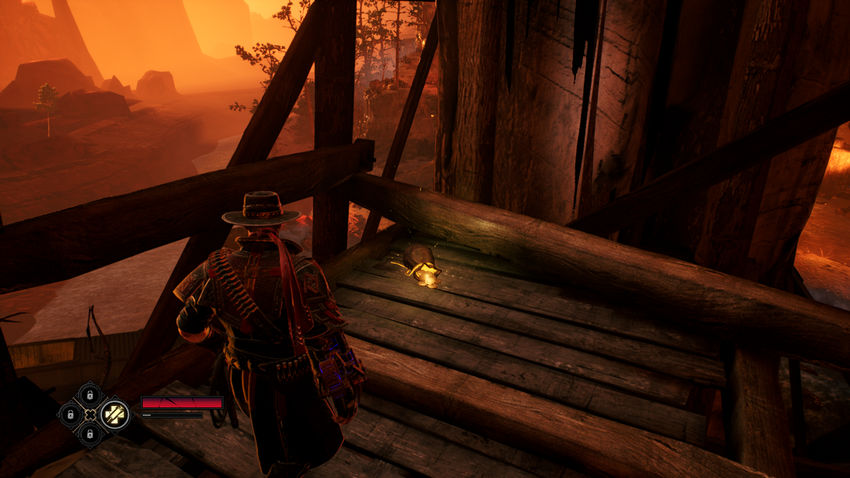
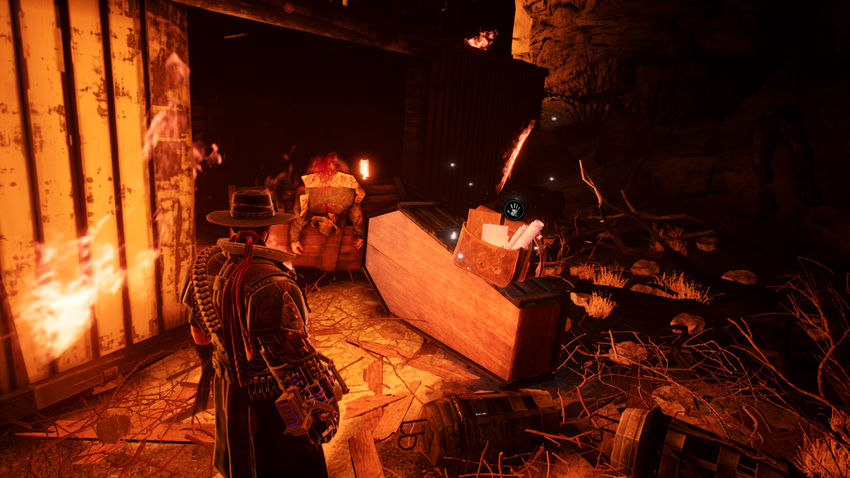
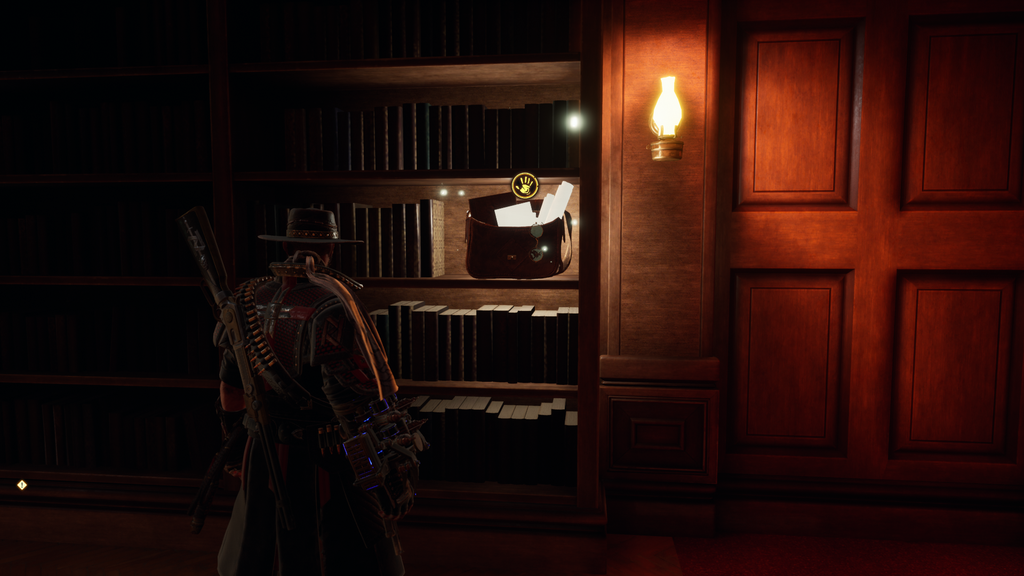
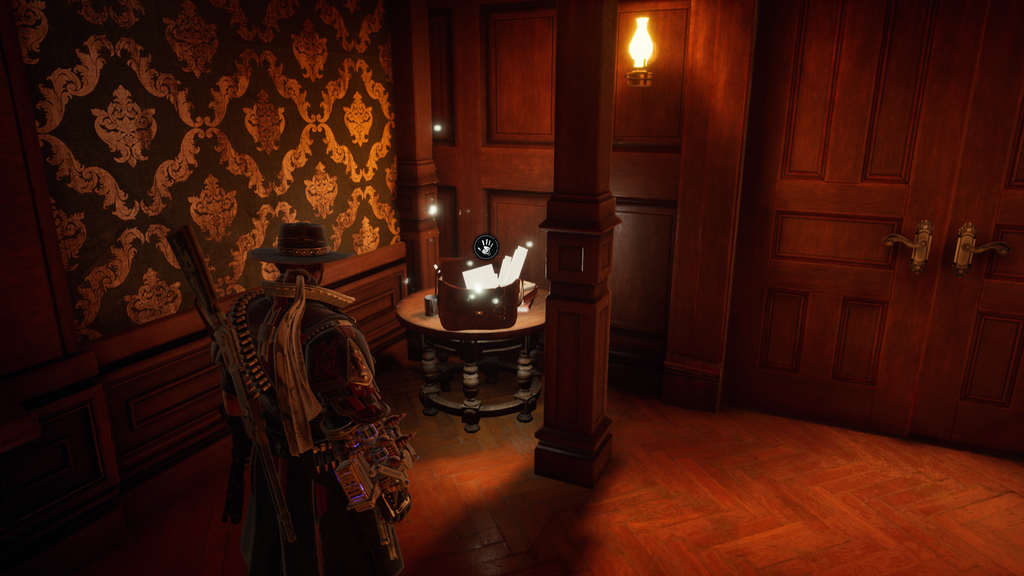
Jump on the wagon in the corner to move forward. Look for the glowing bag on the coffins inside the train car.
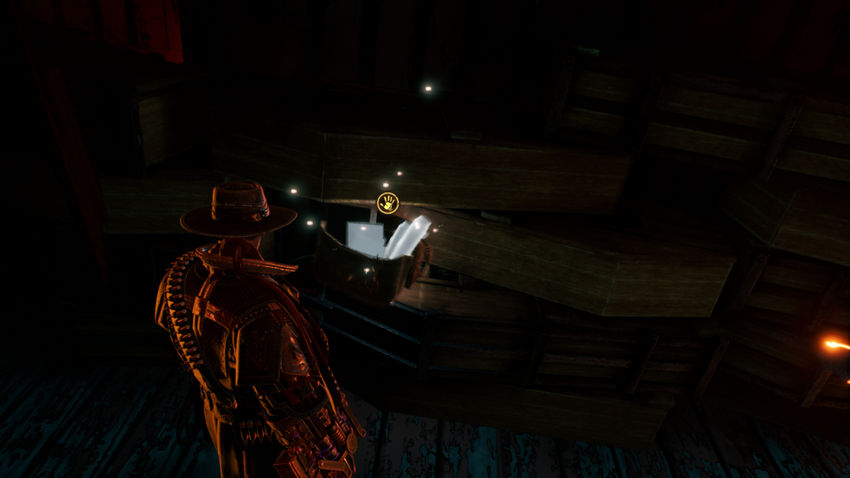
This note is a collectible in Evil West. Each note contains a bit of knowledge that adds to the overall story, and you can reread it (and see how much you have) in the Knowledge menu. This note is called the Inventory Fragment.
Exit on the other side of the train and follow the path to find another bag of bucks by the cliff.
Enter the cave ahead and jump over the next obstacle to face another group of enemies. Here you will learn a combination of melee attacks and dodge that performs a dash. Penetrate under the vaults in the cave, then exit using the opening at the back.
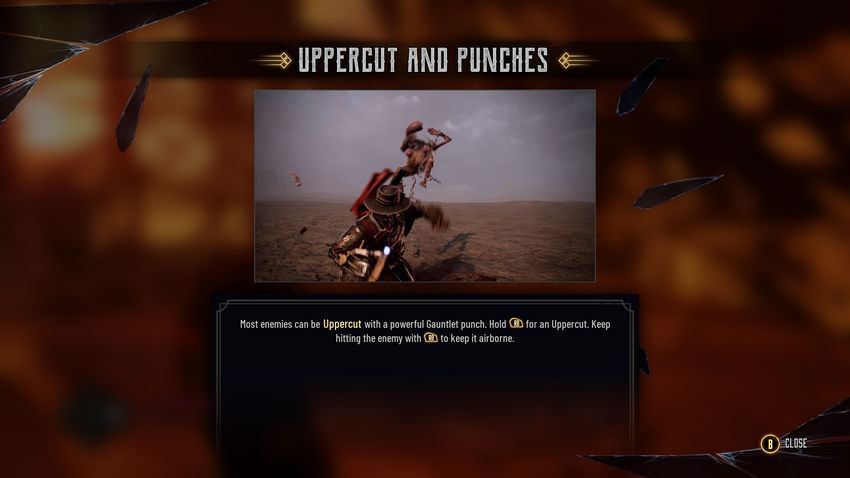
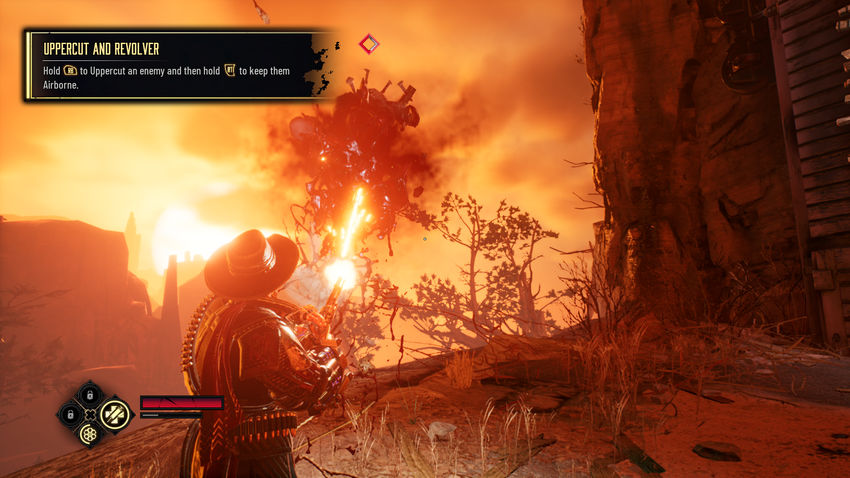
Jump off the ledge on the left to reach another enemy. Here you will learn about the uppercut, which can be performed by holding down the melee button. This knocks the enemy into the air, at which point you can quickly melee again to dunk them, or delay your next attack to manipulate them. Break up a small group of enemies here, then use the lasso on the edge of the cliff to get to the nearest paths.
Immediately to the right is another bag of bucks, then go left to drop off the rails and onto the ground below.
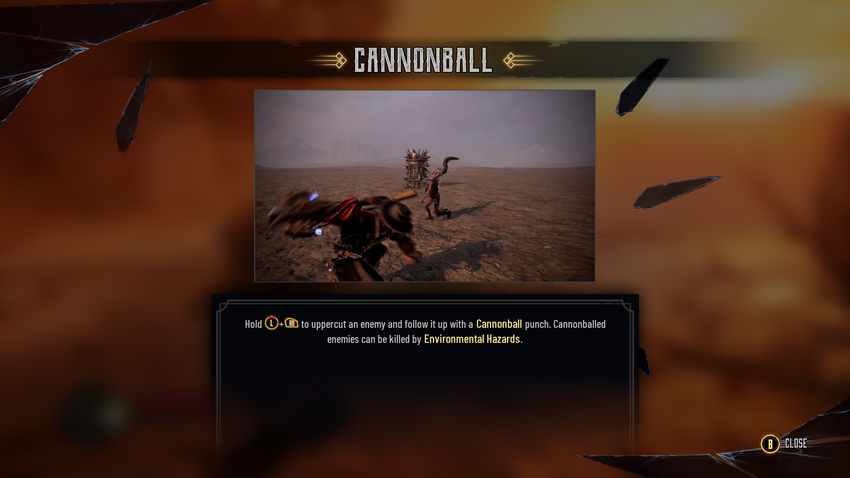
Here, you'll learn about the cannonball (also known as the punch that follows the uppercut) and how you can use it to throw enemies at environmentally hazardous objects like spikes and exploding barrels. Use the cannonball to launch the enemies into the spikes, then use the lasso dot on the edge of the cliff to get through.
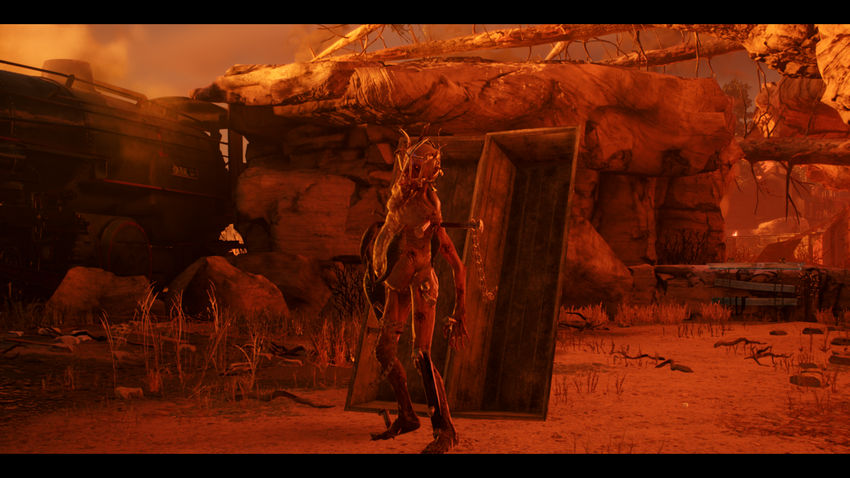
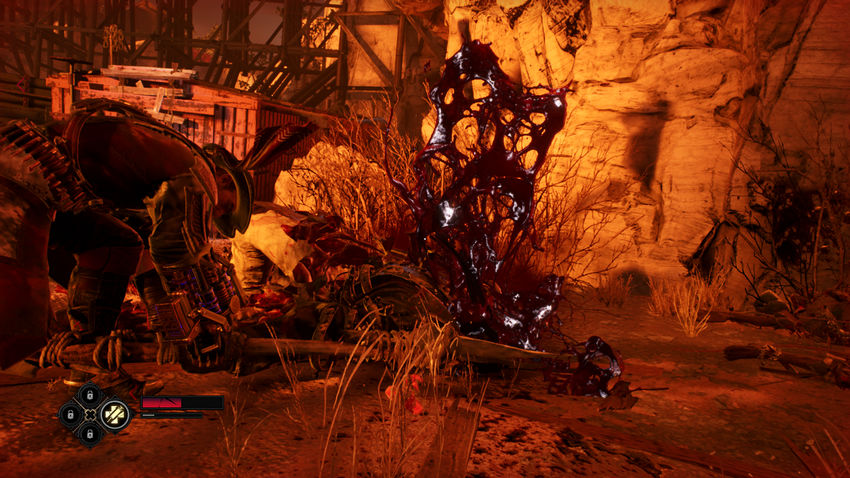
Follow the path ahead, then jump off the ledge to encounter a new type of enemy, Giant Jenu. Here you will learn about special attacks that need to be interrupted. You can tell when an enemy is using a special attack because it starts glowing. Use your new strike to interrupt special attacks and easily kill the giant.
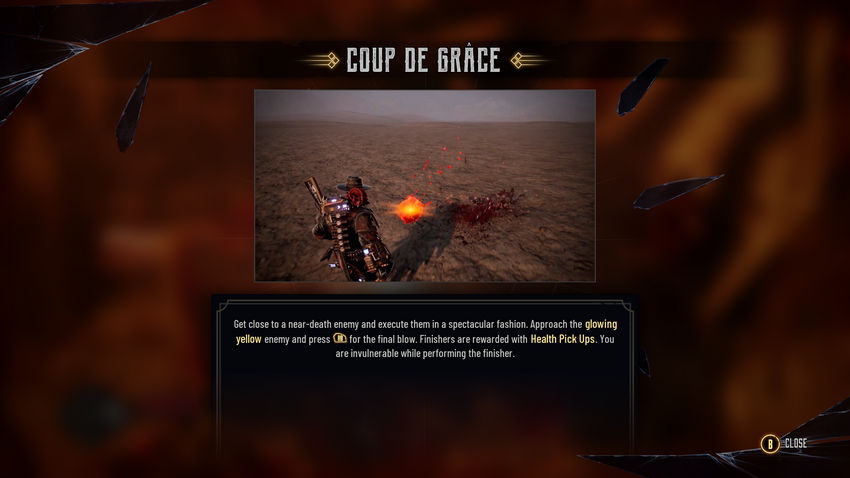
You will also learn about special finishing moves that you can use on weakened enemies, causing them to give you health kits (this also makes the enemies glow, confusing them a bit). Jump over the obstacle at the back to move on.
Immediately take the bag with the bucks on the right on the other side of the obstacle lying on this wooden box.
Walk forward and jump down to get to another enemy. This is the first really difficult battle and the opportunity to use all the skills you have learned. Pay attention to the barrels with spikes scattered around. Use the uppercut-cannonball combo to launch enemies at them for an instant kill. Just look out for giant ax attacks that do a lot of damage.
Gravenor will support you with rifle fire, but his damage output is quite low, so this fight is mostly up to you. The second wave of enemies will appear after you kill the first, including another giant. Make sure you use finishing moves on weakened enemies to restore health. Once the enemies have been eliminated, you can climb onto the broken train car in the corner to move on.
Use the wooden plank on the left to jump to another overturned wagon with an open door. Jump into the train car to find a bag of bucks, then get out and return to the main route.
Use the lasso dot on the other end of the train to move forward. Follow the path ahead, past the raging fires.
When the path turns left, make sure you head forward to a dead end where you will find a note, Chester Morgan's Letter, on the coffin.
Return to the main path leading down to the water, then cross the small wooden plank in front of you to reach another enemy.
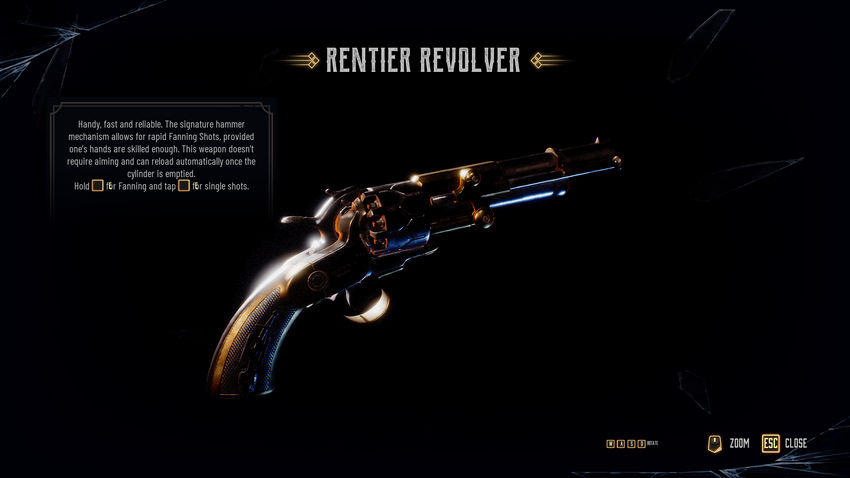
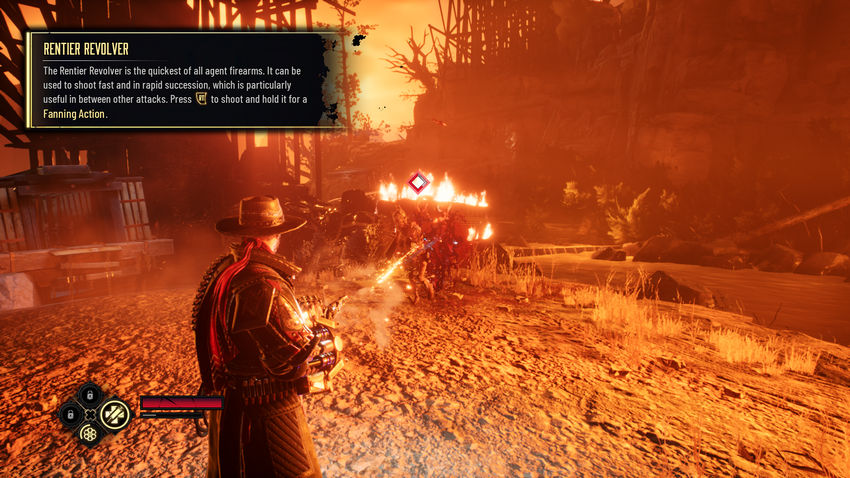
Here you will find the Rentier Revolver, your first and fastest firearm. You can fire from the hip up to six times before needing to reload. You can also hold down the fire button for quick fire with less accuracy. You can use melee attacks to fill up cooldowns, and you can use a pistol to juggle enemies after an uppercut.
Use the pistol to take out the enemies in the area and then get ready to take on two giants at once. Alternate melee attacks and pistol shots, dodging their attacks. You can combine them to counter their attacks. Once the area is cleared, jump into the nearest train car to move forward.
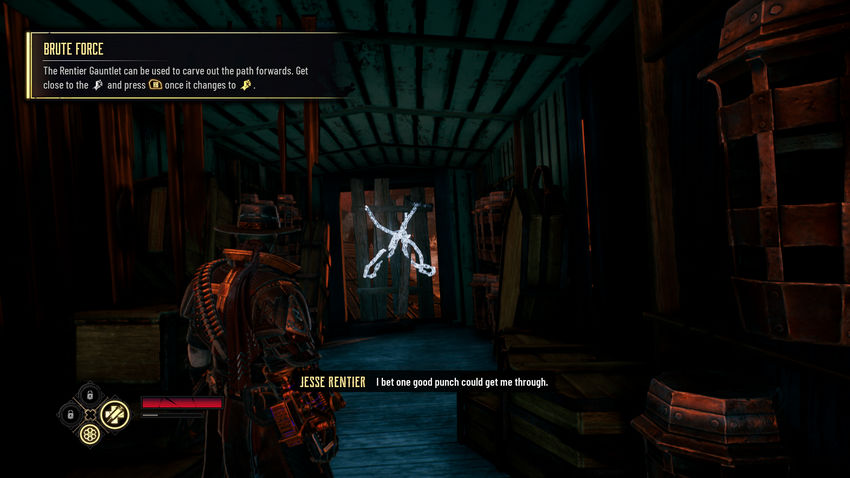
Here you will come across a barrier that you can break through with brute force.
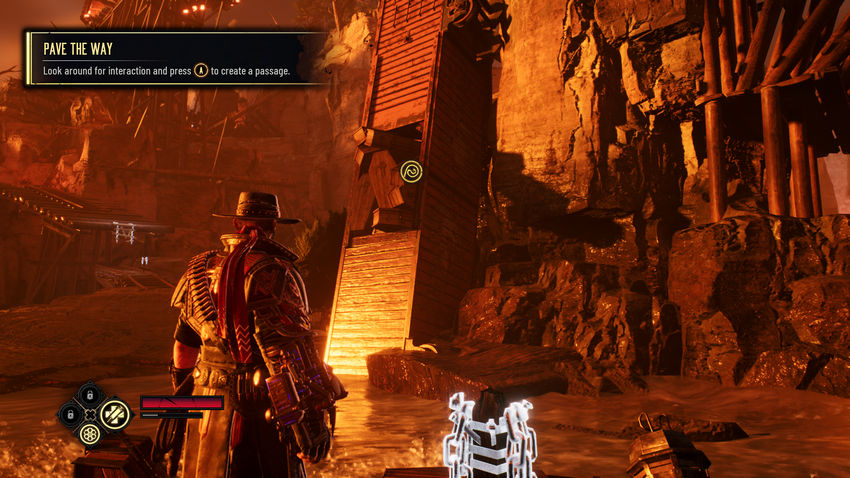
On the other side, you'll encounter your first action "Pave the Way", meaning you'll need to point the camera at the action point (in this case, the coffins in the train car on the right) and then press the interaction button to trigger the action (in this case, lasso the coffins, to create a bridge). Cross the bridge to go forward.
Climb up the path ahead of you, then deal with the two enemies on the way, then climb up at the end of the path to get to the top of the cliff.
Directly ahead is a glowing box that you can shoot or smash into to reveal a bag of bucks inside.
To the right is another cave that you can crawl into to get further. Follow the path ahead and don't forget to grab the bag of bucks in the alcove on the right before moving on.
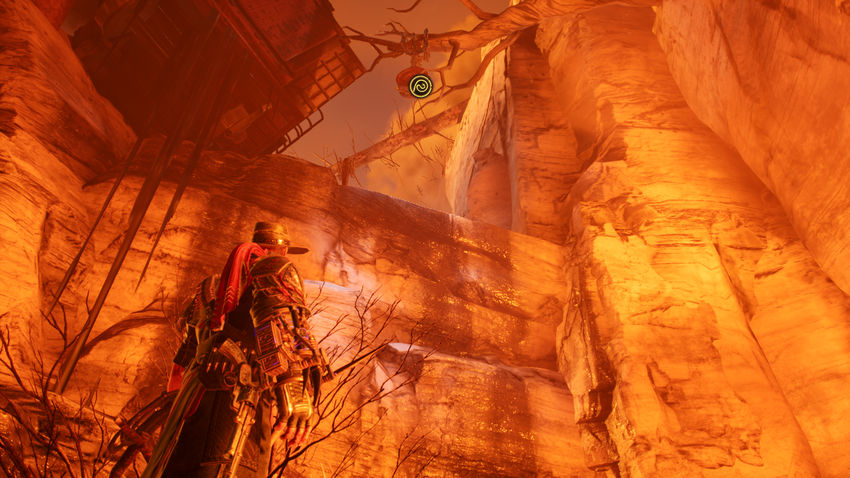
When you get to the cliff, look up to see another action point. Use the lasso to drop the chain which you can use to climb the wall. This path leads to another carriage. Walk forward and jump over the obstacle on the other side to reach a new encounter.
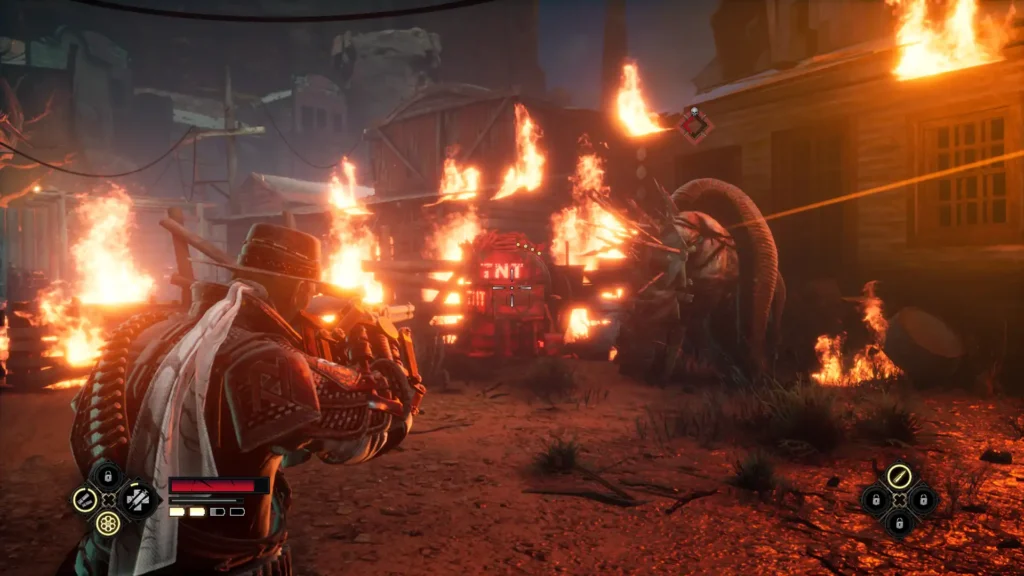
Gravenor will throw dynamite into the arena to help you, so try to lure the enemies into glowing red circles to deal with them. If you feel like you're surrounded, a combination of hero strikes, uppercuts, and cannonballs is a great way to break up enemy groups without leaving yourself vulnerable. You can also just roll while shooting them with your revolver, most of them are too slow to catch you.
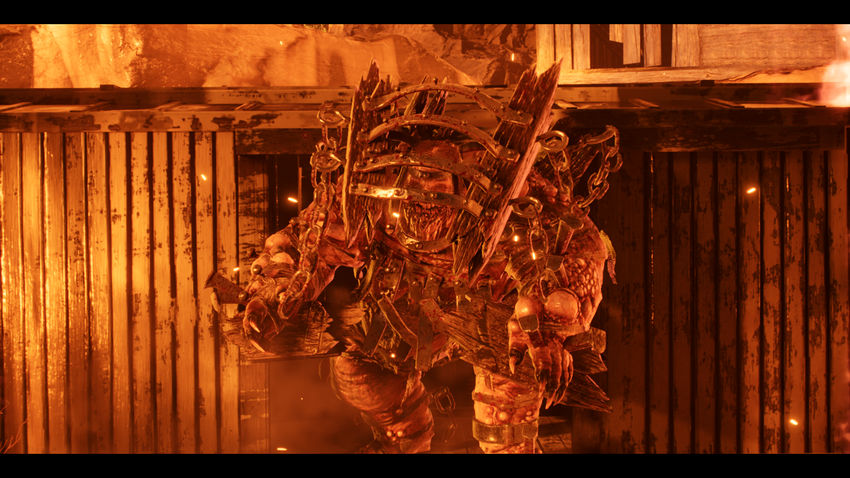
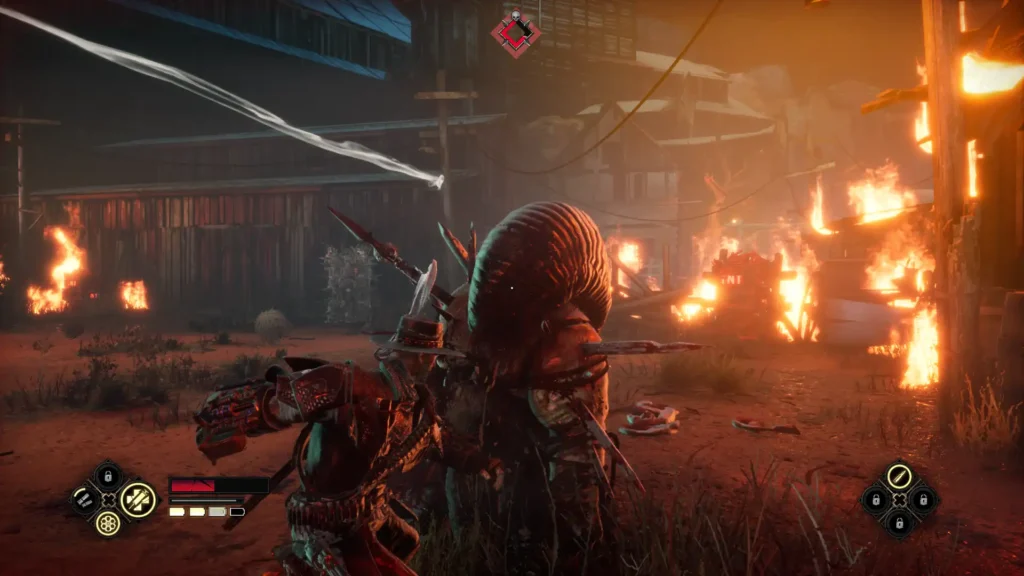
After defeating all the main enemies, the boss will appear - Karrion Husk. This enemy has a ranged attack that deals area damage, as well as several high area impact attacks that it will use in melee.

Some of his special attacks can be interrupted with your special strikes, so keep an eye out for the glow. If you just stay close to him at all times and mix the uppercut-cannonball combo with the initial interrupt, you can hold him for pretty much the entire fight (not to mention the dynamite damage).
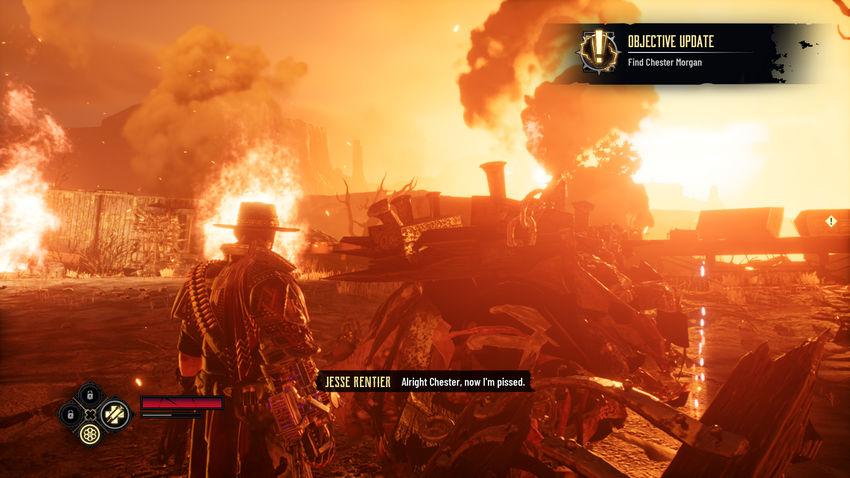
Once Husk is dead, follow the quest marker to the train car in the corner of the arena to trigger a cutscene that will end the level.
Raid
After the level's intro cutscene, you'll be immediately rewarded with the Rentier Rifle, your second primary weapon. Compared to a revolver, a rifle has longer range and better damage, but is much slower.
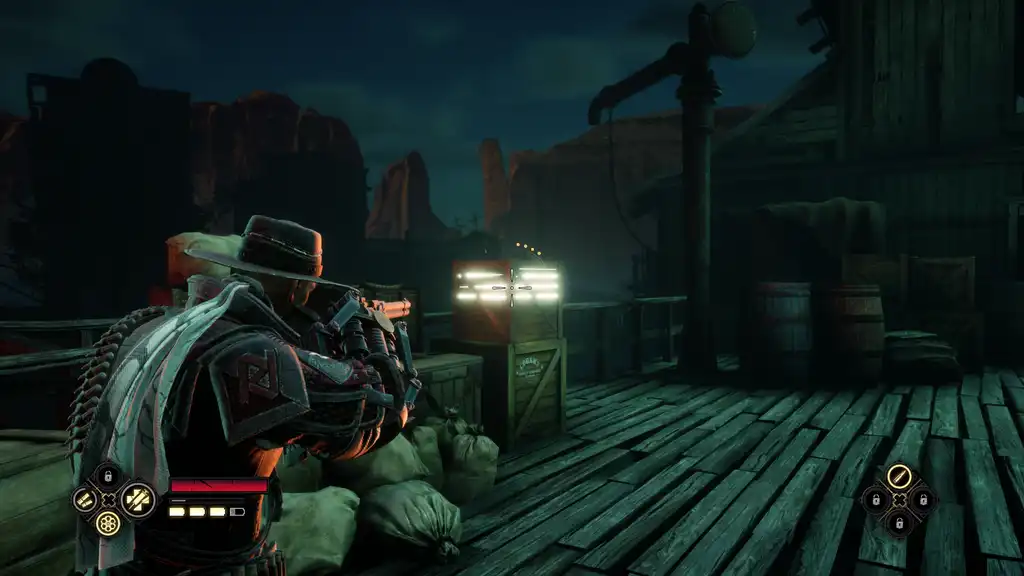
Once you gain control, follow the path ahead until you reach a wooden bridge. Go and break the glowing box on the other side to get a bagbucks.
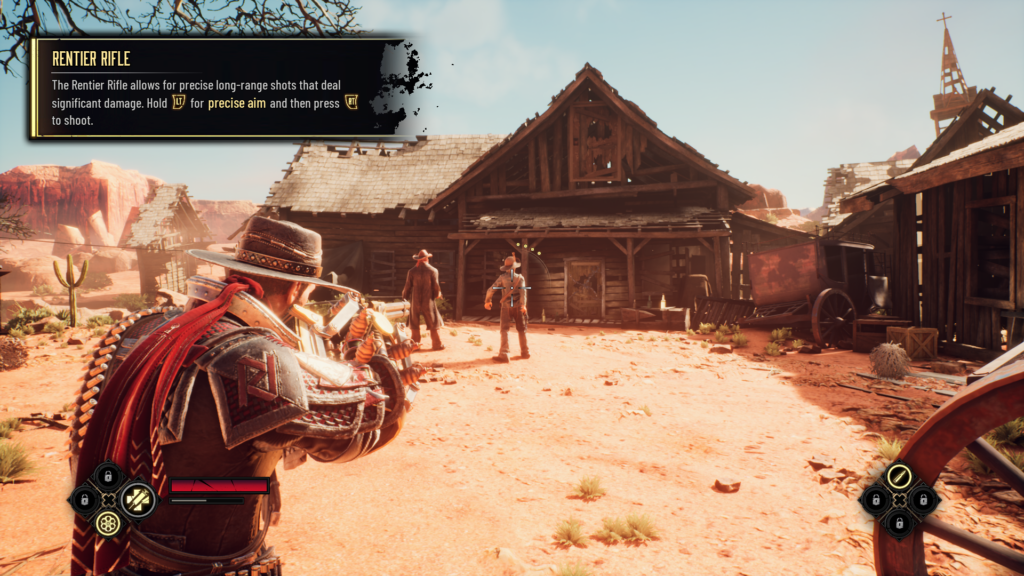
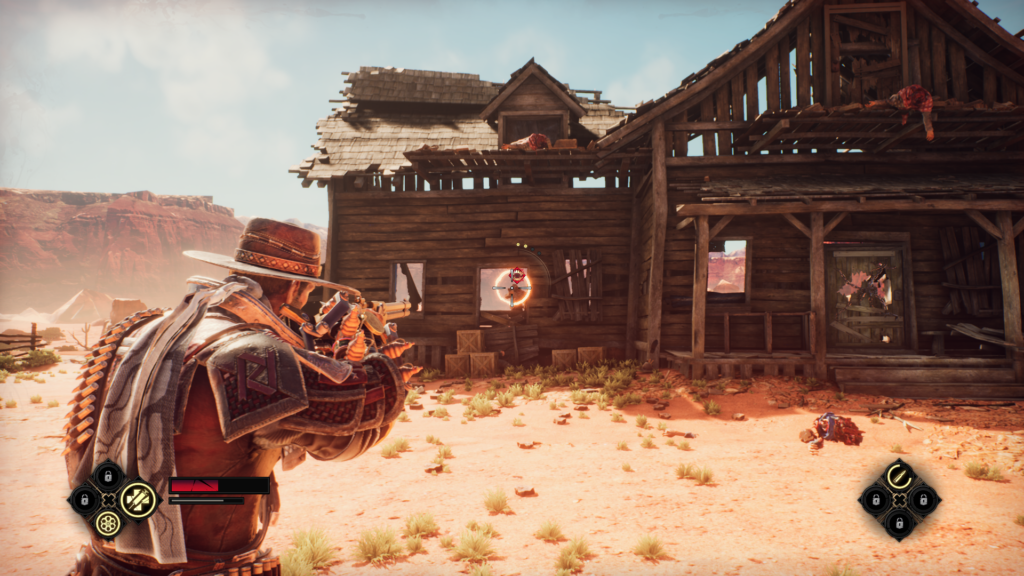
Jump past the box to reach the first meeting. Here's your chance to test your new rifle against some of the main enemies, the Servant Switchmen. Instead of using melee attacks, they will retaliate with their own weapons, but with a rifle in hand, you will easily best them.
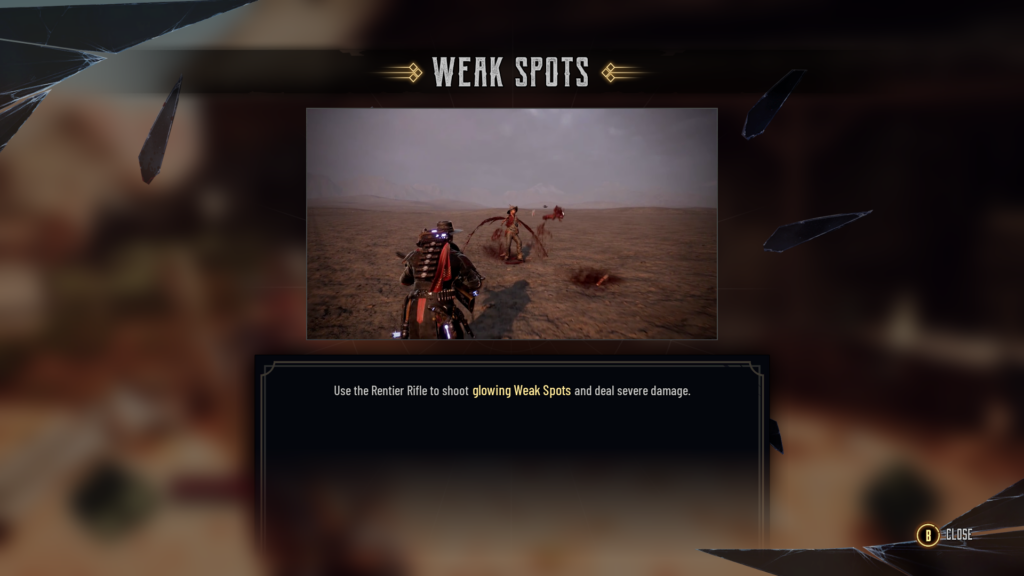
After clearing the first few enemies, you will learn about weak spots. Think of them as a ranged version of special attacks. When you hear that screaming sound effect and see the glowing circle, aim your rifle and fire at the circle (aka weak spot) to deal massive damage and interrupt your opponent's attack. Check it out on the next set of arrows that appear to clear the area.
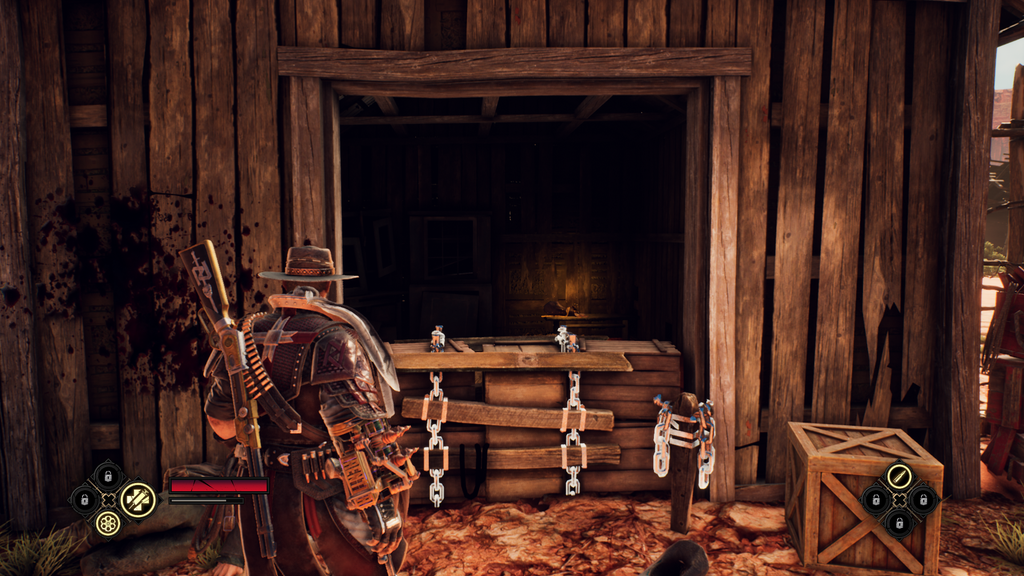
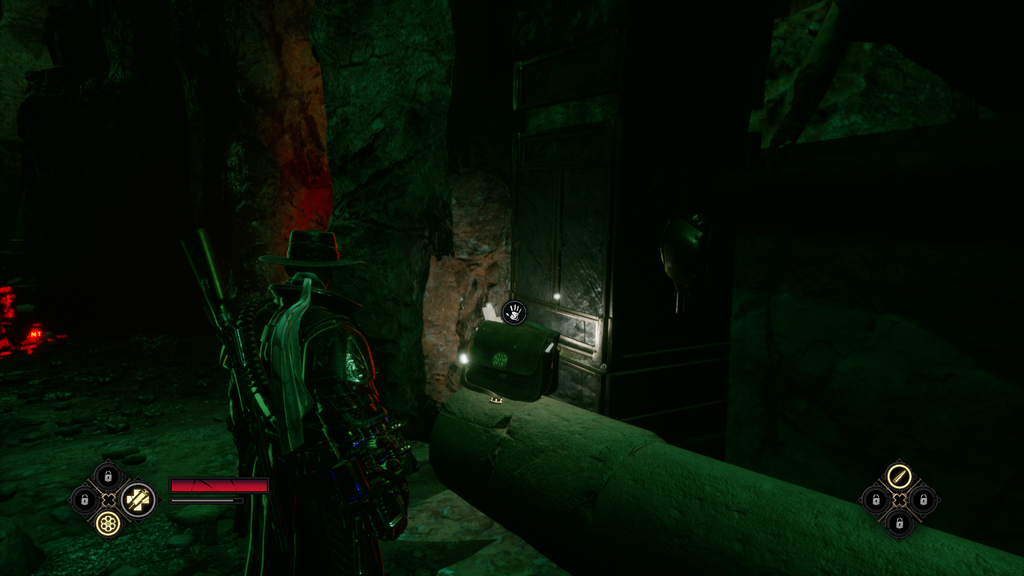
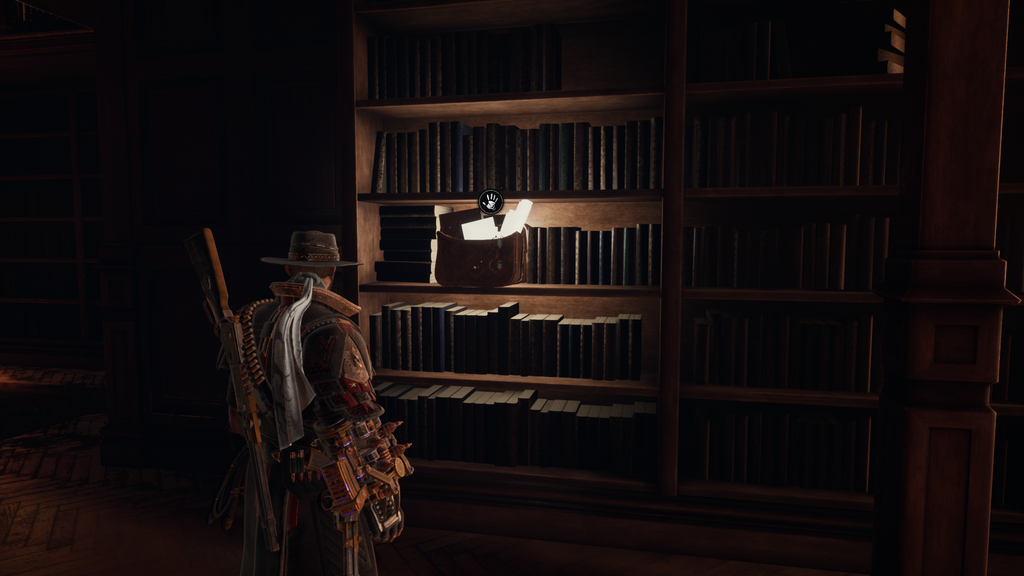
Go to the building they were shooting at and go inside,to find a bag of buckson the bookshelf in the back right corner.
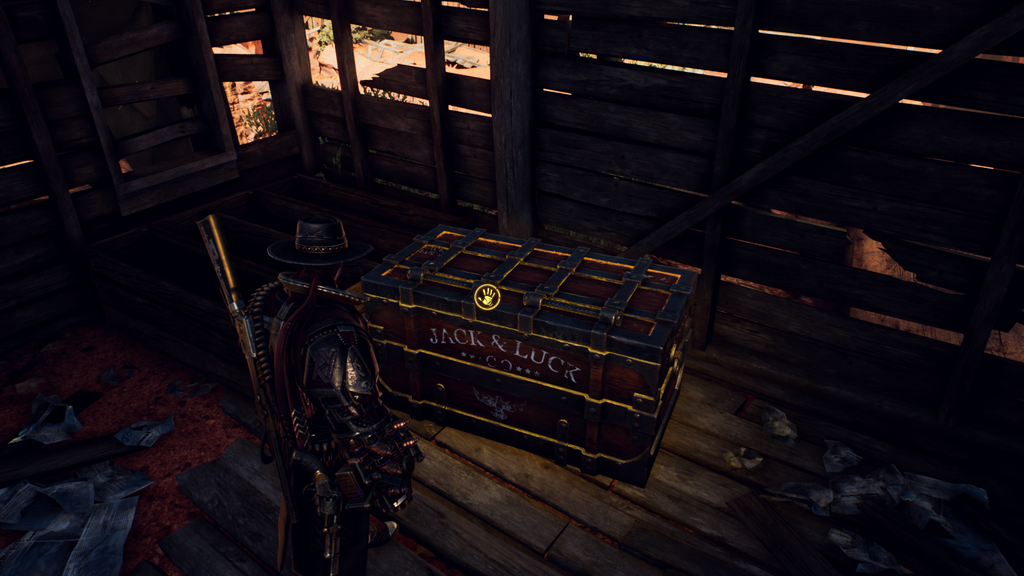
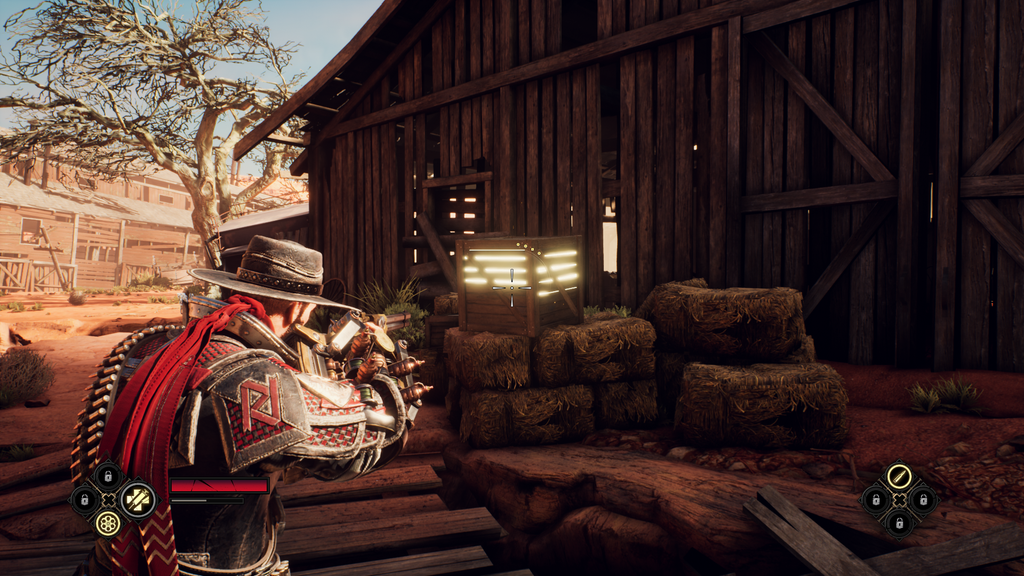
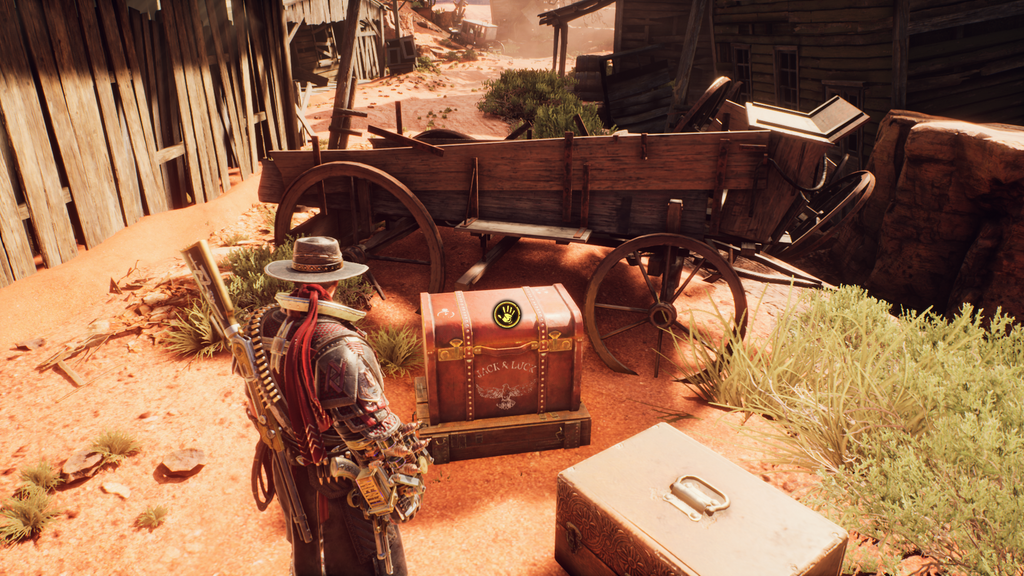
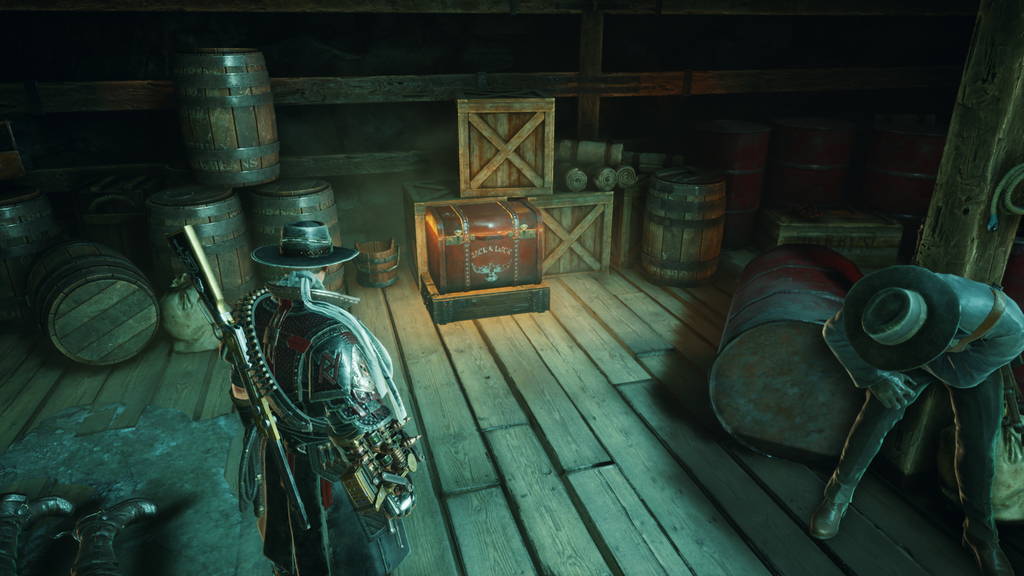
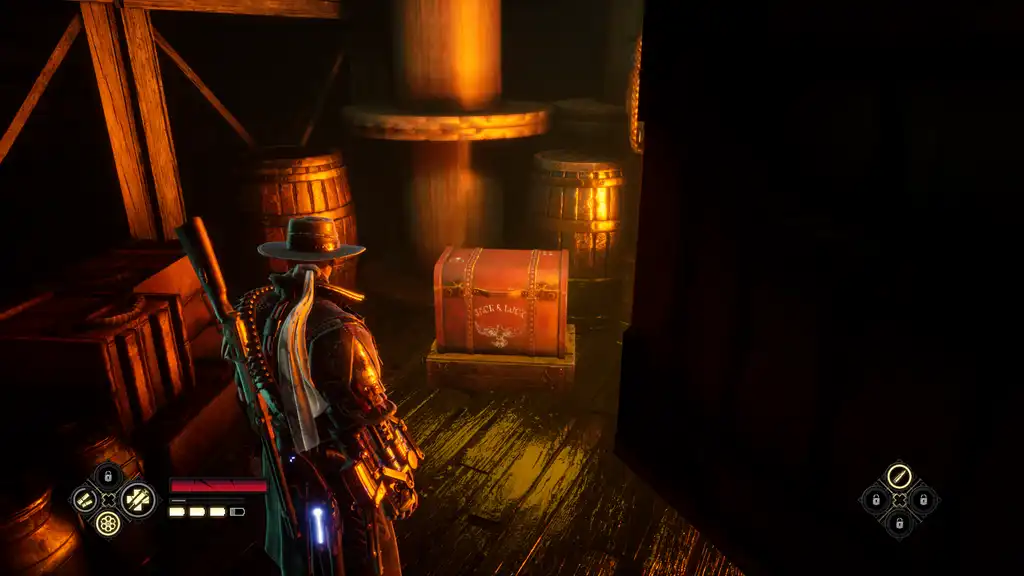
Then enter the small room on the opposite side of the house where you will find the firstunique chest. These giant chests can contain cosmetics, upgrades, and bucks. There are usually only a few per level, and you can see how many you've found in the Lore menu.
This chest contains the Ghost Scarf, a cosmetic item that changes the color of Jessie's scarf. Exit the house, then jump over the glowing obstacle to get into the barn next door. Make your way to the back of the shed where there is a ladder leading up to the second level.
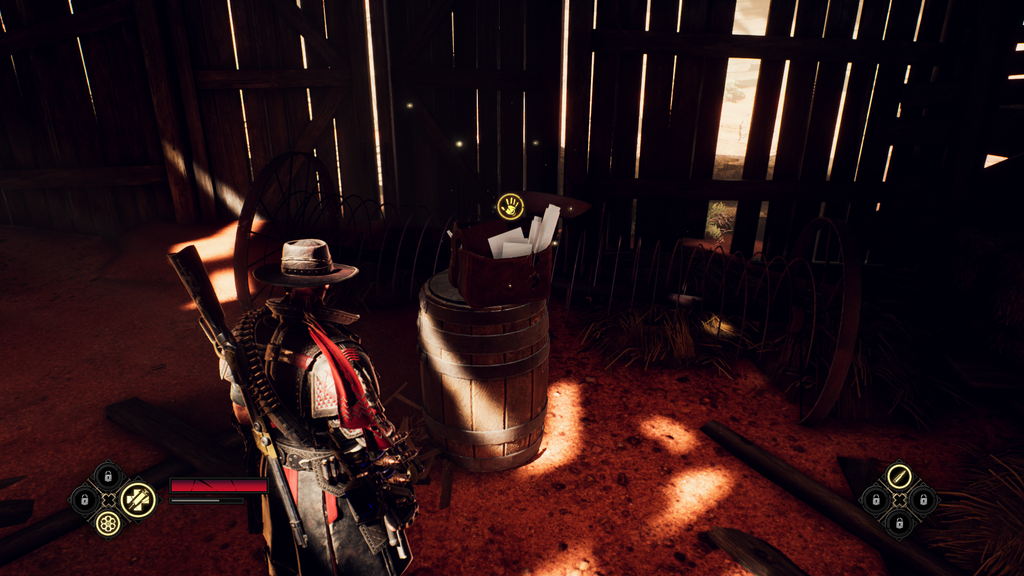
Before heading up the stairs, be sure to grab the note from the barrel at the bottom of the steps, "Familiar Tattoo Project."
Jump out the window on the second floor to reach the other side of the shed. Immediately turn right and go around the building where you will find a small chestbaksabehind the broken cart.
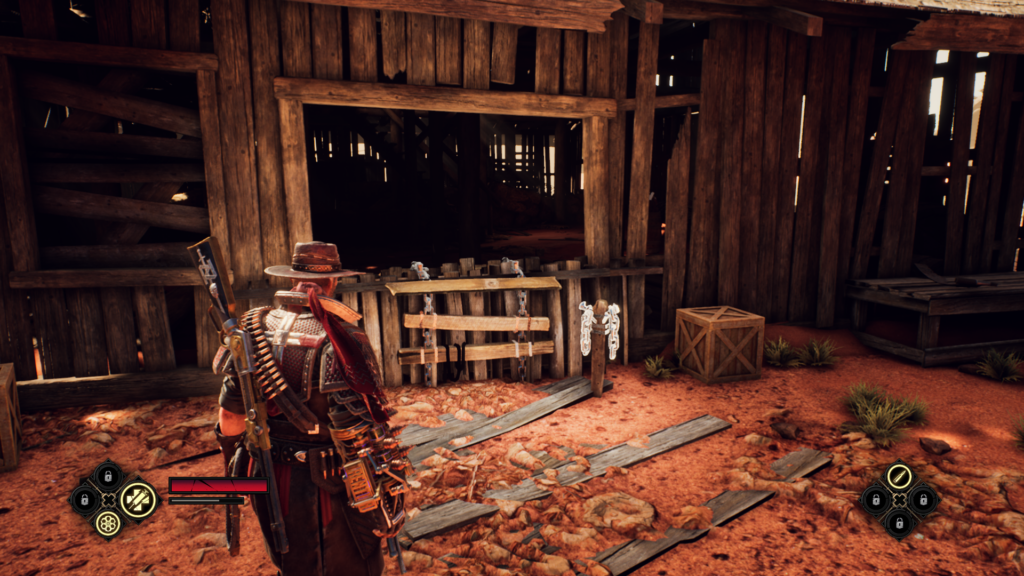
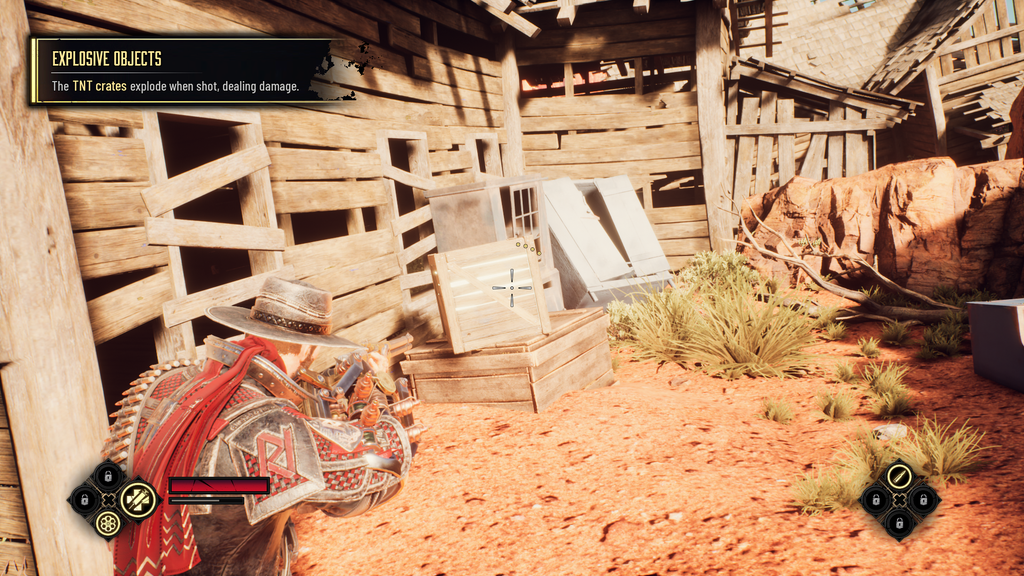
Return to the path and follow it forward until you see TNT boxes and a pop-up explaining how explosive objects work.
Before removing the TNT, look to the left where you should see a gap that you can cross with your lasso. On the other side is a luminous box with a small bagbucksinside.
With the Bucks in hand, the lasso returns to the main path and fires some TNT to clear a path forward. Go down the hill and jump over the obstacle to the next encounter area. This encounter consists of more marksmen, as well as a couple of servant snipers.
Basically, this is another test of your ability to hit weak spots, so keep an eye out for those glowing circles and react with rifle shots to send various gunners into the area with ease. If you're low on health, remember that a couple of melee attacks can lead to a finish that results in a drop in health.

Jump inside the small building to the left of the zone entrance to find a small bagbucks.
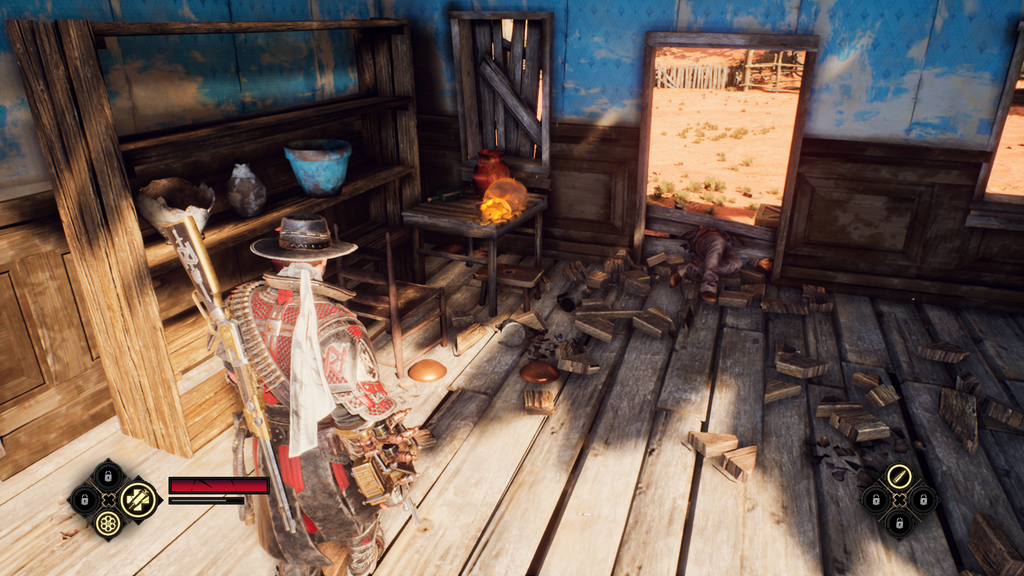
Make your way through the front door of the large building in the center of this area, then go through the door on your left to find a small bagbuckson the table inside.
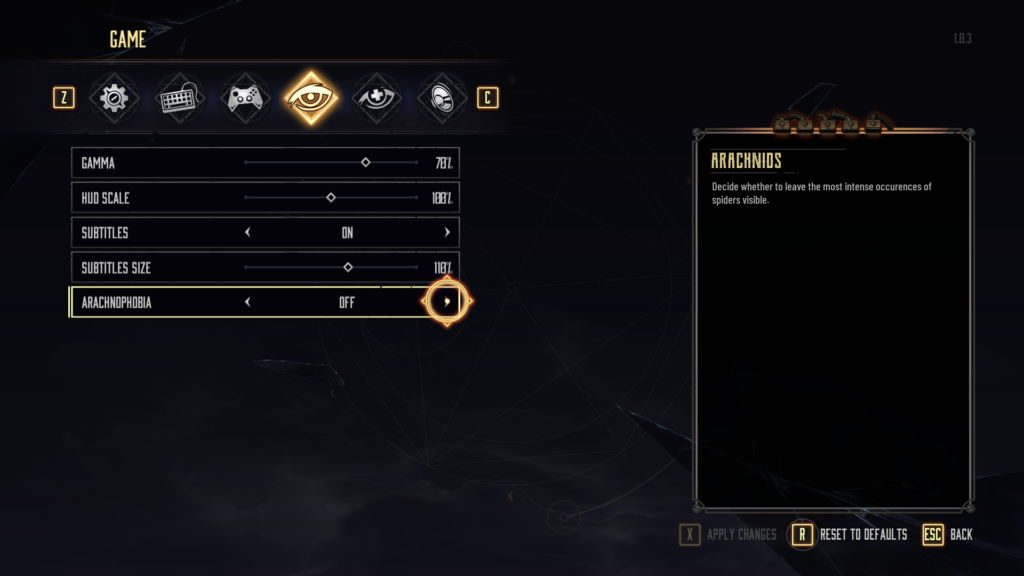
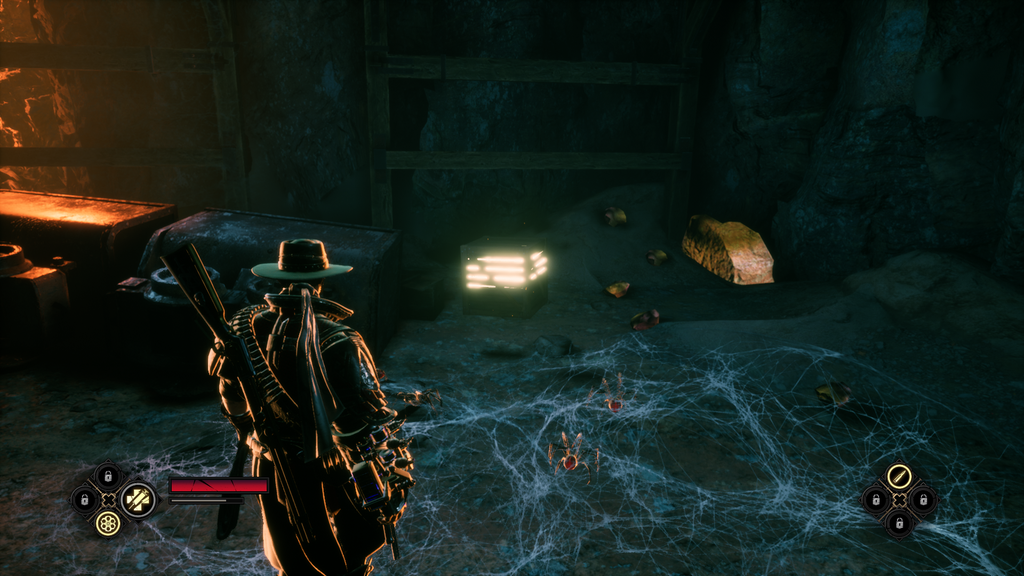
ARACHNAPHOBIA WARNING: The next area contains a LOT of spiders running around. If you're someone who doesn't like spiders, you can switch the Arachnaphobia setting to ON to remove most of them (although some of them will be in this guide's images!)
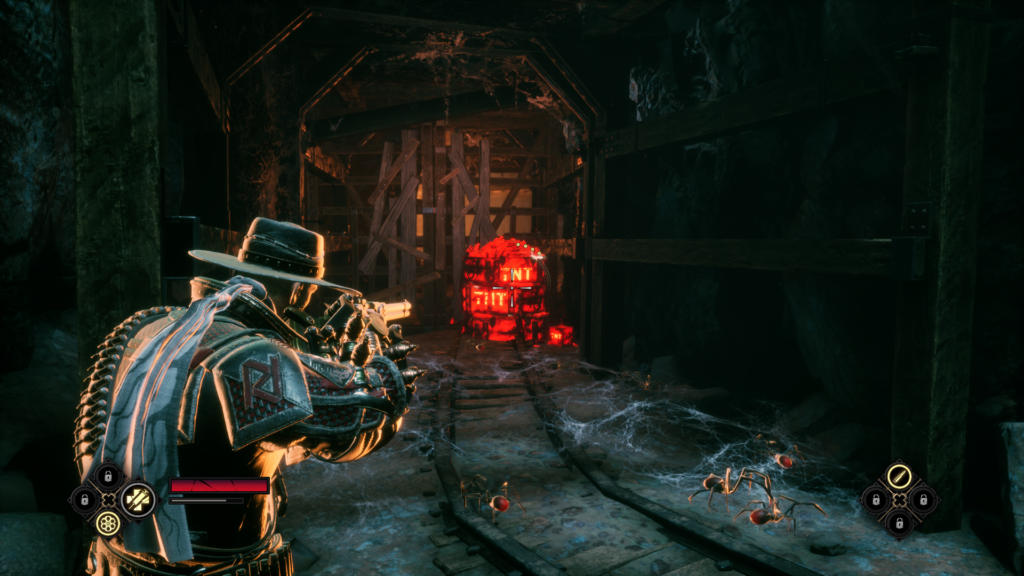
Return to the main room and approach the glowing chain to descend into the cave below. If you haven't turned on the arachnophobia filter, you will see little glowing spiders running all over the place. They are just decorations so don't worry about trying to kill or interact with them. Follow the paths forward and you will see the path split immediately. Shoot the TNT on the right to open a path and move forward.
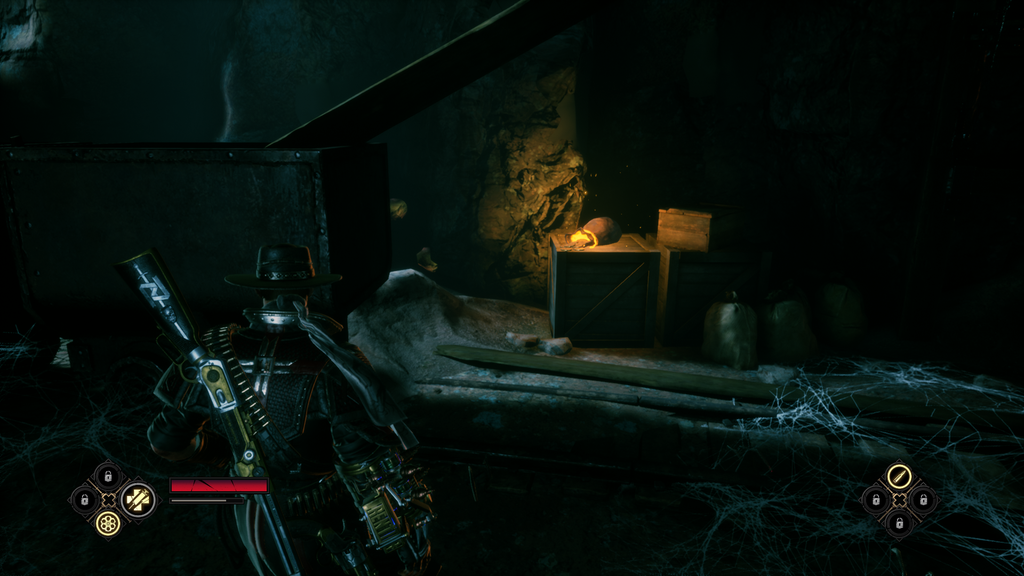
Follow the trail, then look behind the overturned minecart to find a glowing bag boxbucksinside.
There is a dead end in the back, so shoot the other TNT in this room and follow that path. You will see a crevice with the inscription "!" to your right, but ignore it for now and keep moving forward.
Follow this path to the opposite end of the shaft, where you will find another sack.bucksover the barrel.
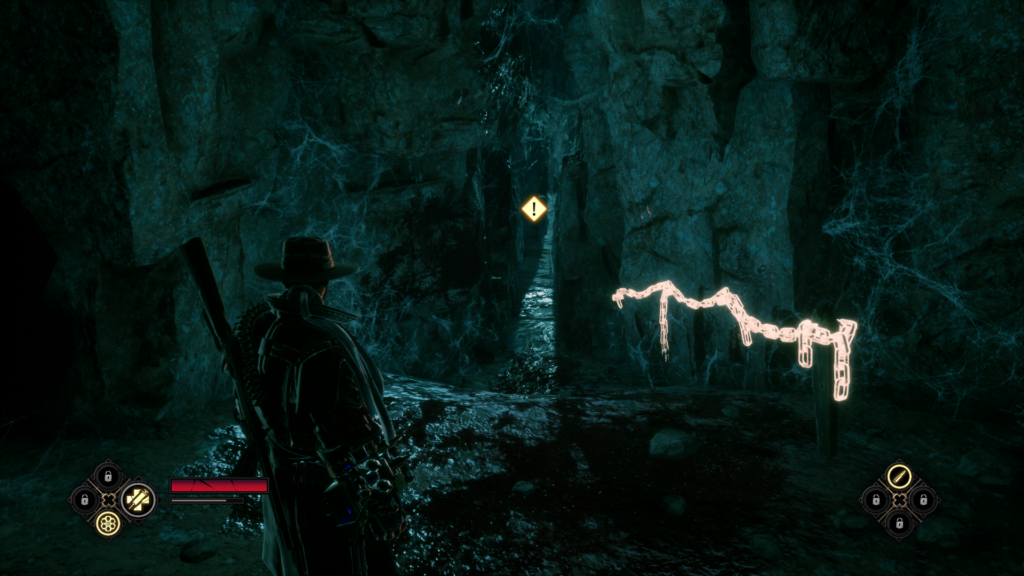
Return to the crevice and approach it to move on to the next area. Climb down the cliff and onto the bridge below to trigger another cutscene. Chester will break Glamour, hiding the entrance to the vampire lair, allowing you to enter. Enter the lair and use the lasso to enter the next encounter.
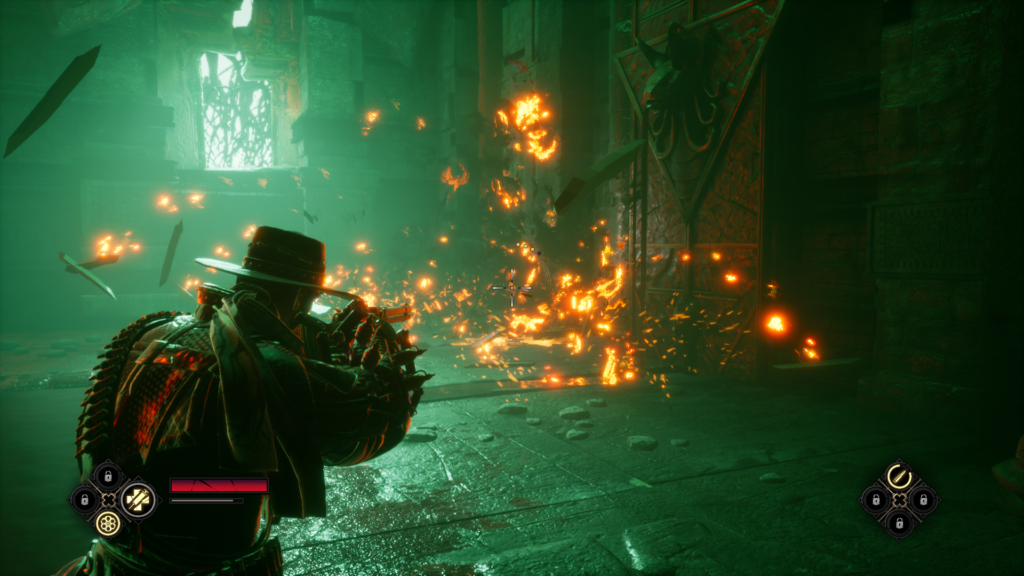
This meeting consists of a giant and a handful of ships. There is TNT in the back of the room, so I suggest leading the giant towards it and then shooting it as it approaches to deal a lot of damage (or you can uppercut cannonball into it). When the giant is out of the way, you can pretty much just flex the melee button to deal with the vessels. Hero Punch and Uppercut is always a winning combo! Jump over the obstacle in the corner to get out and then head down the cliff path.
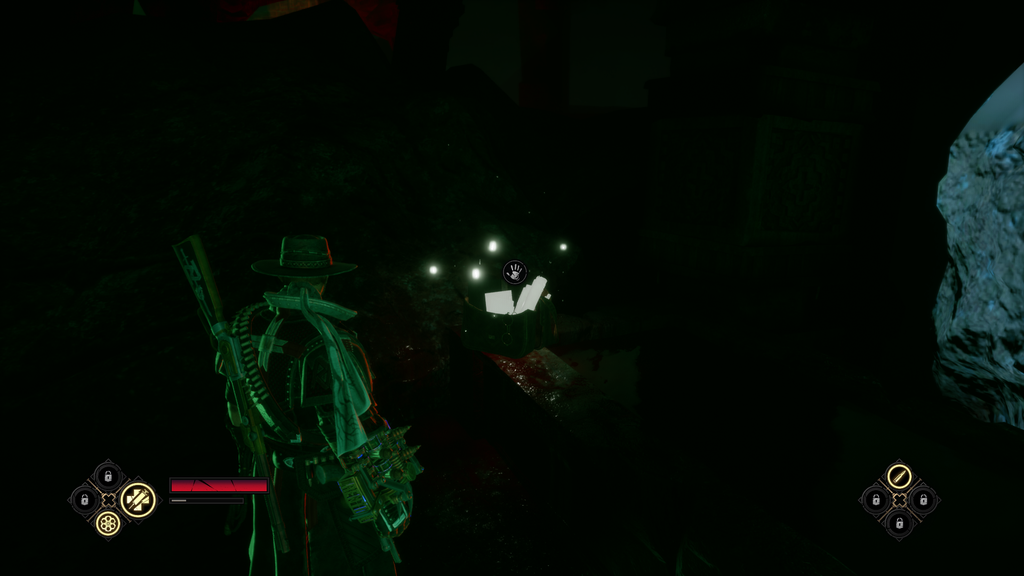
When the path opens, look to the left and you will seea noteon a broken pole Notes by Peter D'Abano 1/3.
Then shoot the TNT to the left of Nota to open up a new path leading to a small chest.baksa.
Return to the glowing chain on the cliff side where you can drop down to the platform below.
This meeting represents only a large group of ships and environmental hazards. Nothing too threatening here, drop them with the usual combination of uppercuts and cannonballs (use spikes and explosives to speed things up).
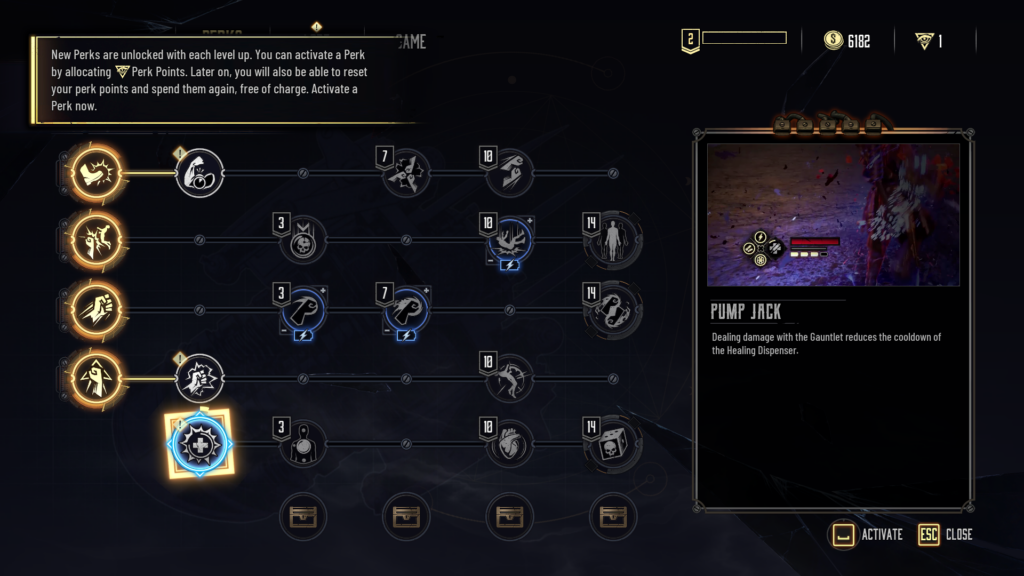
After defeating them, you will probably level up for the first time, earning your first perk point as well as 2000 bucks. Open the menu and you'll be forced to buy the Pump Jack perk, which causes your melee attacks to decrease the cooldown of the Healing Dispenser. This is a nice perk, but don't worry, you can reset your updates later if you want something else.
After you exit the menu, even more vessels will appear. Climb down with them, then make your way to the back of the platform, where you'll see a glowing chain next to a ledge.
Sidle along the edge to reach a hidden platform with a small chest of Bucks.
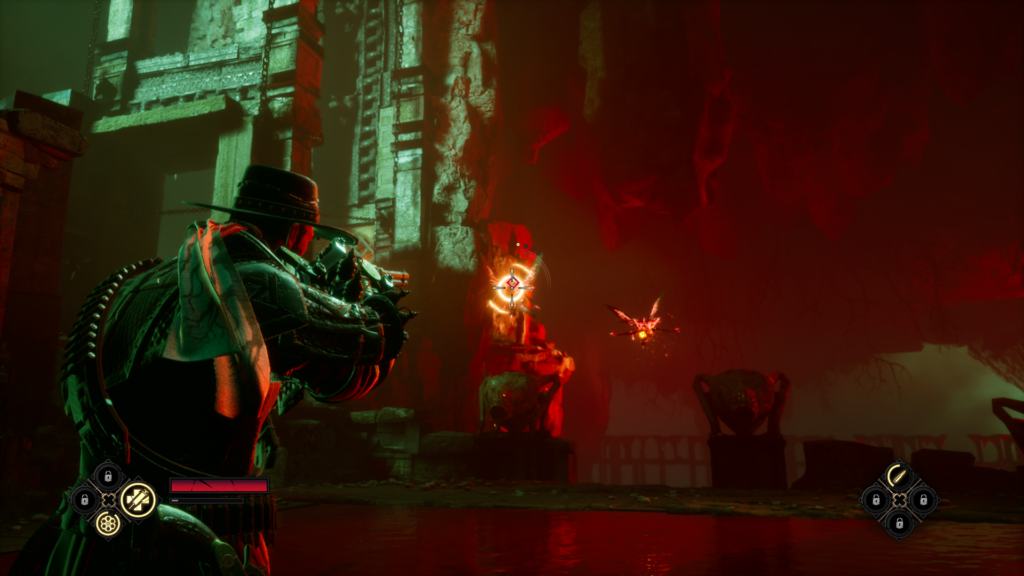
Use the stairs next to the chest to get to the next meeting. Here you will encounter new enemies, the Shrieking Devils. The devils will rush about in the air, shooting projectiles at you, so your only choice is to shoot back with a rifle or a revolver. However, they also have a Weak Spot attack that they like to use after being dashed. To deal with these enemies easily, just wait until you hear the "Weak Spot" sound effect and then shoot them with your rifle for an instant kill.

Use the glowing ladder on the back wall to continue. Here you need to spin two wheels to open the gate blocking your path. Pass the first wheel (marked with a "!") and instead follow the path on the left to the end where you can drop down. Head up the stairs in front of you up to where you'll find a hidden wheel. Spin this one, then shoot the interaction point above you to create a lasso path back to the first wheel. Spin the first wheel to open the gate.
On the other side of the gate is Note, Notes by Peter D'Abano 2/3.
Follow the path along the cliff around the bend, then head down to the next encounter. This meeting consists of vessels and devils. Just like before, keep an eye out for weak spots and counter a rifle shot to instantly kill the devils. Ships haven't gotten any smarter, so just put melee combos in them for easy kills.
Once the enemies are dead, use the lasso point at the back of the room to continue and then crawl through the gap around the corner to reach another encounter. Three giants and a pair of devils participate in this meeting. There are also three spiked barrels, so it's best here to lead the giants to the barrels and then cannonball them into danger for an instant kill. Do this for all three giants and then abuse the devil's weak spots for an easy win.

Look up and you will see four interaction points, one in each corner of the room. Shoot all four of them with your rifle to open the gate in the corner. Pass through the gate and follow this rock path to the end.
Ignore the obstacle on the right and instead look to the left where you will findNote by Peter D'Abano 3/3.
Return to the obstacle and jump over it to get to the bridge from the other side. When you start walking across the bridge, a bunch of devils will spawn, but you can easily kill them instantly by abusing weak spots.
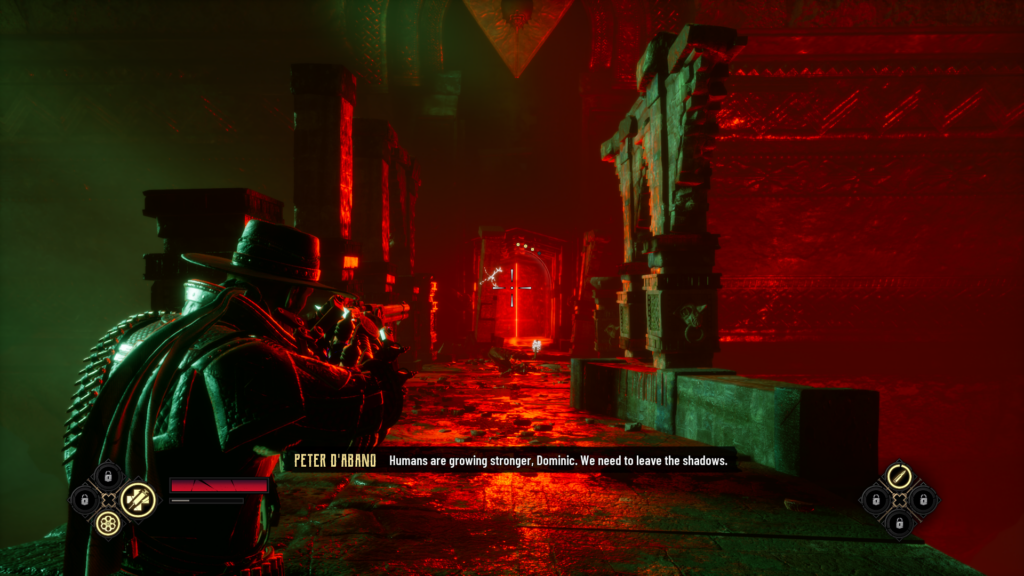
Make your way to the other end of the bridge, then use the lasso dot to bring down the pillar on the other side. Use the counter to cross the gap and then approach the glowing red door to trigger a cutscene. After a long cut-scene, you will enter the level's final encounter with a new type of enemy: the Vampire Highborne.
This encounter will be a big jump in difficulty from anything that's come before, but with a little practice we can handle this overgrown bat. The first thing to know is that the vampire deals massive melee damage and most of his attacks cannot be interrupted easily. If you are in melee range, he will swing his claws or slam them into the ground.

Generally, you want to stay out of melee range most of the time to avoid these attacks and instead wait for him to reveal his weak spot. Every minute or so, the vampire will float up in the air and launch an attack, resulting in a weak spot on his body. Shoot this weak spot a few times and the bat will fall to the ground, dropping a health pickup and becoming temporarily vulnerable. This is your chance to get into him with a melee combo before he gets up again and starts attacking again.
The vampire will also sometimes do a special attack where he glows for a moment before jumping towards you and hitting the ground. Kick-off timing for this is a little tricky, so I recommend just rolling under the jump and then countering rifle or revolver shots.
Hence this simple rinsing and repetition. Avoid melee attacks, wait out the weak spot, overuse melee attacks. Halfway through the fight, some ships will join. You can basically ignore them or kill them with finishers for some free health pickups if you need to. Weaken the vampire enough that he falls into his final state. Approach and attack to end the fight with a bang.
first spark
When you gain control after the cut-scene, you will be in front of Rantier's mansion. The first half of this level is mostly just free exploration broken up by cutscenes.
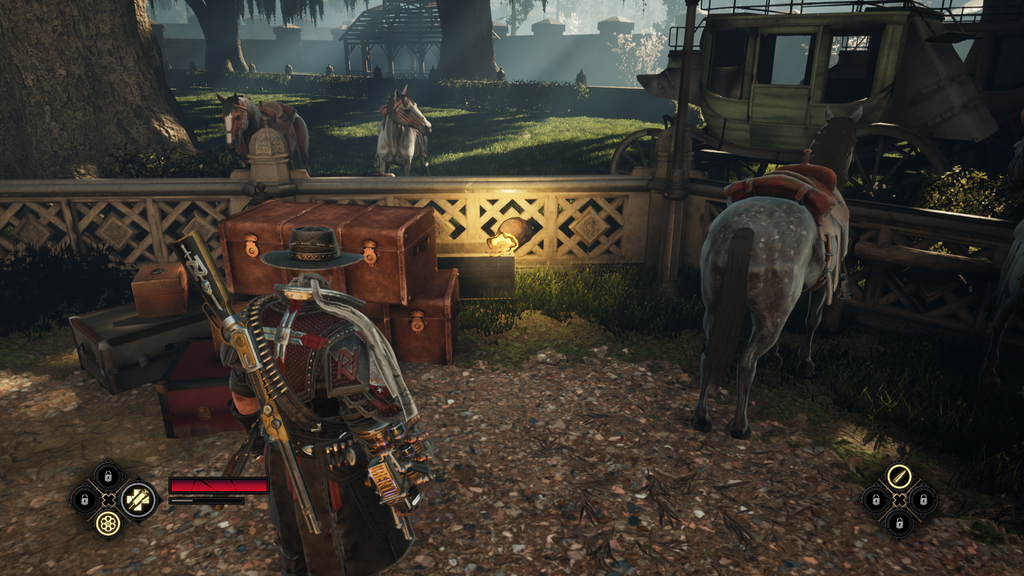
Start by grabbing a small bagbucksbecause of the pile of luggage on your left.
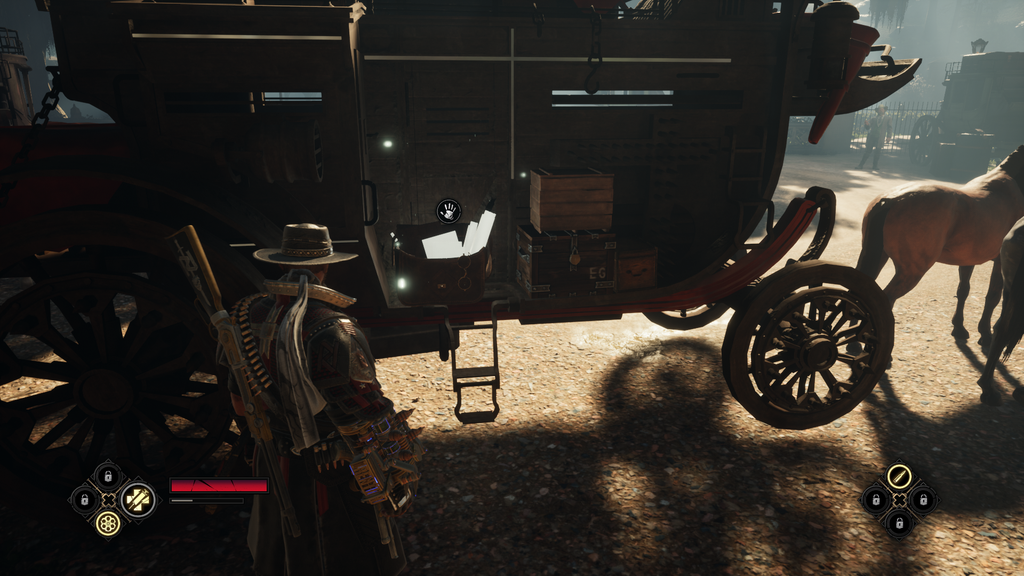
Then cross to the other side of the access road where the wagons are parked. Check the back of the wagon closest to the house where you will findnote, Daily Mail News 1/4.
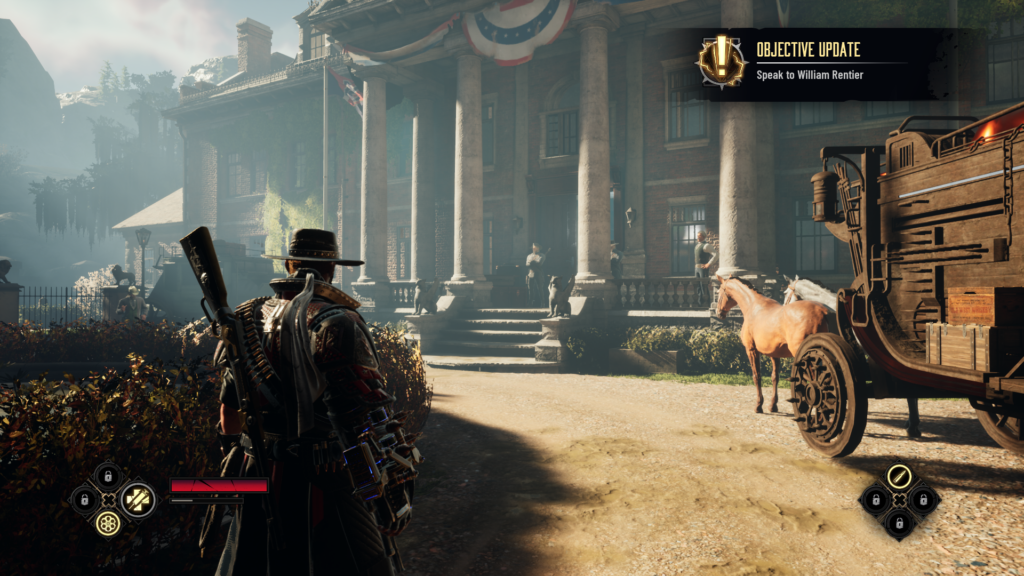
Go to the mansion. Ignore the marked "!" door on your right and spend some time exploring the first floor instead.
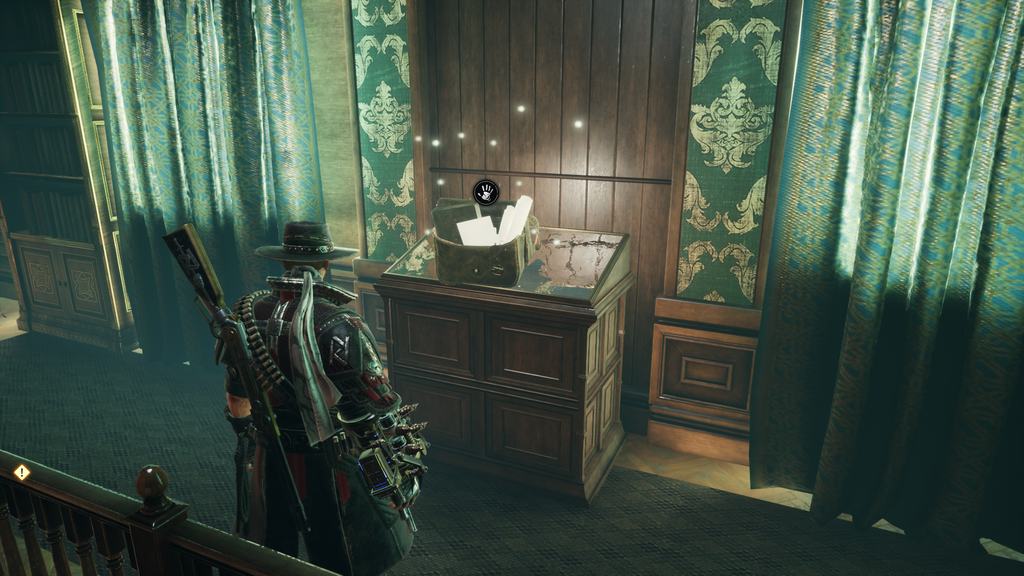
Look at the table to the left of the front stairs where you will seeNote, President Lincoln and William Rentier.
With this note in hand, go up the stairs and go left. You will see anothernoteon the bookshelf at the top of the stairs, civil war photos.
Make your way down the path and you'll find another onea noteon a pedestal against the wall opposite the stairs, first glove prototype.
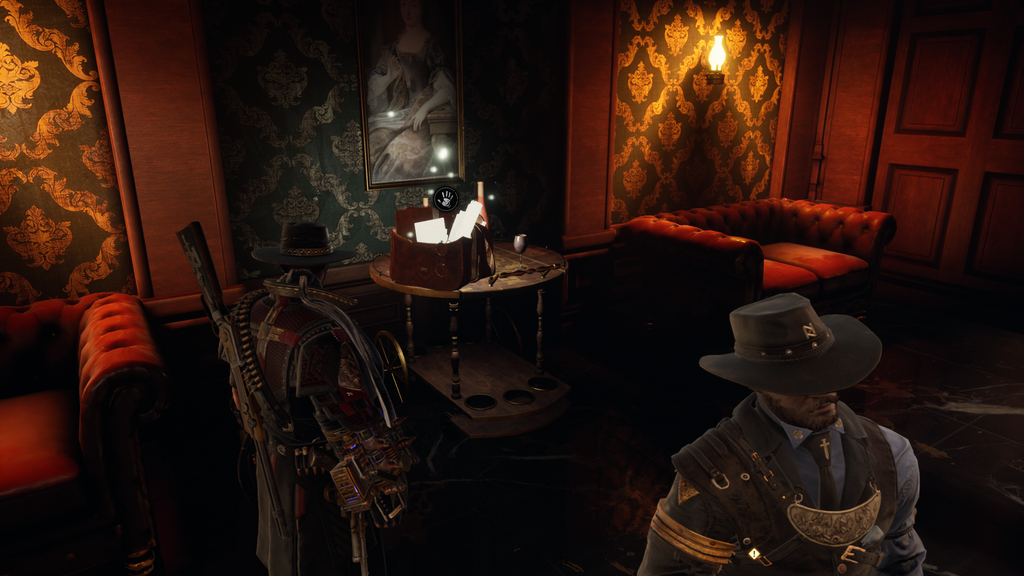
This is all for the second floor, so go downstairs and go into the room opposite the door marked "!".
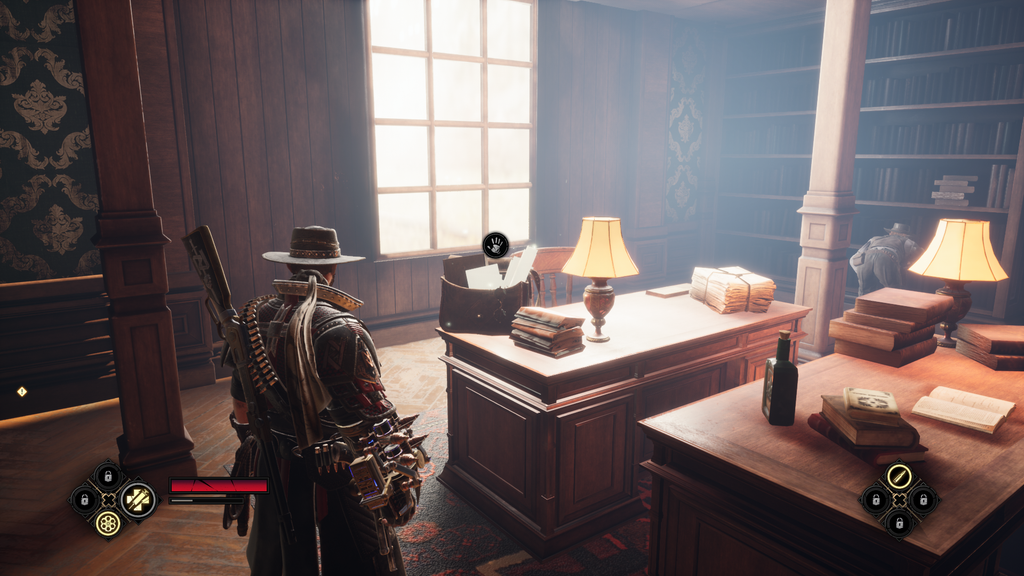
Enter the room, then immediately look at the table on the left, where you will see anothernote, Daily Mail News 2/4.
Turn around and start walking towards the back of the room and you will see anothernoteon the bookcase to your right,R.I. Files.
It doesn't end there, go all the way to the back of the room and you'll see anothera notein the back right corner Jesse among the RI cadets.

You can now go up the stairs to the second floor in this room where you will find a small bagbuckson the bookcase.
That's all the loot for now, so head back to the front room and approach the door with the quest marker to trigger a cutscene.

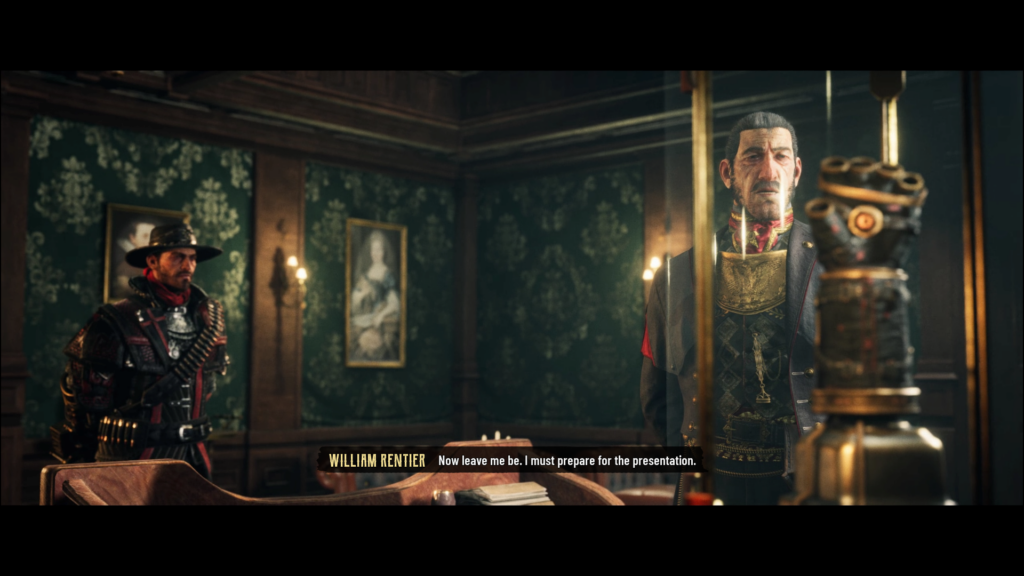
When the scene ends, you will regain control in the main room with the new objective of talking to the agent in the next room. We've already explored the mansion so you can contact and interact with the agent to learn about upgrades to your various weapons.
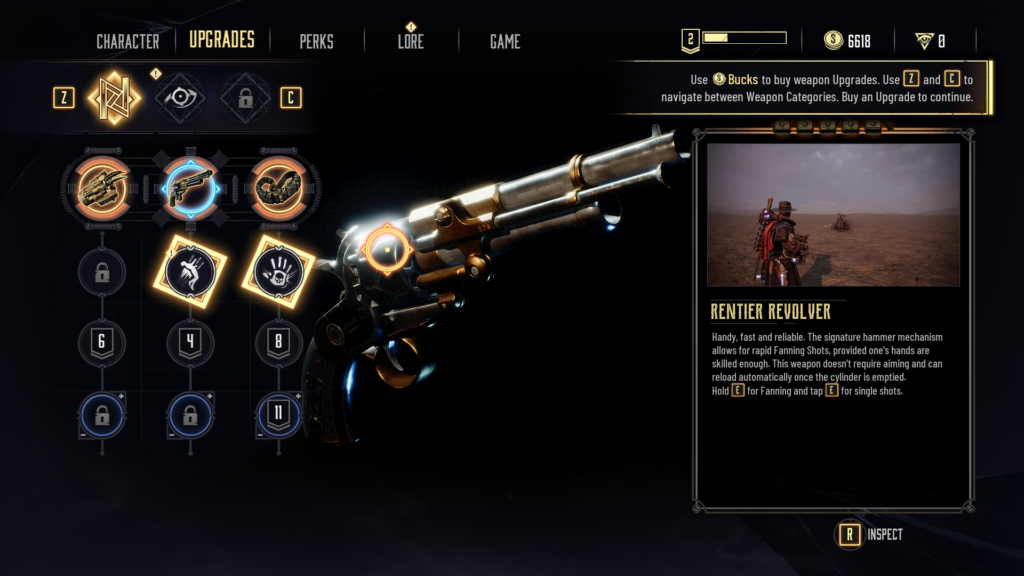
You should have saved up around 6000 bucks at this point, so feel free to buy whatever upgrade suits you best at the moment. At this point in time, "Free Bullet" or "Do Not Disturb" are probably the best options.
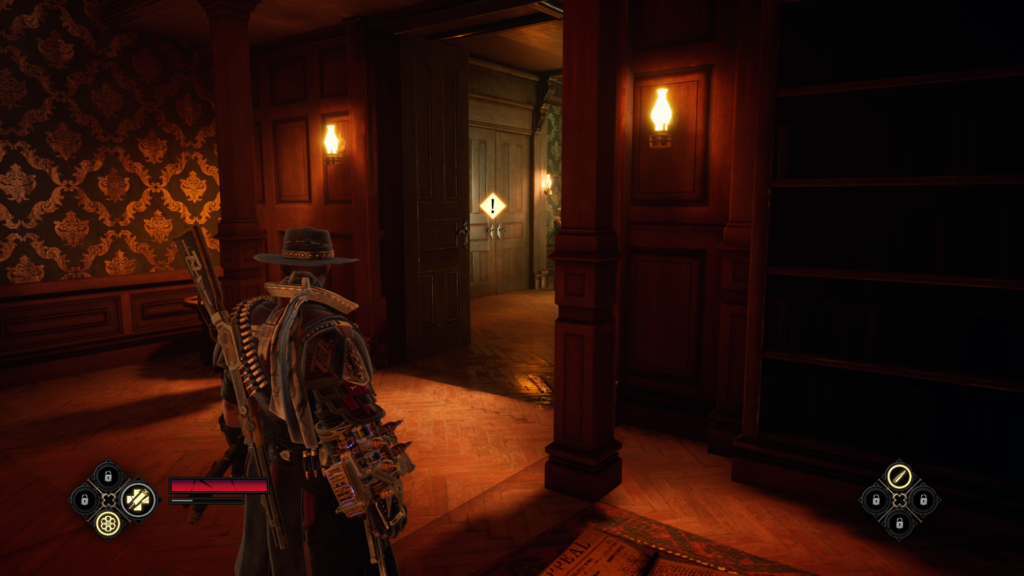
Once you've chosen your upgrades, exit the menu to regain control with a new quest marker to attend your father's gauntlet presentation. Head to the back of this room where a new door has opened.
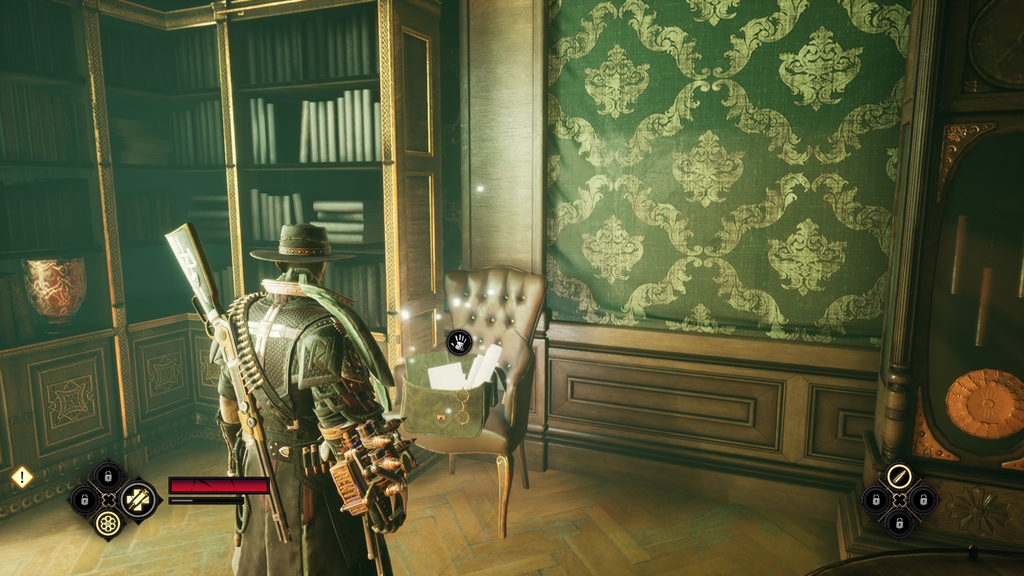
Go through the door and look to the right to find another one.a notesitting on a chair, portrait of William Rentier. Head to the door marked with the quest to continue.
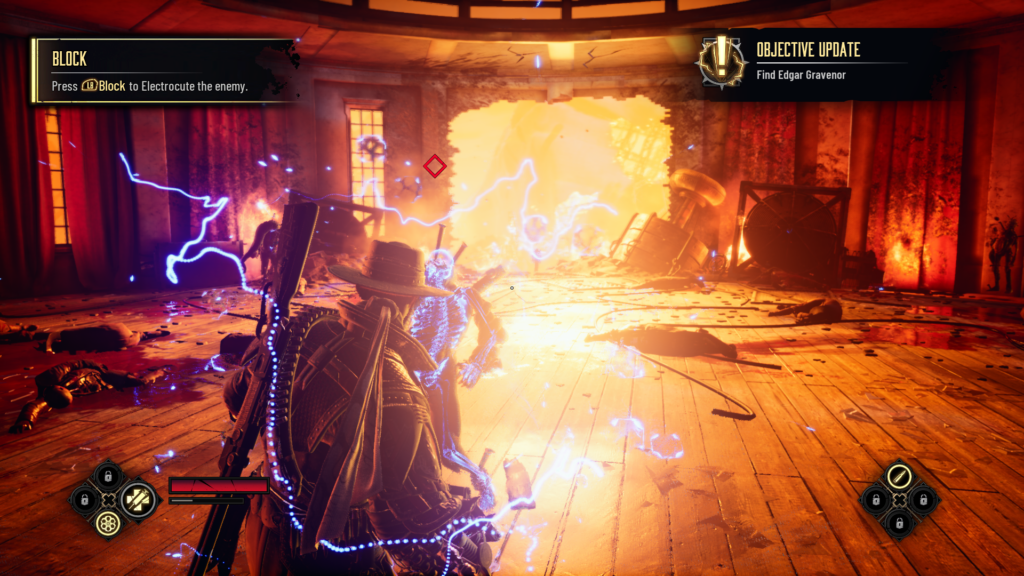
I hope you watched the cutscene, otherwise you will be very confused when you find yourself inside a burning mansion. You may also be confused by the new item you just received, the Zapper. This allows you to perform Zapper Block, a parry-like mechanic that stops enemy attacks (L1/LB) and electrocutes them, opening them up for the E-Combo melee special attack. Practice this technique on the vessels in the room, or just beat them back with your melee combos as usual.
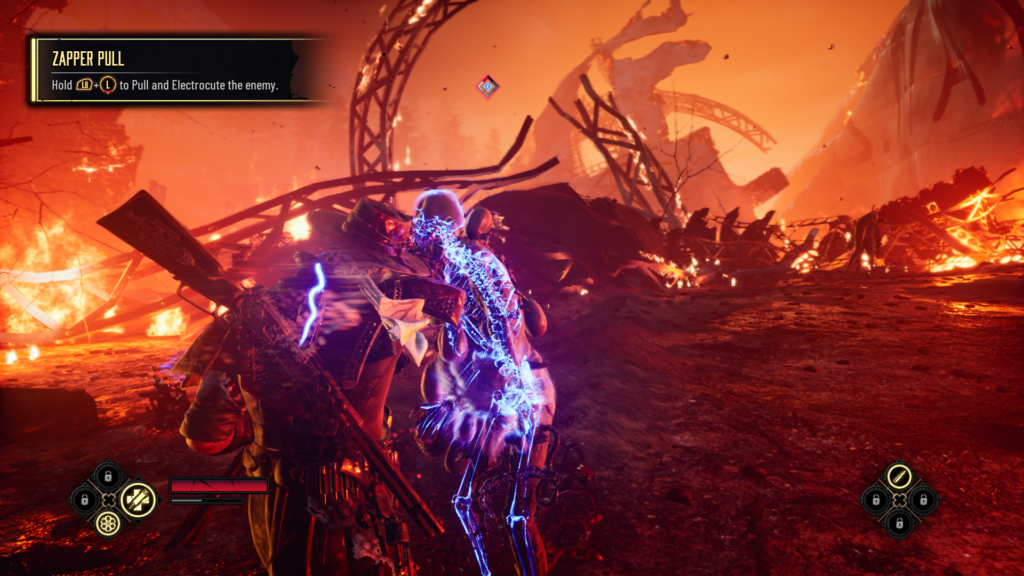
Once the area is cleared, you can exit the gaping hole in the wall to go outside. Here you will start another tutorial, this time on the Zapper Pull. By pressing the Block button and pressing back/down at the same time, you can zip an enemy and pull them directly towards you, but only if they are marked with a Zapper symbol. This mostly only applies to basic enemies like Vessels, and it's especially useful for grabbing enemies that attack you from above. Practice pulling the Zapper at the enemies in this area, then crawl under the fallen beam behind them to continue.
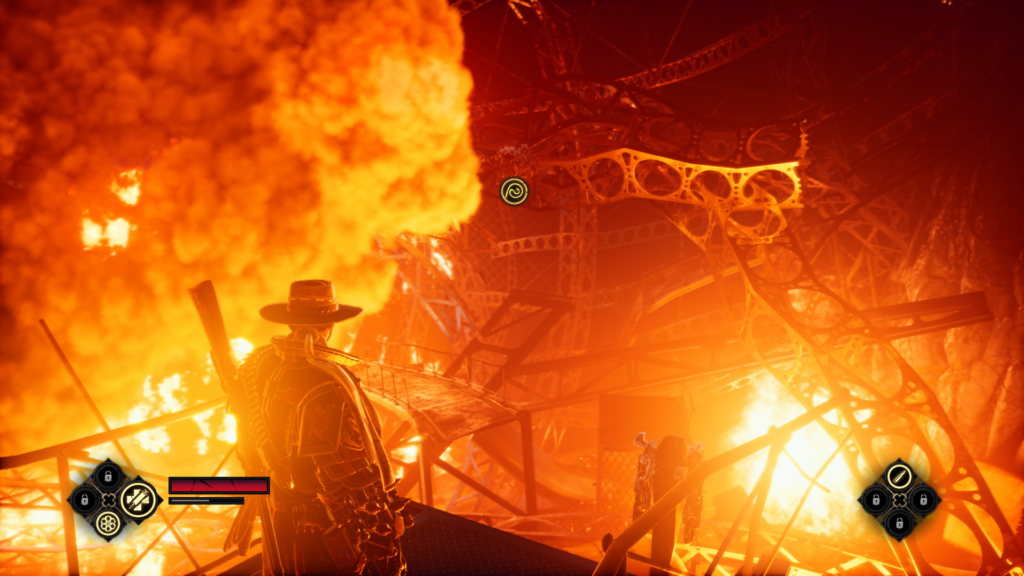
There is nothing in these next two areas, so just keep moving forward and passing through any obstacles on the way until you reach a metal path with a lasso dot. Lasso your way through the gap and onto the next section of the walkway, which will take you straight to another meeting.
Here you will encounter a new enemy, the Infected Proteus. These guys can release toxic worms from their bodies that slowly follow you, dealing a small amount of damage if they connect. Proteas are usually placed on platforms that put them out of melee range, so this is the perfect time to use the Zapper Pull as a counter. Proteus also has a weak point attack that you can counter with a rifle to deal a lot of damage, so be sure to keep your eyes open for any of those glowing rings. Deal with the handful of Proteas in this area using the Zapper or Rifle and pretty soon some ships and devils will join the fray as well. Remember that hitting the devil's weak spot results in an instant kill, so be sure to hit them whenever possible.

Once the area is cleared, use the debris to climb the path where the first Proteus spawned and then cross the path to reach the lasso point at the other end. Lasso to another section of the path then drop down to trigger a cutscene.
After the cutscene, you will be transported to a new area, inside a building where some RI cadets are recovering.
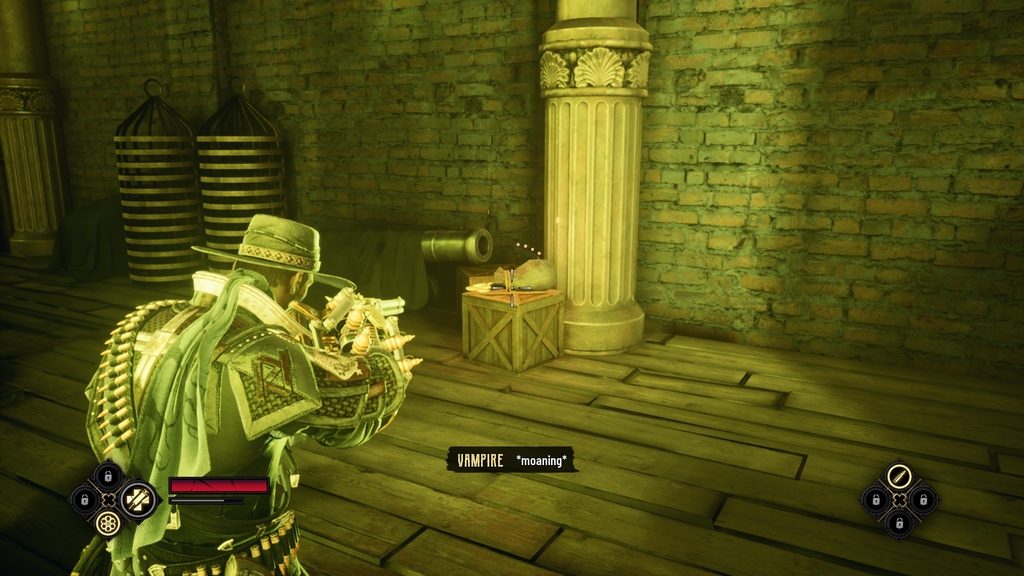
Ignore their suffering and instead go forward and then look to the left where you will see a small chestbaksa.
Continue forward into the corridor where you will see a glowing box with a small bagbaksainside.
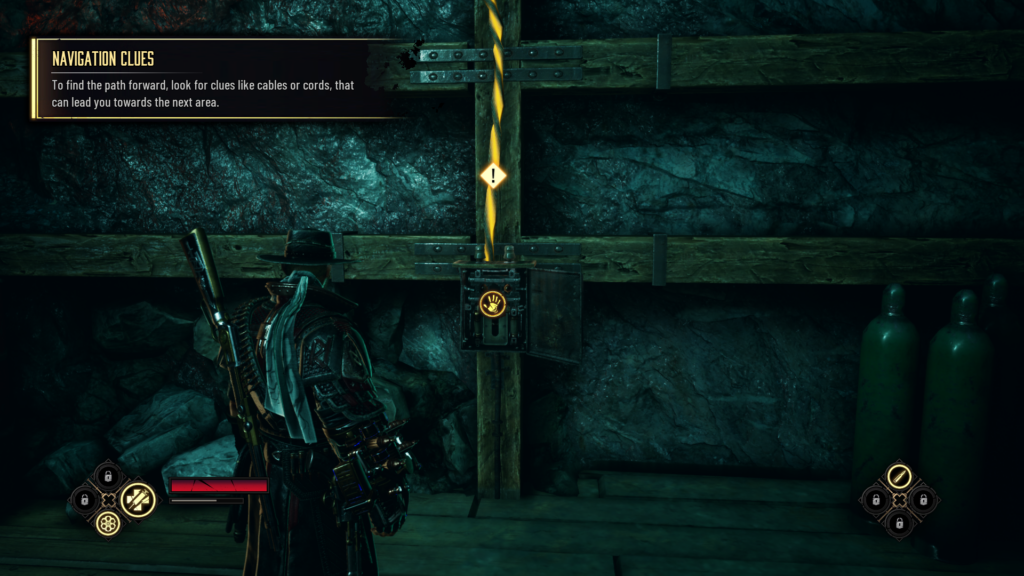
Make your way to the end of the hall and you will reach a locked door. The game will prompt you to follow the power line on the ceiling back to the switch in the first room. Activate the switch, then return to the door, which has now opened enough for you to slip through.
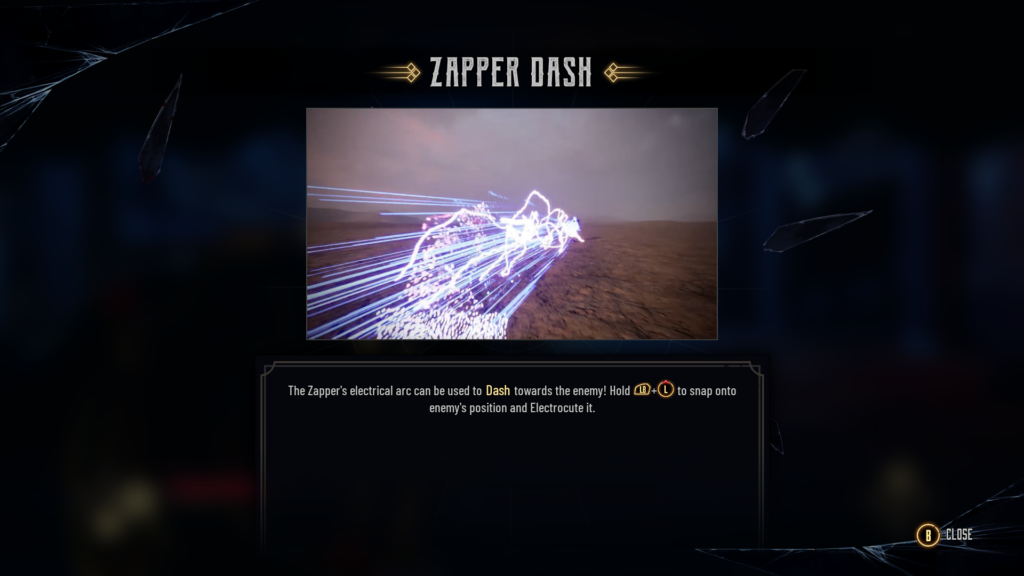
Upon entering the next room, you will receive another tutorial, this time for the Zapper Dash. This technique is actually the other side of the Zapper Pull: you dash towards a distant enemy, stunning them on impact. It is done by pressing Block and forward/up. Practice this technique on the main enemies in this room.
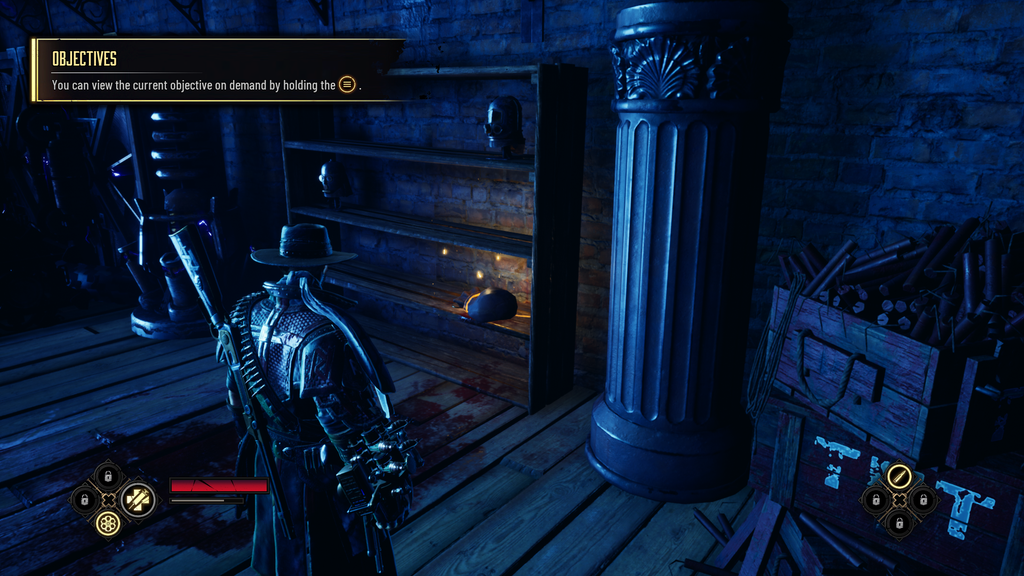
Once the room has been cleared, make sure you grab a small bagBucksoff the bookshelf in the corner before exiting through the broken stairs.
You are now in a room with an eerie green glow. Make your way to the end of the path and go down the stairs.
Immediately turn left and you will see a small bagbaksaon the box straight ahead.
Then go to the left of Bucks where you can findNoteon the medical table Great-grandfather Jesse.
Make your way to the other side of the room where the exit door is, but don't forget to smash the glowing crate past the door and shove the small bag insidebaksa.
Go through the door, through the path, then through the gap to reach the next objective. Interact with the wheel on the right, then look to the left and you'll see some interaction points in the distance. Shoot them with your rifle, then get ready to deal with some flying devils.
Abuse their weak attack point for an instant kill as usual. Further, some ships will join the fight. Our usual hero punch, uppercut, and cannonball combo still handles them easily, but you can mix in some zappers if you like. When the last enemy dies, the door opposite the wheel will swing open, revealing a new room.
Enter the room and break through the debris on the right to reveal a small bagbaksa.
Approach the lasso point marked by the quest and interact to cross the gap. Use this path to climb up the ruins and you will end up outside.
Break the marked debris on the path ahead of you to open another small sack.baksa, then go under the beam at the end of the path to reach another meeting.
Here we meet another new enemy type, the Boo-Hag. These guys are kind of like vessels, but stronger. They are more powerful, move more erratically, have several special attacks, and they can close gaps with a jump attack.

Luckily, they are also vulnerable to Zapper Pull and Dash, so I recommend just abusing this technique as much as possible so they can't fight back. Right here you have to reach level 3, and just like last time, you will be forced to purchase a certain Perk, Quake Punch.
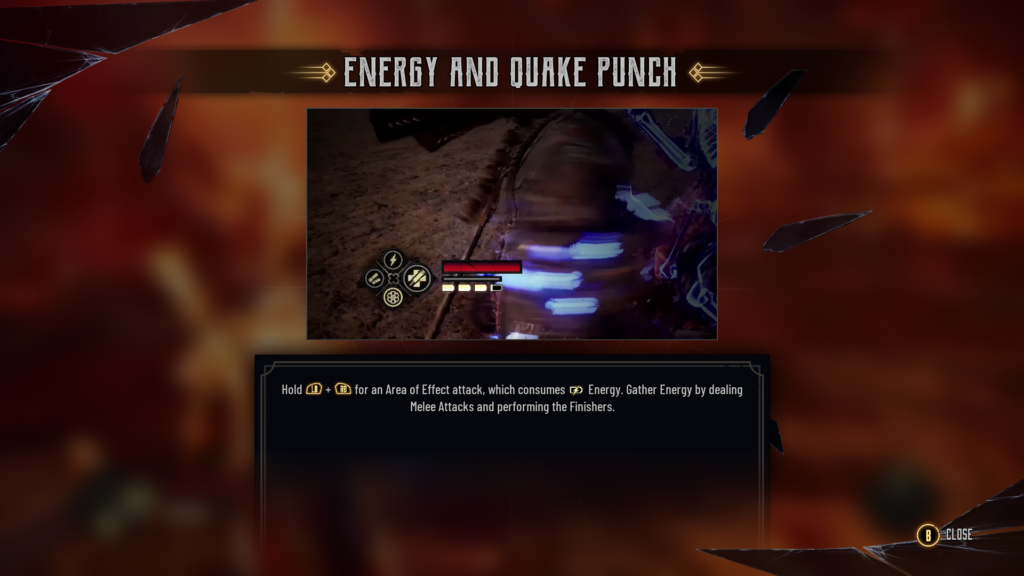
This will launch a tutorial on Energy, a secondary resource that allows you to use special attacks. Instead of being one bar, the energy is broken down into four small bars that you can fill up by using melee attacks and completing finishers. At this point, you can use 1 energy to do 1 Quake Punch (press L1/LB + R1/RB) to make a jumping punch attack effect area. This deals moderate damage and interrupts most enemy attacks. Practice this on your next set of Boo-Hags.
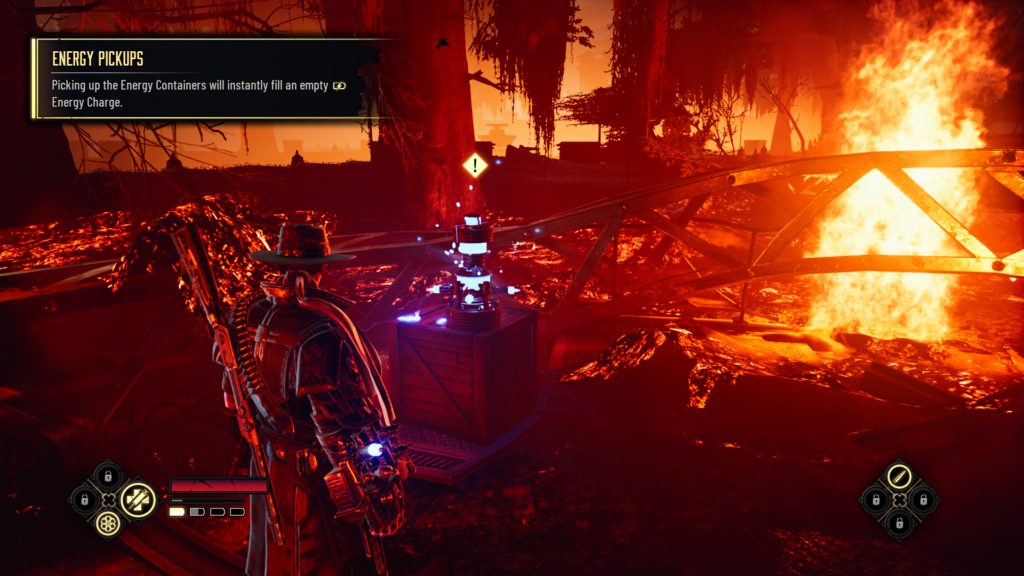
Once the enemies are cleared, jump over the glowing obstacle to continue. You will see a new item, the Energy Pickup, along the path ahead of you. This glowing blue gadget gives you one full charge of energy.
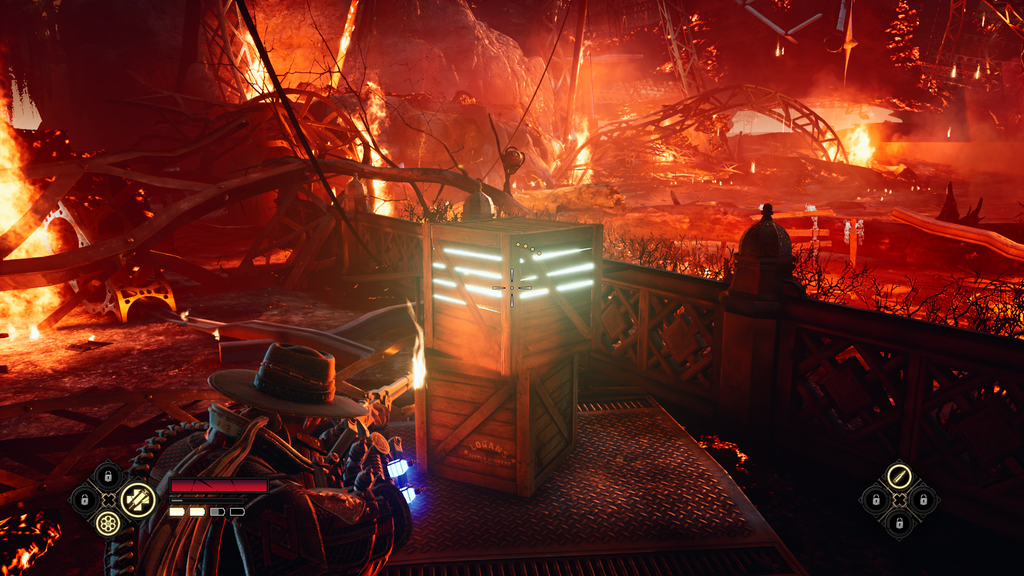
Go through the gate ahead of you, then turn right where you will see some shattering debris. Behind is a glowing box with a small bagbaksainside.
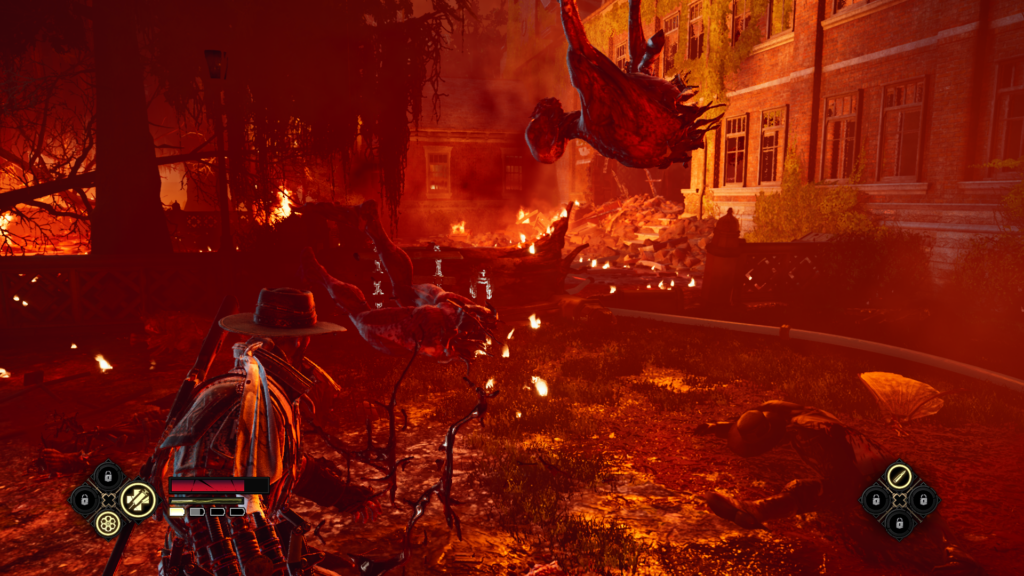
Turn around and continue down the path to reach the next meeting. This fight has it all! Some vessels, some proteas, some hags and some devils. As usual, listen and look for signals of a weak spot. Otherwise, you'll just go crazy with uppercuts, cannonballs, and the Zapper. Remember that you can Quake Punch if you're overwhelmed.
Once the enemies are cleared, jump over the obstacle on the other side of the yard to progress. Climb up the stairs and enter the ruined house on the right.
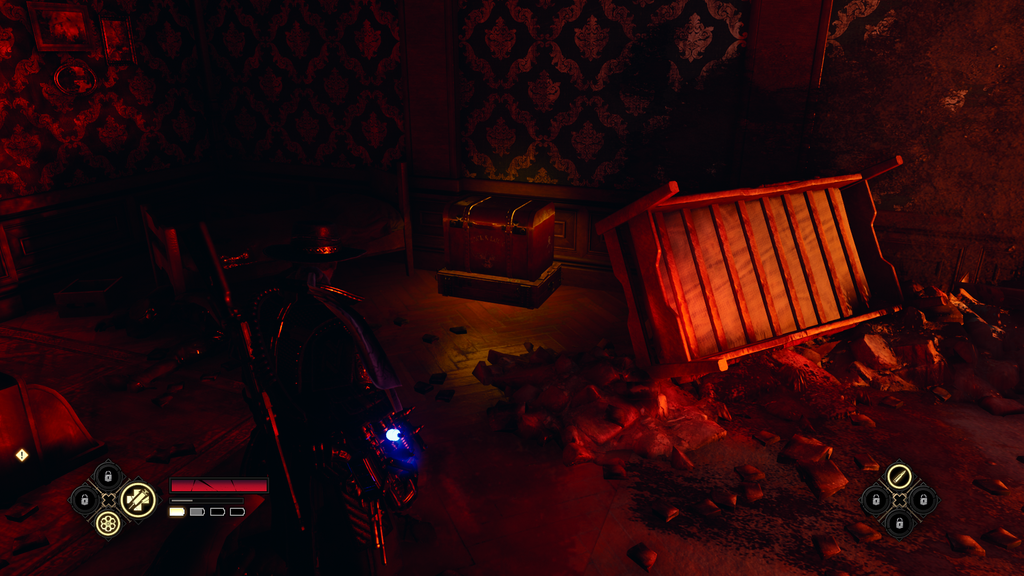
Look behind the overturned table in the house to find a small chestbaksa.
Finally, go to the next room to get to the quest marker and finish the level.
From dusk to dawn
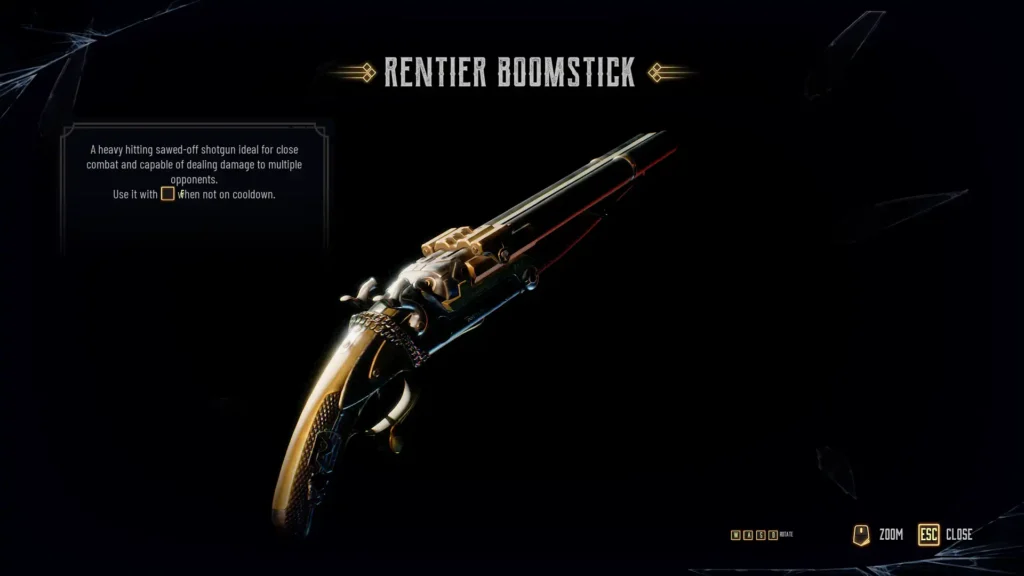
This level is mostly combat, with almost no collectibles. When the introductory suzzen is over, you will be rewarded with a new weapon, the Rantier Boomstick. This shotgun does massive damage to nearby enemies and interrupts them, but it has a long reload time (20 seconds) to make up for it.
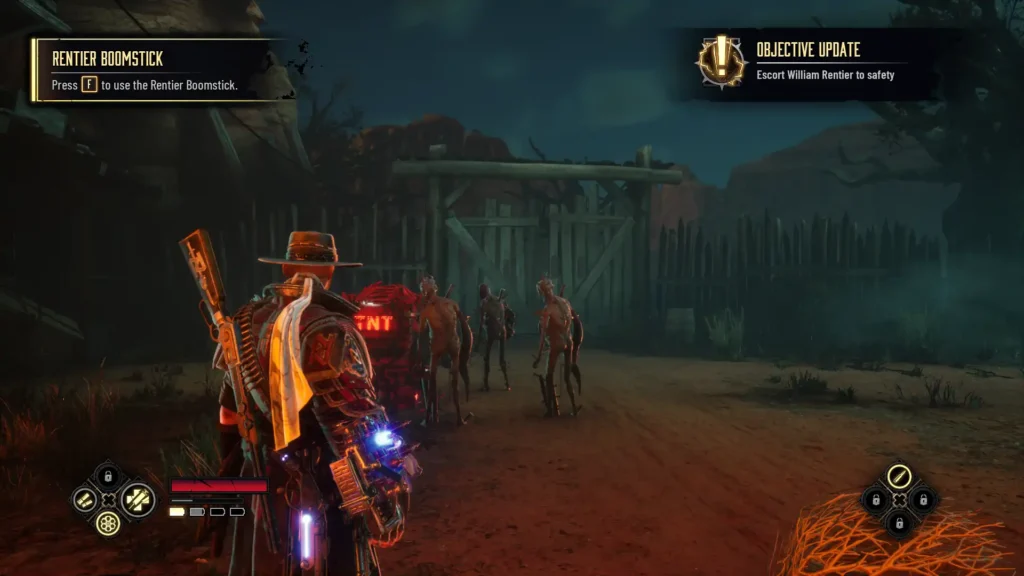
When you gain control, you will look directly at a group of ships huddled around a TNT box. Blow up the TNT with one of your weapons to destroy them all at once, and start a long battle involving almost every major enemy we've encountered up to this point. None of them are particularly dangerous, but there are plenty of them, so keep moving and dodging, don't let yourself get surrounded! Look out for the Proteus shooting at you from nearby rooftops and the environmental hazards scattered around. Be sure to abuse the weak spots to instantly kill the rooftop snipers and then the Boo-Hags cannonball is in danger whenever possible as they pose the greatest threat.
Once you've cleared the enemies, another group will burst out of the gate on the far side of the zone, but they'll run right past the TNT box, you can shoot to instantly vaporize them all and end the battle.
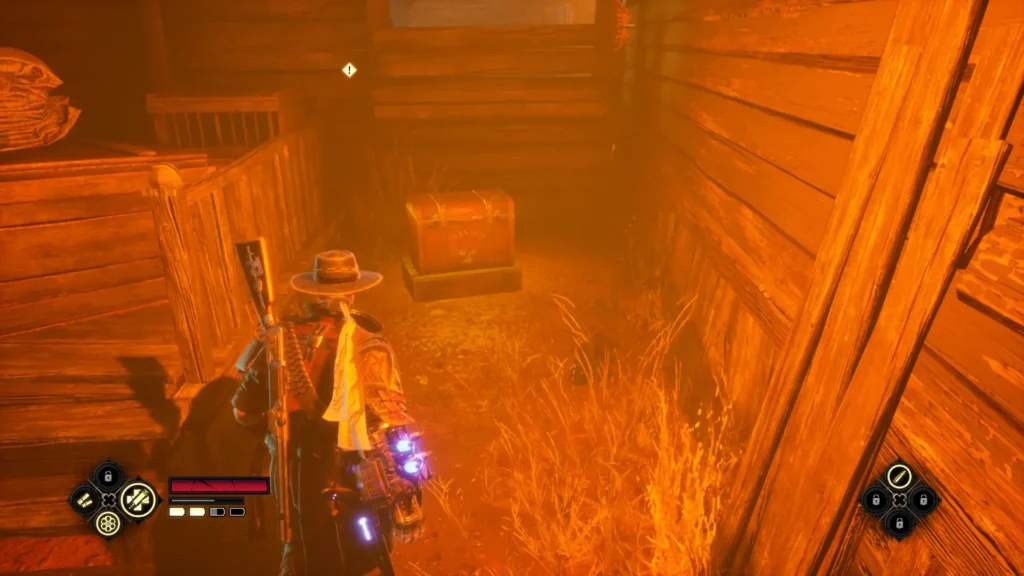
Jump over the glowing obstacle on the near side of the zone and then shoot the nearby TNT box to open a small chestbaksa. Return to the first area and head towards the quest marker.
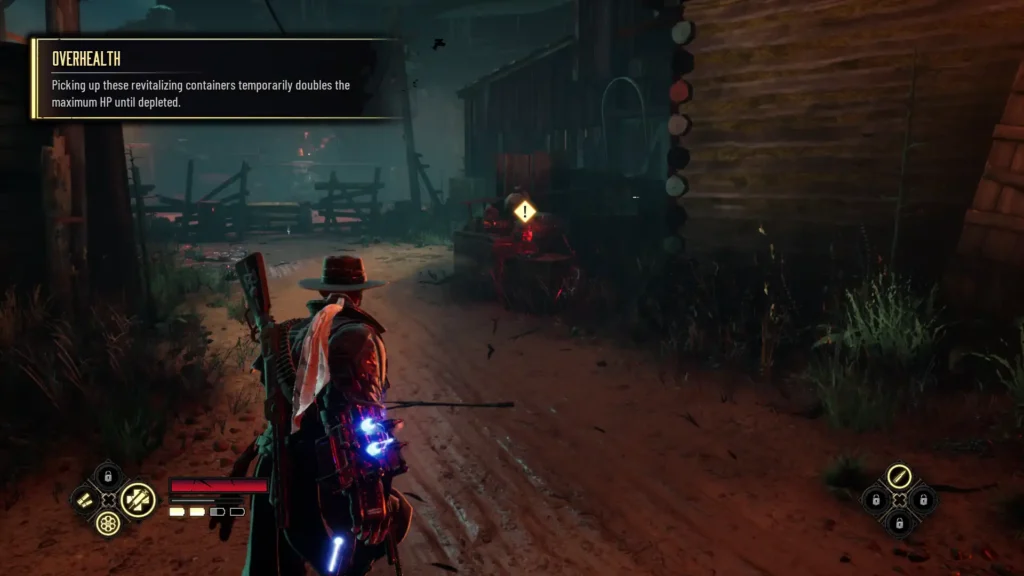
This marker will take you to the Overhealth pickup truck. This is a one-time upgrade similar to Energy Pickups that will maximize your health and give you a second health bar that lasts until depleted. This usually means that a big battle is coming.
Look behind the boxes just past Overhealth to find a glowing box containingbucksinside.
Jump over the next obstacle to reach, you guessed it, the big meeting. This encounter is basically the same as the previous one, except that this time there are also some giants in the battle. Here's your quick reminder that all of these enemies are susceptible to Zapper attacks, so abuse them as much as possible for some free melee combos. Also, don't forget to use your shotgun on reload! Try not to shoot any of the TNTs in the area, you'll want as many as you can for the upcoming encounter. Use the usual mix of uppercuts, cannonballs and zapper to clear enemies.
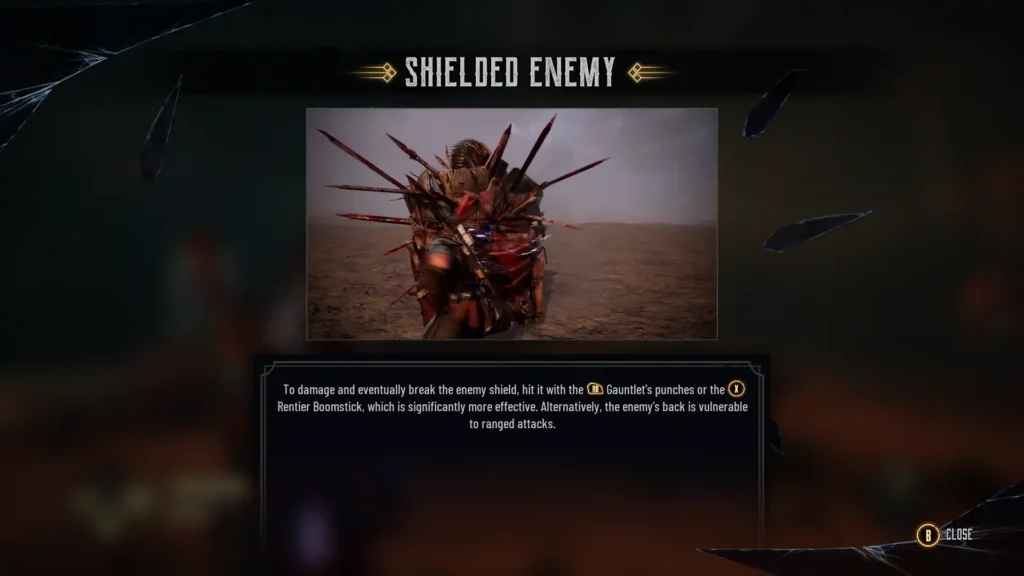
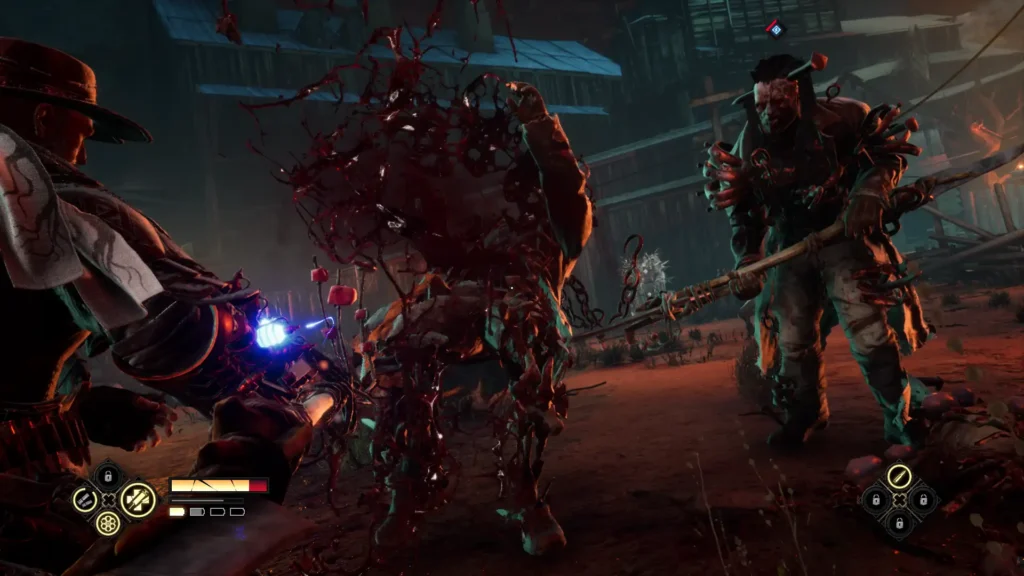
Once they are all dead, a short cutscene will trigger to introduce a new enemy, the massive Leecher. This enemy is holding a large spiked shield that can only be destroyed by shotgun blasts and melee attacks. The main idea here is to break his shield with melee attacks (use Kick-Off to counter the glow attack!), and then deal as much damage as possible before he regenerates his shield after 10-15 seconds.
Once the shield is broken, the Leecher should be stunned long enough for you to perform a full melee combo, then use the shotgun and then do another full melee combo. When Leecher regains his composure, it's best to just back off and use your rifle or revolver to add extra damage from a safe distance due to Leecher's powerful melee attacks. Make sure you're always raving, as Leecher also has a few long-range strikes that you can avoid by dodging to the side.
When the Leecher's shield is up, he often makes a forward attack. This is a great opportunity to lead him straight into the aforementioned TNT boxes and then shoot into the box for an instant shield break and a lot of damage.
Around the middle of the battle, some Boo-Hags will join the fight, which will make things a lot more messy. This is a great opportunity to use all of your Quake Slam charges if you can group all the enemies. You can also try to enlist them to blast a shotgun or cannonball into one of the spike traps around the arena. Just make sure you use a finisher whenever you finally kill them to get that free health pickup. Once the Boo-Hags are gone, you can return to the previously discussed strategy until the Leecher is defeated.

At this point you will probably reach Level 4. This unlocks the very useful At The Ready upgrade which reduces the cooldown of the shotgun by 4 seconds, and the Fists of Steel upgrade that increases your melee power after using Zapper Pull or Dash.

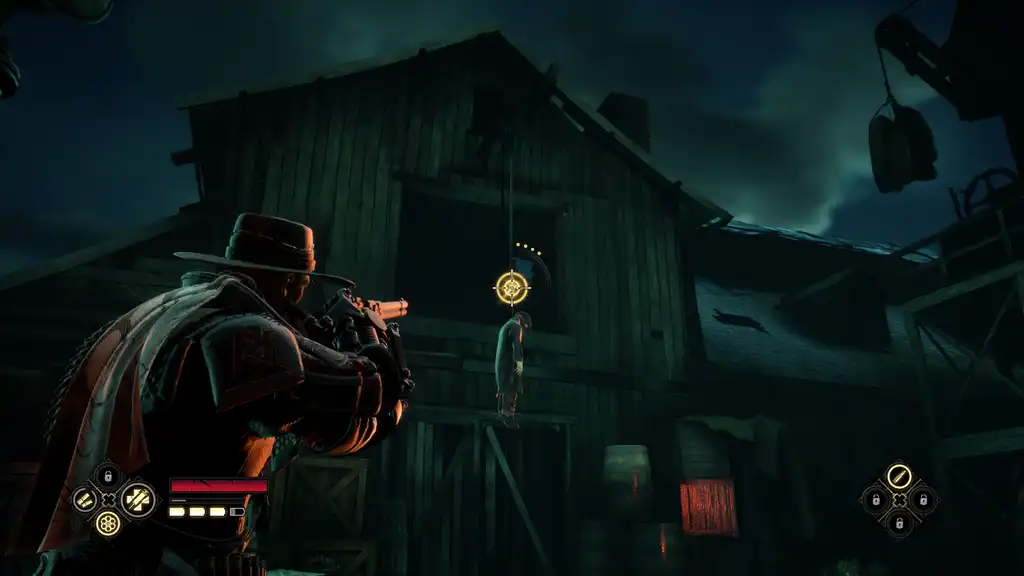
Ignore the quest marker for a moment and instead make your way to the glowing obstacle in the back right corner of the arena. Jump on it, then look up to see a hanging body with an interaction point on it. Shoot the marker make the body drop a small bag baksa.
Return to the arena and follow the quest marker to the Gravenor and Co platform. are on it. Climb up and grab the Energy Pickup, then go left to the NPC.
After the cutscene, shoot the glowing box to your left to get somebucks.
Then shoot the hanging body in front of you to get another bag.bucks.
THEN look to the right where you should see a piece of junk that you can break with a melee attack, opening a path to a small chest baksa.
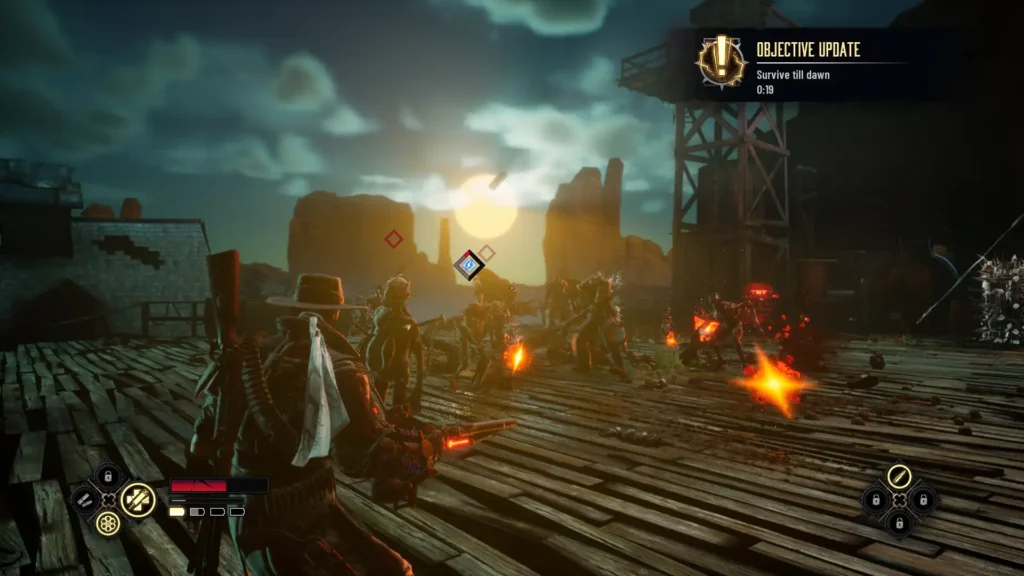
With all those bucks in hand, you can climb the wooden plank above your chest to reach a new meeting. This is a temporary encounter that requires you to survive 90 seconds against a bunch of basic enemies. Unfortunately, you don't seem to get any experience for these kills, so there's really no point in killing anything but enjoying it! I spent my 90 seconds non-stop attacking as many enemies as I could and then using a shotgun or Quake Punch every time I got surrounded.

After the timer runs out, a cutscene will play showing the gauntlet failing, and then you'll be thrown back into the fight with a power-up that allows you to perform some powerful electric kicks. We'll find out more about this update later, but for now, just keep hitting until the end-of-level cutscene is triggered.
Devil's Pass
Objective: Go to Virgil's Workshop

This level begins with our first trip to Calico Town, the temporary base for Jesse and his companions. Calico City is sort of a hub level that mostly serves to add bits of history, but there are also some items and tasks that we can complete here.

Once you gain control, look on the table next to the stretcher to find Note, Emilia and Virgil in Calico, 1884.
Follow the quest marker to exit the room and go down the stairs, but instead of following her down the hallway, go down the stairs to the right. In the basement, enter the first door on the right, where you will see an opened Boo-Hag.

Ignore the body and go through the door in the back left corner of this room instead, where you will find a small bag baksa.
Head back upstairs and go part way down the corridor, then enter the large workshop on the right.

Go straight ahead where you should see an NPC slamming down the stairs. Look to the left for a small bag baksa.

Finally, follow the quest marker at the back of the workshop where you will find a reset machine that allows you to reset all of your upgrades and perks up to this point. You can use the car for as long as you want when you are in Calico Town. Use it if you have a buyer's regret about any of your upgrades up to this point.

Also don't forget to grab note from the table to the left of the car, Virgil Curriculum.
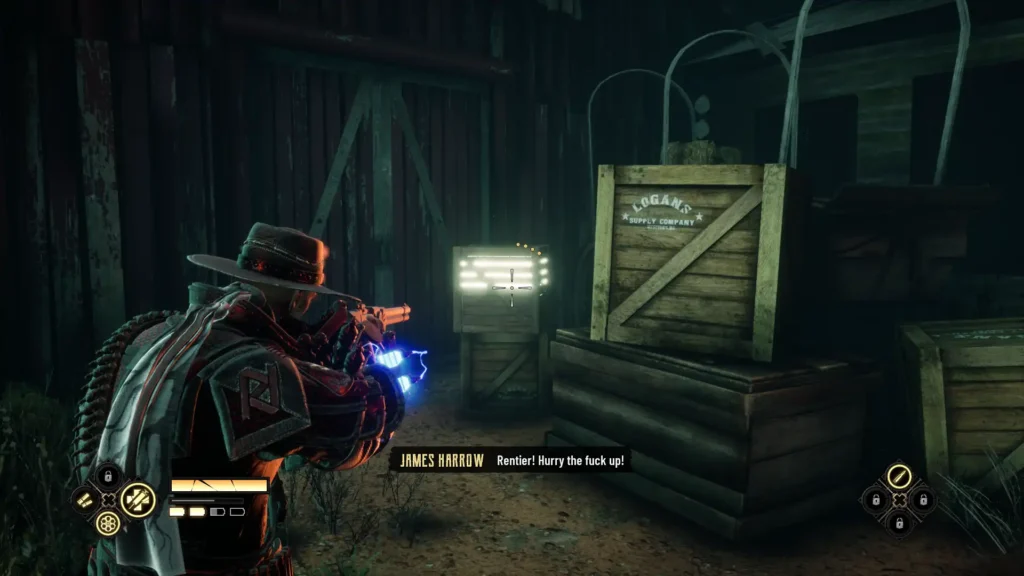
Objective: Meeting with James Harrow in the briefing room
Follow the quest marker back down the corridor and into the large conference room opposite the workshop. Talk to the group of NPCs around the table to advance to the next level.
Objective: Find Agent Scott Bloom

Now we are at the highest level. Follow the path straight ahead to the broken wagons at the bottom of the hill.
 Look at the wooden box next to the middle car to find a small bag baksa.
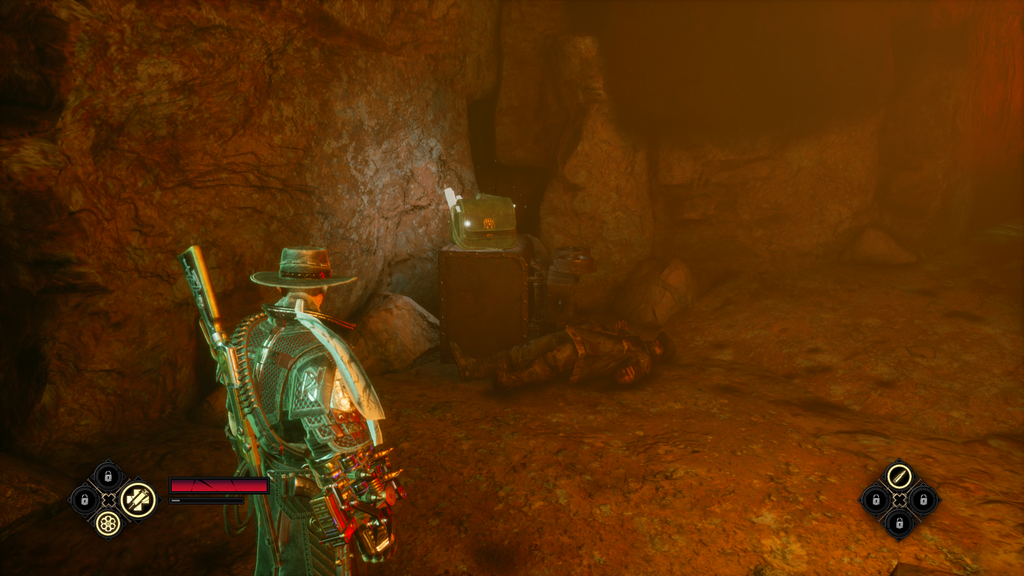
 Then look to the right behind the last broken car and you will see a path hidden in the shadows. Go around the corner to find a small cave with a small chest baksa in it.
 Return to the main path. Follow him up and around the corner and you will see a glowing box with a small bag. baksa inside on the right side of the path.

After you've collected all the bucks, go up to the end of the path and jump over the obstacle to the first encounter. A handful of archer servants guard the path ahead of you. Just like before, you can defeat these enemies with a single shot by hitting their weak spot, so move to the side and wait for the weak spot to appear, then fire your rifle quickly. Don't forget to get the ones on the rocks as well!
 From here the path splits left and right. Start by turning left towards the TNT box. Shoot the box as you get close to reveal a small bag baksa.
Return to the split and enter the cave on the right side.
 Cross the shallows and you will find Notesitting on the other side Agent Bloom's Bestiary 1/3.

Go past Nota and around the corner where you will reach an obvious dead end. Look up and you will see an interaction point. Shoot him to drop the chain, then climb up the chain to get to the next encounter.

Here's another new type of enemy, the nagals, who look more like werewolves than vampires. They come in groups (usually three), move fast, deal a lot of damage, and they can buff each other with their screams. They expose their weak spot when they start howling, so be sure to respond with a rifle shot before they can lift each other up. Also keep an eye out for their glowing special attacks, which can always be countered with a Kick-Off.

The main idea here is to NOT be surrounded or overloaded. If you get in the middle of them, they can lead you into a small stun combo. Luckily, you can stun them straight back with the Zapper. Singing and using an E-Combo on one of the Nagals seems to make the others back off for a moment. Another easy way to break up their party is with a shotgun or Quake Punch, both of which can easily catch the entire group in one burst. Also look out for the TNT scattered around, perfect for a blast zone or an uppercut-cannonball combo.
 Once the enemies are defeated, check the dead tree at the back of the arena that has two bodies hanging from it. Shoot the body on the right to get a small bag baksa.

Then look to the right of the tree, where you will see a glowing chain that you can use to fall onto the rock below.
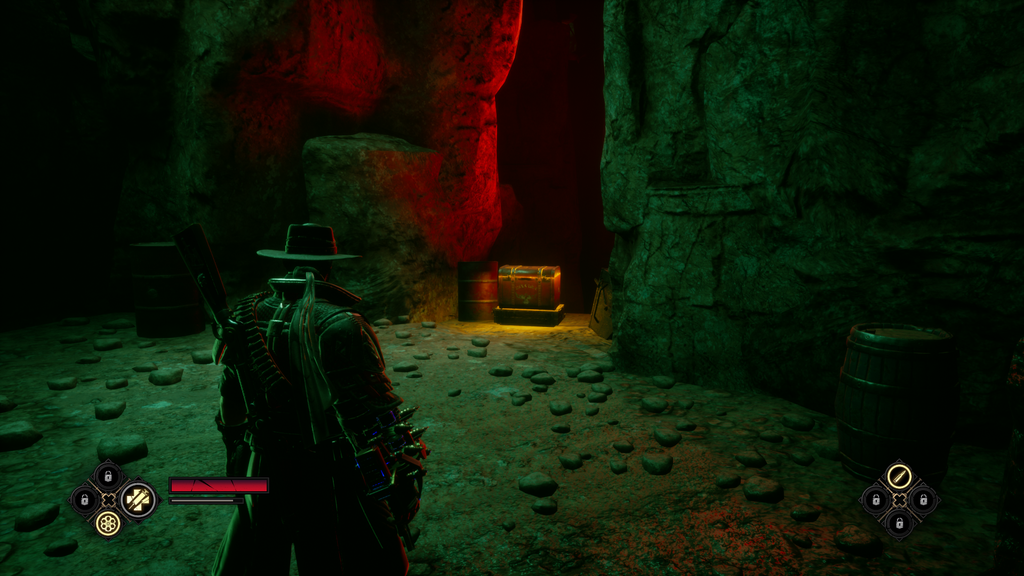
 Turn left and follow the path until you receive a notificationunique chests. We already know about it, so hack it, to get some bucksи Booming Business Perk (note that you still need to spend a Perk point to activate the upgrade, this will just unlock it).

Continue down the path past the Unique Chest until you reach another post. Look up again to see an interaction point similar to the previous one. Shoot him to release the chain, then climb to the top of the cliff. Turn right and go all the way down the path until you reach another chain that you can use to work your way up to the nearby cliff.

Directly ahead is a broken bridge. Ignore it and go down the path to the left, which will lead directly to another encounter with new enemies, the Servant Beasts. These guys are very similar to Jenu's giants, right down to their two-handed weapons (and susceptibility to the Zapper).

The beasts are joined by more shooters and some off-screen enemies that drop boulders on you from above. Start by focusing on the arrows on the rocks. Wait for them to expose their weak spot and then retaliate with an instant kill rifle. Be sure to keep moving between shots or you'll be taken by beasts and falling boulders.

Once all the restless arrows are gone, turn your attention to the beasts. Blow them up with your shotgun and rifle if you want to play it safe, otherwise just hit them with the Zapper and hit. Their health pools are relatively low, so it should only take 2-3 electronic combos to reach them. Be sure to use the completion finisher for the free health drop if you need it!
 Once the enemies are gone, you can climb the broken ladder on the left side wall to reach a small chest bucks.

Loot the chest, then return to the enemy arena. Head towards the shaft at the back of the arena, go inside and squeeze through the gap at the end to advance.
 On the other hand, immediately shoot the TNT in front of you to reveal another small chest baksa.
 Turn around and go up the path to the left. When you get to the glowing chain, look to the right to see a glowing box with a small bag. baksa inside.
Approach the glowing chain and drop down to the area below. The puzzle here requires you to move the giant cart forward and then use it as a platform to cross the gap.
 Be sure to grab a small bag before moving the cart. baksa from the trunk behind her.

With bucks in hand, approach the back of the cart and interact with it to push it. Push it all the way forward, then climb back up the chain we fell off and hop onto the cart to cross.
 Immediately on the other side you will see a small bag baksa on a barrel to your left.
 Move forward and go down to the path below. Immediately look to the right and you will see another small bag baksa on a stone hidden in the bushes.
 Go to the stream ahead. Follow it downstream to a dead end where you will find a small bag baksa on a wooden box.
Start going upstream. Follow it all the way to the end where the water ends on an upward sloping hill.
 At the top of the hill you will see a glowing box with a small bag baksa inside.
 Climb down the cliff into the shallow water below. Immediately look to your left to see another glowing box with a small bag. baksa in it.
 Follow the left side wall and you will eventually come to a piece of debris that you can punch through to reveal a small chest. baksa.

Look to your right where you will see an obstacle leading to a new encounter. This time it's more shooters, some of which turn into nagals after being killed. To make matters worse, some devils will join the fray around the middle of the fight. The strategy of previous meetings still holds here. Abuse the shooters' weak points to kill them before they can get a shot, and the same goes for devils.

Make sure you always move and dodge between shots to stay away from the nagals until you're ready to deal with them. Collect them and blast them with a shotgun or just abuse the Zapper combos until they are all dead. Just don't forget to interrupt their faint howl!

Once the enemies are cleared, follow the tracks to the edge of the cliff. Look up and you'll see an interaction point that you can shoot to create a bridge. Cross over to the other side, then follow the tracks to the end.
 Around the corner you will see several dead bodies with note next to them, Agent Bloom's Bestiary 2/3.

At the end of the track is a locked door. Look to your right and you'll see a small alcove with an Overhealth pickup truck and a fuse box. Grab Overhealth, then interact with the fuse box, which will partially open the door, revealing an interaction point on the other side. Shoot at the target with a rifle so that the door does not close. Approach the door and crawl inside.

On the other side is another encounter with a Highborne vampire. A tutorial will appear that will teach you how to electrocute (aka Zapper) large enemies. To do this, you need to land a certain number of melee attacks and fill their stack indicator, after which they can be scored.

In my opinion, it's not worth it. Instead, resort to the same strategy we used in the previous one: stay away from melee, avoid shockwave attacks, and wait for him to expose his weak spot. Shooting at his weak point causes the Highborne to drop a health pickup and makes him susceptible to a full melee combo. Once he regains his composure, you can lean on the shotgun or Quake Punch to stagger him again, but once you run out of resources, you will return and wait for the weak spot to appear again.

Halfway through the fight, some devils will join in, so you'll want to deal with them the normal way (rifle shot at the weak spot). Just be careful not to use all your rifle bullets in case you need them for a Highborn's weak spot! Rinse and repeat this strategy for a relatively safe and easy win.
 Once the Highborne is dead, check the far right side of the cave where you will find a small bag baksa.
 Exit the cave by jumping over the glowing obstacle in the back left corner. Seize immediately Note next to the bloodied corpse on the other side, Agent Bloom's Bestiary 3/3.

Keep following the tracks and a short cut-scene featuring an upcoming enemy awaits you. Cross the bloody footprints, then look to the right where you will see a ladder that you can climb down.
 Follow this path to the end where you are find a unique chestcontaining a few bucks and cosmetics ghost rifle.
Return to the main path. Follow the path all the way up the hill and you will reach another ledge that you can fall off of. Walk forward past the pile of dead bodies, then squeeze through the gap in the wall to reach the final meeting.
Objective: Defeat a friend

Here we will face the rodent-like enemy from the earlier cutscene, Gowrow. This enemy burrows underground, only popping up to attack. His two main attacks are a melee attack that can be countered with Kick-Off and a ranged stone throw attack with a weak spot that can be countered with your rifle. The main strategy here will be to determine which attack he is using and then react accordingly.

Gorou almost always starts with a melee attack, followed by a stone throw. After being countered, you have an opening to hit Gowrou with our usual combo of melee, shotgun, and Quake Punch attacks. After that, Gowrow will most likely burrow again, at which point we will be back in idle mode. Sometimes he will jump into some varied melee attacks. I recommend just backing off and waiting for him to get back underground.

It would have been a pretty easy fight if it wasn't for the fact that a handful of devils and nagals join in halfway through. Devils that you can deal with instantly by shooting at their weak points, but don't let that distract you from exploiting Gowrou's weak point as his attacks are more dangerous. Nagals are a bigger problem, but we can also use them to our advantage thanks to the Zapper and e-combo which allows us to grow them for Health Drops if you need them.

As always, keep moving and dodging between attacks, use your shotgun on reload and look for any weak spots. Once the battle is over, follow the quest marker to the edge of the cliff at the back of the arena to end the level.
Remote RI Outpost
Objective: Talk to Edgar Gravenor

This trip to Calico Town starts at the bar that serves as the front of the hideout. Edgar is straight ahead, but first we need to explore the area.

Climb up the stairs and turn left. You can find thisnote, William Rentier Writings 1/3, on the trunk next to one of the open doors.
Go back to the first floor and talk to Edgar to progress.
Objective: Meet Emilia Blackwell in her lab

Go through the door behind Edgar, then go down the stairs marked with a quest. Approach the glowing wheel on the giant keg and interact to open the hidden door to the hideout.

Enter the hideout and turn right towards the drop vehicle. You will see with a luminous box with a small bag Bucks inside.

Use the reset device if necessary, and then head to the conference room. Take this little bag baksa from a table at the far back of the room.

Climb the stairs in the corner to a small conference room where you will find note, promotion letter for Emilia.

Head towards the lab, but go down the stairs to the cages, not up. Enter the room with the electric chair where you will find a small bag baksa.

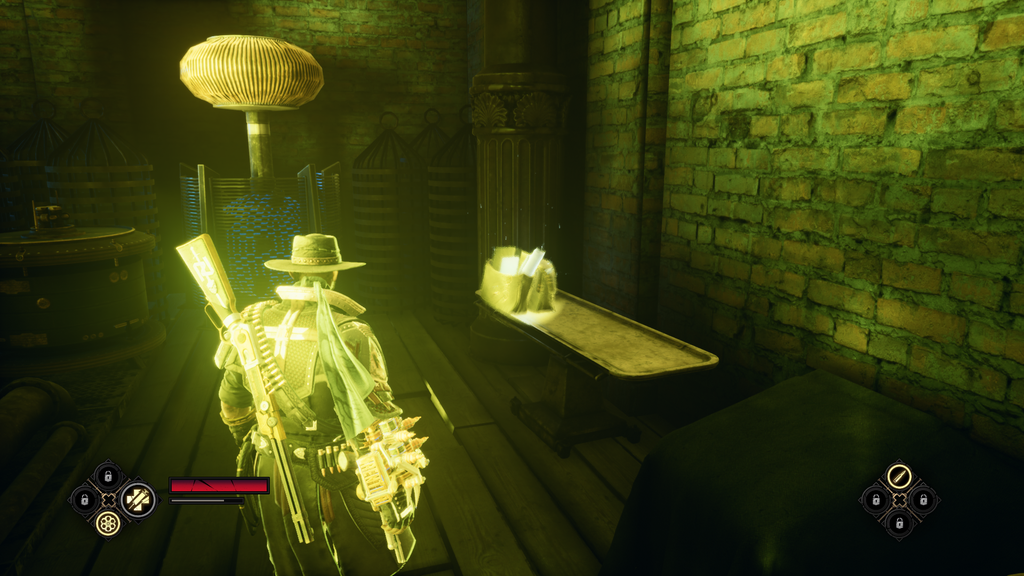
Finally, head up both stairs and into Emilia's lab. Talk to her to trigger a cutscene that leads to the next level.
Objective: Find the abandoned cell RI

Once you gain control, turn left and start following the rock path that curves around a large wooden structure. Climb the short ladder to the raised wooden platform.

When you turn the corner you will see a glowing box straight ahead with a small bag baksa inside.

Look to the right and you will see a note on a red metal barrel at a short distance, Miner Baxter's Letter 1/2.
Go through the open door next to the barrels and go forward along the boardwalk.

Be sure to look up and shoot the hanging body above the walkway that drops the small bag baksa.

Make your way to the end of the path and activate the fuse box, then drop down with the glowing chain next to the box.

Here you will encounter some Boo-hags and ships. Immediately uppercut the first person you see and cannonball him into the TNT from behind to damage all nearby enemies. At the far back of the arena are some proteas. I recommend focusing on them first so you don't have to deal with their annoying projectiles. Use Zapper Dash to quickly close the distance and get away from the rest of the enemies.
From here, just keep taunting Zapper over the main enemies. There's no reason to waste Quake Punch charges, but be sure to use your shotgun on reload when something gets too close.

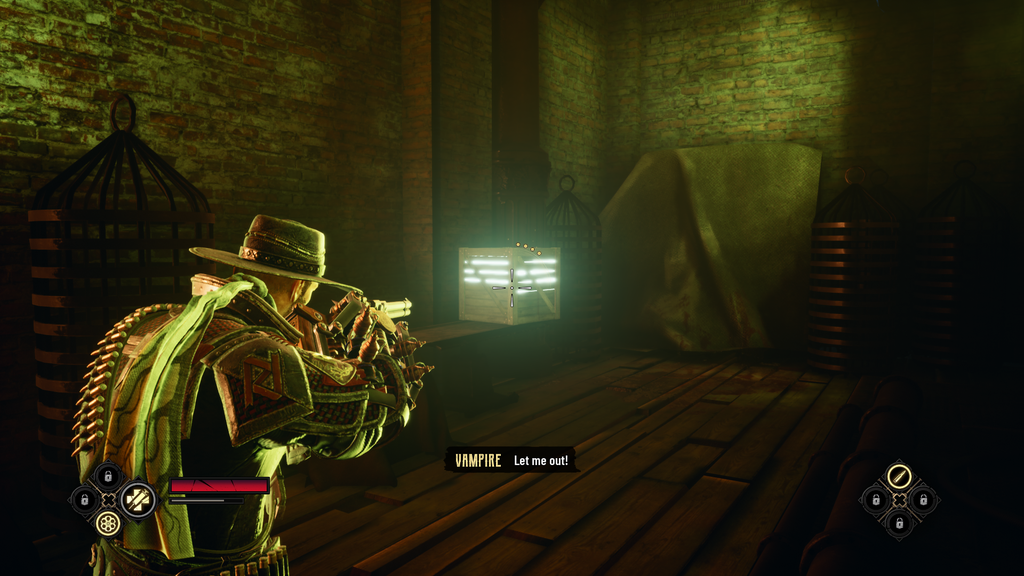
Once the enemies are cleared, look for a small hut with a glowing obstacle on the left side of the arena. Jump insideto find Bucks' little chest.

Then go to the large, well-lit warehouse at the back of the arena. Look on the left side of the mine carts inside to find a small sack. baksa on some barrels. There is also an Energy pickup in the back of this room.

After you have captured all the collectibles, return to the arena and look for a glowing chain in the back corner. Approach this place to go down to the platform below. Where Virgil waits.

A cutscene will trigger where he gives you the Crippling Wand. This weapon allows you to unleash a burst of energy that electrocutes all nearby enemies (similar to the Zapper). The cooldown is 60 seconds.

Get over the obstacle behind him to join the battle where you can test your new tool. Run into the group of vessels in front of you and activate the Crippling Rod to see the effect. You must be able to e-combo a couple of enemies before the electric shock ends. From here we have the main battle against the courts, devils, boo-hags and proteas.

There is a Proteus on top of the building in the back right corner, so either Zapper will pull it out to kill it or slit its weak spot. The same goes for a pair of devils flying around. Once the ranged enemies are dead, simply get your Zapper and uppercuts on the remaining main enemies to clear the area.

Look inside the dark building on the left side of the arena to find Note, William and Baxter's team.
Exit the building and go to the back right corner of the arena where you can get past the obstacle to progress. Go straight to the train cars ahead of you.

As you approach, look to your left to see a notesitting on a wooden barrel, medallion.
Objective: Find another way down

Here you will need to solve a quick puzzle to create a new path forward. Start by walking up to the smaller of the two mining carts. Grab the front and pull it back to get it out of the way of another cart.

Next, move on to the larger of the two mine carts. Take it from the front and pull it back. Once it's at the other end of the walkway, climb to its top to reach the wooden platform above.

Straight ahead you will see a glowing box with a small bag Bucks inside.

Look to the left and you will see a fuse box. Activate it to lower half of the nearby bridge. Drop back to ground level and grab the big minecart again and then push it back to its original position.

Before heading upstairs, look at the building to your left. You should see a suspended body with an interaction point on it hanging from the edge of the roof. Shoot the body and it will drop a little bag baksa.
Once it's in place, climb to the top and climb the stairs to get to the platform above.

Look to the right of the stairs and you'll see this glowing box sitting between some metal columns. Break it down to get a little bag Bucks inside.

Walk right out of this box and you will see a glowing obstacle. Jump over it, then break the rubble blocking the entrance to the hut on your right. Inside is an Overhealth pickup truck.

Return to the place at the top of the stairs where you found the glowing box. This time, go around the corner to the left, where you will see a lasso point. Lasso across and follow to the end to find a small bag baksa.

Return to the place at the top of the stairs again and look to the right. You should see another fuse box with a quest marker on it. Approach and activate the fuse box to lower the other half of the bridge.

Before you cross the border, be sure to grab Footnotesfrom the boxes to the right of the fuse, Baxter's Miner Letter 2/2.

Cross the bridge and enter the warehouse from the other side. Grab the Energy pickup on the right and then exit using the door in the corner. Here you will encounter Virgil again. Talk to him to get him down the elevator.
Objective: Follow the rails down

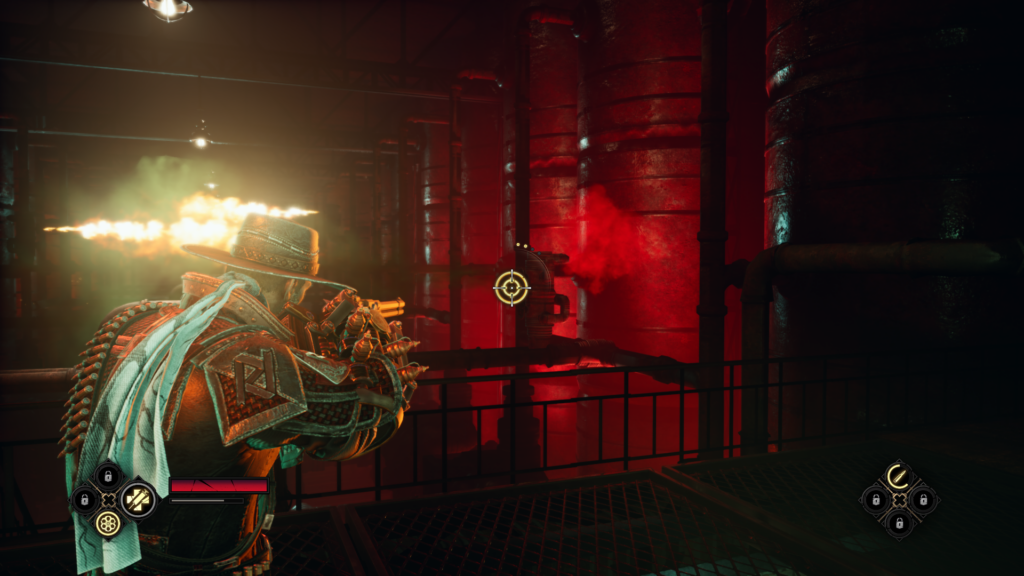
At the bottom of the elevator, you'll immediately engage in battle with the usual mix of core vampires. Nothing new here, just make sure you deal with the Proteus on the raised platform on the right so they stop dropping projectiles at you. Once they die, it's back to abusing the weak spots and the Zapper. We're starting to get a pretty good amount of gear at this point, so don't forget to use the Crippling Rod and Shotgun on cooldown!

Once the enemies are dead, look for the glowing obstacle to the right of the elevator. Jump over it to find a small bag baksa in a pile of dead bodies.

Return to the arena and head to the fuse box marked by the quest in the opposite corner. Ignore him and head towards the glowing chain to the left. Squeeze through the gap to find a small bagbaksaon the other side.

Return to the fuse box and activate it for progress. This is 1/3 of the fuse boxes you need to flip over to use the tracks. Turn around and look at the newly lit building behind you.

You should see an interaction point about halfway up. Shoot him with your rifle to drop the chain down, then walk up and climb him to get into the structure. Immediately go up the stairs in front of you.

Look to the right at the top of the stairs and you will see a small bag baksasitting on a wooden box.

Grab the bucks and then head up the nearby stairs marked with a glowing chain. Use the lasso point on the left to cross the gap, then follow the quest marker to the second fuse box. Activate it to turn on the elevator which gives you access to the next structure.

Before you cross, go up the stairs next to the fuse box and grab a small bag Bucks at the top.
Wait for the elevator to arrive, and then go up further. You will immediately notice a small bag baksasitting on a box in the corner of the elevator.

Look at the adjacent structure that the left side is connected to and you will see an interaction point. Shoot him with your rifle to make the elevator move again. Get off the lift when it reaches the other side.

Head straight out of the elevator and you'll see some shattering debris on your left. Break it with a melee attack to open a small chest baksa.

Turn around and go to the third fuse box, which is marked with a "!". Activate it to complete this area's objective. Use the lasso dot next to the fuse box to return to ground level. Approach the mine carts and interact to get inside.
Objective: Ride on a cart

What follows is a fairly simple trolley ride section. The cart will race around the track and all you have to do is shoot any obstacles that get in the way. These obstacles are made up of TNT and interaction points that flip the track. Just keep your rifle up and keep an eye on the objects ahead of you. As long as you don't miss out, it will be a smooth ride!
Objective: Find the entrance to the chamber

Once the trolley ride is over, you will find yourself on a variety of elevated walkways. Walk straight ahead and drop down to ground level.

Follow the broken railroad tracks ahead of you to the right, where they lead into a pile of snow and debris. Here you will see a small bag baksa on a wooden box.

Then follow the tracks in the opposite direction, which will lead you straight to the obstacle. Walk forward to Vergil, then use the chain to climb up to the platform where he is waiting.

He will point you to a workstation where you can unlock a new upgrade, a revolver blaster. This upgrade costs 5000 and gives your revolver shots an electrical blast, causing them to ricochet between enemies. It's actually pretty useful for holding back the main enemies and doing area damage (plus, it's pretty fun too).

Drop down back into the arena to spawn another enemy Leecher. If you don't remember this enemy from the past, here's a quick update: the shield must be broken with a shotgun or melee attacks, likes to attack you and shoot shockwave attacks along the ground, most susceptible right after his shield is broken. The Crippling Wand is also incredibly useful, instantly shattering the Leecher's shield and putting him into an electric shock state.

I recommend starting the fight by immediately using the Crippling Rod to put it on cooldown. E-combo the Leecher, followed by a few melee attacks and a shotgun blast or Quake Punch. Once the Leecher regains his composure, we want to get out of close combat and start spice it up with rifle shots or explosions from our newly electrified revolver. Wait until he recovers his shield and then start the process again.

Halfway through the fight, a bunch of Proteas and Vessels will join. As usual, they are more annoying than anything else, but they can provide some good health drops if you need them. Zapper rushed towards them to get some distance away from Leecher and then quickly kill them to get that health drop before Leecher could interrupt. If you need to, you can just wander around the fight until the Crippling Wand goes off again, and then hit Leecher again with an electronic combo and a shotgun.

Once the enemies are dead, you can head to the mine the Leecher came out of.
 Follow the tracks forward a little, then shoot the TNT boxes on the right to reveal a small bag. baksa.

Get back to the tracks and keep following them. Jump over the obstacle and you will immediately run into some ships on the other side. Blow them up with your revolver or shotgun to neutralize them and then keep moving forward. The caterpillars will lead to a small hole in the wall of the mine shaft. Walk under to access the optional collision.

There is a little enemy glove inside. First, it's boo-hagi and vessels. It's best not to waste any resources or reloads on these weak enemies, so just roam around and blast them with your electrified revolver or abuse the Zapper for some free combos. Some Proteas will join the fight after a short time, so turn your attention to them with lots of Zapper dashes to stop their pesky projectile attacks.

Then another Leecher will break through the wall. We just dealt with one of these guys and we're going to deal with it the same way. I hope you saved your Crippling Rod and shotgun for now. Pinch him to break his shield and then deal as much damage as you can with a melee, shotgun, and Quake Punch combo. Just like before, play it safe whenever Leecher is on the offensive. It's better to back off and use ranged attacks than risk going toe-to-toe with his powerful melee attacks.
 Once all the enemies are dead, look for a glowing obstacle in the back corner of the room. Jump over it to find your reward unique chest с bucks и Perk Lethal Heights inside.
Crawl back through the gap in the wall and follow the path on the left to reach a new room.
 Grab a small bag immediately Bucks on the boxes on the right.
 Then shoot the nearest TNT box to reveal a path leading to another unique chest, this time with bucks and cosmetics ghost suit.
Next, pay attention to the gate blocking the way forward. Break through it with a melee strike, and then continue deeper into the mine.
 You will see a notesitting on some boxes on the other side, sheet of torn paper.

Around the corner you will see a minecart blocking your path. Grab onto it and push it forward to get out of the mine. Use the glowing ladder on the right to go up the elevated walkway.
 Take a small chest bucks on this wooden box along the path.

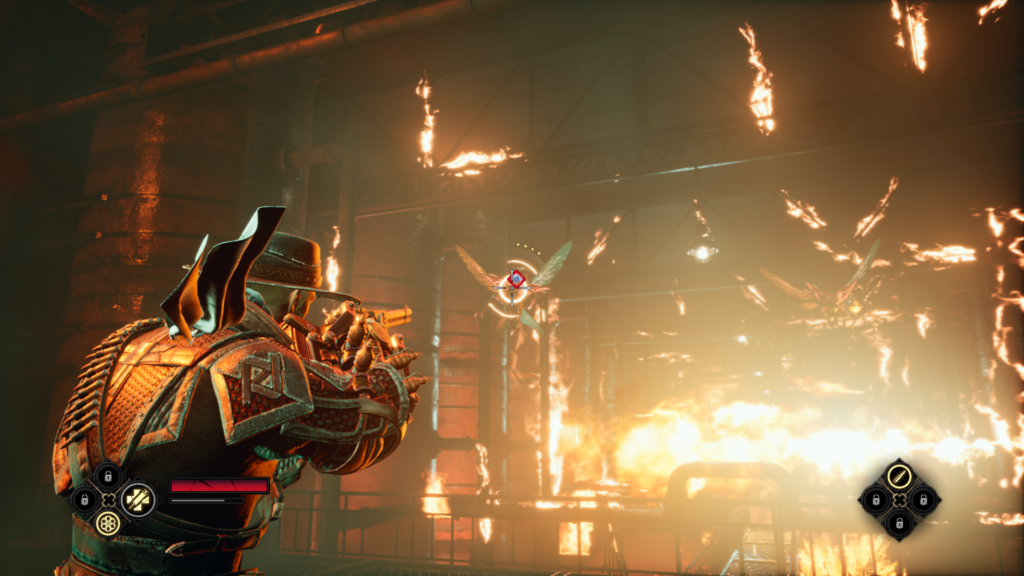
Use the lasso point at the end of the path to cross the gap. You will immediately be ambushed by some devils from the other side, but thanks to their offensive weak points, they barely stand a chance. Follow the tracks all the way to the end to trigger a cutscene where Vergil moves some gears for you. With it, you can climb over the abyss and get to the final meeting, another battle with a Highborne vampire.

This time, the Highborne took his friends with him from the start, so maybe consider dealing with the courts first. However, don't let the Highborne out of your sight! Always rotate your camera to keep him in view so you can see his attacks and know when you need to shoot at his weak spot for that free health drop.

The good news is that your new electric revolver will allow you to deal damage to multiple enemies at once, including the Highborne. I also recommend using the Crippling Rod early in the fight to put it on cooldown and get an easy electronic combo on the Highborne.

As the fight progresses, some Proteas will spawn on mine carts along the edge of the arena, and some Boo-hags will jump as the Highborne approaches death. These guys have a lot more trouble than the vessels, so once again I recommend that you pay attention to them, keeping an eye on the Highborne. Keep abusing weak spots and keep abusing Zapper. These weak enemies will provide a lot of health drops, so be sure to always kill them with a finisher and not a stray bullet.

Once all the main enemies are dead, we can finally focus on the Highborne. As always, stay away from melee, avoid shockwaves and jump attacks, and wait for the weak spot! Shooting at a weak spot makes the Highborne susceptible to some melee attacks and gives you a health drop. Throw a shotgun and Quake Punch into this hole for a lot of damage. Keep shooting him with your revolver whenever you have downtime, and don't forget to keep an eye on your Crippling Rod's reload.
 Once the Highborne is dead, turn your attention to the small shack next to the faucet. Jump over the obstacle to get inside and find a small bag with bucks.
Exit the shack and go all the way to the other side of the arena where you will see another glowing obstacle.
Purpose: Enter a cell

You will see Virgil waiting for you on the left. Approach him to trigger a cutscene that ends the level.
Was the article helpful?