z-library zlibrary project

Walkthrough Gears 5

gears-5-img

Act 1 Chapter 1 - At random | Gears 5 Walkthrough

The Delta team returns to the ruins of Azura in search of an early version of Hammer of Dawn. The team reaches an area near an abandoned research facility. This is where your Gears 5 adventure begins. The main path leads up.

First, step off the path to the left to get your first collectible - Onyx guard unit badge - Act 1 Chapter 1 - Shot in the Dark | Gears 5 Walkthrough - Act I - Gears 5 Guide

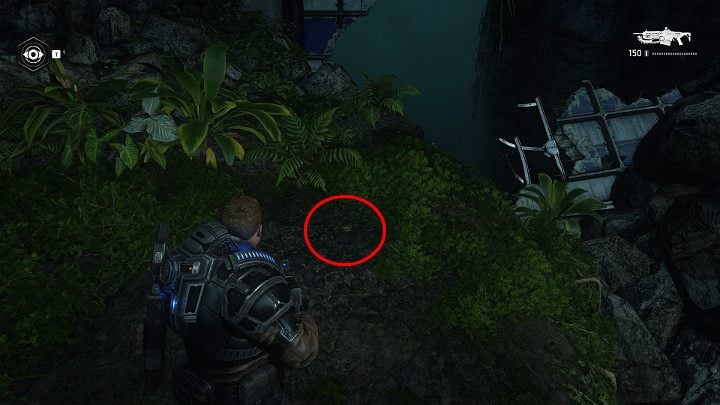
First, go off the path to the left to get your first collectible badge, the Onyx guard unit. Follow the path - you won't get lost.

There are a few items on the tiny stone shelf on the right - Act 1 Chapter 1 - Shot in the Dark | Gears 5 Walkthrough - Act I - Gears 5 Guide

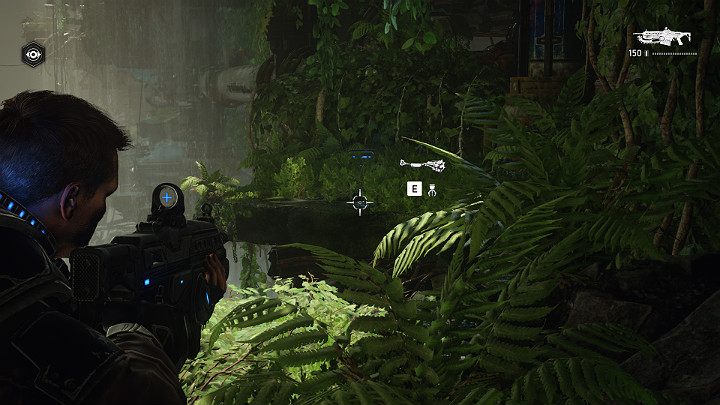
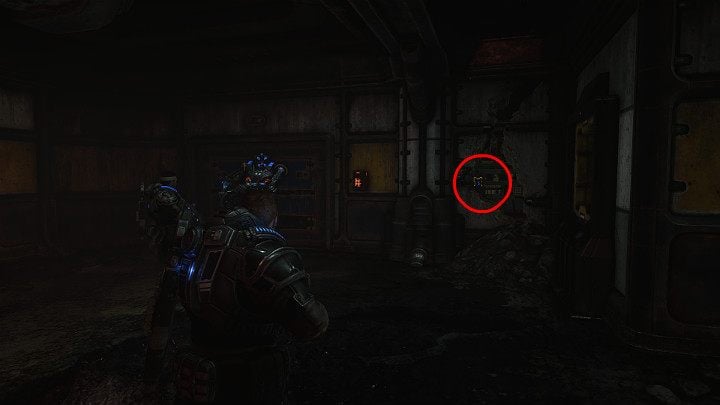
There are a few items on the tiny stone ledge on the right. However, you will not be able to reach them. But nothing is lost! This is the best time to ask Dave for help. Use the zoom button and then click the action button. Dave will fly to the specified location, pick up the goods and bring them to you.

After entering the dark room, look at the wall on the left - Act 1 Chapter 1 - Shot in the Dark | Gears 5 Walkthrough - Act I - Gears 5 Guide

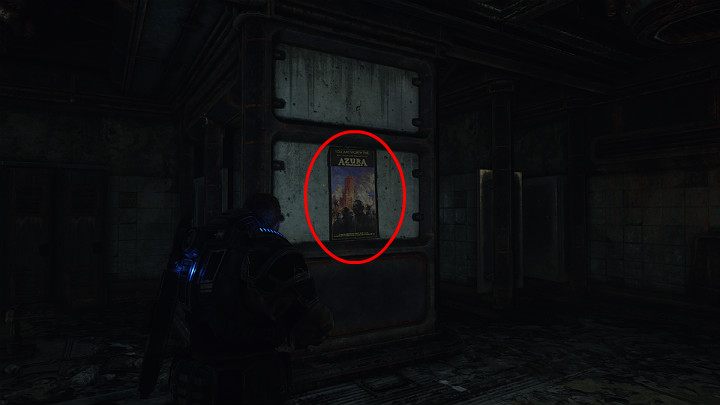
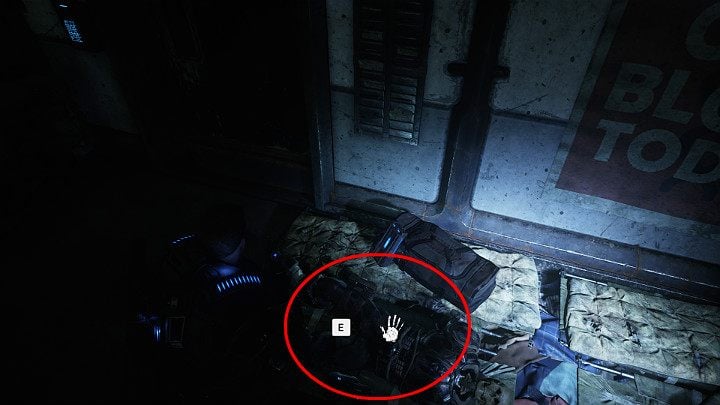
After entering the dark room, look at the wall on the left. You will find health promotion poster-Another collectible.

To reach the rest of the location, you will need to use the chainsaw built into the Lancer - Act 1 Chapter 1 - Shot in the Dark | Gears 5 Walkthrough - Act I - Gears 5 Guide

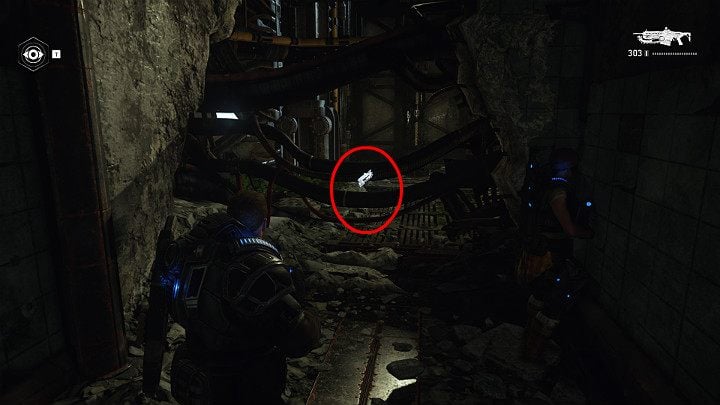
To get to the rest of the location, you will need to use the chainsaw built into the Lancer. Press and hold the weapon's reload button to cut the cables.

Before you go deeper, use Daves help to scan the surroundings - Act 1 Chapter 1 - Shot in the Dark | Gears 5 Walkthrough - Act I - Gears 5 Guide

Before going deeper, use Dave's help to scan the area. The ability to scan the environment is very useful - you should use it often. Thanks to scanning, you already know that enemies are waiting for you behind the nearest obstacle.

Hide behind one of the obstacles on the ground and get ready to fight - Act 1 Chapter 1 - Shot in the Dark | Gears 5 Walkthrough - Act I - Gears 5 Guide

Hide behind one of the obstacles on the ground and get ready for a fight. If possible, try to aim for the head to quickly eliminate the target. After the battle, do not forget to collect ammo.

Raise the grate to go to the rest of the location - Act 1 Chapter 1 - Shot in the Dark | Gears 5 Walkthrough - Act I - Gears 5 Guide

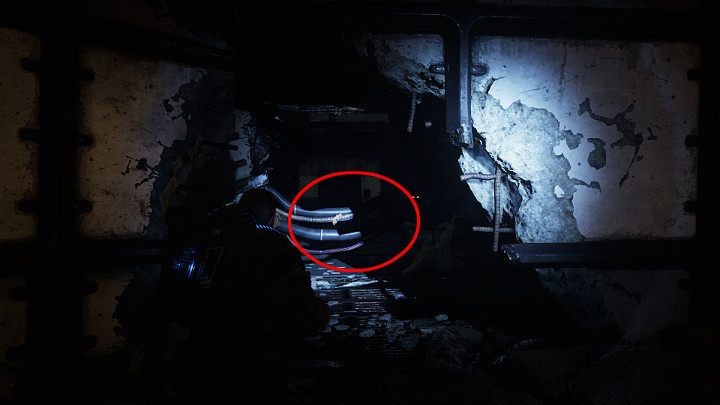
Raise the grate to move to the rest of the place. Help your friend and keep exploring.

Hide behind one of the obstacles on the ground and get ready to fight - Act 1 Chapter 1 - Shot in the Dark | Gears 5 Walkthrough - Act I - Gears 5 Guide

Hide behind one of the obstacles on the ground and get ready for a fight. You have to defeat two strong helmeted opponents, so a headshot won't help you here. Aim at their torso to kill them.

Access to destroyed missile silo is defended by multiple opponents that shouldn't give you any trouble - Act 1 Chapter 1 - Shot in the Dark | Gears 5 Walkthrough - Act I - Gears 5 Guide

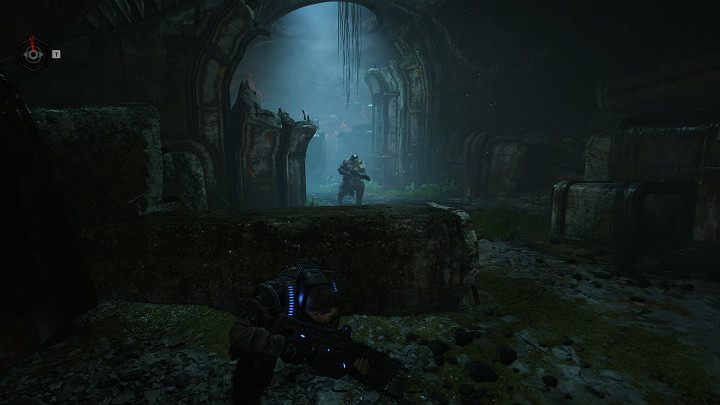
Access to the destroyed missile silo is protected by several opponents who should not give you any problems. Go around the bunker and cut the cables blocking the path.

When your unit divides into small groups, keep moving right until you get to the hatch leading to the sewers - Act 1 Chapter 1 - Shot in the Dark | Gears 5 Walkthrough - Act I - Gears 5 Guide

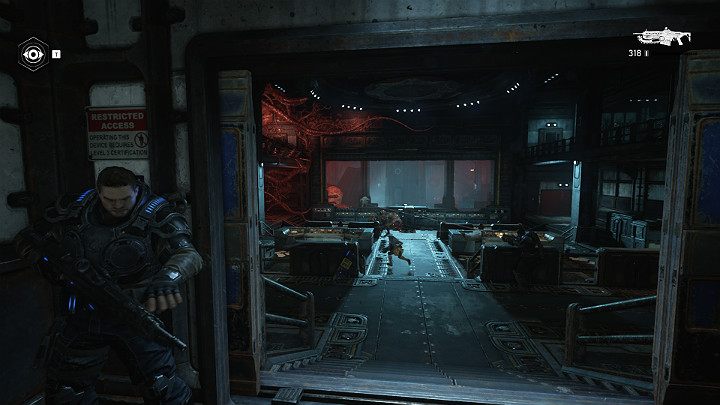
When your device splits into small groups, keep moving to the right until you reach a manhole leading to the sewers. Open it and go down.

In the sewers, you will encounter 3 groups of fast and agile opponents - Act 1 Chapter 1 - Shot in the Dark | Gears 5 Walkthrough - Act I - Gears 5 Guide

In the sewers you will meet 3 groups of fast and agile opponents. An additional problem here is the darkness. Fortunately, Dave will come to the rescue and deliver some light. During the fight, keep an eye on the flanks, because the opponents can walk on the walls - they will try to catch you by surprise.

You come across iron doors - Dave can open them - Act 1 Chapter 1 - Shot in the Dark | Gears 5 Walkthrough - Act I - Gears 5 Guide

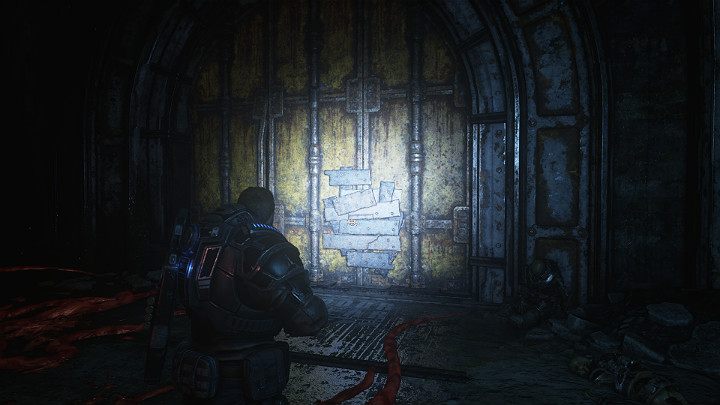
You come across iron doors - Dave can open them. Just give him an order by clicking on the right button.

From this position, you will have a great view of the entire arena - Act 1 Chapter 1 - Shot in the Dark | Gears 5 Walkthrough - Act I - Gears 5 Guide

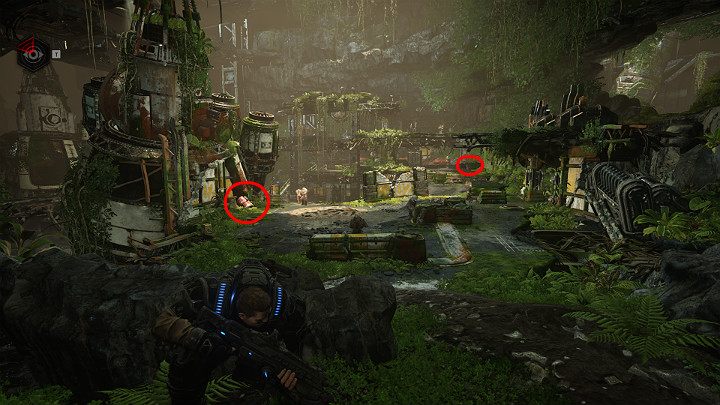
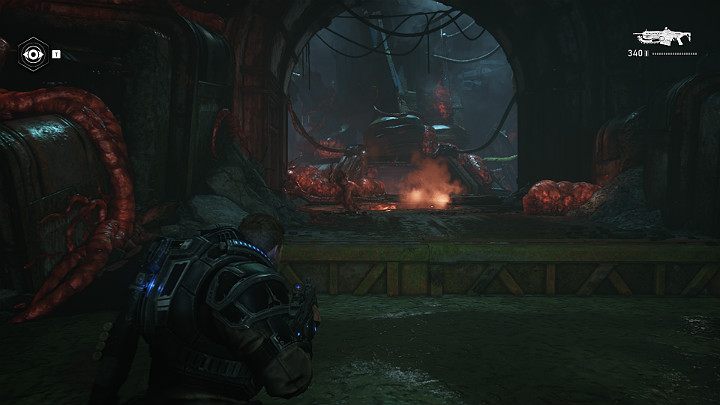
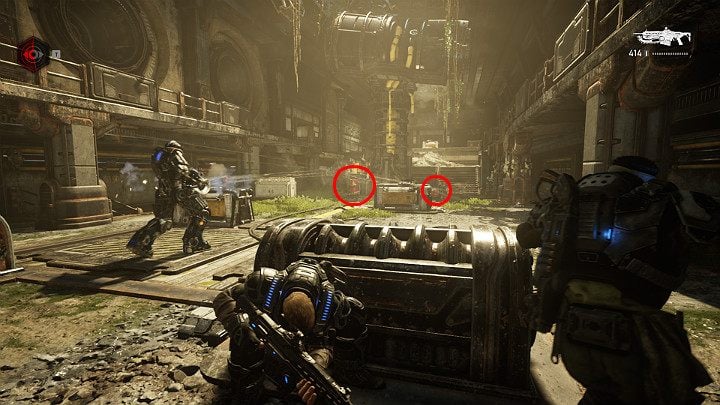
From this position, you will have a great view of the entire arena. You have to eliminate a lot of enemies, but you can speed up the whole process a bit by shooting the red barrels marked in the picture above. Several shots or one grenade will cause a large explosion and significantly damage opponents. Beware of creatures hiding a little further, because they will start shooting as soon as you get into their field of view.

Pulsating red cocoons (both on the ground and those hanging) can be destroyed with weapons - Act 1 Chapter 1 - Shot in the Dark | Gears 5 Walkthrough - Act I - Gears 5 Guide

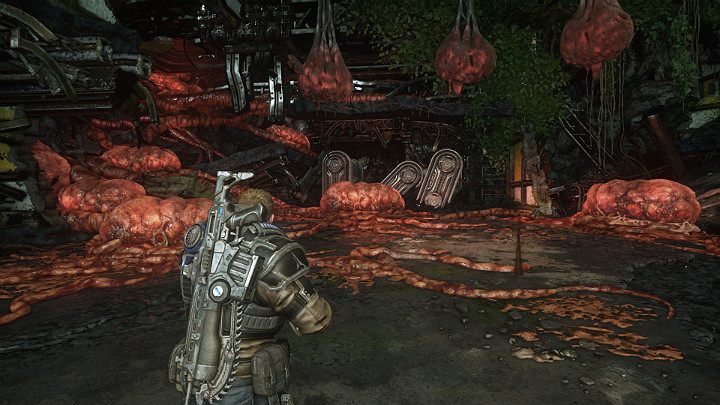
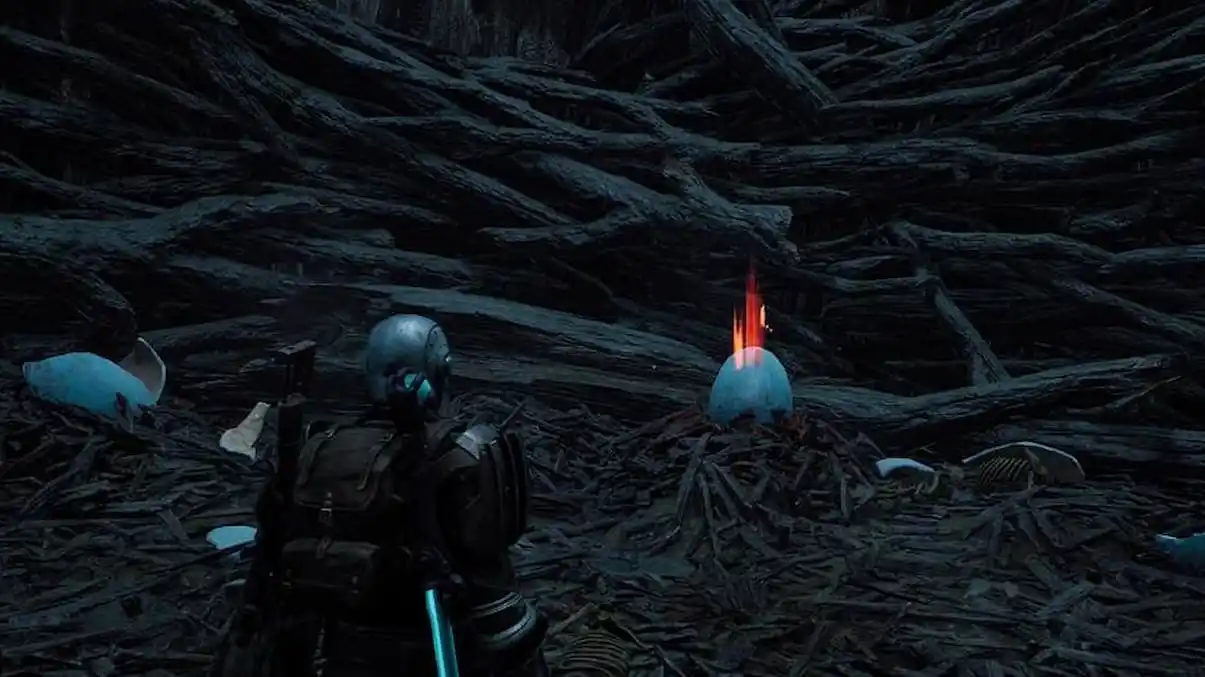
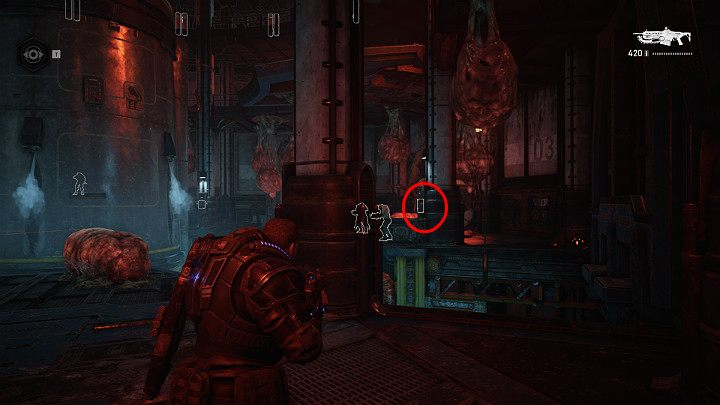
Pulsating red cocoons (both on the ground and hanging) can be destroyed with weapons. Be careful, enemies can jump out of them.

The enemies presented in the picture above should be eliminated from a distance - Act 1 Chapter 1 - Shot in the Dark | Gears 5 Walkthrough - Act I - Gears 5 Guide

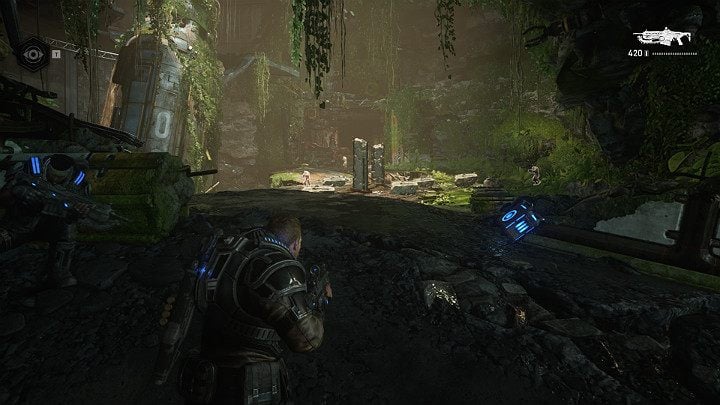
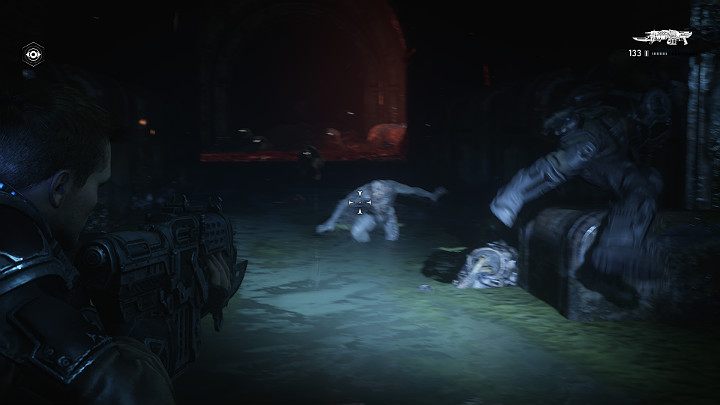
The enemies presented in the picture above must be eliminated from a distance. Don't run straight into a lit area. Replenish your ammunition and get ready to fight the first real enemy.

You are about to face a really large beast - Act 1 Chapter 1 - Shot in the Dark | Gears 5 Walkthrough - Act I - Gears 5 Guide

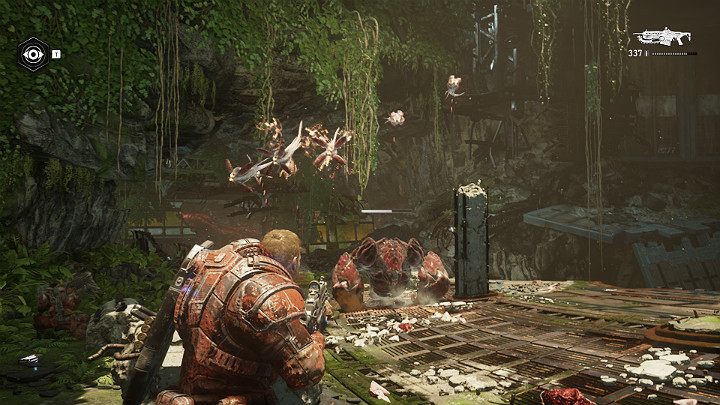
You are about to face a really big beast. The enemy is very durable, so you will have to use support - when the appropriate message appears on the screen, select option number 2. During the fight, beware of feces that the monster can spit out over a large area and additional flying enemies that it can generate on its own.

Ask David again to open the further path - Act 1 Chapter 1 - Shot in the Dark | Gears 5 Walkthrough - Act I - Gears 5 Guide

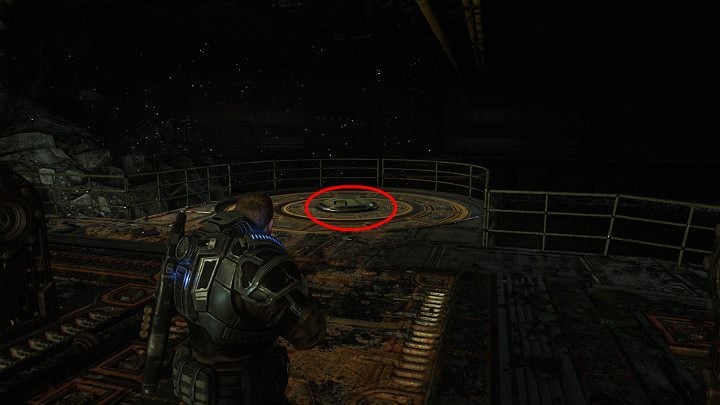
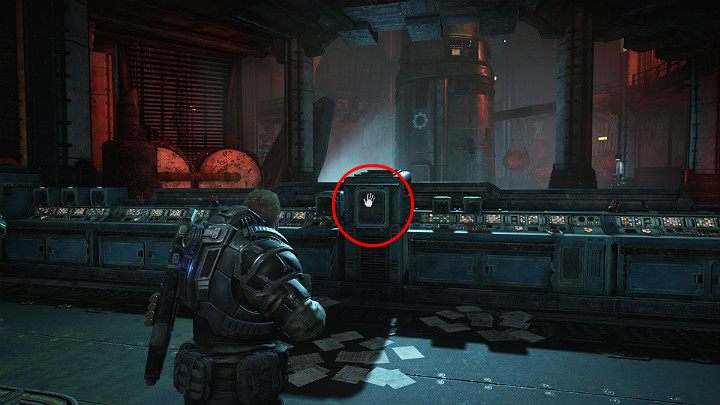
Ask David to open the way forward again. Aim at the panel highlighted in the picture and give the order.

Before you go to the commanders office, the first thing you should do is to check the armory - Act 1 Chapter 1 - Shot in the Dark | Gears 5 Walkthrough - Act I - Gears 5 Guide

Before going to the commander's office, the first thing you should do is check out the Arsenal. There you will find another collectible - Coalition Dog Token: Azura's Dropped Gear. There are no additional items of value in this room. Exit the room and go up the stairs.

If you want, you can go right first - Act 1 Chapter 1 - Shot in the Dark | Gears 5 Walkthrough - Act I - Gears 5 Guide

If you want, you can go straight ahead. Cut the cables blocking the entrance to the room. Inside, you will find many weapons, grenades and spare magazines. All these items will undoubtedly come in handy in the next battle.

Hide behind the nearest cover - Act 1 Chapter 1 - Shot in the Dark | Gears 5 Walkthrough - Act I - Gears 5 Guide

Hide behind the nearest cover. You must eliminate several enemies, including one very durable creature. A few more enemies will hide at the other end of the corridor, just above the stairs - they will shoot at your command from a safe distance. Take care of nearby enemies first. To make your life a little easier, blow up the red barrels marked in the picture above.

Go on the stairs and turn into the room on the left - Act 1 Chapter 1 - Shot in the Dark | Gears 5 Walkthrough - Act I - Gears 5 Guide

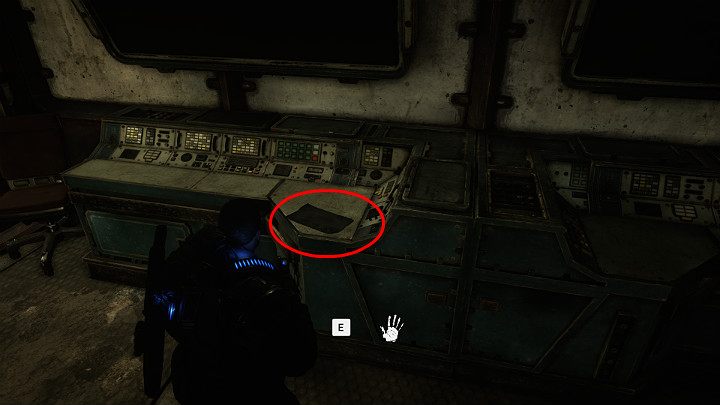
Go up the stairs and turn into the room on the left. Another collectible lies on the console - permission to launch a light rocket.

The door leading to the commanders office is closed - Act 1 Chapter 1 - Shot in the Dark | Gears 5 Walkthrough - Act I - Gears 5 Guide

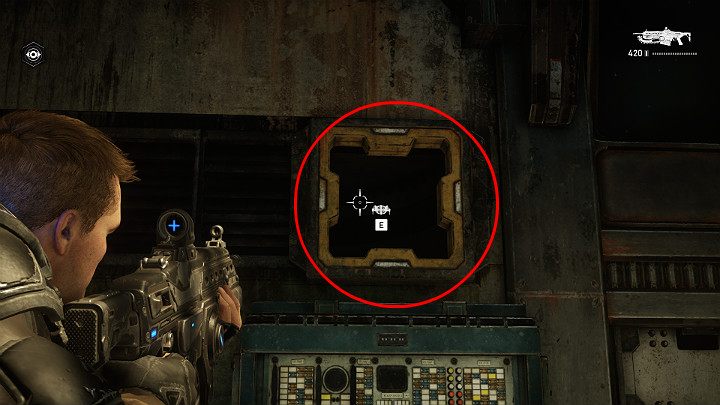
The door leading to the commander's office is closed. Send Dave to the ventilation shaft to open it. Go through the ventilation shaft to get to the next section.

Another collectible is lying on the table - UNR Hammer of Dawn plans - Act 1 Chapter 1 - Shot in the Dark | Gears 5 Walkthrough - Act I - Gears 5 Guide

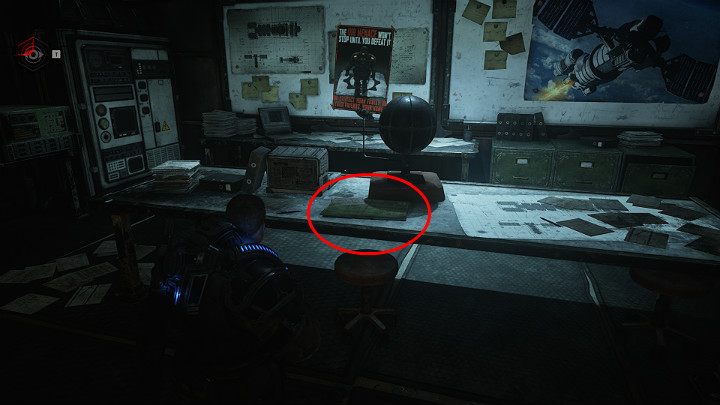
Another collectible is on the table - OHP Hammer of Dawn Blueprints

Your next task is to open the safe in the commanders office - Act 1 Chapter 1 - Shot in the Dark | Gears 5 Walkthrough - Act I - Gears 5 Guide

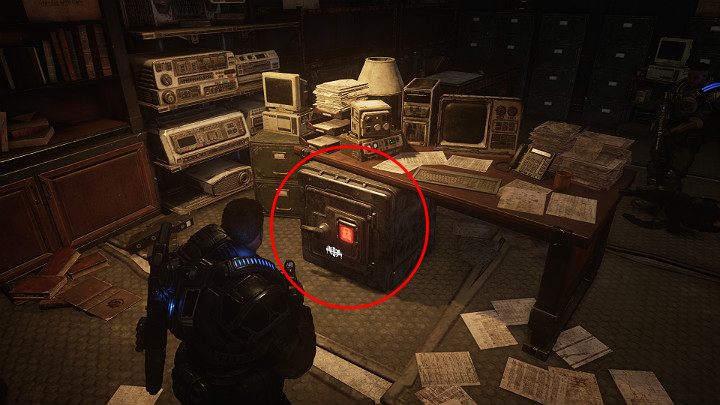
Your next task is to open the safe in the commander's office. Luckily you have Dave with you! In the safe, you will find the disk needed to complete the mission. Leave the office, open the next gate and run to your allies - they need your help.

The main control center of the research station is full of enemies - Act 1 Chapter 1 - Shot in the Dark | Gears 5 Walkthrough - Act I - Gears 5 Guide

The main control center of the research station is full of enemies. A few grenades and bullets should be enough to clear the room.

Go to the console and reveal the interface port, so that Dave can connect to it and launch a rocket - Act 1 Chapter 1 - Shot in the Dark | Gears 5 Walkthrough - Act I - Gears 5 Guide

Go to the console and open the interface port so Dave can connect to it and launch the rocket. Unfortunately, as is usually the case at such moments, something goes wrong and you have to save the whole situation. Your task is to open the rocket's hatch.

Eliminate multiple opponents and send Dave to the panels located on the pillars - Act 1 Chapter 1 - Shot in the Dark | Gears 5 Walkthrough - Act I - Gears 5 Guide

Eliminate several opponents and send Dave to the panels located on the pillars. You will open a passage to the back of this room. Climb up and get rid of the enemies.

Climb the ladder and use the control panel to open the rocket hatch - Act 1 Chapter 1 - Shot in the Dark | Gears 5 Walkthrough - Act I - Gears 5 Guide

Head up the stairs and use the control panel to open the rocket's hatch. Congratulations, soldier! Your first mission was successful!

Use the navigation in the guide to find yourself in the section of the Guide that interests you!

Was the article helpful?
Thank you very much!
[addtoany]
0 Comments

Add a comment

Your email address will not be published. Required fields are marked *

Secrets
Autoharmonic pipes in Genshin Impact: location and settings
Secrets
Autoharmonic pipes in Genshin Impact: location and settings
Autoharmonic pipes are unique mechanical puzzles in the worlds of the Nosta Region and the Sea of ​​Ancient in Genshin Impact. To activate them...
How to unlock all outfits and nanosuits in Stellar Blade
Secrets
How to unlock all outfits and nanosuits in Stellar Blade
Stellar Blade takes you on an exciting world of adventure with Eva, the main character, as she explores her origins and fights...
Escape From Tarkov Update 0.14.6.0 (April 25): Patch Description, Downtime and More
Secrets
Escape From Tarkov Update 0.14.6.0 (April 25): Patch Description, Downtime and More
The latest Escape From Tarkov update 0.14.6.0 was released today (April 25, 2024). Developer Battlestate Games has published a full list of updates, including...
Trade Toilet Tower Defense: prices of units for exchange (Ep.72 Part 2)
Secrets
Trade Toilet Tower Defense: prices of units for exchange (Ep.72 Part 2)
List of trade costs for units in Toilet Tower Defense, exchange prices for the Episode 72 Part 2 update from 7...
Prisoner in Shackles Genshin Impact Walkhtrough
Secrets
Prisoner in Shackles Genshin Impact Walkhtrough
The quest "In Shackles" is part of the overall "Ode to Harmony" storyline in Genshin Impact and follows the events of the quest "The Last Day of Remuria"....
How to get Kuri Kuri Egg in Remnant 2: The Forgotten Kingdom
Secrets
How to get Kuri Kuri Egg in Remnant 2: The Forgotten Kingdom
If you want to cook the perfect meal in the Forgotten Realm of Remnant 2, why not try making a huge egg-based dish? For such a dish...