

Passage of the game Lost Lands 9: Tales of the First Brotherhood 100%. All the secrets, puzzles, mini games, collectibles and achievements in one place...
Hello Neighbor 2 Walkthrough – Back To School: All Secrets and Puzzles
Full walkthrough Hello Neighbor 2 DLC: Back To School. Follow our guide to complete the adventure. Our guide lists step by step and in the picture the main path: riddle, path. Codes or locations may vary from game to game. In this DLC, you will face a school security guard and his three dogs. Hide in lockers to avoid them. The school is big and full of puzzles. Some puzzles are optional, others are required to complete the DLC. Our guide is based on the main path.
By launching the DLC, you find yourself outside the school. Enter the building and go upstairs. Enter the astronomy room across from the stairs. The room has a telescope and a puzzle on the board. On the board is a crow with lights.
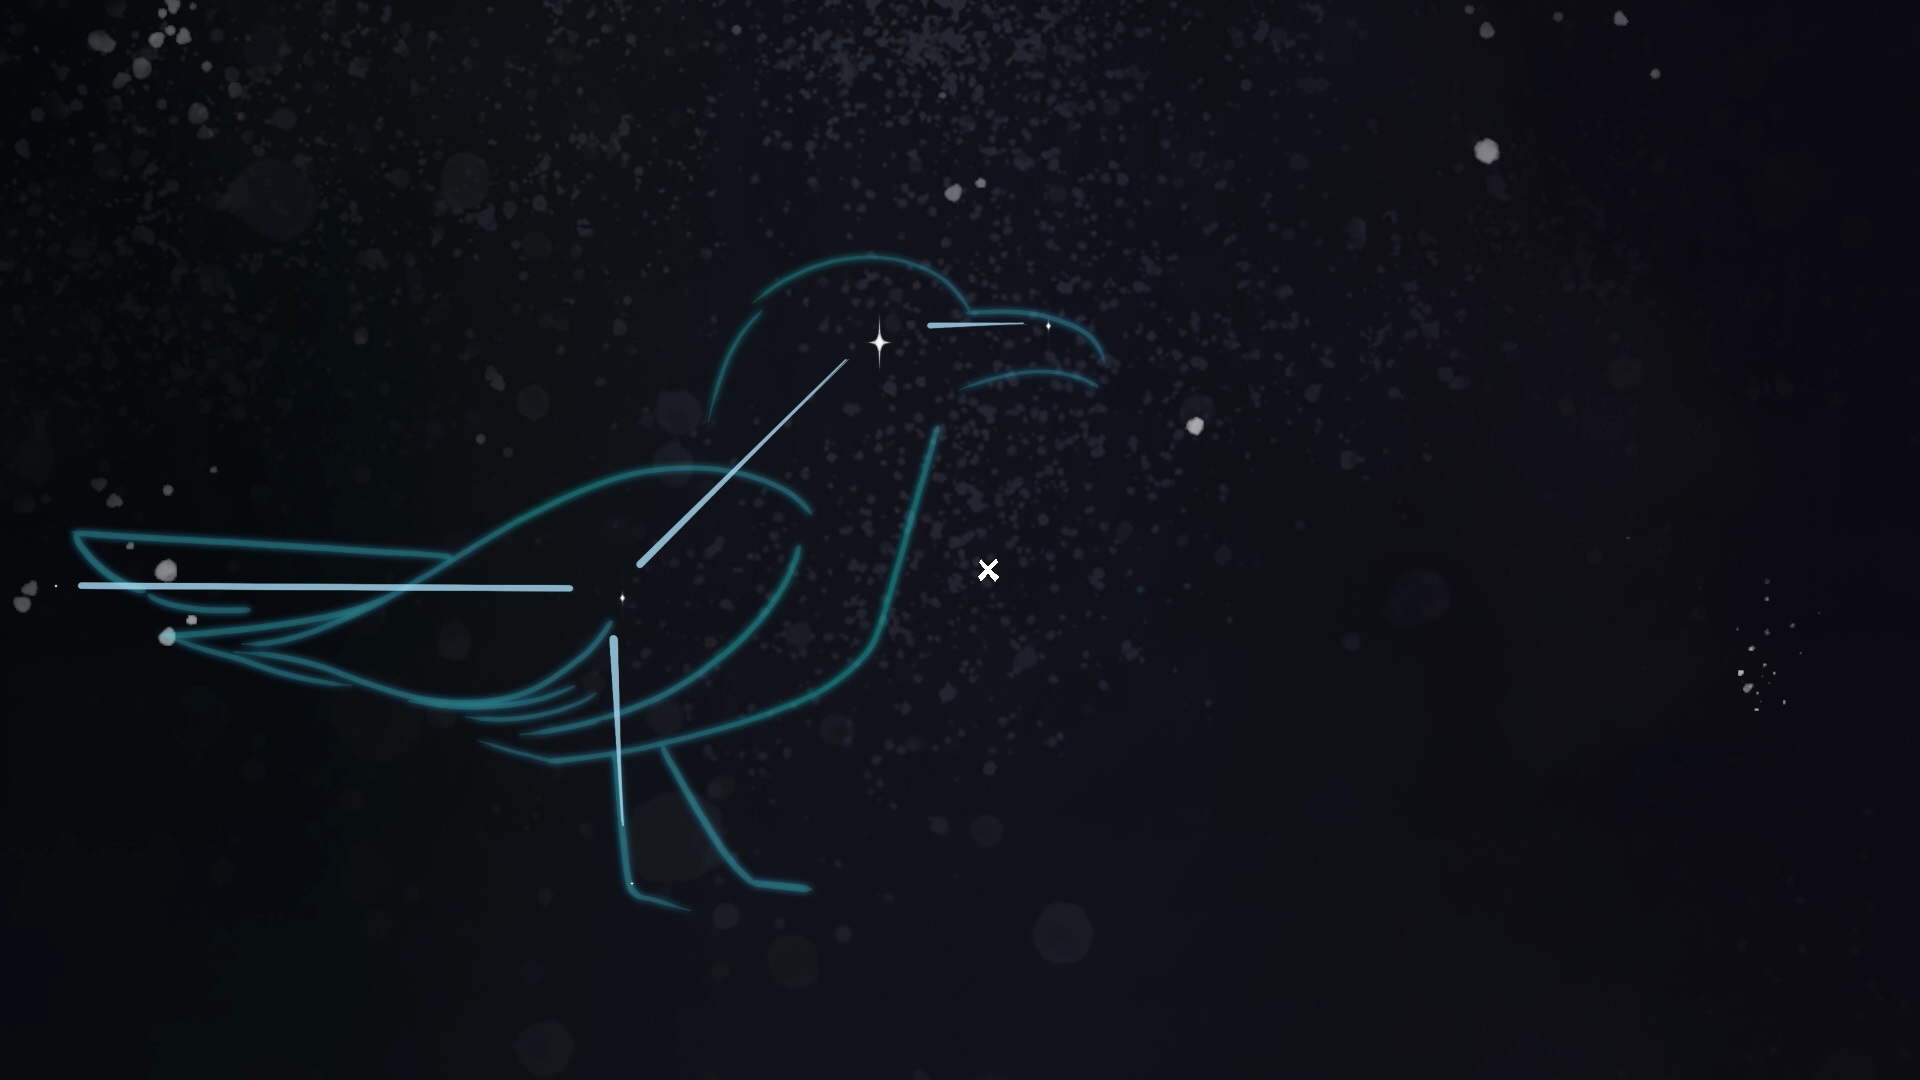
Look through the telescope and find the constellation Raven. Hold shiny dots connected by a line. The dots correspond to the light that should be turned on on the board in the room. You should light the following bulbs: On the lower back, legs, belly, eyes and beak (see image).
By completing this puzzle, you have activated the solar system on the ceiling. The furniture on the wall forms a staircase that allows you to climb this rotating solar system. This allows you to get to the secret passage. In the aisle you get the banner handle from the entrance to the school.
Head to the school entrance near the gate. Position the crank on the school banner mechanism. Operate the handle and wait until the flag is in the air to remove the key from the mechanism.
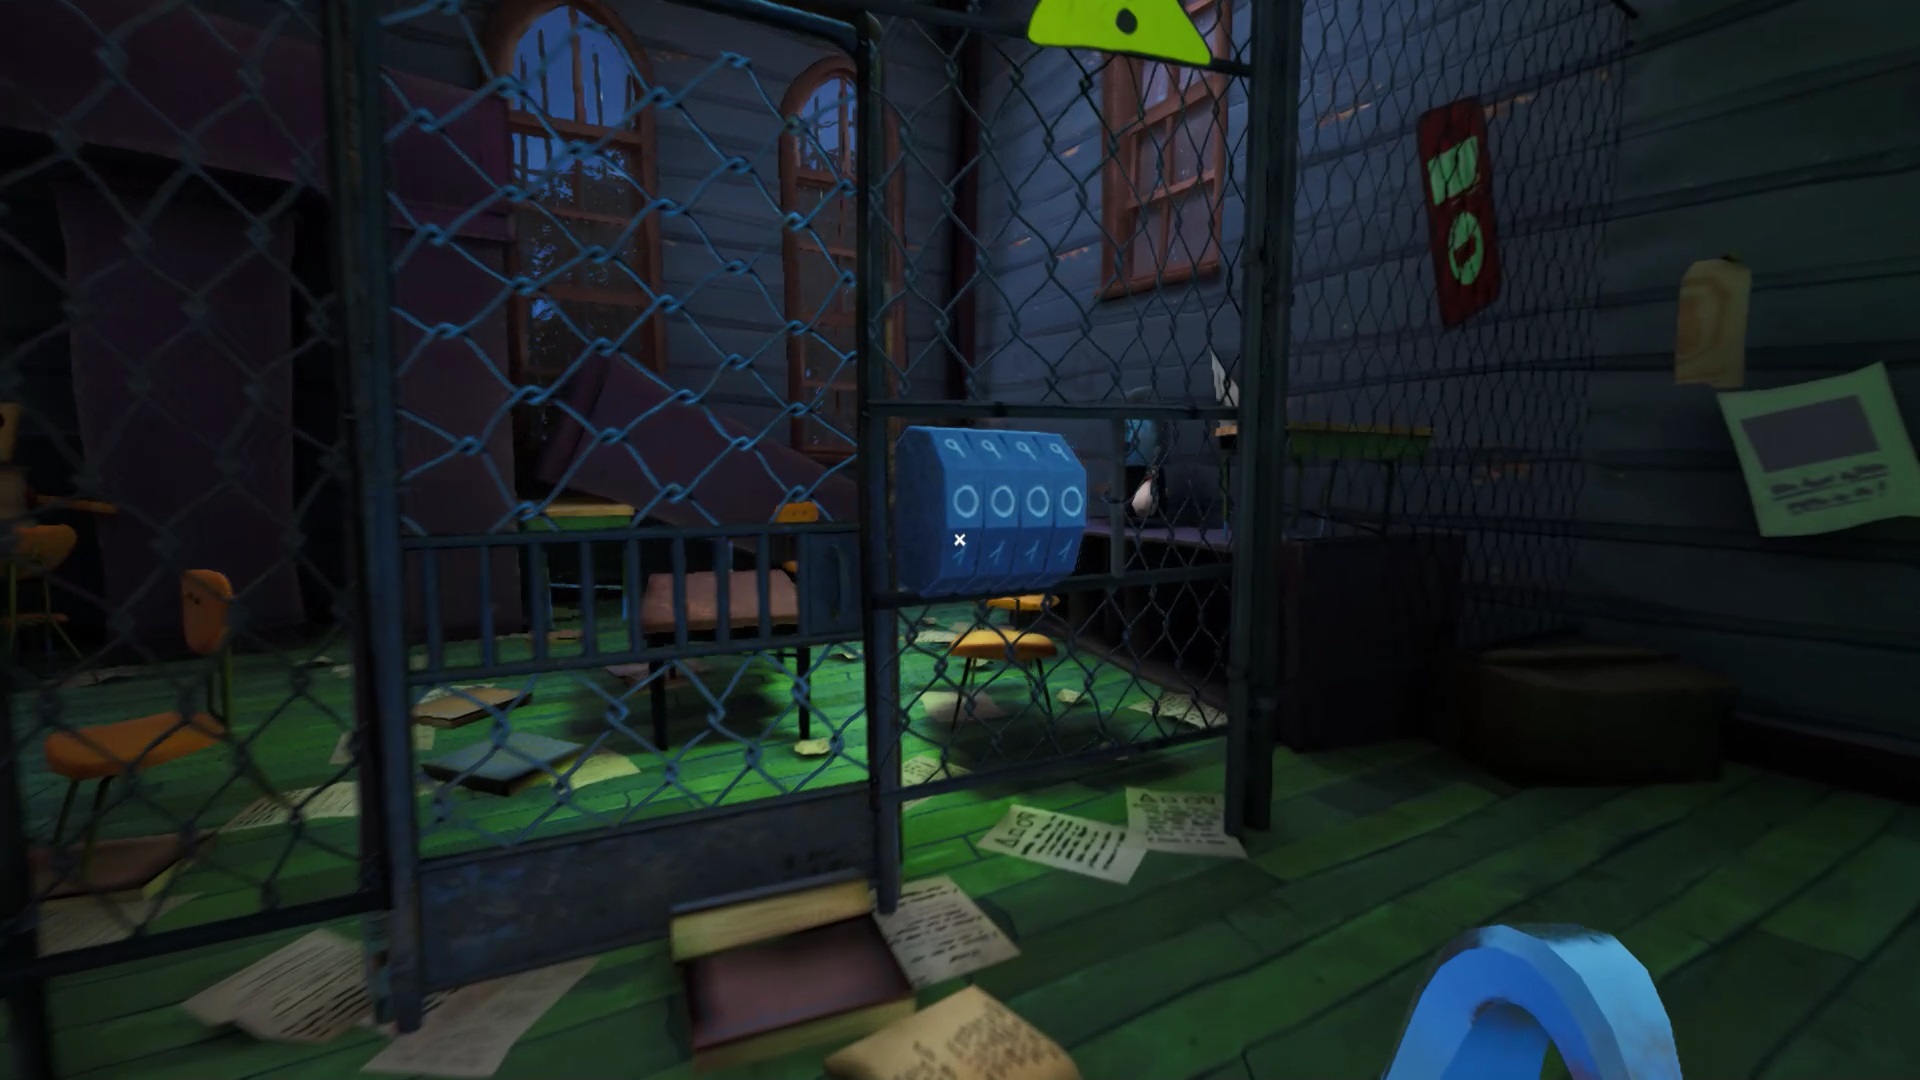
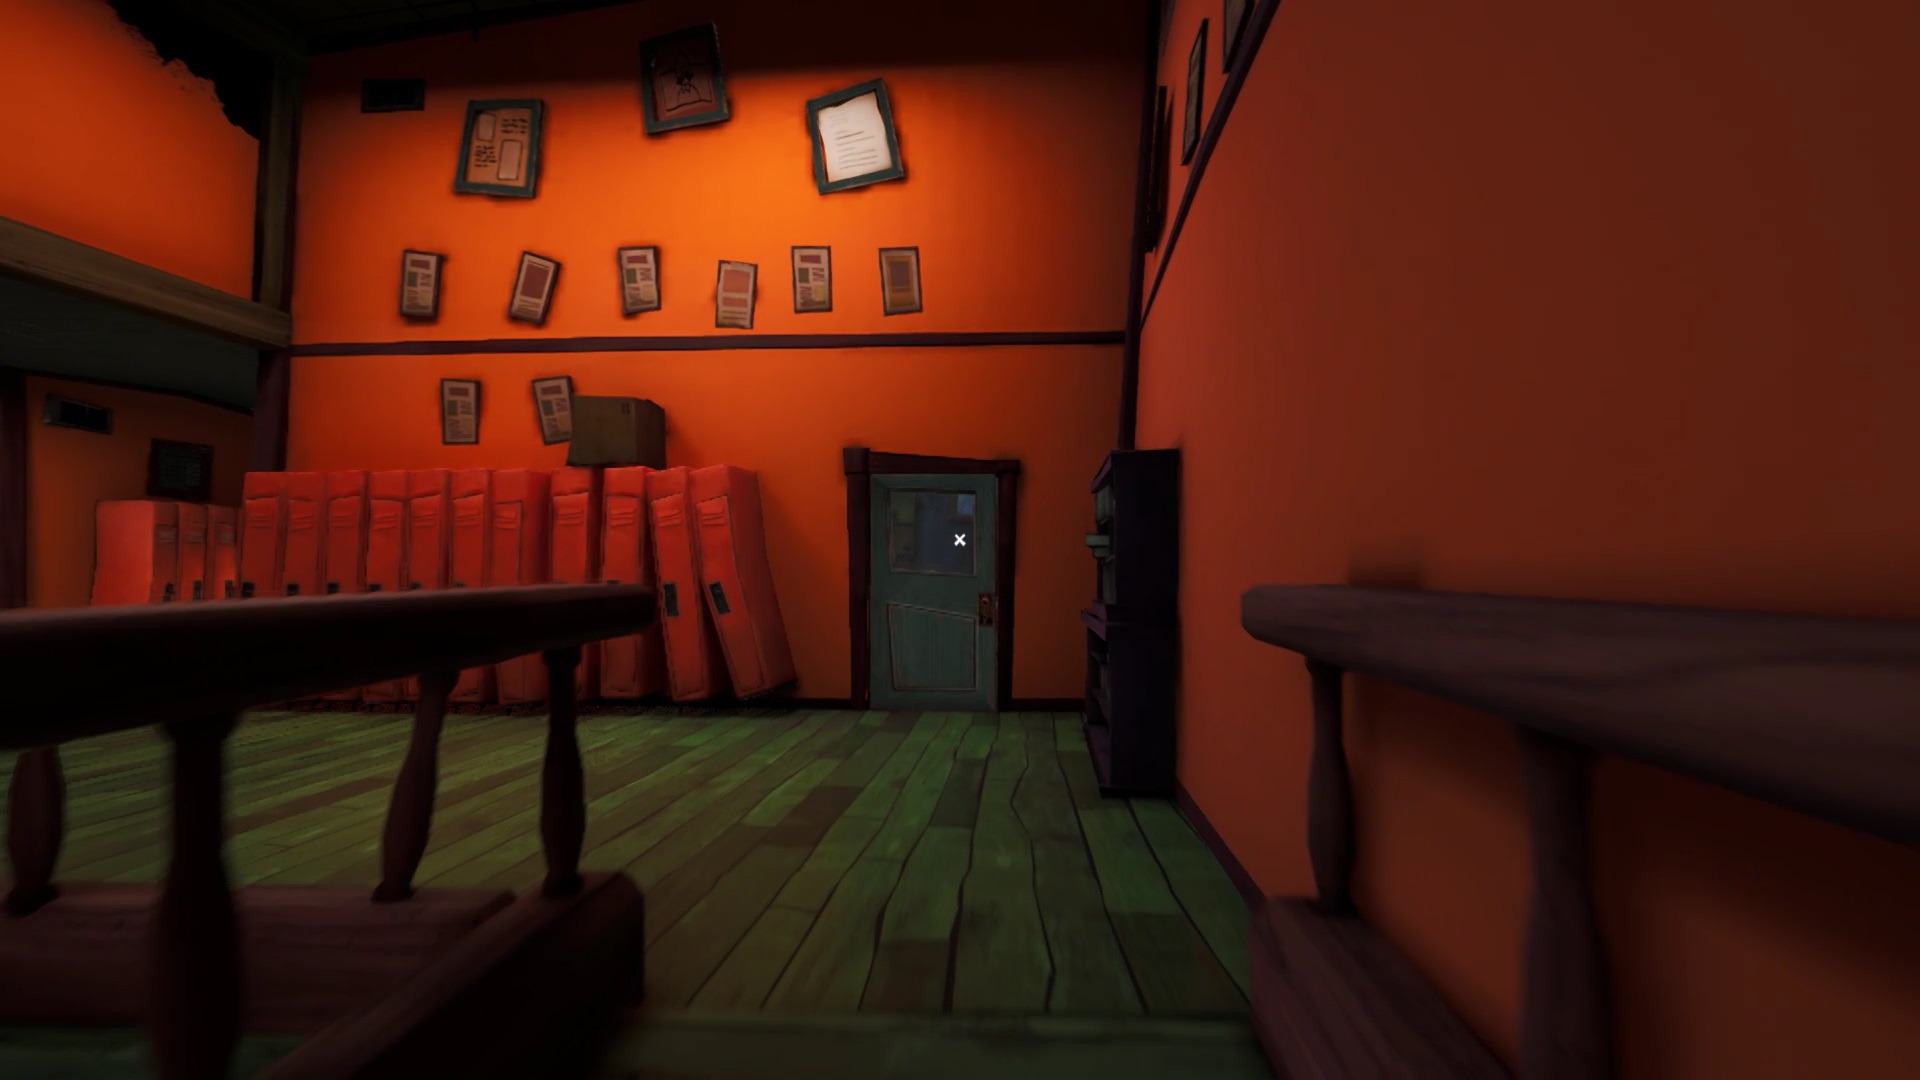
On the first floor, facing the stairs, there is a room with a closed code fence. To use the key you just found, you must first find the code for that room. Get down. The middle room contains a large board and a block of ice. Part of the code is indicated on the board: 52. To get the second part of the code, you need hot water. The water will melt the block of ice to gain access to the second part of the board.
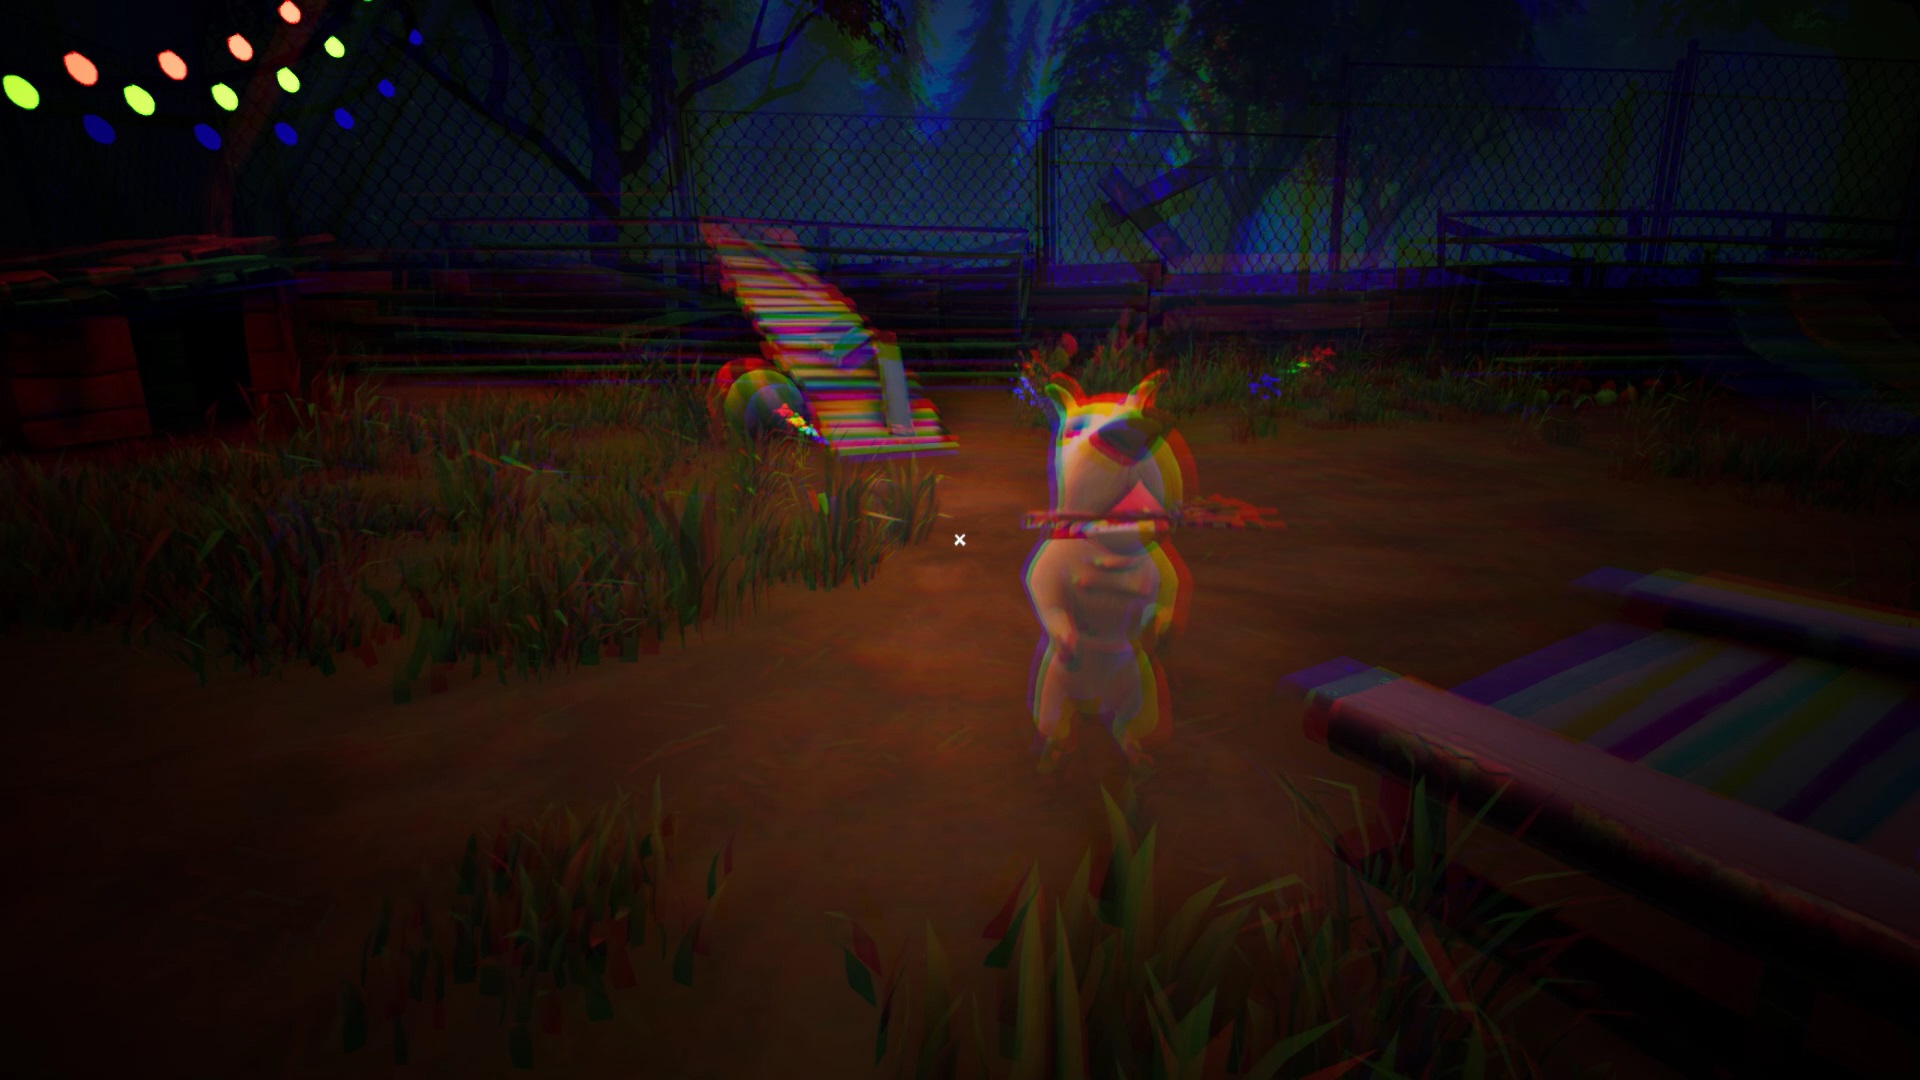
Exit the school and go around it to the left. You will find a dog park with a walking dog. Watch the animal to find the key in its mouth. To collect the key, you need to catch the ball and throw it at it. You can easily find the balls next to the niches. As soon as he catches the ball, you can collect the key.
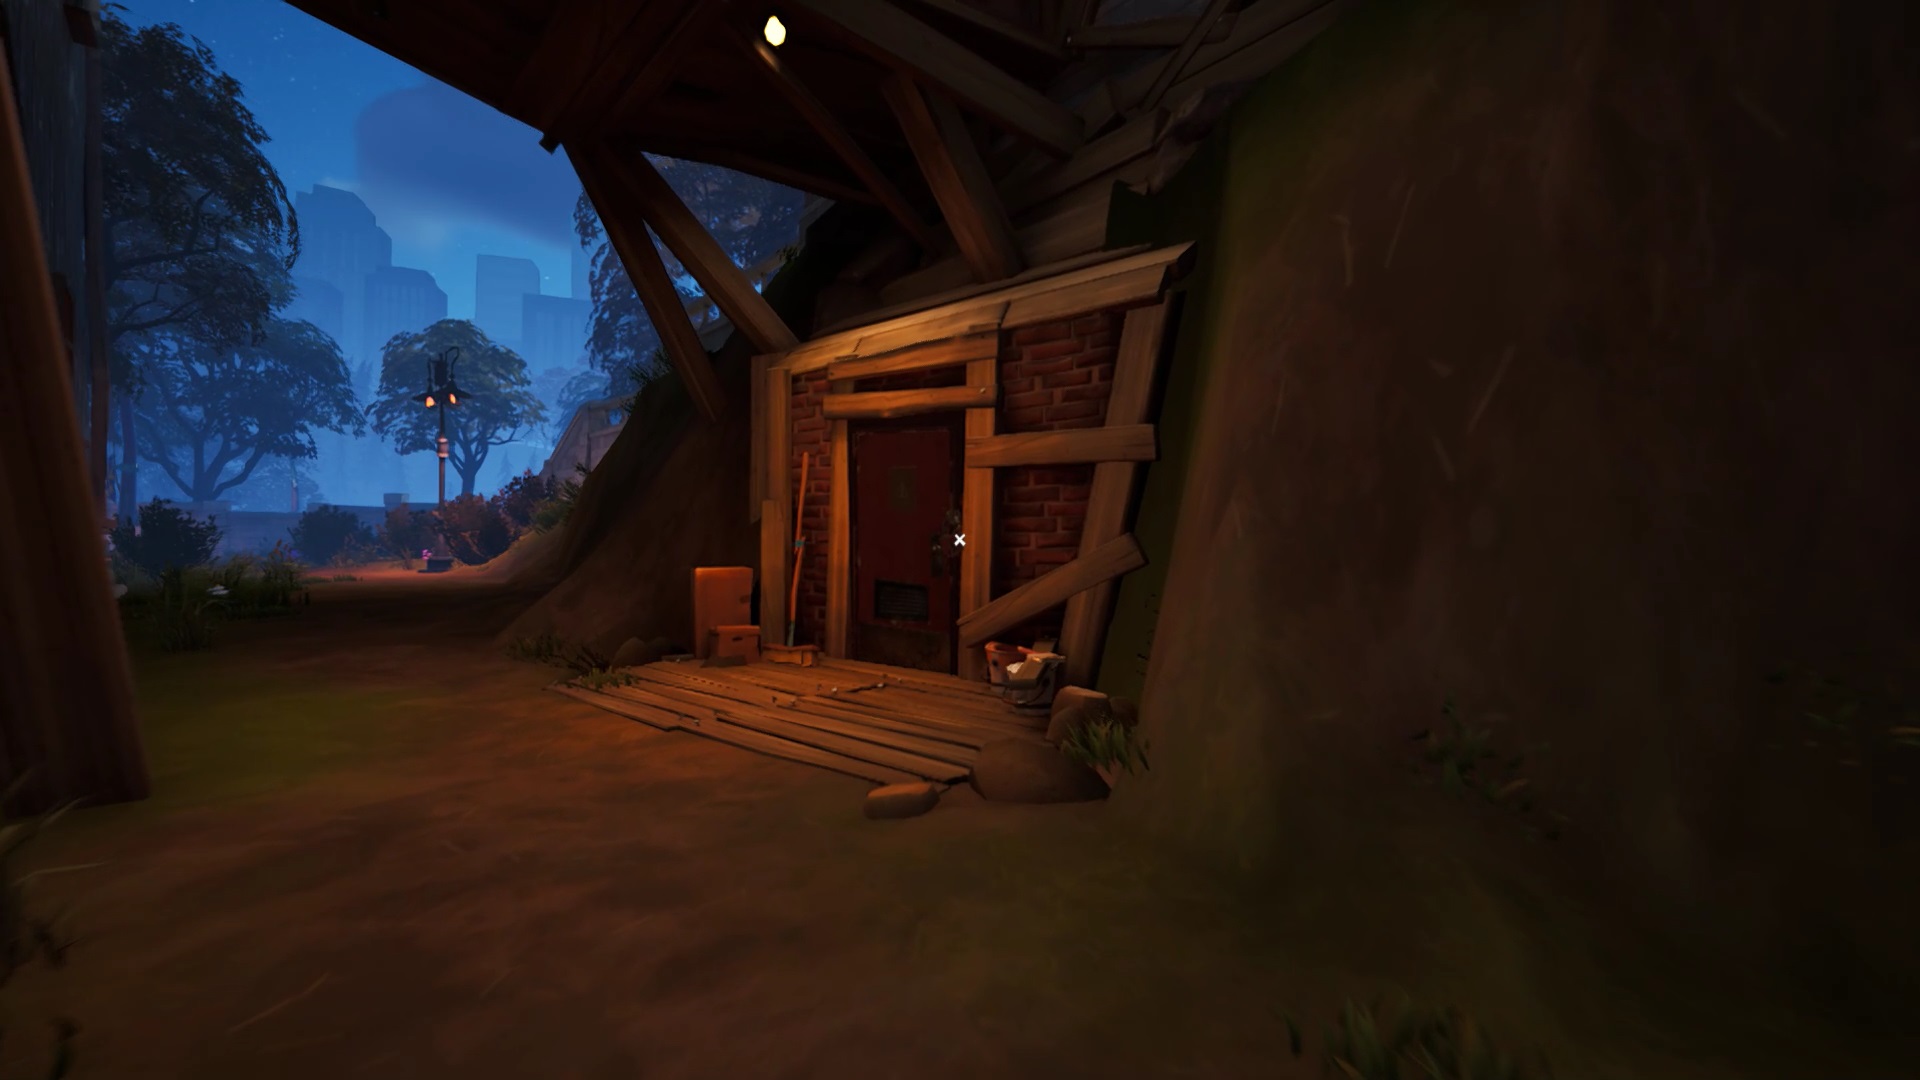
Coming out of the park, on the right, there is a shelter. You can unlock the shelter's padlock with the dog's key. Enter the hut and go down the stairs to discover the establishment's cauldron.
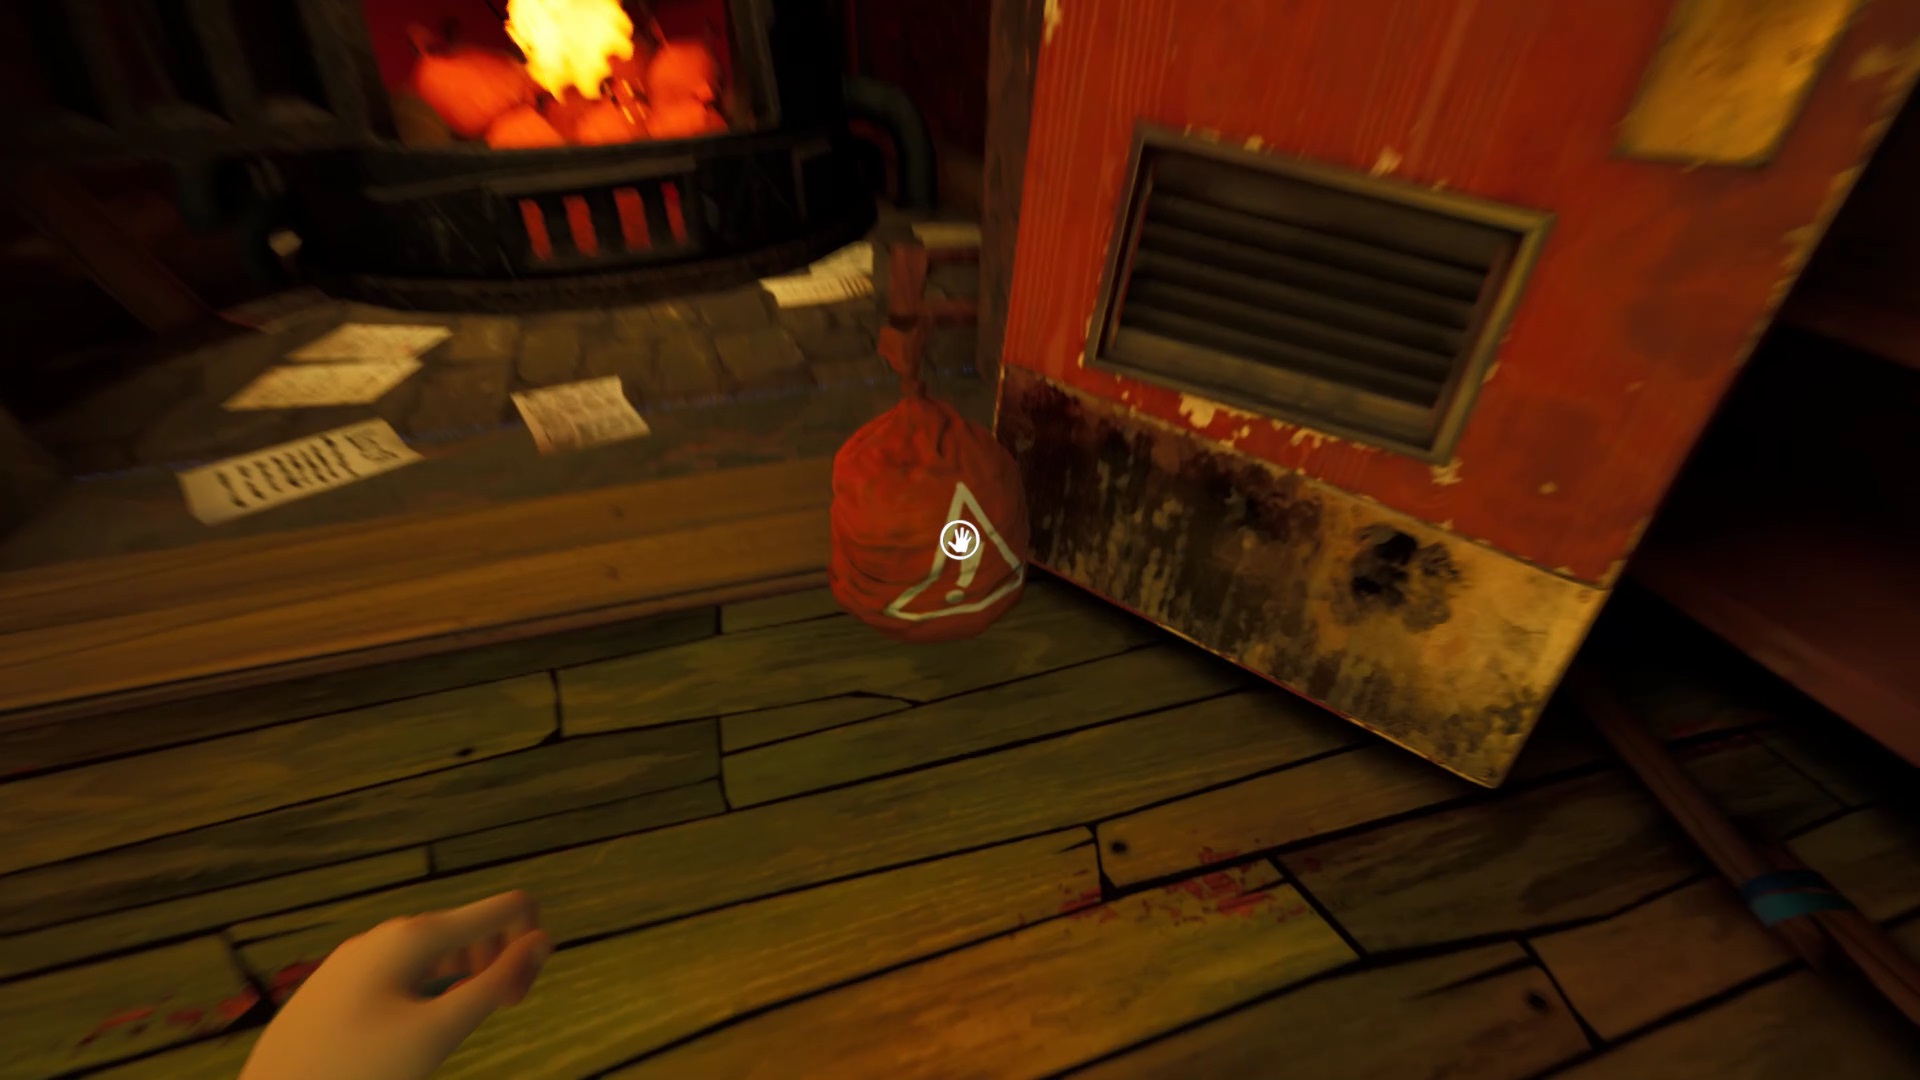
There is a red garbage bag in front of the boiler. Catch the bag and throw it into the cauldron to start the fire. You notice a sensor to the right of the boiler. You need to pick up four more bags to raise the caliber to the maximum. This will give you boiling water.
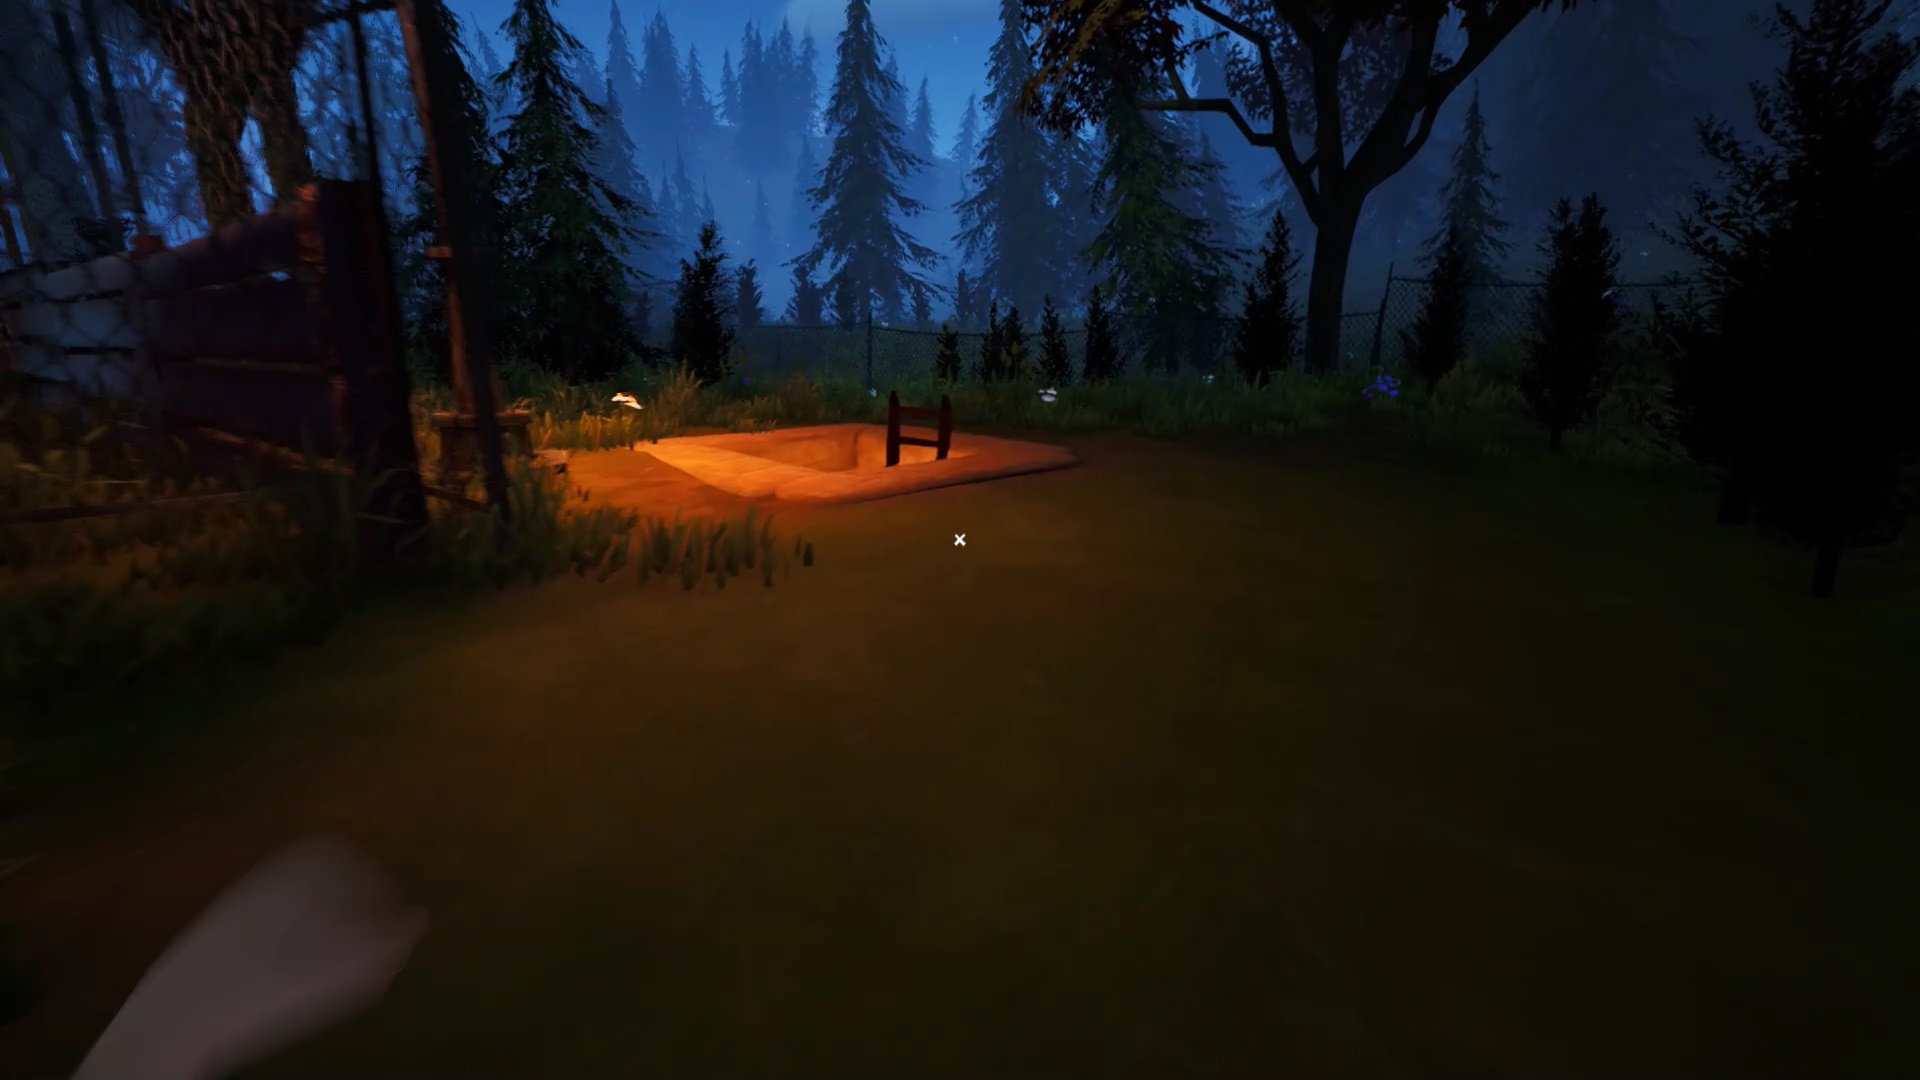
Still outside, next to the dog park, you find a hole in the ground. A ladder allows you to go down into this hole. Go down the stairs to find the second plastic bag.
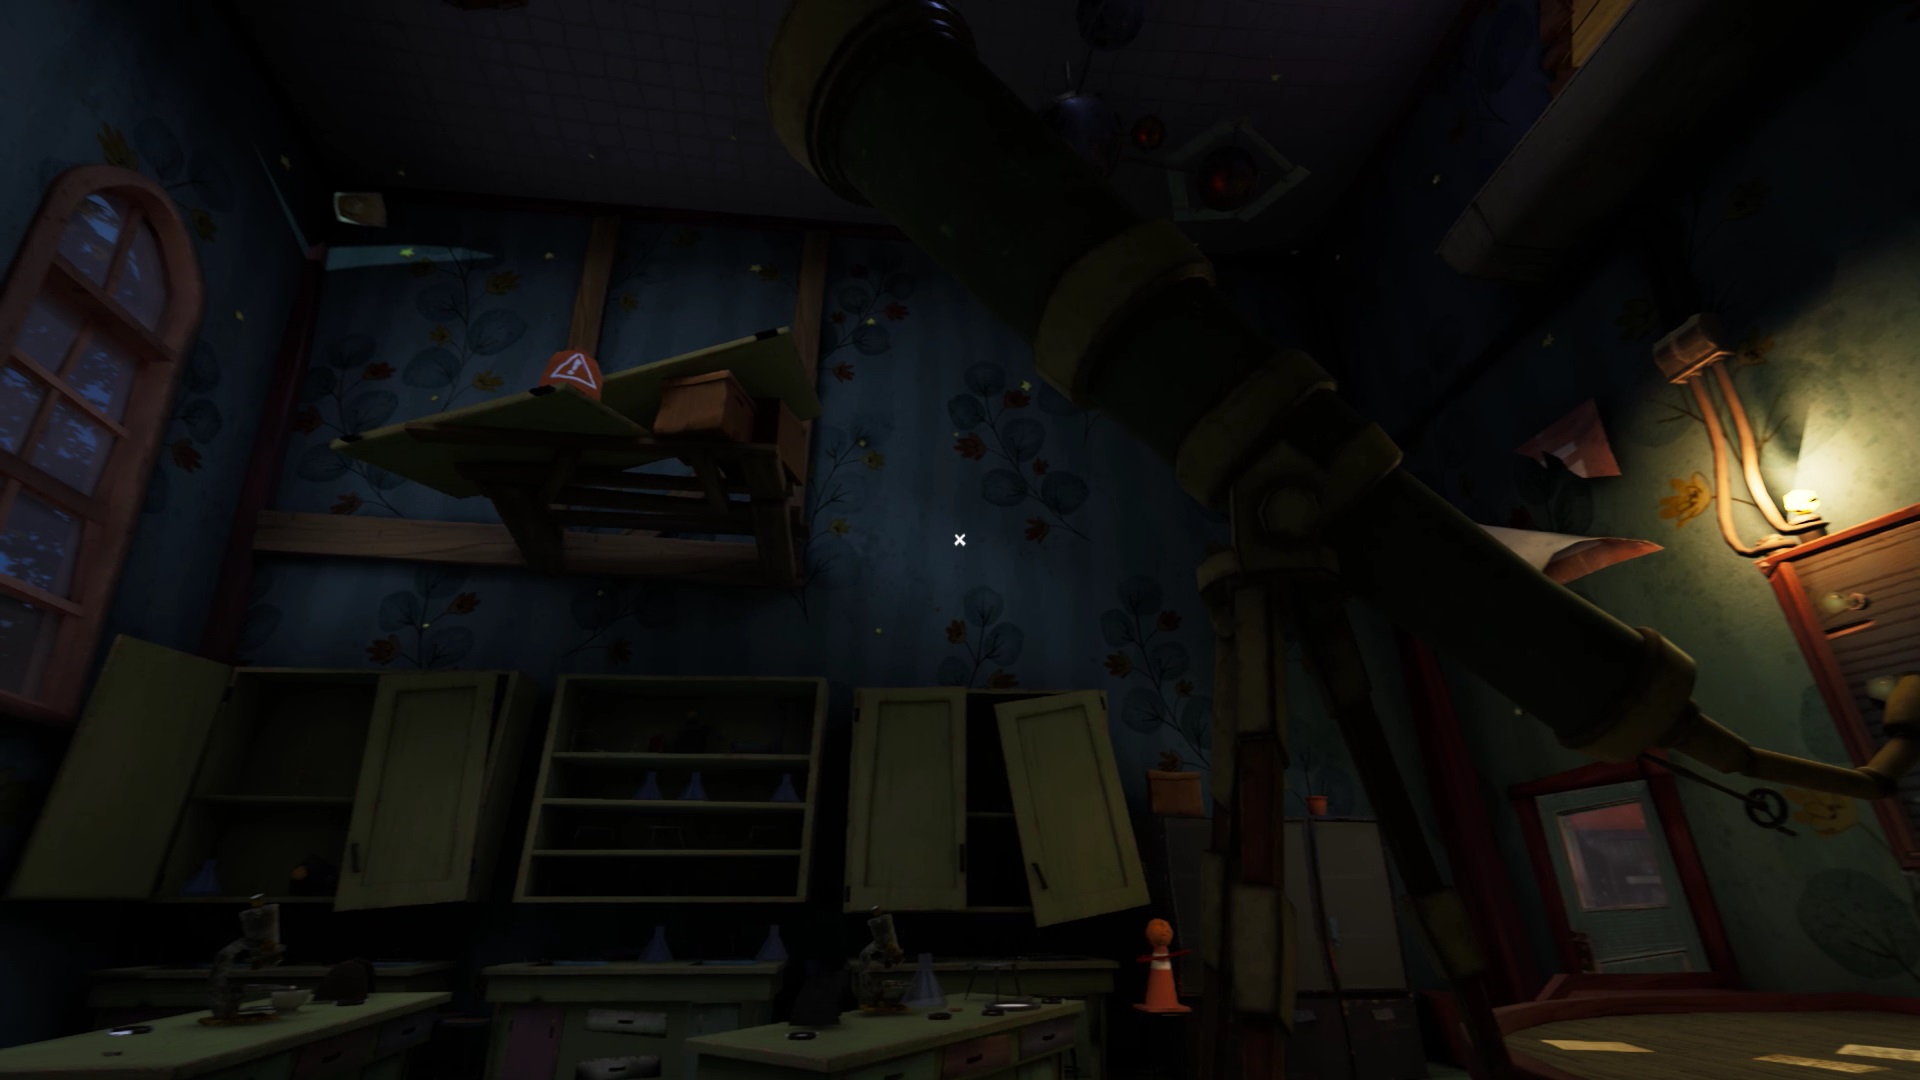
Another plastic bag is in the astronomy room on the ground floor. Look above the telescope to find a red plastic bag. Climb onto the furniture to reach the height of the room and grab the bag.
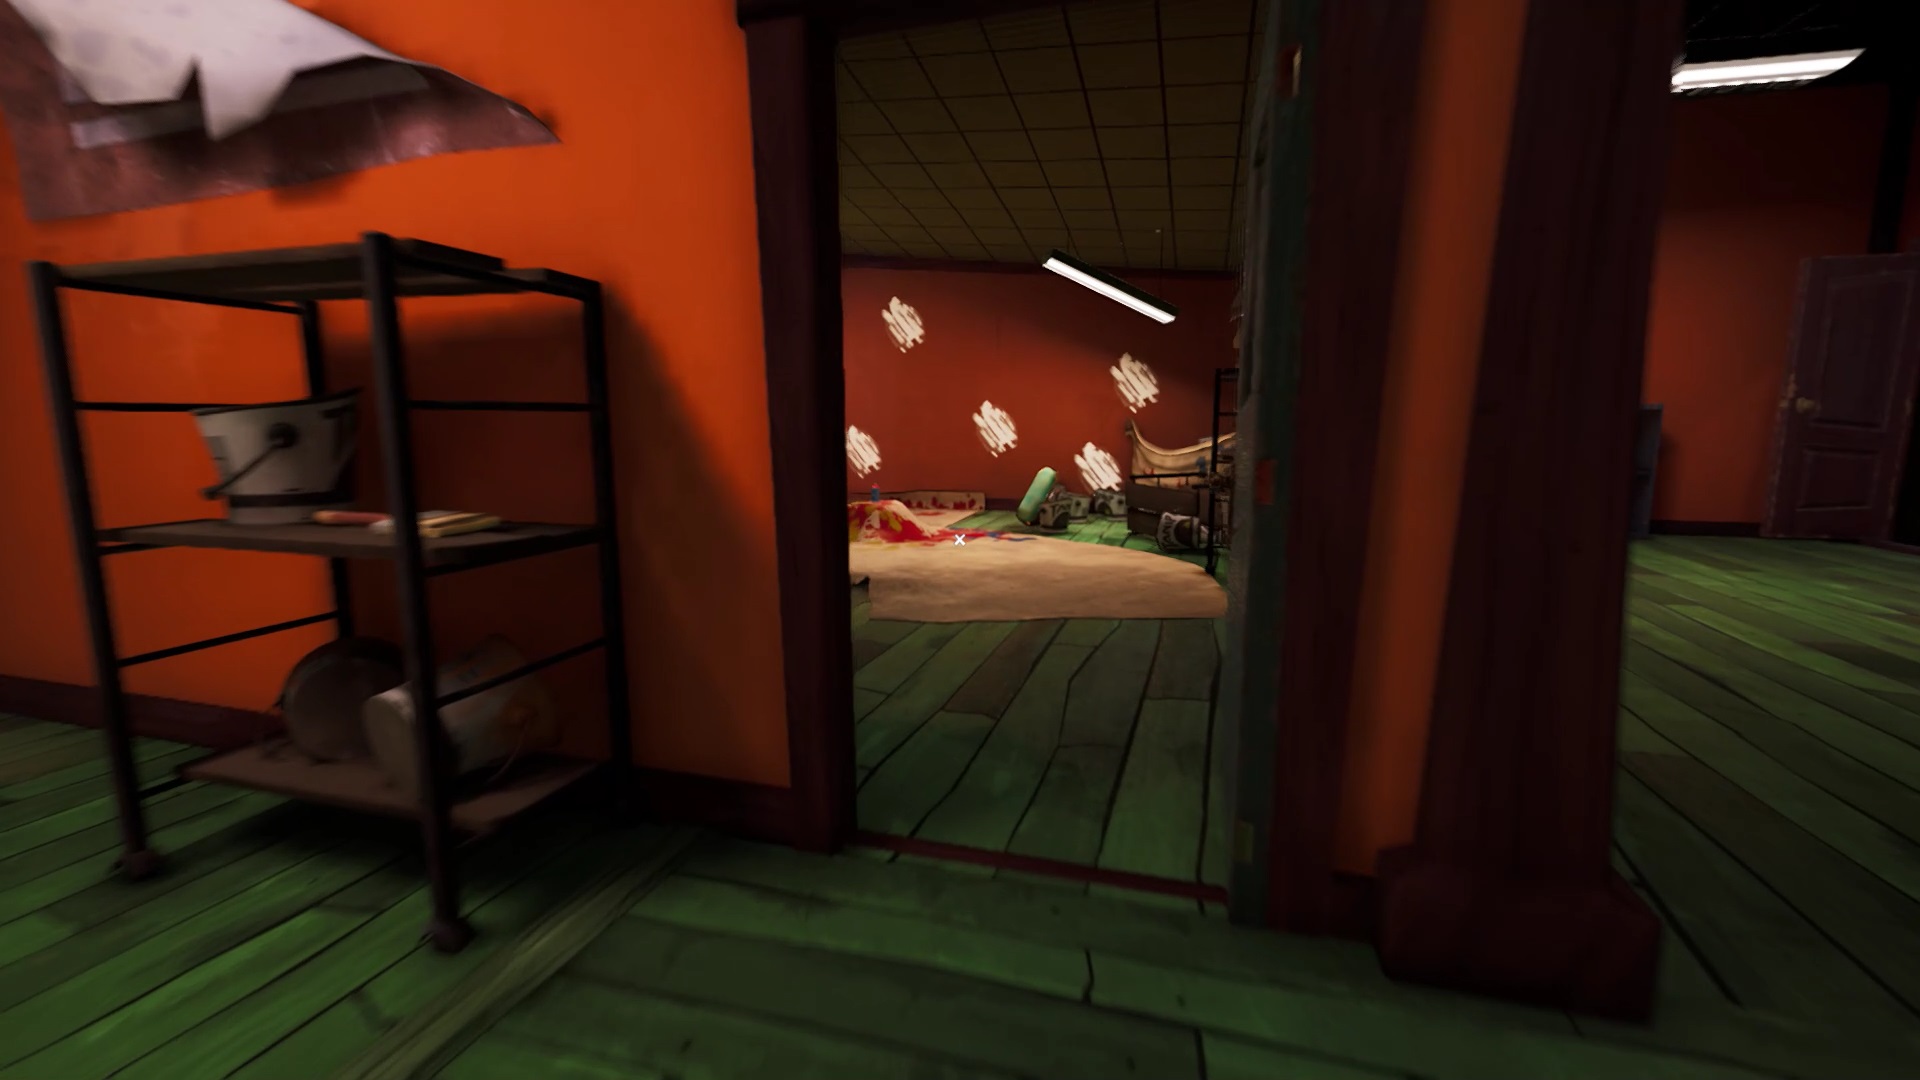
On the ground floor near the toilets, enter the painting class. You will find a plastic bag on the table.
The last trash bag is on the roof. Go forward to the refectory and up the stairs. Scaffolding is located in the room with the theater opposite the stairs. Climb onto it to get to the roof and get the garbage bag.
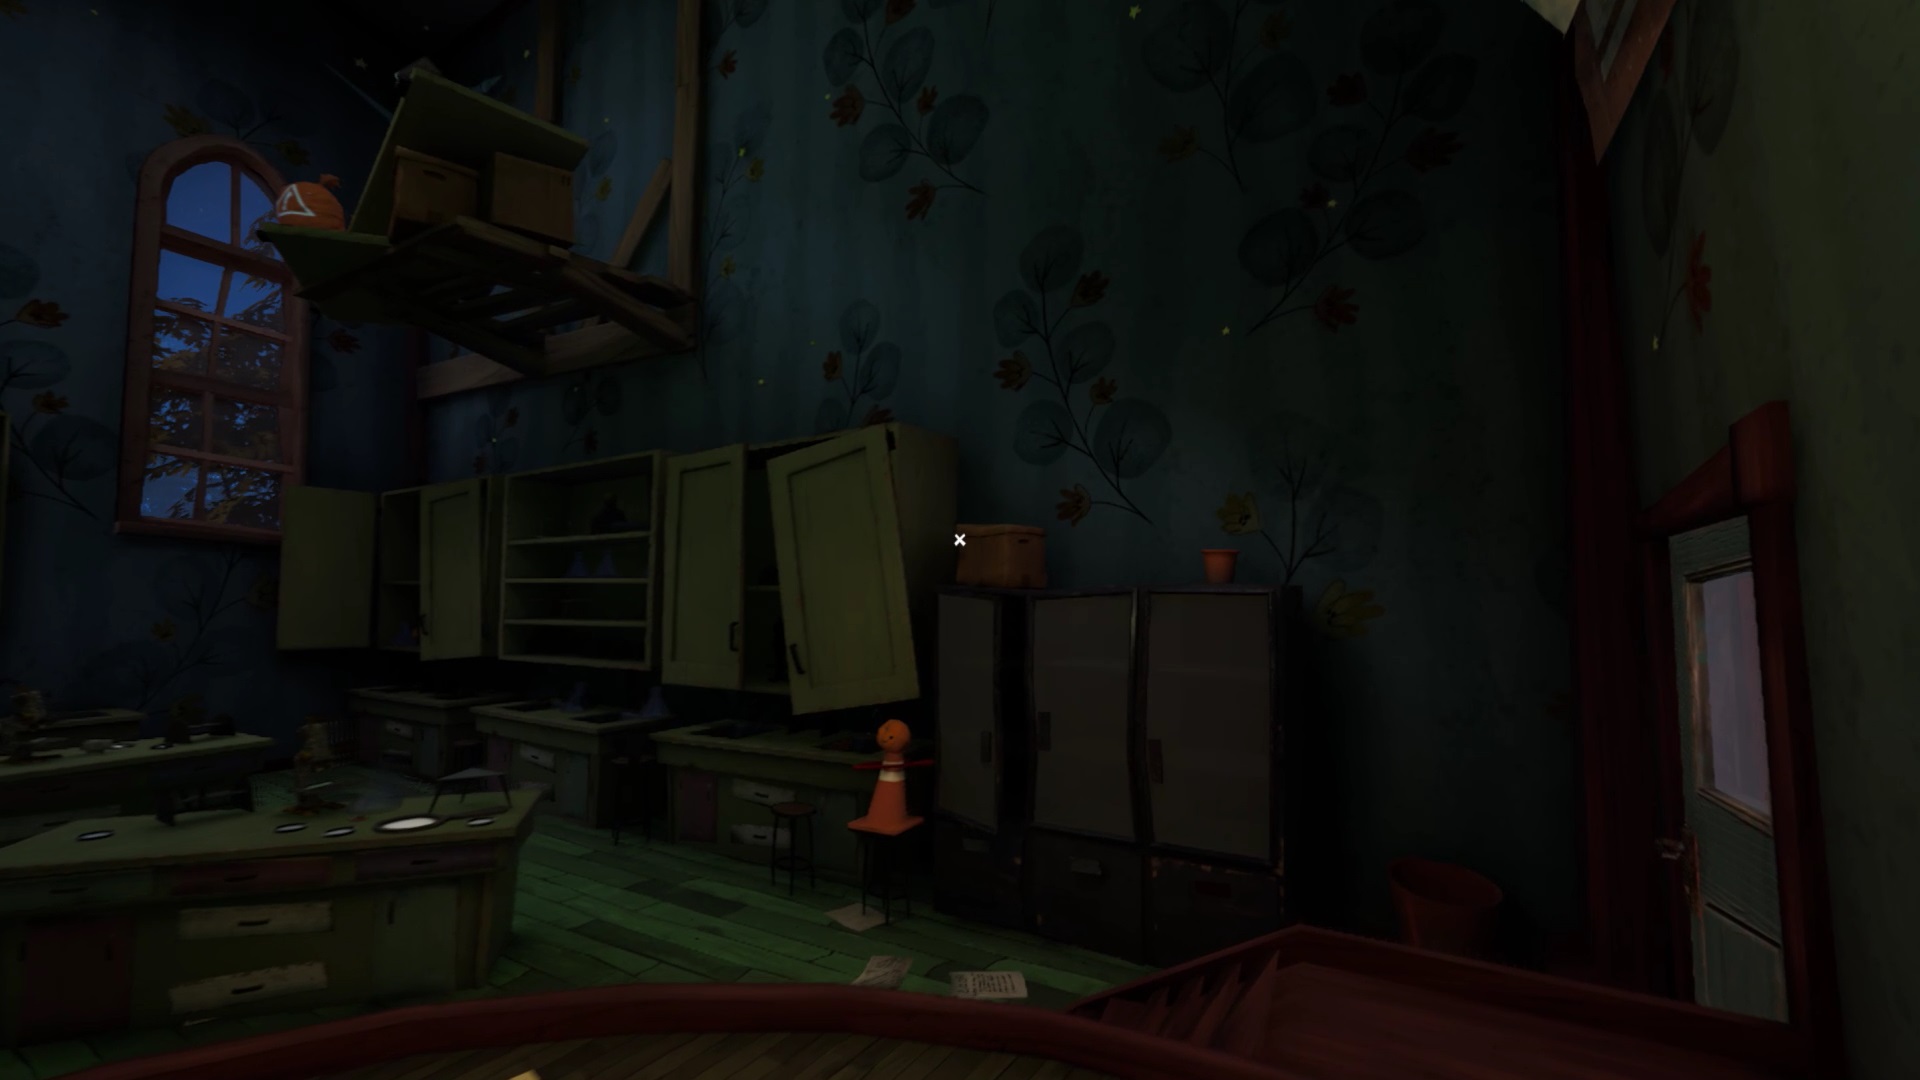
When you have collected all the bags, go throw them into the cauldron to increase the caliber to the maximum. Climb to the first floor and enter the green room. Take the vial from the table next to the projector.
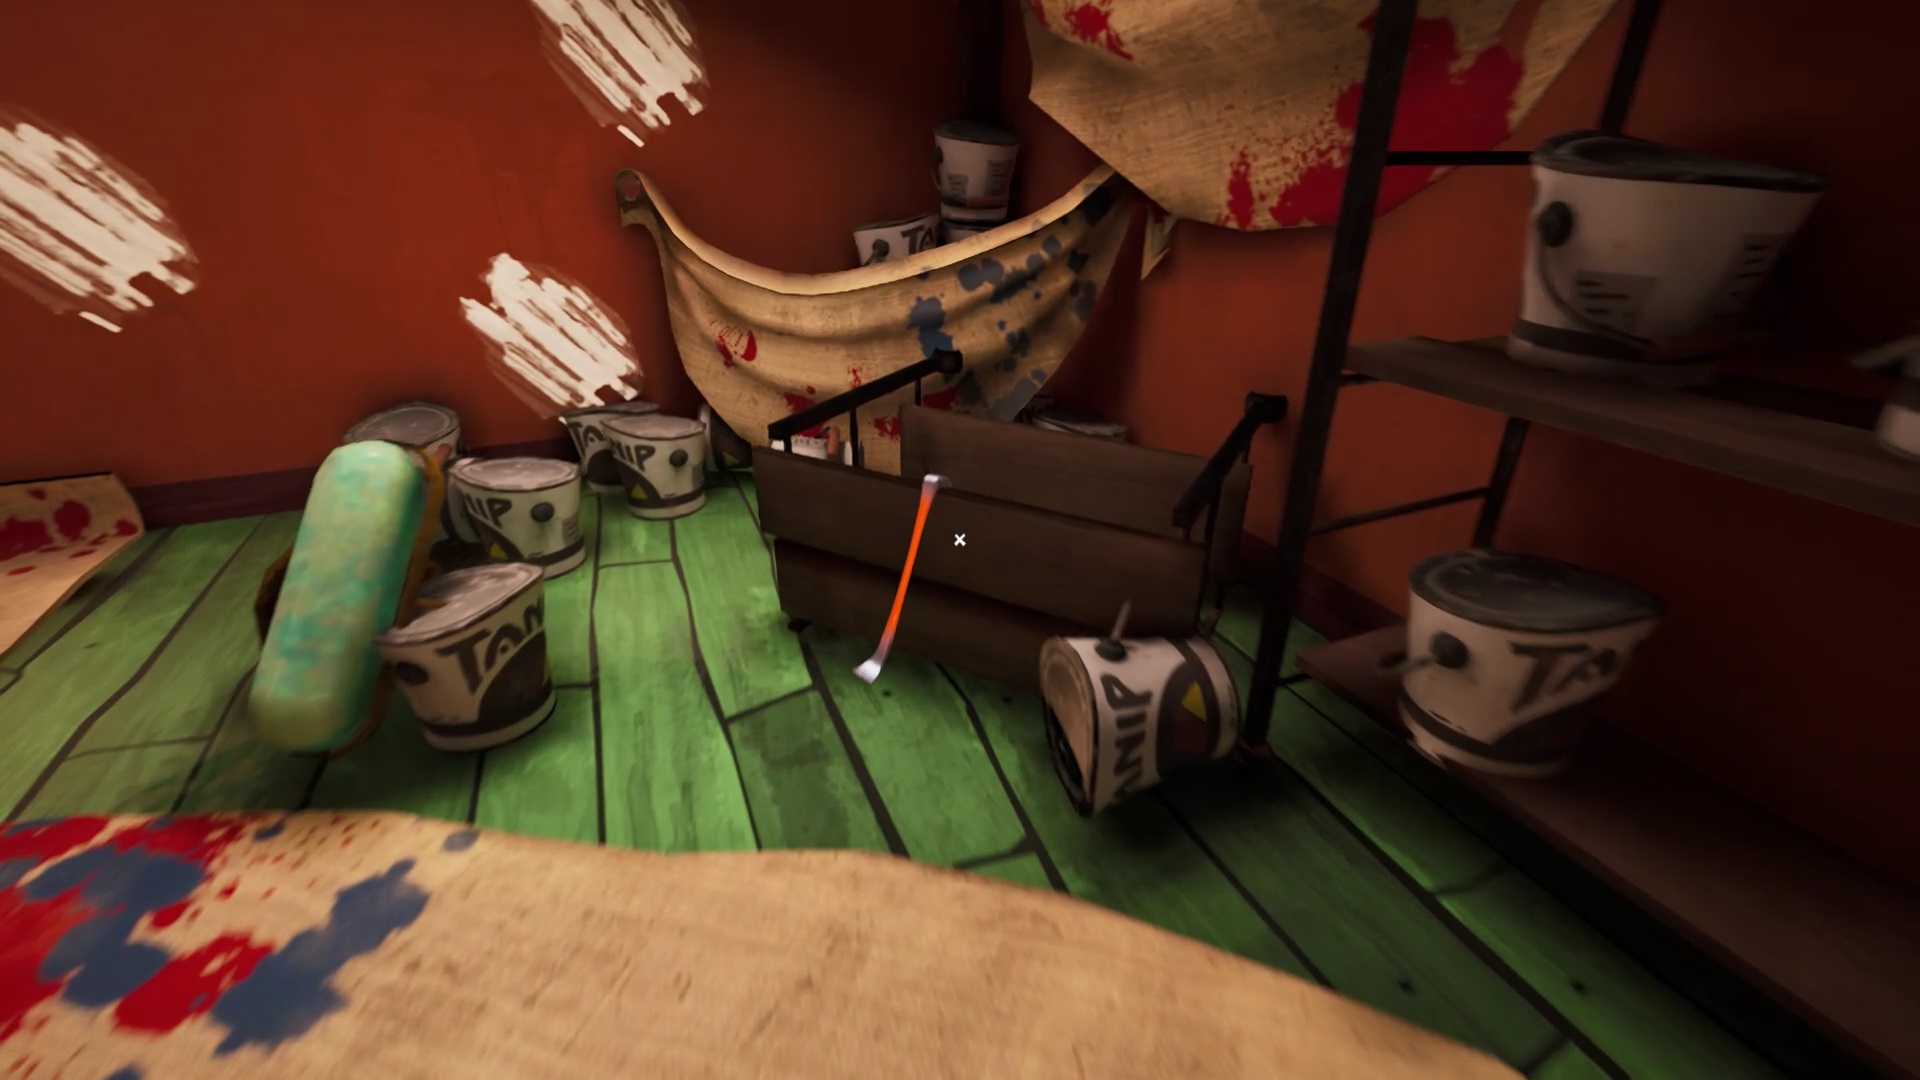
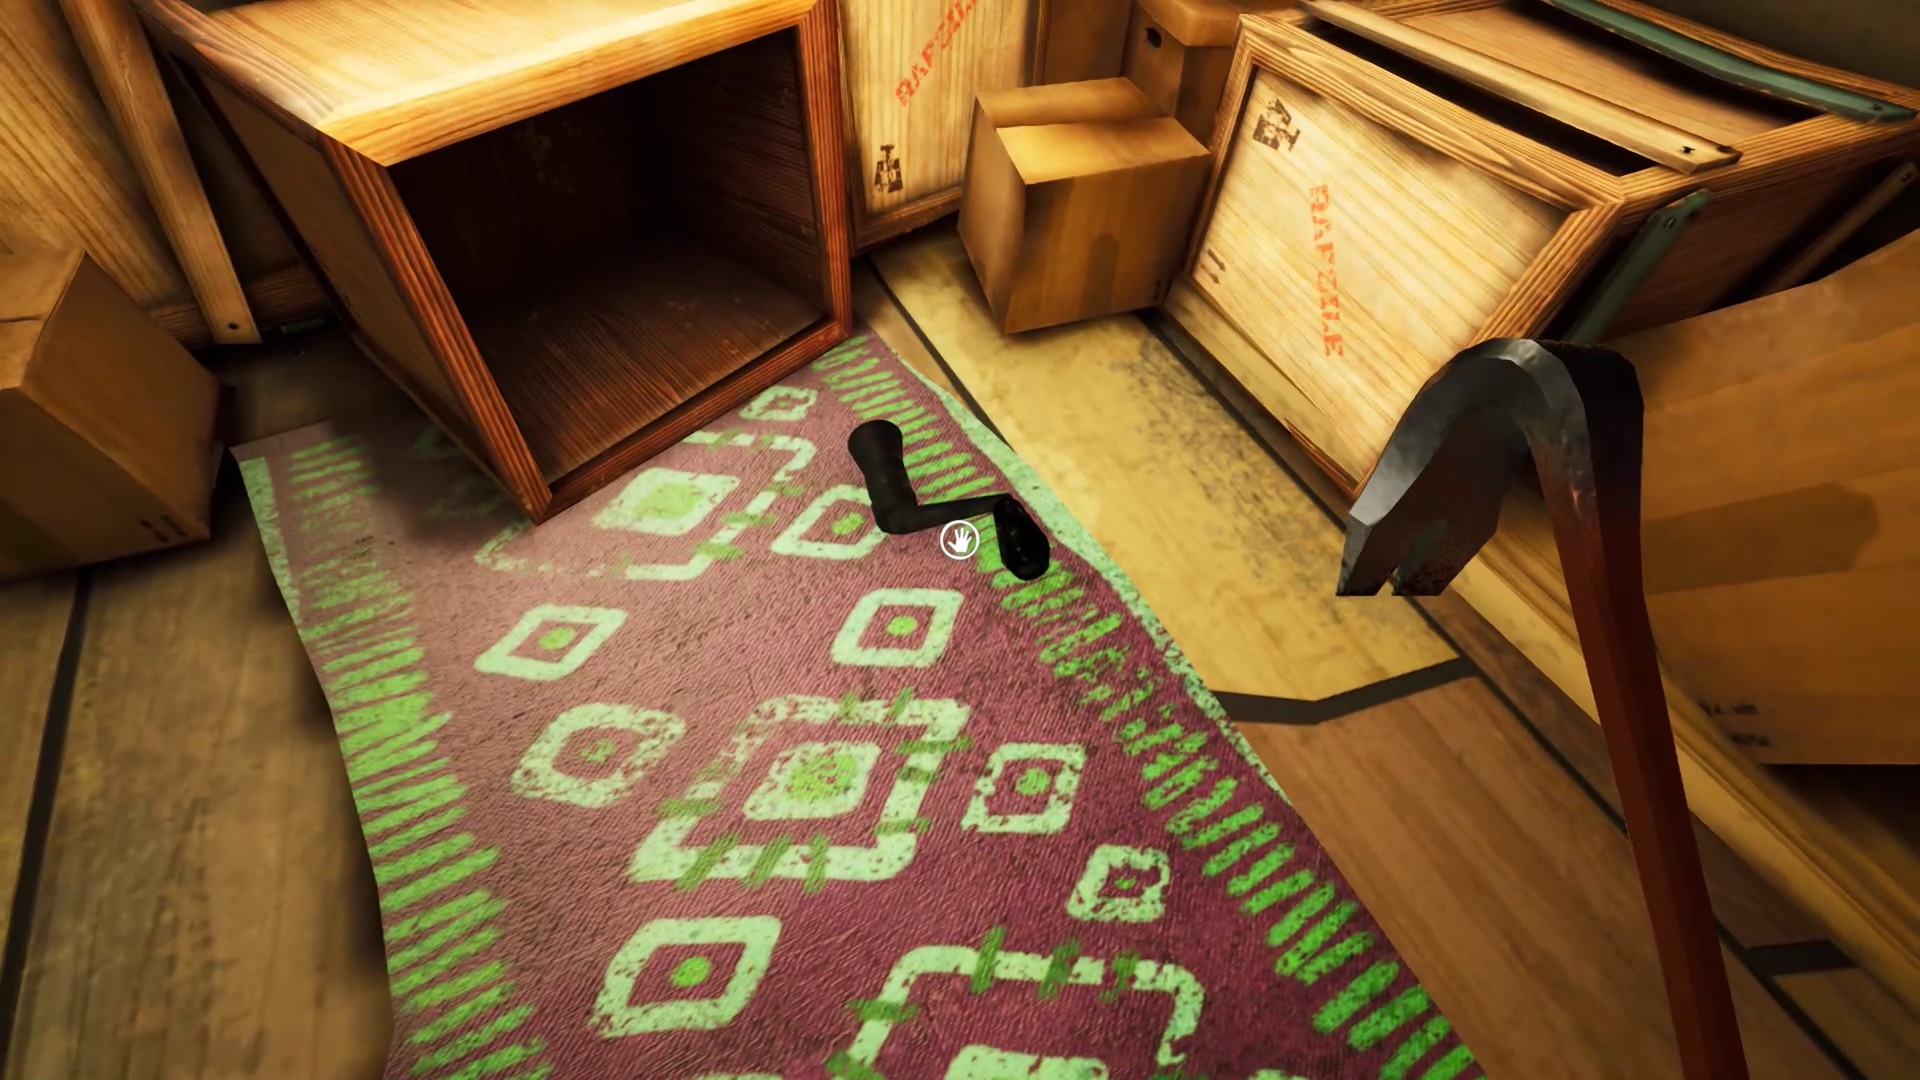
On the ground floor, pick up the crowbar in the paint room facing the toilet. Go to the toilet. Use the crowbar on the wooden boards to get to the red valve. Assemble the valve and place it on the pipes of the large classroom on the first floor. Turn on the valve to activate the water.
On the ground floor, enter the room at the foot of the stairs. In the room, the pipe creates a flow of hot water. Place the vial under water to fill it up. Return to class with the code on the board.
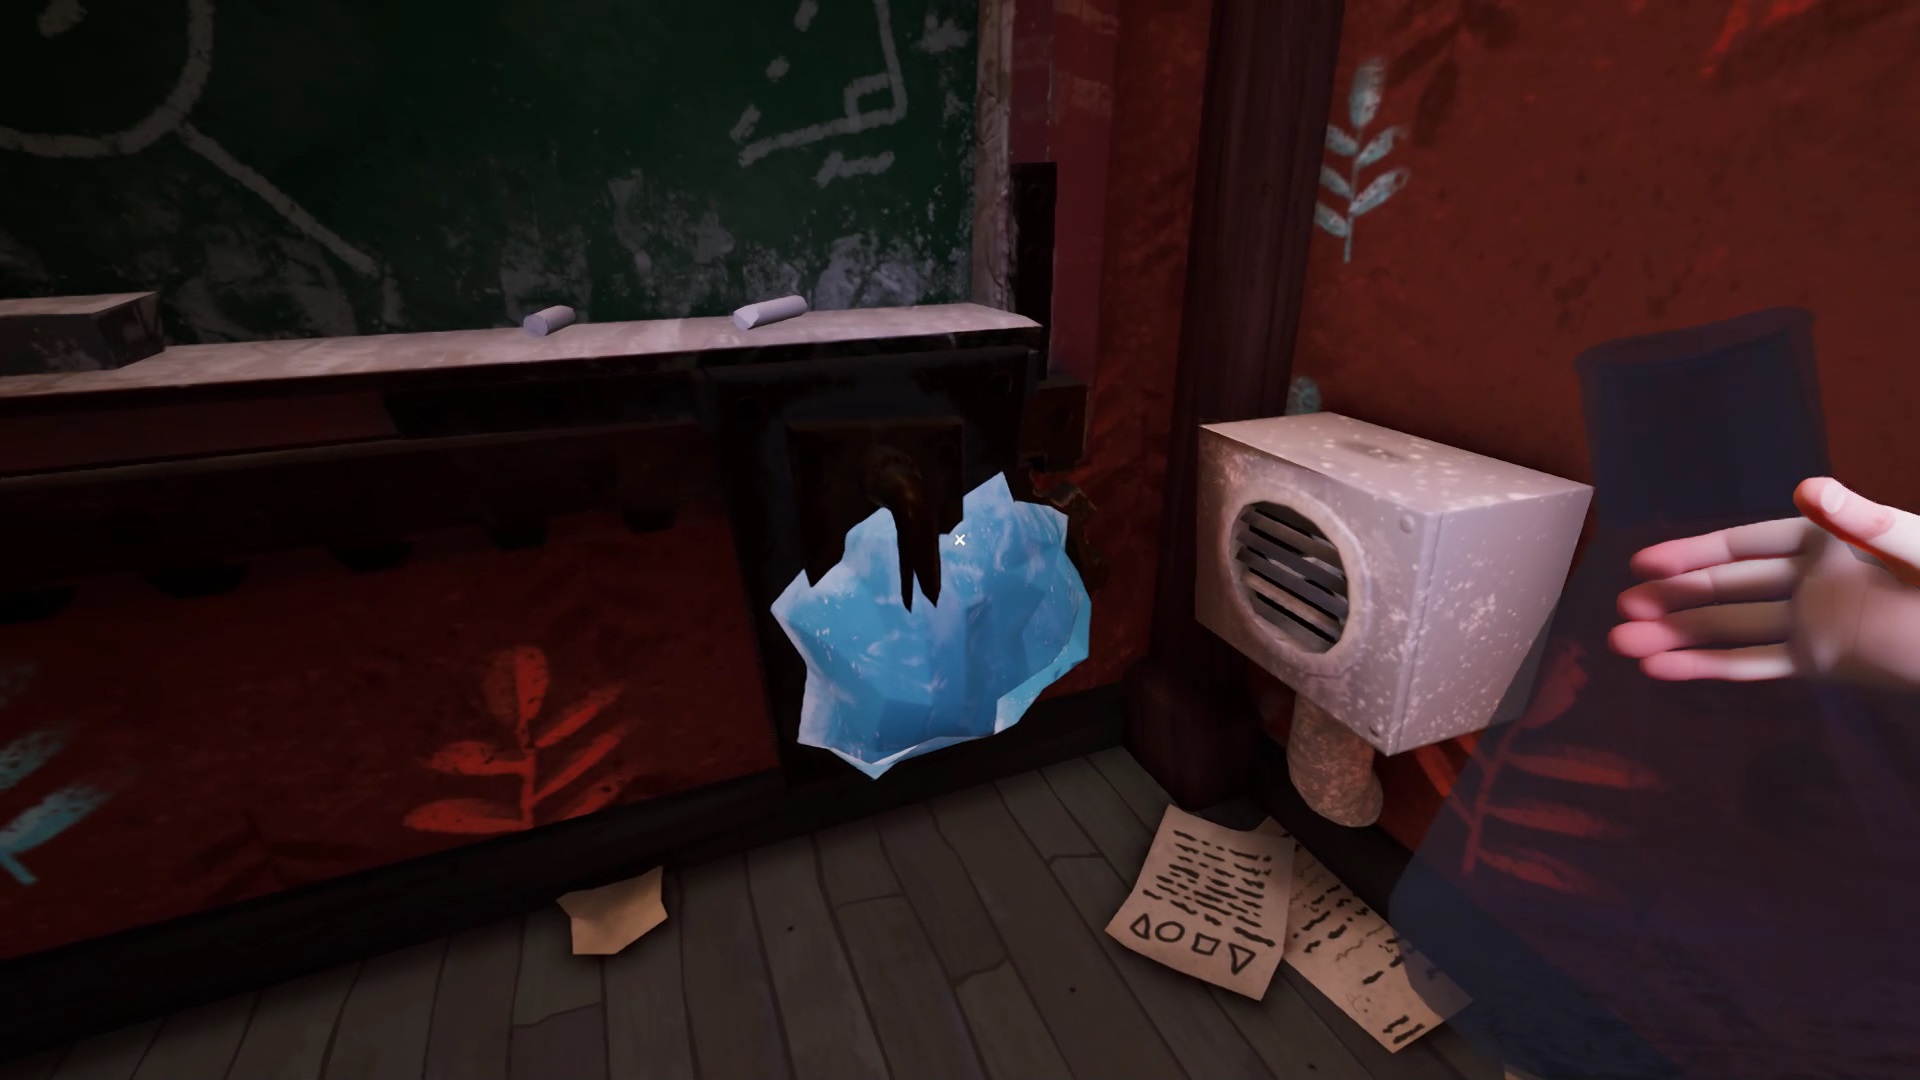
Pour hot water over the block of ice and interact with the board to get the second part of the code: 23.

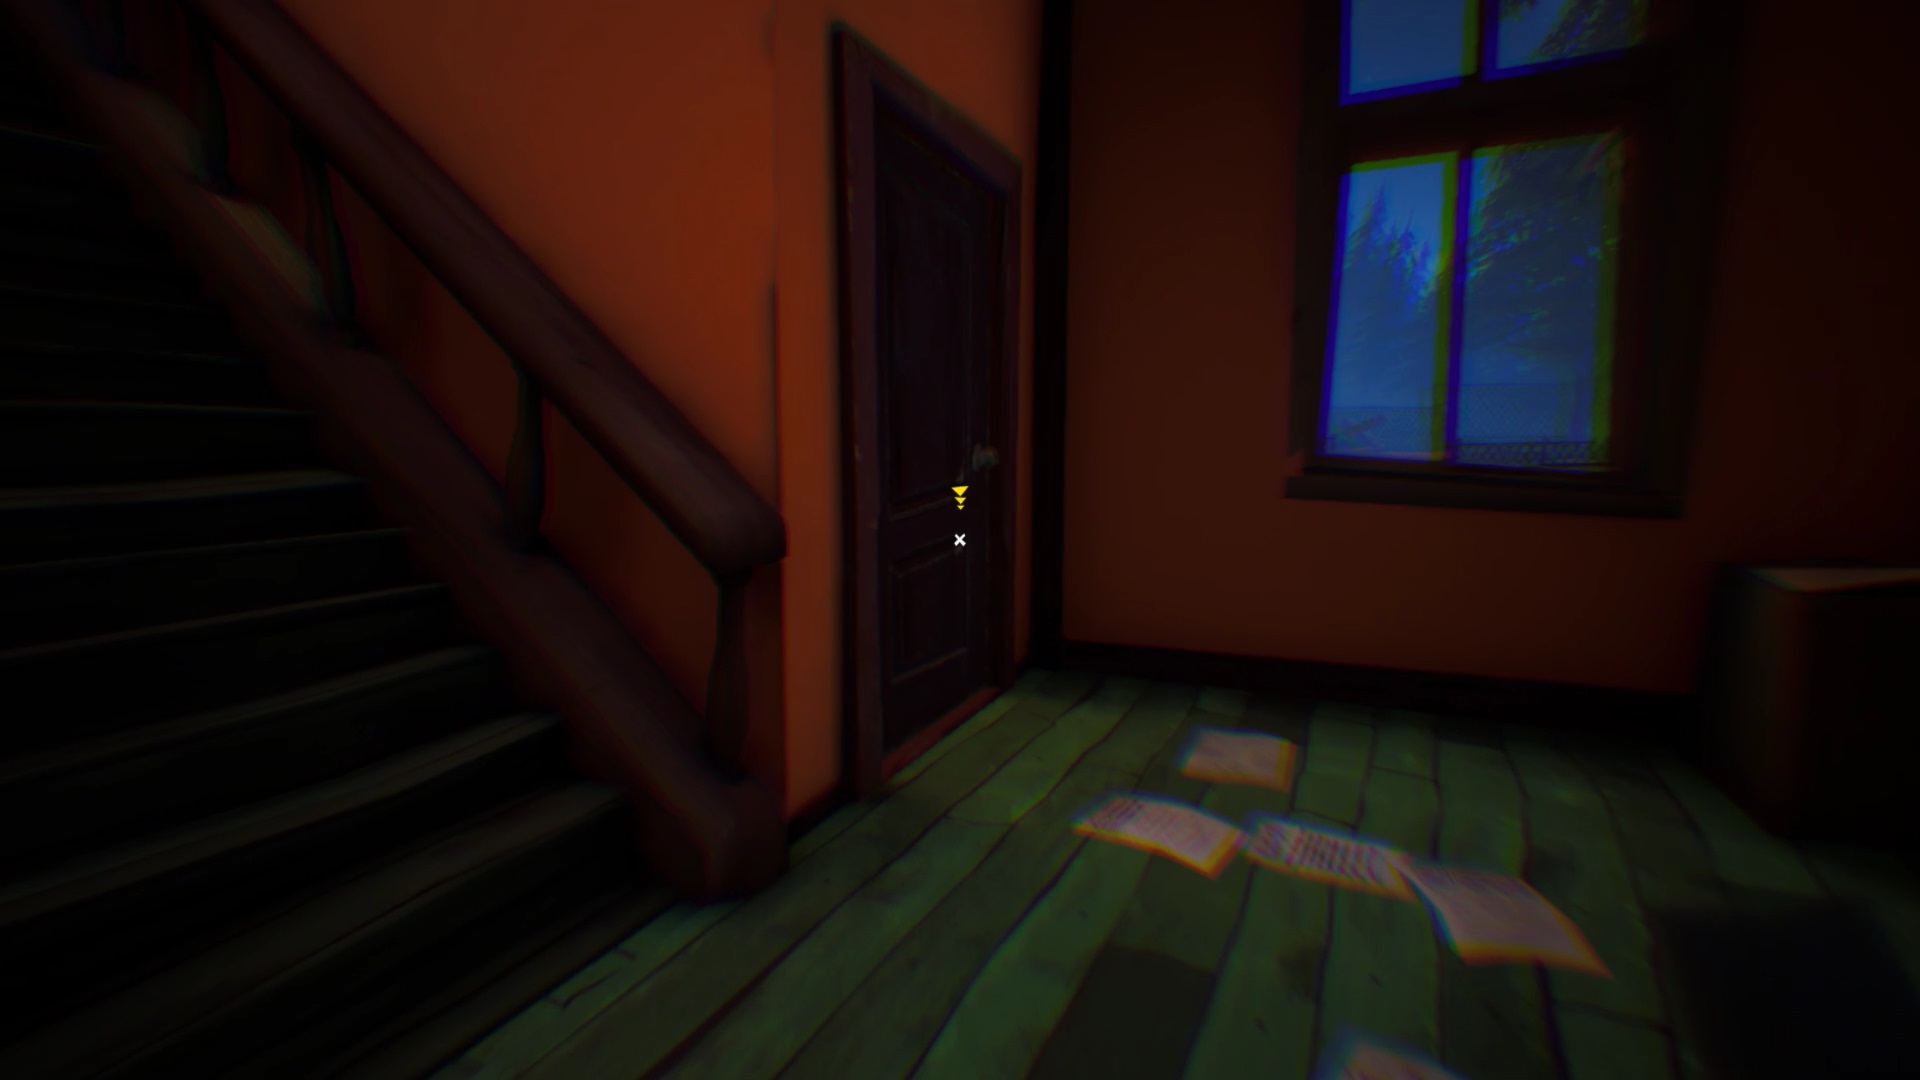
Return to the first floor in a room with closed gates. Enter the code 5223 to open the gate. Look up to find a passage blocked by wooden planks. The furniture in the room allows you to reach heights and jump onto a lamppost to reach the passage. Use the crowbar to unlock the passage.

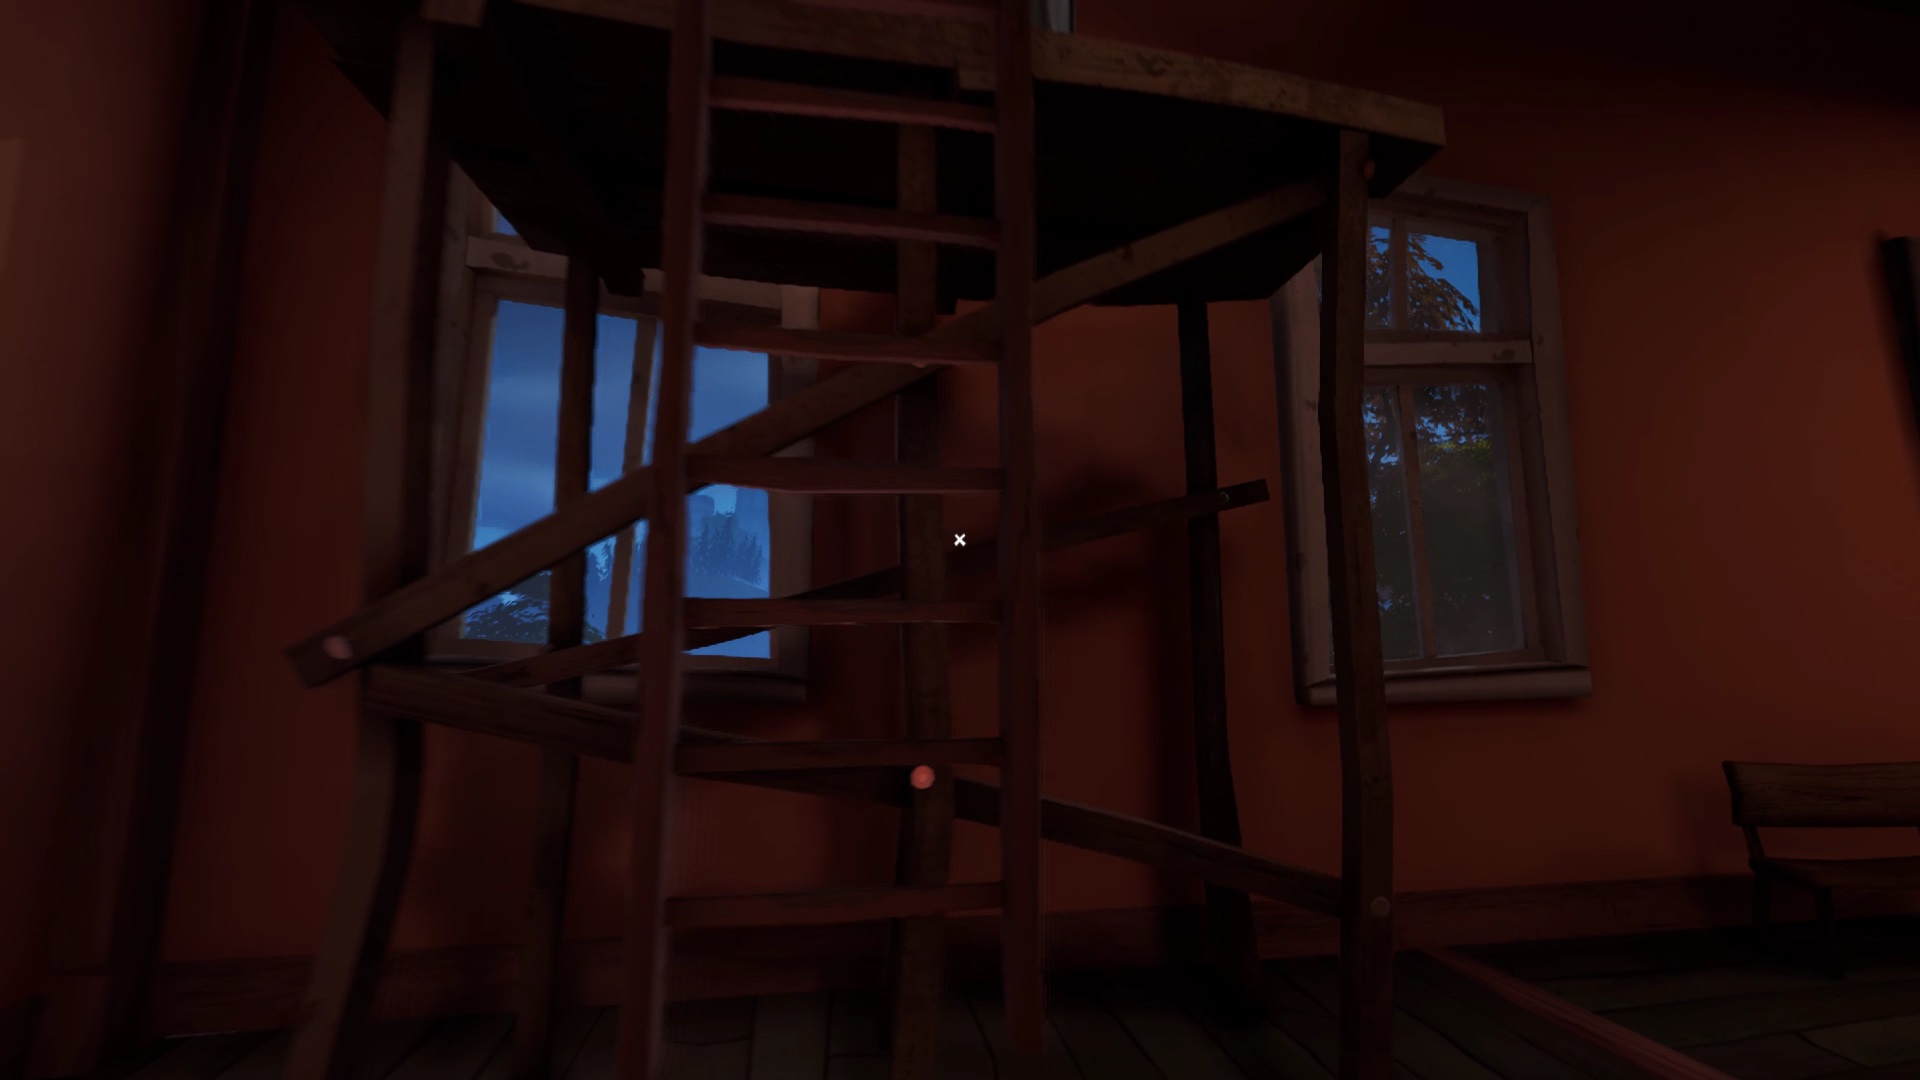
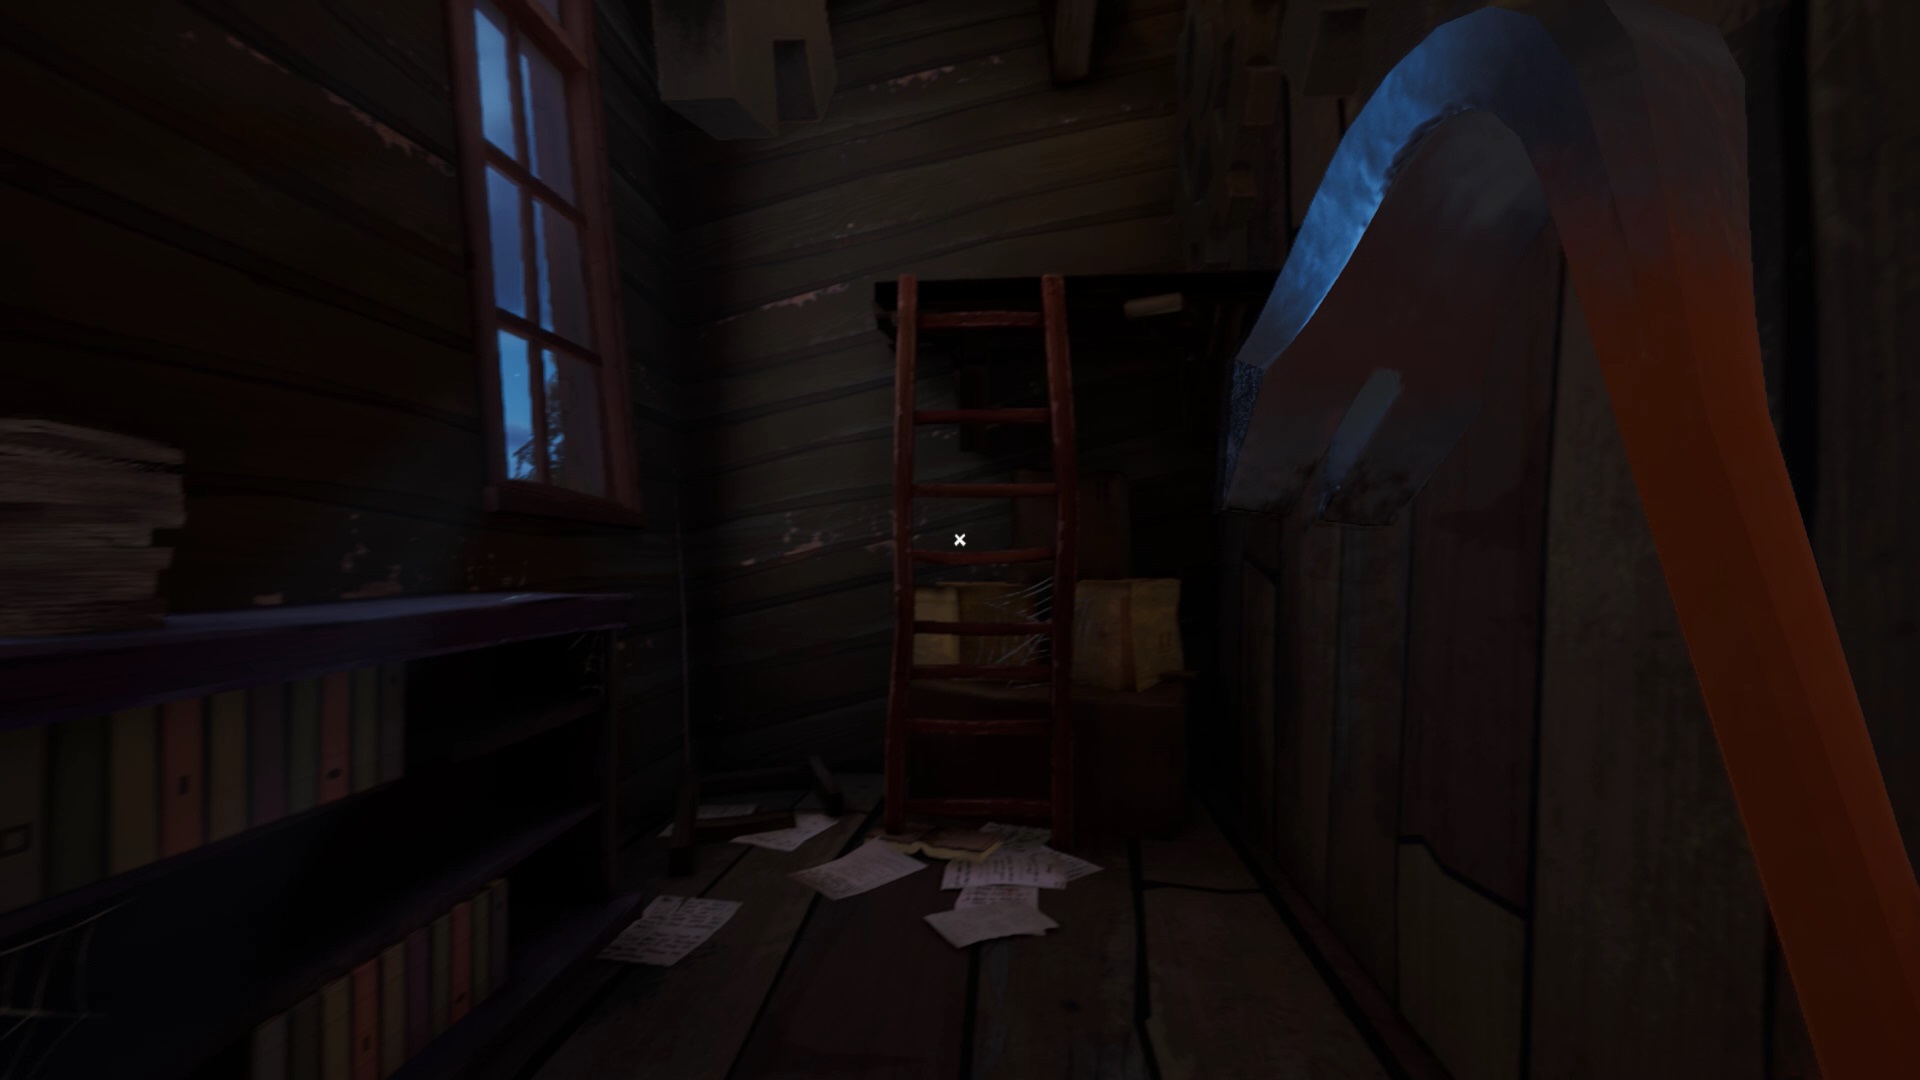
In the attic, turn right, following the black wires on the ground. Move forward to get to the wooden door. Open the door with the key found on the flag mechanism.
You must climb to the very top of the attic to get to the school clock mechanism. Climb up the ladder and climb from platform to platform between the gears to reach a height. Control the clockwork to trigger a cutscene.
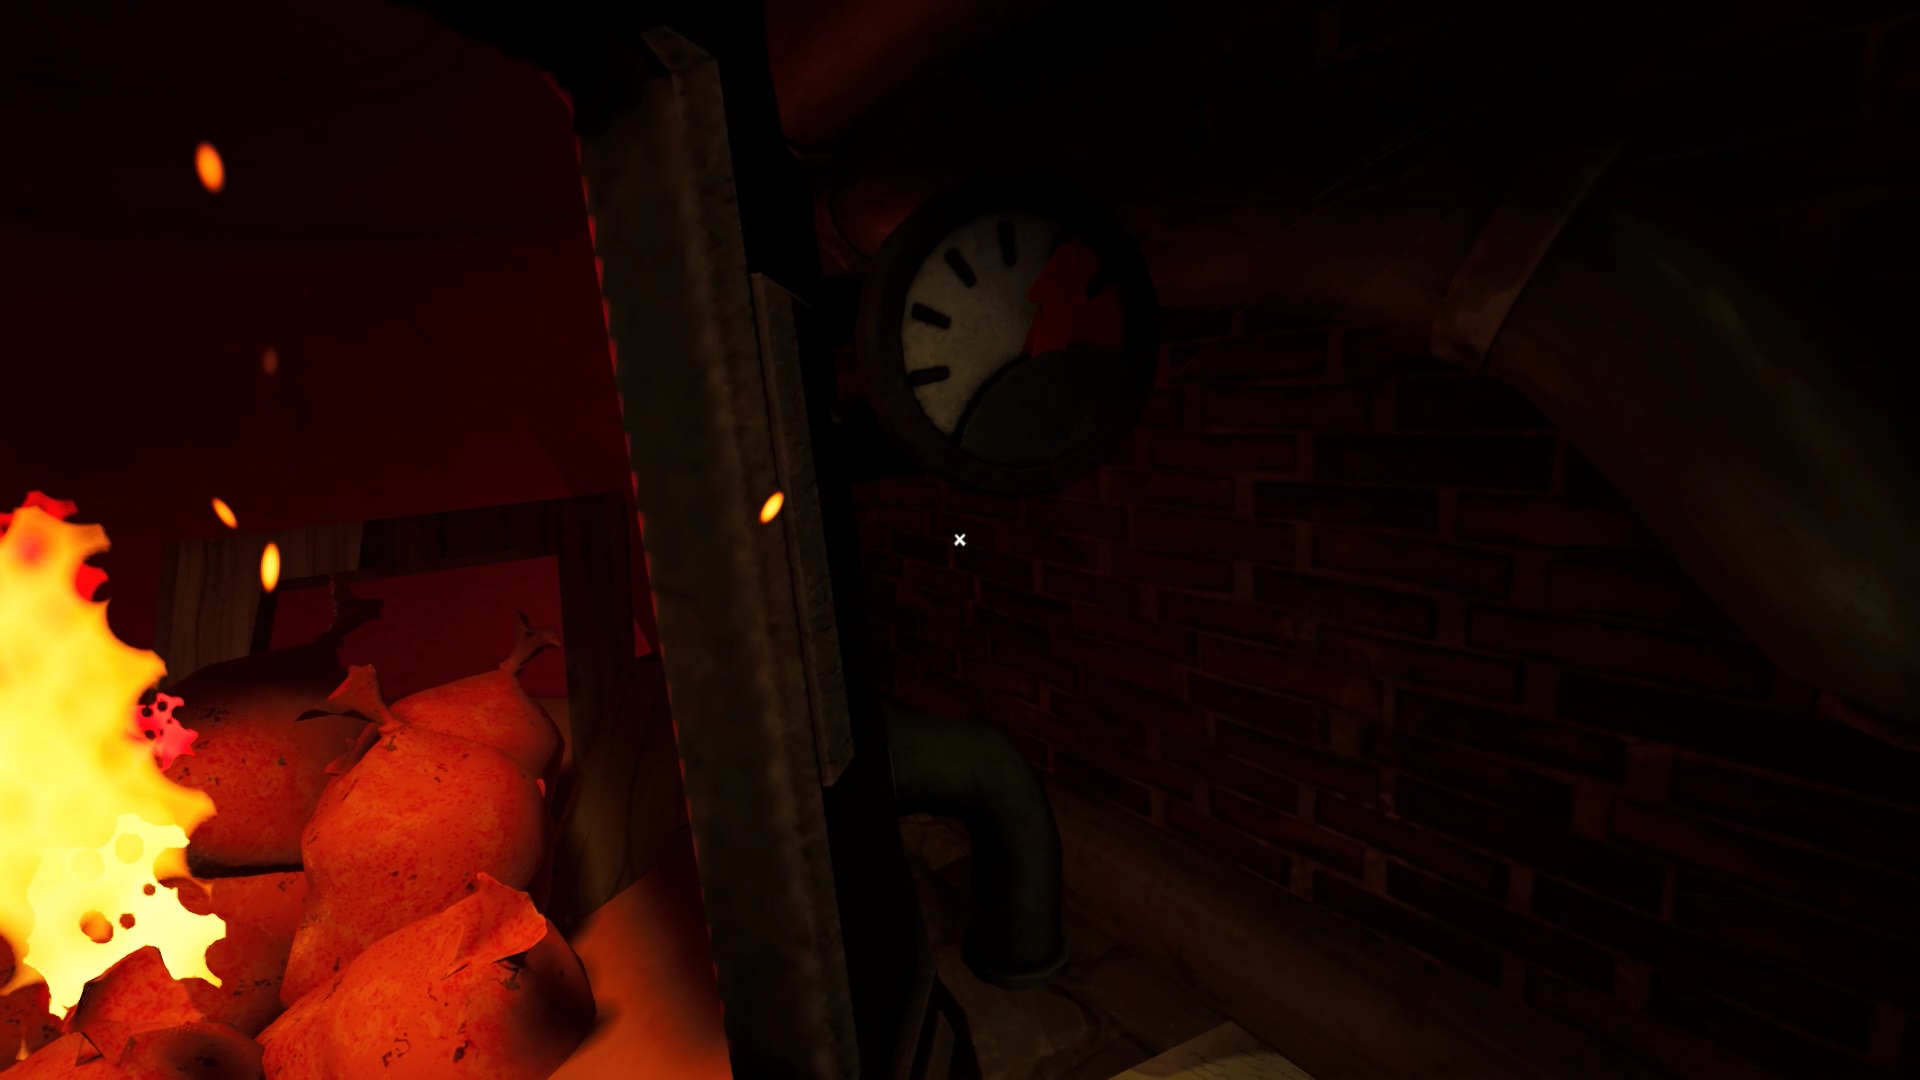
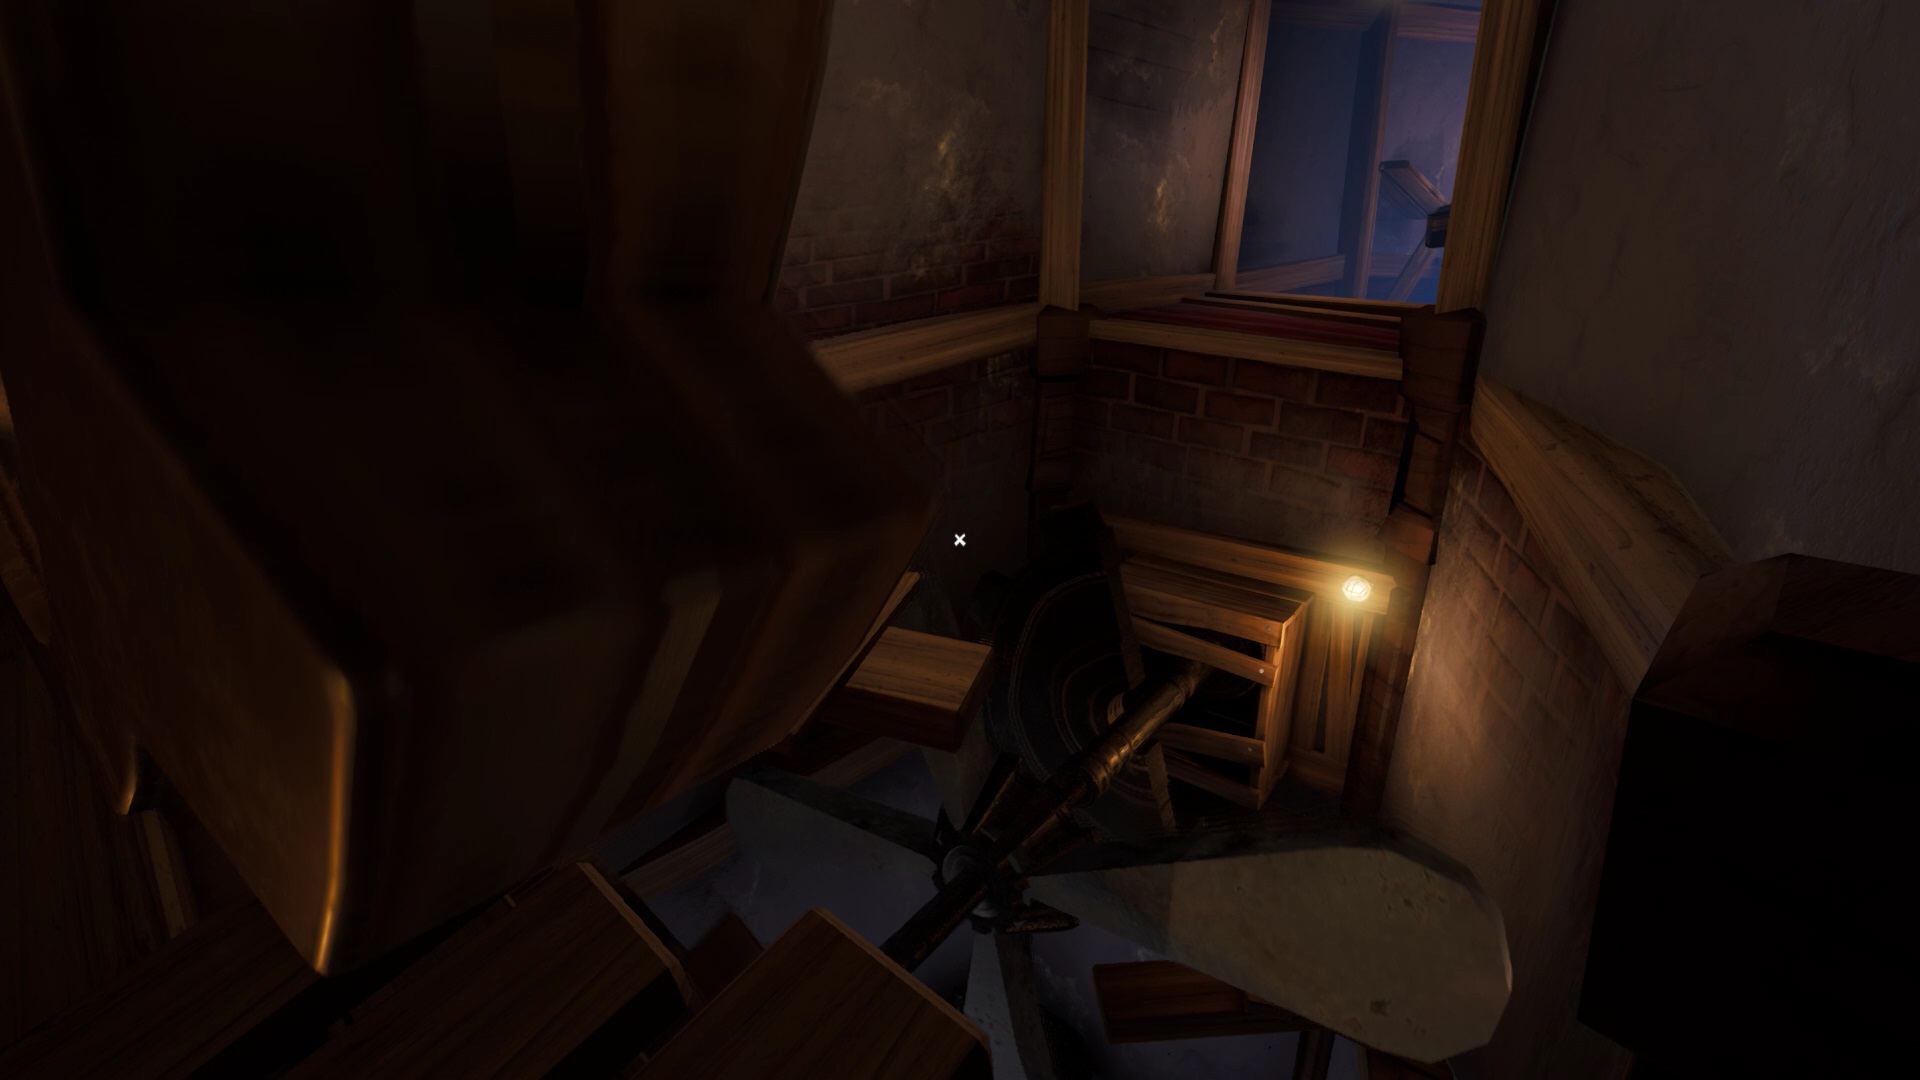
Return to the boiler room. Near the bedroom door, the key is on the wall. This is the key to the director's office. Take it and open the principal's door on the ground floor. This is an office overlooking the stairs.
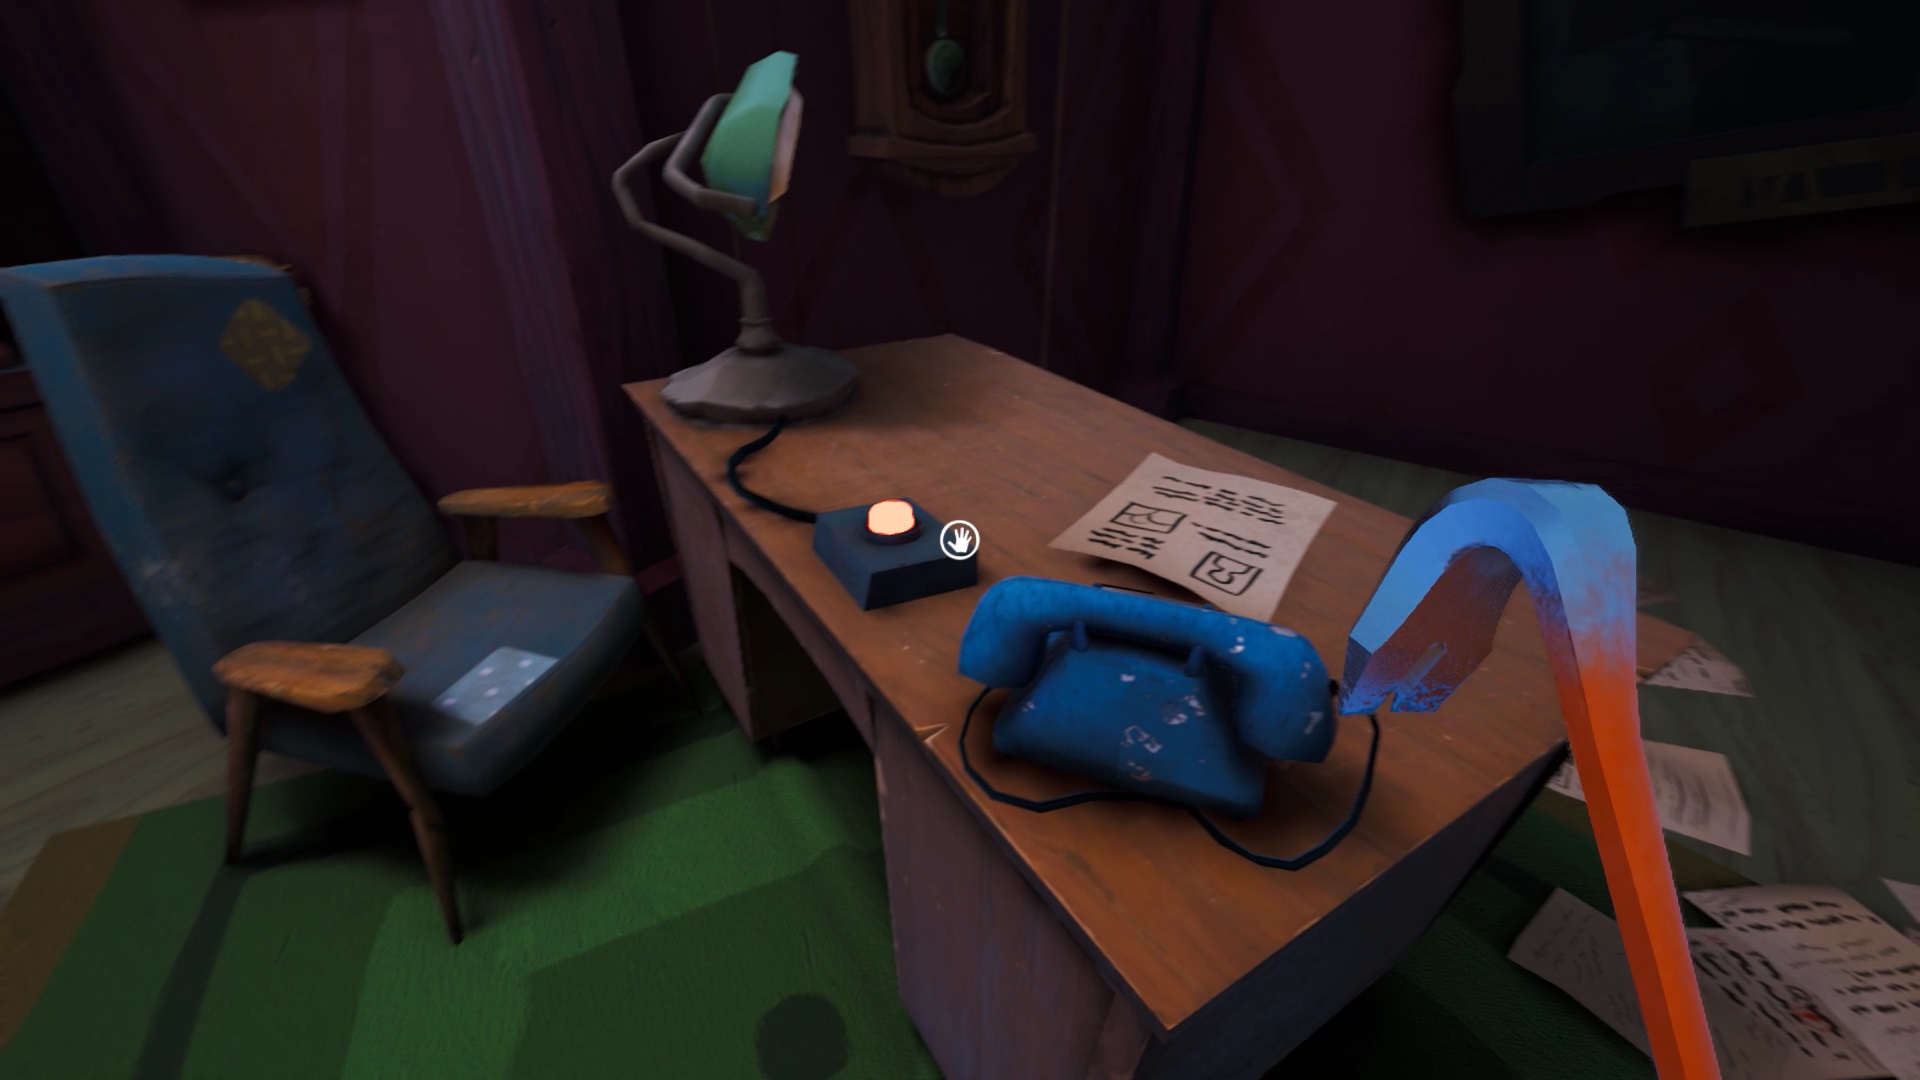
In the director's office, press the button to open the secret passage behind the clock. Slide down the pipeline to trigger a cutscene.
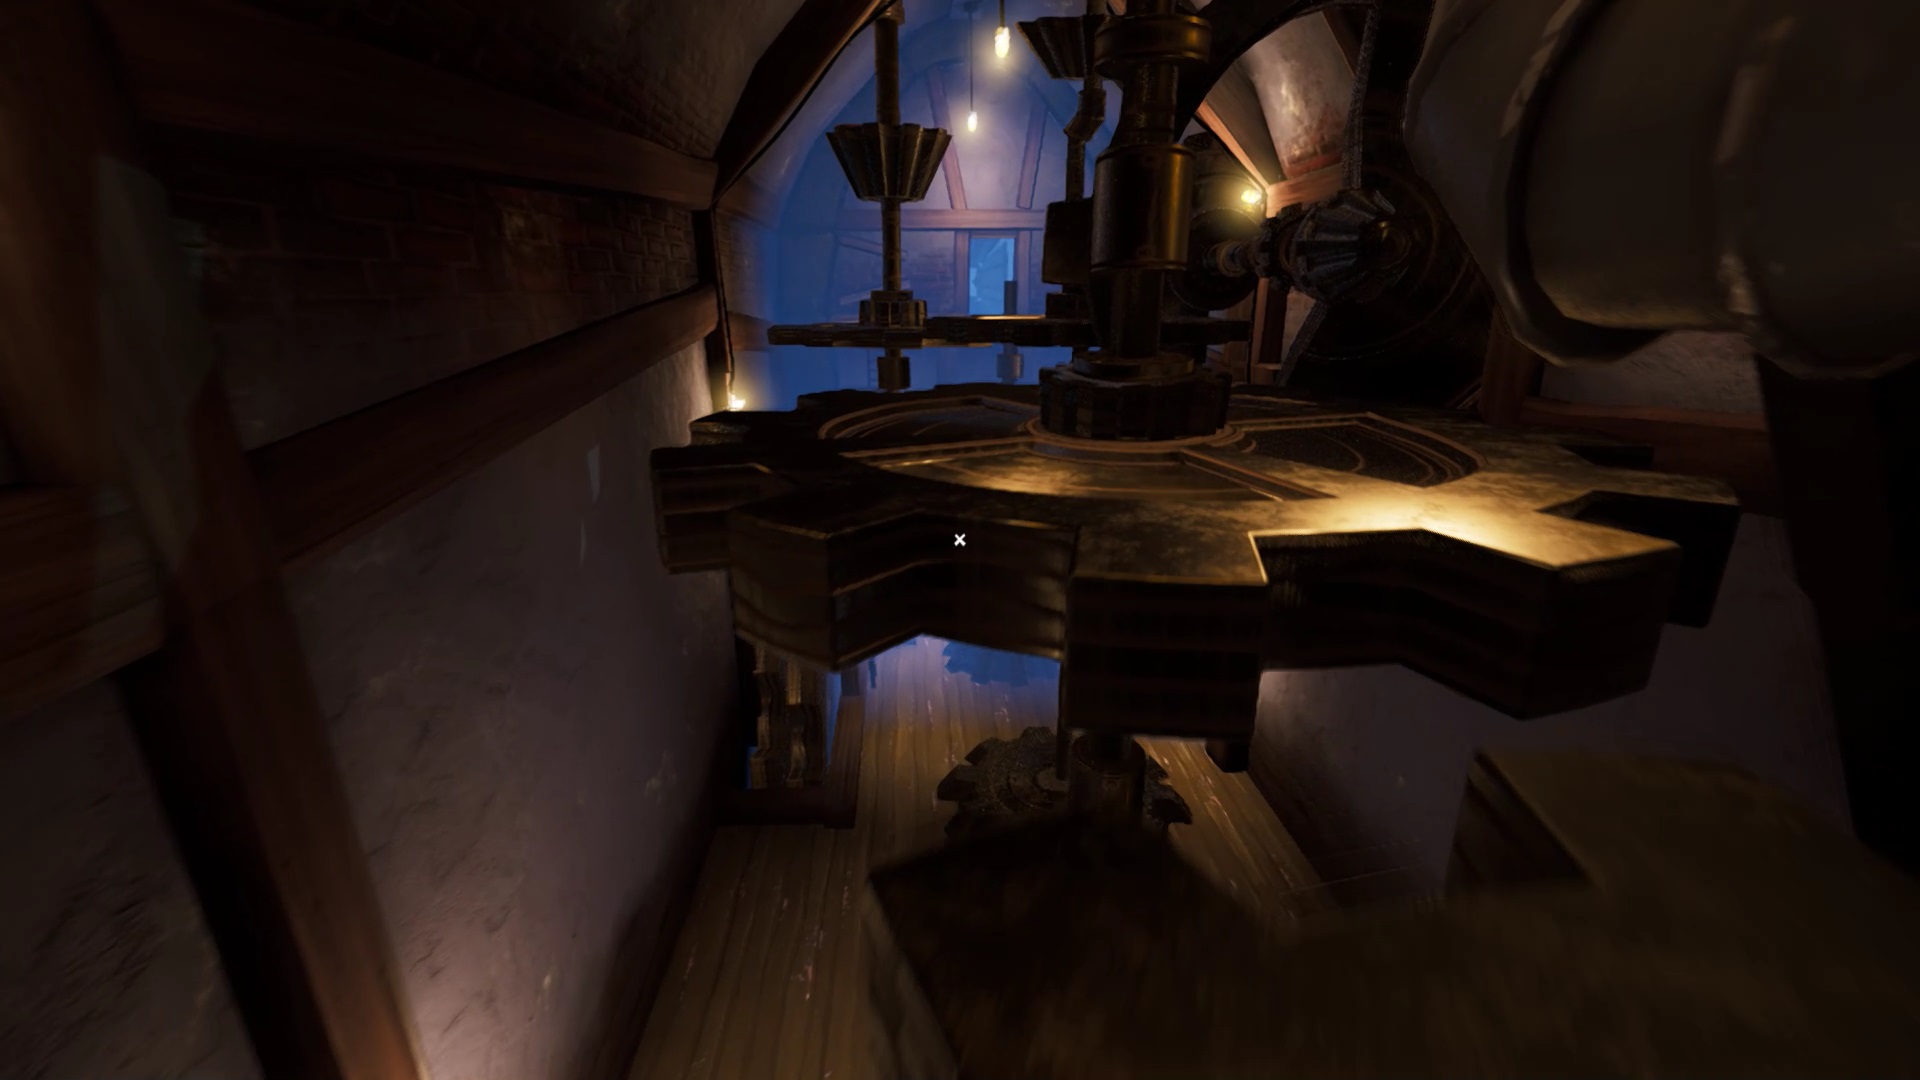
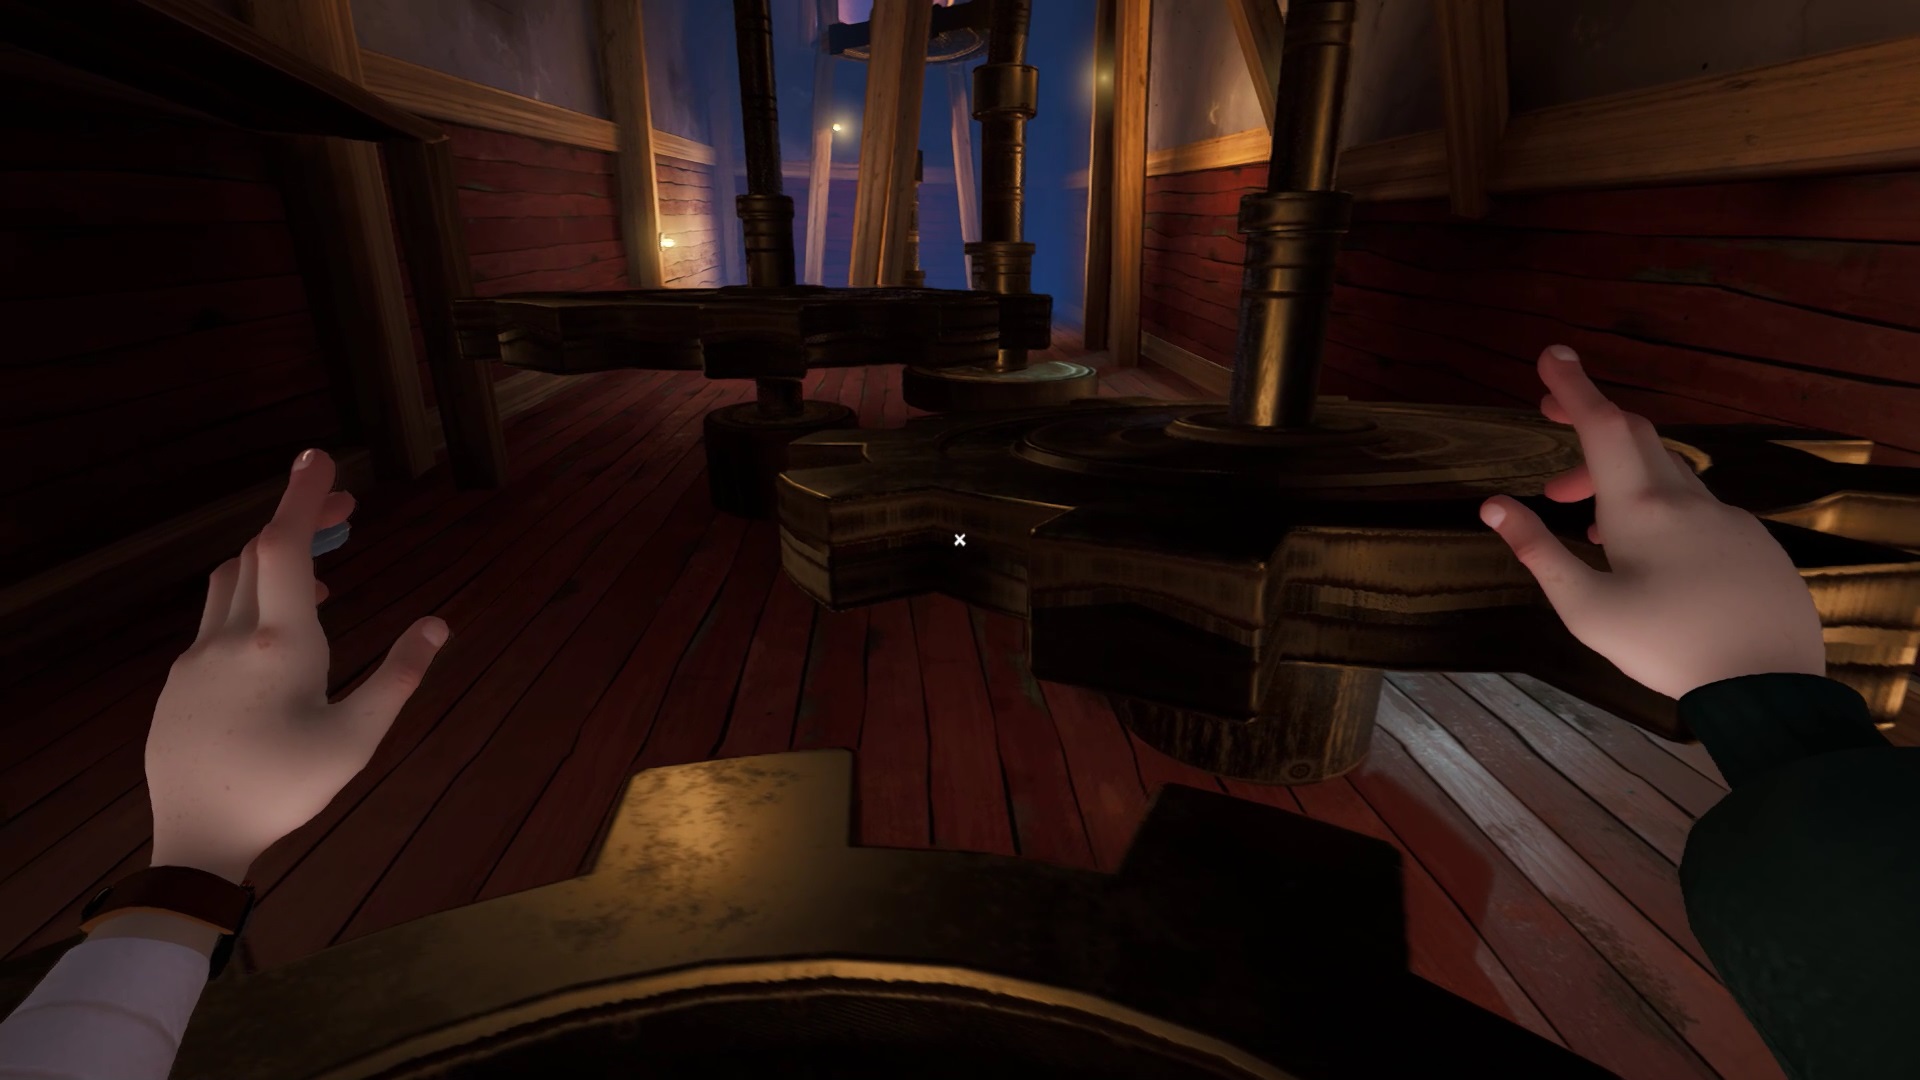
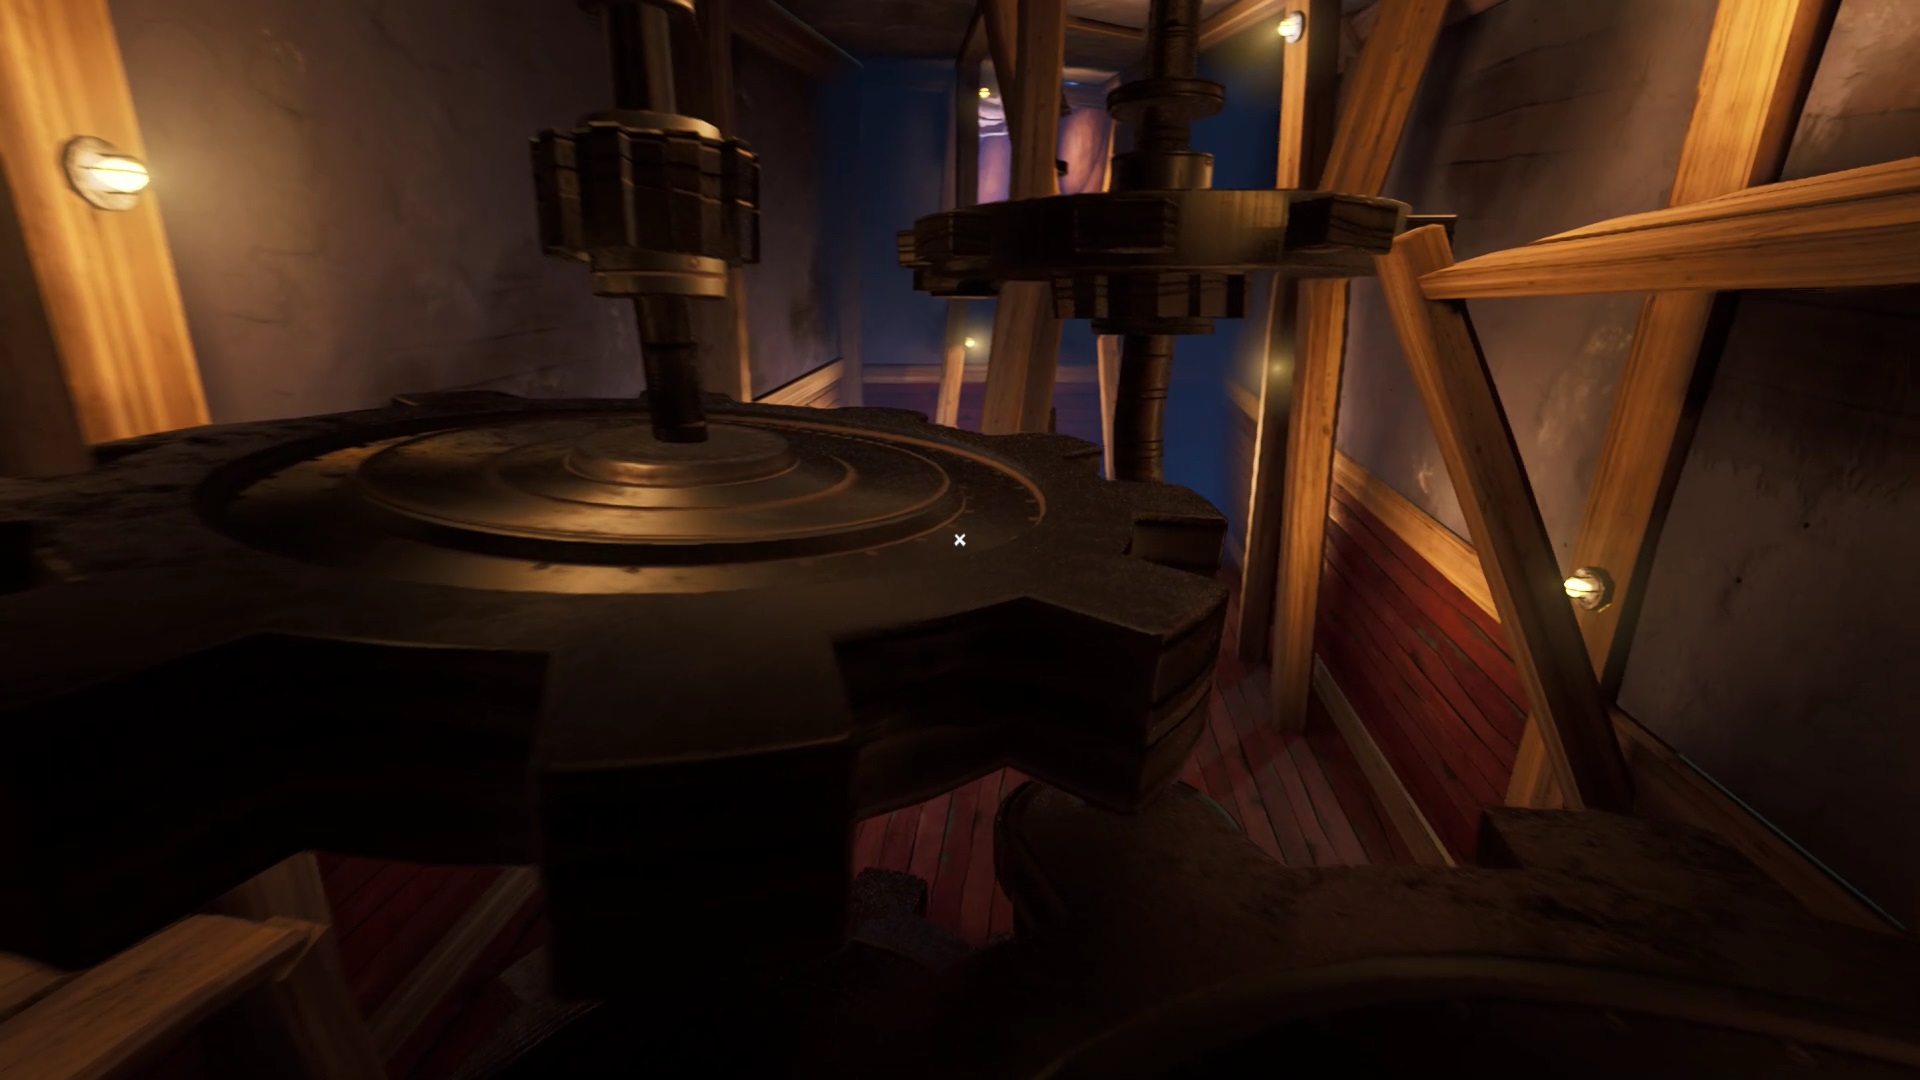
Head to the equipment room. Go straight from transmission to transmission. You land in the center of the cogwheel. You notice that 4 colored gears are missing to power the mechanism.
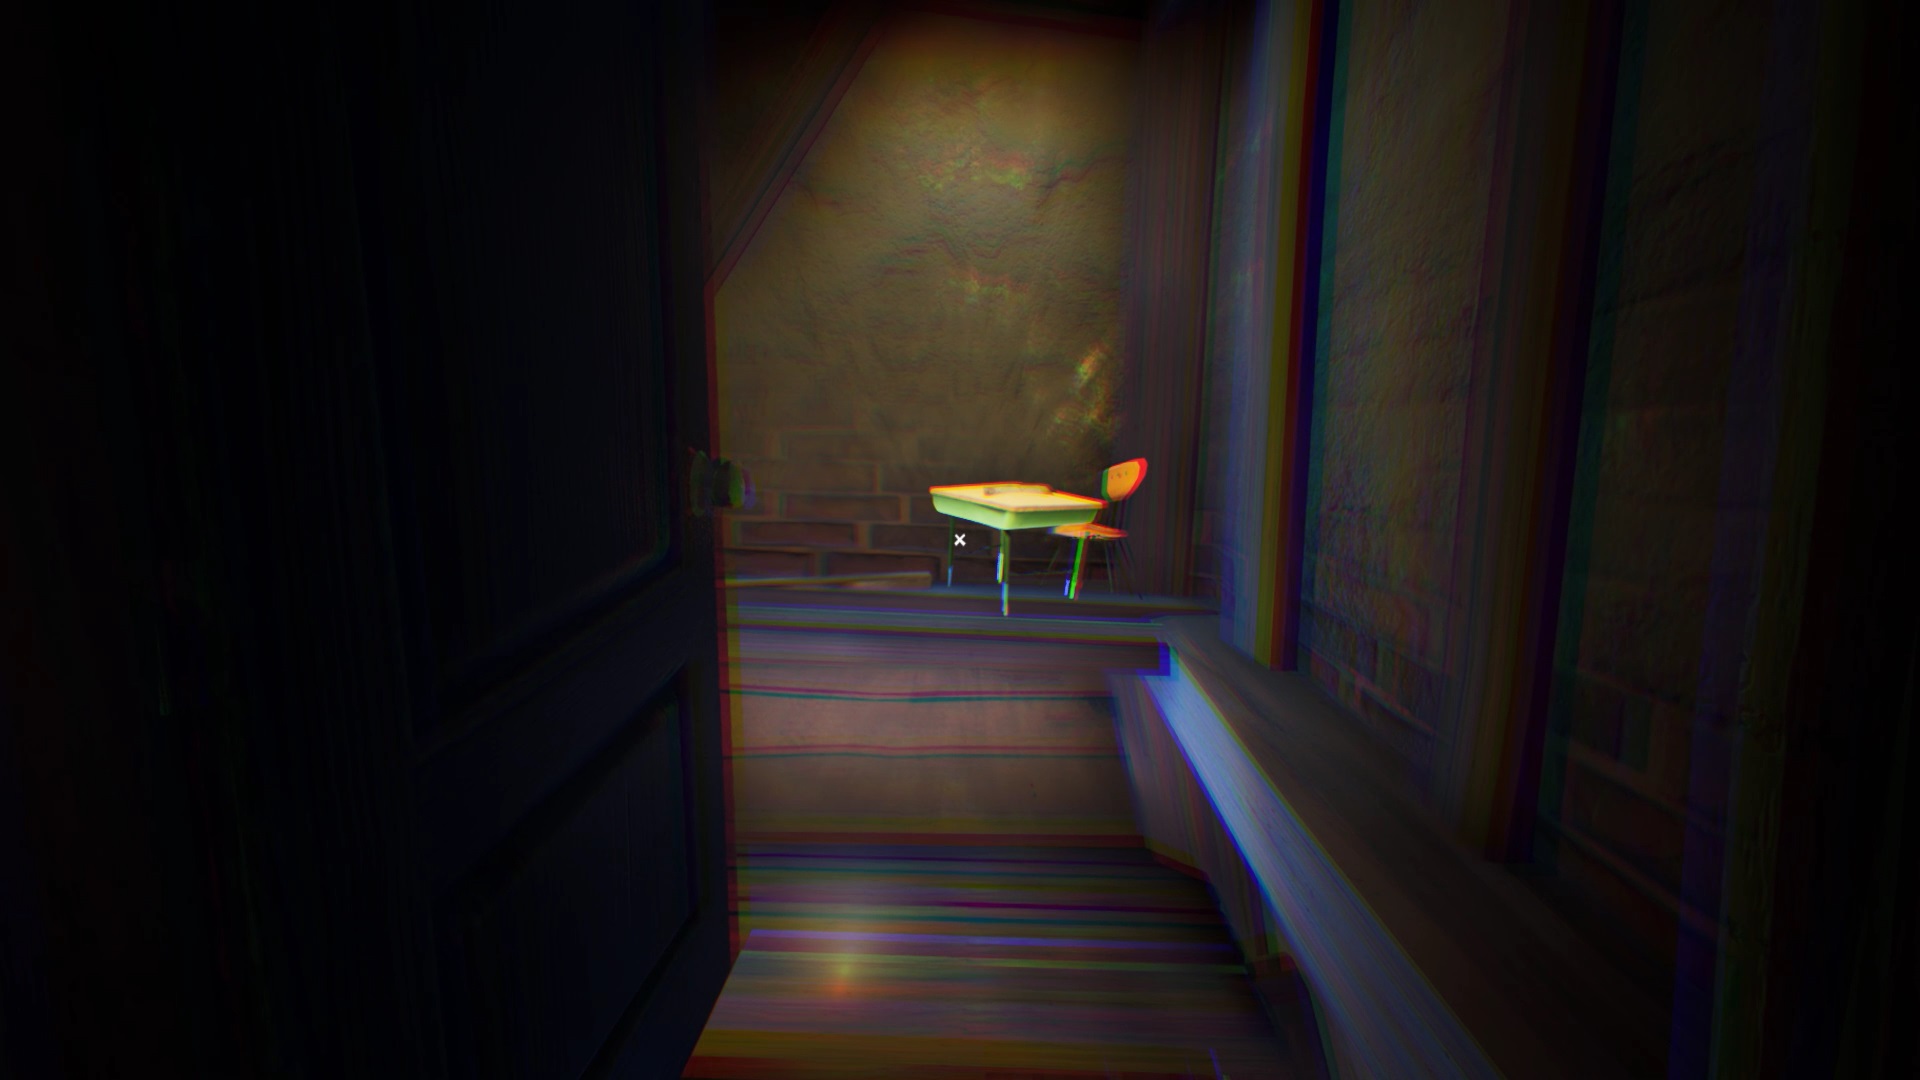
You must explore all the rooms in the area to find gear. In the room with a raised desk, go down to the very bottom of the room. You land in a classroom with the cops. Interact with the button on the pillar in the center of the room. Equipment appeared in the policeman's hand. Return to the level of the central mechanism and lower the gear on the red part.

In the room with the cardboard school, press the button in the upper right corner of the entrance. Interact with the portal on the right side to close it. Move to the end of the room to go behind the cardboard school. A stack of tables is located at the back of the room. Climb it to get to the top of the area. Above the pile of desks is a figure holding a painting. Climb up to get a photo.
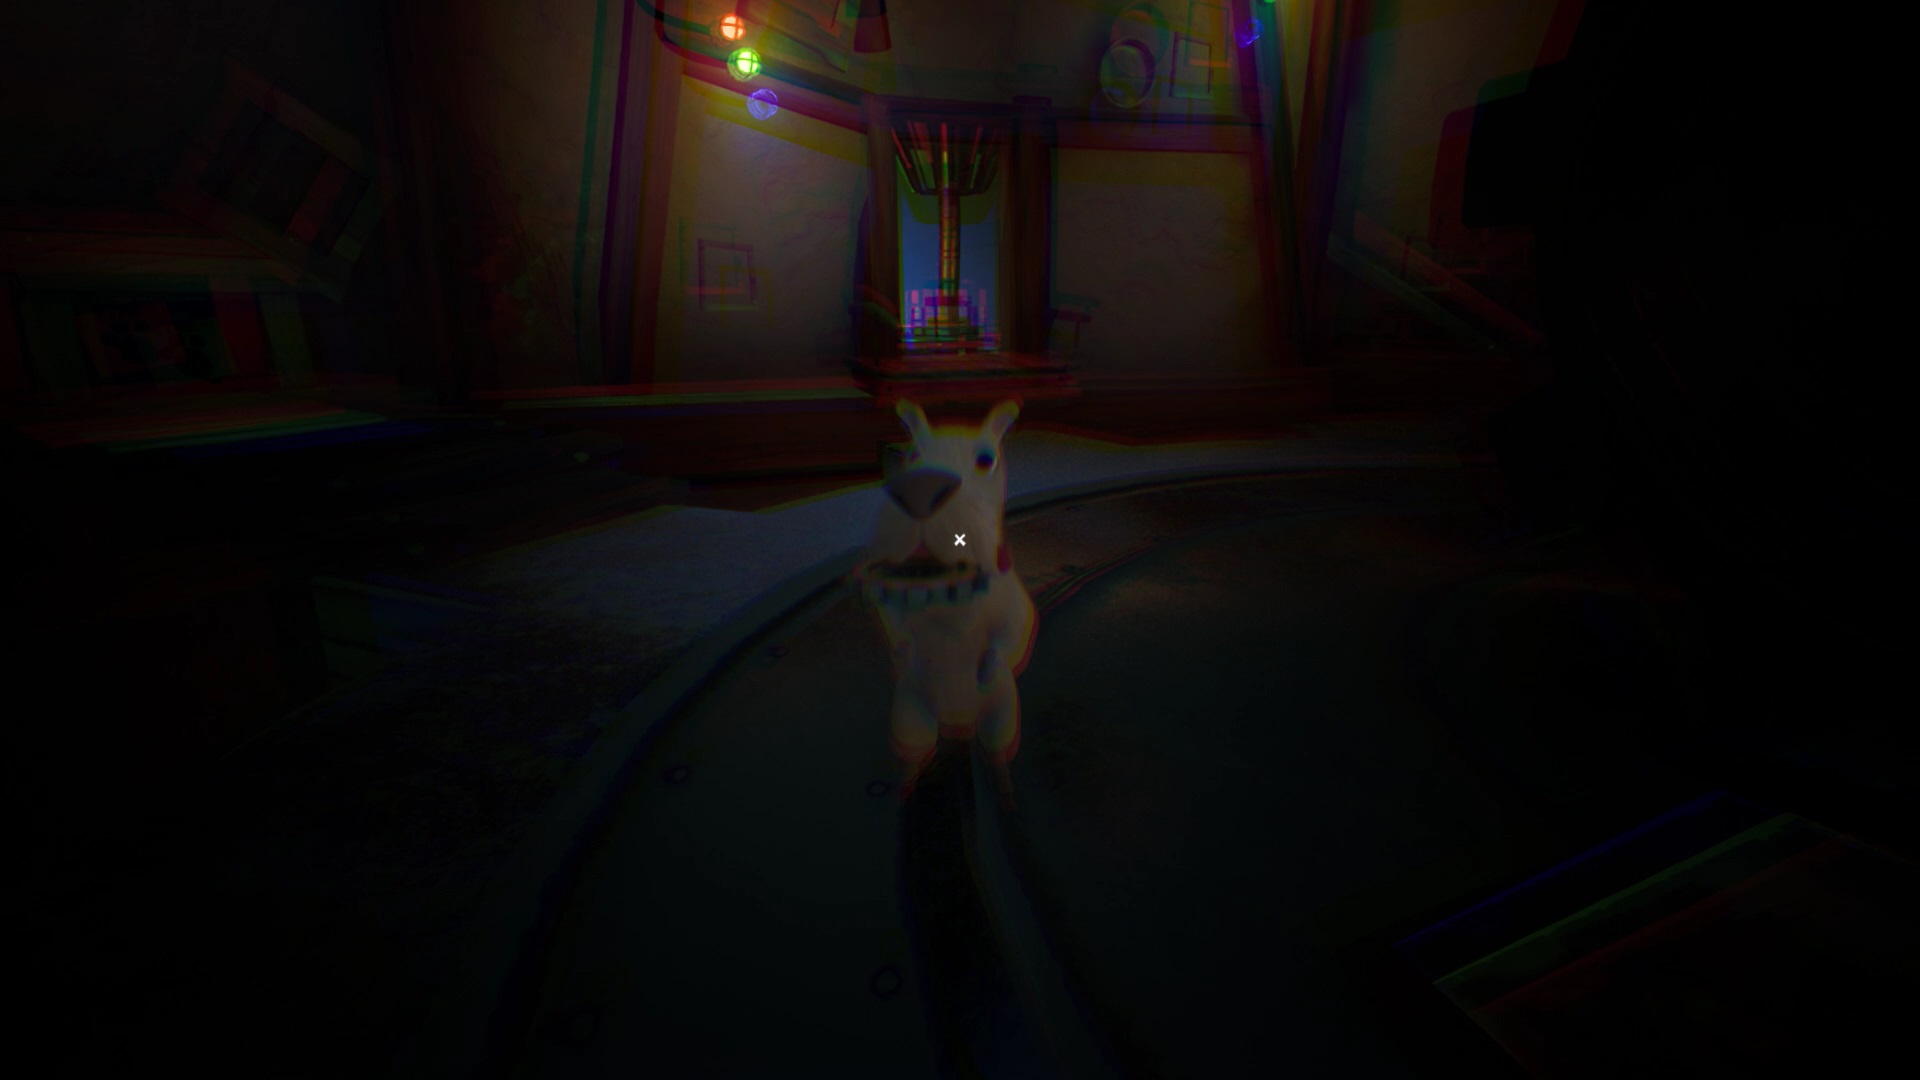
Return to the central mechanism. Give the photo to the dog in exchange for equipment. Position the gear in the mechanism on the yellow part.
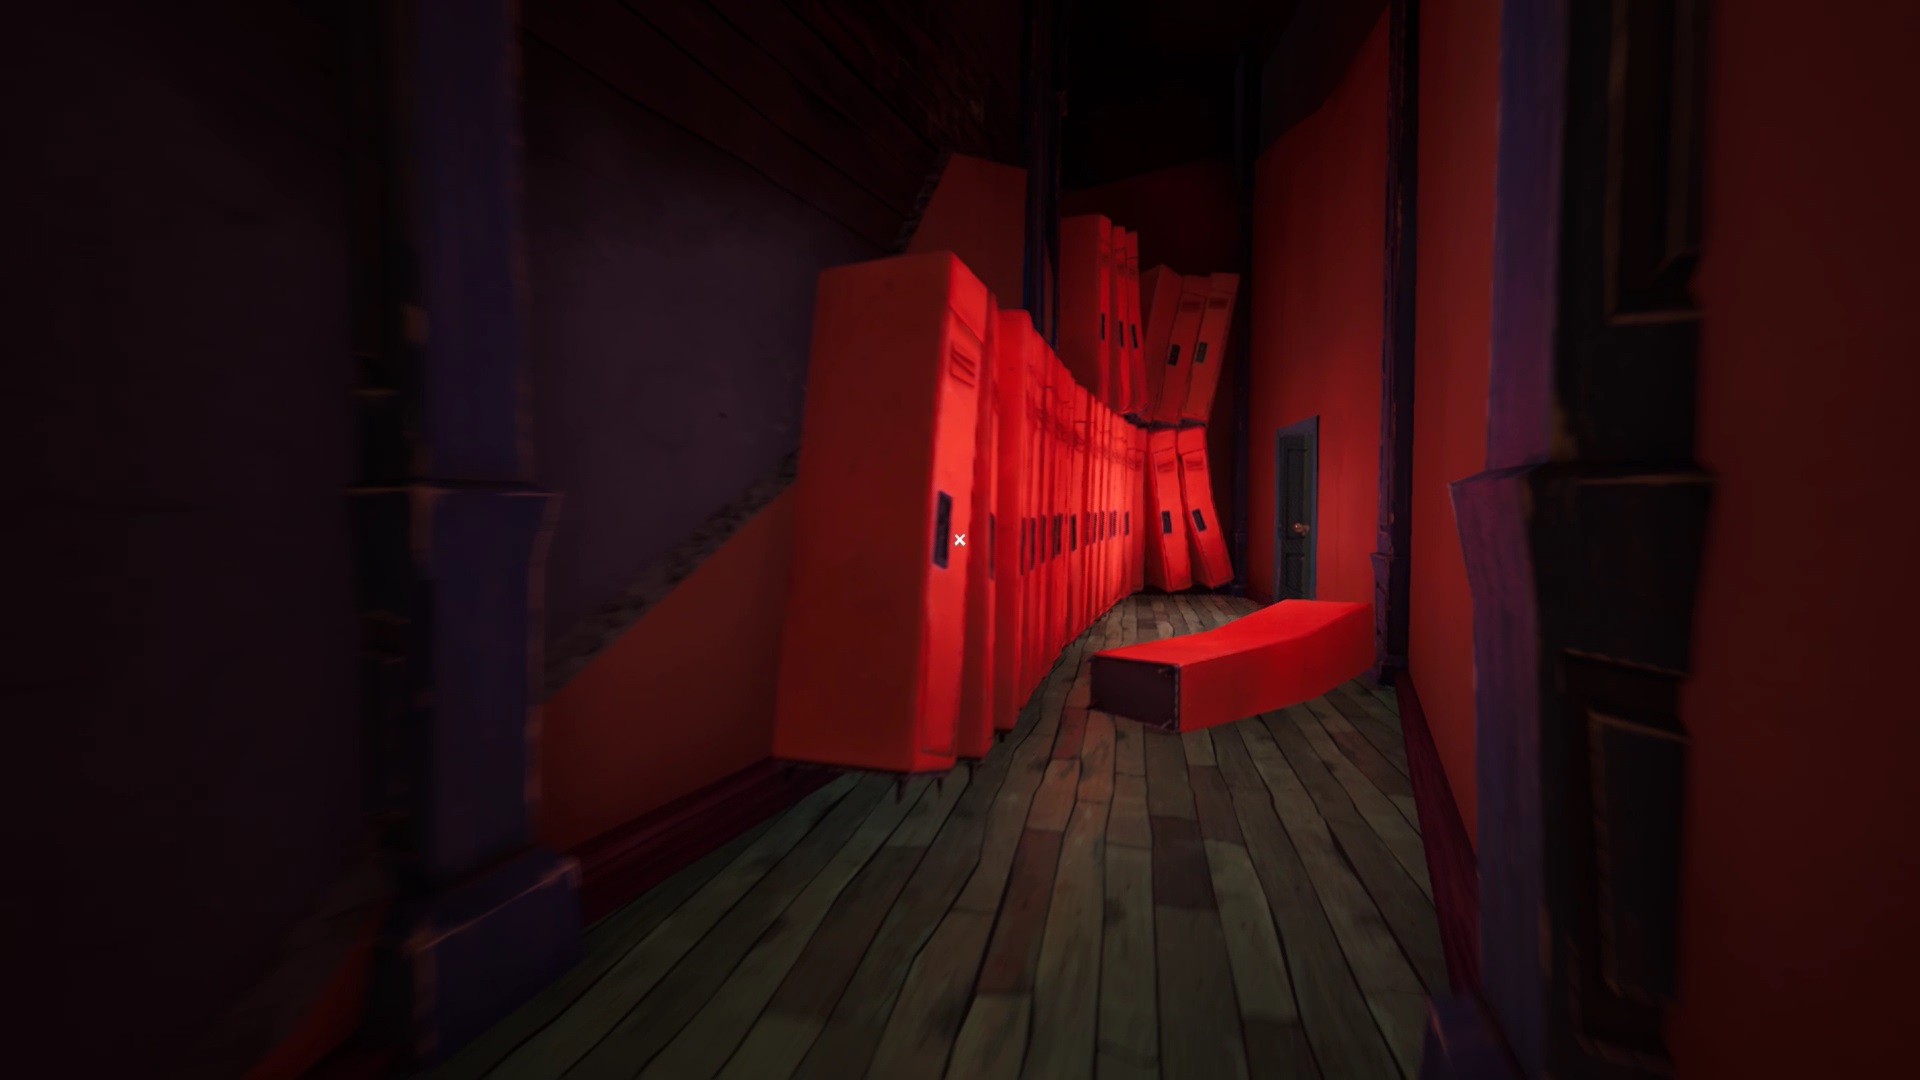
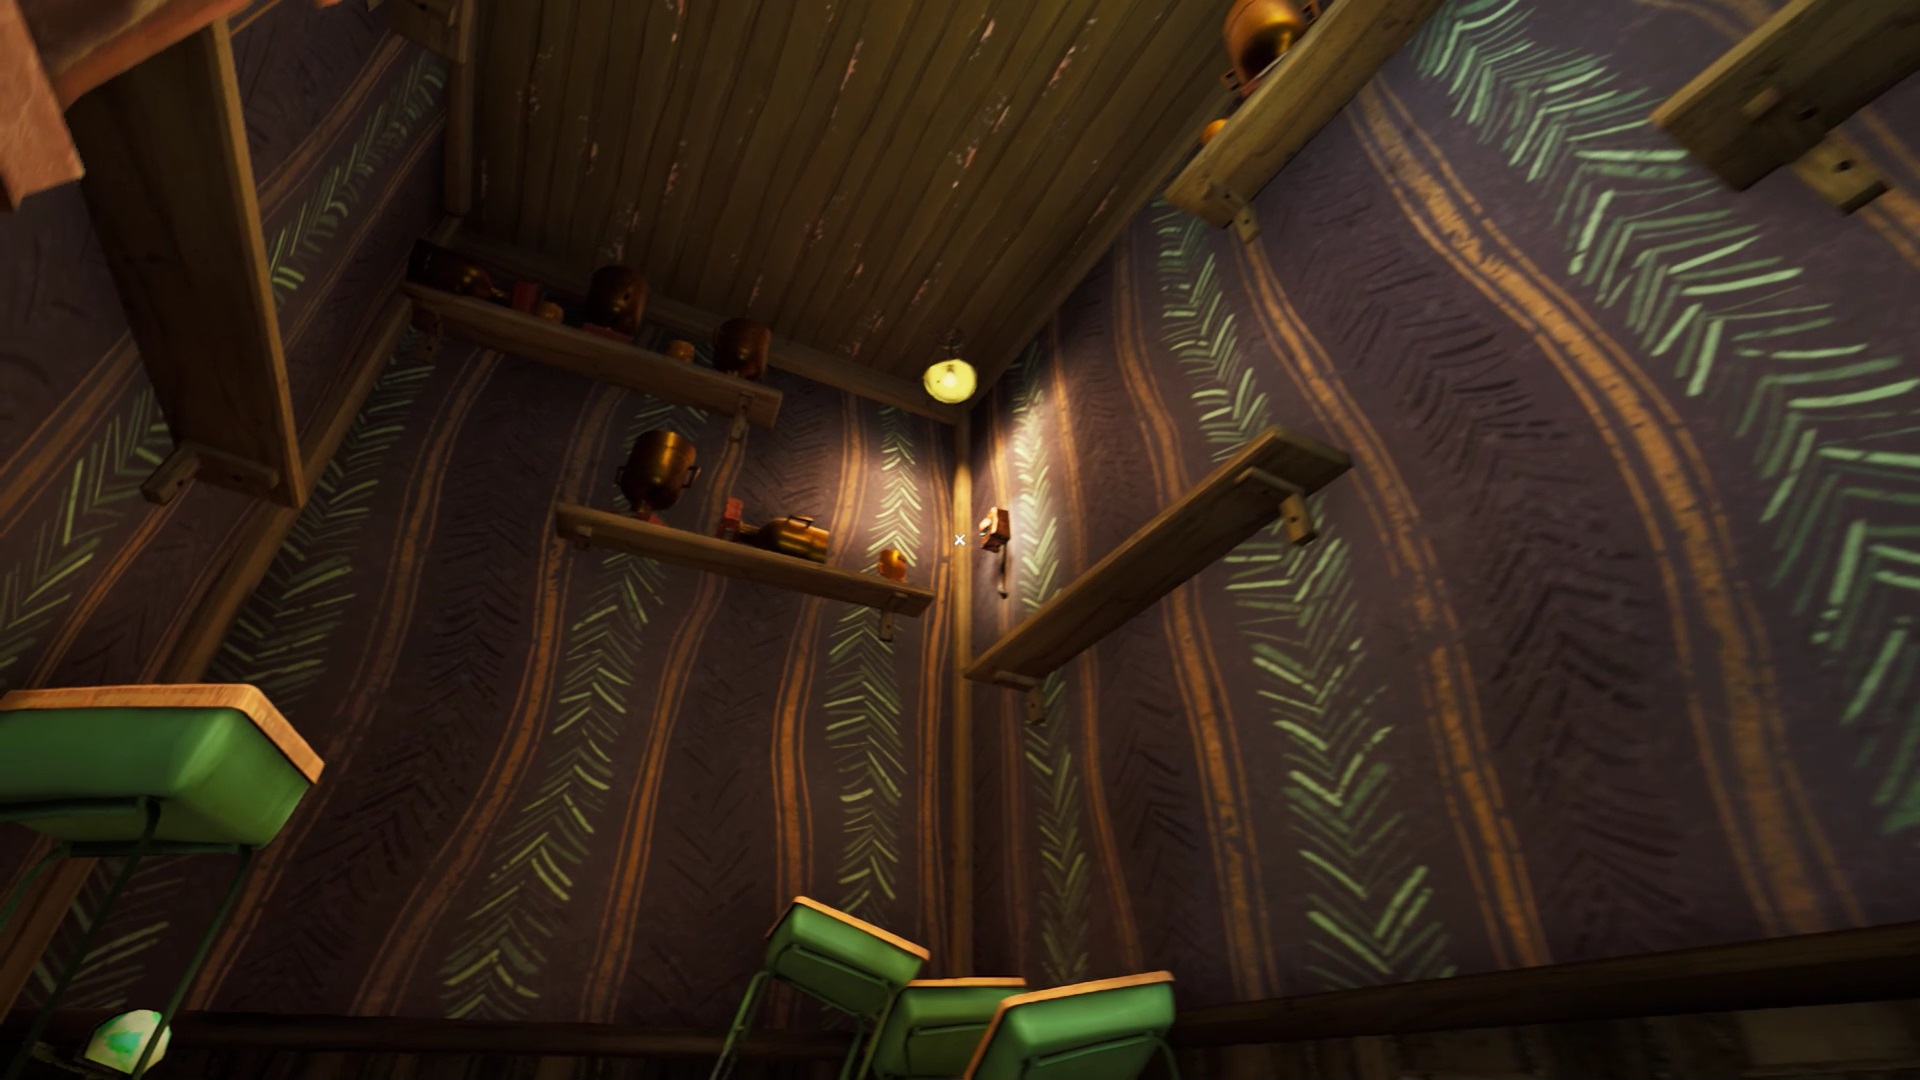
In the area with red lockers, go forward and enter the room on the right. Search. There is a shelf under the colorful inscriptions. The blue gear is located above the shelf. Climb on the furniture in the room to get to the shelf and get the equipment. Go and place the gear on the central mechanism on the blue part.
In the clock room, the switch is high up. To activate it, stand on the tables and walk from shelf to shelf throughout the room to reach the switch. You will activate a secret passage near the clock.
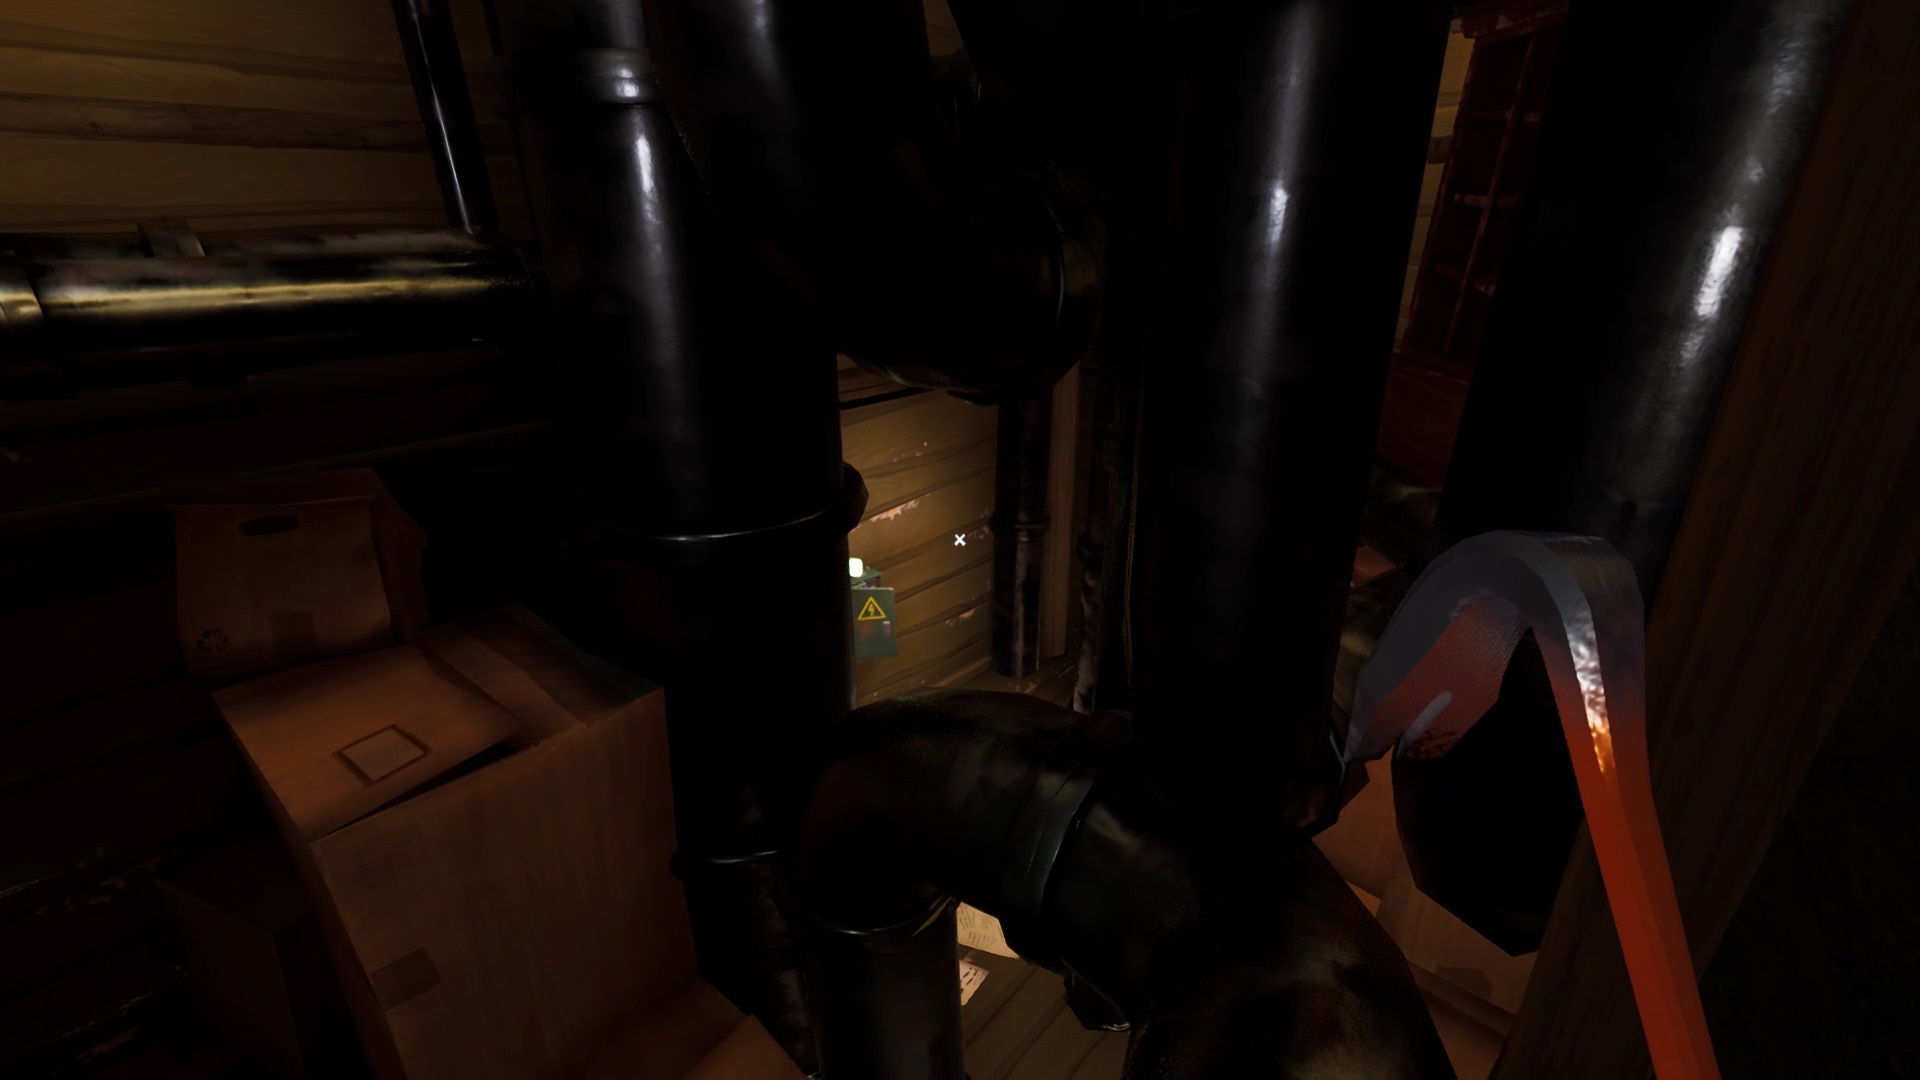
Enter the passage to reach a space filled with pipes. To the right of the square, next to the prohibition sign, there is a cabinet. At the bottom of the area is an electrical box. Interact with him to move the closet and open the passage. Choose a new path near the prohibition sign and move forward.
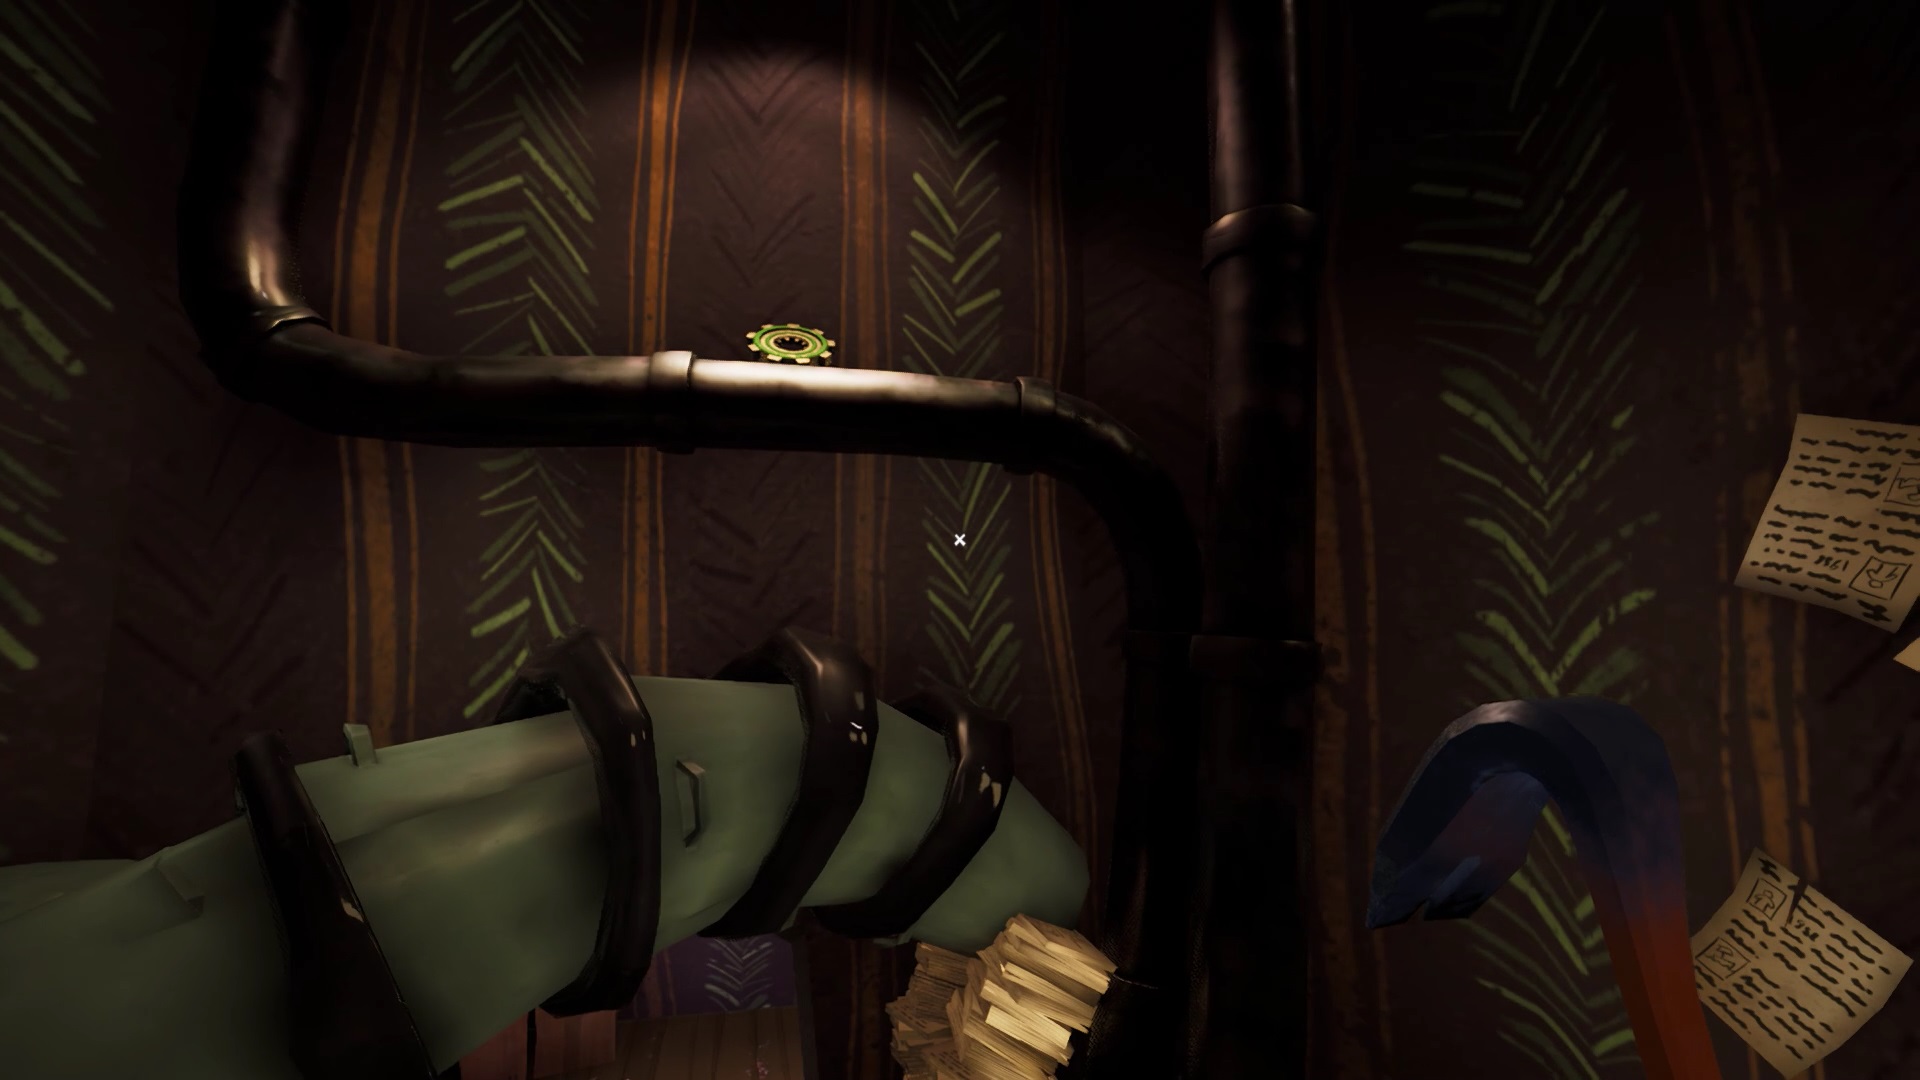
Move forward to reach a room filled with paper. Above the pile of seals is a gear resting on a pipe. Collect the last green gear and place it on the mechanism on the green part. Once all the gears are in place, the mechanism starts. Follow your steps to reach the beginning of the level and activate the cutscene.

Follow the clock pendulum and go up the stairs. Jump from platform to platform as soon as the gears give you free rein.
In the room of spinning gears, jump from platform to platform once the gears are no longer blocking your path. Gain momentum to reach the end of the area.
In the second room you have to climb on the gears. Climb up in three gears at the bottom of the platform. Once in third gear, jump along the edge of the wall. From the ledge, jump onto the gear closest to the entrance to the square. Jump on him when he is leaning towards you.
Jump on the next two gears, then jump back to the ledge on the right side. Shift into last gear and continue on your way to the end of the DLC.
Was the article helpful?


