

Passage of the game Lost Lands 9: Tales of the First Brotherhood 100%. All the secrets, puzzles, mini games, collectibles and achievements in one place...
Passage of the game Stalker ("STALKER: Shadow of Chernobyl") - Guide
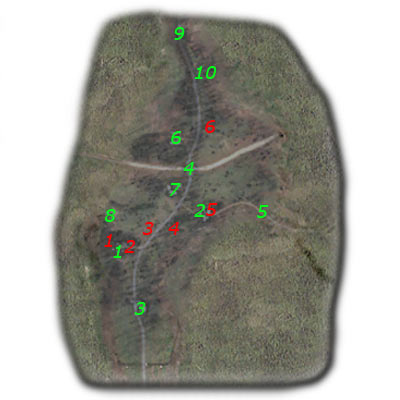
DETAILED MAP OF THIS ZONE - NIPS AND IMPORTANT PLACES:
Important NPCs (of red color):
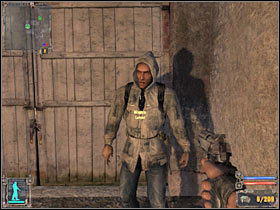
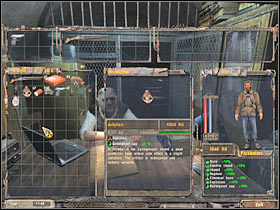
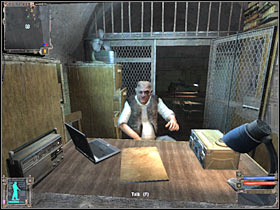
1 - Sidorovich — He is one of the three traders of the game. This means that you will be able to sell him all your items (including weapons, armor and ammo) and not just a first aid kit or artifacts. Sidorovich will also provide you with some very important tasks, as well as a large number of additional tasks. You don't have to complete these mini-missions to be successful. Also, some of these quests will be broken, so you won't be able to reach the final. I would recommend returning to Sidorovich once you have collected enough items. Unfortunately, he won't be selling anything of interest, so save your money for later.
2 - Wolf - You will have to talk to the Wolf in order to proceed with the first main mission of the game. The wolf will also give you some side missions, however some of them may disappear from his list later in the game. Wolf is the commander of this camp.
3 - Shreds - You will meet Tolik near the starting camp. He will be seriously injured, so you will have to heal him by giving him a first aid kit. As soon as you save him, Tolik will return to the camp, and there you will have to look for him.
4 - Petruha - You will encounter this Stalker while trying to complete one of your first tasks. He will accompany you while you try to capture the bandit camp.
5 - Nimble - Nimble will hide in the bandit camp. You will have to approach him once you secure the area. It is very important that you kill all the bandits. Otherwise, he wouldn't even talk to you. Nimble will leave this area to return to the camp. You will be able to receive simple side quests from him.
6 - A fox - You will have to face this Stalker to finish one of the main quests of this map. After that, he will probably stay in this place. In addition, the Fox may die later during the game (there are many aggressive animals and soldiers in the area), however this will not affect the outcome of the game.
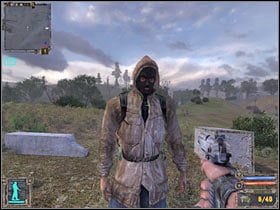
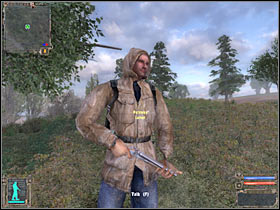
Guide- the character will also stand here later during the game. You will have to talk to him to complete the Meet the Guide quest. You will also receive a second mission from him.
Important places (green color):
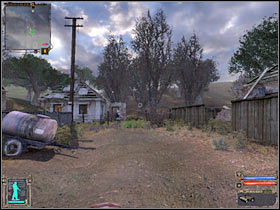
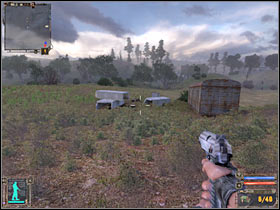
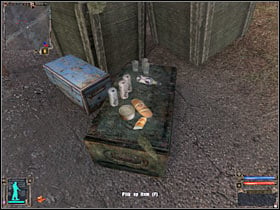
1 - This is a small camp where you will start your journey (the Sidorovich bunker is located nearby). Here you will meet several important characters, including the Wolf, Sidorovich and many other Stalkers. You may want to explore all the surrounding buildings, especially since you can find interesting objects there (mainly artifacts).
 |  |
2 - There is a bandit camp here. Nimble can be found inside. Once you've rescued him and taken over the area, you'll encounter a few friendly Stalkers here, however bandits will try to take over the place from time to time, so you have to be careful.
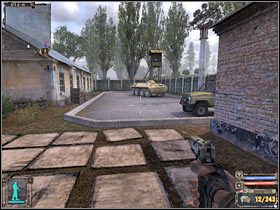
3 - Army base. I wouldn't recommend getting close to her, especially early in the game, mainly because there are a lot of soldiers in the area. Even if you manage to enter the base, you won't be able to stay here for too long, mainly because reinforcements will arrive very soon. You will also find closed gates here. Unfortunately, you won't be able to open them.
 | 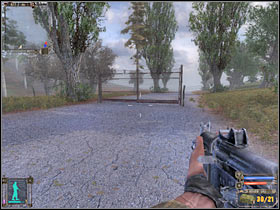 |
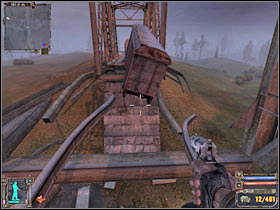
4 – Here you will come across a destroyed bridge as well as a military checkpoint. As a result, you will have to be very careful. Luckily, you'll be fine as long as you don't attack any of the soldiers. You can get to the other side of the bridge by finding a hole in the fence. You will also come across several interesting objects at the top of the bridge, including ammo for your current weapon.
 |  |
5 - You should be able to find the destroyed tunnel here. As a result, you won't be able to use it. You will also begin your exploration here as soon as you return from the Dark Valley area. Unfortunately, you won't be able to use this passage earlier in the game.
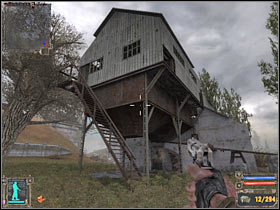
6 – There are several small buildings in the area. You should be able to find some friendly Stalkers here. Consider talking or trading with them. You will also encounter some new mutants, however it will be very easy to kill them.
7 – There are several buildings here. I would recommend checking them out because you should be able to find a few caches in this area.
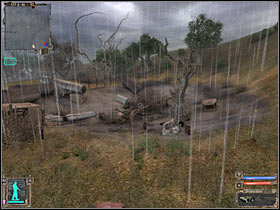
8 - This is one of the most dangerous areas in this sector so you need to be VERY careful. If you want to explore the wreckage, you'll have to enter this area from the northwest. Make sure you move very slowly so you don't get too close to one of the anomalies.
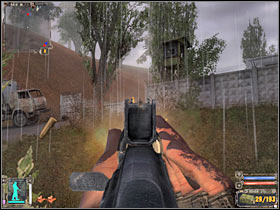
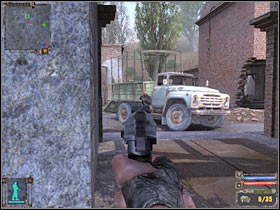
9 is the second military checkpoint. This road leads straight to Garbage, so you'll have to secure it. You will probably run into a small group of thugs here. I would recommend going to the right and hiding behind the trees. You should be able to kill a few enemies from here. After that, get closer to the brick wall and kill the others. You can also consider using grenades here. In addition, this area may already be protected. If this happens, you must not kill friendly Stalkers. You will need to enter the building and head towards the open door to enter the trash area.
 |  |
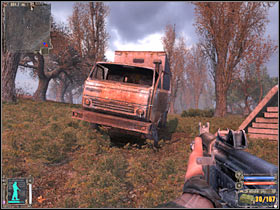
10 - There is a destroyed car here, as well as a few bodies. I do not recommend going there because it is a radioactive zone. The same goes for many other places on this map, including Nimble's stash. As a result, keep a safe distance and focus on other things.
 |  |
TASKS:
1. Get information from a scout
Received from: Sidorovich (Kordon)
Starting point: 1 on the map
What should be done:
a) talk to the Wolf (2 on the map)
b) meet Wolf people (3 on the map)
c) help the Wolf people and clear the bandit camp (4 on the map)
d) pick up a flash drive (5 on the map)
e) return with the disk to Sidorovich (1 on the map)
Full passage of the quest:
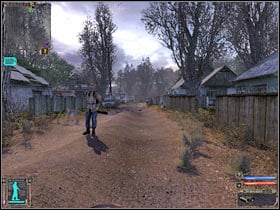
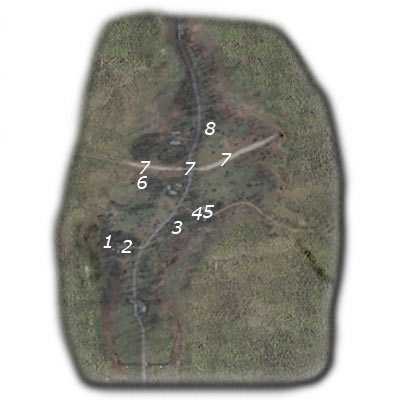
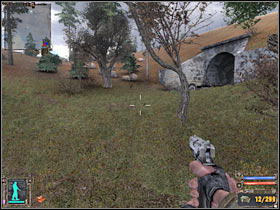
Once you've finished talking to Sidorovich, you'll have to exit his bunker. Go and talk to the Wolf (#1). You should be able to get new information from him. I wouldn't advise picking up any side missions during this time because you would only have 24 hours (game time) to complete them. You will have to leave the camp (#2). Go to the main road and turn left. I wouldn't recommend leaving this road, especially if you don't want to get lost or get into trouble. You must also select the PM pistol from your inventory. You received this weapon from the Wolf. Don't waste bullets on practice shots as you will need this weapon very soon.
 |  |
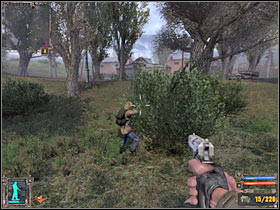
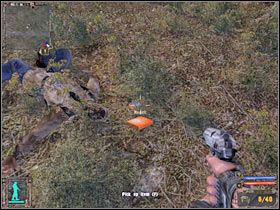
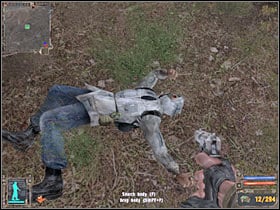
Like I said, you shouldn't leave the main road leading to the camp area (#1). Keep moving towards the Wolf people. You should be able to spot a few large objects to your left. Go there now. You will come across several bodies (#2). Try to get closer. It looks like one of the Stalker soldiers is still alive. You will have to save him.
 |  |
If you do not have medical supplies in your inventory, you will have to take one of these items. You should be able to find a first aid kit near the dead Stalker (#1). Go to the dying. It will be Tolik. Talk to him and choose the correct dialogue option to provide him with a first aid kit (#2). Tolik will thank you for your help. He will also return to the main camp.
 |  |
Now you will have to return to your main goal. Go to the people of the Wolf. You will have to talk to Petruha (#1). Get ready to attack. I would recommend saving your progress here, especially if you are playing on one of the higher difficulty levels. Start moving towards the camp. Note that two other friendly Stalker soldiers are taking part in this attack (#2). You will be able to use this to your advantage.
 | 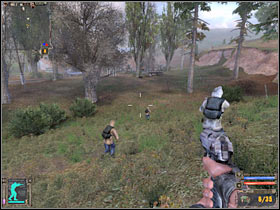 |
As soon as you get to the camp, your allies will automatically start shooting at the bandits. It would be wise not to interfere in this fight. Don't worry about the result. The bandits will be killed very soon. Go to the buildings (#1). You can also try to kill some of the bandits yourself (#2), however this is considered risky, mainly because some of the enemy soldiers will be carrying powerful shotguns.
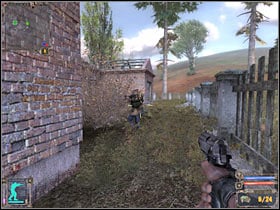 |  |
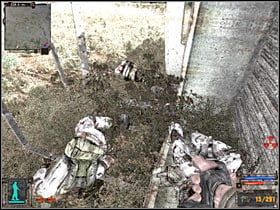
Make sure you use your minimap to find all enemy soldiers. You will need to secure this entire area before proceeding with the next part of this mission. Also, you should consider looting the bodies for ammo and better weapons (#1). You will also be given places for several caches. They will be marked on your main map. Head to Shustrom (#2). You will have to talk to him to get the flash drive.
 |  |
Now you will have to return to the main camp. I would recommend going down the same path to avoid encountering enemy soldiers or stronger monsters. Start by talking to the Wolf. You will receive a Medusa Artifact from him (#1). Now you will have to return to the bunker. Talk to Sidorovich (#2). He will give you some money and you can complete new main quests as well as a few side missions.
 |  |
2. Kill Strelok
Received from: Sidorovich (Kordon)
Starting point: 1 on the map
What should be done:
a) find Strelok
b) kill Strelok
You will not be able to complete this task in this sector of the map. This quest was activated at the beginning of the game, so you can ignore it for now.
3. Get to the railway embankment
Received from: Sidorovich (Kordon)
Starting point: 1 on the map
What should be done:
a) go to the designated area of the map and find the journeyman (6 on the map)
b) get to the other side of the railway embankment (7 on the map)
Full passage of the quest:
I would recommend getting a good weapon before embarking on this mission of the game. If you haven't killed any of the army soldiers, you will probably have to buy one of the best pistols from Sidorovich. I wouldn't advise spending money on a silenced pistol because you won't have to act secretly. If you have a shotgun or an Akm 74/2U machine gun at your disposal, you have nothing to worry about. Just be aware of the small amount of ammo for this weapon.
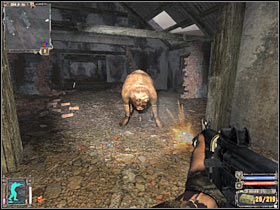
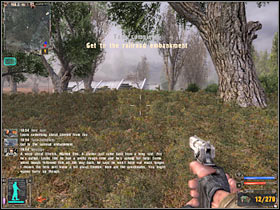
First of all, you will have to go to the northern part of the map. This is where the meeting was supposed to take place (#1). Once again, I would not recommend going off the main road. Do this as soon as you get to the destroyed bridge. However, you will have to be very careful. There are several boars in the area and you will have to kill them in order to survive. Unfortunately, it turns out that the journeyman is already dead (#2). Check his body so you can finish the first part of this mission.
 |  |
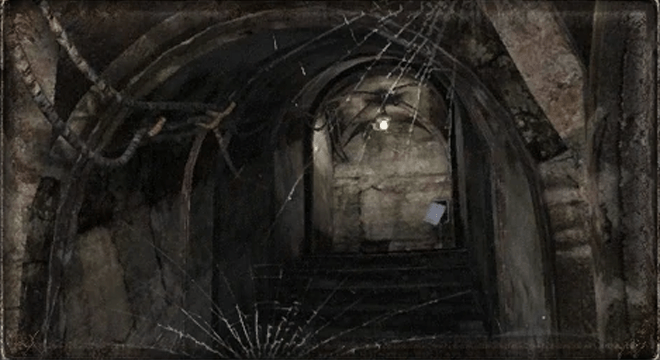
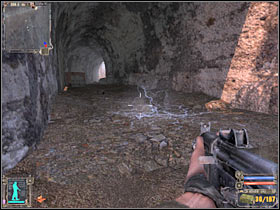
Now you will need to get to the other side of the railway embankment. You can do this by choosing one of the three available routes. The most difficult passage, at least in my personal opinion, leads through the nearby tunnel (#1). You would have to avoid very strong anomalies here. Note that they are constantly moving. You must start moving very slowly. In addition, there is a separate anomaly at the end of the tunnel. You would have to wait for it to disappear. This will allow you to exit the tunnel without taking any damage (#2).
 |  |
The second option will require you to go to the military checkpoint, which is located under the destroyed part of the bridge. You would have to find one of the officers. Talk to him (#1). If you behave properly, no one should attack you. You will have to bribe the soldier by giving him some of your money (500 rubles). As a result, you will be allowed to pass. Don't leave this area just yet because you will find some interesting materials nearby (#2). You can also kill these soldiers or wait for them to engage a friendly Stalker.
 |  |
The third route will be the easiest. You will need to find a hole in the fence. I would not recommend choosing a passage that is located near a military checkpoint. Instead, keep moving to the right and you will come across a second hole (#1). After passing by, you will be able to receive a new message (#2). In addition, you will be allowed to complete a new main quest.
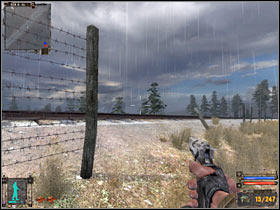 |  |
4. Find military documents
Received from: Sidorovich (Kordon)
Starting point: 1 on the map
What should be done:
a) steal documents
b) deliver documents to Barkeep
You will not be able to take on this mission here. Instead, you will have to wait. We will return to this task once you reach the NII Agroprom zone (the road leads through the garbage sector).
5. Learn something about Arrow from Lis
Received from: This quest will start automatically after you complete the task Reach the railway embankment
Starting point: 7 on the map (depends on which route you chose)
What should be done:
a) save the dying Fox (8 on the map)
b) ask Fox about Arrow (8 on the map)
Full passage of the quest:
This is a very short mission and you shouldn't have any major problems completing it. The first thing to do is get to a certain building on the map (#1). You will find the dying Stalker here (#2). This is the Fox, and you have to save him. Once again, you will need to activate the dialog box. Give him one of your first aid kits. If you don't have one, you must buy or find one.
 | 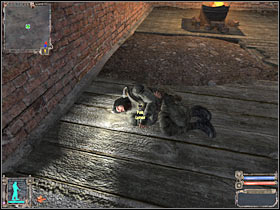 |
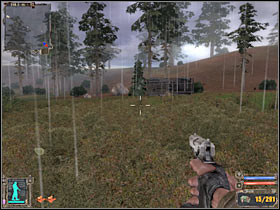
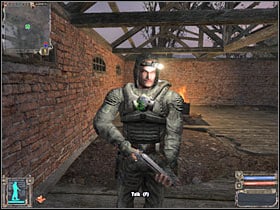
You will have to wait a few seconds. The fox will get up and you can talk to him (#1). This will allow you to complete this quest. I think I should warn you about wild animals. You can be attacked by these creatures (#2), however you should have no problem killing them.
 |  |
6. Meet Gray
Received from: Lis (Cordon)
Starting point: 8 on the map
What should be done:
a) learn something about Strelka from the series
You won't be able to start this mission right away. You will need to get to a certain warehouse in the garbage area that leads north of the Cordon zone.
7. Meet your guide - part 2
Received from: This mission automatically starts when researching Lab X16
Starting point: sector X16
What should be done:
a) talk to the guide, you can find him in the Cordon sector (8 on the map)
Full passage of the quest:
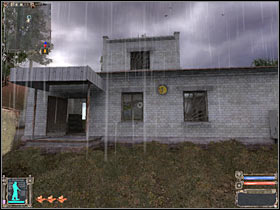
You will complete this challenge later in the game once you have returned safely from the X16 Lab. You will have to return to the Cordon area. You shouldn't have any trouble finding the guide character, mainly because he occupies a famous building (#1). This is exactly the same place where the Fox stood. You will have to talk to the guide (#2). He will give you a new task. As a result, you will have to return to the Agroprom Sewerage Research Institute. I would recommend choosing this quest as the default one, especially if you forgot the location of the entrance to the sewer area.
 |  |
8. Meet the Doctor
Received from: Guide (Cordon)
Starting point: 8 on the map
What should be done:
a) talk to the doctor; it can be found in Strelok's hideout
Once again, you will not be allowed to take on this mission right away. You will have to get to the sewers first. They are located under the NII Agroprom area.
Was the article helpful?


