Passage of the game Stalker ("STALKER: Shadow of Chernobyl") - Laboratory X16
Description
There are many zombies on the territory of the complex. In the center of the underground complex there is a psi-installation, the basis of which is an artificially grown brain of a huge size. The facility in the X16 laboratory was built as a prototype emitter, after successful research and experiments with test subjects in the X18 laboratory.
Kaimanov's experimental psi-emitter is a successful attempt to study and use the controller's ability to control consciousness, but it has a number of design problems. The principle of operation of the installation is based on a multiple increase in the brain of the controller in size, the scientists could not inspire the organics with the programs they need, therefore, the included psi-installation continuously zombifies those who fall into its zone of action and concentrates them around itself, copying the behavior of the controller. Because of this, the Monoliths were unable to expand their zone of influence by setting up the emitter properly.
 Entrance to the laboratory
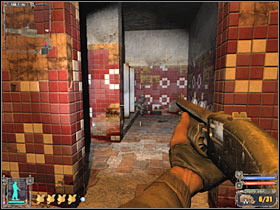
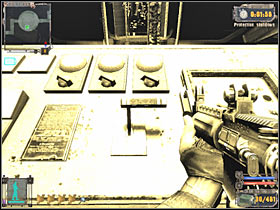
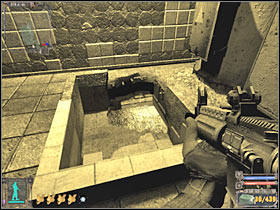
The emitter is not as powerful as its analogue on the Radar, moreover, due to the organic component, it requires periodic cooling of the flask with the brain. In the far part of the complex, you can stumble upon a compartment with cages where the test subjects were kept. The controller lives in the compartment. The cells are remarkable in that they are tiled and have a recess with a bar in the center, apparently, prisoners were fixed to them. In the outer section, near the door, there is a post for monitoring the experimental subjects, in the far recess, a hole is punched and a tunnel is visible.
In the laboratory itself, you can see many decorative corpses of the military and Monoliths, based on this, it can be assumed that there was a battle between these groups for control of the laboratory. In the hall with the "giant brain" you can often find two zombified in the "Guardian of Freedom" suit. From the first look - nothing special. They are very rare and can only be found once in the lab. What they did there is unknown. The appearance of zombies in the "Freedom" overalls is explained by Lukash at the time of the issuance of the quest to search for "Healing Beryl" - a group of Svoboda people had already been sent to search for this armor, but they did not return. In the same place, not far from the first knife switch, there is a ladder leading down. If you go down it, you can find the corpse of a scientist in SSP-99. Perhaps these are the remnants of a previous group that tried to turn off the psi-installation, or maybe the remnants of a cut quest.
The background music at this location by Vladimir "MoozE" Frey is called "Dead Cities Pt.2". In the titles of some tracks, you can find the abbreviation "Pt." and the number assigned to it, the whole word will look like Part, translated from English - part. It is logical that the track "Dead Cities" has another version of the track (Pt.1), but it was already played at the build Dump. The very name of the track speaks of the Dead City, a cut out location that was found in the builds of the game.
TASKS:
1. Disable psi-radiation
Received from: This quest starts automatically after you enter X16 Lab
Starting Point: Stairs (this is where you started your journey)
What should be done:
a) turn off the first console
b) turn off the second console
c) turn off the third console
d) turn off the whole mechanism so you can explore the rest of the lab
Full passage of the quest:
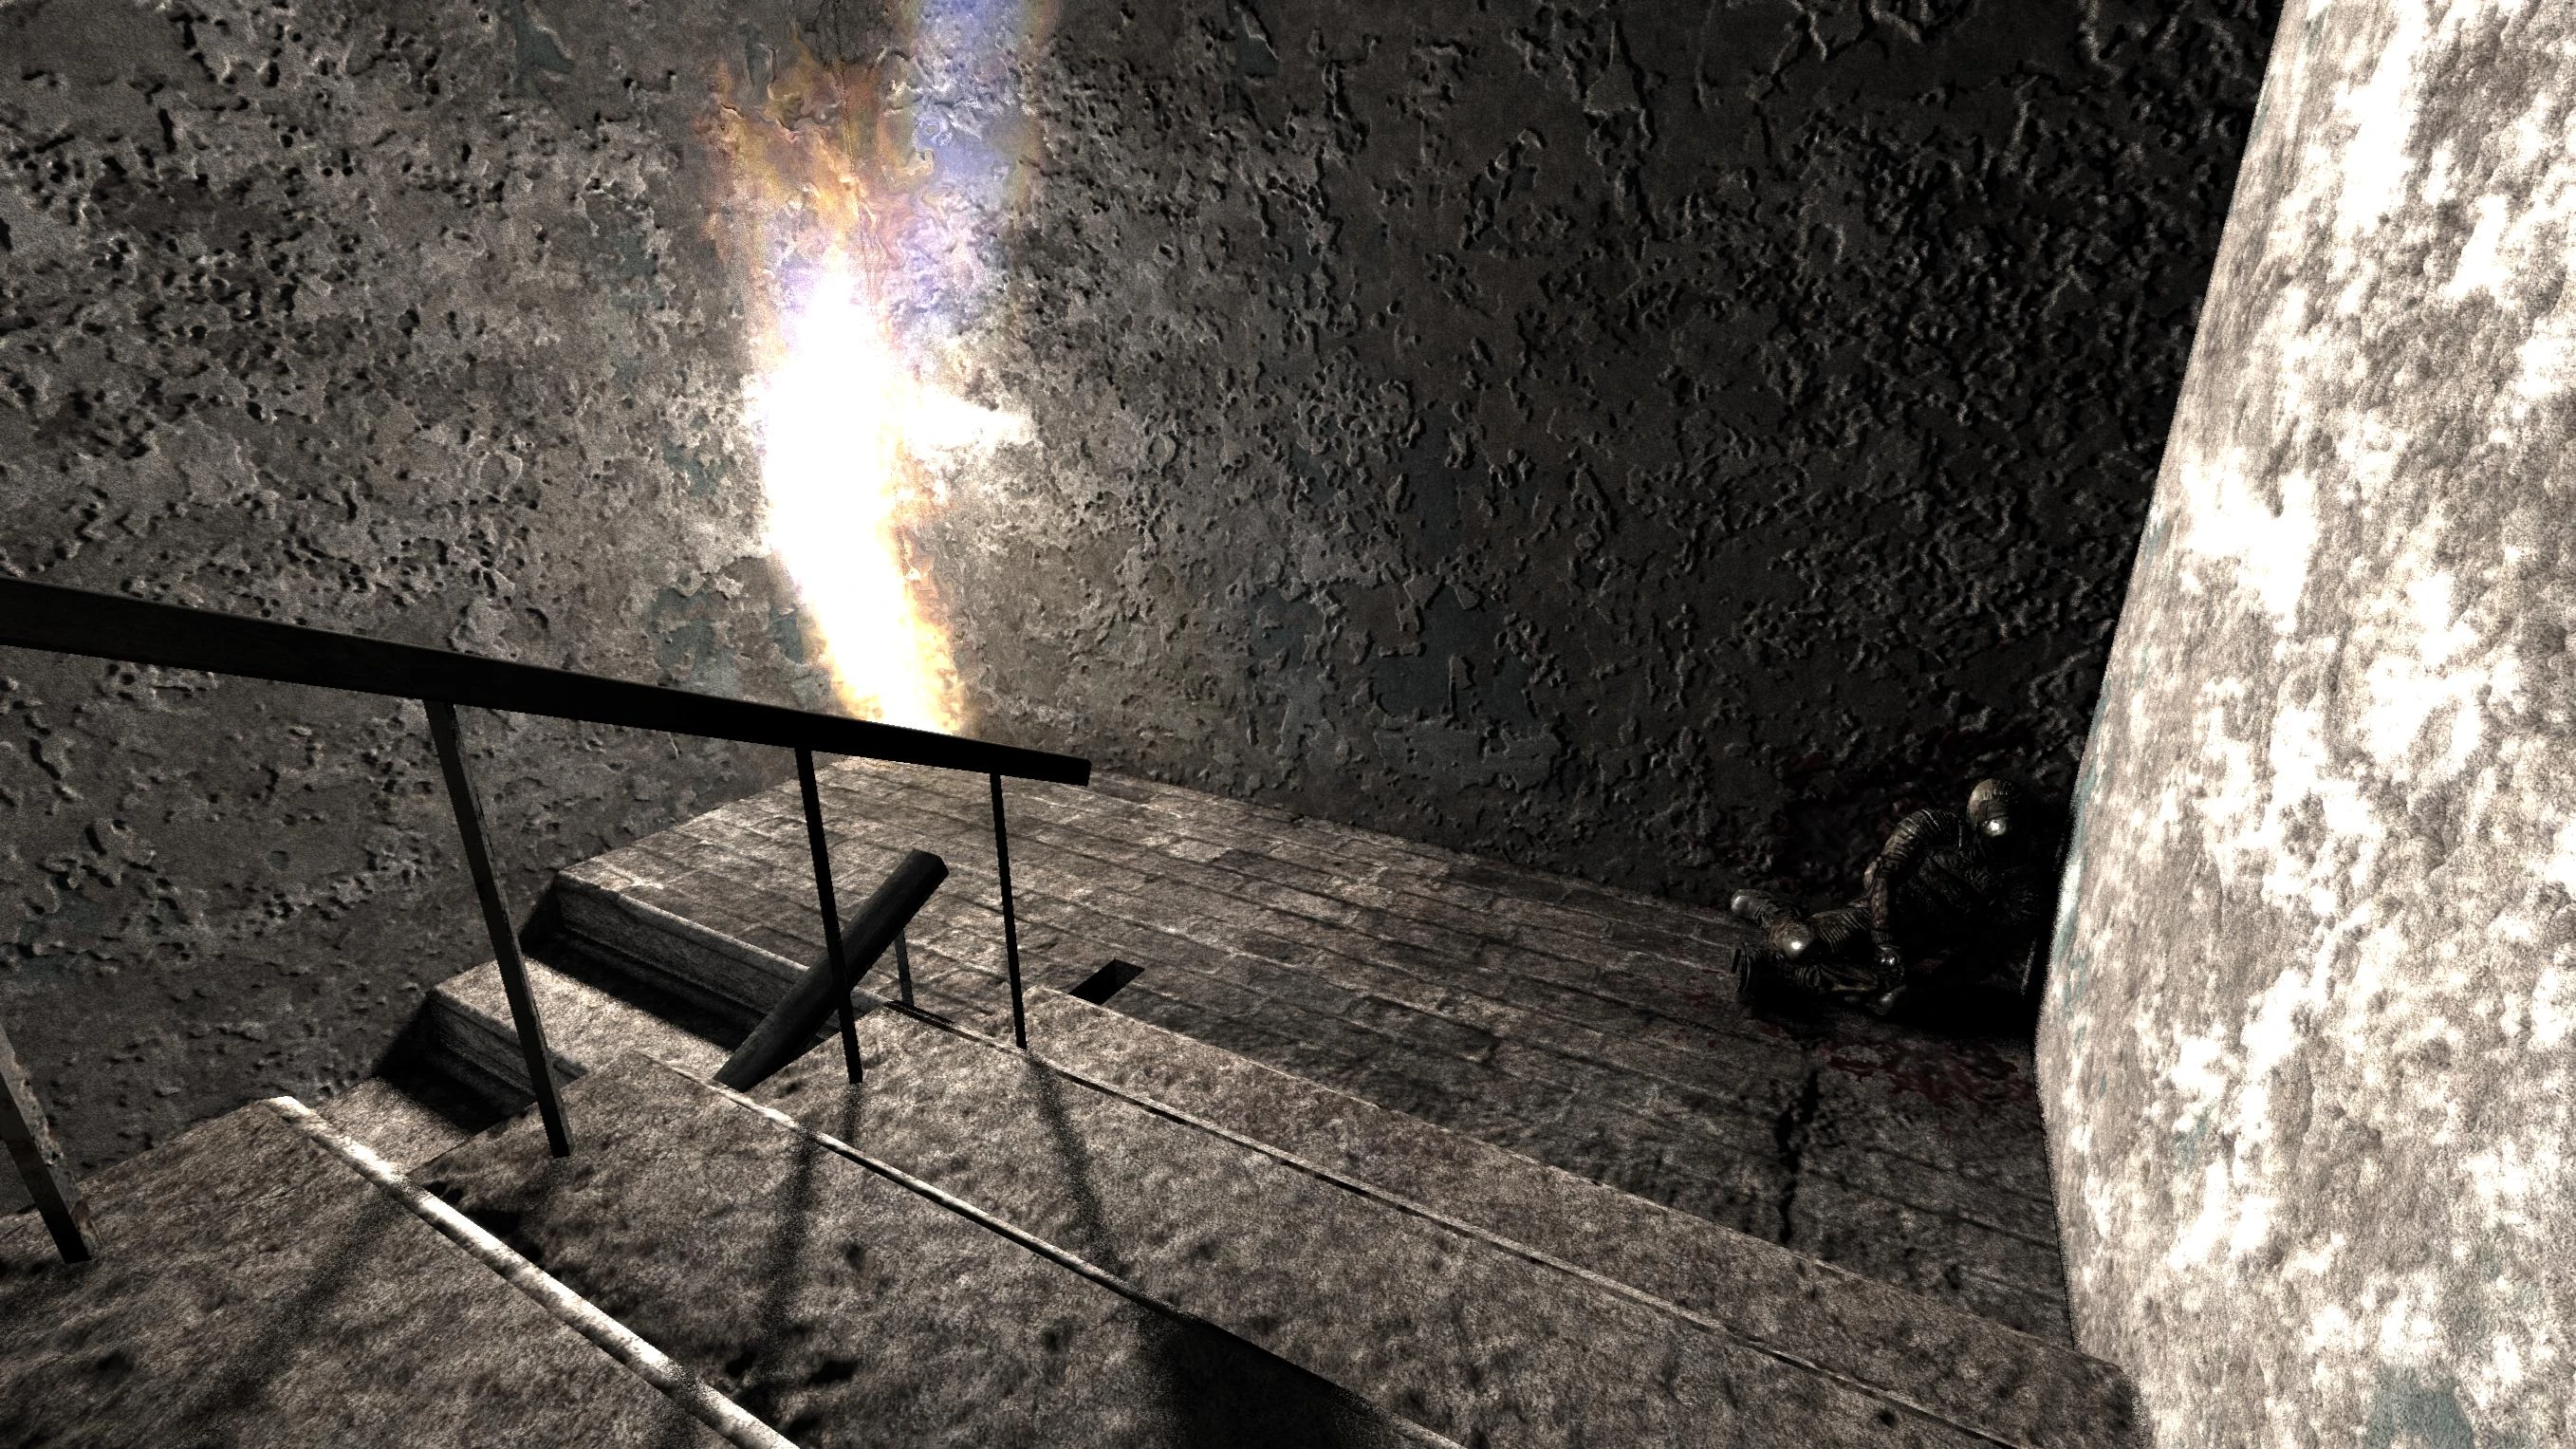
You won't be able to start this mission right away. You will need to reach the largest area of the map first. You don't have maps at your disposal, so I'll do my best to tell you what to do and which corridors to choose. Luckily, you won't get lost. Get ready for some action. You should also know that this is one of the scariest levels in the game, however Doom fans have nothing to worry about. 🙂
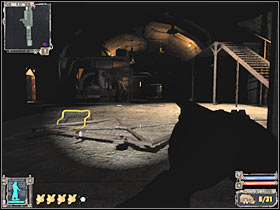
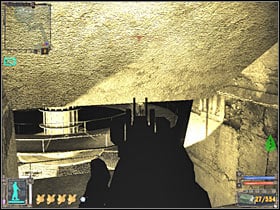
You will have to start by using the stairs. Go to the lowest level. Keep moving forward. You will meet the first group of zombie characters near the small entrance (#1). Save ammo by shooting at the heads of these monsters. You also have to watch out for artifacts and corpses. Grab them for items of any value. You should be able to get to the elevator shaft. The elevator isn't working, so start using the nearby stairs (#2). Once again, you will have to reach the lowest level. Save your game there.
 |  |
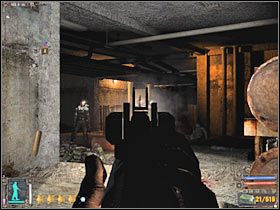
Once you reach a much larger room (#1) you will have to kill some mutants. Be careful and try to take them to a greater distance. Once these monsters are gone, the zombie creatures will advance towards your position. These monsters occupy neighboring balconies, especially the one on the right. Don't forget to check the bodies of fallen enemies and scientists. You should also take a closer look at some of the side rooms. Here you will meet a new mutant (#2). Kill it.
 |  |
Continue moving towards your current destination. Very soon you will encounter new zombies (#1), however you have to be careful because there are other mutants in this area as well. You should consider using some of the grenades to kill them. Don't forget about the possibility of destroying nearby crates. You will find ammo and artifacts. The second group of mutants will attack you very soon (#2). Try to kill them as soon as possible so that the creatures cannot reach your position.
 |  |
You are approaching the main room of the entire complex (#1). Don't go there right away. MAKE SURE you save your current progress here. Try to kill at least 3-4 zombie characters from here (#2). You should wait for these monsters to appear. This will make your life much easier. Get ready for the main goal!
 |  |
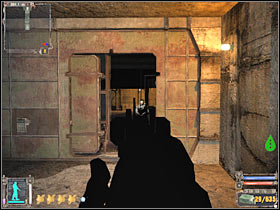
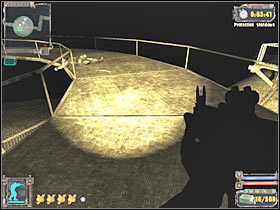
First of all, select automatic fire mode in your machine gun so that you don't have to spend more time killing zombies. Use the ramp to get to the main room. As you probably noticed, a timer appeared on the screen. Turn left and start running towards the first console (#1). You can pick up the artifacts right now or return to them later during the game. Once you have reached the console, use the switch to turn it off (#2).
 | 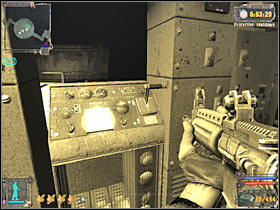 |
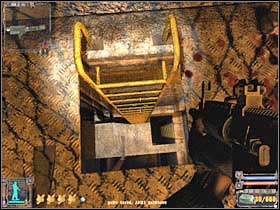
Now you will have to turn right. Go to the stairs. You will need to reach the top level (#1). You shouldn't have any major problems approaching the second console (#2). Once again, use the switch. Be careful though. There is a fire trap nearby and you won't be able to escape. As a result, consider going through with it. Go to the upper level.
 | 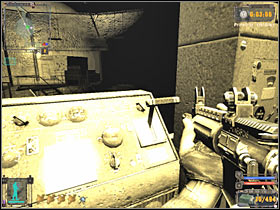 |
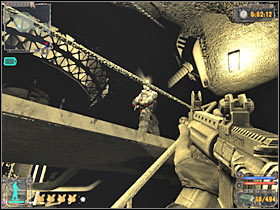
I'm sure you know exactly what needs to be done here. Get to the third console and turn it off. Now you will need to reach the highest level. Use the ladder. Be careful though. There are zombies here (#2). Kill him and turn left. Head to the main console (#2). Disable it to complete this quest. Now you have to wait until a new cut-scene appears on the screen. You will also receive a new task.
 |  |
2. Take documents
Received from: This quest starts automatically after you have completed the task Disable psi radiation
Starting point: disabled device in the largest room of the X16 lab
What should be done:
a) go to the main part of the laboratory X16
b) find the body of the ghost and take the documents
Full passage of the quest:
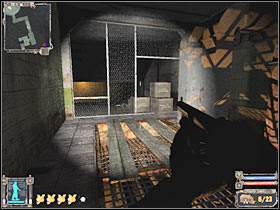
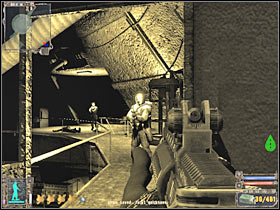
You shouldn't have any problems completing the first part of this mission because you're already in the main part of the lab. As a result, you will have to focus all your attention on finding the body of the Ghost. As you probably noticed, there are more zombies in the area (#1). You can fight these creatures, however I would recommend ignoring them. Go to the uncharted area of the base (#2). SAVE your current progress here!
 | 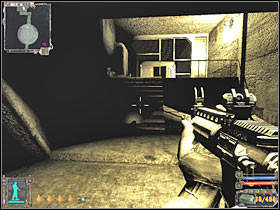 |
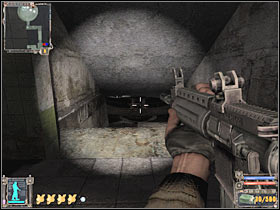
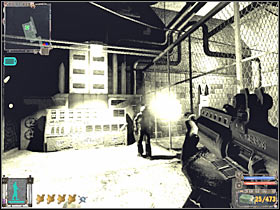
You should be able to get to the new room very soon. Here is a new mutant (#1). Once again, you've already fought this type of creature before, so you need to know how to react. The easiest way to kill him is to aim at his head from a shorter distance. You won't have to explore the surroundings, and it will even be dangerous. Instead, go to the Ghost's body (#2). You will need to check this in order to pick up the documents.
 |  |
3. Find Documents in the X16 Lab - Part 2
Received from: Bartender (Bar)
Starting point: bar sector
What should be done:
a) find documents in X16 laboratory
b) deliver the documents to the Bartender
Full passage of the quest:
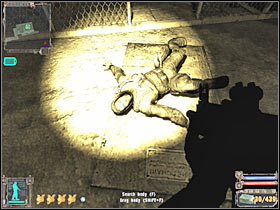
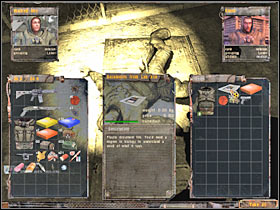
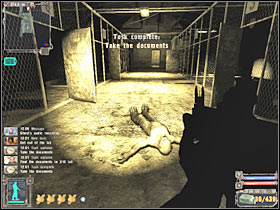
You will have the option to start this quest at the same time. All you have to do is check out the Ghost's body (#1). You will notice that there are some documents in his inventory. Drag this object to your inventory. Once this is done, you will get the correct confirmation (#2). You should also consider listening to a radio message. The ghosts also wore very decent armor, but you have to stay close to the SEVA suit. Take the Ghost armor only if you plan to sell it soon.
 |  |
4. Meet your guide
Received from: This quest starts automatically after you have taken the documents from the Ghost's body and received the radio transmission
Starting Point: Ghost Body
What should be done:
a) talk to the guide, you can find him in the Kordon sector
Obviously, you won't be able to take on this mission right away. Unfortunately, you will have to return to Cordon later during the game. For now, focus all your attention on leaving the lab. Once that's done, head to Amber, the Wild Territory, and the Bar.
5. Exit the lab
Received from: This quest starts automatically after you have retrieved the documents from the body of the Illusive Man
Starting Point: Ghost Body
What should be done:
a) escape from the lab using the secret tunnel
b) talk to Professor Sakharov again
Full passage of the quest:
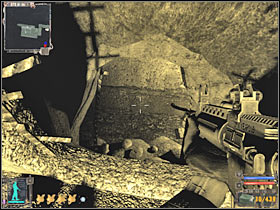
You will only need to start this quest here. Getting to the exit will be very easy. All you have to do is find a big hole (#1). Use it. Once you're down, you'll have to move forward a bit (#2). The game will load the amber map here.
 |  |