Passage of the game Stalker ("STALKER: Shadow of Chernobyl") - Junkyard
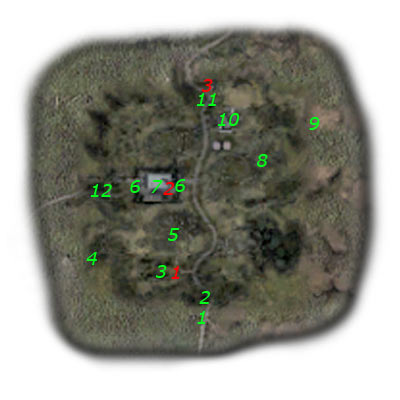
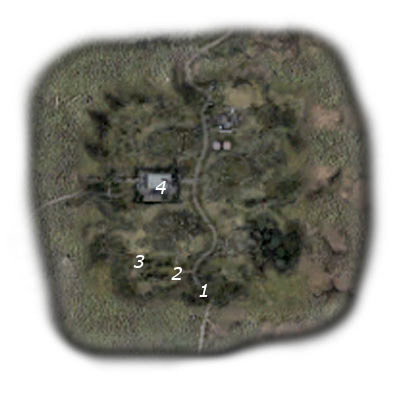
DETAILED MAP OF THIS ZONE - NIPS AND IMPORTANT PLACES:
Important NPCs (of red color):
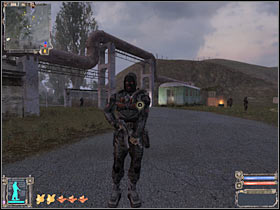
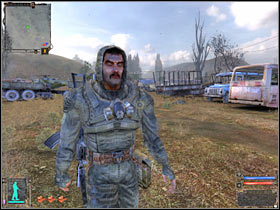
1 - Demon — He is responsible for protecting the local landfill. You will have the opportunity to complete one of his missions, which will require you to fend off a bandit raid. If the Imp survives this attack, you will be able to encounter him later in the game.
2 - Gray - He's hiding in one of the largest warehouse buildings on this map. You will have to help him and his colleagues in protecting this building. As a result, you will complete one of the most important quests. Make sure you finish this task first. Otherwise, Gray won't even talk to you.
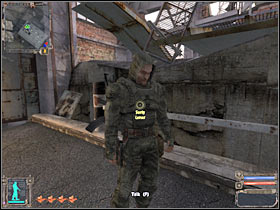
3 - Prapor - one of the soldiers on duty. Unfortunately, you won't be able to get past him right away, especially since there are a lot of soldiers on duty nearby and you won't have a chance to fight all of them. You will be able to pass through the checkpoint once you have returned safely from the Agroprom Research Institute (with military documents in your possession). This will allow you to reach the northern bar.
Important places (green color):
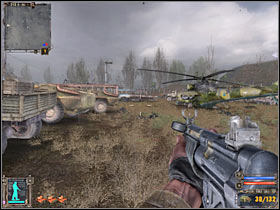
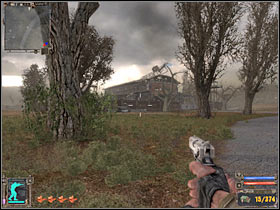
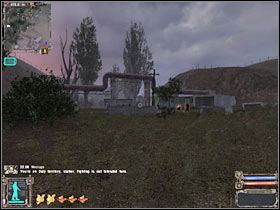
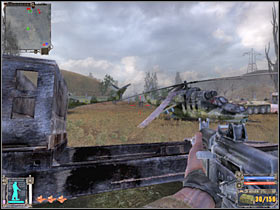
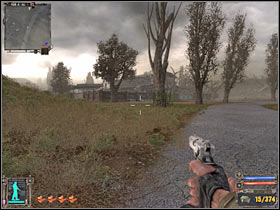
1 - This is where you will start exploring this map (once you use the Cordon-Junkyard connection). Unfortunately, that doesn't mean you'll be safe here. After you've killed some of the nearby bandits (most of them can be found near the junkyard), LARGE enemy units will appear in the area without any warning. As a result, I wouldn't recommend planning your steps from here. Instead, consider choosing a more abandoned part of the map.
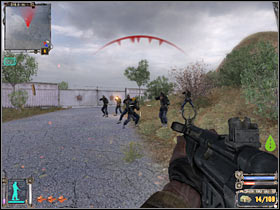
2 - This road leads directly to the landfill. You will see an interesting scene here. One of the friendly Stalkers is surrounded by bandits. I would recommend helping him, especially since you will have to use this road to get to the dump. Be sure to loot the bodies of fallen enemies.
 |  |
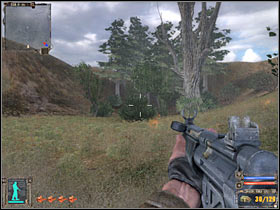
3 - There is a landfill here. You will have the opportunity to help Bes and several other Stalker soldiers defend this area from enemy attacks. Unfortunately, this will not solve the problem. Even if you manage to complete the mission, more enemy units will come from the east. As a result, the Imp will likely die and you should leave the area as soon as possible.
 |  |
4 - Dangerous anomalies. Despite what you might think, you should take a closer look at this section of the map, mainly because you will have the opportunity to pick up some precious artifacts here. However, you will have to watch out for vortex anomalies. Make sure you don't get caught because it would be very difficult to escape. Think about hitting the sprint button quickly and you might get lucky.
5 - Piles of junk. Unfortunately, this is a very radioactive area, so unless you have a decent suit or plenty of anti-radiation drugs at your disposal, you should stay away from these areas. The same applies to most other piles.
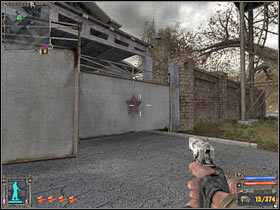
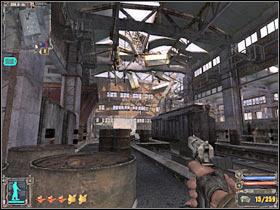
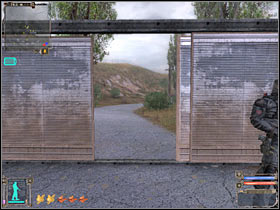
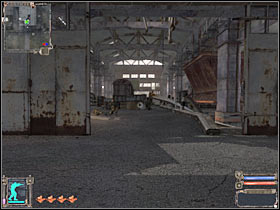
6 - This gate will lead you directly to the main warehouse, which is one of the most important buildings on this map. Additionally, you will encounter broken parts of the brick wall. You can also use them to your advantage.
7 - Main warehouse. First of all, you can find Gray and several other Stalker soldiers here. You will have to defend this warehouse to complete one of the main missions of the game. Additionally, you may receive side quests from time to time that will require you to fend off other bandit raids. However, you are not required to participate in these activities.
 |  |
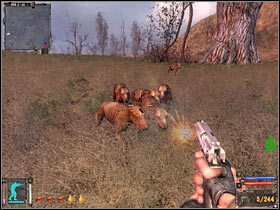
8 - You are likely to encounter a very large pack of wild dogs here. I would recommend killing the animals, especially since you can find many artifacts and caches in this area. You can also wait for the dogs to kill some nearby bandits.
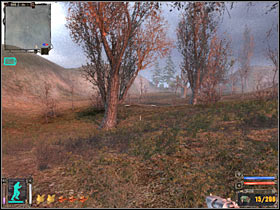
9 - This is a highly radioactive area. The road leads directly to the Dark Valley sector. I wouldn't recommend going there if this is your first visit to the garbage area. You will have to wait until the main character gets better armor.
As soon as you return from the bar:
You will probably have a decent suit at your disposal. As a result, you won't be exposed to too much radiation. However, you must have at least 10 anti-radiation drugs in your inventory. Also, try running (instead of walking) towards the exit.
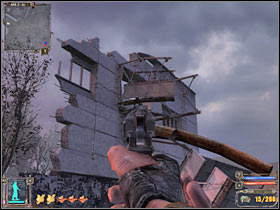
10 - Here you will come across a destroyed building. Watch out for one sniper. It covers the eastern part of the map, so be careful. Try to kill him as soon as possible. Once this is done, secure the entire area and look for objects of any significance.
11 - You will find the DUTY camp here. You will have the opportunity to talk with the warrant officer. If this is your first visit, you won't be able to pass the gate. Also, make sure you don't attack any of the nearby soldiers.
 |  |
After you have returned from Agroprom Research Institute:
The camp will be attacked by a large group of wild boars. You will find out about this as soon as you return to camp. Animals will come from the northeast. I would recommend you start with a grenade so you can kill at least one boar. After that, start using your current machine gun. You should be able to get rid of at least 3-4 boars. Luckily, your actions will not affect the outcome because you will be given access to the bar area, however you will need to talk to the ensign to get permission. Head to this sector, but watch out for the vortex that is in the middle of the asphalt road.
 |  |
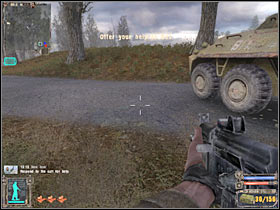
12 - This road leads to the Agroprom Research Institute sector. Unfortunately, you will encounter a lot of enemy soldiers here. You will have to kill them all before heading to the exit. Also pay attention to the precious artifacts. There is only one road leading to your destination. You will also encounter several wild dogs, but these creatures will be very easy to kill.
 |  |
TASKS:
1. Answer a call for help
Received from: Imp (Junkyard) however this quest will start automatically (you will need to get close to the junkyard area)
Starting point: 1 on the map (this is an example because you can also reach the dump from any other direction)
What should be done:
a) offer assistance in combating the bandit threat (2 on the map)
Full passage of the quest:
This quest will be activated as soon as you deal with the first group of bandits. I'm sure you encountered them near one of the friendly soldiers (#1). Once this problem goes away, start driving to the nearest landfill. You will have to help fight a more serious threat. You shouldn't have any problems finding the Imp (#2). He is the one who called for help. Talk to him and you will receive a new task.
 |  |
2. Repel a bandit raid
Received from: Imp (Junkyard)
Starting point: 2 on the map
What should be done:
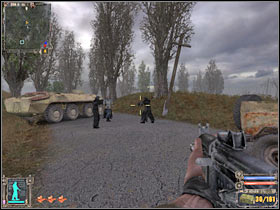
a) repel a raid by bandits (3 on the map - that’s where the bandits will appear)
b) After dealing with all the bandits, talk to Bes (2 on the map)
Full passage of the quest:
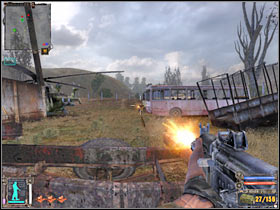
This will be a slightly more difficult task, mainly because you won't have much time to deal with all the bandits. This fight should end in about two minutes. Otherwise you will fail and will not be able to try again. Luckily, your loss won't affect the end of the game, but that doesn't mean you shouldn't try to defend the junkyard. Don't forget about your teammates. You can heal them with first aid kits during the conversation.
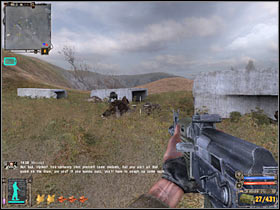
Start by running towards the western end of the junkyard (#1). This is where the attack will take place. You will need to wait for the Imp and his teammates to reach their shooting points. I'd also recommend picking grenades and a decent assault rifle (if you have one) for this battle. You should notice the first group in just a few seconds (#2).
 |  |
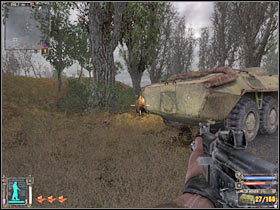
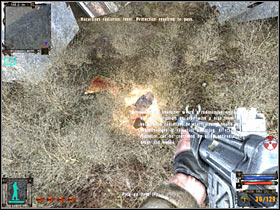
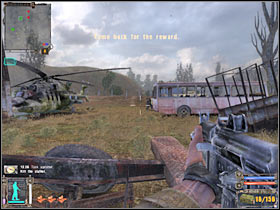
Try to kill at least two enemy soldiers from a distance (#1). I'd recommend hiding behind one of the destroyed cars so you have decent cover. You should also throw a couple of grenades at them, but try to target larger groups of enemies. If you're lucky, you should also kill their leader (#2). This will allow you to complete one of the side quests. Unfortunately, you will have to return to the previous area for the reward.
 |  |
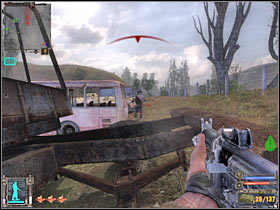
Having dealt with the first group, try to move forward a little. Remember that you will have to eliminate all the bandits (#1) and you must do it quickly, especially if you don't want to fail this mission. Watch out because some of the bandits are carrying shotguns. You will be notified as soon as you kill all enemy soldiers. Now you will have to return to the Imp (#2). Talk to him to receive the proper reward. I would also recommend searching the bodies for grenades, first aid kits and ammunition. You must do this before reinforcements arrive.
 |  |
3. Meet Gray - part 2
Received from: Lis (Cordon)
Starting point: Kordon sector
What should be done:
a) find out something about Strelok from the Series (4 on the map)
Full passage of the quest:
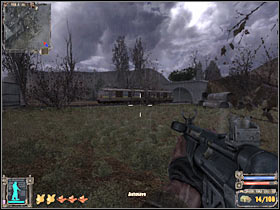
Start by heading towards the main warehouse building (#1). You should receive a distress signal very soon. It will be very similar to a landfill situation. It appears that other bandits are planning to attack the warehouse. Start running towards the nearest gate. You will need to enter the warehouse area (#2). Make sure you do this quickly. You should also select the machine gun from your inventory because you will need it very soon.
 |  |
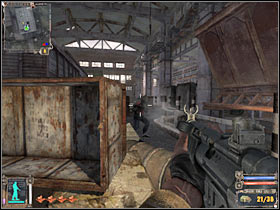
Once you enter the warehouse, you won't have much time to find your teammates. Be prepared for an attack. Enemy soldiers will approach from the western side of the map (#1). Try using nearby objects for much-needed cover. Also maintain a wide distance. You should consider throwing a grenade or two. Once you have eliminated all the bandits, talk to Gray (#2). You will receive a reward from him. In addition, he will tell you about the Mole. You will need to go to the Agroprom Research Institute to find this Stalker.
Important! You will probably get other defense missions in the near future. These tasks are optional, so you can ignore them. If you decide to take part in these challenges, you will have to return to the warehouse to kill all the bandits.
 |  |
4. Get information about Strelok
Received from: Gray (Junkyard)
Starting point: 4 on the map
What should be done:
a) meet Mole’s group
b) talk to Mole to get information about Strelok
I think it's pretty clear that you won't be able to continue this mission in this sector of the map. You will need to go to the adjacent area located to the west of the landfill. This is a very important mission, so you can't miss it.