Walkthrough Metro Exodus 100%
Passage of the game Metro Exodus, all locations in one place. In our walkthrough guide you will find instructions on how to complete all quests, how to get achievements and information on the location of all collectibles.
Contents:
- Passage of the location "Moscow"
- Passage of the location "Winter"
- Passage of the location "Volga"
- Passage of the location "Yamatau"
- Passage of the location "Caspian"
- Continuation of the passage of the location "Taiga"
- Passage of locations "Autumn"
- Passage of the location "Dead City"

Moscow
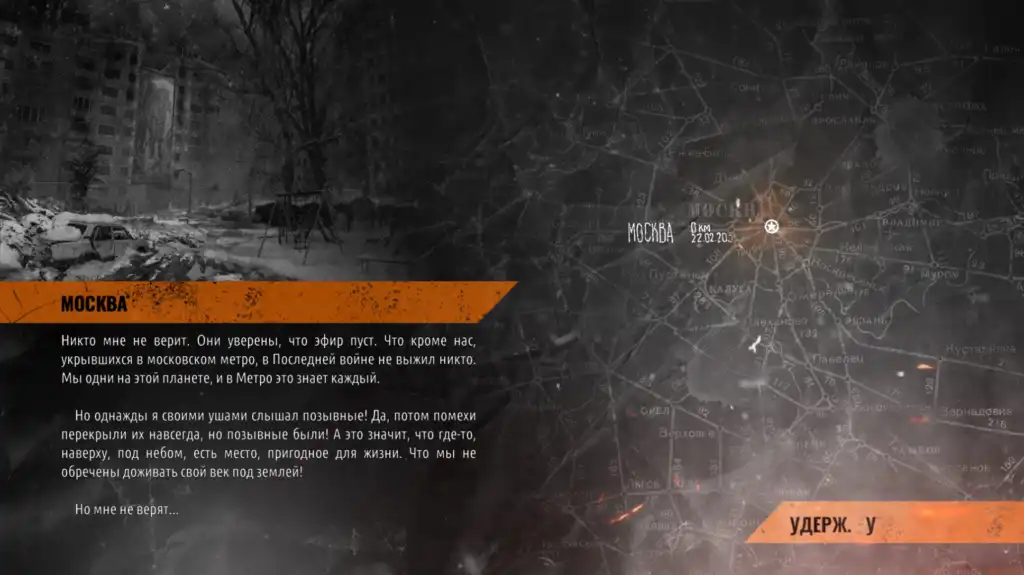
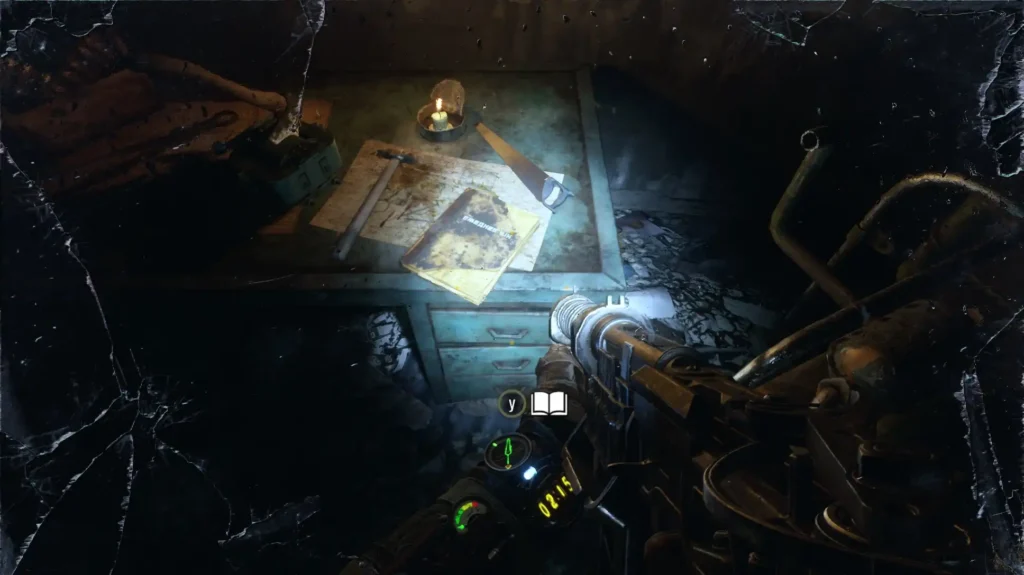
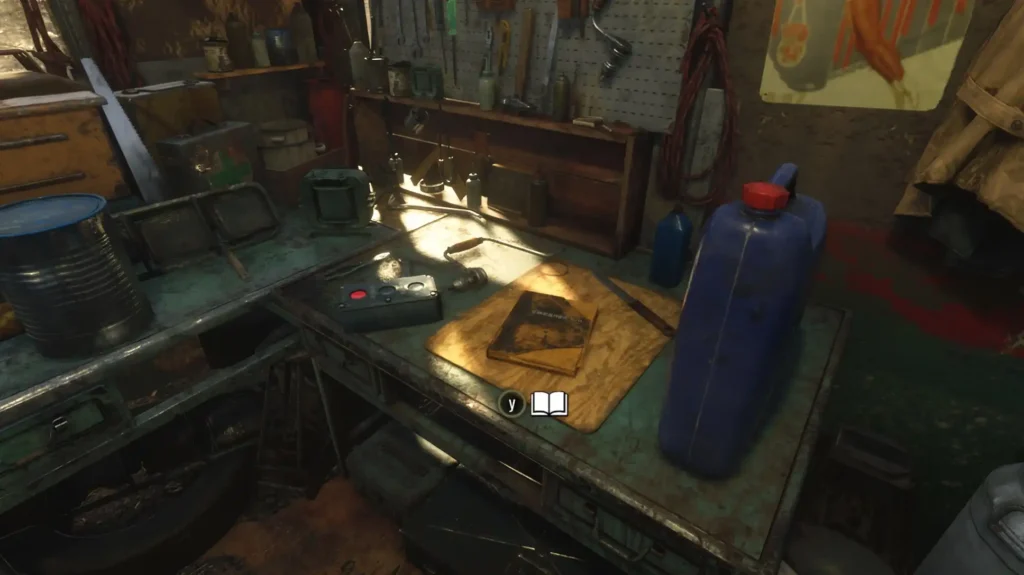
At the beginning of the game, follow the only route, opening doors and burning the webs with a lighter. The lighter is activated with the L key. When you kill your first monster near the blue wagon, then go through the tunnel on the right. Do not rush, because on the illuminated table on the right hand you can find the first diary - "Torn Notebook" (1/10).
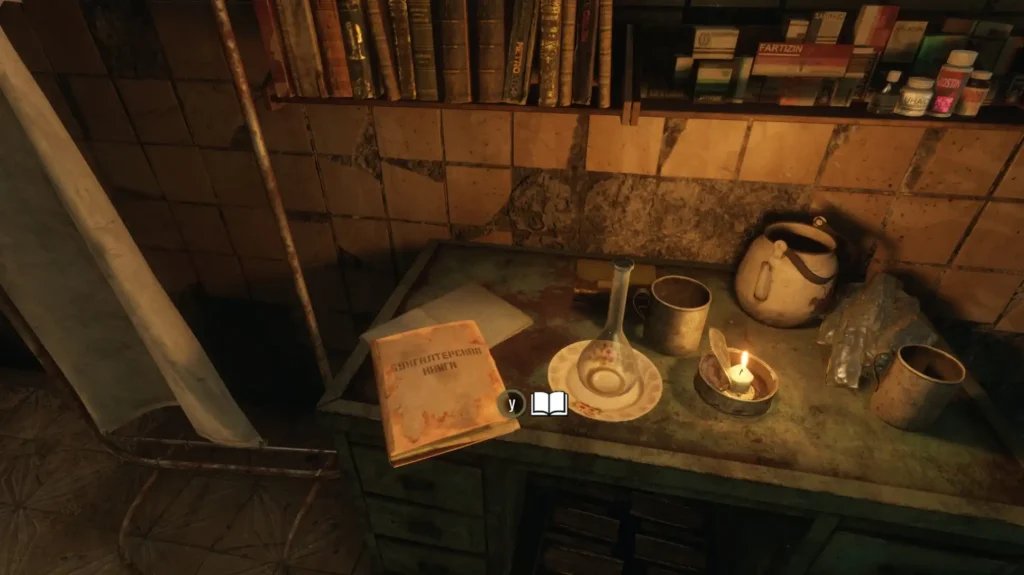
Keep going through the tunnel, killing opponents. Follow the train, get outside and run to the door ahead. When you open it, you will see a long video. After waking up at the station and listening to all the characters, get out of bed and find the outpatient book (2/10) on the table on your right hand.
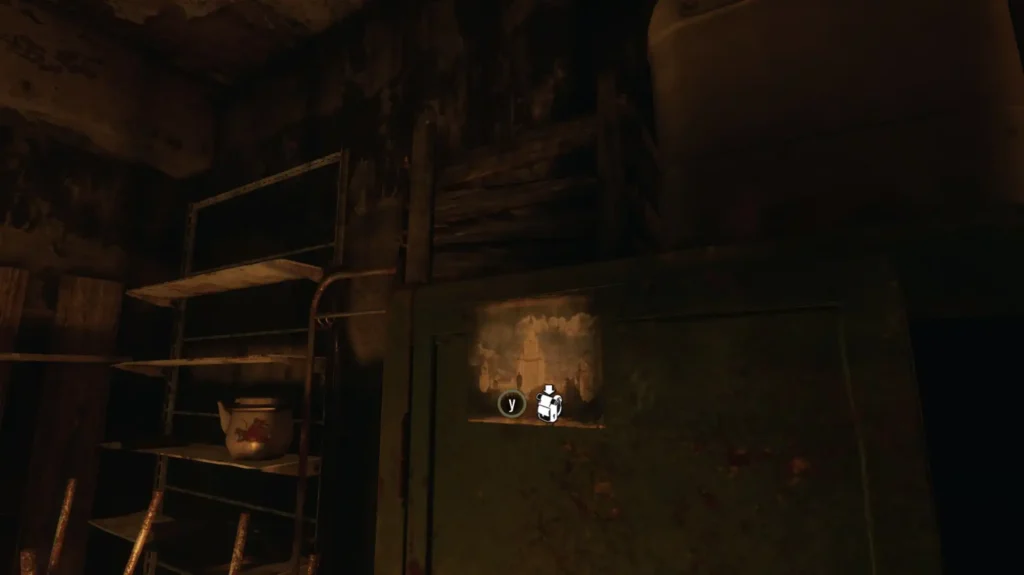
Exit the infirmary into the next room. On the green cabinet on the right is the first postcard #1.
One week later
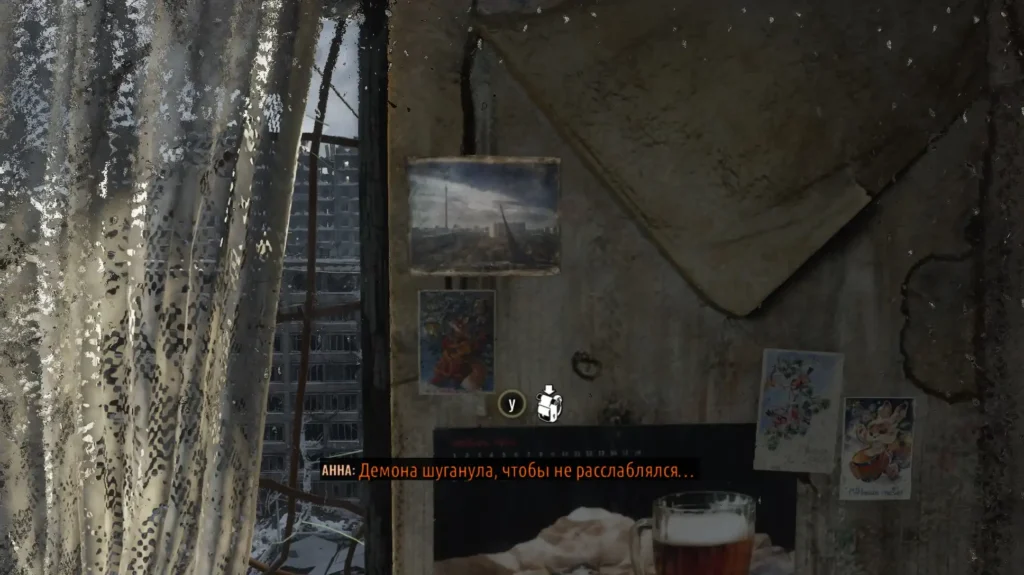
When you are at the top of the building with Anna, change the filter by pressing the T key. Go down one flight of stairs, but don't rush. Go down the corridor and look into the apartment to remove the second postcard No. 2 from the wall by the window (in the kitchen).
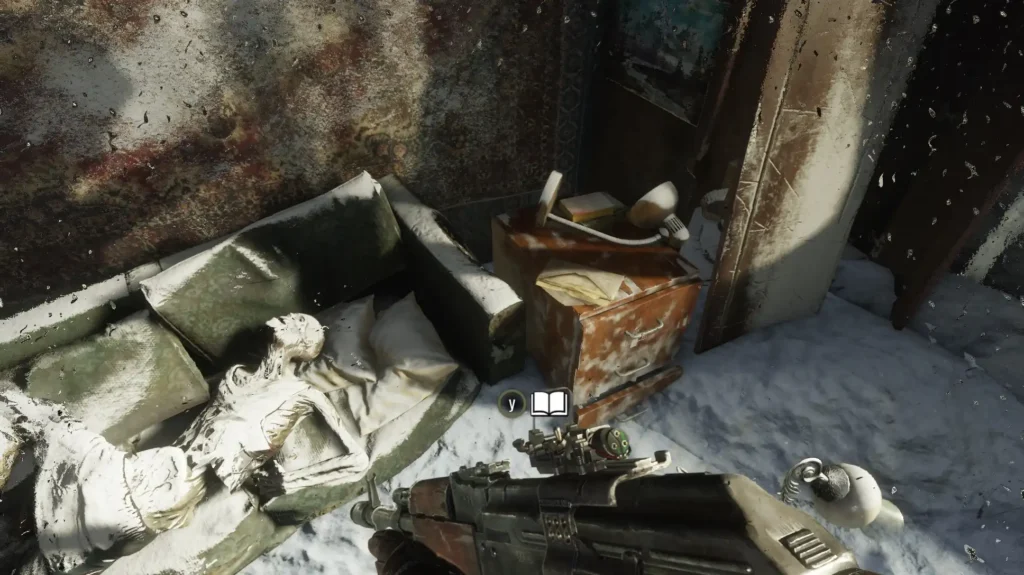
In the next room, next to the sofa on the cabinet is a dusty diary (3/10).
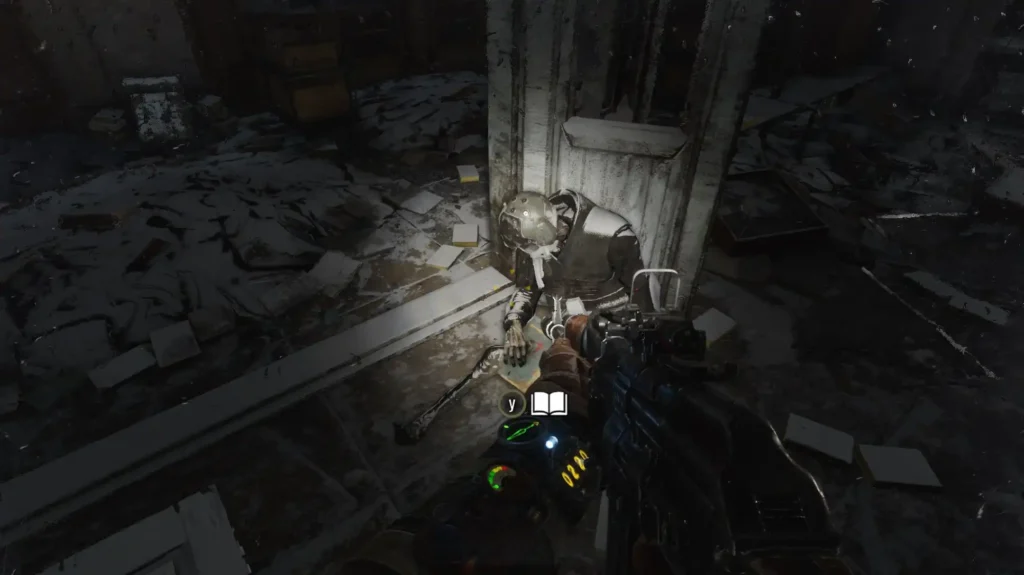
Climb down, climb between the walls and get to the mall. Fight the mutants and approach the bookstore on the left. A corpse sits right at the entrance, and in his hands there is a stalker's note (4/10).
When you go down the broken escalator, enter the bus and take Shura's note (5/10) from one of the seats. Keep moving with Anna, kill the monsters and climb up. Watch the long video.
After picking up a gas mask, go along the channel and crawl under the boards. Having found the first-aid kit, use it on the Q key. Ahead there will be a small fork, where the corpse lies buried in the snow. Next to it, pick up the crumpled letter (6/10).
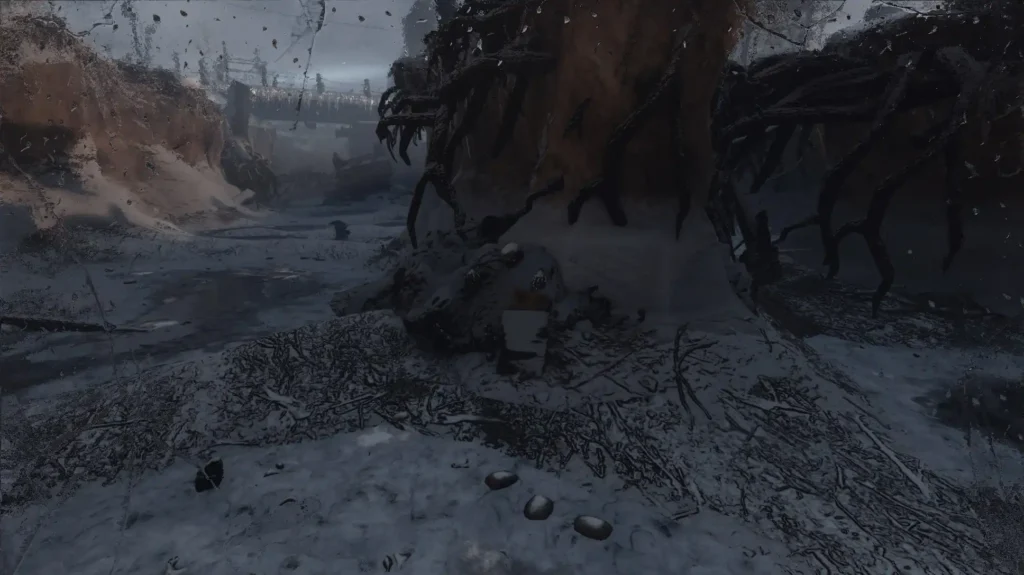
Reach the pipe ahead and climb into it. Once in the building, go to the closed grate and climb up the stairs on the left. Move along the ditch until you get into the room with Yermak. After the cutscene, make your way through the base without being seen.
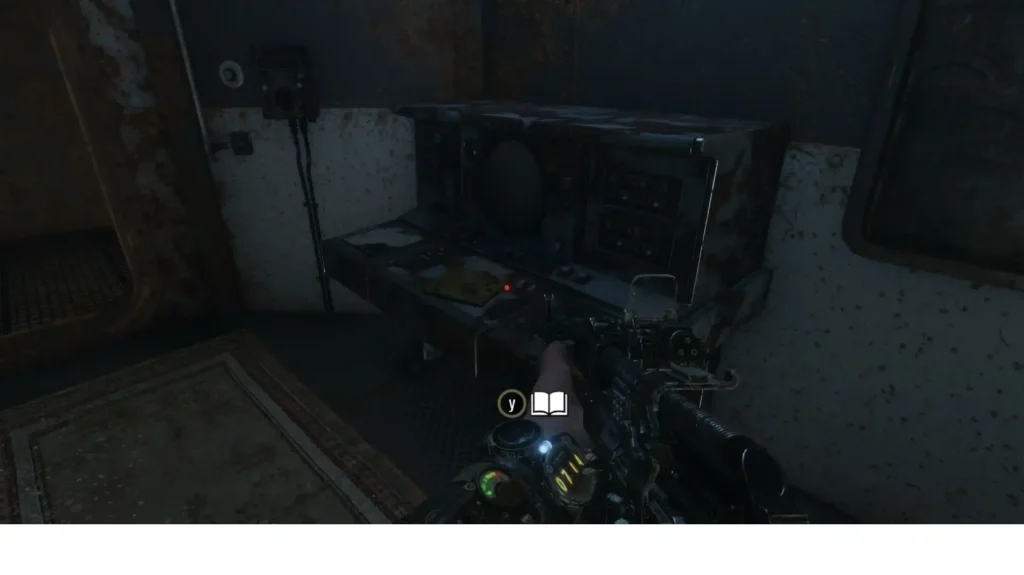
To do this, do what Ermak says. Turn off the light with the shield in front, get past the enemies and stun the enemy from above. Pick up the cans and throw them forward to distract the soldier. Open the door, crawl through the ventilation shaft and get to the room where Anna is being held. After the cut-scene, take the service note from the control panel (7/10).
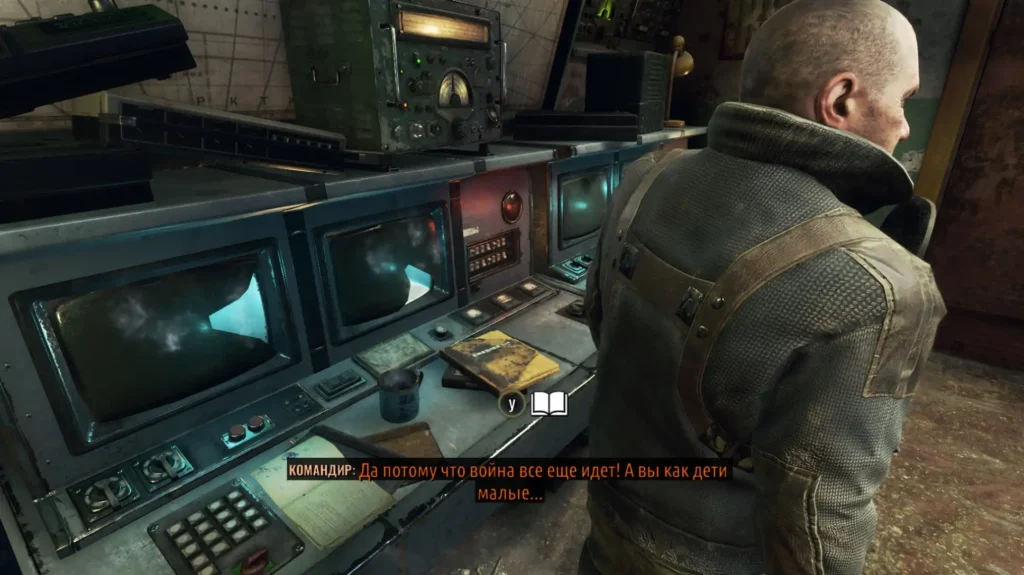
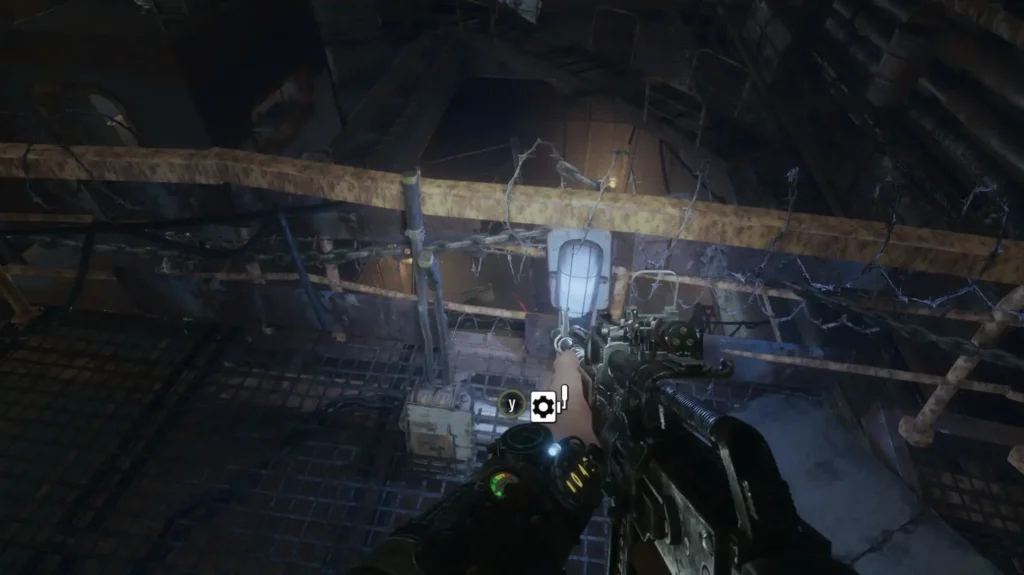
Having got out into the courtyard, you will need to secretly get past the soldiers. Of course, you can make some noise, but this will affect the quality of the ending. So, immediately go down and turn left. Two opponents will be visible ahead. Hide behind the objects on the right and wait for them to pass. Follow forward, clinging to the left wall already. Climb up and stun or kill the enemy, then turn off the light with the shield. Keep following the walls, moving through the pipes, until you reach the entrance to the hangar. Enter and find a memo (8/10) on the table inside.
Alternative way to get into the hangar: Press against the right wall of the location and go past the electrical cabinets. In the far right corner there will be a hole in the wall through which you can get inside.
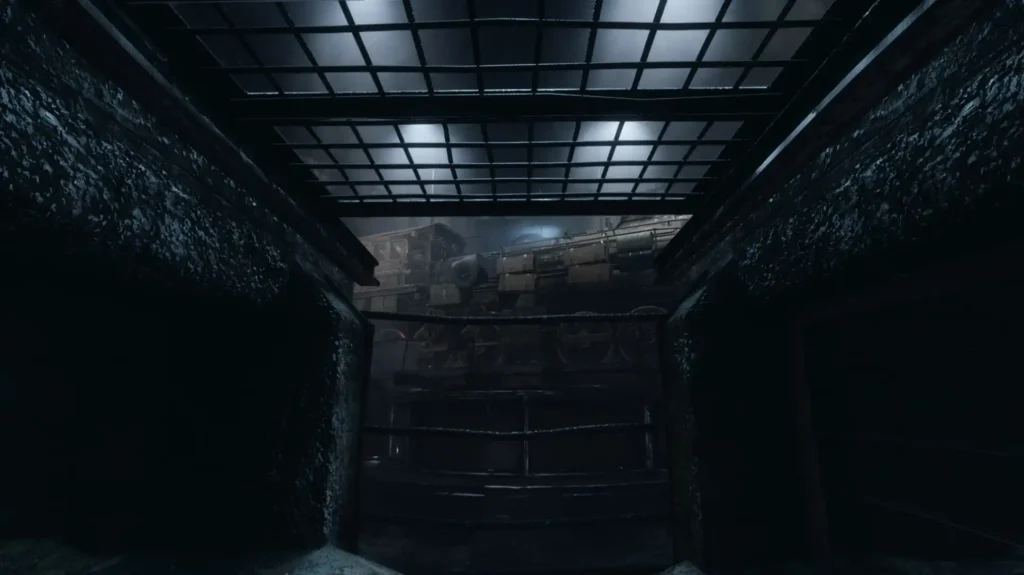
Go through the door and find yourself in a building with a train. Follow to the right and on the left hand you will find the stairs. Climb down and quietly move to the left to stun the enemy looking at the wires under the train. Go to the other side of the pit and find a ladder on the right. When you approach her, everyone will disperse. Kill one enemy and free Yermak. Climb the stairs, shoot the enemies and turn the lever over the control panel. Shoot back from enemies until an explosion occurs. Watch the video.
When control is transferred to you, you will find yourself on a nearby train. Go to the door and get behind the train through the opening to the right of it. Get to the wagon and neutralize the enemy. Do not rush to go to the next car, but bend down and crawl into the next one. Immediately pick up the official letter (9/10) from the table on the left.
Move between the cars until the shooting starts. In the penultimate car (after the machine gunner), on the box on the right is a crumpled note (10/10).
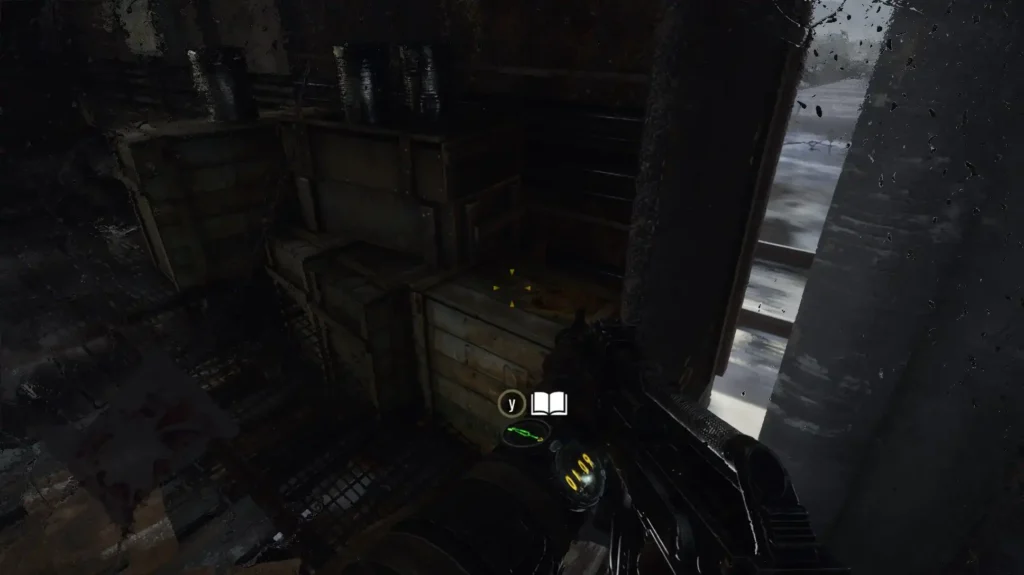
Kill all the enemies, get into the locomotive and plant the explosives on the firebox. Watch the video that completes the passage of the first chapter.
Winter
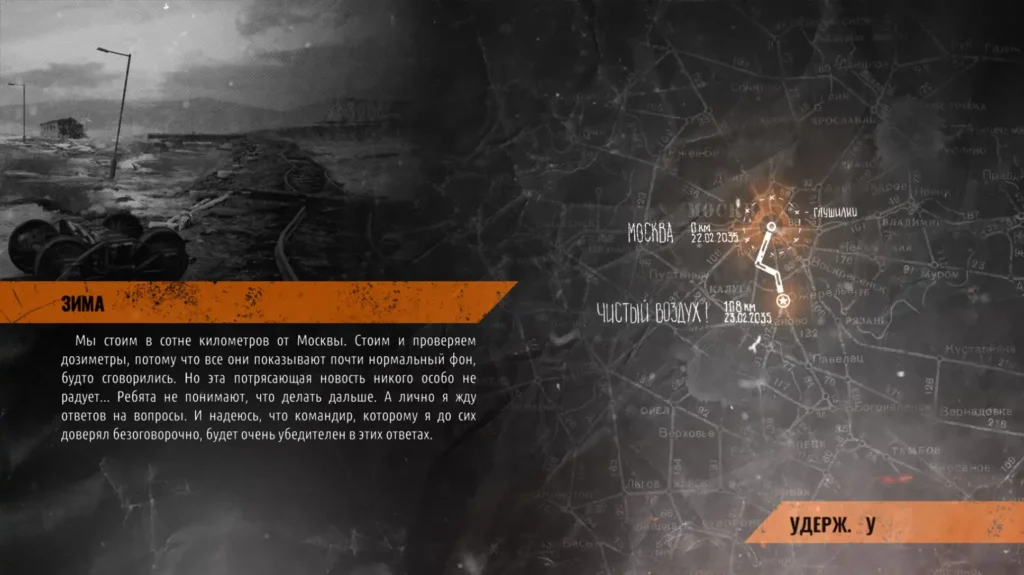
After the cut-scene and conversation with everyone, you will be standing in front of the map. Do not take it, but turn around and go down the stairs. Anna, although blocking the way, will immediately move away. Take the memorandum from the box.
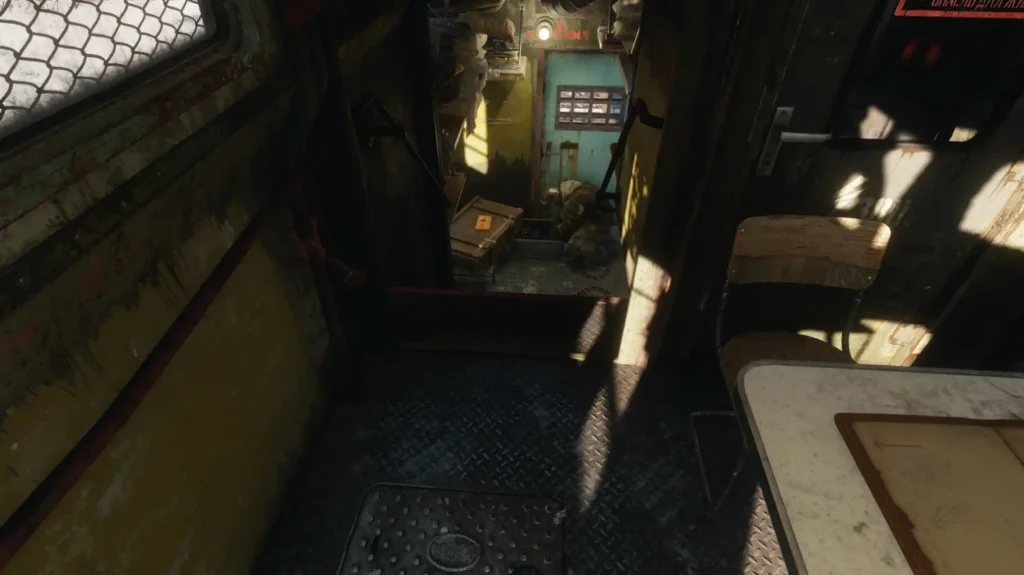
You can also go down to the furnace and help with throwing coal into the furnace. Return to the map, interact with it and select the continuation of the path.
Volga
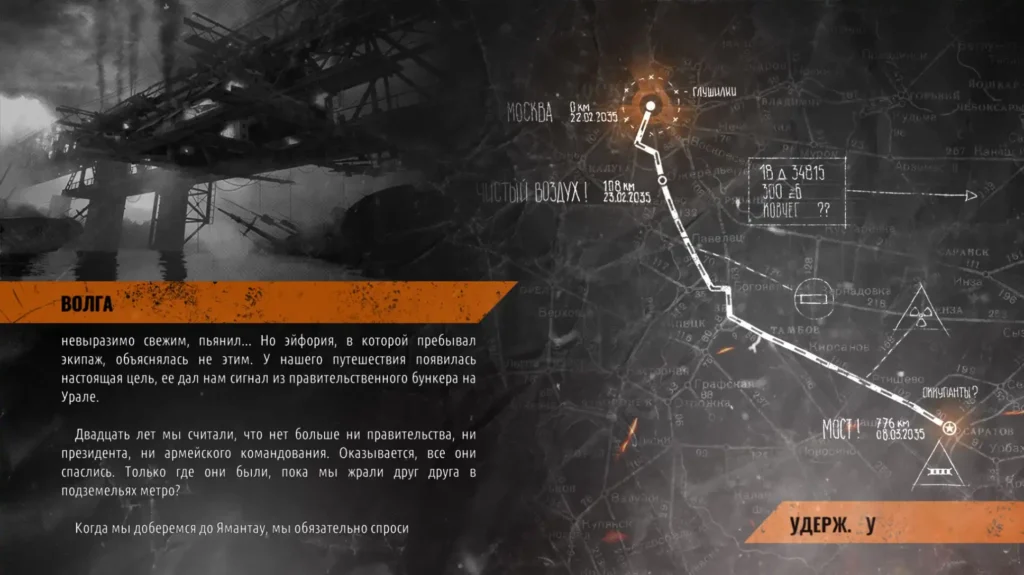
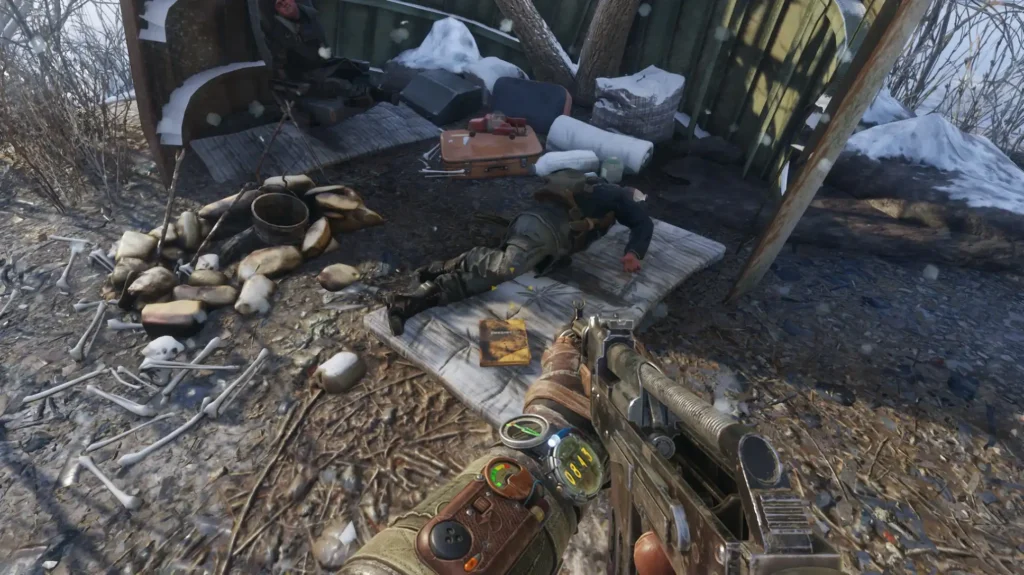
After the train stops, take the map and go outside with Anna. Go down after the girl down, but do not rush. Turn left and cross the river under the bridge. A little further than the bridge there is a small stop with corpses. There is a moldy magazine on the mattress.
Go to the power lines and talk to Anna. Get on the boat and sail to the church. Inside it, you will be trapped.
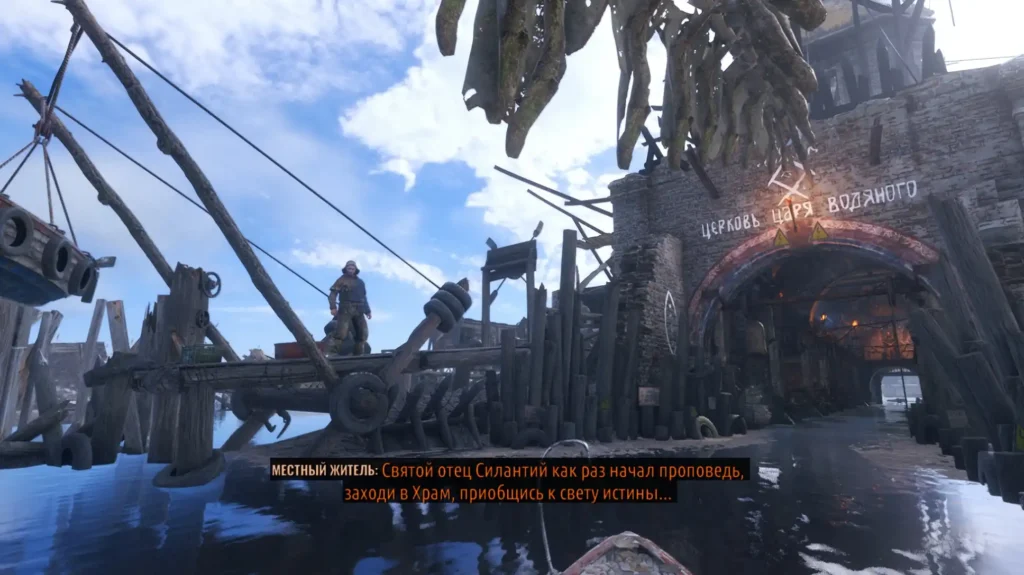
Climb up the stairs and find Katya with her daughter Nastya. Get out through the window and carefully go down to the first floor of the church. Whoever you need, you can stun. Go to the right side and go to the beginning of the church along the street to find a boat hanging on the ropes. Lower it by turning the valve on the right, and swim away from here. Get back to the train.
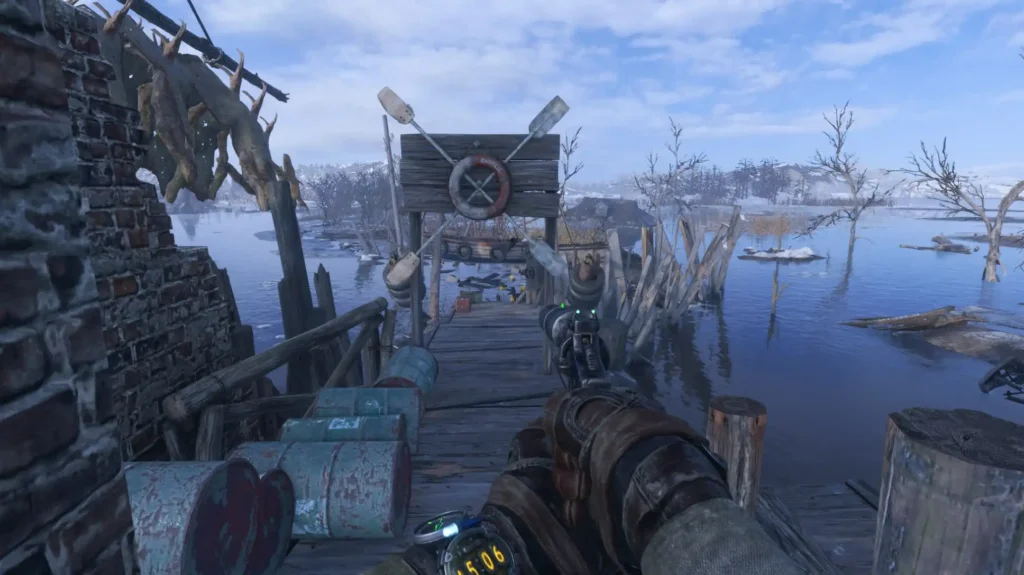
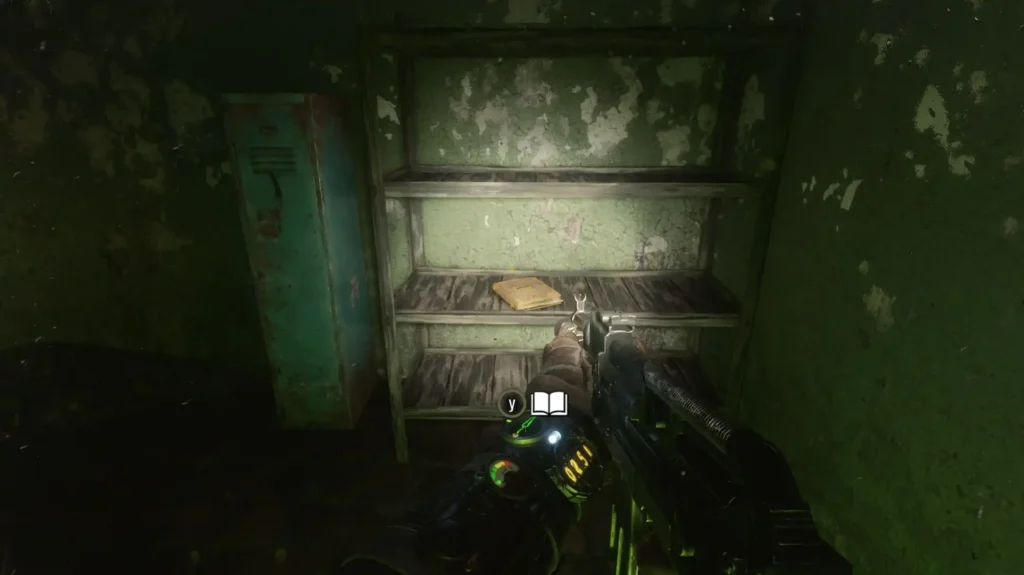
After talking with Melnik, look into the engine to Tokarev to get a new weapon from him - an air rifle. Look at the map to understand where to go. Go to the factory. Kill the first humanoid mutant. Go to the right of the building, along the rails, and a little further to the left you will find a descent down. Go to the bunker, kill the enemy and in the room opposite the door, on the shelf, find a faded note.
Make your way through the subway and get up the stairs or fire escape at the end of the water tunnel. Upstairs there is a warehouse with many mutants. Kill them and then find the stairs. Climb up, go on top and find the stairs to the roof. After getting out there, kill the opponents, and then the Cross will lower the bridge. Go up to him and chat on all topics. From now on, binoculars are available to you. Postcard #4 can be found in his lair.
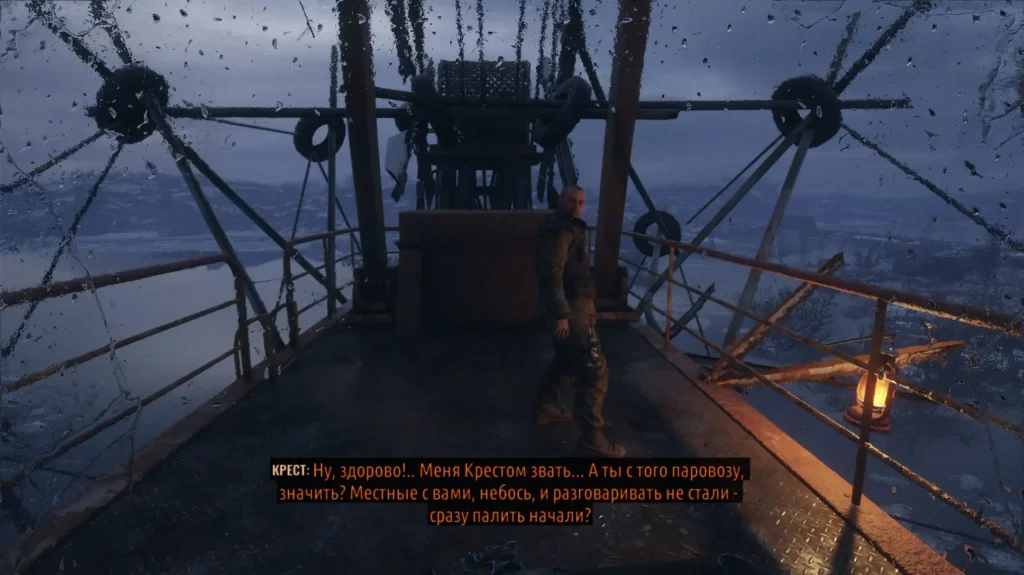
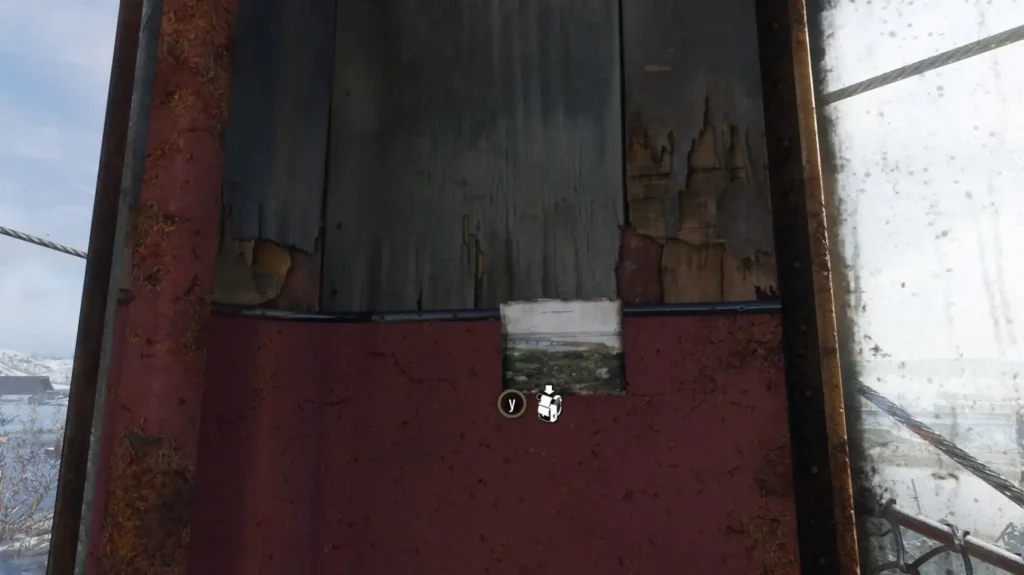
Follow Cross to his lair and interact with the workbench. Use the workbench to clean your weapons each time. Be sure to try out new upgrades that you remove from the weapons you find. Having dealt with everything, go outside behind the Cross and get down on the rope.
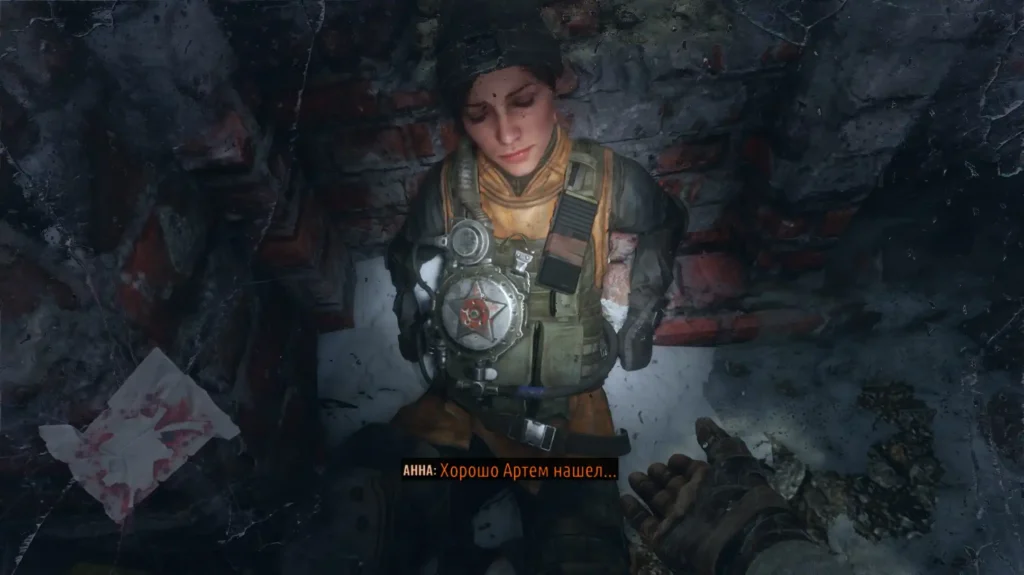
Follow the marker where Anna is. You will find a blue signal fire. Avoid ball lightning. Approaching the fire, Artyom will fall down. Examine Anna, then follow through this bunker. There is only one way, but you have to kill the mutants. In the end, you will reach the electrical panel. Use it to turn on the light. Go further, past the shield, and at the end of the path you will find a valve. Turn to open the bunker gate, and through the nearest door, return to Anna and comrades. After that, follow back to the Aurora and talk to Melnik inside. Take the fuse.
Now you need to steal the railcar. Walk along the railway track until Miller contacts you. Look into the tank car to talk to the Prince. He will tell you about all the sights in the area, including the factory needed in the story. White question marks will appear on the map. They will be discussed in detail below.
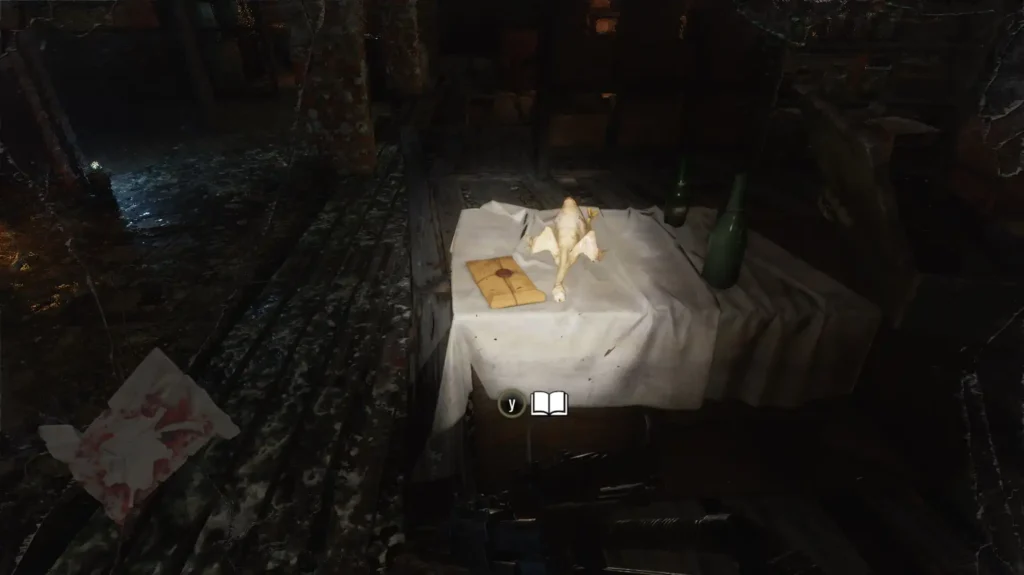
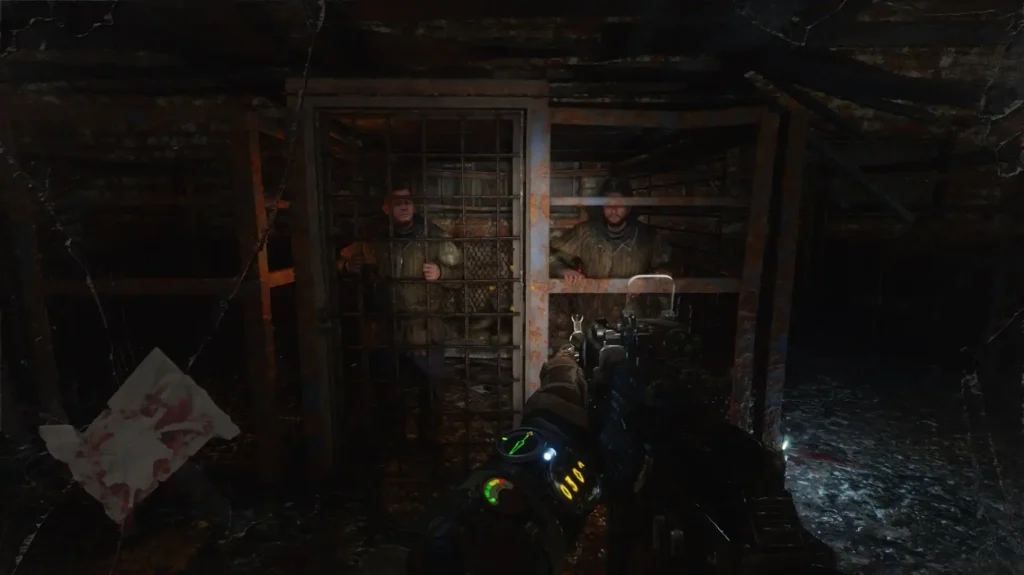
Go to the warehouse to the left of the rails, if you move towards the station with the trolley. There are raiders who have captured prisoners. Climb inside the building through the top. There are many cans hanging on ropes. Cut them off so you don't get discovered. Deal with all the bandits and find a cage with two cultists. She's locked up. Nearby there is a fire, around which boxes of provisions are placed. There is a folded letter on the table with the suitcase.
In the same building, you can find the ammo pouches armor upgrade. Shoot the lock on the door to free the prisoners. This is a good move. Take the key to the room in the terminal from the prisoner's hands.
To the right of the rails, you can find a ruined building, where the bandits also settled. Kill them from below and from above. Find a reinforced helmet in one of the rooms below.
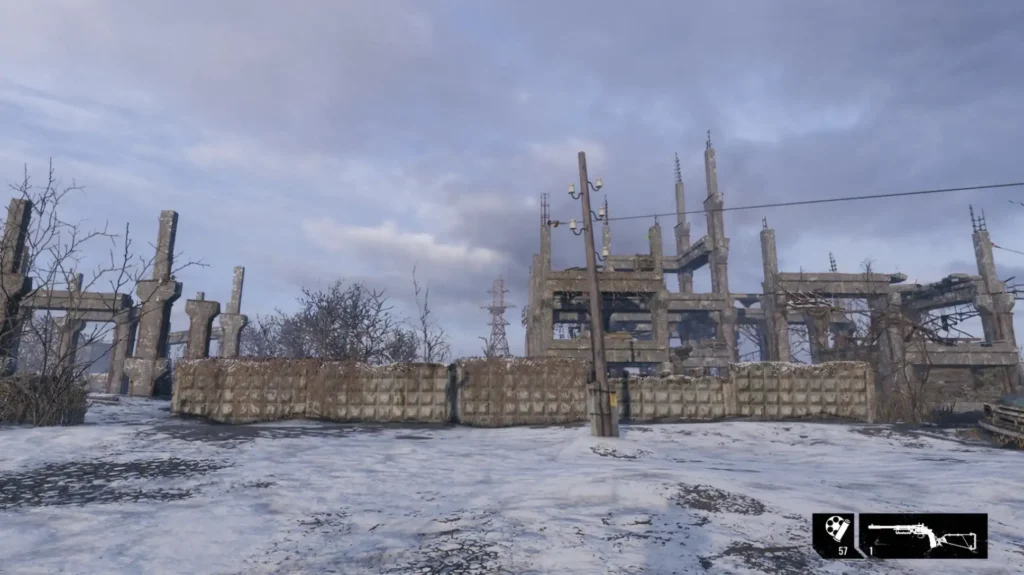
Side mission: save the guitar from bandits
This task is activated after you go for a railcar to pull a new car. Listen to the allies who are standing at the beginning of the train. They will tell about the bandits from the tower nearby, who "torment" the guitar. And ask her to put her out of her misery. A marker will appear pointing to the tower.
Go there, kill three bandits from above and a couple more pieces on the tower itself. Climb upstairs, enter the room and from it climb the fire escape. This is where you will find the guitar. Be sure to go downstairs and free the prisoner in the cage. This is a good action that affects the ending of the game, as evidenced by a small flash on the screen. Listen to the man to learn about the new cache location. When you are near the Aurora, then give Stepan the guitar.
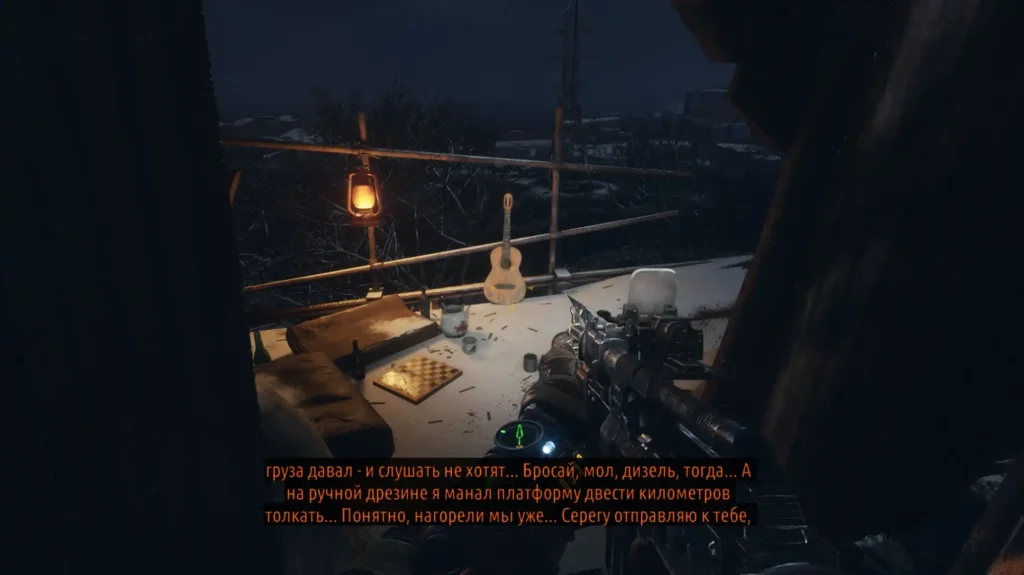
Side quest: return the bear to Nastya
When you go for the trolley, Stepan will contact you. He will ask you to return the teddy bear for Nastya. A marker will appear in the lower right corner of the location. Head there, find a tall tower and climb it using the ladders. At the top there will be a nest of a flying creature. Finish her off and take the teddy bear from the suitcase. When you are near the Aurora, then give the girl a bear.
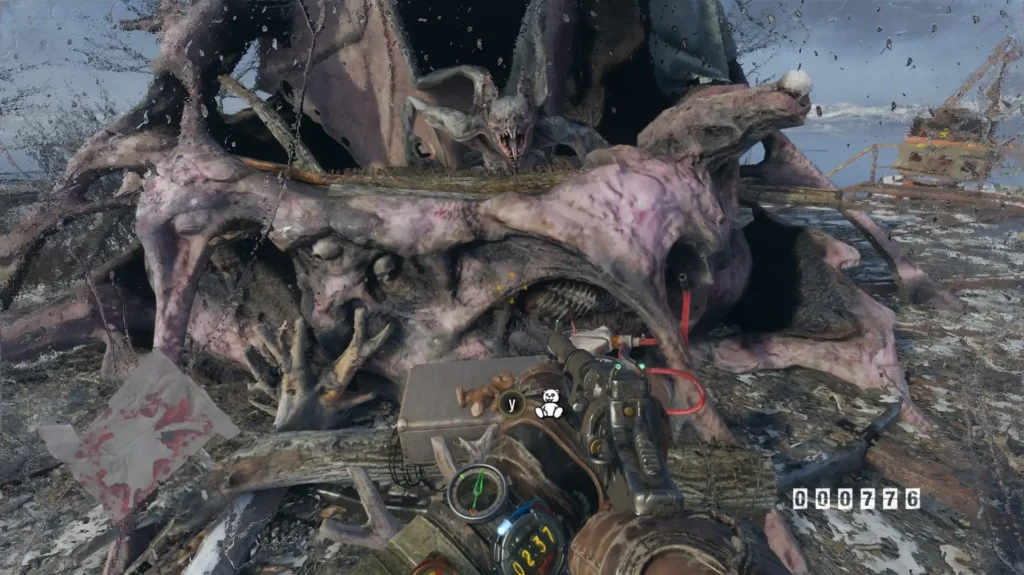
Climb down and go along the river (to the left along the bottom of the map) to find a building right behind the towers. Shoot the castle and go inside. Monsters will probably come running, so kill them. Inside you can find a dirty letter and a hand metal detector.
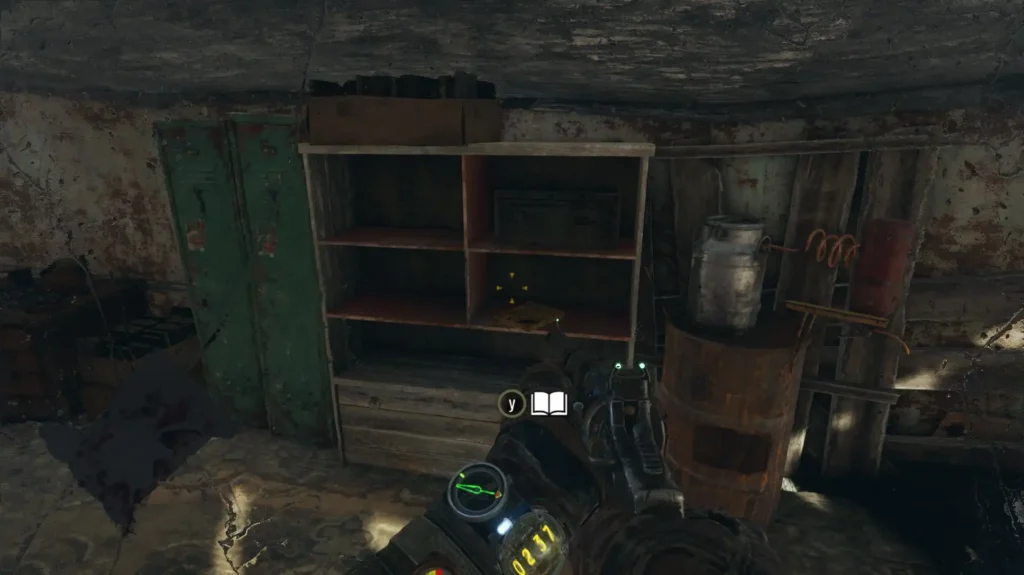
Pay attention to the island below the center of the map. To get there, you can move either by boat (if you find it), or from the same side where you found the bear (from the lower right corner and to the left). In the second case, you will need to move along the fence sticking out of the water. With a run, jump onto the metal support in front. You can try to get here from the other side. On the spot you will find a building with a generator. Find outside, near the window, a canister of fuel. Refuel the generator and start it.
Enter the neighboring house, switch the toggle switch on the left and go to the resource room. Follow to the far room, where there will be a locked red door. There is a lift nearby. Follow the roof and find a hole to jump down through it. In the room behind the red door, activate the electrical panel, then go back and turn the toggle switch at the large metal door with a valve. Open it, lower the lever to fry the corpse. Remove the battery charge controller from his chest.
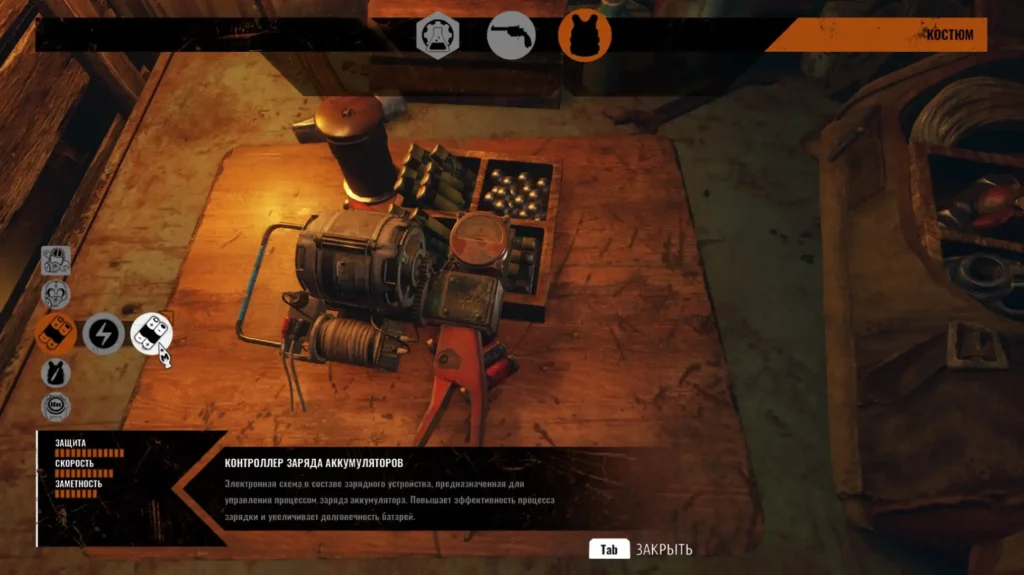
There is a workbench in the building nearby where you can place this item.
Yamantau
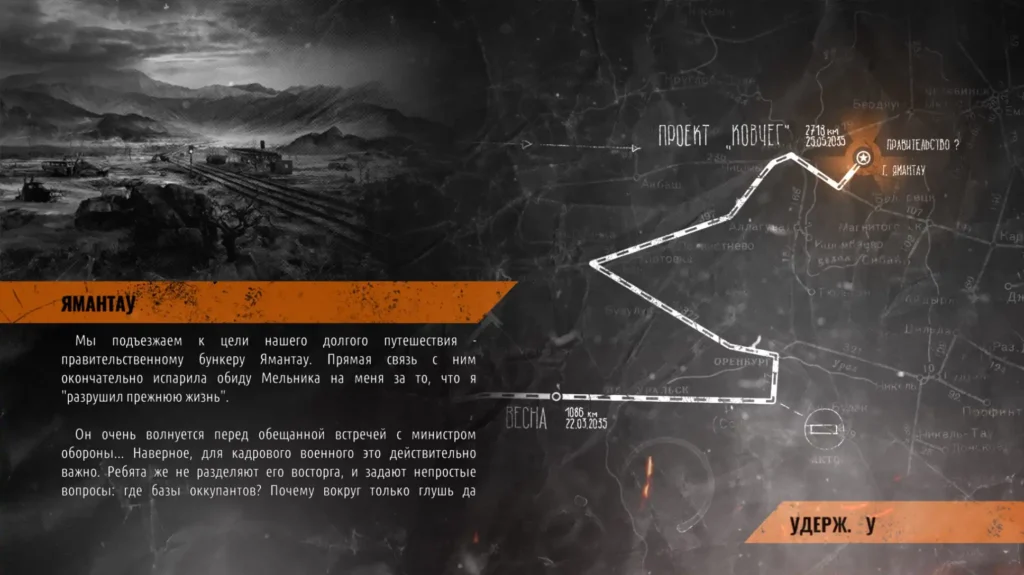
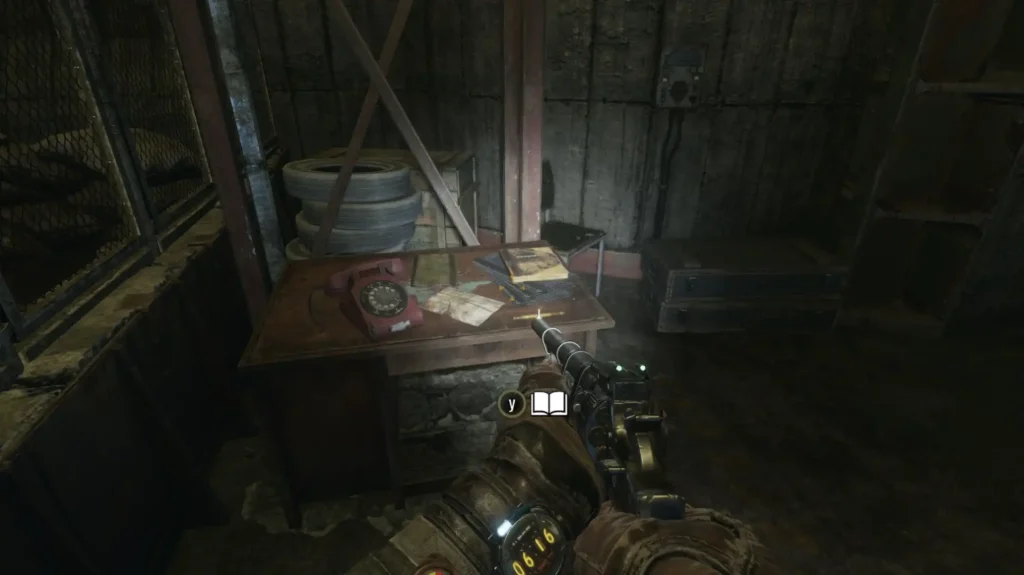
Get on the railcar and wait for the arrival at the Ark. Enter the elevator, go upstairs and watch the cut-scene. When control is transferred to you, repel the attack of the cannibals until the elevator opens. Get on the lift and go up. When Miller says, then exit the lift and go to the door ahead. Before you open it, take Diary Page 1 from the table on the left.
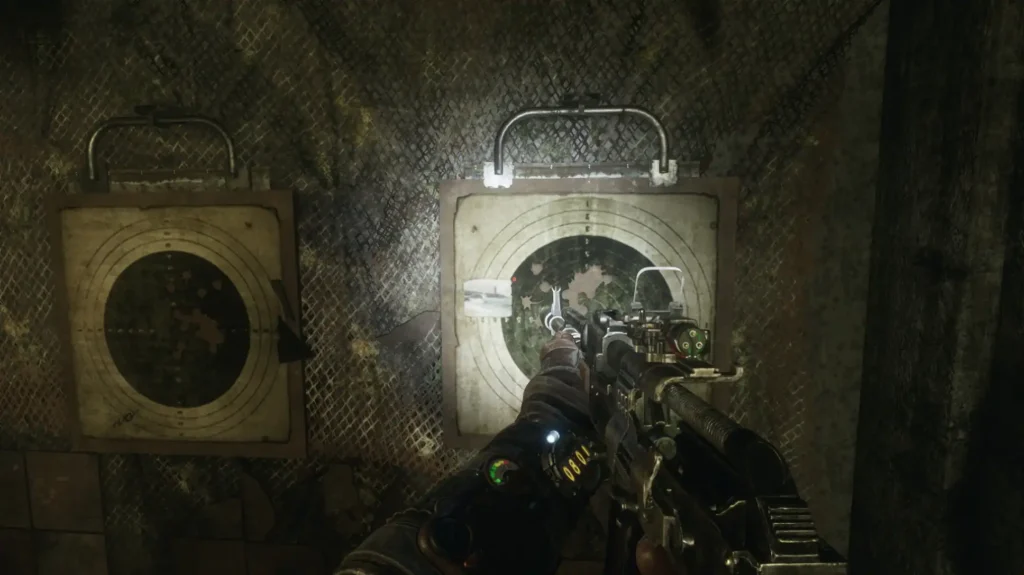
Pull the lever, but the light will go out. Go back and launch the shield to the right of the door. Move up the level, killing enemies. After the freezers, before moving on, find the electrical panel in the corner. Turn on the light, and then make your way through the hole to the left of the shield to find Diary Page 2 in a small room with targets. Find postcard #9 here.
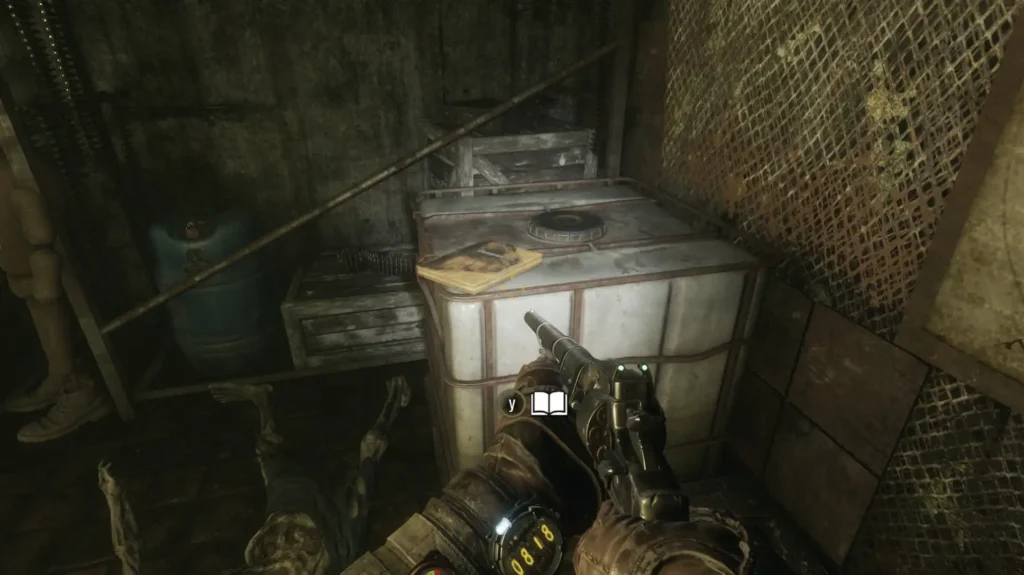
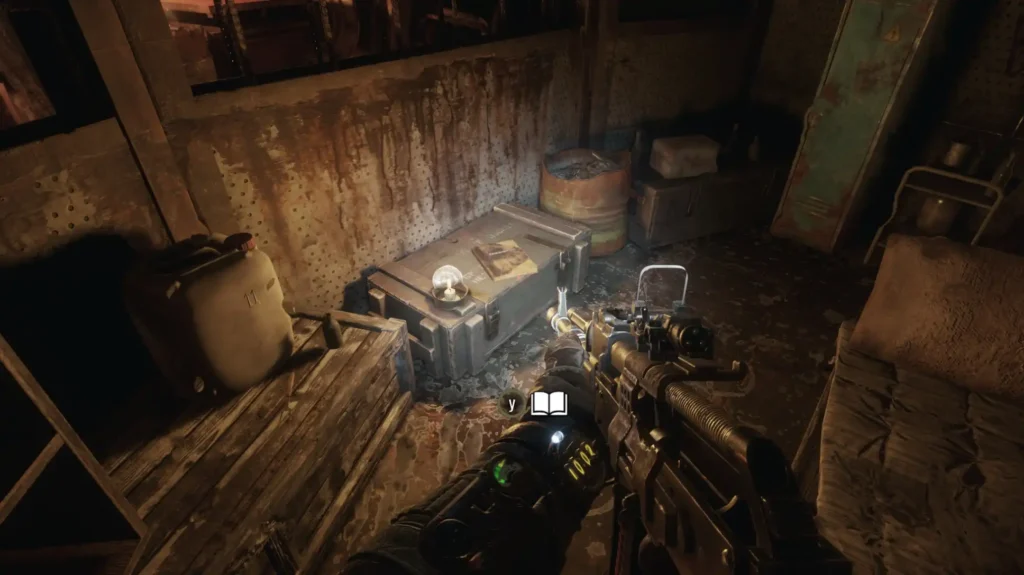
Keep moving, climb into the ventilation and get out through any opening. Kill the enemies and go through the corridor with rooms. Melnik will contact you. Continue along the dark corridor. Go to its end to find yourself in a room with a lot of garbage. You can crawl through the concrete pipe on the left, but do not rush, but climb forward and turn right to find a room next to the canister. There will be a box with a candle, and next to it is diary page 3.
Exit and go right. Kill the enemies, lower the lever and go into the room where an enemy with a machine gun will appear. Hide behind cover and wait for the enemy to stop firing. Only then, within a couple of seconds, counterattack him. Then again hide in cover and repeat until the machine gunner is defeated.
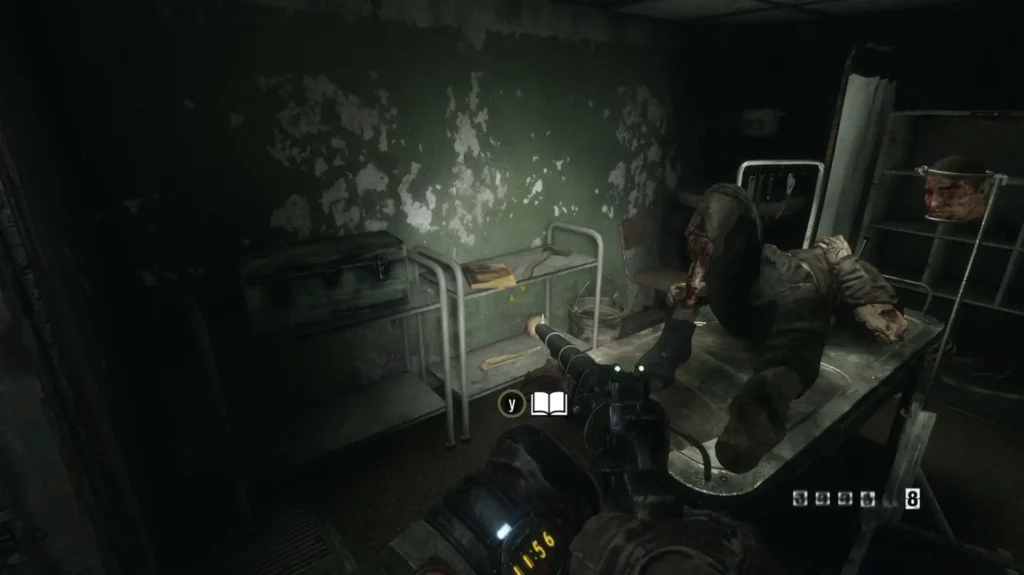
Enter the corridor where he came from and kill the other cannibals. There are rooms to the right and left, and in room 2 is the diary of officer 1.
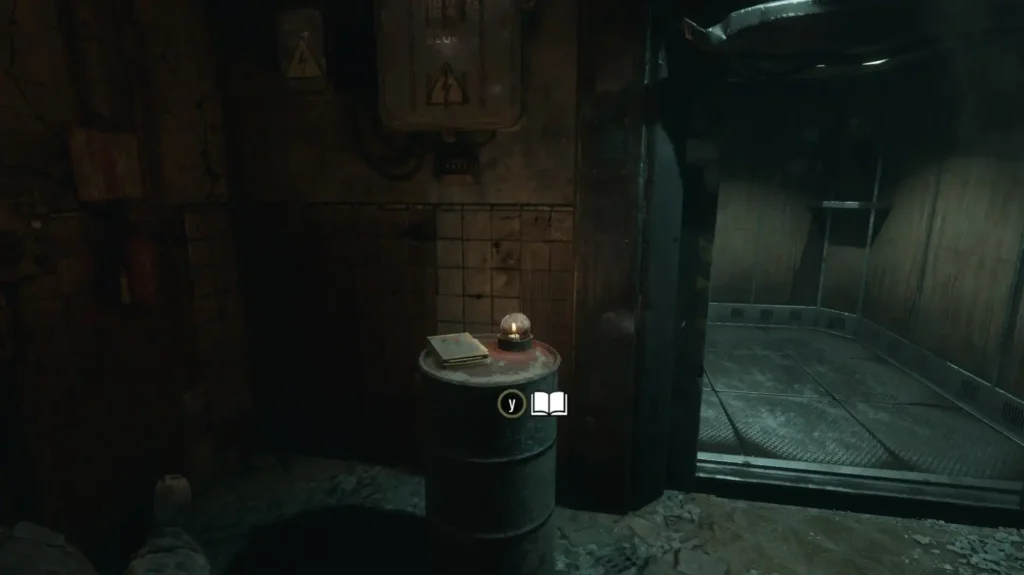
Open the far door and approach Anna on a chair. After the video, exit towards the elevator. Directly in front of him, on the barrel to the left, is Officer 2's diary.
Together with Anna, get to the command center, on the elevator, then watch the video. With the rest of the comrades, go to the elevator in the central shaft. Ten meters before the elevator, on the left side there will be a forklift with a box on which lies Officer 3's diary.
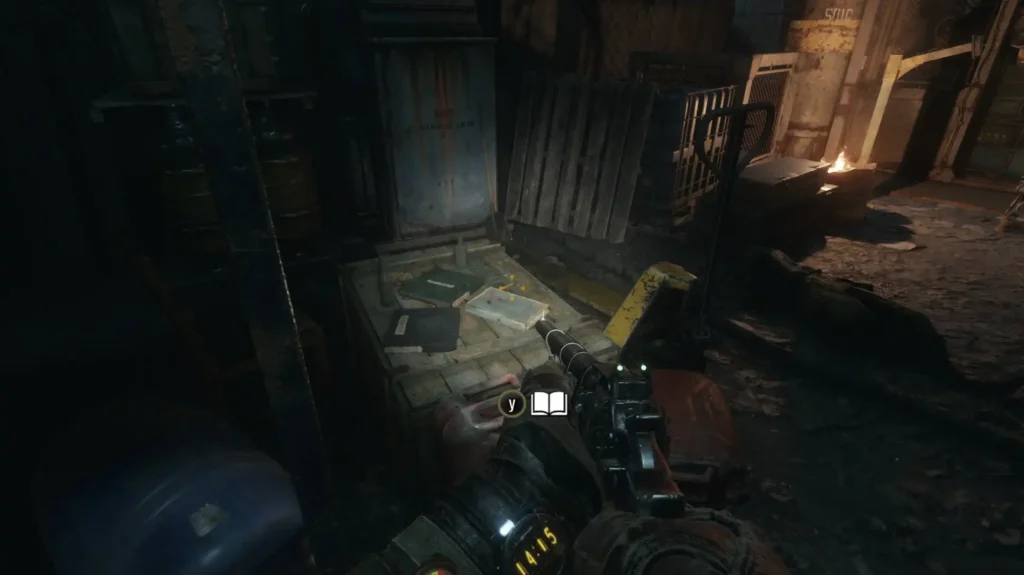
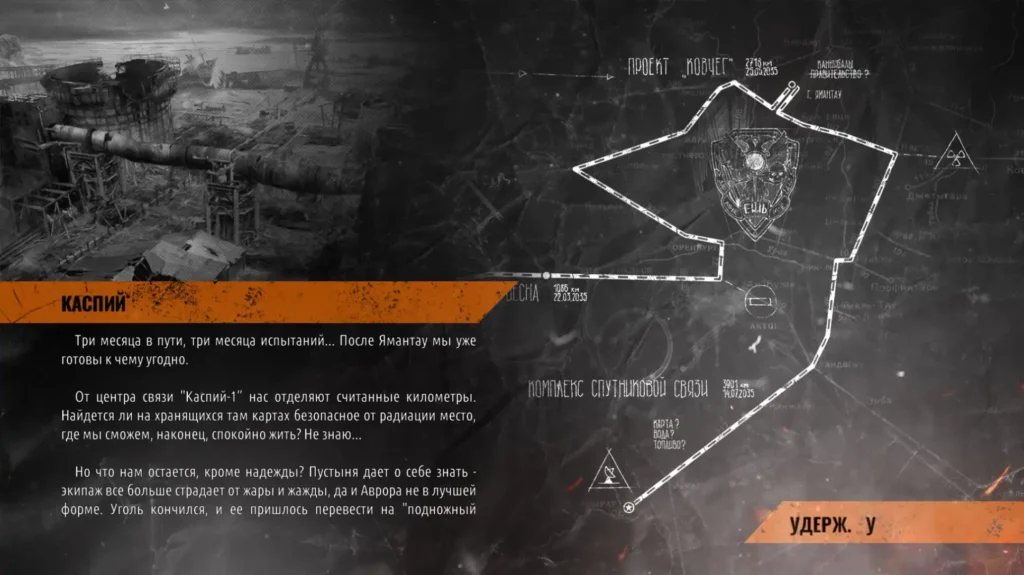
Caspian Sea
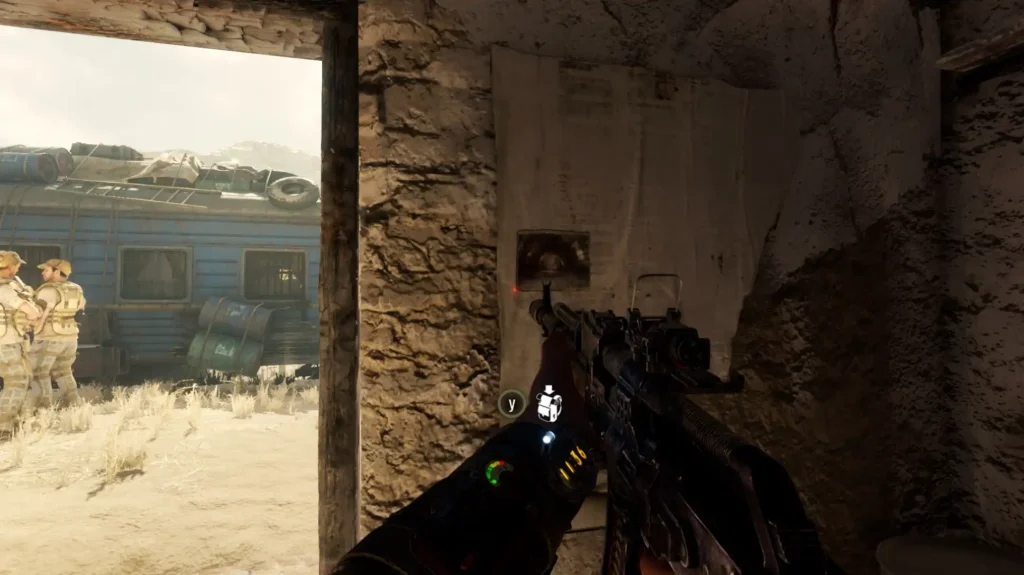
Upon arrival at a new location, get off the train and go into the building nearby, near which Alyosha, Sam and the Idiot are standing. Turn around and to the right of the entrance you will see postcard #10 hanging on the wall. Approach Tokarev at the beginning of the passenger car so that he will give you incendiary cartridges for the Tikhar.
Follow in the direction of the high antenna where the bandits left. As you approach the building, you will encounter a sandstorm. Put on a gas mask. Get inside, go up to the second floor and kill the enemies. There will be a door on the far side. Open it and go up to the roof, where a bandit will attack you. By killing or stunning him (in the second case, a good action will be counted), you will receive a key to the car. Get down on the cable and kill the enemies, then open the driver's door. Watch the cut-scene with the appearance of Damir.
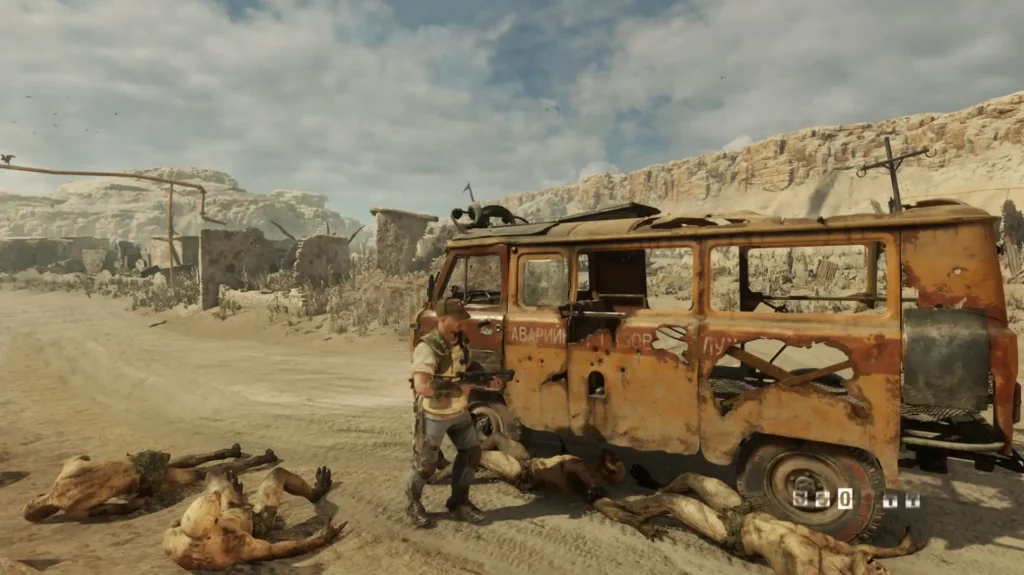
Attention. You need to go to this place almost immediately. If you ignore and wait for the storm to end (we did it because we got back to the train), then there will be no bandit on the roof. You will not find the key, you will not be able to drive a car, but Damir will contact you by radio and tell you where to go next. How did it now.
Get in the car and drive to the communication center in the upper left part of the map. Stop at the barge where the slaves are working. Enter inside it, passing through the archway. Go up to the second floor and you will see a praying slave located behind the first container. There is also a table, and on it lies the diary of the first mate.
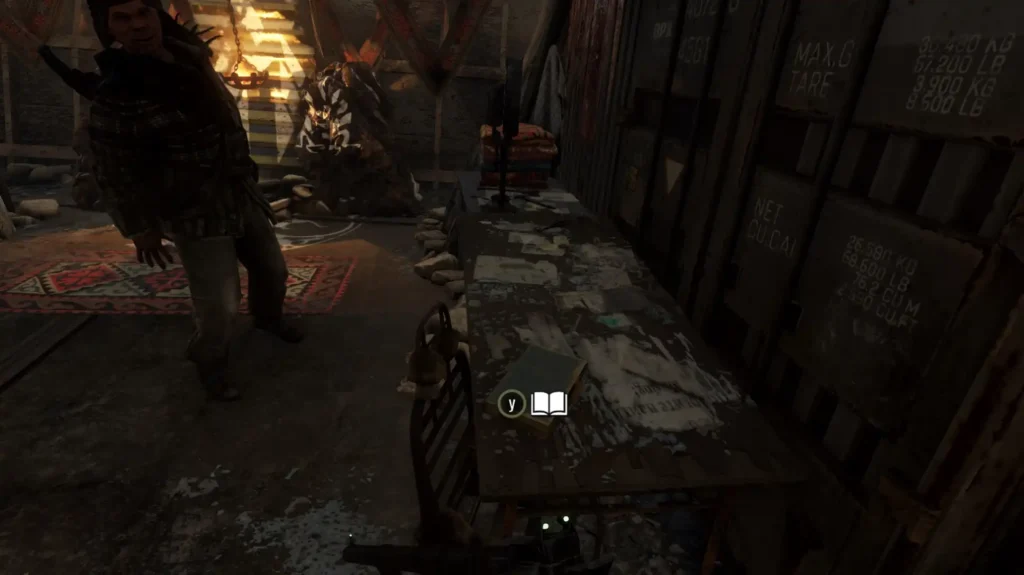
Go to the end of the tier and go up the fire escape. There will be a few bandits here, but they can be stunned without raising the alarm. If you do not kill anyone in either the first or second room, then a flash will work - a good action. In the back room, go up the stairs and on the table on the right, find the leader's letter.
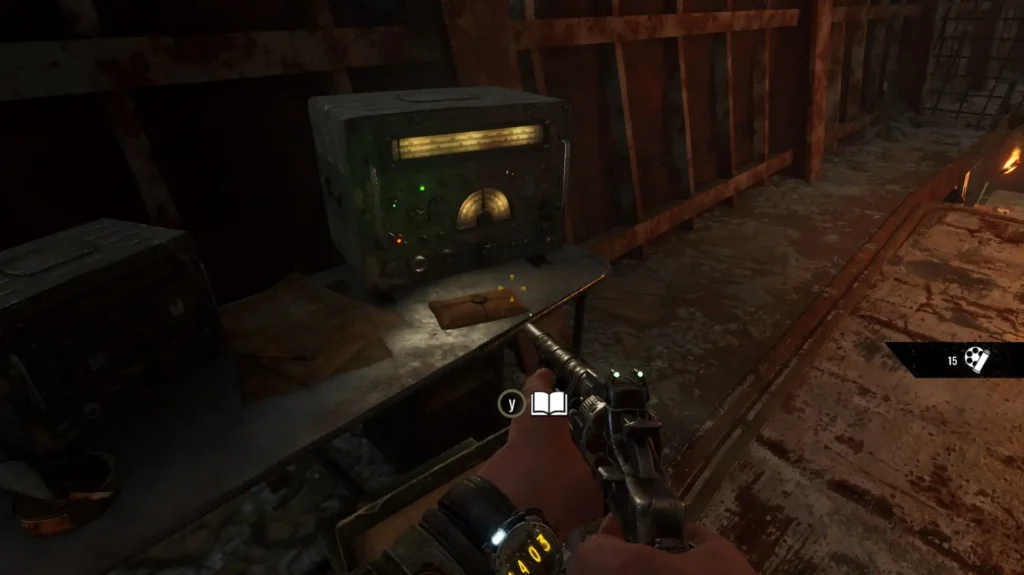
Climb the stairs even higher, enter the room ahead, follow further and into the second room, on the table, look for a new improvement for the bracer - a motion detector. From here you can go upstairs, where there is a workbench. Climb even higher and slide down on the cable.
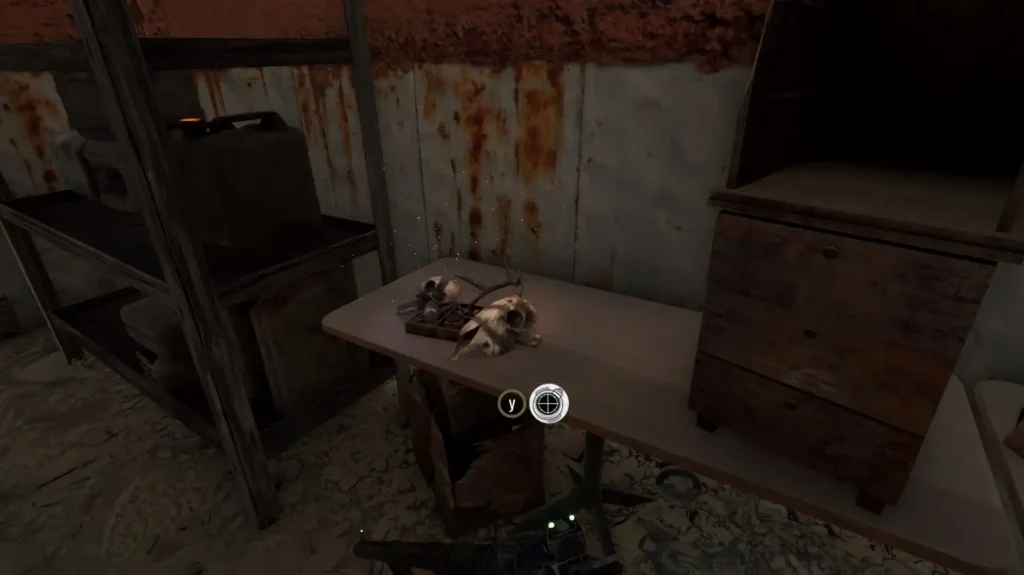
Get in the car and continue driving along the road. On the way, Melnik will contact you, who will inform you about a certain Gul who is willing to help. The woman needs help to recapture the lighthouse from the bandits. Along the way, note the rusty barge on the left. Get inside it, cut the wire to remove the stretch, and take a new improvement from the box on the left - a high-brightness lantern. It shines brighter, but consumes more energy.
Drive forward along the road to the crossroads. Get out of the car, go to the ATV in front and find the entrance to the cave. Go there and slide down the rope. Pass by the enemies and in a place where there will be several corpses at once (in front of the bridge) and one slave who attacked Artyom, near one of the dead on the ground, find a baby for his son.
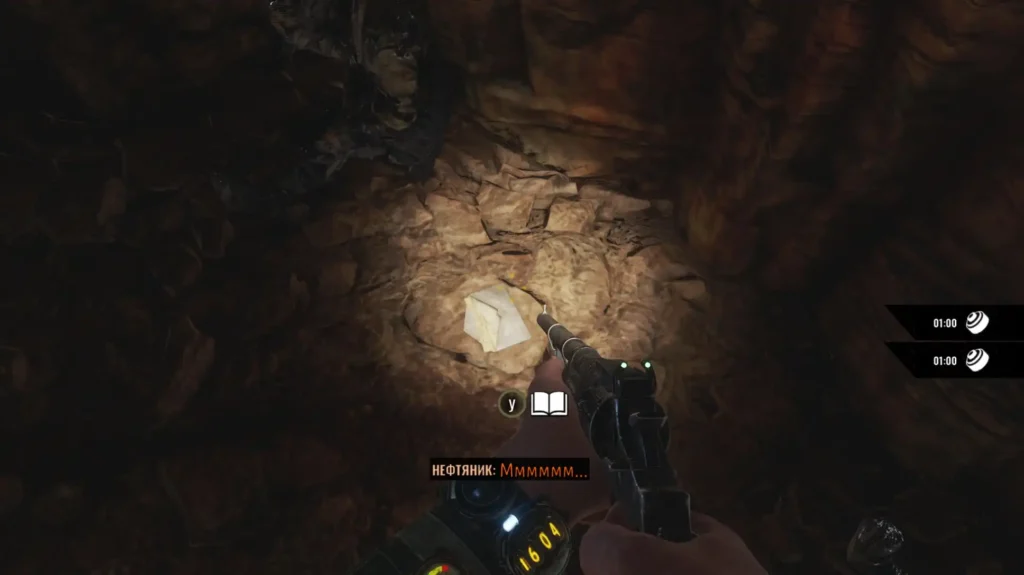
Make your way through the cave and don't kill anyone if you want to see the best ending. After reaching the lighthouse, deal with other opponents. If you don’t kill anyone, then after the showdown, when you stand on the lift, a flash will go off - a good action.
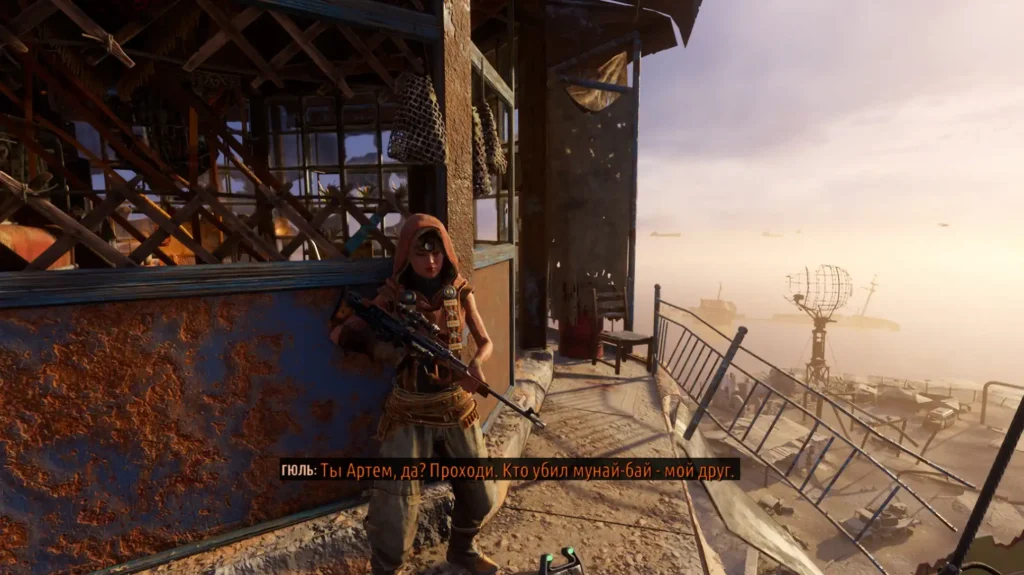
Listen to Gulnara, and then pay attention to the entrance. Postcard #11 hangs on the beam on the left. Go down the lift together with Gul.
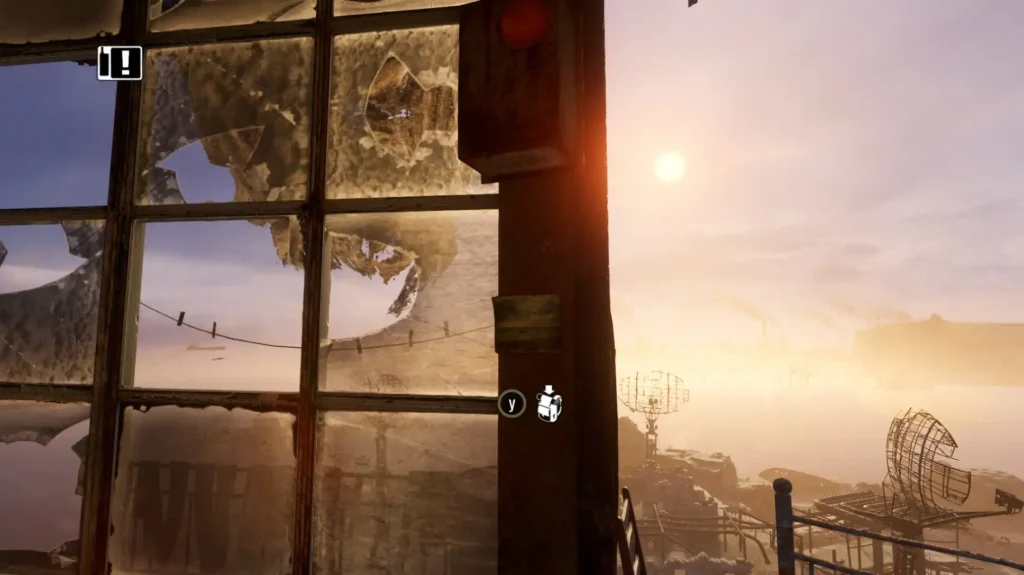
Follow the girl who will show the bunker. Go downstairs, go to the door, which has no electricity. Enter the room to the left of the gate and use the charger on the electrical panel. Gul will open the door, and you will be able to go down on the lift. There is only one way out of the tunnel: duck down and move through the hole on the left.
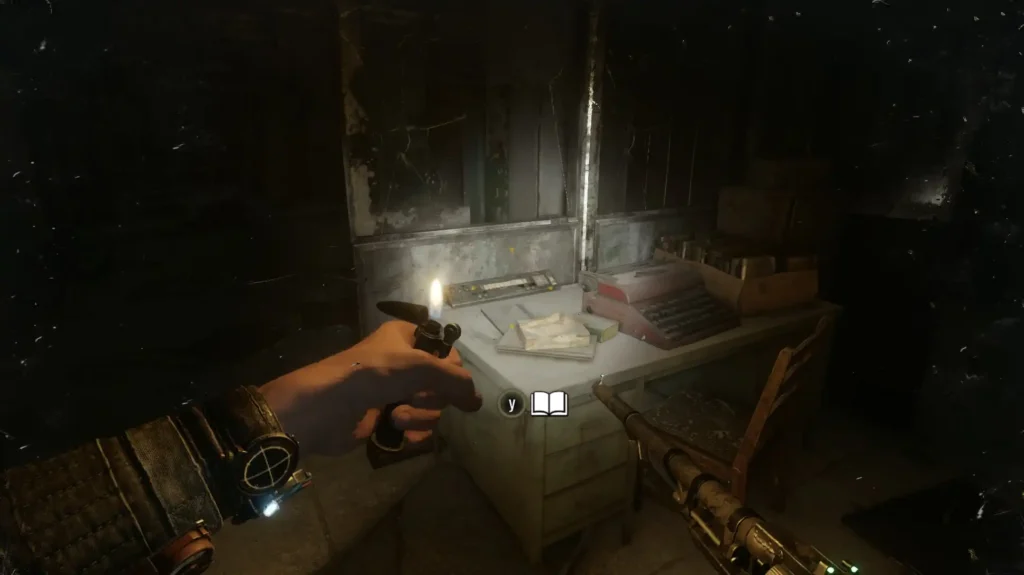
Burn everything in your path, go through the room with stairs and soon you will find yourself in a room with spiders. You need to kill these spiders in the same way as in the last part: shine the flashlight until the spider rolls over on its back, and then shoot at the vulnerable red dot. Walk forward and to the left of the closed door. Turn right where there are several offices. In one of them, there is a typewriter on the table, and next to it is a memo.
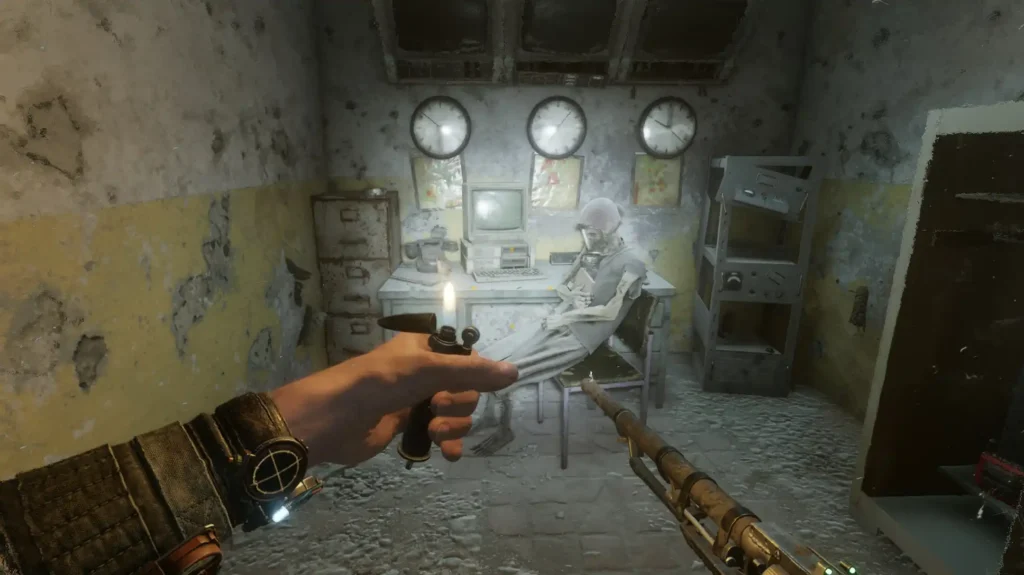
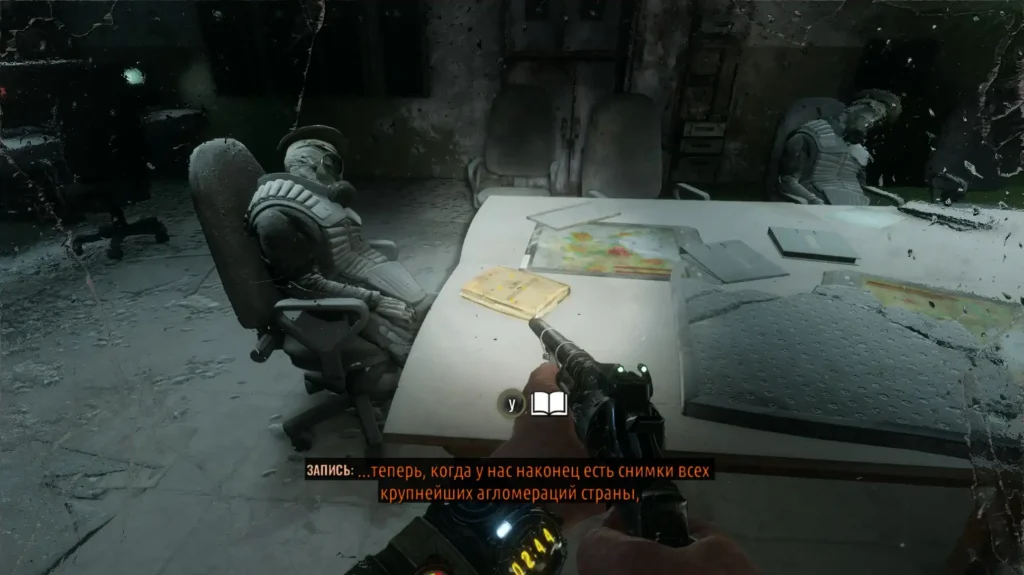
Go to the back room, where you need to charge the electrical panel to turn on the electricity. Return to the locked door, which is now open. Go through it, move down the stairs and Damir will open the next door. Go through the office, get to another locked door, where Damir will switch to a loudspeaker. Crouch down and crawl through the room on the right. Having made your way into this room, pay attention to the table in the far right corner. On it lies a corpse, as well as a document analysis of the images. Be sure to open the door on the left to find the corpse of Gul's mother in the room. Take a framed family photograph from her hands.
Go through the room where the spiders attack you, get to the broken ventilation and climb through it. There is only one way, but there will be many mutants. After getting out into the archive, go to the command post on the side. On a large table, next to one of the sitting corpses, is the Last Orders diary.
Go back to the archive and go to the far shelving for 2010-2019. Find the interaction point at the bottom and collect the cards.
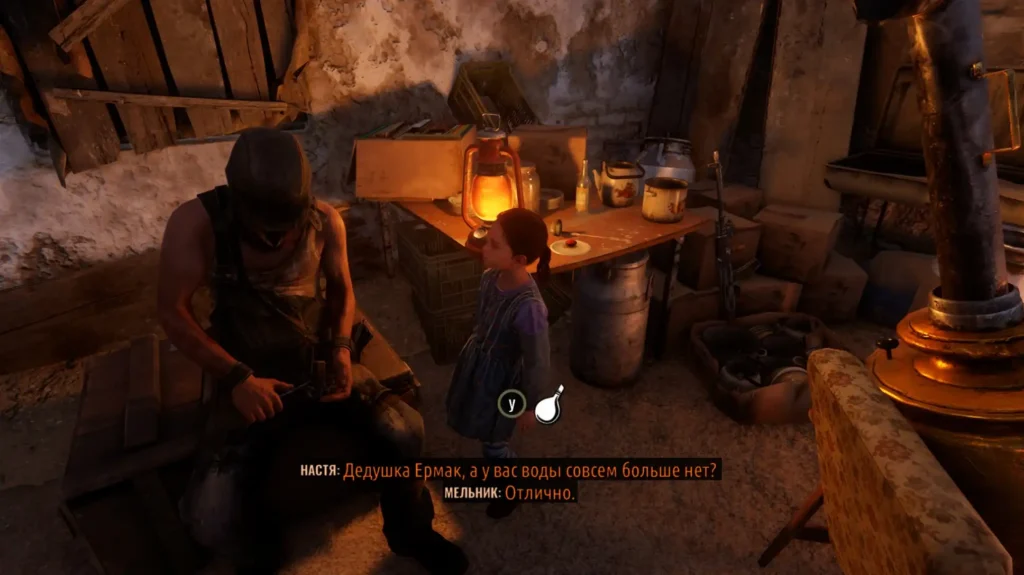
Follow the command post and turn the valve on the left to open the door. Damir will say that he will turn off the lights to start the elevator. You understand that this will lead to the appearance of spiders. Go back, ignoring the spiders. Most likely, the elevator will still be closed. Fight off the spiders until Damir says that Artyom must hurry. This means that the door to the elevator is open (not far from the door, which is now locked due to lack of light). Get on the elevator and go upstairs. Wait, and then get out of here with your friends. After leaving the bottom floor of the bunker, go forward to find the car that Damir kindly brought for you. By the way, if you find a family photo, Artem will automatically give it to Gul. In return, the girl will give a flask that you can give to Nastya.
Move along the road and pay attention to the destroyed bridge crossing it. Climb to its right side to find a resting place. Above are the resources. Follow further to the question mark, where Anna is waiting for you. Follow her and listen. She will talk about the crane, the ship and the building behind the port. Three question marks will appear on the map. Let's take a look at them.
Inspection of additional places
Move first to the nearest crane. The best way to do this is by car, following the road ahead and to the left. Leave the car at the gate and make your way to the crane, dealing with the bandits. Climb up and deal with the sniper. You can take his sniper rifle or upgrades only. Go inside, collect resources and use the workbench. There is nothing more interesting here.
On the other hand, you will hear a message from the Baron on the radio, and another question mark will appear on the map in the upper left corner, indicating a certain Source.
Follow the dismantled ship to the right of the crane (if you navigate on the map). Kill nearby enemies or go directly inside. How to act, decide for yourself. You can climb from below, bypass the enemies on top, or you can kill or stun everyone. The ship consists of three parts: the first is the engine compartment, where you get, the second is the main compartment, where there will be a bunch of opponents and several tiers, and the third is the place where you will meet the machine gunner and be able to go up to the captain's cabin. So, having reached the cabin, enter and take the list of products from the table on the right. Look at the entrance and on the wall on the left you will find postcard #12.
Leave the cabin through any of the two side doors and find the lever that allows you to release all the hostages. There will be a flash - this is a good action.
You can leave the broken ship. By the way, if you did not find a reinforced helmet at the Volga location, you can do it on this ship. To do this, in the middle compartment, go up to the second floor and enter the cabin. The helmet will be on the table. If you took the helmet earlier, then there will be ordinary resources.
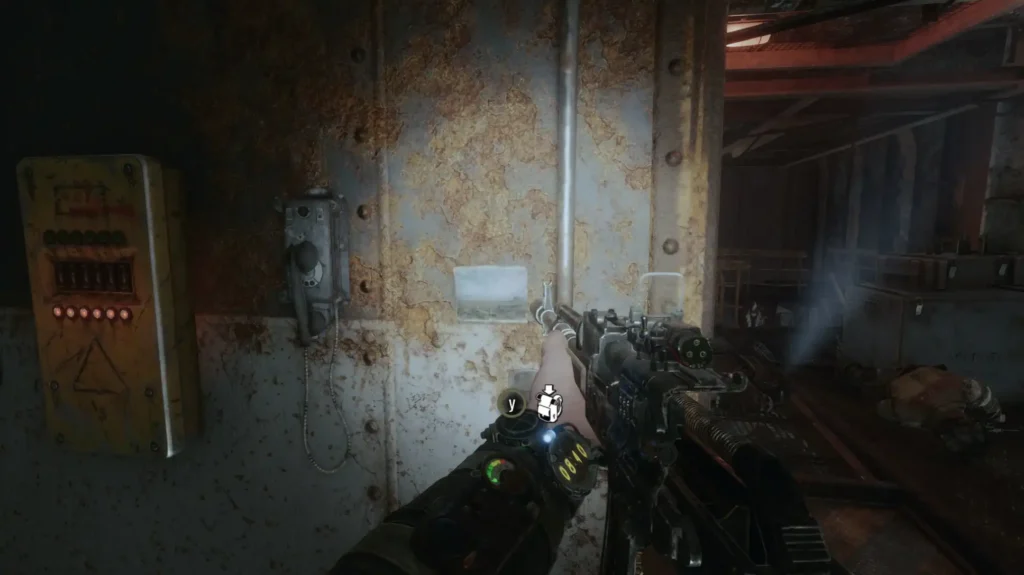
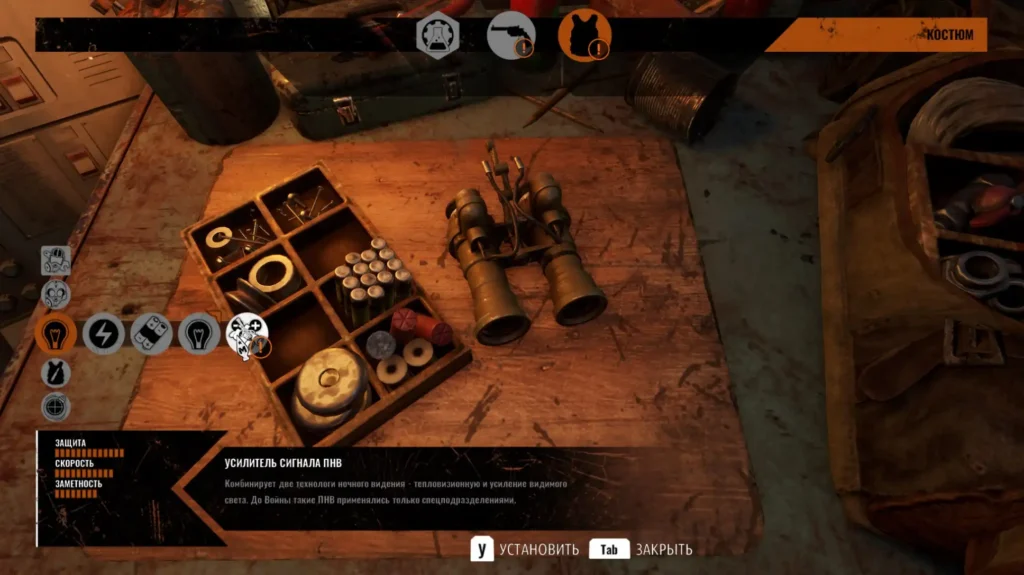
Go further along the map, to the third question mark - the building behind the port that Anna was talking about. Go to the territory and enter the house. Kill opponents as you go upstairs. On the very top floor you will find a place to sleep, a crafting table, and to the left of it there will be a new improvement - a NVD signal amplifier (night vision device).
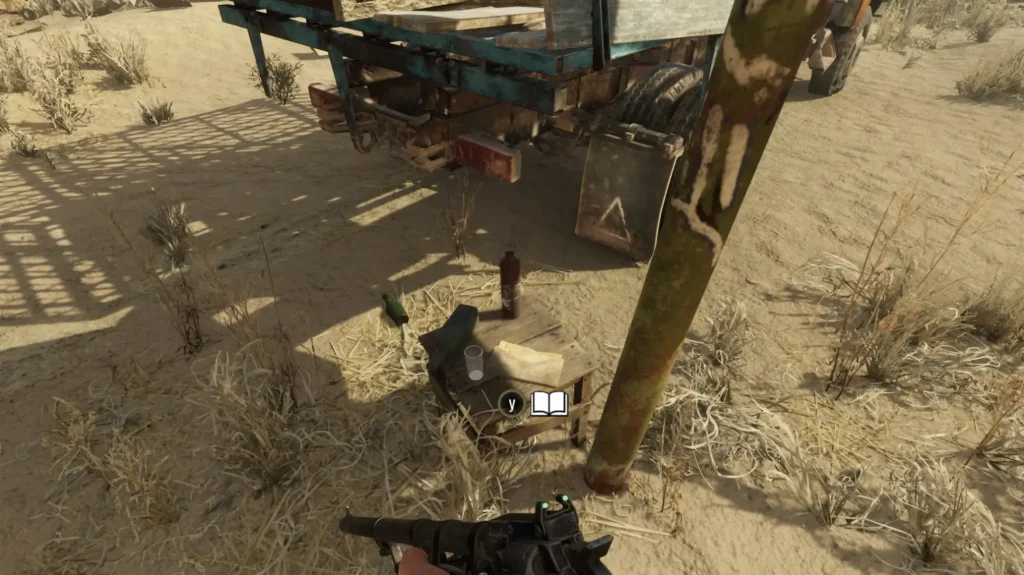
Move to the upper left corner of the map, where there is another question mark. Right in front of the entrance to the canyon is a truck, and next to it is a chair on which lies a letter from the baron.
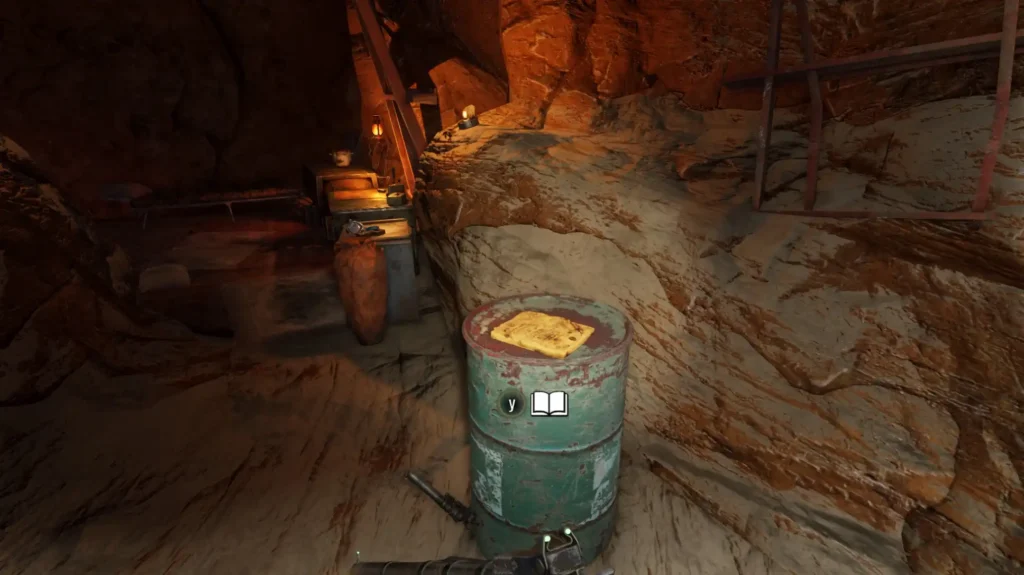
Go to the canyon and kill all opponents. As soon as they are dead or stunned (or the last to surrender), a rope ladder will descend. On it you can get to the leader, who has already managed to shoot himself. Take the suicide note from the barrel.
Next to the workbench lies a new improvement - bulletproof glass, which increases the strength of the glass on the gas mask.
Return to the train and talk to Melnik in the building, sitting on a chair. You will learn that the next goal is to get water from the Source. Go to the meeting with Damir on the marker. Follow the man, go through the cave, killing mutants, and you will find yourself in a place where water is extracted. Deal silently with the two raiders on the stairs. At the top, try to do everything quietly, although dogs can interfere. In the far corner are cages with two slaves. Shoot the castle to free them and earn a good action.
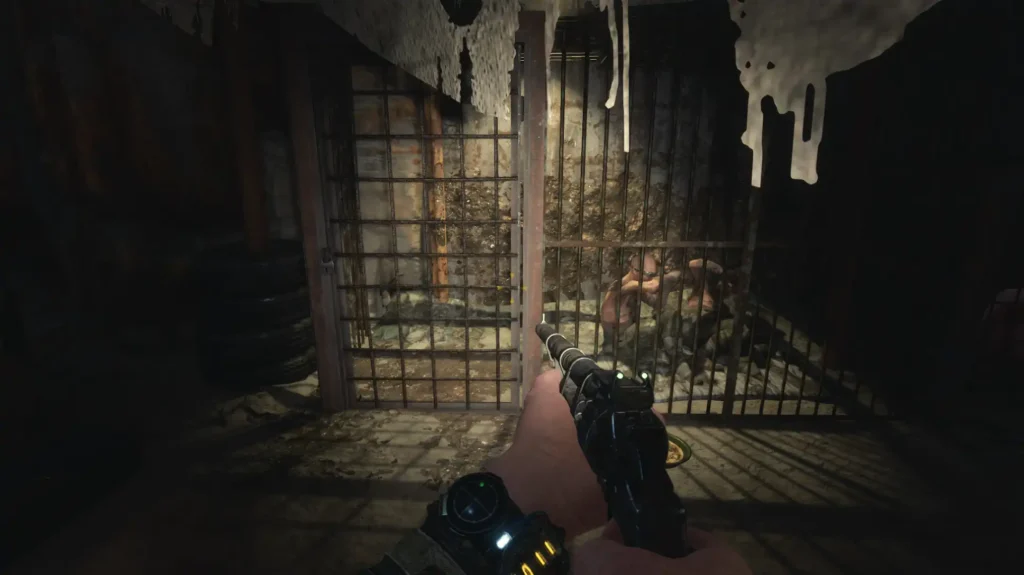
Climb up the stairs and pull the lever to open the gate. Watch the video, after which you will have to repel the raid of the robbers. Move along the left flank and clear the ranks of the enemy until Miller says to cease fire. Go back to your friends and find out about the plan regarding fuel.
Go to the oil rig. Make your way through the sewers that Damir will open. You have been asked not to kill anyone, so try to be discreet. Or just run past all the enemies if the difficulty allows. Once outside, wait for an invitation from the Baron to visit him. Enter the fortress and take the elevator up.
When you walk between the bandits, then pay attention to the villain beating the slave. Wait for him to be in the room with him, follow him and stun (good action).
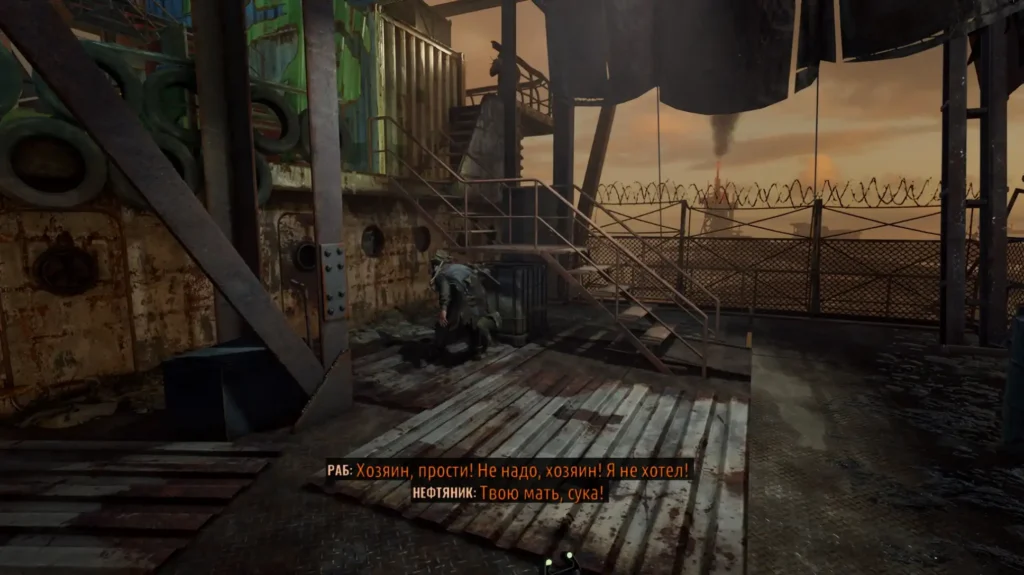
Climb higher and see how another opponent beats the girl. If you stun him or kill him, then the others will notice it, and the alarm will be raised. On the other hand, it will be counted as a good action. In addition, even after a conversation with the Baron, nothing good will come of it: Gul will appear, and the leader of the bandits will run away. Thus, there is no point in ignoring the girl's beating. Fight back, kill the enemy nearby and go up to the Baron.
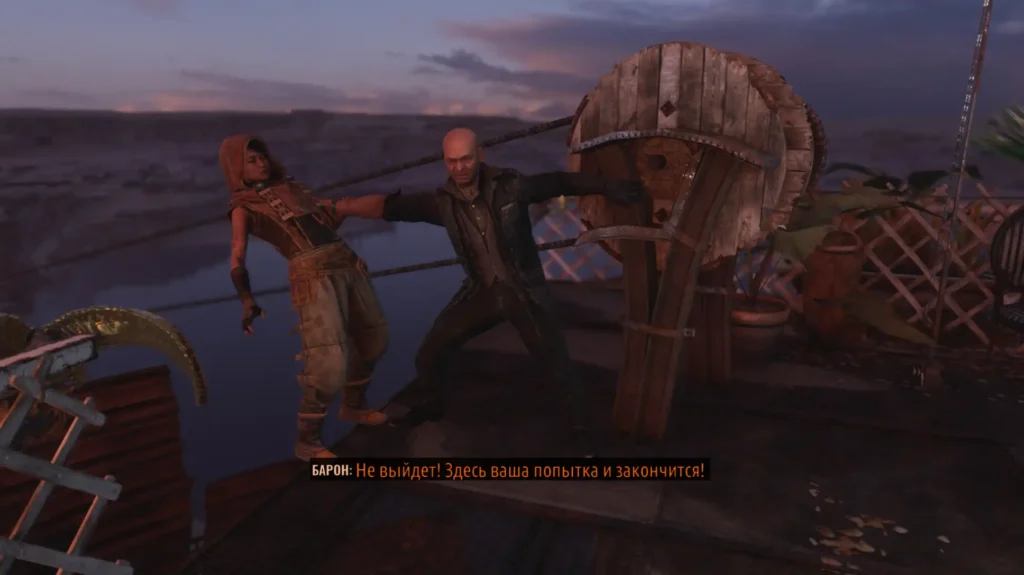
Shoot back together with Gul, and then on your own. Sooner or later, Damir will appear, and a video will start, summing up the next chapter.
Summer
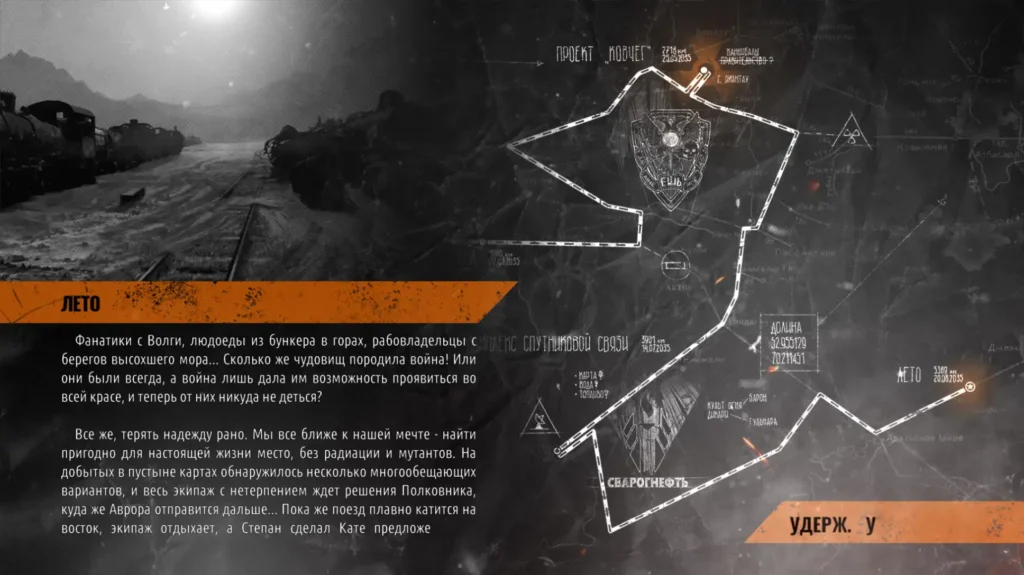
Listen to Anna, then exit the compartment and go right first. Move past the tank car and find yourself on a platform with a car. On the table to the right lies the only document of the chapter - Tetashnik's note.
Next, go to the table with everyone, listen to the stories and find out Anya's terrible secret. Follow the Miller and chat with him, then go back to everyone. Listen to the song or go straight to the head car, where you interact with the map to start the quest.
Taiga
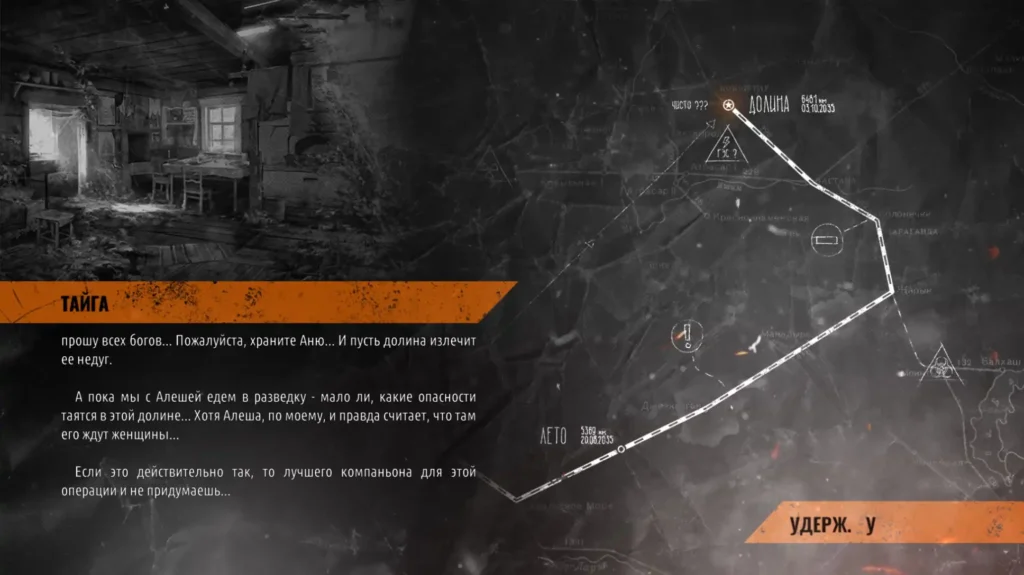
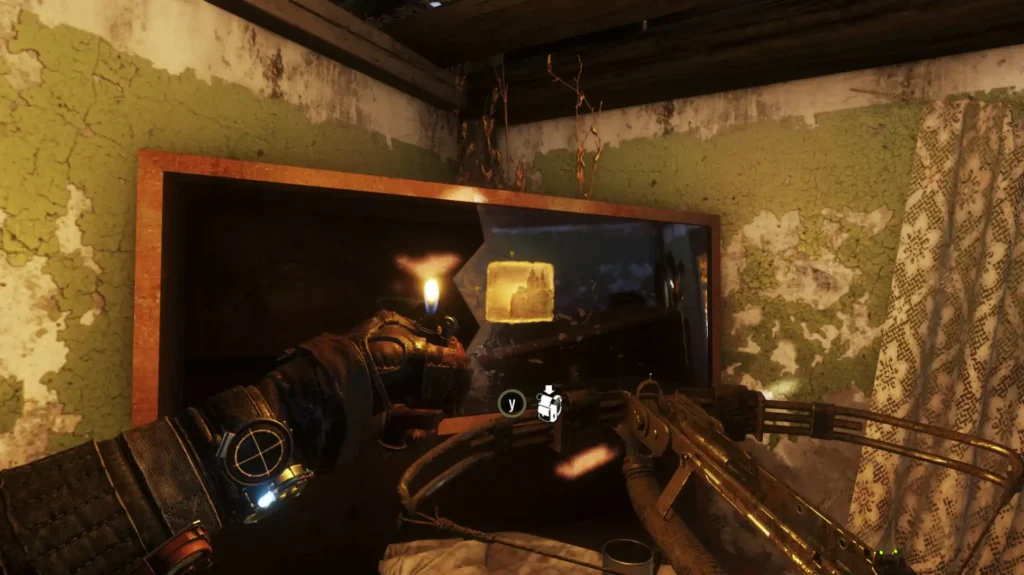
When you wake up after saving Olga, then go along the coast and into the plundered village on the left. Enter the house on the right, go into the room on the left and burn all the cobwebs. Postcard No. 15 hangs on a sideboard in the far left corner. Exit the courtyard and find a note on the crossbow bolt (a piece of paper wrapped around an arrow) on the gate.
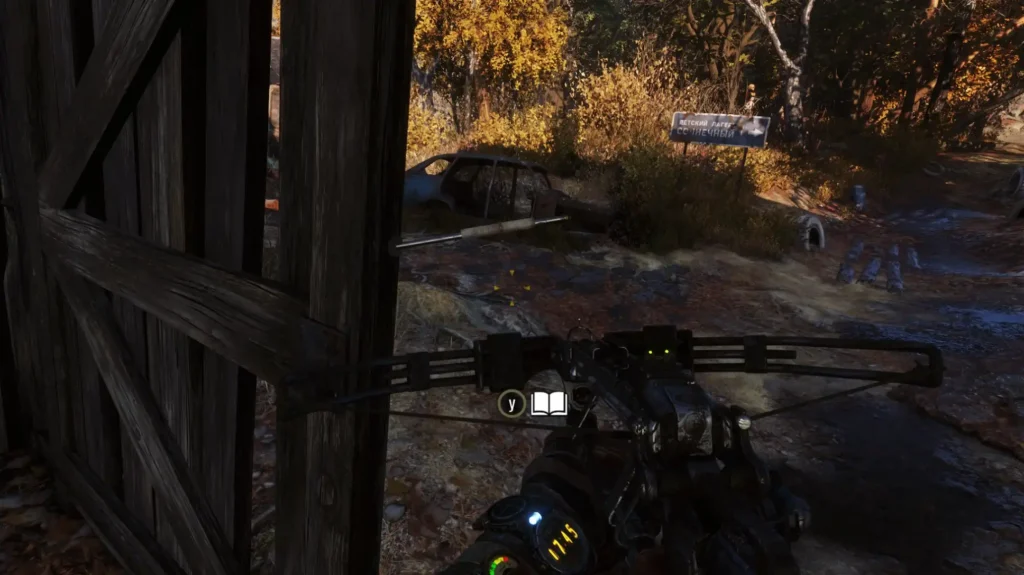
Go right along the road and you will find yourself at the Solnechny children's camp. The path ahead is blocked, so turn right and turn left from the monument to Lenin. Enter the building on the right that looks like a classroom. On one of the desks of the main room, Larisa licks a letter.
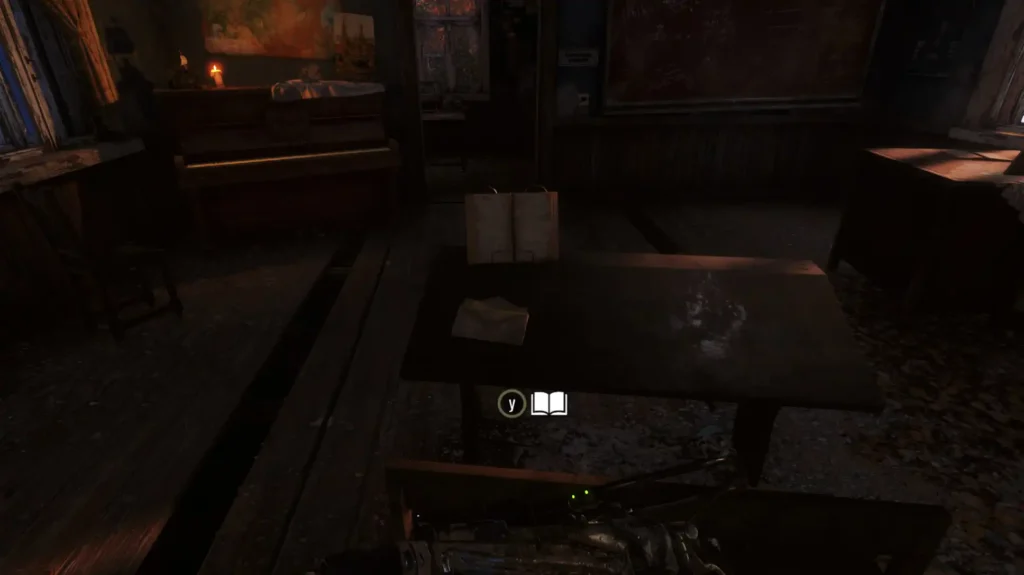
Climb down the bridge (after you see the pirates), go left and go up into the building on the left. You can listen to the audio recording in the director's office. You can pick up a night vision device if you haven't found it before. There is also a rope ladder here: climb up and get over the cable to the other side. You will find yourself at the outpost of the pirates. Deal with everyone, acting as you wish: you can kill the pirates or stun them.
Enter the brick ruin building and go down to the basement to find a crossbow with a scope and a night vision device. Climb to the roof of the brick building to find the solemn oath on the box.
Get out of here and go towards the bridge, along the river on the left. Behind the gazebo is another building that looks like a section for small children. Go inside and turn into the room on the right, where the button accordion is lying on the floor. Children's scribbles lie on the corner of the table.
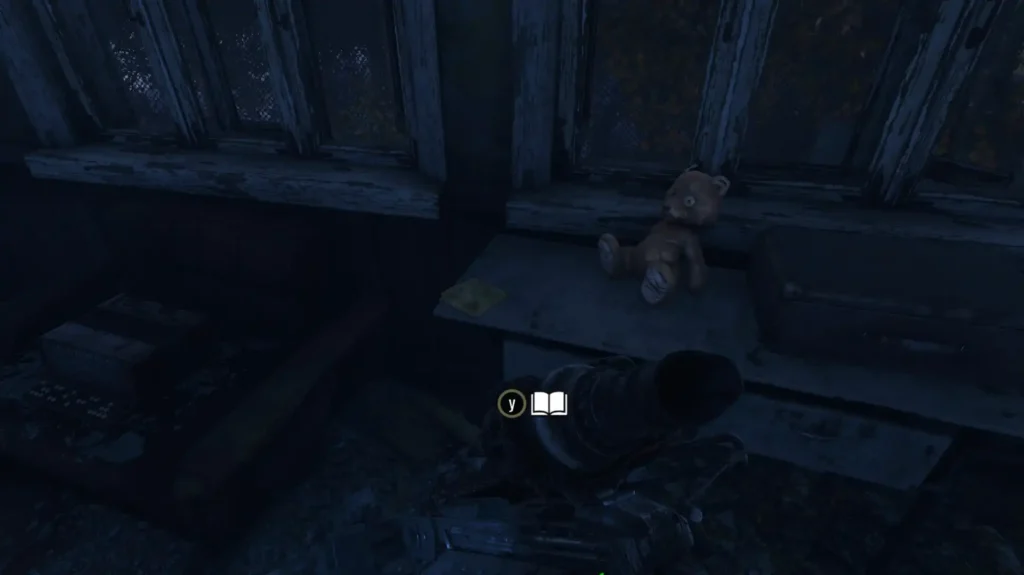
There is nothing else to do here, so climb back to the top of the brick building and slide down the rope to the other side. You will see a cut-scene featuring wolves and a gorilla.
Once you've crossed over to the other side, follow the road ahead and turn to the treehouse on the left. You will recognize him by the burning fire. Climb up the rope ladder and on the shelf to the right by the fire you will find a dusty diary. Slide down the rope to the fire near the rock, deal with the enemy and take the alchemist's diary.
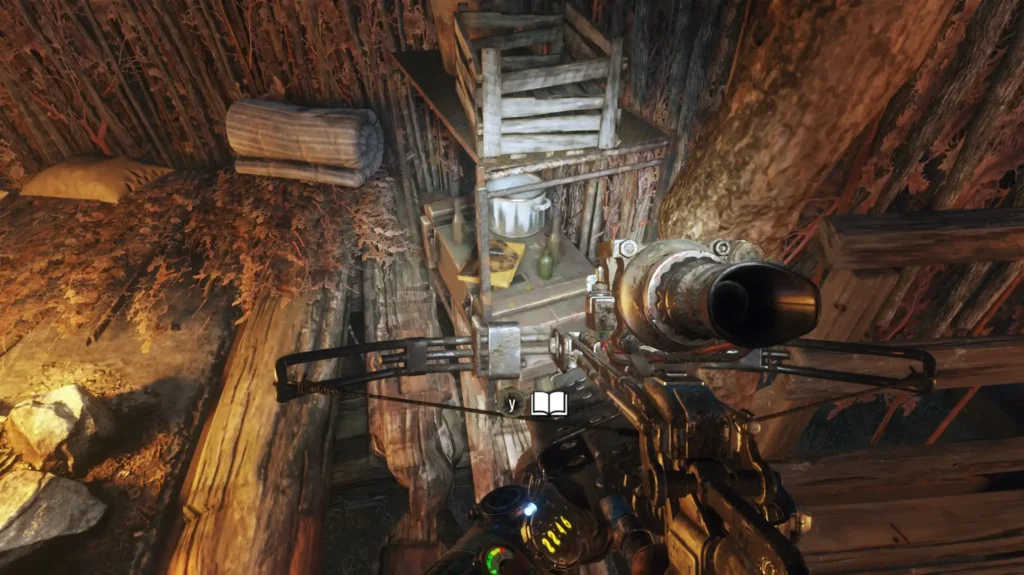
Continue down the main road towards the quest marker. Turn right when you see the lights - this is a house on the pier where the fisherman lives. Inside the house on the side of the pier, on the box is a lost diary. Talk to the fisherman - Pioneer, who was then with Olga.

Follow the road ahead, turn up the hill on the left, where you will find all your equipment. Go further and on the left you will see four people talking. Hide from them in the grass on the left side. On the same left hand there is a building, and next to it one of the pioneers lit a fire. Talk to him, enter the building and find a neat letter on the stove.
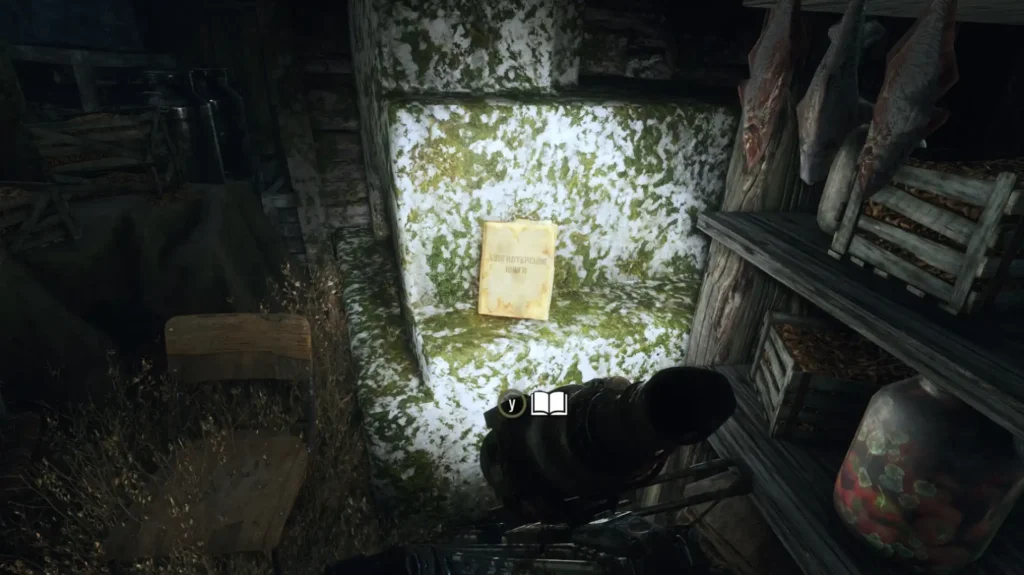
To get to the camp, you can use the cave in the water on your left or the boat on the right. You can also move around the tree houses using ropes. Inside the camp, find a large green building and go up to the very top, where a pioneer will be standing in the corner in the room. He will say that the prisoner (Alyosha) has fled in the direction of the church. At the workbench, create as many arrows as possible. Get out of here and get over the top to the houses on the rock, on the other side of the river. Enter the far room, go outside and go down the rope into the gorge.
Note. If you go to the pioneer camp through the main entrance, then in the building on the left you can find a careless letter.
Following the gorge, turn into the cave on the right to find a tattered letter on a box near the fire. Continue moving through the cave and pick up a crumpled note near the corpse on the ground.
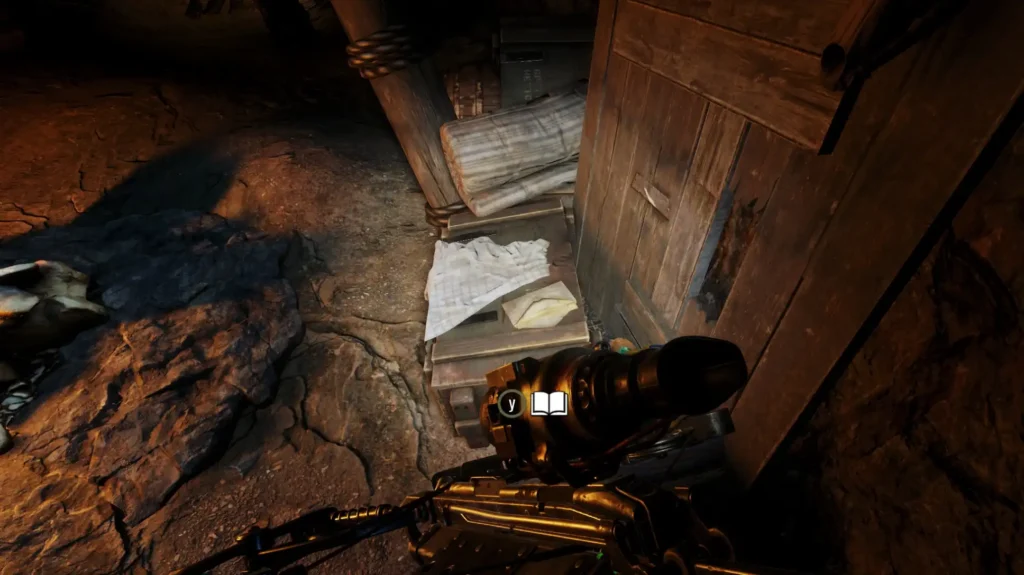
Move forward, climb the stairs, onto the barrels and even higher. In the house, neutralize the two bandits who are torturing the pioneer. Go outside and follow the right through the buildings. Take out enemies along the way. Cross the bridge to the other side and turn to the house with green thickets on the left. There may be enemies inside, but when you go into the room with the stove, postcard #17 hangs on the left wall.
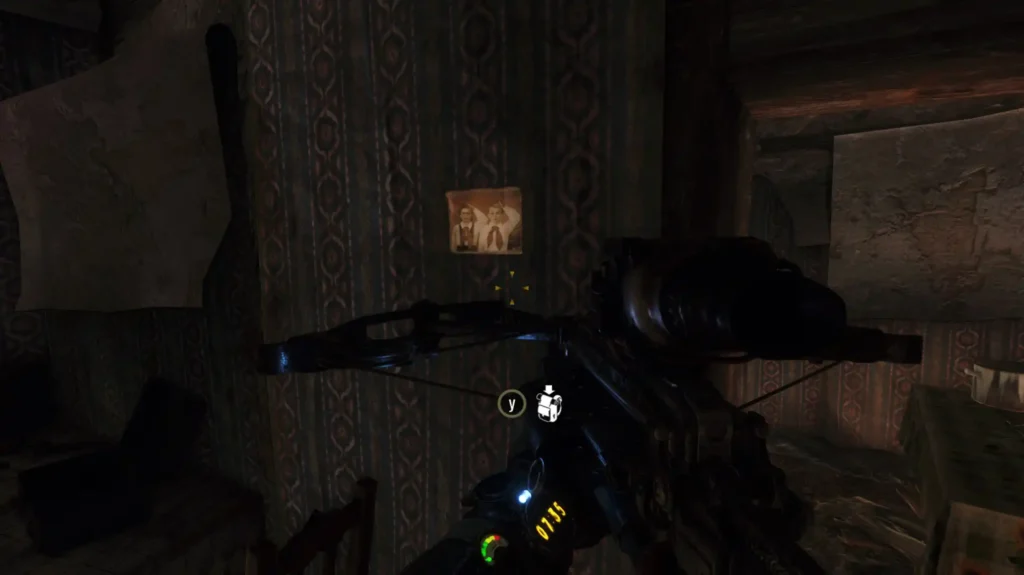
Climb down and follow the road to the river. Turn right to find a pier with a corpse. There is a dirty diary on the table next to him.
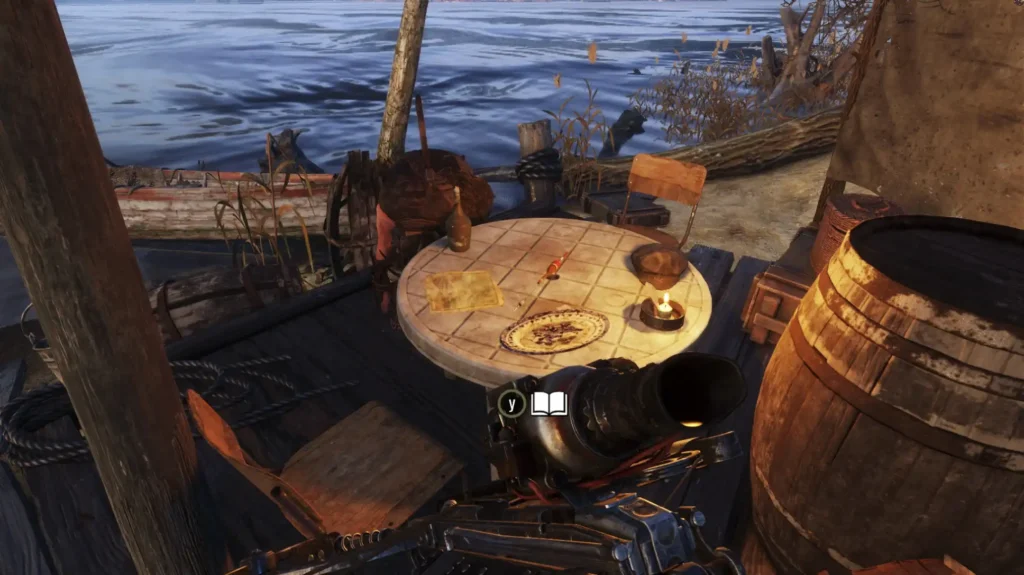
Return to the house where you found the postcard and go along the cliff on the right hand to find a path leading up. Get to the church, go through the gate and approach the main door. Try to cut the rope on the left, when suddenly a bear will appear. Use the crossbow to drive the beast away. You will have to put a lot of arrows into it. The mutant is fairly easy to dodge, as it usually runs in a nearly straight line. Cut the rope and climb up. Enter the building with the workbench and then open the grate on the right to meet Olga. After a dialogue with her, go down the stairs.
Ahead of you is a camp of pirates. We recommend going down and follow the road along the mountain on the left. At the very end of the path, near the stones, there is a ladder down. Go down it and find a pier with a boat. It is best to do this at night. Get on the boat and swim forward until you find yourself in the camp. The path to the left is blocked by a gate. To their left, in the building on the second floor, there is a lever that raises the gate. On the first floor of the same building, there is a folded note on the table.
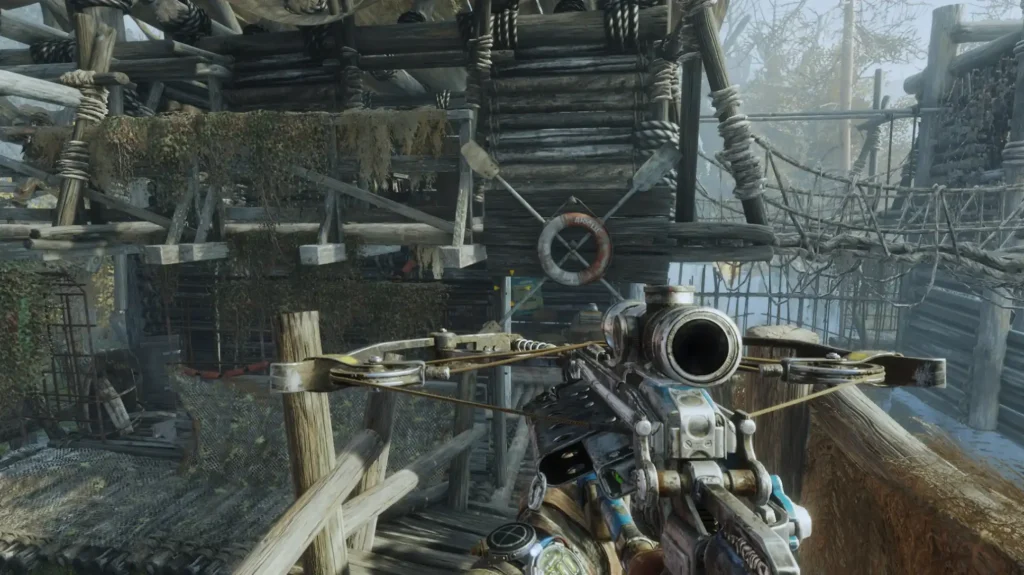
After opening the gate, swim forward until you find yourself near some factory. Go around the building on the right and start the generator in the destroyed garage. Go inside, find the electrical panel and lower all the toggle switches to turn on the electricity. On the lift at the other end of the building, go upstairs and go through the far door to meet with the Admiral. You can listen to him or immediately cut the rope on the left and climb up the stairs. Move to the other side by sliding down the rope.
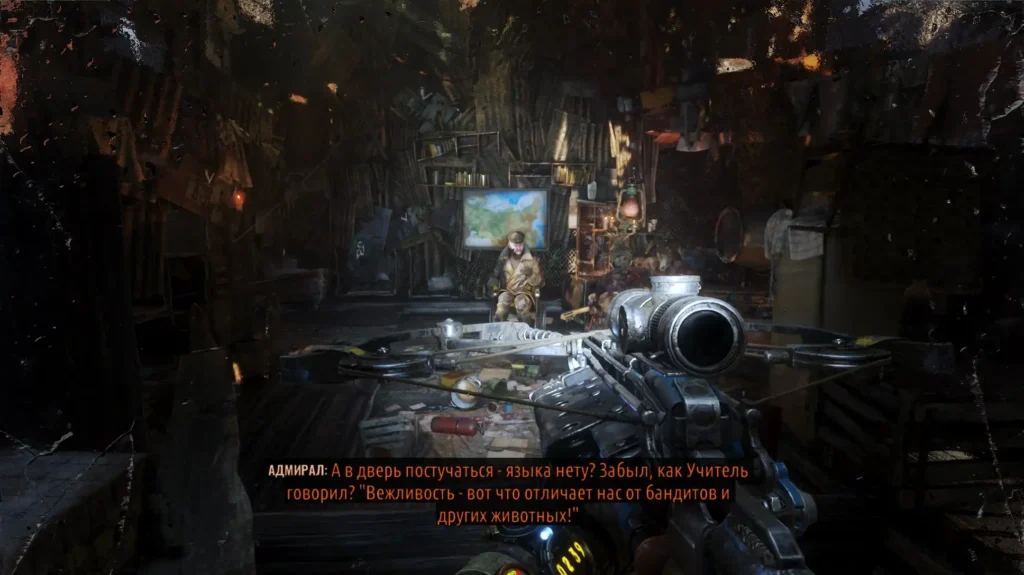
Walk up and to the right. Enter the tunnel. Moving through the subway, at some point, all electronics will stop working for you. You'll have to make do with a lighter. Scare off the spiders and run forward. Near the closed door, crawl through the ventilation with wires on the left. Once outside, you can use the flashlight. There will be a lot of spiders in this room, and in the right corner there is a booth with a lamp. Turn on the lamp and try to start the generator: there is not enough fuel. Find the stairs, go upstairs and you will see a closed door. Nearby is a canister of fuel. After taking it, go back and start the generator. Go to the door, open it with the lever on the right and go into the corridor.
Immediately pay attention to the corpse on the ground, near which lies a bloody letter. Get out upstairs until you meet Alyosha. Listen to it while standing on the helicopter, then go down to the abandoned village. In the second house on the right, the entrance to which is open, there is an unfinished letter on the table with a sewing machine.
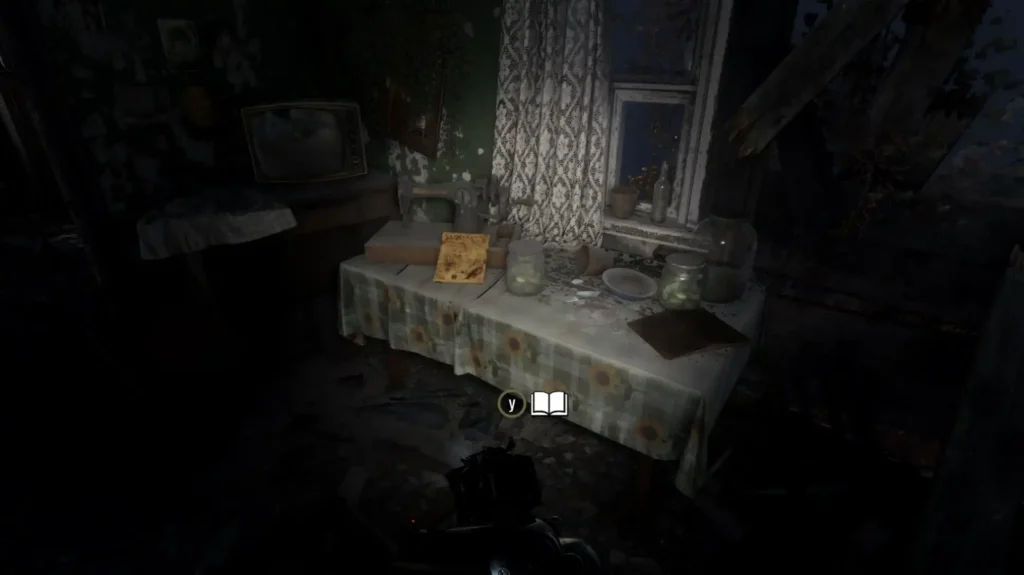
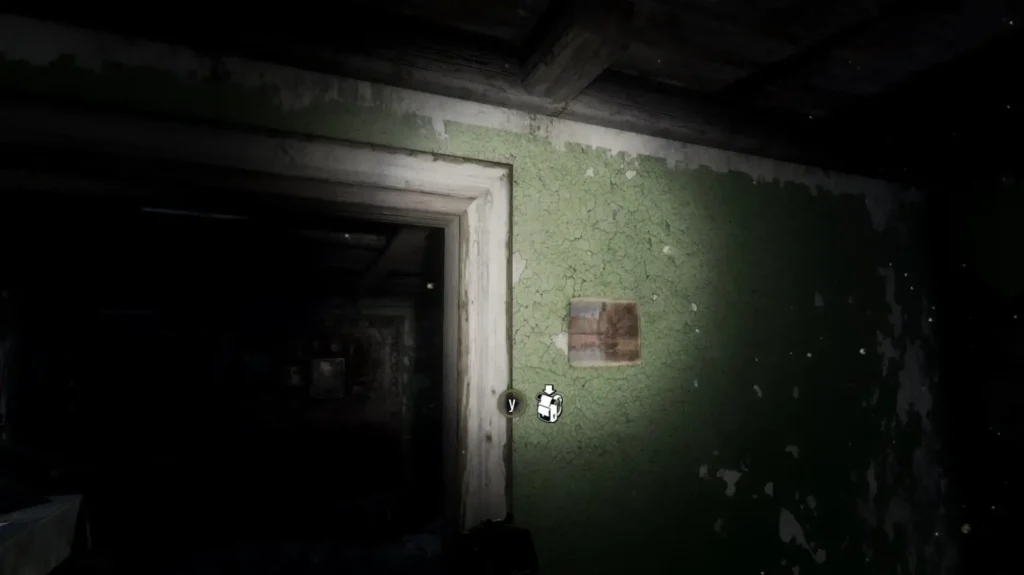
Enter the next room on the left, turn around and to the right of the doorway, look for postcard #19 on the wall.
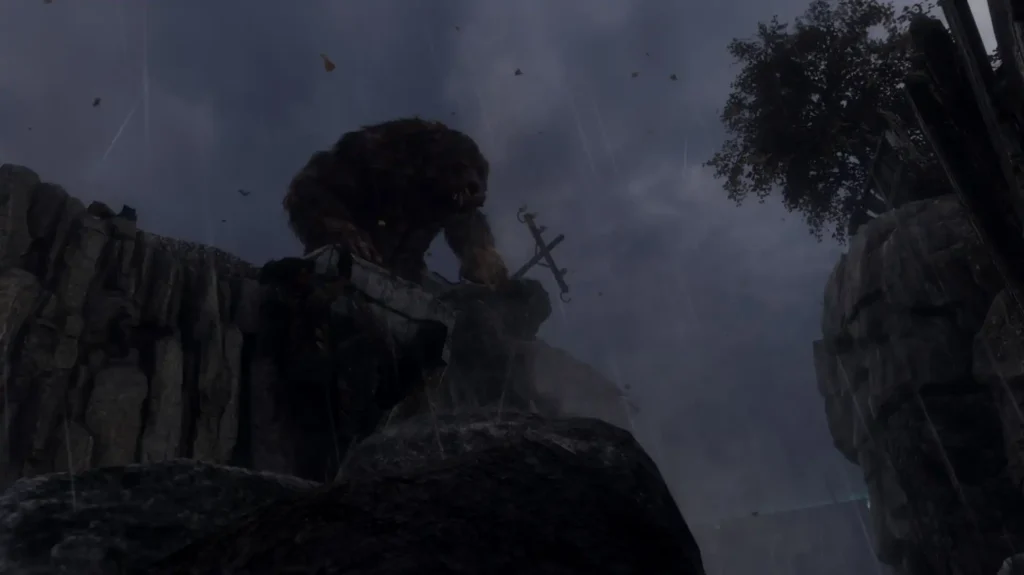
Go forward through the wooden bridge, where you will be attacked by a bear. Fight the Master, attacking with the most powerful weapon available. Toward the end of the fight, he will move more and more slowly. As soon as you deal enough damage, the script will work: the bear will knock Artyom off his feet, but then fall down. Watch the video that ends this chapter.
Autumn
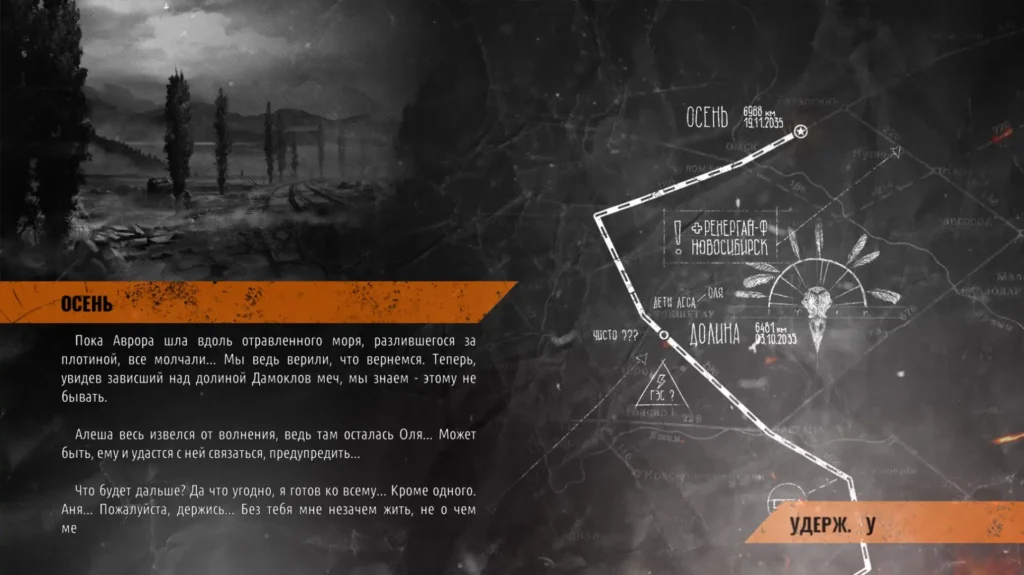
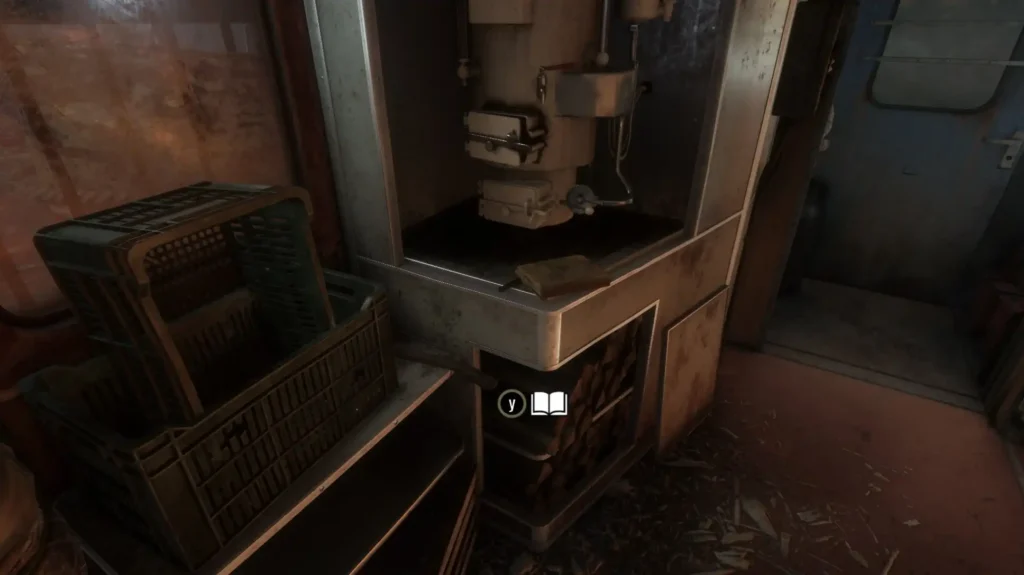
After talking with Anna, go to the locomotive and listen to Melnik and other people. After he finishes, follow back to the beginning of the passenger car to find Katya's note next to the workbench. Go to the map and interact with it.
Dead city
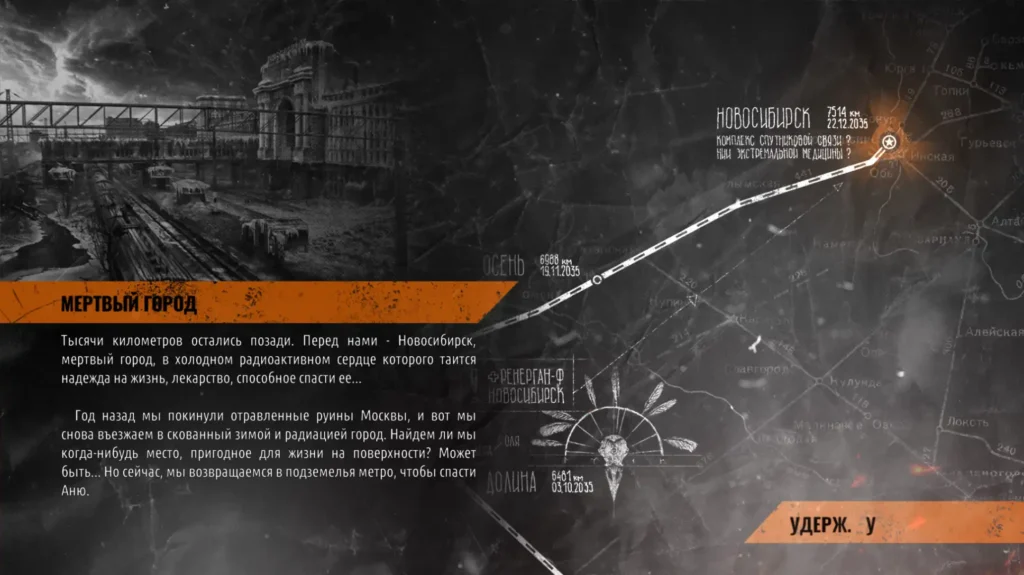
After watching the video, follow Melnik to the end of the car. Drop by Anna's, then get in the car and wait. Soon you will have to drive the car, but there is only one way. Once at a dead end, go out and follow Melnik to the pit. Enter the overturned car and slide down. Open the car door to get to the tunnel. Follow forward through the train, get out and find yourself at a dead end. Squeeze between the wall and the closet on the left and fight the mutants.
Go into the room on the side, activate the shield in front to turn on the light, and then listen to the audio recording on the tape recorder. Go through the door, turn left and go down into the water. Follow the tunnel on the left until you find yourself in a place with many corpses. Having risen a little higher, turn around and find the text of the radiogram on the table (sit next to the corpse).
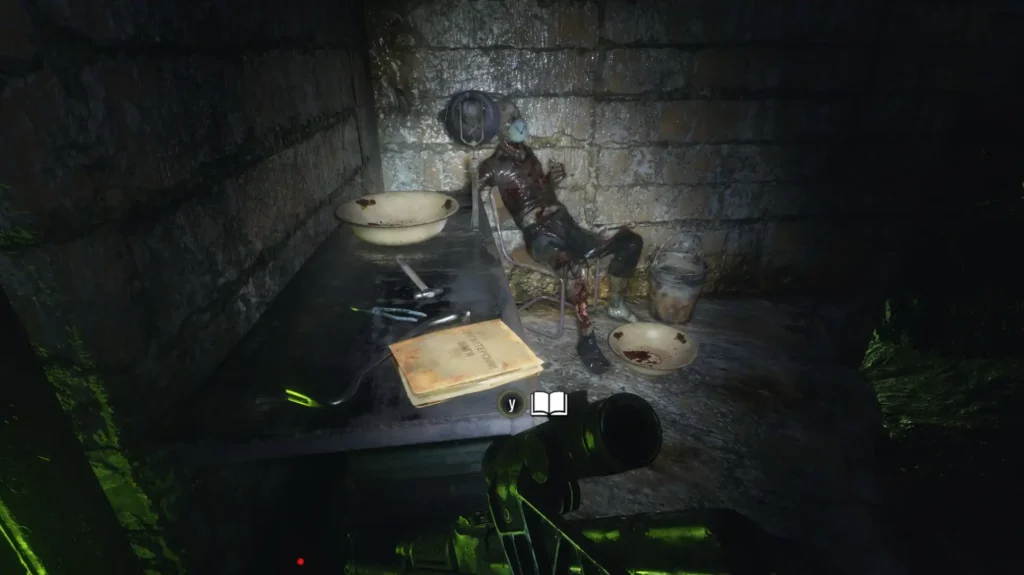
Keep following the Miller, killing the enemies. It will show you the correct path. Eventually, you will reach a gate with a broken valve. Knock out the door opposite them, go to the next room. Here Melnik will offer Artem to look around. And rightly so, because on the table on the left hand lies a shabby report.
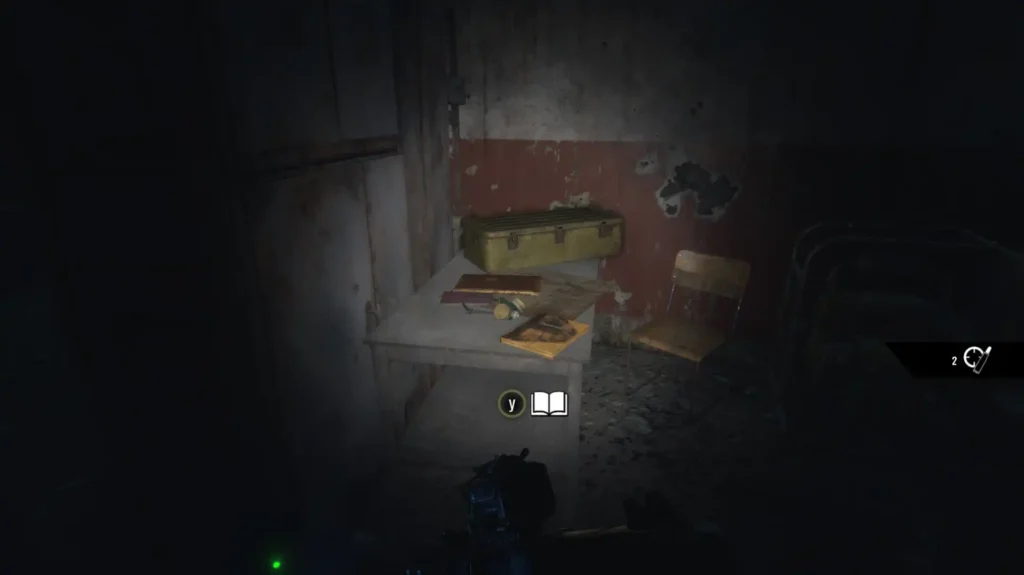
Follow on until you find the boy. Chase him, and then find inside the barrel, under the lid. Fight off the mutants and go to the station. Inside, pay attention to Melnik. He will put down his weapon and you can take it. Also remove the order from the board with the card.
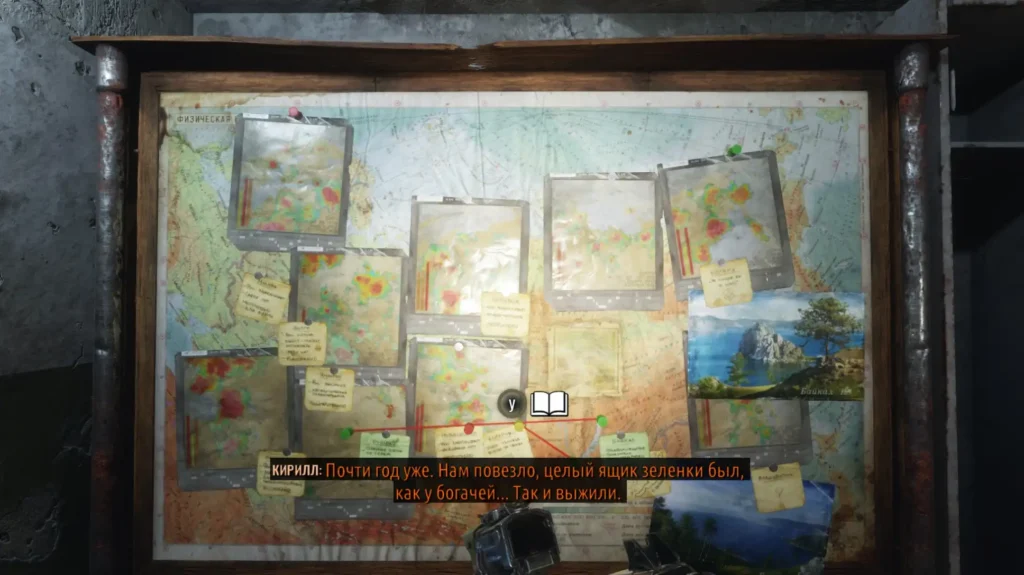
If you wish, use the workbench, and then take the antirad from the hands of the Miller, which Kirill gave him. Climb into the ventilation, and when you get out, go the only way forward and up. Once in the train car at the top, take the notebook from the bench on the right.
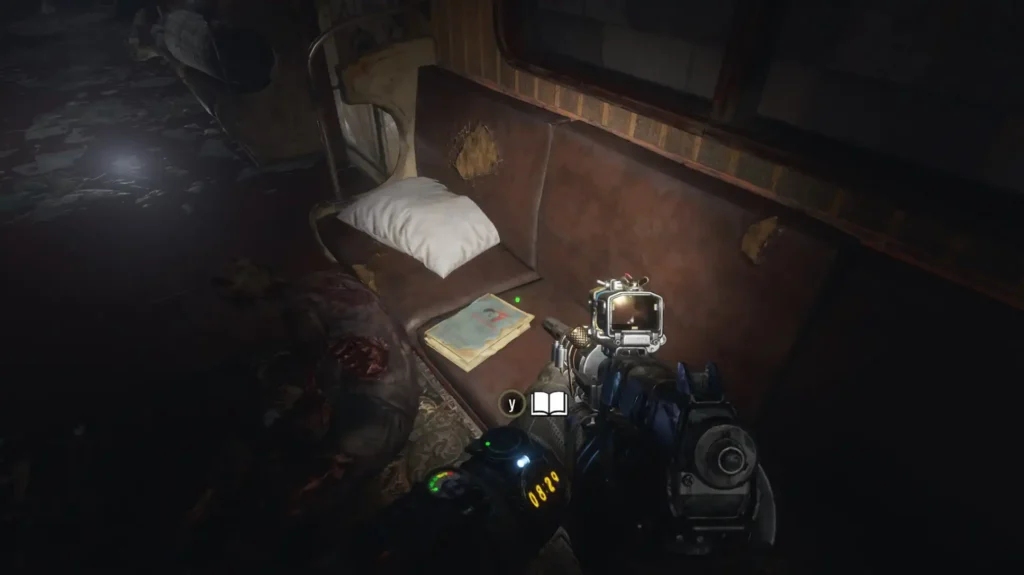
Go down the other side and climb into the cars opposite. Move the only route until you find yourself in a tunnel with many opponents. Go to its end, kill the enemies and turn the valve to the left of the closed car. The way inside will open.
Get on the boat and swim forward. Stop when you see the door on the left. Enter the corridor, go from one room to another, in a circle to get to the closed room through the gap in the wall. There are filters on the right, and a battered diary lies on the table.
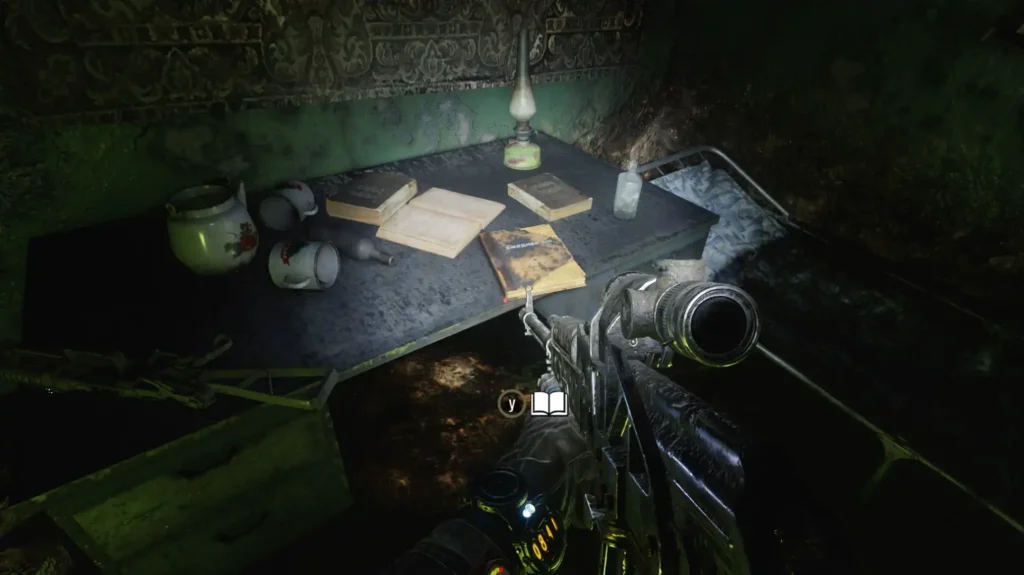
Continue sailing on the boat, kill the long creatures and get to the surface. Follow through the cars, getting rid of the leeches. Climb up and get to the lever with which you lower the ladder. Follow down and to the right. In the corridor on the left hand there will be a room with a workbench and a tape recorder.
Get to the next lever, move it and jump onto the boat. After killing the creatures, swim forward until Artyom becomes ill. When he comes to, then run through the station, go up the escalator and go right. There will be an open door on the left, behind which you will hear a conversation between Melnik and Kirill. In the same room is a darkened note.
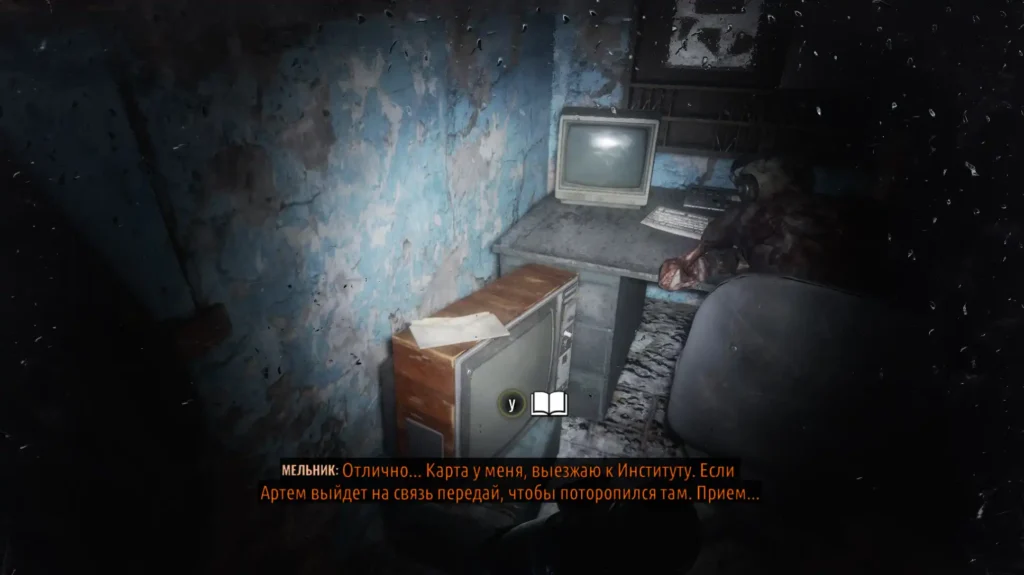
Get outside, go forward and the vision will start. Continue on your way to fall into the tunnel. At one end you will see a monster, but for now, move in the opposite direction to find resources and a dusty notebook at a dead end. Exit from the other end of the tunnel. On the way, you can look into the room on the right, apply power, get through the gap to the left of the shield (behind the instrument cabinet) and pull the lever. And all this in order to open a room in the tunnel with conventional weapons and parts.
Go across the street, then enter the building and follow through several rooms. Climb up the stairs, and from the room where things will start to fly (to the music), exit through the door on the left and crawl under the rubble. Get on the roof and fight the gorilla. Try to aim for the head, especially when the monster is running towards you. If you shoot him directly in the head with a shotgun, then stop the movement.
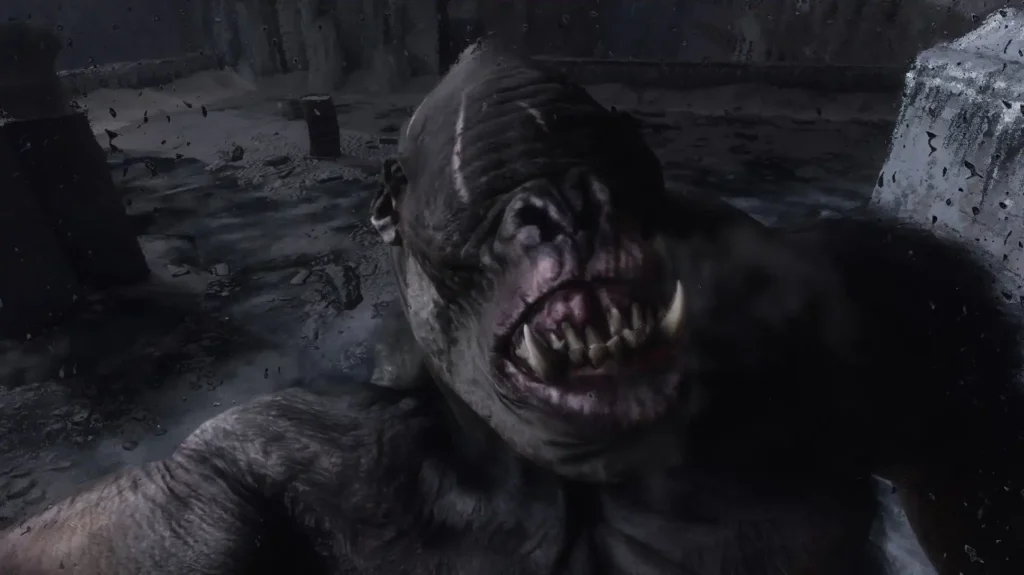
After the victory, enter the building and inspect the door. It's locked, and the electrical box on the right doesn't work. Go downstairs, find another shield at the end of the room and charge it. Go back, bypassing the gorilla (no need to kill), switch the toggle switches at the top and open the door. Climb up and go through several rooms, one of which will have a gorilla.
Get to the room where there is an exit to the outside, but the passage to another building is broken. Turn around and go to the landing on the right. Climb the stairs, go to another building (you will see Anna along the way) and immediately turn onto the landing on the right. After jumping down, open the door and take the list of goods from the table in front.
Once in the room with the gorillas, immediately go to the right corner and find the shield that you need to charge the device. Next, go to the left side of the room where the gorilla stands. Go around it and in the next room turn around to see the stairs up. Climb up it, go left and find a shield with toggle switches. Lower them and go back up the stairs. Go to the right side of the room and you will find steps leading up to the opened doors.
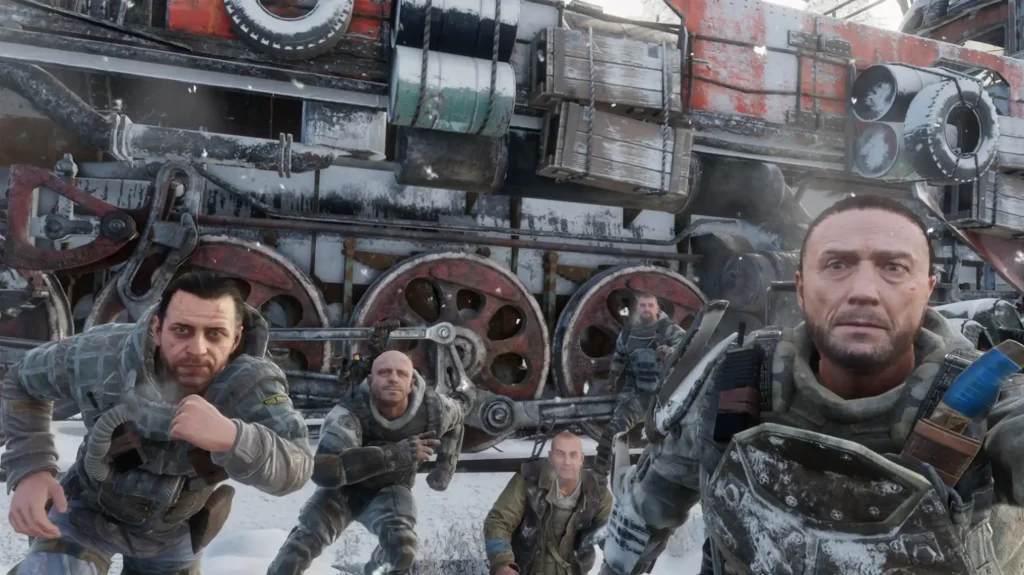
Follow the only route, then watch the cutscene.
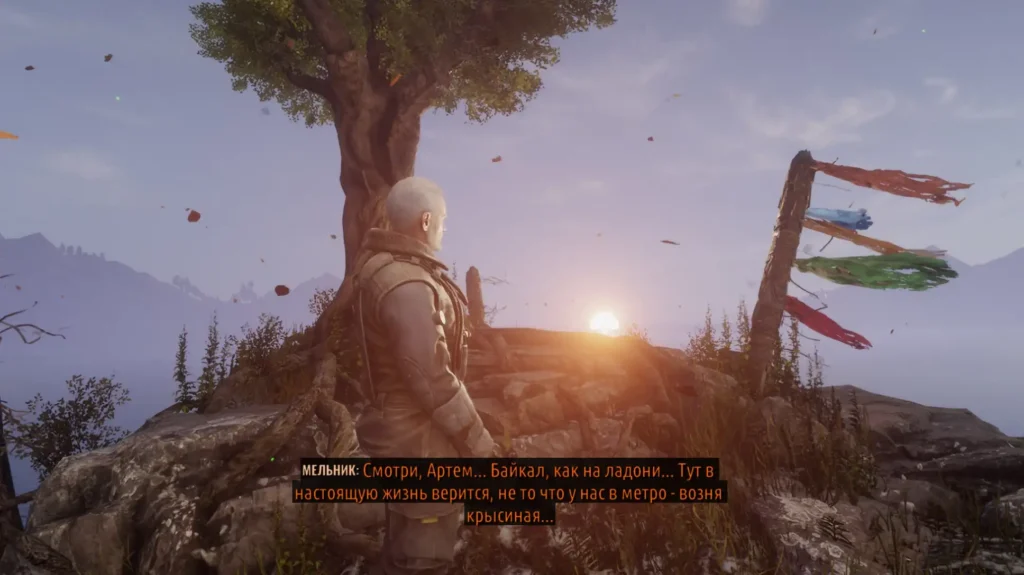
Drive your car along the road until it gets stuck. In the end, you will see a lengthy video that completes the walkthrough of Metro Exodus.

