

Chapter 2: Spider Web is the new, second chapter of the indie horror game Poppy Playtime. The game will have to go down much deeper into the factory ...
Walkthrough Poppy Playtime Chapter 2: A Fly in the Web
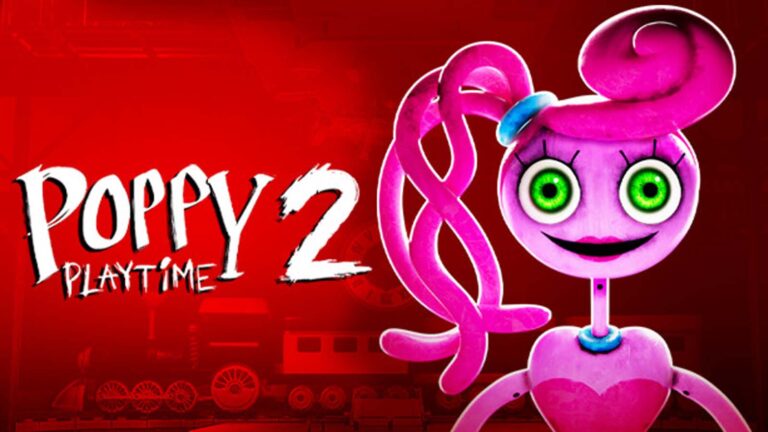
Chapter 2: The Fly in the Web - a new, second chapter of the indie horror game Poppy Playtime. The game will have to go much deeper into the toy factory than in Chapter 1, where stunning puzzles and terrifying toys await us.
Walkthrough Poppy Playtime - Chapter 2
So, part 2 begins in the same room in which the first chapter ended. You already have two hands, red and blue, and we can continue our journey into the bowels of the toy factory.
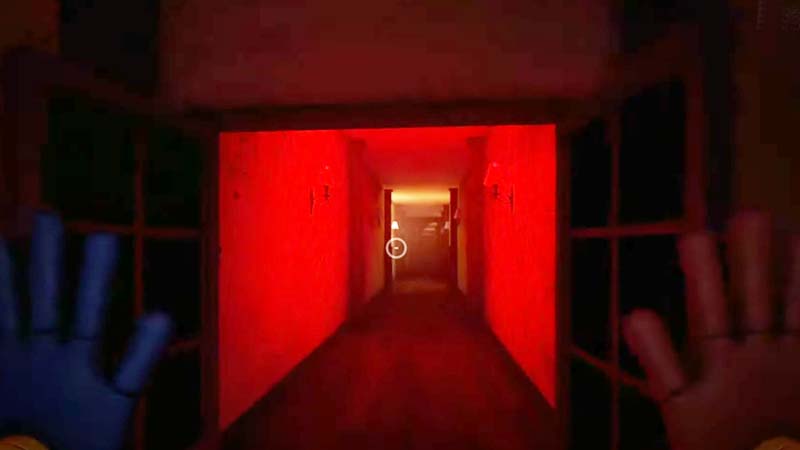
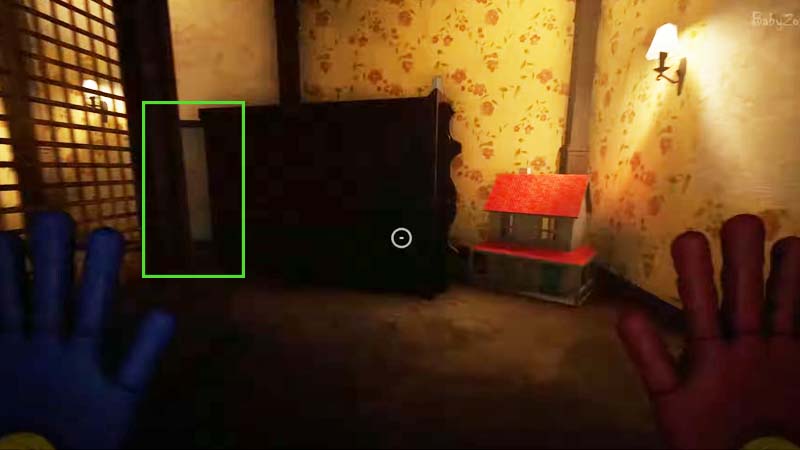
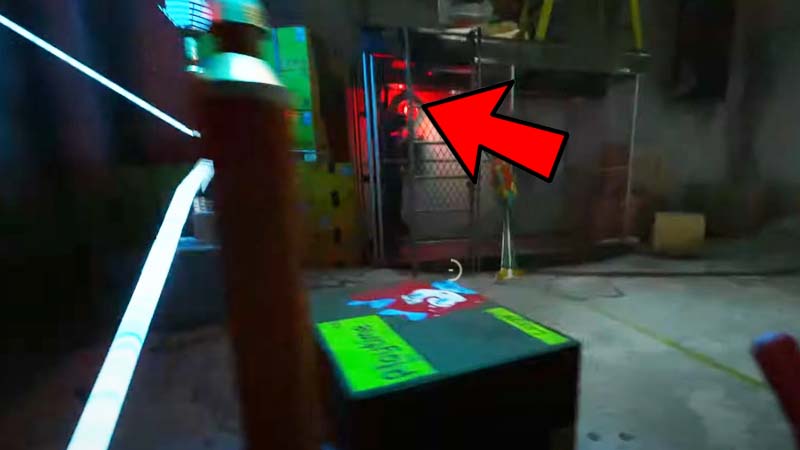
To progress through the story, turn around and go down the corridor flooded with red light. When you reach the end, turn right. Behind the chest of drawers is a door, go through it.
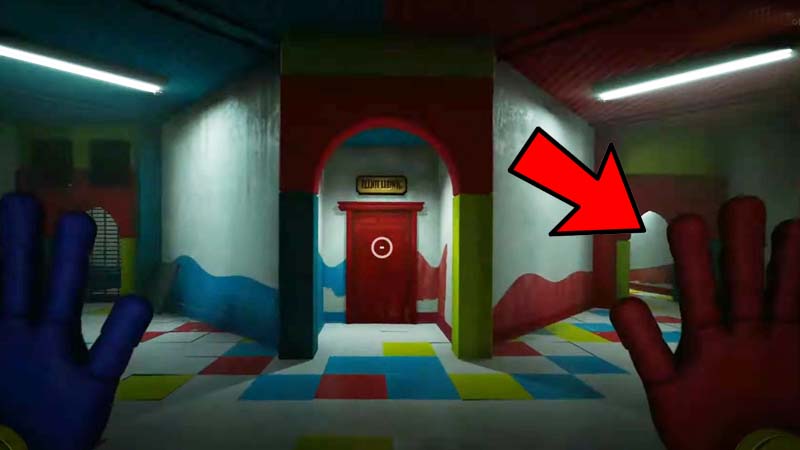
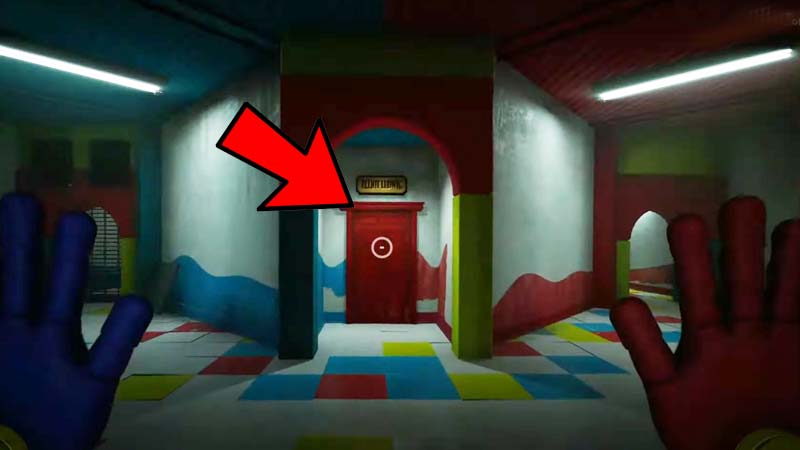
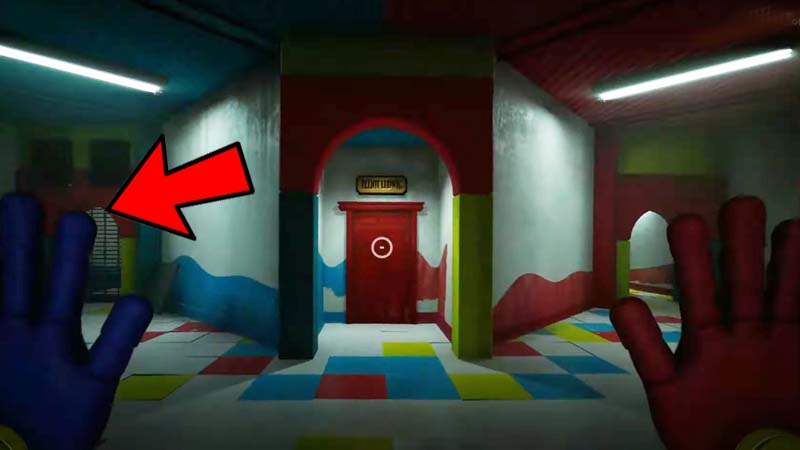
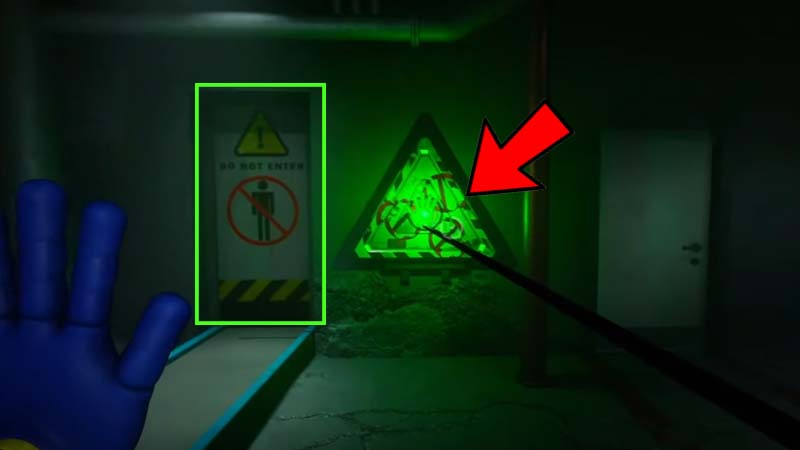
Once in the next corridor, we pass it to the end. The doors on the way to open will not work, it is locked. The passage ends with a fork. While we go to the right, the door with the inscription Elliot Ludwig will not open.
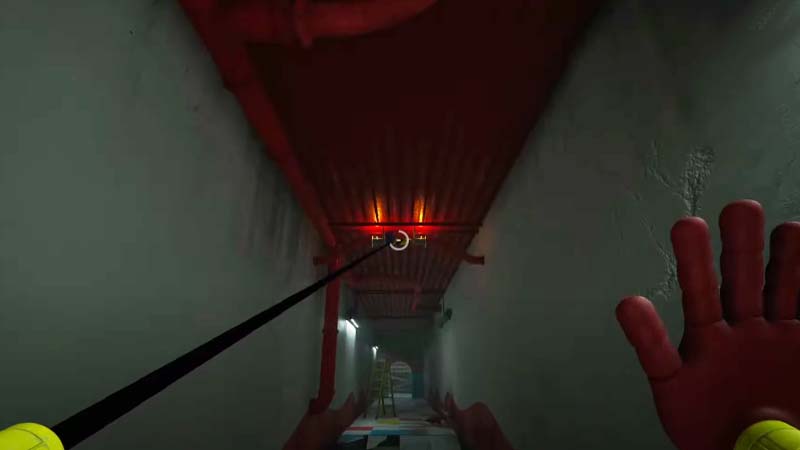
The next passage contains a breach in the floor. A beam hangs from the ceiling. Use your hand to grab onto it. Swing and pull up to fly over the hole in the floor.
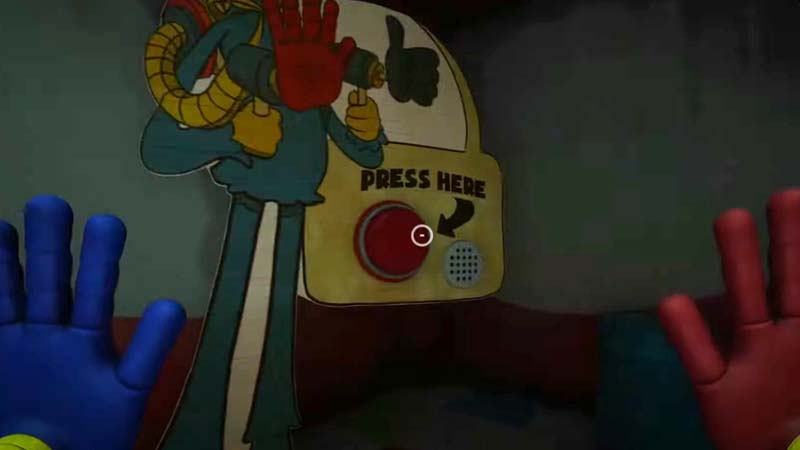
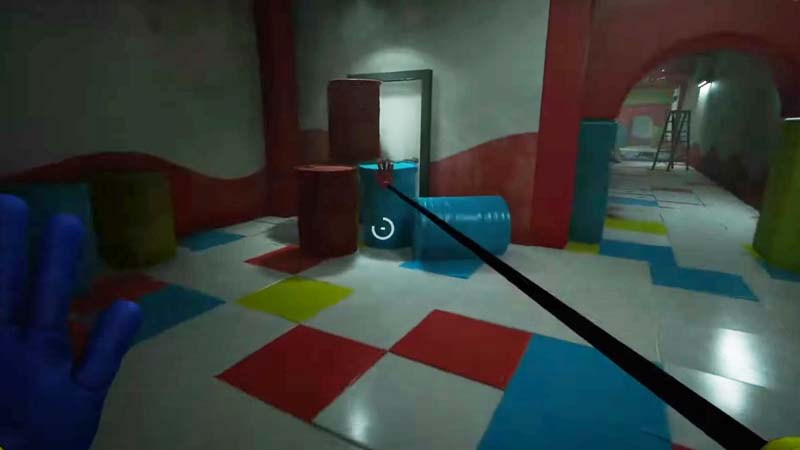
At the end of the corridor is a room. In the corner of the room there is an advertising banner with a button, and in the right corner there is a door littered with colorful barrels. Press the button if you're interested in hearing the filler phrases, and then remove the barrels with your hand, freeing the door and passing further.
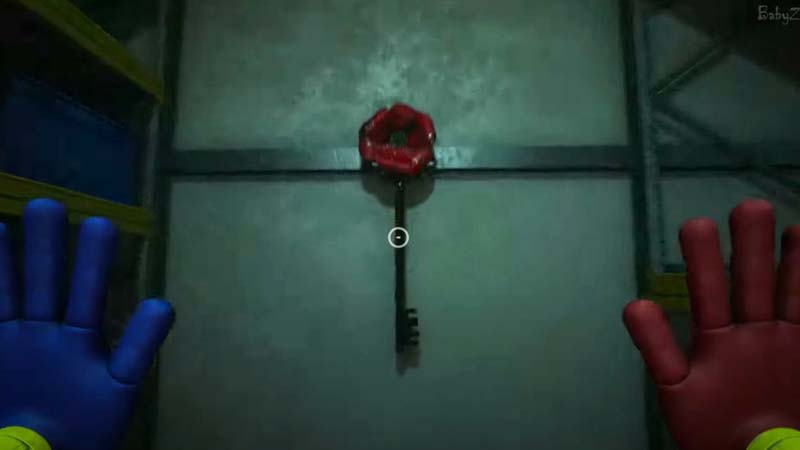
Enter the door and take the key from the wall. Go back to the fork with the door with the inscription Elliot Ludwig. Now it can be opened.
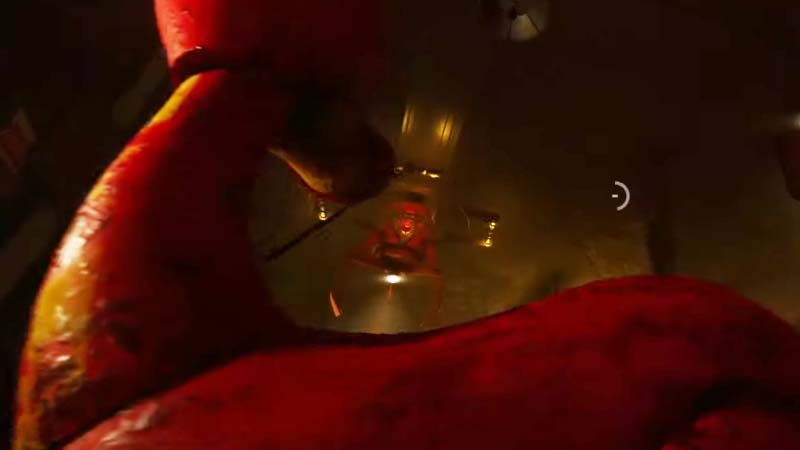
Take the yellow toy that looks like a flower from the table. Nearby is a video cassette that needs to be inserted into the VCR on the right.
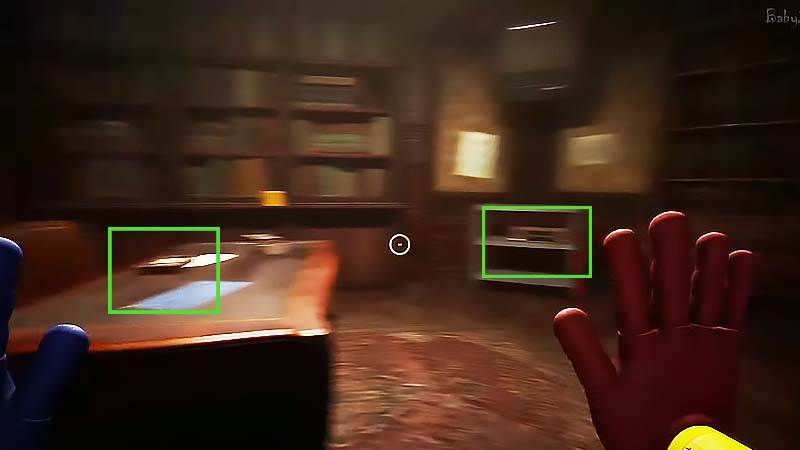
The TV above will show a video that ends with a number 19. Remember it, as this information will be needed in the future.
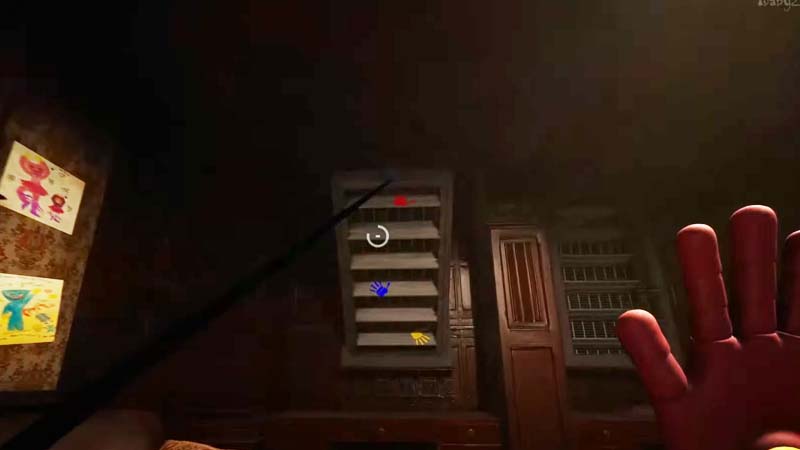
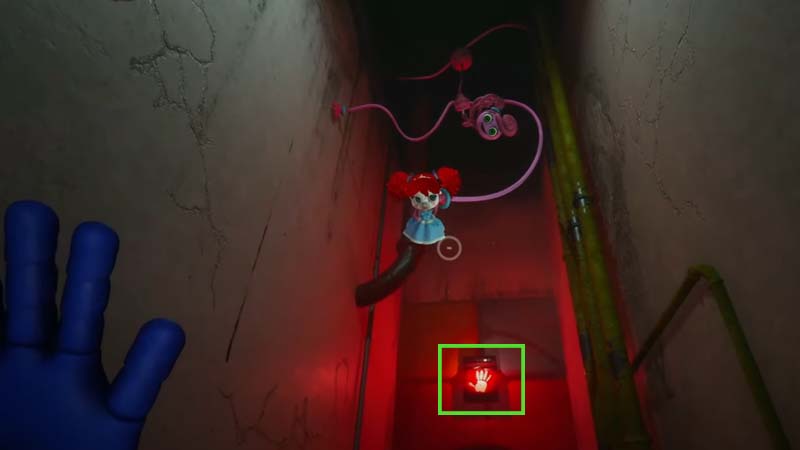
Find a lattice with multi-colored palms on the wall and pull it back with your hand. This will open a passage to the ventilation. Go down the hole.
You will be in the next room. Right on top is a box that needs to be removed. Behind the box is a doll that will ask for help and step aside, giving access to the button. To the right behind the bars is another button. In the center of the room are two pillars with lamps at the top.
Your task is to run your hand to the button with the doll, wrap it around two pillars with lamps (first right and then left) and press the second button on the right, thereby closing the circuit.
If you did everything right, a passage for the doll will open from above. She will thank you for saving her and leave.
Now she will appear in the corner of the room and point to the ventilation passage you came from. You can pull yourself up to it with your hand and return to the familiar fork of three paths. The doll will point the left path this time.
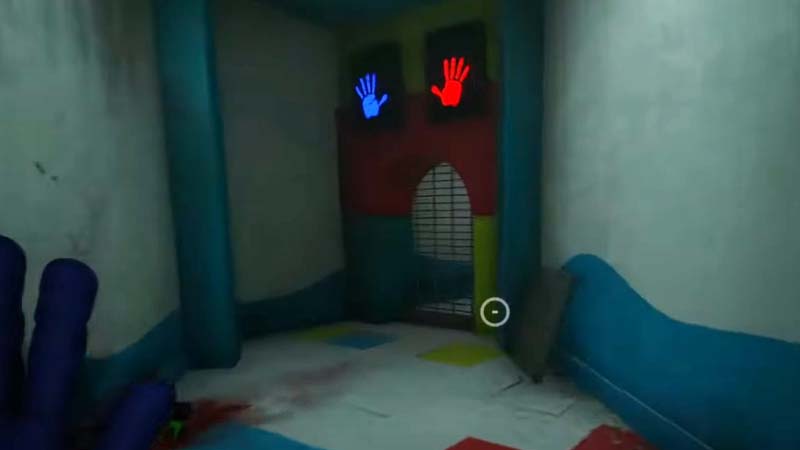
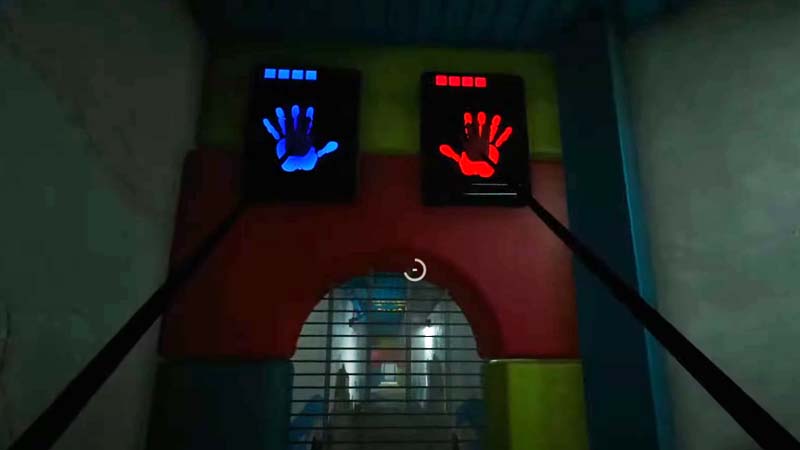
Use two hands to unlock the path further. Hold them until the indicators fill up and the grate rises. Go to the end of the corridor by jumping over the obstacle and open the door at the end. Behind the door there is a huge hole in the floor and the doll is not on its edge. An unknown force will pull her down. Jump down the hole.
Downstairs is a room with several exits. We need the one with the inscription POWER above it.
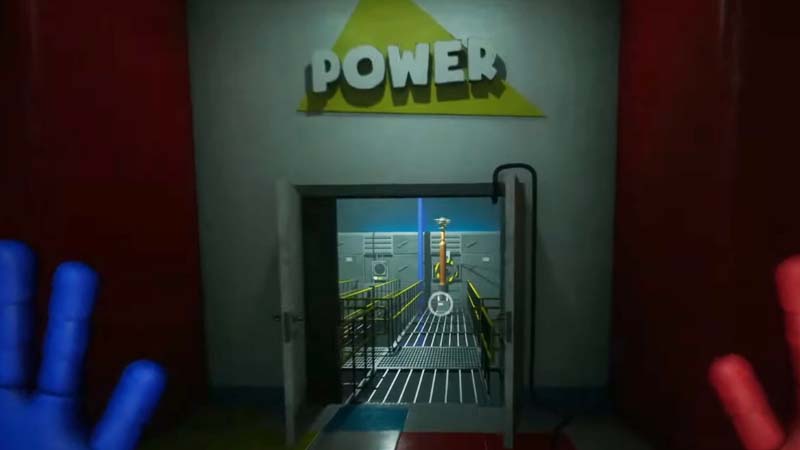
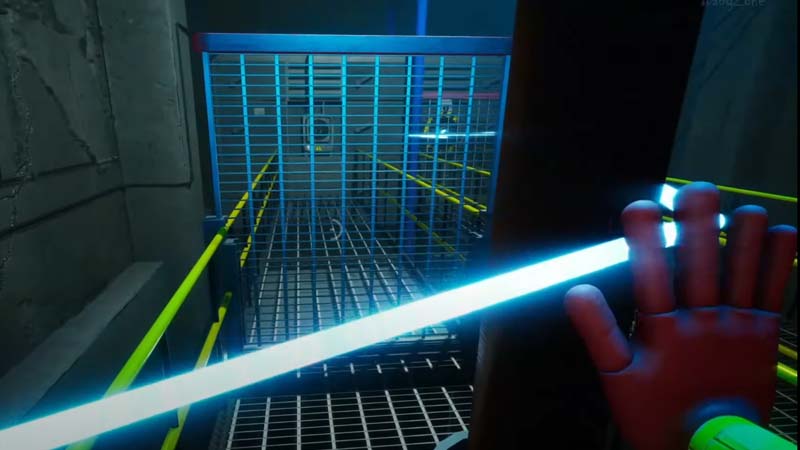
Behind the doors is a puzzle with buttons and pillars. We solve it like this:
- Run your hand into the right button and keep it on it
- Go around the blue pipe on the left side and wind it around the first pillar. At this point, the grate will rise and block access to the first button.
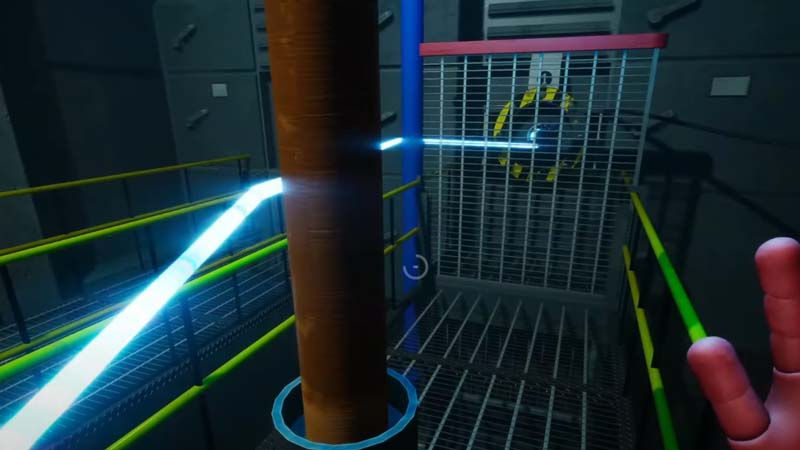
- Wrap the second pillar on the nearby bridge, winding around it on the right side and return to the first pillar and press the second button.
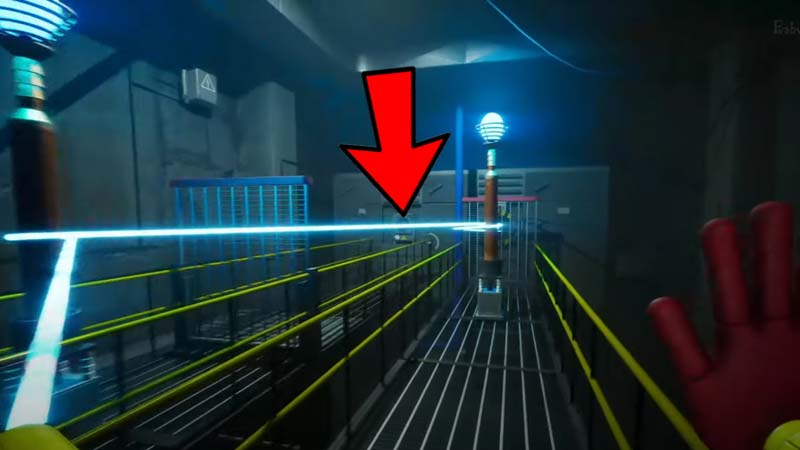
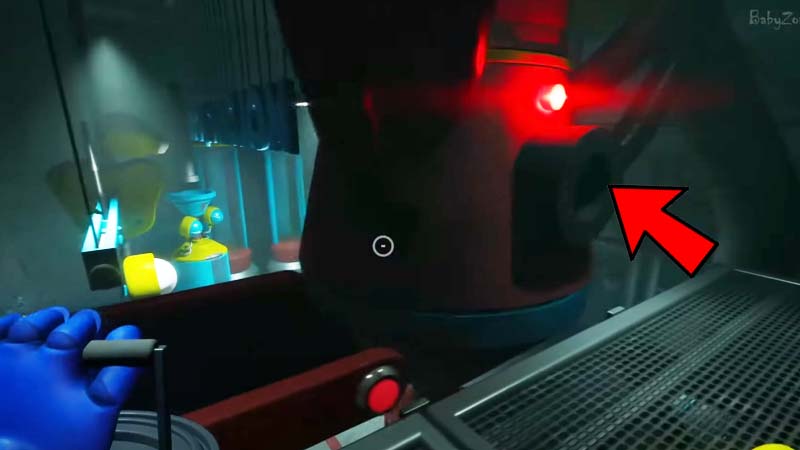
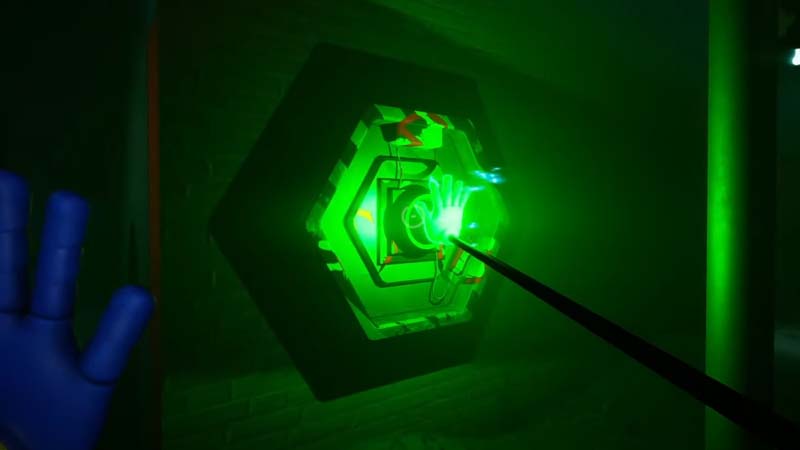
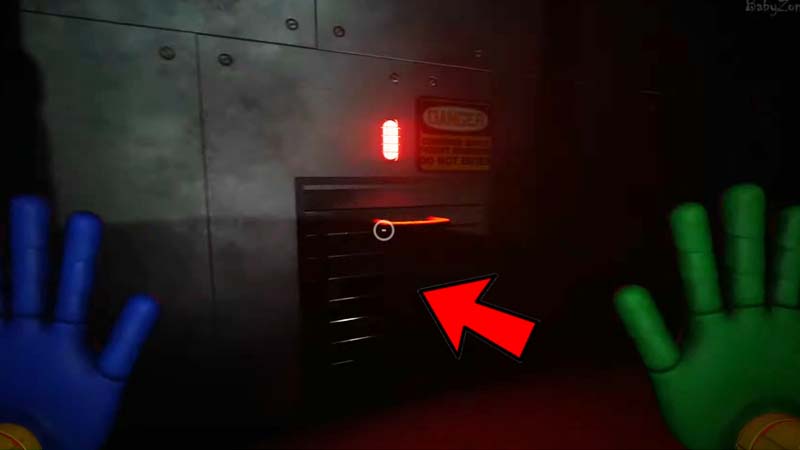
This action will raise the shutter in the corridor and we head there. Activate the red hand at the end and the Leggy Mom will appear holding the Poppy doll in her paws. Your red hand will be gone!
After listening to her remark, the villain will leave and the door will open. Behind it is a lever that opens the next door.
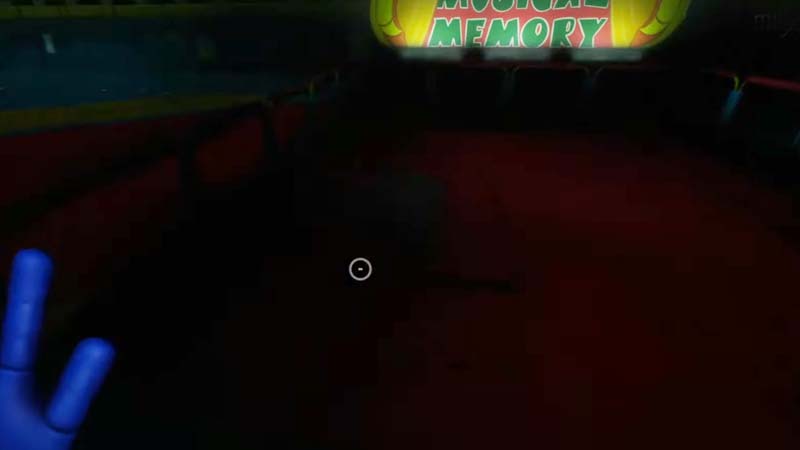
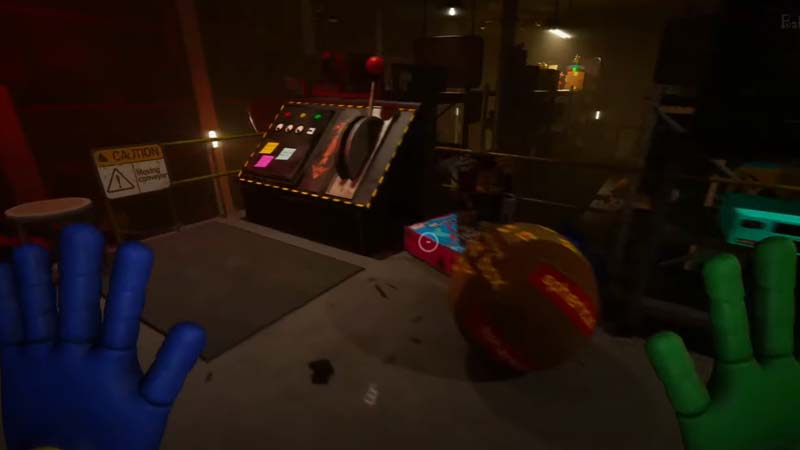
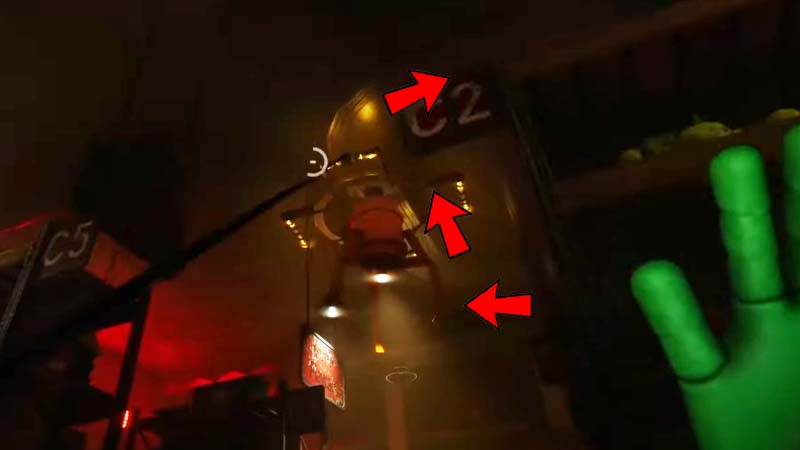
You will find yourself in a huge Game Station room with a big engine in the middle. Near the locomotive is a remote control with three levers. Let's start from the left. Pressing it will activate a voice that will point to the Musical Memorry location. It is blocked by a floor plate, which, when the lever is activated, will move to the side and open the passage:
Enter it and turn right into a large hole in the wall. Reach the end of the passage and jump into the hole in the floor, ending up in an earthen tunnel. He will lead you into a room with another puzzle.
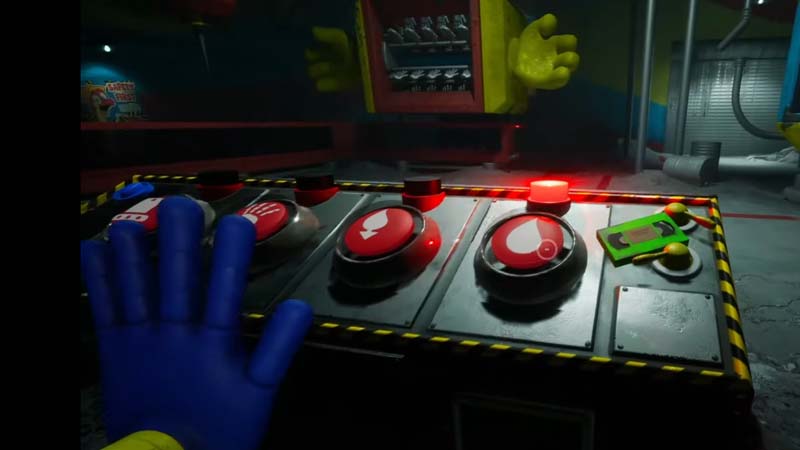
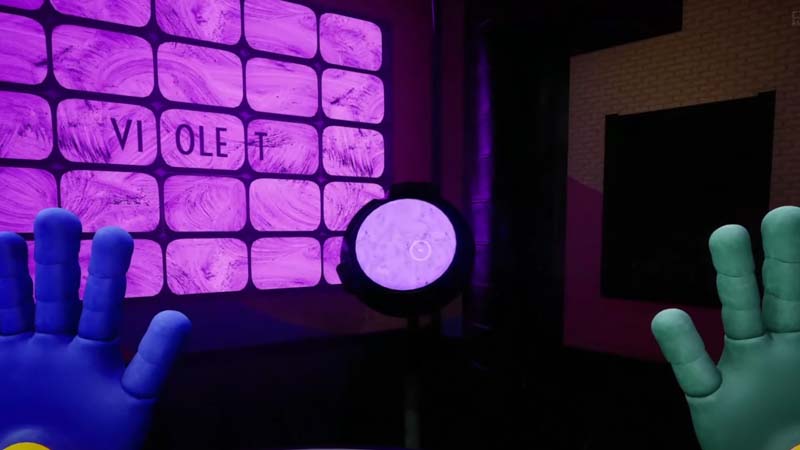
Turn on the light by pressing the lever on the right and approach the remote control with buttons and symbols. next to it is a video cassette that can be picked up and viewed on the left side of the room.
In order to pass this room we do the following.
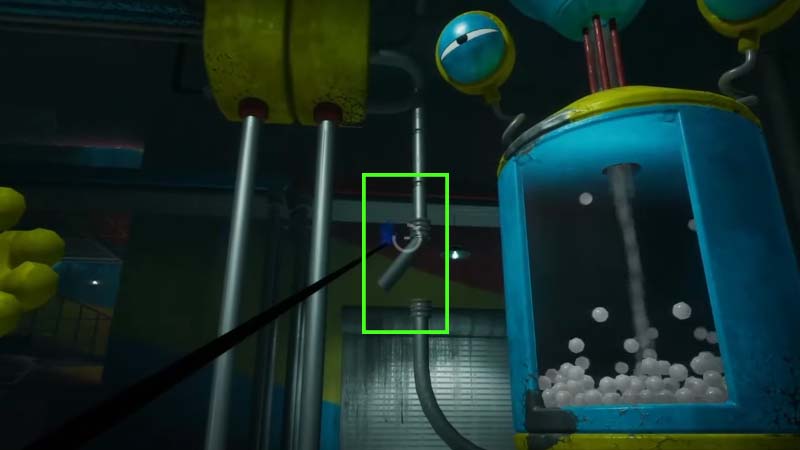
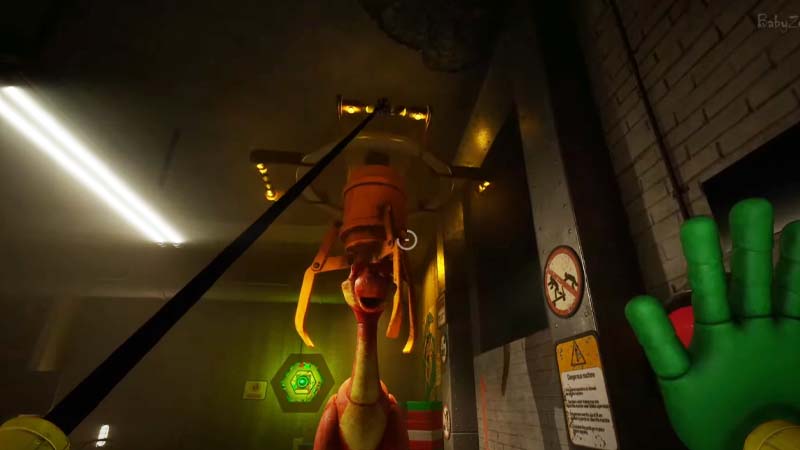
On the remote control, press the right button with the drop symbol, after adjusting the pipe near the boiler with balls.
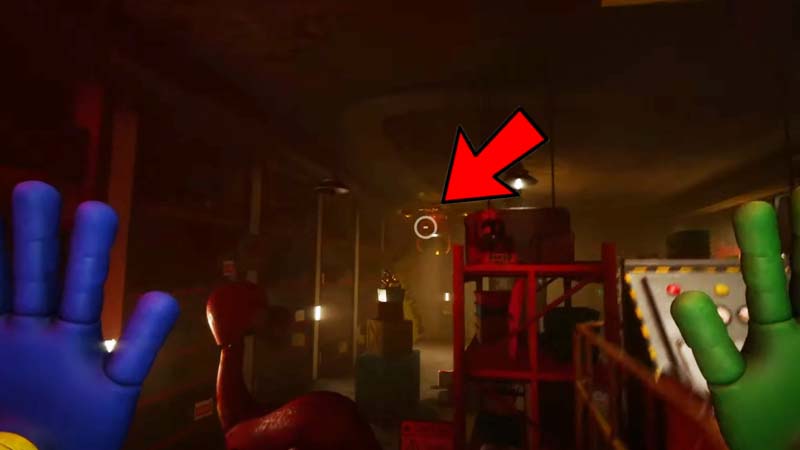
After processing the balls on the remote control, the light above the next button on the left will light up. Press it and wait for the next hand-making process to complete. Then the third light above the button with the palm symbol will light up. Activate the button and this will open a passage up to the conveyor belt in the corner of the room:

Run upstairs through the opened passage. Here you need to pick up a bucket of green paint and place it in a special unit that paints hands:
After inserting the bucket into the hole, go down to the remote control and press the button with the palm symbol again. Wait for the process to complete and activate the last button. Now you can take the green hand, replacing the absence of the red one.
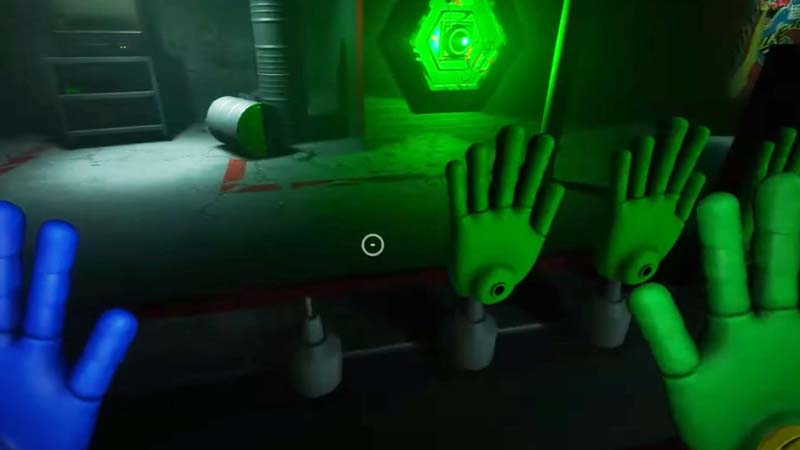
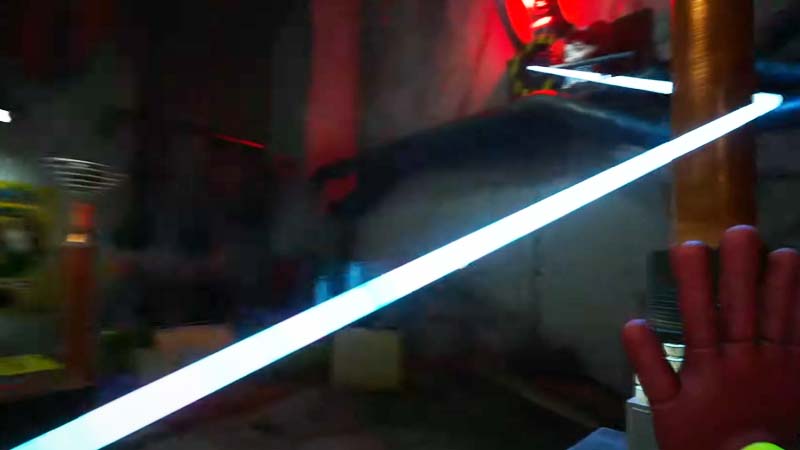
Now we can charge the green hand with electricity by holding it on the green-lit mechanism and transfer the charge to another mechanism that opens the door:
We pass through the door and in a narrow corridor going upstairs, turn right to the breach in the wall. After leaving the dark corridor, we go straight to the cardboard figure with the button and turn right in front of it to the next puzzle:
Watch the video hint on the panels, the field of which will appear on top of the Leggy Mom. The skill quest begins, where you need to quickly press the buttons of the indicated color. When the screen lights up Green, press the green button, Red - red, etc. Try not to make mistakes, the combinations will become more difficult!
In the second round, a purple button will be added, which is located behind you. Click it at the right time.
In the third round, a white and orange button will appear and the press sequence will become even more difficult. Listen carefully to what color and how many times you need to use it!
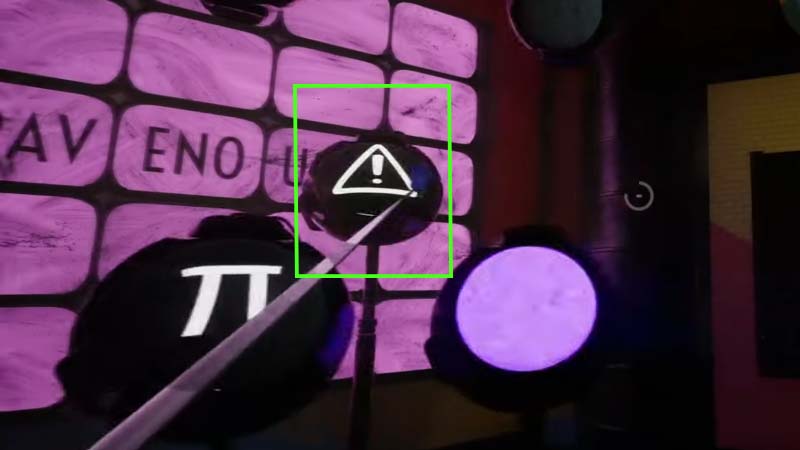
The fourth round will add a letter J, question mark, pi symbol и heart. you need to spin like a top to press the keys in a given sequence.
The fifth round can be tricky as it will add a row of buttons on top and the screens will be a mess. Don't be scared! All you need to do is to hit the button with the symbol “!«.
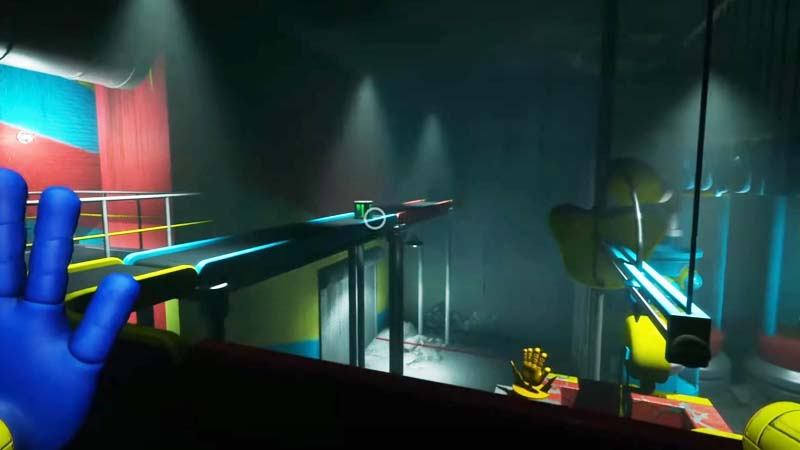
After completing the quest, take the collectible from above and go over the bridge, which will come from above and collapse as soon as you enter it.

Falling open the ventilation grille and go crouching through the passage. The final point is the toy warehouse.
In the room with shelving, find the remote by going up the stairs.
In the front, on the ceiling, there is a mobile carriage on rails. Grab it with your hand and drag it towards you around the perimeter of the room, avoiding obstacles.
The rails on the ceiling have turns. You can release the carriage, move to a more comfortable position and continue to pull the carriage.

After stretching the mechanism around the warehouse, stop it above the dinosaur's head.
Guide under development!
Was the article helpful?