100% Passage of season 1 of the story Seven Brothers Club of Romance. All plot branches, decisions and their consequences, relationships with characters and others...
Walkthrough Stray 100% (PC, PS4, PS5)

Walkthrough Stray details the adventures of a stray cat from a cyberpunk world created by Blue Twelve Studio and Annapurna Interactive. You will find solutions and descriptions for all puzzles and other difficult moments, as well as learn how to explore the game world 100%.
Contents:
Prologue - traveling with a group of cats
You start the game traveling with several other cats. Additional interactions are possible, such as playing together or sleeping. They are marked with an interaction button icon. You can also scratch a tree along the way (scratching objects in the game world is related to the Territory trophy).
As part of the prologue, you learn the basics of management. You can jump on or off objects and ledges. This is only possible if the transition icon is displayed.
If you've disabled the HUD in the settings menu, you'll have to try doing things blind. The game should allow you to jump if you are close enough to the spot to land.
The path will have a fork - you can move left (higher) or right (lower). It does not matter. In both cases, you will be able to continue learning the basics of movement.
After going a little further, you will have to squeeze through the gap (just go to it). In the location with hanging beams, jump on them.
Ringfall
your cat falls from a great height and the fall cannot be prevented. You will land in the sewers and from now on you will travel around the game world without the company of other cats.
You don't have to do anything to heal a cat. At first, the character will limp and walk more slowly, but after a while, he will regain his full strength. Follow the linear path through the sewers and eventually you will reach Chapter 2.
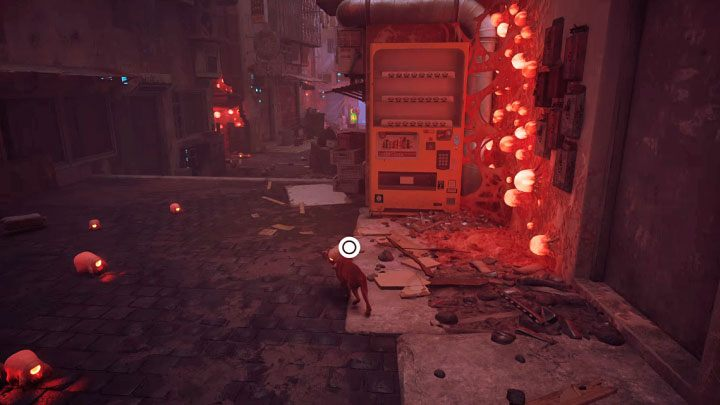
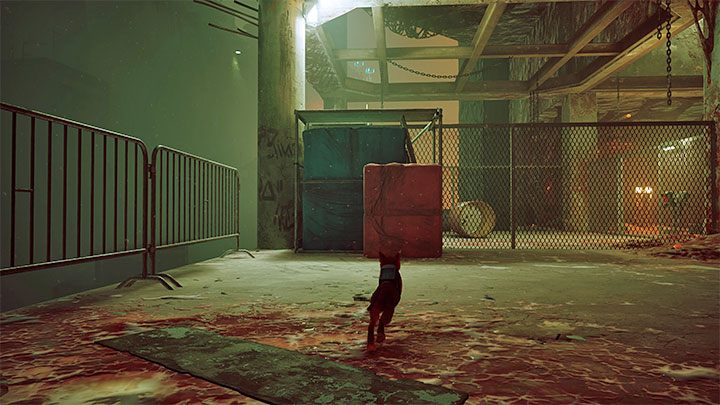
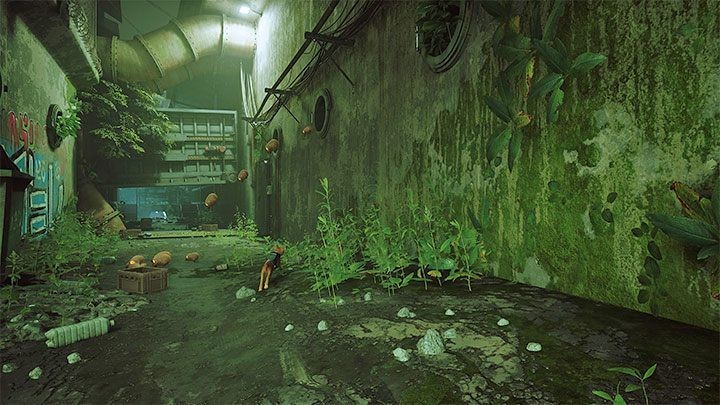
Dead city
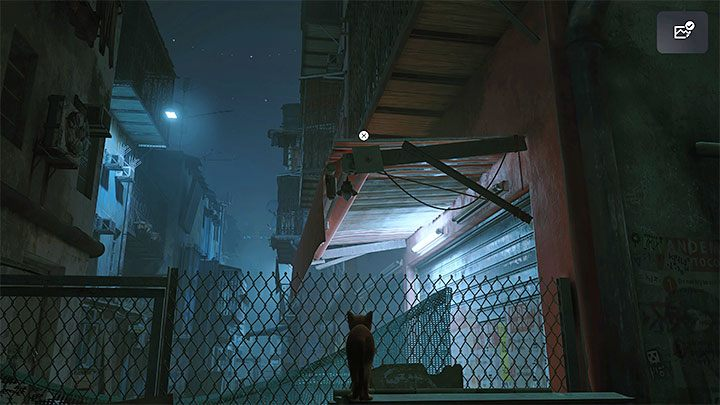
The chapter will start after you leave the sewers. Jump on the trash canand from there to the roof above. This will bypass the fence.
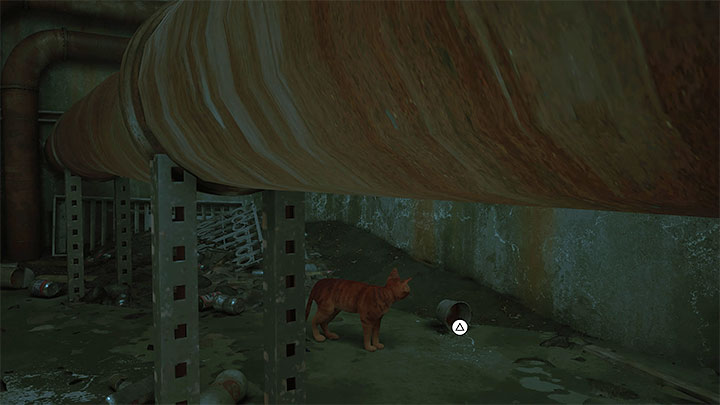
In a partially flooded location jump on floating objects, including boards and barrels. Jump on the crates and the big pipe going straight to the small hole in the fence.

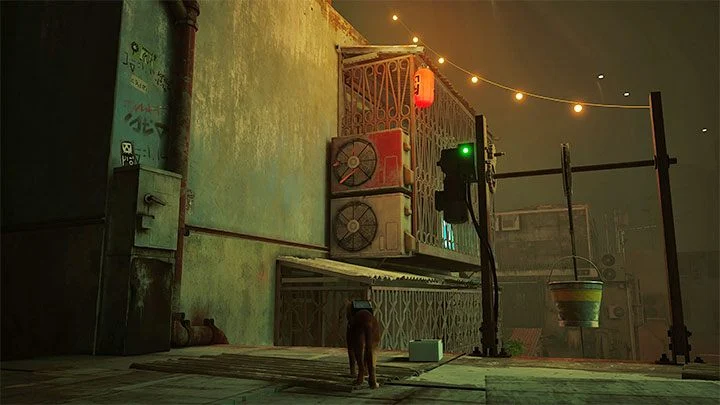
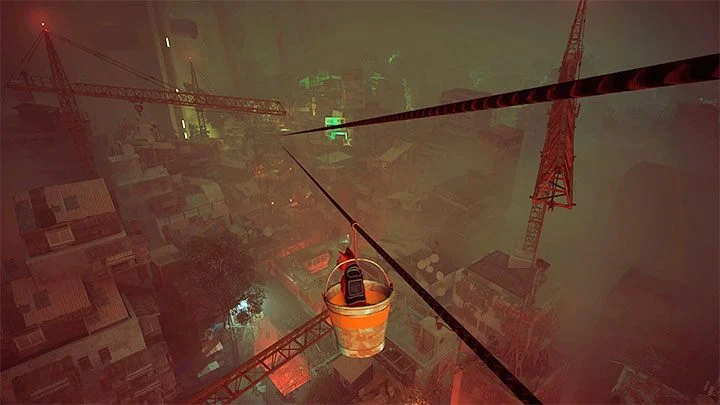
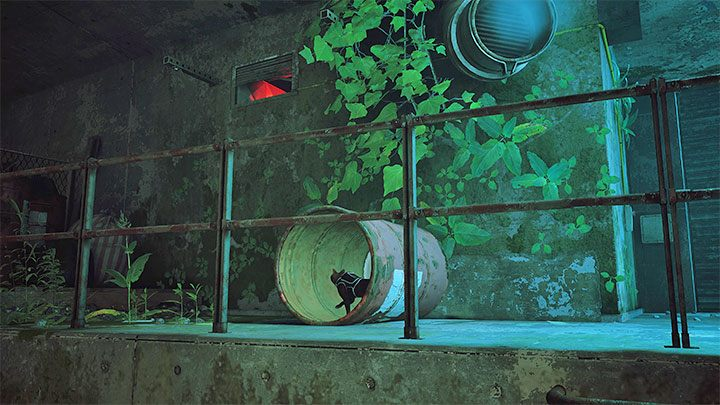
Jump through the hole. The next location is a small puzzle that involves stopping a running fan. To progress you need:
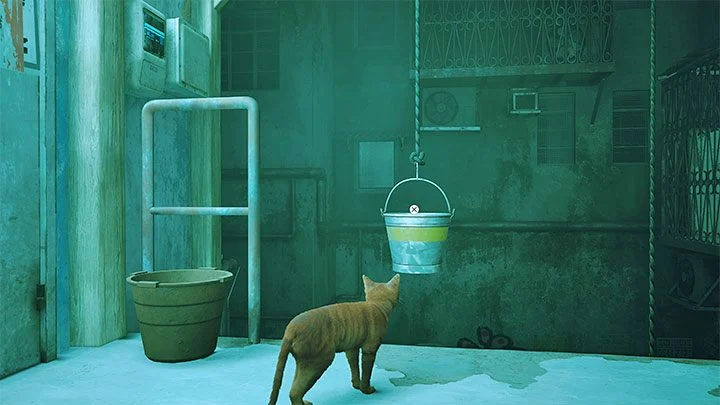
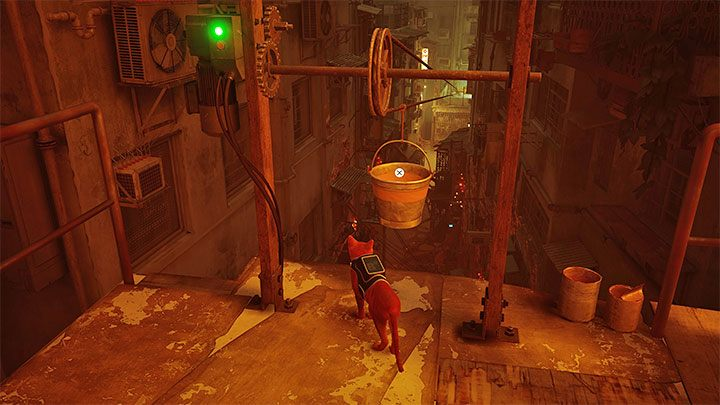
- Find and take a small bucket from Figure 1. You must move it.
- Go to the fan and lower the bucket so it rolls down. It will get stuck between the blades and stop the fan. This will allow you to move on.
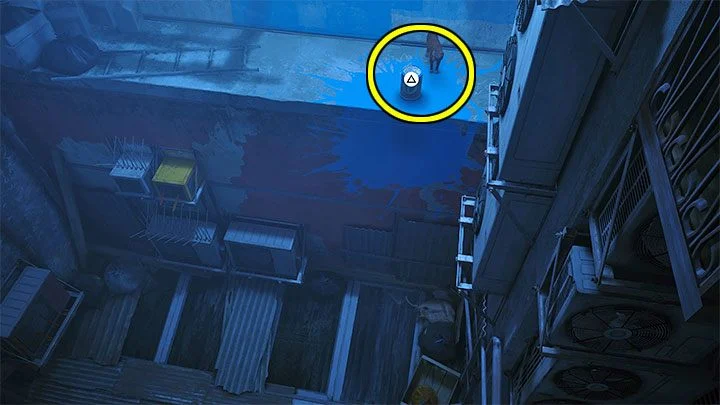
In the next location, look for new ledges that you can jump on or jump off. You will reach a glass roof that you will have to smash is another little puzzle.
You need to get to the highest ledge and push a can of paint from the picture above. A falling object will break the glass roof and allow you to get inside.
You can, among other things, optionally scratch the carpet in the apartment. Use the passage blocked by boards. You will reach a bucket that acts like an elevator. Thanks to him, you will go down to the lower level and return to the alleys.
Go forward. Along the way, you can inspect the damaged car. Now you need to go up a bit.
First escape from the Zurx
A cutscene will play and you will encounter Zurks for the first time - small, bloodthirsty monsters, which will try to stick to the cat and drain its life force. Shake off the creaturesby quickly pressing the button displayed on the screen (circle on PS4/PS5).
You must follow a linear path. Hold down the run button and change direction when you see jumpers zurks. Chances are you'll bypass them and avoid having to deal with them.
Finish the chase by jumping through the open window building.
Further exploration of the city
The new path is linear again - get closer to subsequent ledges and objects that you can jump to. Eventually you will reach places where you need to knock down the boardshown in the figure above. This will create a bridge that will allow you to reach the adjacent rooftop.
Jump to the vertical blue gateto get inside the next building.
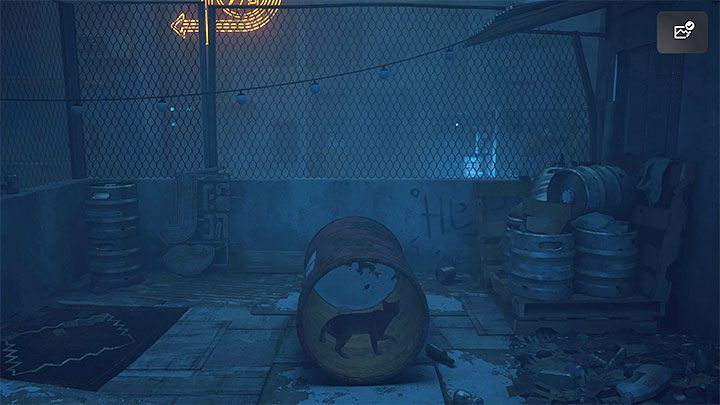
At the next location, enter barrel and for the first time you have to roll it. Move it to the right. This will allow you to jump onto the barrel and then onto the roof above.
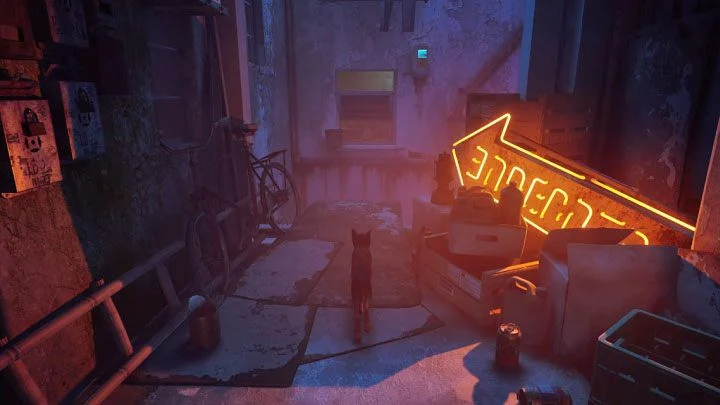
You will reach the scaffolding. Now you just have to jump on the boards and other structural elements. You don't have to worry about falling. Cross the hanging beam and jump over to the neon sign.

You have to find the second plank to knock it down., thanks to which you will be taken to the next part of the scaffolding. Continue in a linear motion and get to a small opening with the help of the bars - you can squeeze in.
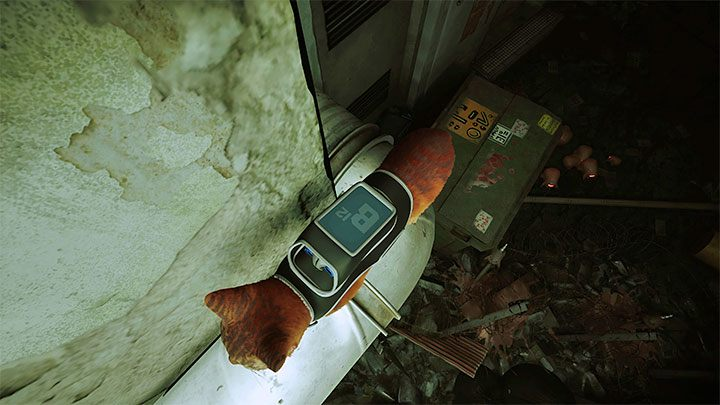
You will get to locations with a second fan. In this case you can turn it off by removing the power supply from the picture above - take it in your mouth and put it anywhere. You will enter the apartment and chapter 3 will begin.
Apartment
Inspection of the apartment and launch of the B-12
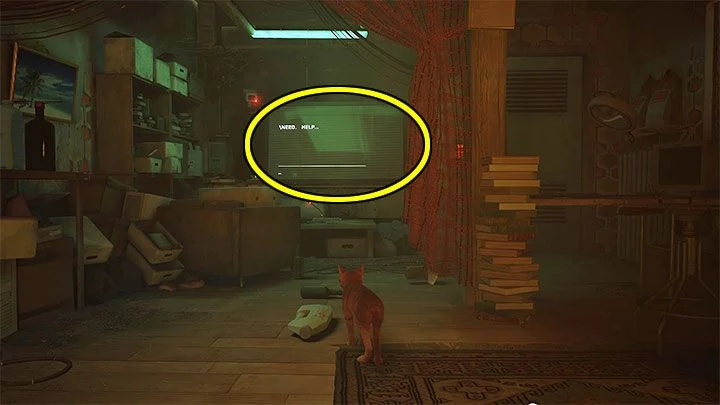
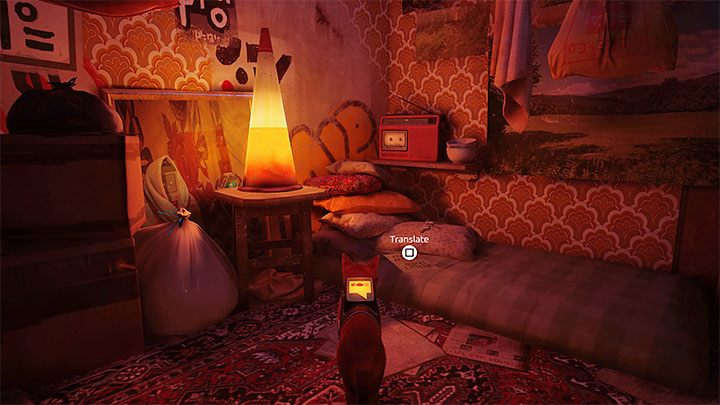
You can do an optional inspection of the apartment (including the opportunity to scratch the carpet and turn on the radio) or immediately proceed to the mandatory activities. Switch to big screen computer, which displays a message asking for help.
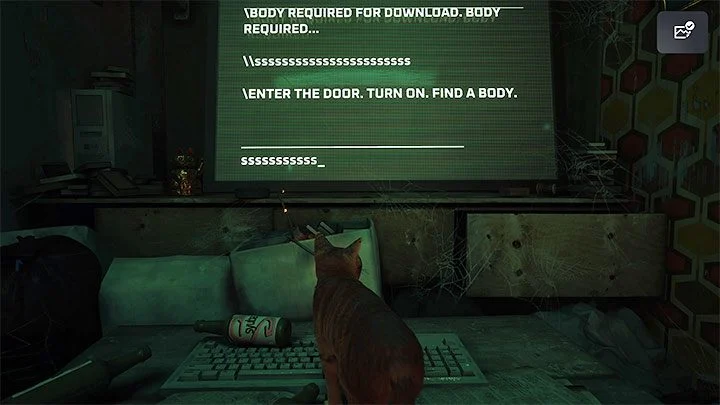
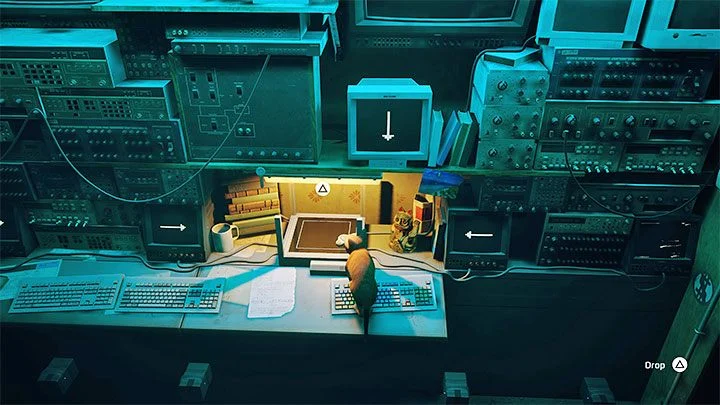
Jump on the table and start run across the keyboard. You will send random strings of characters, but it will be enough to "set up a connection". You will know that you need to get the body to download (Body Required for Download message). Connecting room will be unlocked.
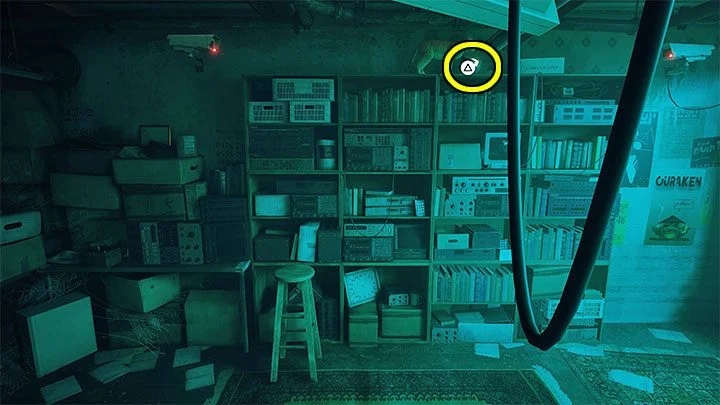
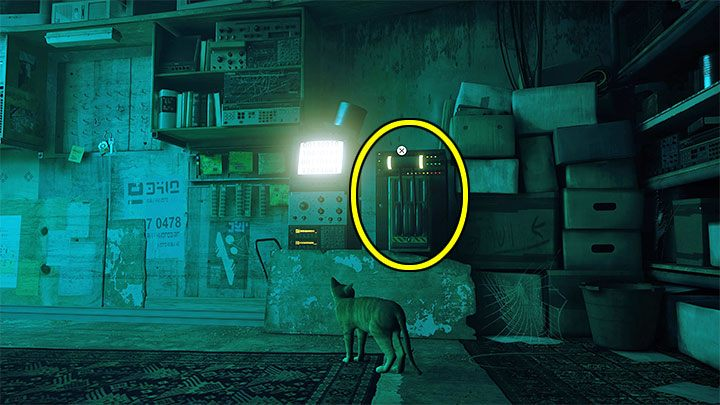
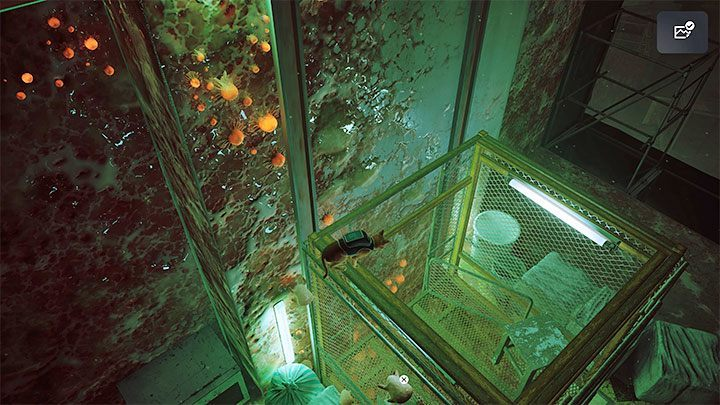
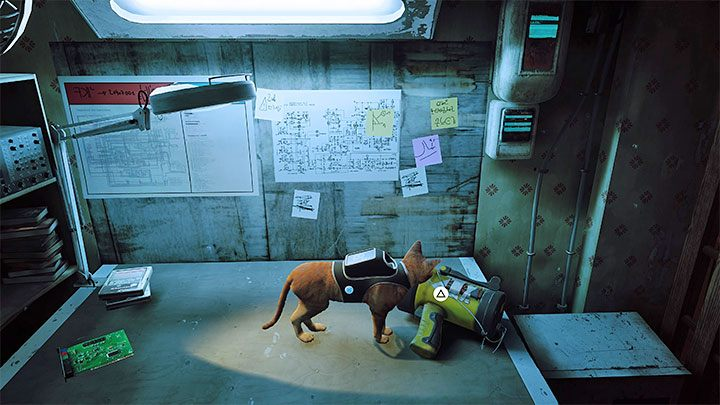
In the new room you need find 4 power sources - These are small boxes that a cat can grab in its mouth and carry with it. You can get to them in any order.
First object located at the top of one of the cabinets. First, jump onto the chair and make a second jump from it.
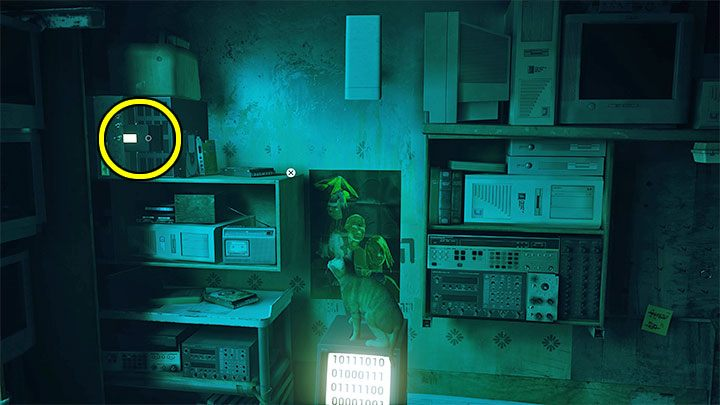
Second object is located on the central table and is used to power one of the computers. You can easily remove it from the slot.
Third object requires two steps. You must first pull the lever (Figure 1). This will cause the car to move to the left. Use it to climb up and get to the ledge with the power source (picture 2).

Fourth object located in the slot of the machine that you moved to get the third power source. Take it out of the slot.

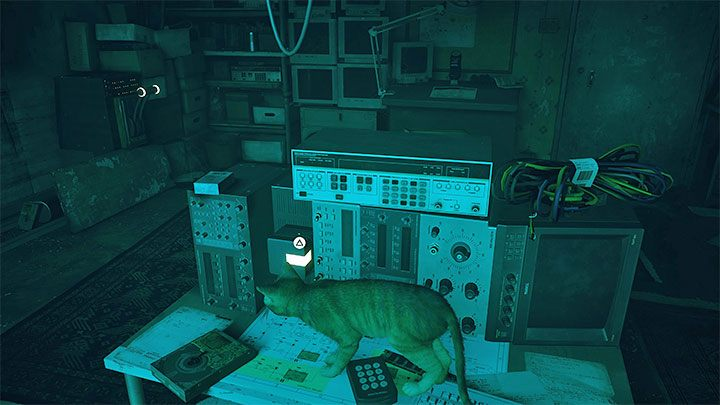
Each power supply must be placed in one of the available bottom slots – they are located under the wide device (picture above).
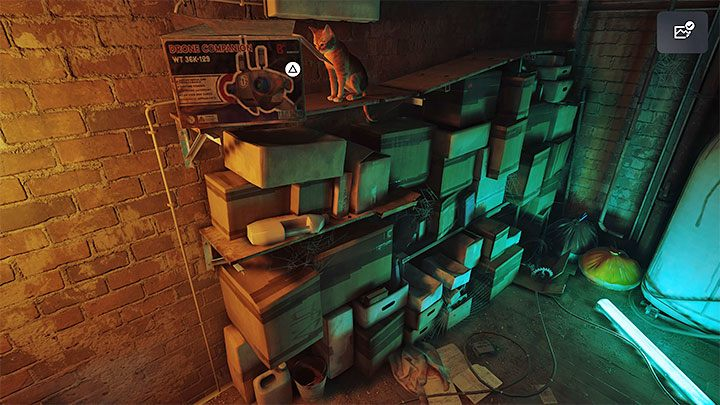
Shipping 4 items open another room. You should start climbing here next to the inactive robot. Thanks to them, you will reach the upper left shelves. There is box to be thrown down.
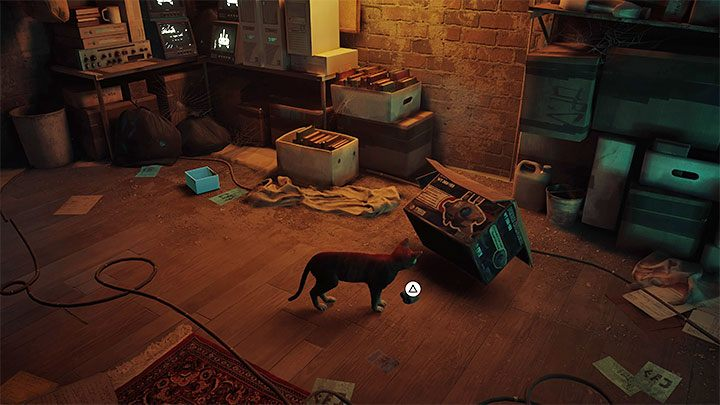
Inactive drone will fall out of the box. Grab it with your mouth and return to the room. Necessary place the drone in the device, as indicated by the arrows on monitor screens.
From the cut-scene you will learn about proper loading of awareness and activation B-12, which will be your companion for most of the game.
Leaving the apartment
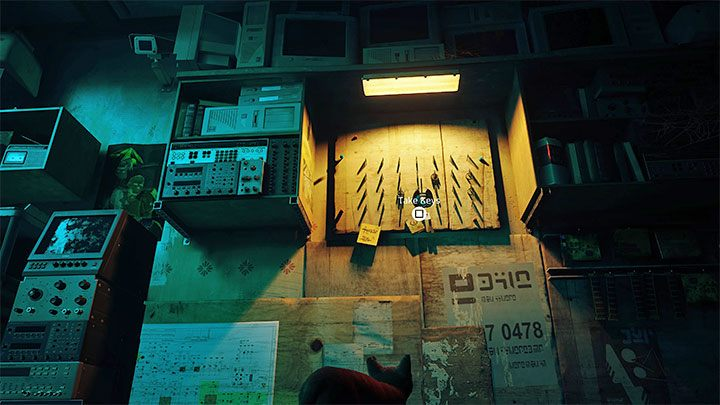
Come to hanging keys - you can ask B-12 to take them. You unlock backpack, where digitized versions of items and B-12's memories will be stored. Your cat will first try to drop the backpack, but after a while he will get used to it and it will become a permanent fixture (for the time you are traveling with the B-12).
Since then, there will be new interactions with the environment. Among other things, you can optionally examine the plates and documents and communicate with the machines by asking the B-12 to translate. Icons on the backpack screen inform about possible actions.
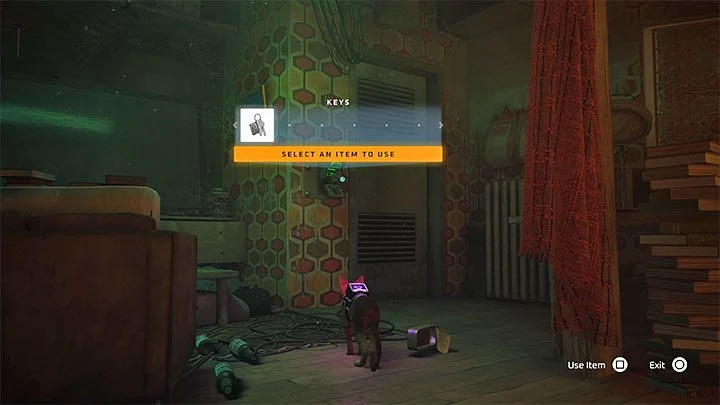
Get to lock at the exit of the apartment. Activate interaction. Necessary select keys from inventory - pressing the up direction on the tablet (PS4/PS5) activates the inventory preview. Select the element you have in it and select its use (square).
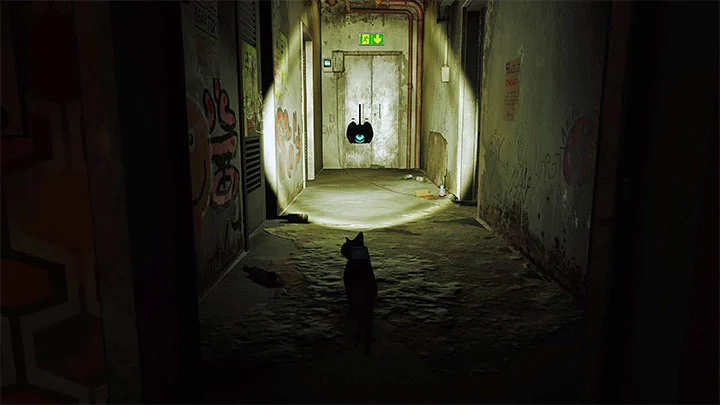
You will find yourself in a dark corridor you can optionally turn on the flashlight (left direction on PS4/PS5 D-pad).
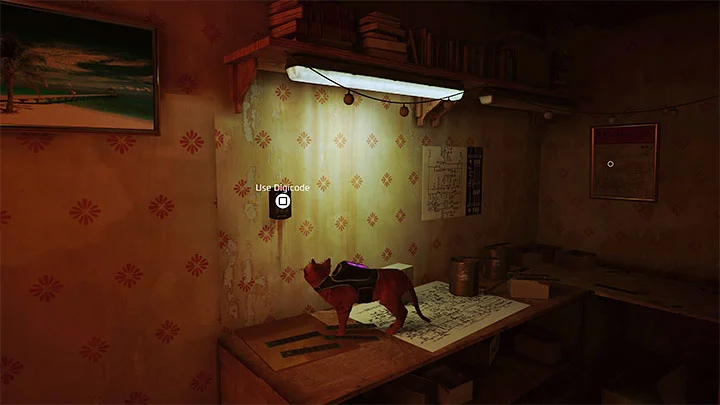
You will come across a second locked door with an electronic lock.. It opens with a code.
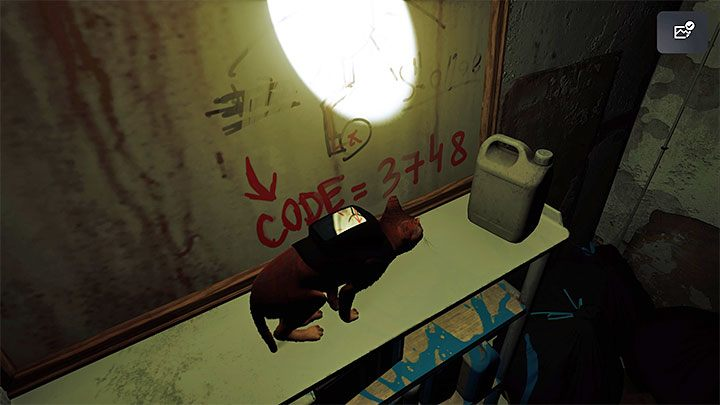
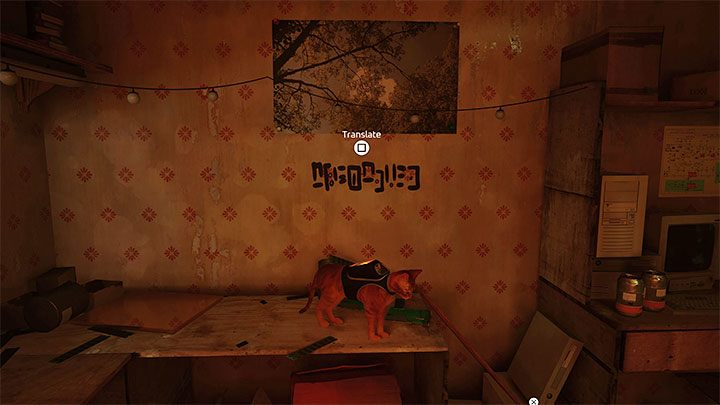
Explore the first room on the right. You have to jump onto the ledge on the left with the plank next to it.
Click on the jar, covering the bottom right corner of the board. This will reveal the combination for the door - 3748.
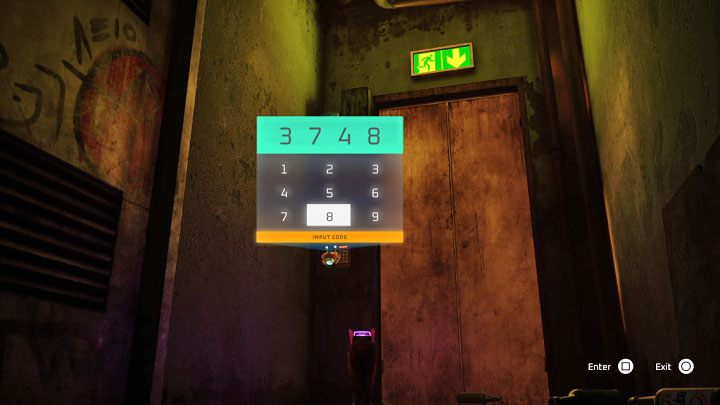
Return to the main corridor and go to interactive numeric keypad (Digicode). Press the interact button to send B-12 there.
You must enter the correct Code 3748. Now you can go to the door and open it to go outside.
Reaching the safe zone
You find a bucket that allows you to go down for a long time. Jump into it and wait until you reach your destination.
In the new lane you automatically unlock the first B-12 memory. This is one of the collectibles in the game. You will automatically unlock 5 memories as you progress through the game, and you have to find 22 more on your own.
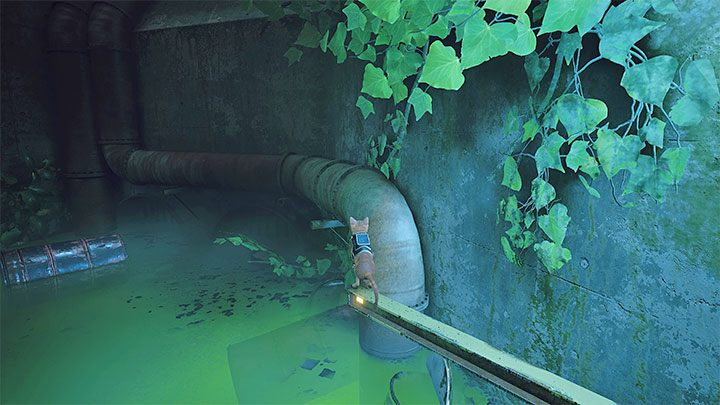
Resume your linear journey - find new interactive shelves to make jumps. You have to get to the second bucket and start another run.
A new chase will begin with the participation of the Zurks. As before - you need to stay moving and push the creature off of you (circle on PS4 / PS5 pad). You can end the chase by jumping onto the container and jumping onto the pipe. Zurkas can't get in there. Soon you will reach the slums and Chapter 4 will begin
Slum
Meeting with the Guardian
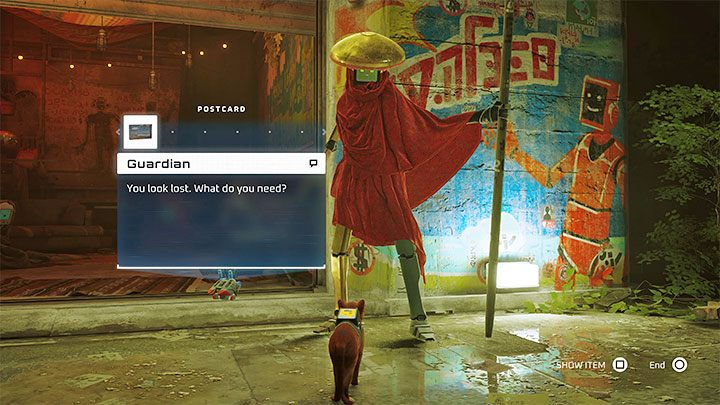
Once you reach the slums, you must travel along a linear path. Ignore the big robots hiding from you, as they pose no threat. You will eventually reach the place where stops B-12 - he will be able to translate into the language of robotsso you will be able to communicate with them.
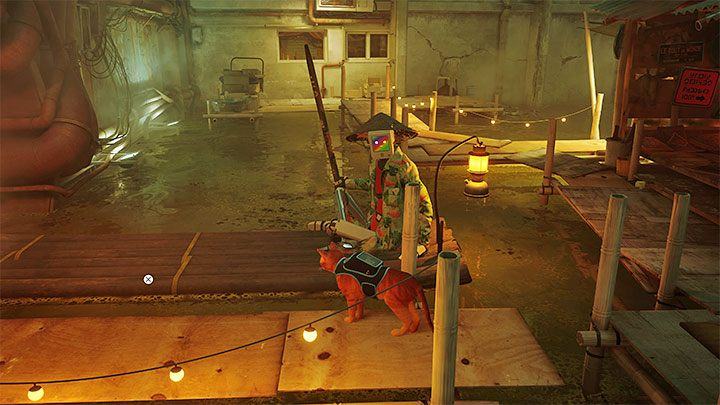
Talk to the ranger again and show him the cardby selecting it from your inventory. You will learn about the need to meet with Momo - his apartment is located on one of the upper floors of the left building with an orange neon sign.
Slum exploration
From now on you have a lot of freedom of action. You can focus solely on the progress of the game, or you can do a lot of extra activities. Some actions are useful only later in the game (like getting a poncho), others are related to secrets. You will return to the slums in stages 6 and 7and you don't need to explore them 100% now.
The main activities in the slums are:
- Encounter with robots - You can talk to most of them. You can also show the machine's inventory items.
- Search for B-12 memories and notes are collectibles whose sheet music can only be found in the slums and you can deliver them to Morusk.
- Buying items from a trader - Depending on the item, you must "pay off" with energy drinks taken from vending machines, or exchange an item from your inventory for another.
- Unlock trophies related to slum exploration - you can put on a paper bag (achievement Curiosity killed the cat) and throw the basketball into the basket (achievement dunk cat)
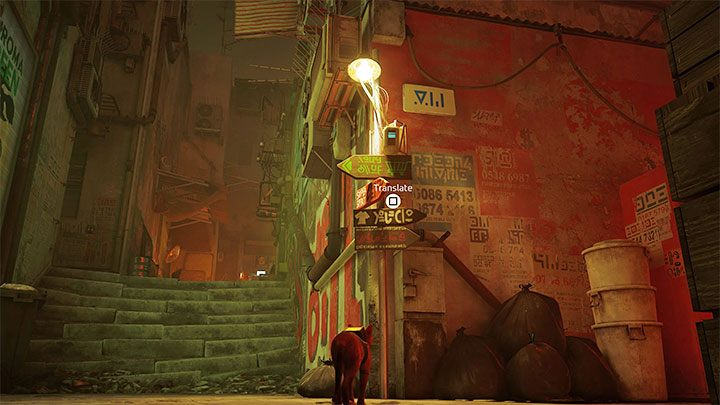
- Text Translation B-12 - They may include road signs, signs or drawings, as well as graffiti on the walls.
Get to Momo's apartment
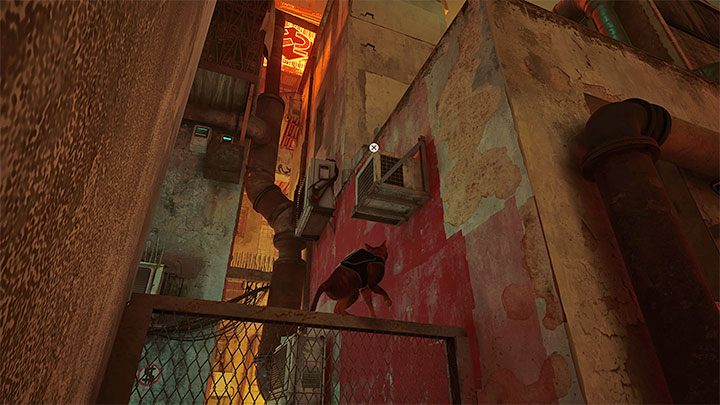
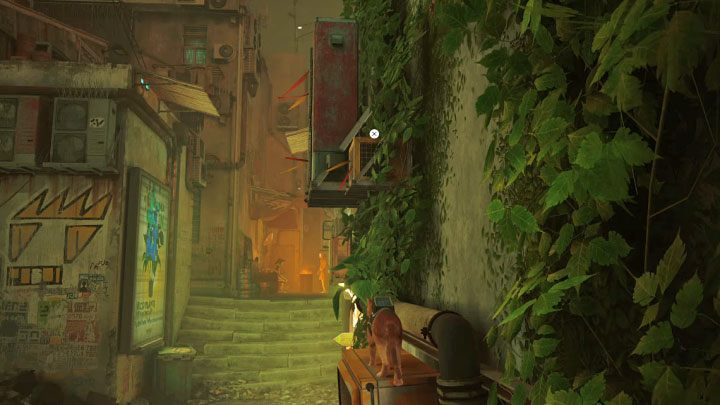
You have to get to the roofs of the central buildings from the slums. This is possible in many places - jumping on objects and boxes sticking out of the walls.
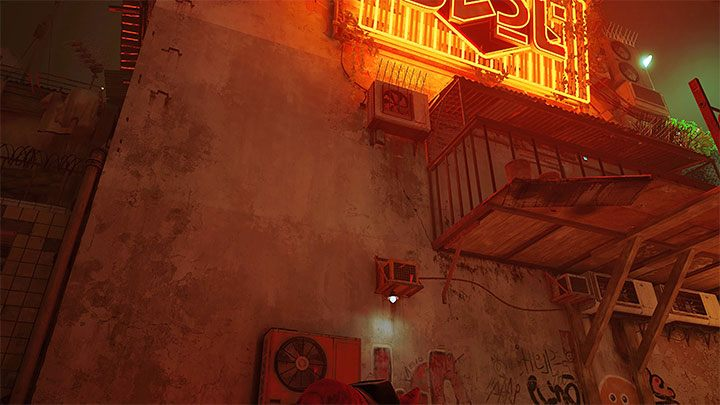
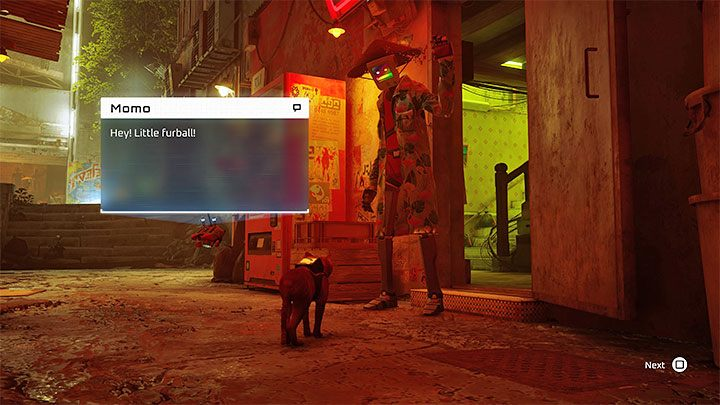
Reach the area under the big neon sign - there are 2 robots in this area throwing paint cans. At the spot in the painting, you can continue climbing towards Momo's apartment. The destination is a balcony under an orange neon sign. Once on the balcony, jump to the small window.
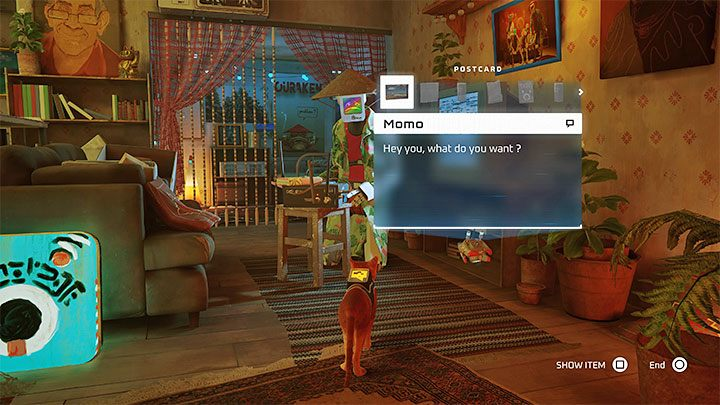
On request, you can view the apartment or immediately talk to Momo and show him the card (select this item from inventory). In return you will receive Momo's notebook and the task to get 3 more notebooks.
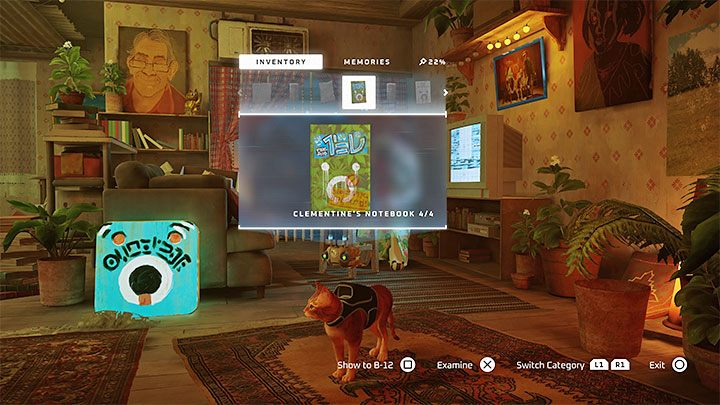
Finding Clementine's Notebook
You can get to Clementine's apartment through the gate from the image above - approach it by jumping over the roofs of buildings.
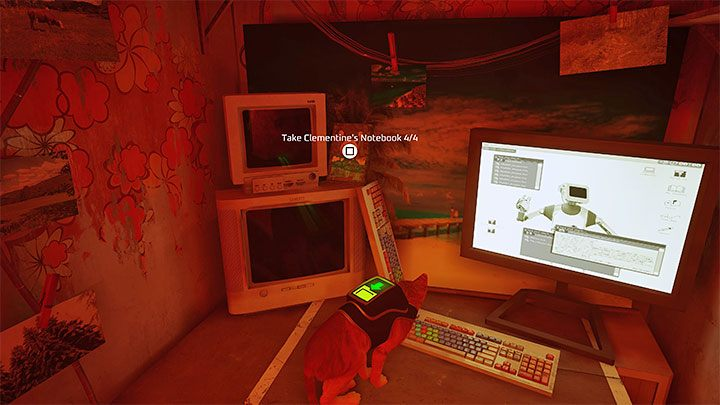
You must go to the room with the computer turned on. Here you will find Clementine laptopyou are looking for.
Search for a document notebook
You need to get to the library and in order to do this, get on the high balcony, as in the picture above. Then squeeze into the hole.
In the library, look around at a side room partially hidden by towers of books. There you will find a note with the keys to the safe (photo above).
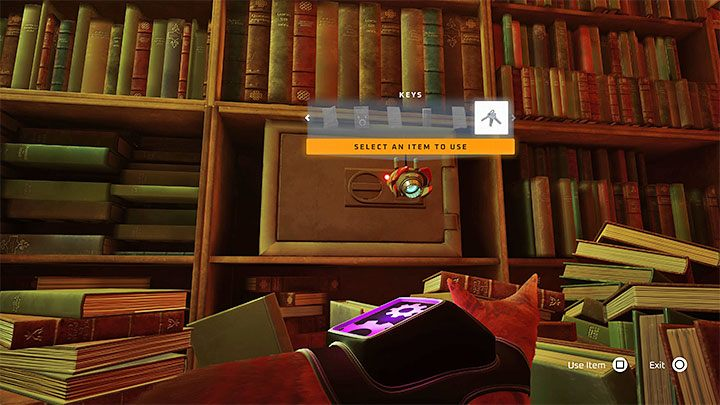
Safe with Doc's notepad is on one of the shelves in the main part of the library. Select keys from inventory to open it.
Finding Zbaltazar's Notebook
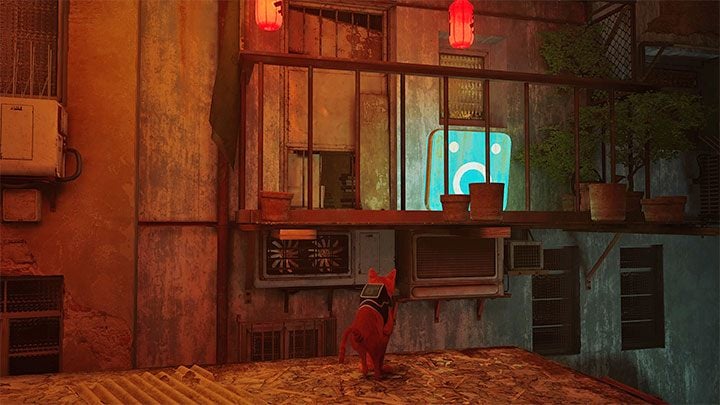
In this case, you must get to barricaded balcony of Zbaltazar's apartment, shown in the picture above. Climb to the top of this building.
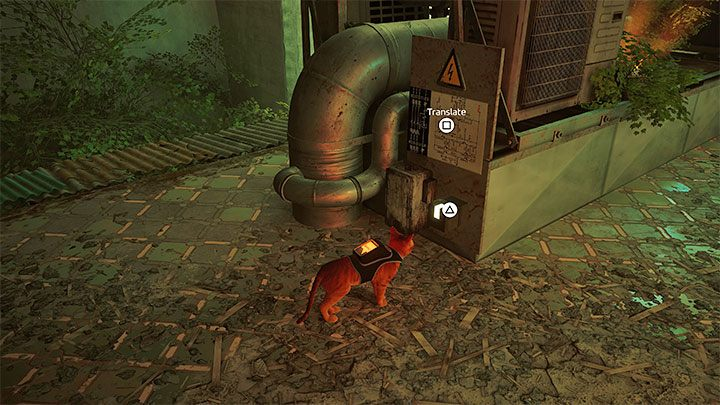
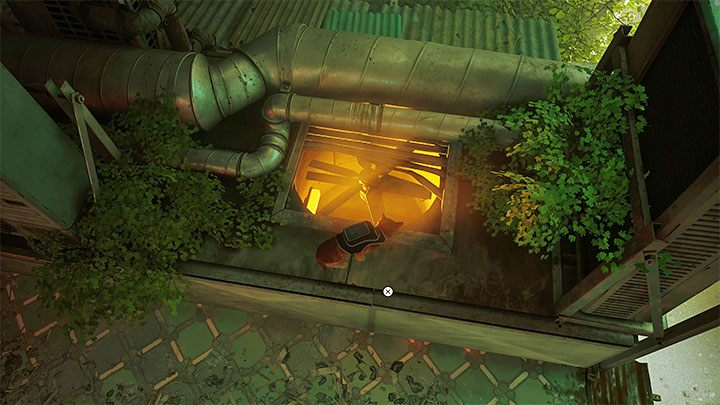
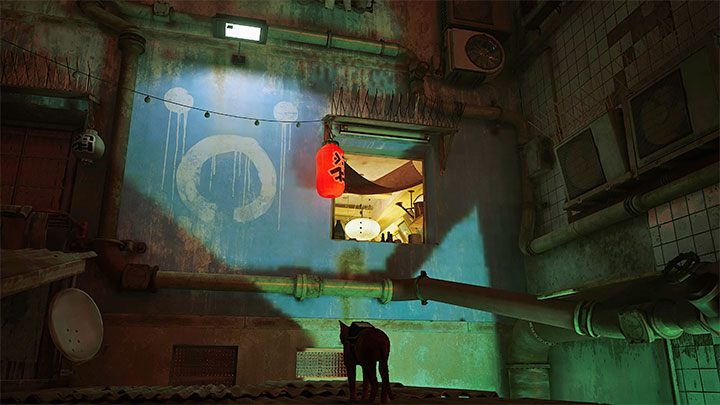
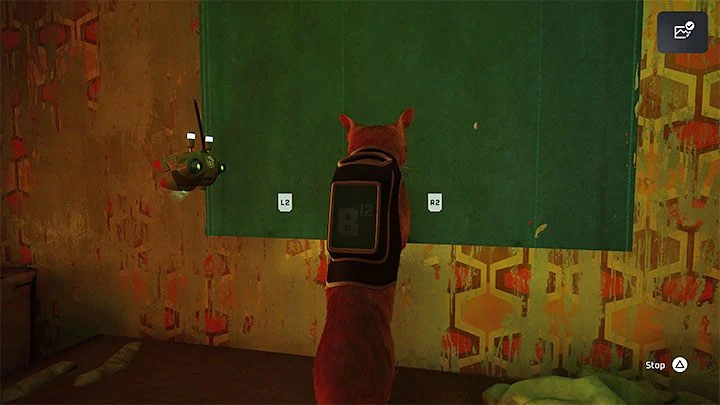
On the roof, the cat can ask B-12 to translate the diagram. Remove the power supply from figure 1, thanks to which you turn off the roof fan from picture 2. This will allow you to jump into Zbalthazar's apartment.
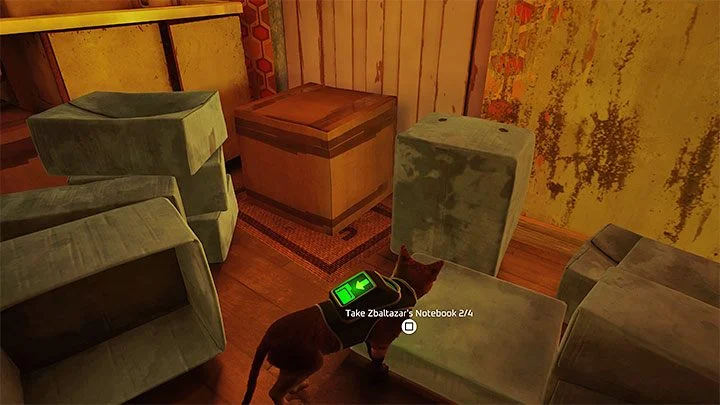
Jump on the boxes from the central part of the apartment to knock them over. Diary of Zbaltazar will fall out of one of them.
Interact with the curtain and scratch it until it rolls up. This will open a previously inaccessible passage.
Providing Momo with all laptops
It is best to return to Momo only once - after collecting the 3 remaining notebooks. Select purchased notebooks from inventoryto show them to the robot. Thanks to this, you will learn about the possibility of fixing the transceiver.
How to get to the rooftops

After watching the cut-scene, go to the shutter, next to which stands Momo. You will receive a transceiver.
Jump through the window and interact with the bucket, which will take you to a new location. Roof research is a separate chapter 5, but after completing it you will return to the slums (Chapter 6).
Roofs
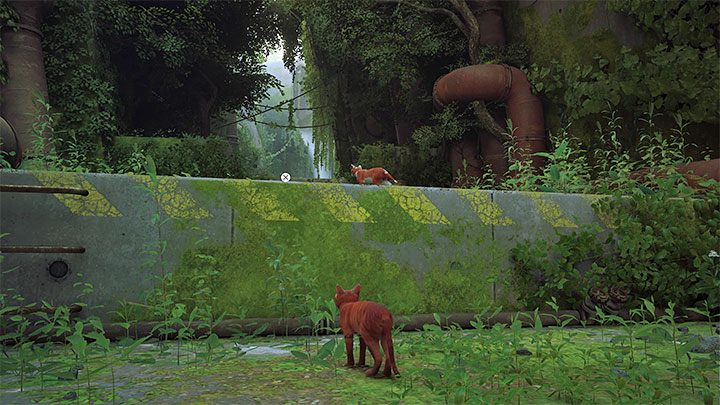
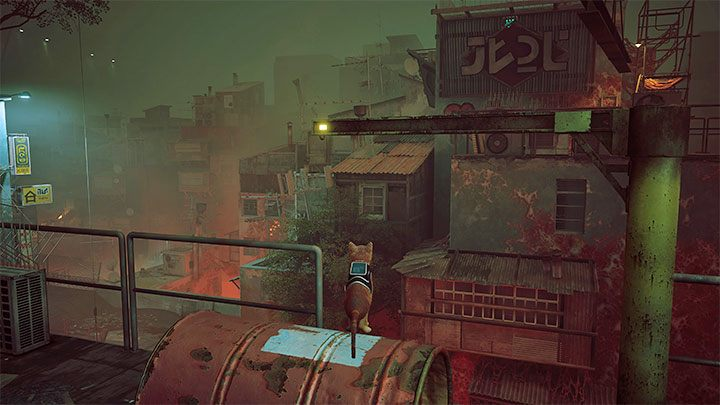
You will be taken to the rooftops after your first visit to the slums (stage 4). From the very beginning you must watch the zurkas - avoid approaching them when possible (there are alternative paths in some places, like the beam shown in the screenshot above), use the run option, and during escape scenes, look for opportunities to jump up higher objects to lose monsters.

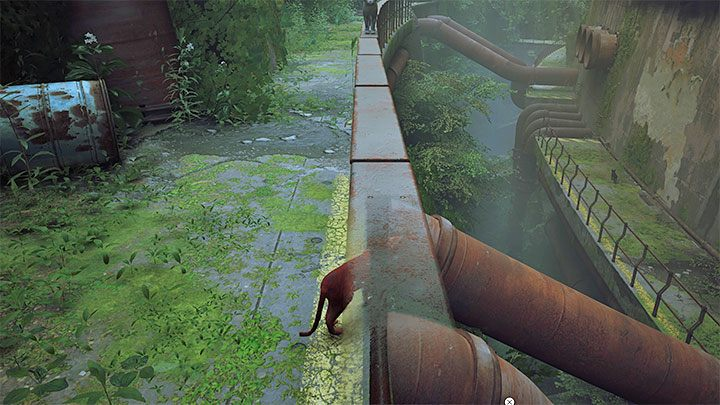
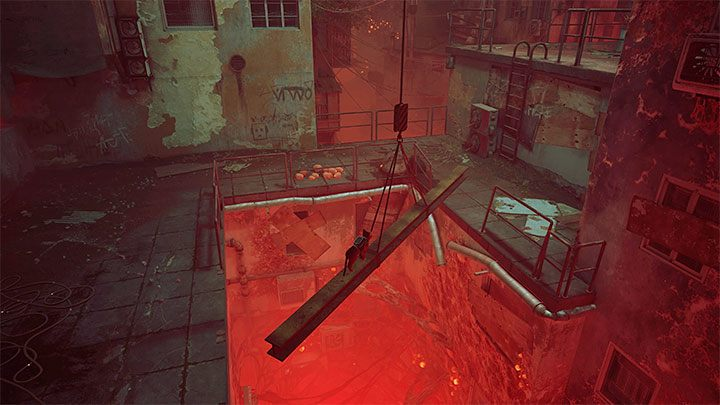
Along the way, look for higher ledges and protruding objects that you can jump onto. Some metal beams can be set in motion (example in the screenshot) what happens when you jump on them. In some cases, you will have to jump onto the beam more than once to get to your "destination" and allow you to continue your journey.
You will reach a barrel to be rolled. You need to place it as close as possible to the hanging beam from the screenshot above. This will allow you to climb onto the barrel and jump towards the nearby beams from there.
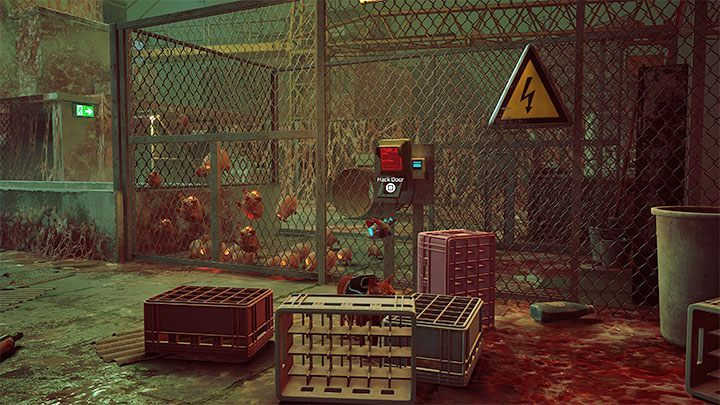
You will find yourself in a location with zurks - you have to outwit them. Use the hack option to catch the monsters between the fences (pictured above). This will allow you safely roll the second barrel from the place where the zurkas were originally located. Climbing the rolled barrel will allow you to continue climbing.
Linear route will take you to wooden board that you have to push and make a bridge. Navigate to the next location. You must watch the bison and be ready to flee - head towards the scaffolding so that the monsters don't reach you.
Go to the next level. You will spot the Zurks in the fenced area with the barrel. Use the gate hack to open it and start running away from the zurks. Take them to the side of the fence (pictured above). Climb onto objects, enter the barrel from the fenced area, roll it out and climb on it to resume climbing.
Starting the Elevator and Avoiding the Zurks
You will reach a place with an external elevator shaft.
Pressing the lever will activate the elevator, but it will also alert the surks. As the elevator slowly starts to descend, you will have to defend yourself against the monsters for about a dozen seconds.

Start running around the edge of the construction site and keep walking. Your goal is to keep the Zurks following your cat, rather than approaching her from the front or side.
Head for the elevator as it comes down. Climb into the box, jump over the fence and ask B-12 to set the elevator in motion (keyboard). Here you will be safe, and you will not have to be afraid of the Zurks.
Mounting the device on a radio tower
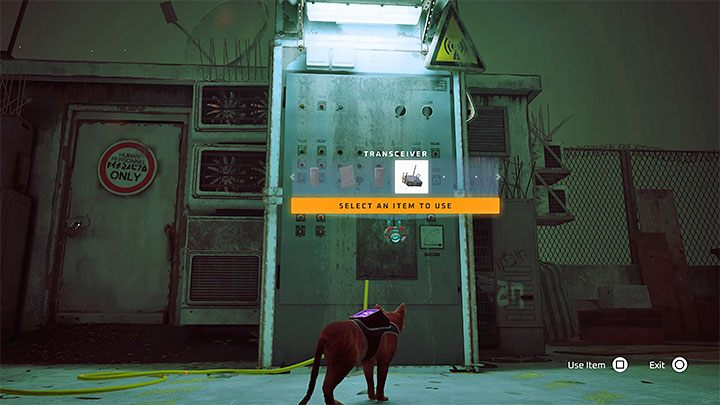
The elevator will take you to the roof of the tallest building with a radio tower. You need to install a transceiver, which you received from Momo in the previous chapter. Interact with the chest at the base of the tower and select the device from inventory.
Last step - lower the roofs and return to the slums. After listening to B-12's comment about the panorama of the city and the artificial sky, enter the bucket to begin the long descent.
Return to the slums
You will find yourself in the slums for the second time after installing the transceiver on the nearby radio tower (during chapter 5). Instead of finding Momo in the apartment, you will find Momo's note.
The message says go to Dufer bar. Return to the lowest level of the slums. The bar has a huge red neon sign above the entrance and you will meet Momo right away. Go inside and listen to the conversation between Momo and Zbaltazar.
Following Momo and again meeting with Seamus

Follow Momo in seamus' apartment. Momo will knock on the door and then open a small holethrough which you can squeeze into the apartment.
Talk with Momo - showing him Doc's notebookyou will be allowed to search the apartment.
Opening and examining the secret room
Jump onto the tabletop with 4 paintings hanging next to it.
You can throw them one by one by interacting with them. In the first picture on the left the keyboard for entering a combination is hidden.
First picture on the right covers the message to be translated. This is a clue to solve the puzzle − Time will tell.
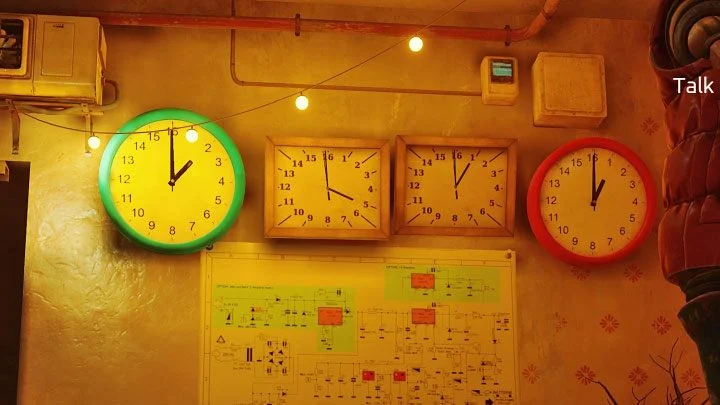
You should look at 4 clocks hanging on the wall. Each of them shows a different time, and these are consecutive parts of the code.
The correct combination is 2511 (two hours, five hours, one hour, one hour). Return to the keyboard and enter the code 2511 to unlock secret room.
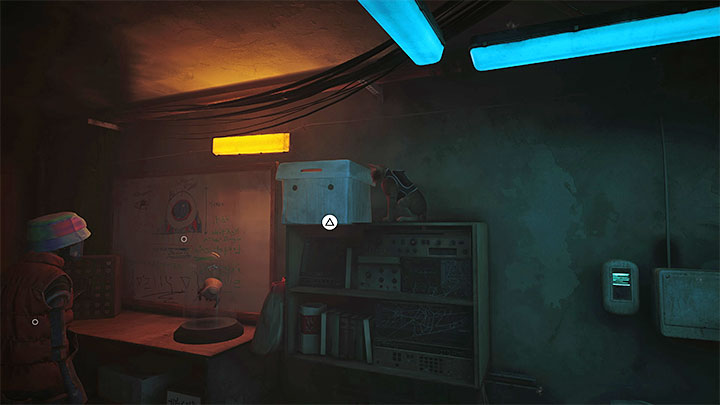
If desired, you can translate the text from the board and the newspaper from the table. Your goal is to climb the highest ledge to push down the box with Broken Tracker. Show this item to Seamus (select it from inventory while talking to them).
Visiting the Elliot Program
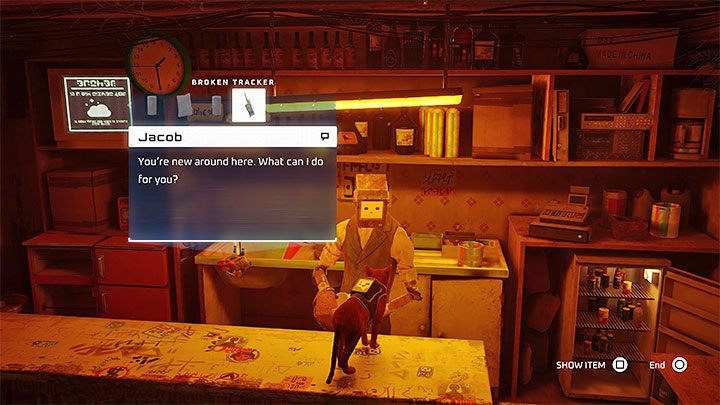
You can ask the robots in the village about a specialist who could repair the device. Initially they will send you to bartender Jacob. Return to the Dufer panel and show the robot the item you received. He will point you to Elliot, who is a repair expert.
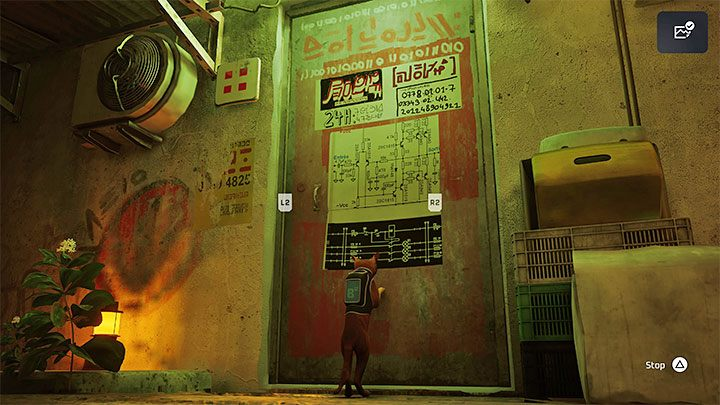
You need to get inside the Elliot Programming building. The screenshot shows its entrance. You have to interact with the door and start scratching it until the robot Nestor lets you inside.
Elliot can be found upstairs. Show him the tracking device and you'll know you need to bring him something to keep him warm.
Getting a poncho for Elliot
You need to get Elliot's ponchobut it is a multi-step process. If you have already completed some of the steps in step 4 (they were optional at the time), you should now be able to progress faster. Otherwise, read on.
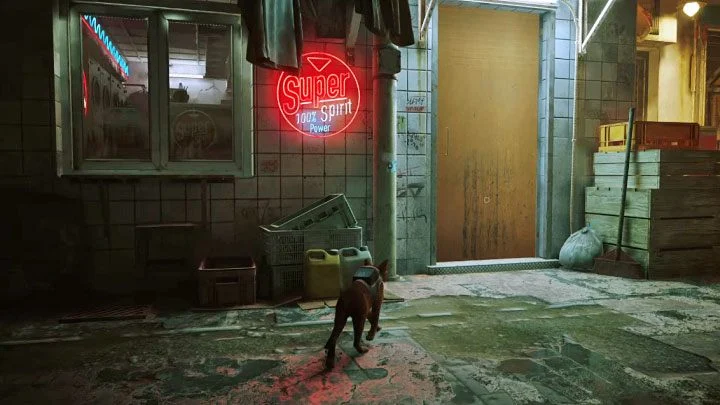
Near the central part of the slum is the super spirit closed laundry, and you need to get inside.
Your task - provoke the laundry owner to leave the building. Next to the laundry room, you will find protruding objects on the walls of buildings. Use them to get to the rooftops.
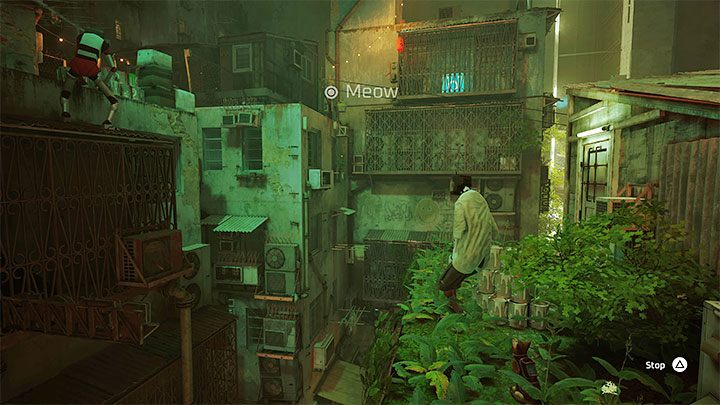
There are 2 robots on the roof of the laundry room and one of them is throwing paint cans. You must distract him and meow when he makes a fling. This doesn't have to be done once - you can increase your chances by meowing several times in a row.
A successful action will trigger a cutscene of the paint can dropping.. It will collapse right in front of the laundry room entrance.
The owner will leave the laundry and stay outside - You don't have to rush. Climb down any way you like and use the recently unlocked laundry room entrance.
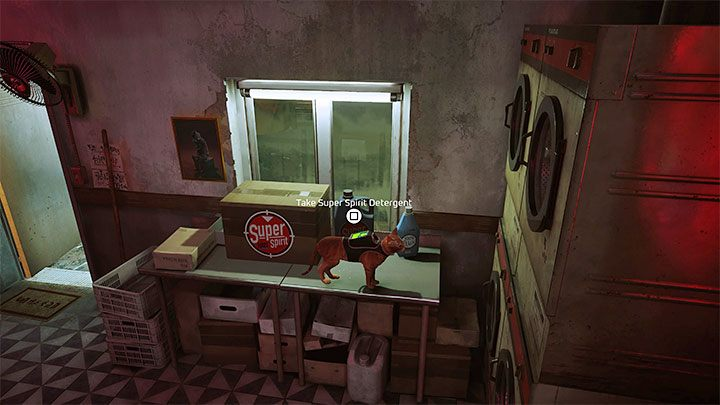
The key element of the laundry room quest is Detergent Super Spiritshown in the attached screenshot.
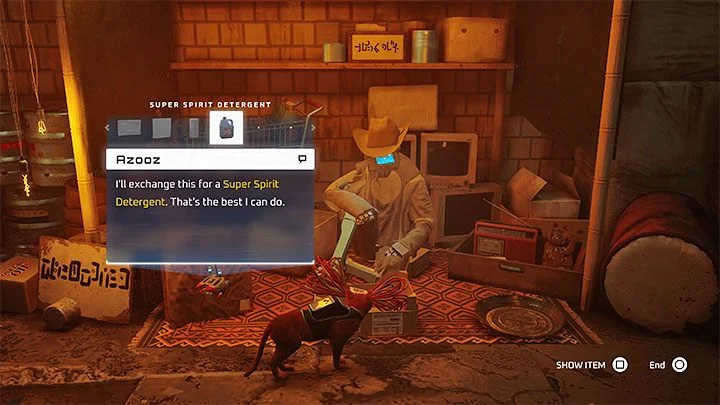
Bring detergent to the local merchant Azusa – His stall is located near the central part of the slums. He has 3 items for sale - the electrical cables you need are in the middle, so choose to exchange them for detergent (select an item from your inventory).
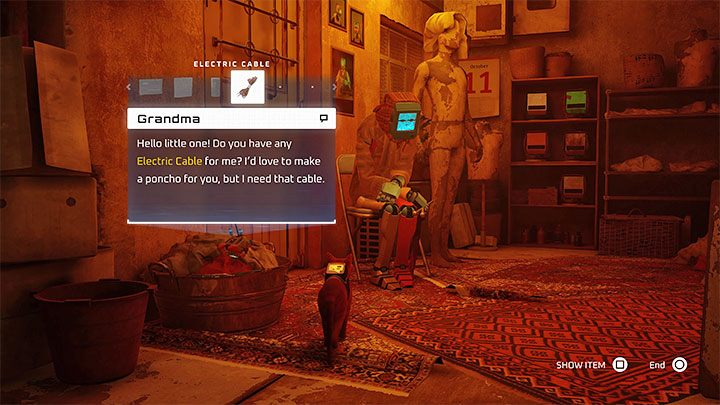
Explore the surrounding streets and you will meet a grandmother - you can give her electrical cablesthat you purchased from Azooz.
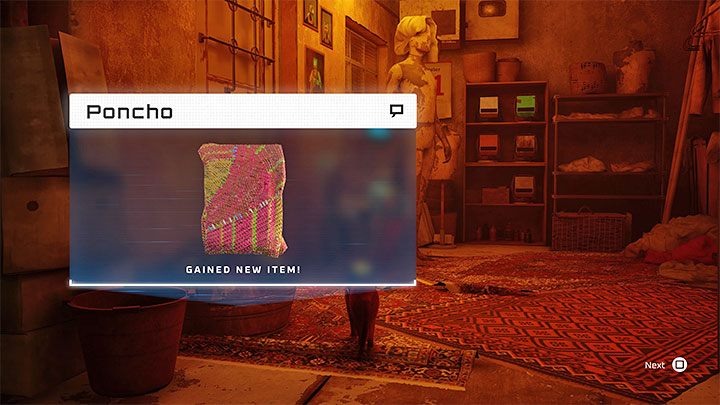
Grandma will make you a cable poncho for free. You can now return to Elliot and give him the item. As a reward you will receive from him Fixed Tracker.
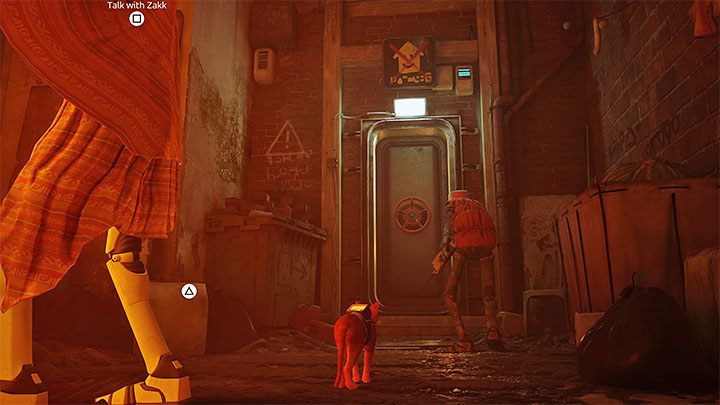
Return to Seamus and follow the signal
Return to seamus' apartment and show him a working device. You should start following Seamus and Doc's detected signal. You will reach a hatch and Seamus will open up for you. Sheamus will give you Outsider badge. You will leave the slums and start exploring new locations on your own, which are part of Chapter 7.
Dead end
You will go looking for Doc after you repair the Tracker in the slums and show it to Seamus - these steps were done in Chapter 6.
Soon after you start exploring new districts, you will ride a cart, then you will be chased by zurkas. Remember to zigzag to make it difficult for the bison to grab onto the cat. If necessary, knock them off the body (circle on the court) and / or jump to the side. Along the way, you will have to run through a small hole.
The chase will end as soon as you climb high ledges that are inaccessible to monsters. You will reach a new place with movable arrows - they change their position as soon as you land on them. You have to land on one of them twice (jump down and jump again) to get it close enough to the pipe shown in the screenshot.
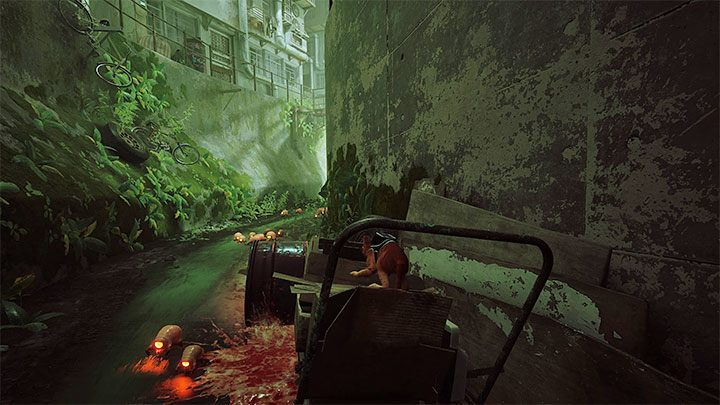
After one of the jumps you will find yourself in a cart that can crush zurks. You don't need to do anything here.
The cat will fall from a great height, but there is no risk of death here. The animal will initially limp on one of its paws, but after a while it will regain full strength and you will be able to run and jump again.
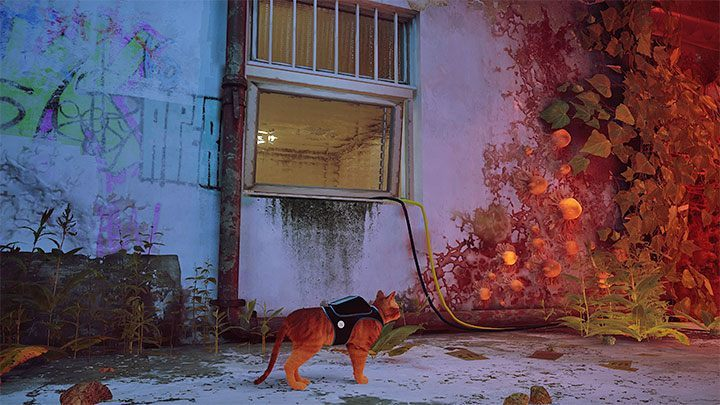
Climb higher pipes and other tall objects. You will be in a place with generator and residential building. Head towards the house and get inside through the shutter at the back of the building shown in the above screenshot (you can follow the yellow cable).
The dock is on the first floor. After the conversation, you can inspect the house. Explore Defluxor from the screenshot above, it is an ultraviolet lamp that can kill zurks. You will learn that the power supply needs to be restored.
Starting the generator
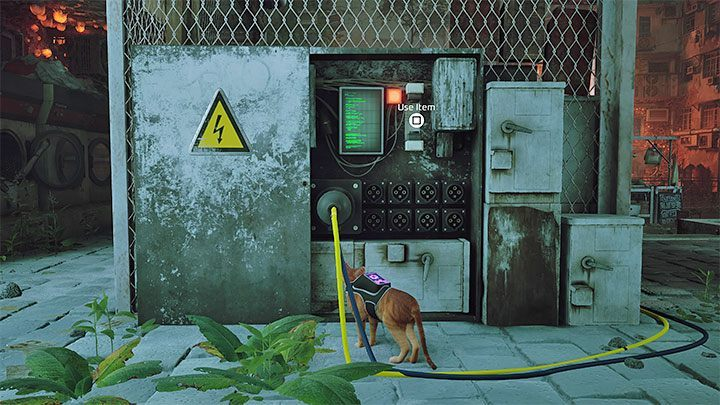
Follow the document. He will give you fuse. Bring him to generator in the front yard (you passed past this object earlier on the way to the location of the scientist). The cables will take you there.
Interact with the generator and select fuse from inventory.
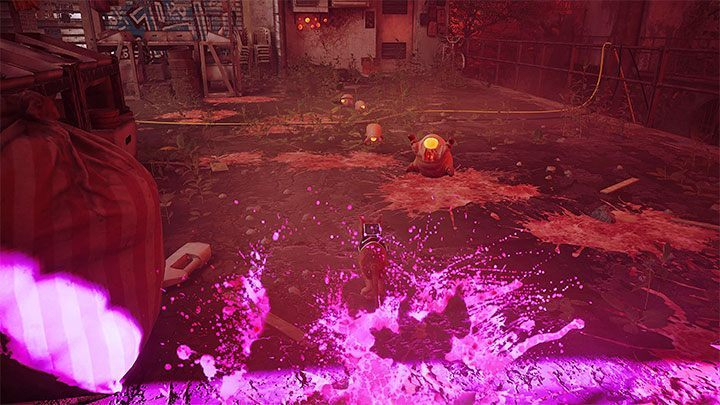
Zurx will appear on the way back to the Dock. Doc will light up the area, allowing you to hide in the purple light produced by the Defluxor. Once again, head right to the window, because the monsters are waiting next to the one on the left.
During a conversation with Doc, you get the Defluxor as a B-12 lamp upgrade.
Exit to the sewer
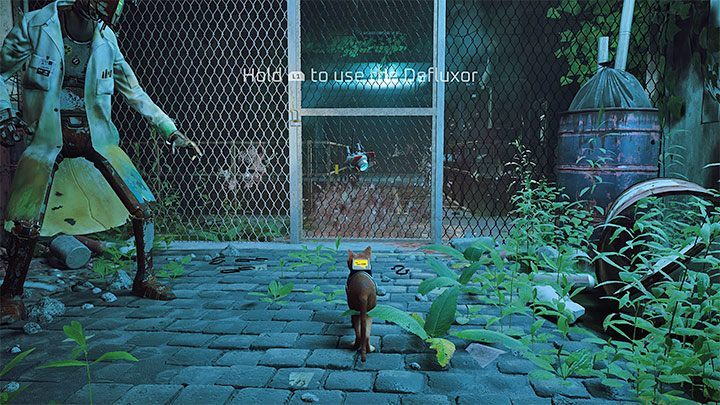
Exit the building and stand next to the grid. You can check how Deluxor works − hold the lamp activation buttonto "fry" the zurki.
You and Doc will reach a locked entrance. The solution to this problem is simple - roll a barrel under a small hole in the wall, shown in the screenshot above. This will allow you to climb up and, after passing through a small shaft, get inside.
In the new location, pull the lever and be prepared to fight the turks - Defluxor can kill them.
Keep an eye on the temperature indicator of the UV lamp because it may be overloaded, which makes it inactive for a while. If this happens to you, keep working until the defluxor has cooled down enough.
Return to the slums and head to the sewers
You must keep protecting Doc until you get rid of all the Zurks (fortunately, the robot does not have a health bar). After the successful completion of the task, Doc will open the hatch and you back to the slums.
You will learn from Guard that the sewer entrance is now unlocked. It is located near where Morusk sits. Once there, you can talk to Benzu and head underground.
Linear route will take you to raft momo. Jump on it and talk to the robot to start exploring the sewers (chapter 8).
Note - You will not be able to return to the slums later in the game. It's best to complete any tasks you missed before you hit the road. Luckily, you can use the "Select Chapter" option on the main menu to play chapters when needed.
Sewer exploration with Momo

In Chapter 7, you crossed the sewers on a raft with Momo, finding Doc. At first you don't have to do anything. Wait for the raft to stop after you encounter a blocked passage.
Jump off the raft onto a small wall and then jump over to the adjacent wall on the other side of the bars.
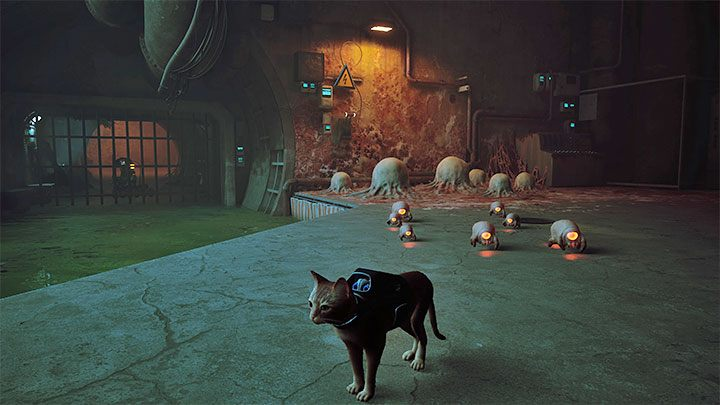
You must use the path up to get to the other side of the water. Here you will encounter your first zurks and zurk eggs - the latter can hatch into more monsters, but only if you get too close to them. In chapter 8, you can choose one of two options:
- Eliminate teeth with Defluxor (UV lamp) - watch the temperature indicator because you can easily overheat the lamp. The best solution is to turn it on only for short moments.
- Avoid killing turks - this allows you to get pacifist golden trophy for completing a level without eliminating monsters. This is possible during your first playthrough of the chapter, but you will have to run a lot (zigzag) and make sure to veer away from the zurk eggs.
No matter which path you choose, pull the lever and return to Momo's raft (during the pacifist route, avoid the surks until the raft arrives).
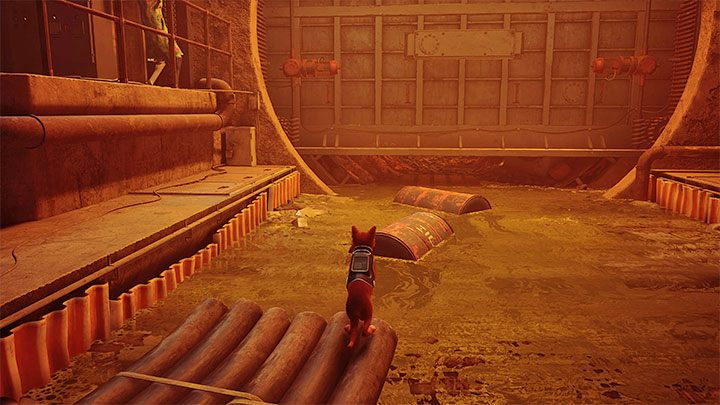
You have to swim to the next location, where another obstacle will appear. Talk to Momo, who will examine the panel. You have to barrel jump to reach the partially raised gate. You will have to complete the rest of the trip without Momo's help.
Further passage of sewers
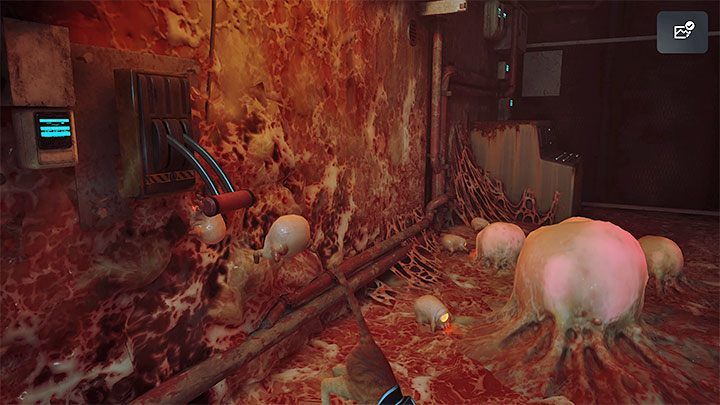
The route is linear. You have to jump pipes along the way, but it's not particularly difficult. You can attack turks and their eggs along the way, or you can avoid fights and focus on running instead.
You must find another lever and pull for him. There are eggs in the area, so make sure they explode as little as possible.
Start your escape. Run zigzag to confuse the monsters or turn on the UV lamp. Get to a place where you can jump onto the pipe below and turn right.
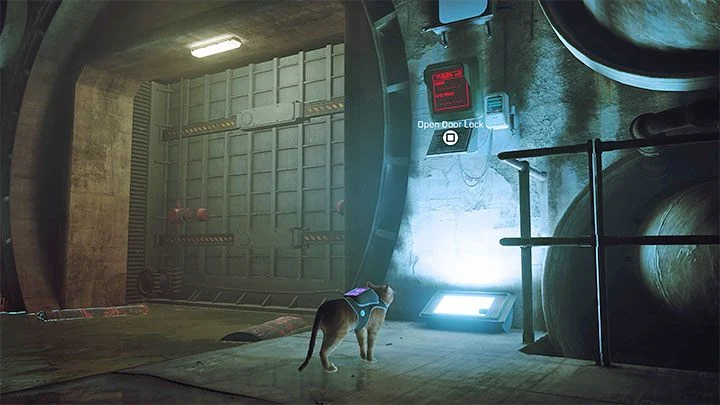
You will be in a big room - at its opposite end there are 2 door locks. Get to any of them to interact with it.
Breaking the first blockade will alert nearby Zurks. Even if you have avoided detection so far, you must be careful on your way to the second blockade - plan your route and jump to the nearby ledges.
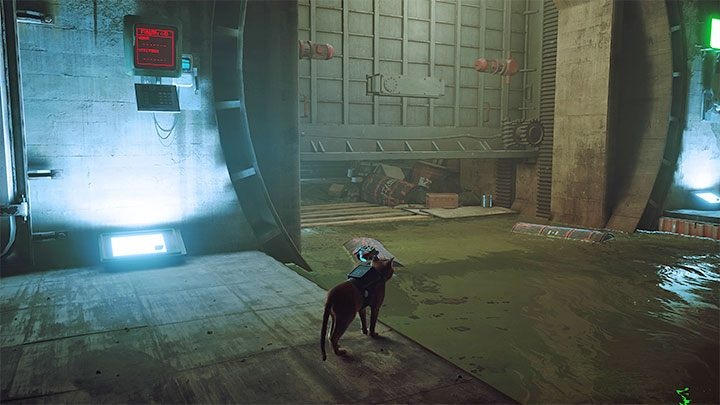
After opening the gate, use the newly unlocked passage, to escape this place.
Sewer exit
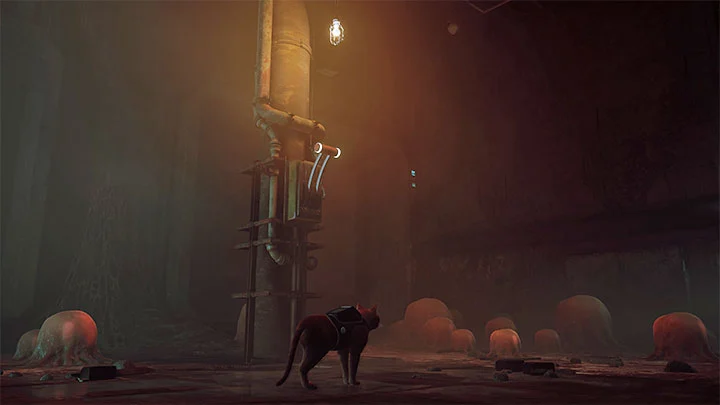
You will enter another room with clusters of large eyes - a cut-scene will start.
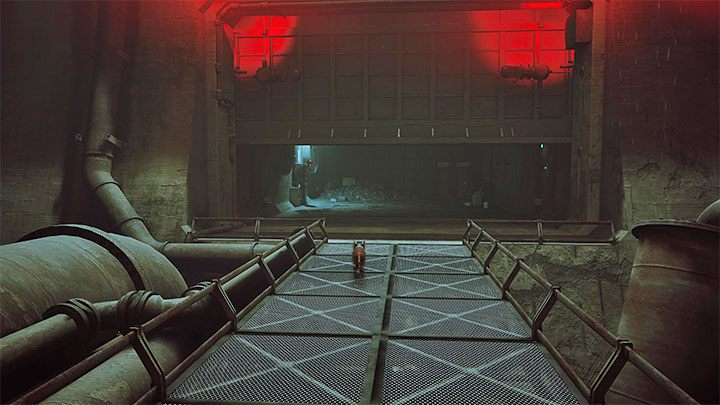
After watching it, you should run away with a B-12 in the face. This means that you will not be able to use the ultraviolet lamp, so you'll have to rely on the strategy of running in a zigzag pattern and knocking the monsters off of you (Circle on the court).
The chase will end as soon as you run under the descending gate. You will be able to reconnect the B-12, but Defluxor will no longer be available.
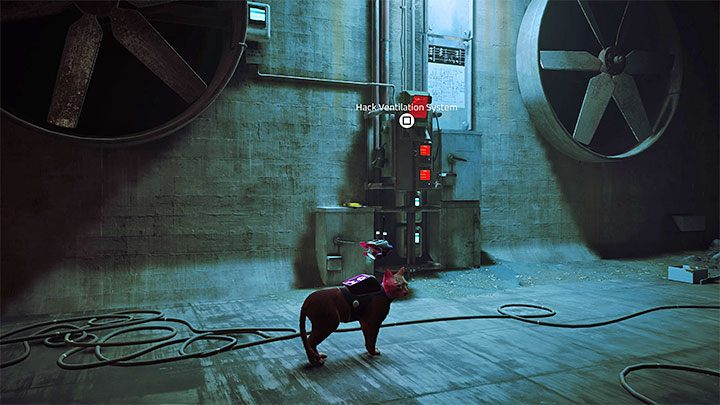
In the same ventilation panel installed in the room. Have B-12 (automatically) hack it. This will turn off one of the fans and allow you to progress.
The linear route will take you to machine village - Antivlyazh. You will explore it in chapter 9.
Was the article helpful?