

Passage of the game Lost Lands 9: Tales of the First Brotherhood 100%. All the secrets, puzzles, mini games, collectibles and achievements in one place...
The passage of The Chant at 100%. How to get all game endings
Walkthrough of The Chant, guide to all chapters. Location of all items, keys, crystals and fuses. The walkthrough is relevant for PS5, PC and Xbox Series users.
Content

Chapter 1
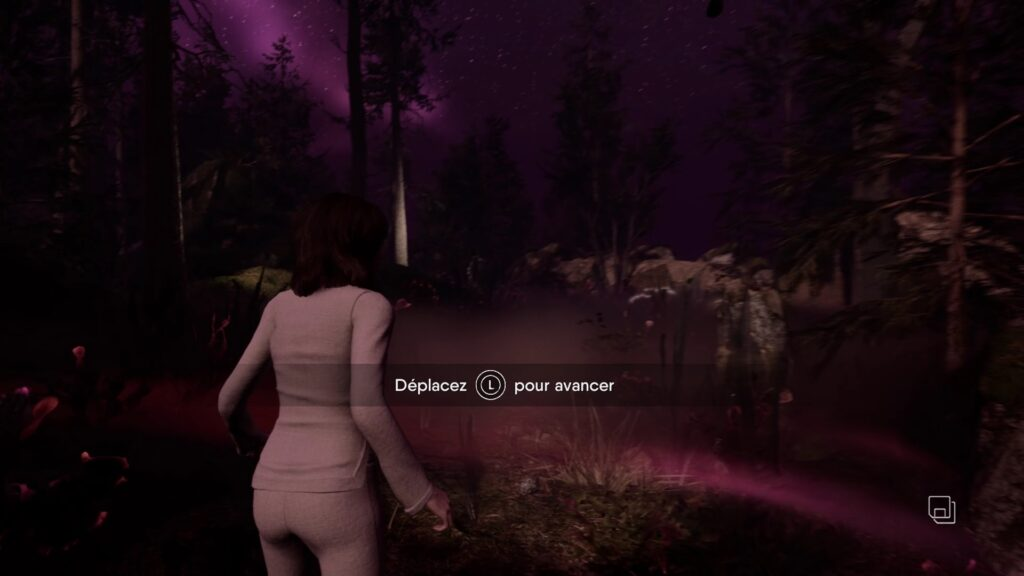
The adventure begins with a chase. Run into the forest, choosing free paths. Get to the shore to trigger a cutscene.
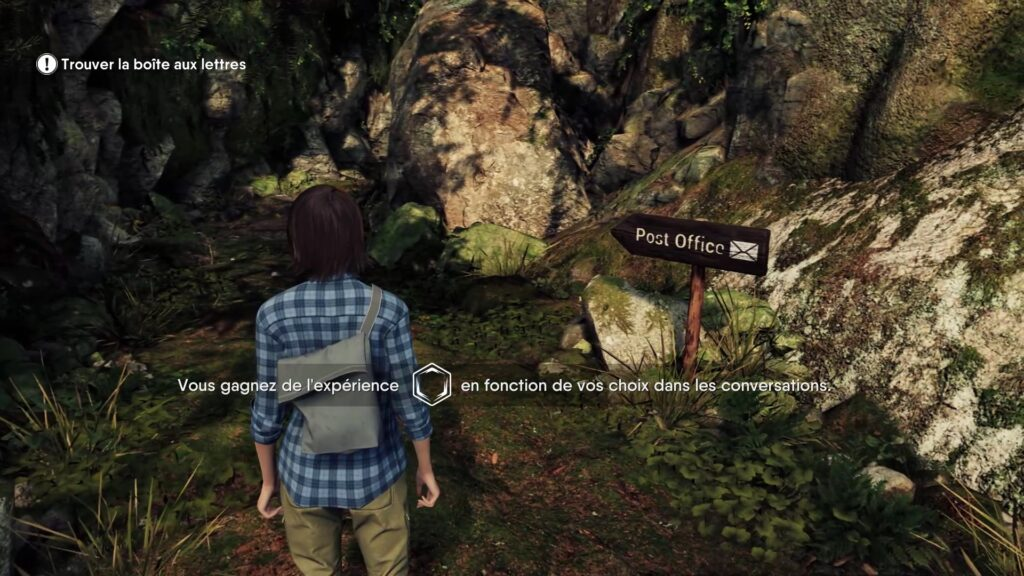
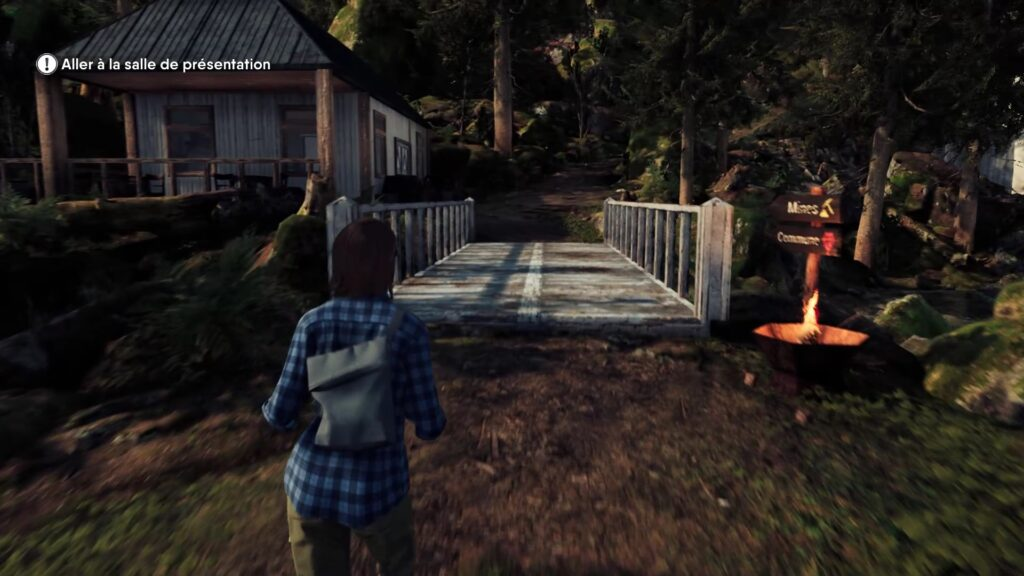
A few years later, you return to the island. Experience the path with your host Kim. At the top of the page, complete the tutorial. To send your letter, simply follow the nearby sign to find the box. Then follow Kim again to get to the retreat. After the introduction, return to the pontoon and enter the cabin to find the first member of the group: Maya. She gives you the first mission for later.
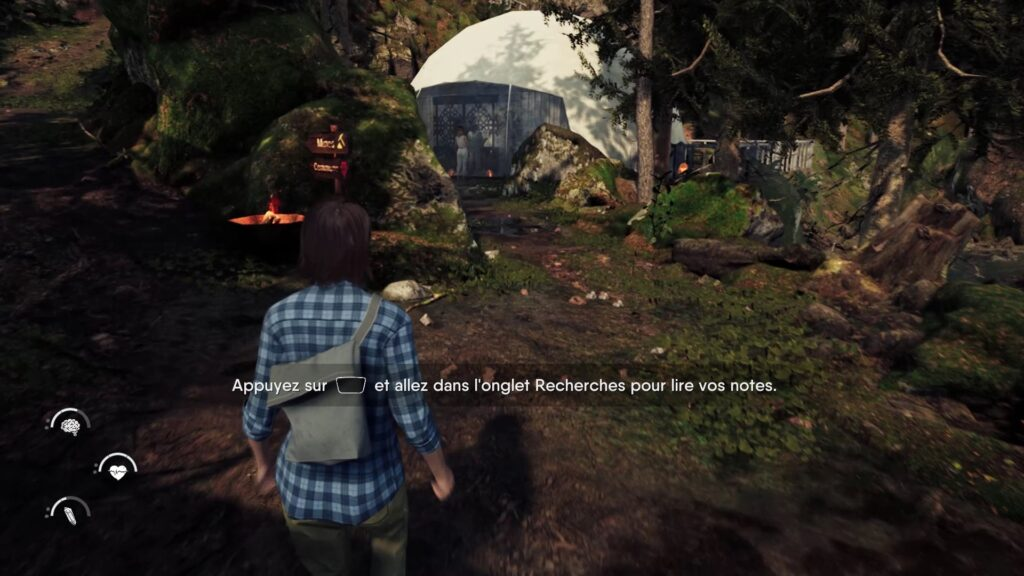
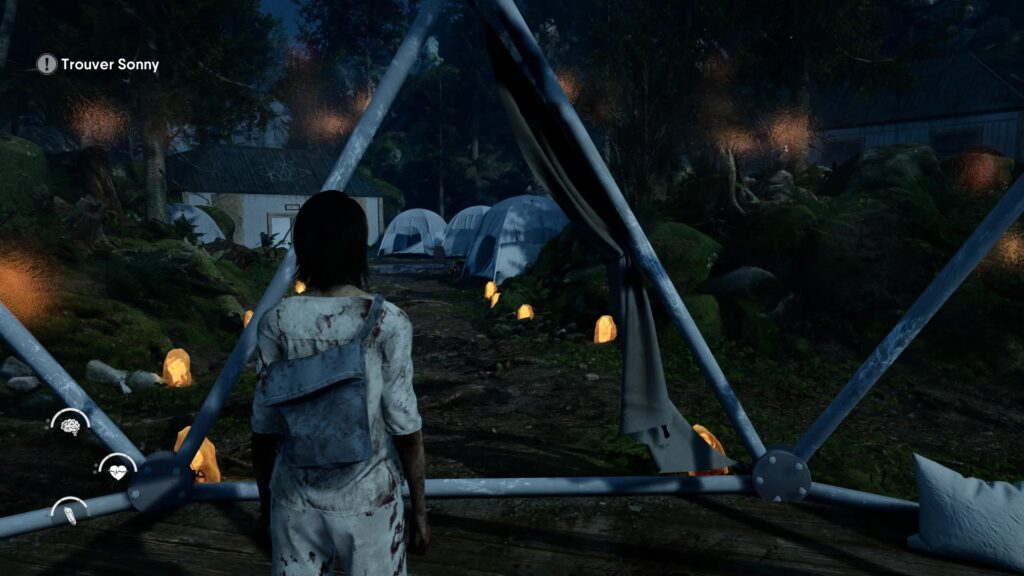
Let's find all the participants first. Approach the white bubble near the dome to find Hannah and Tyler. Then return to Kim at the tents east of the dome. You will find a ladder on the right. Climb up and enter the office to meet Sonny. He assigns you a second mission regarding the presentation room.
Let's move on to missions. The presentation hall is on the left after the domed bridge. Go inside and listen to Sonny's presentation on the projector. For the second mission, go back near the bridge to find the paddle behind the dome. You will find Mayan ingredients on the trail.
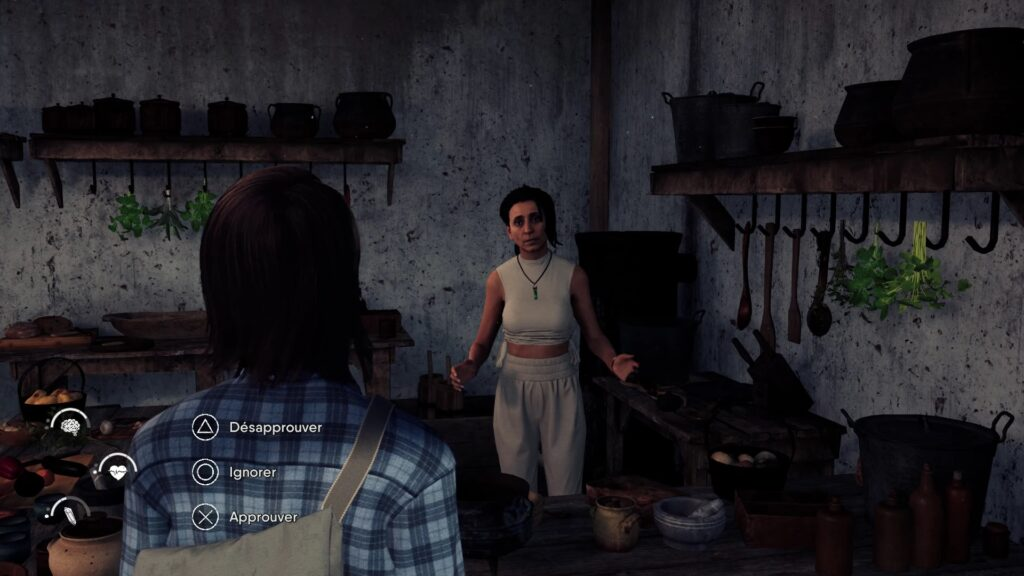
Take the ingredients back to Maya and speak with Kim near the tents to end the first day. In the evening, serious business begins.
Chapter 2
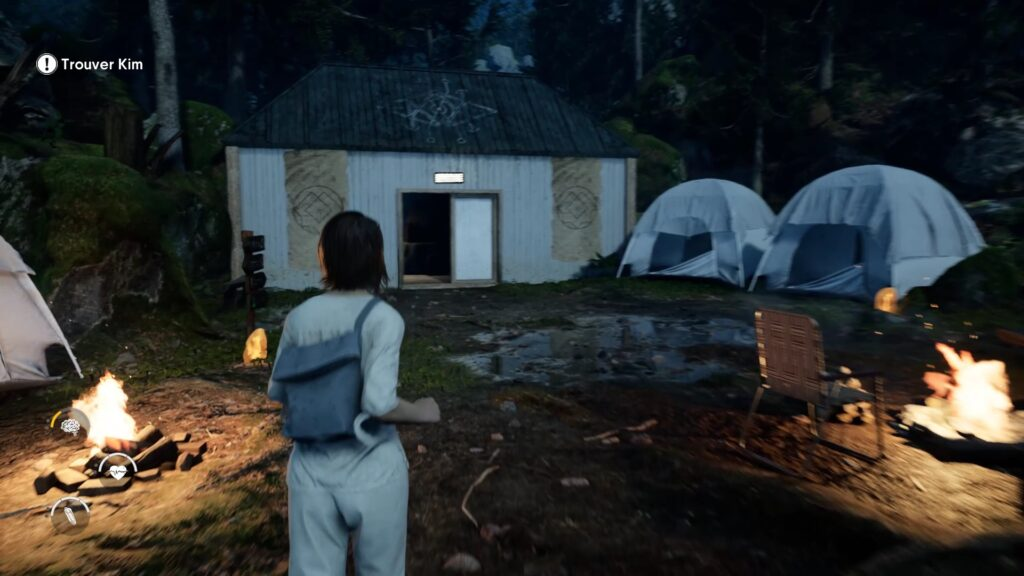
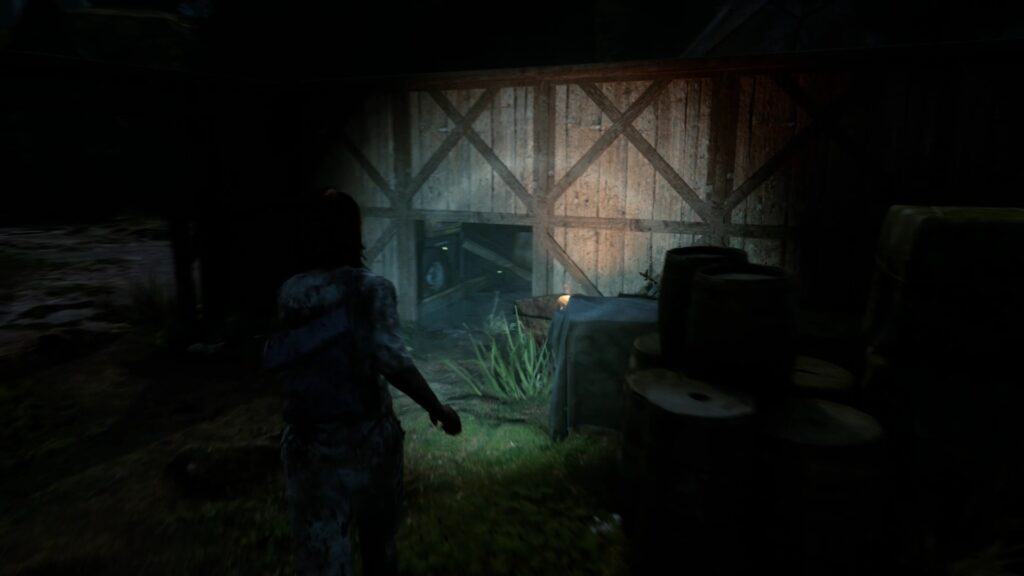
You go in pursuit of Kim. Enter the shed near the tents. On the other hand, control the power pack to light up the tunnel. Go inside the tunnel to meet Angie. Slalom between corpses to get through and trigger a cutscene.

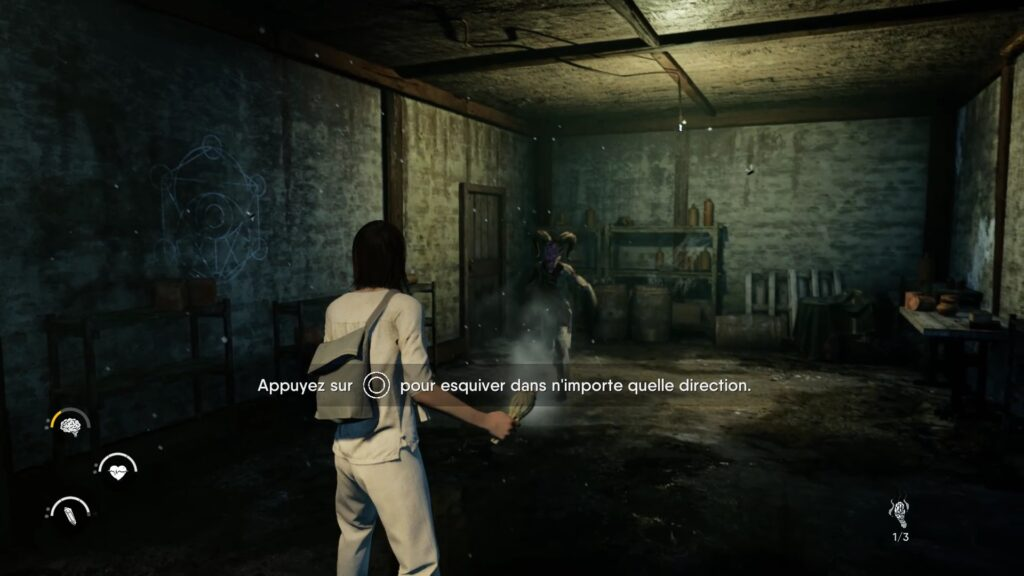
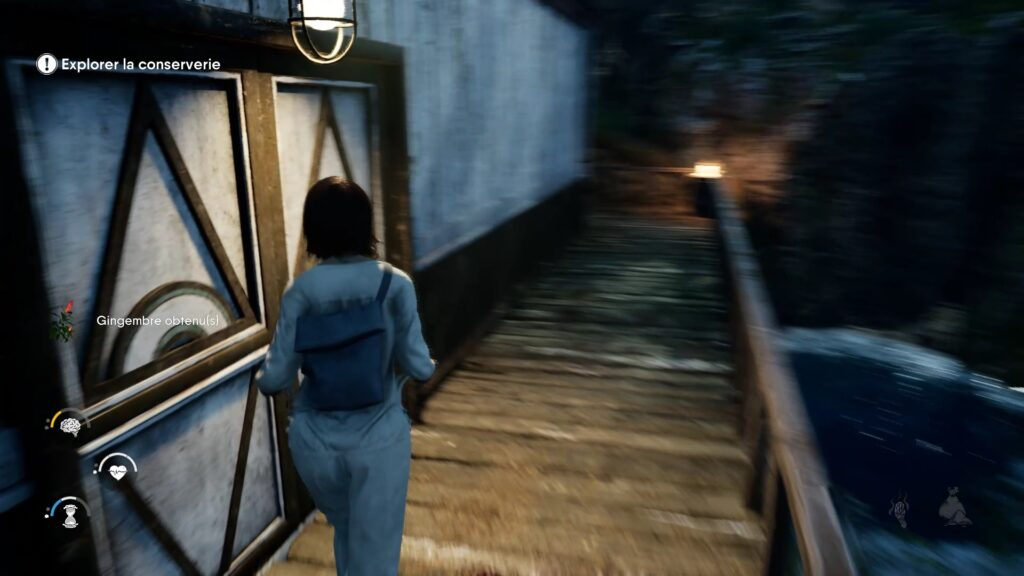
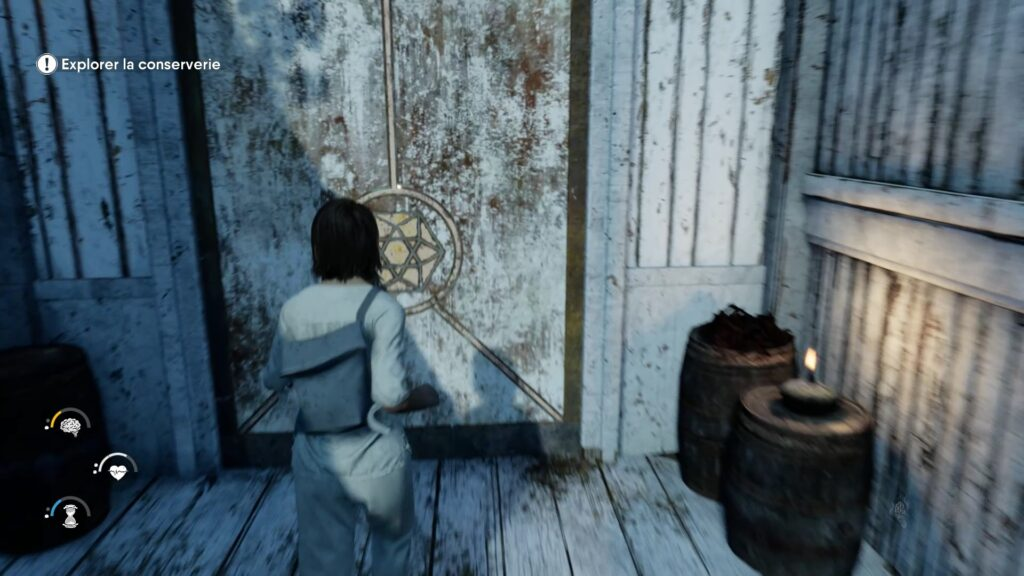
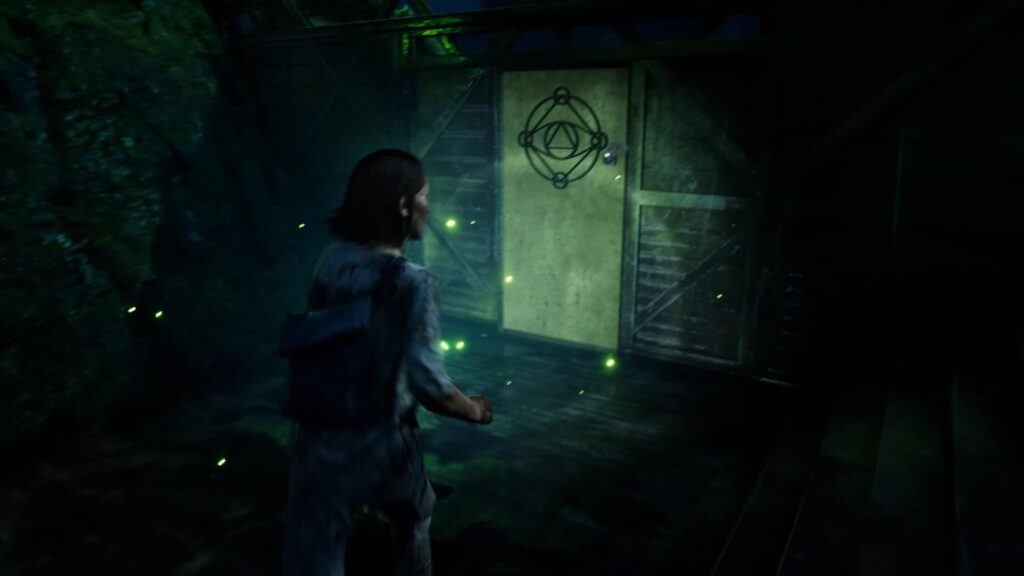
Arriving at the cannery, you'll find Tyler, who graciously puts you in charge of rescuing Kim. Go ahead and open the door with a sign. Inside, release the door and arm yourself with the sage's stick.
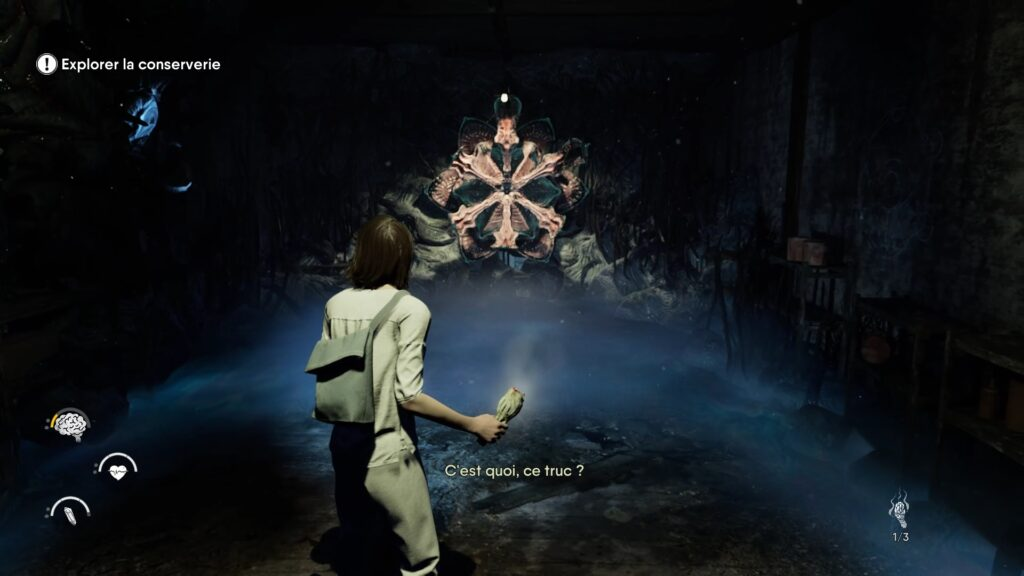
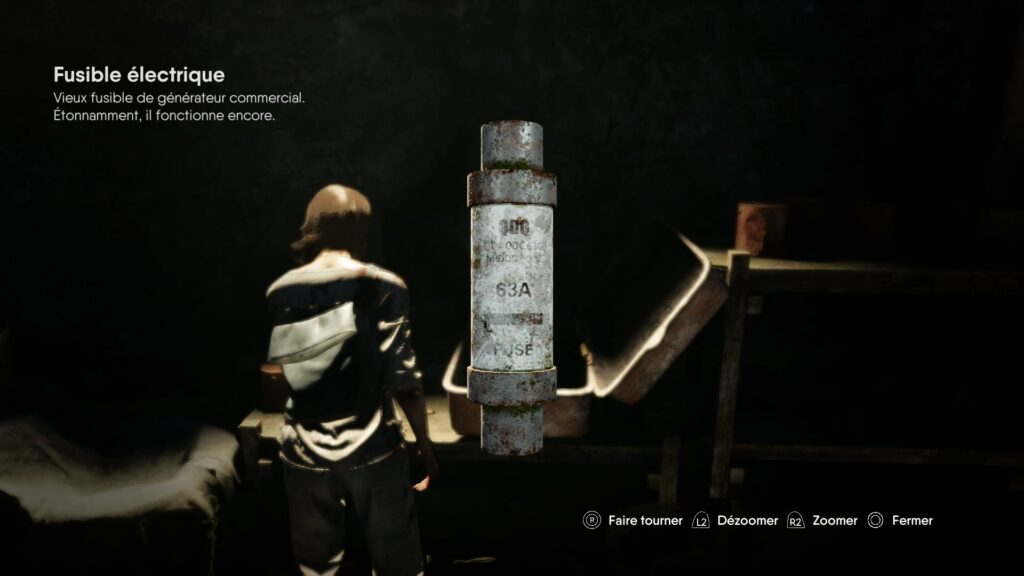
Attack the mandahart with your stick and dodge its attacks to avoid getting hit. Once eliminated, lift the fuse in the cabinet.
An enemy appears, use the dodge button with each of your attacks and strike to eliminate it. Return to the pontoon to insert the fuse into the box. Continue to the end of the pontoon to find traces of blood. Follow the tracks to reach the stairs leading to the attic above Kim. Go to the back of the attic to find a piece of metal behind the passage. Use your stasis on enemies to freeze them and avoid combat.
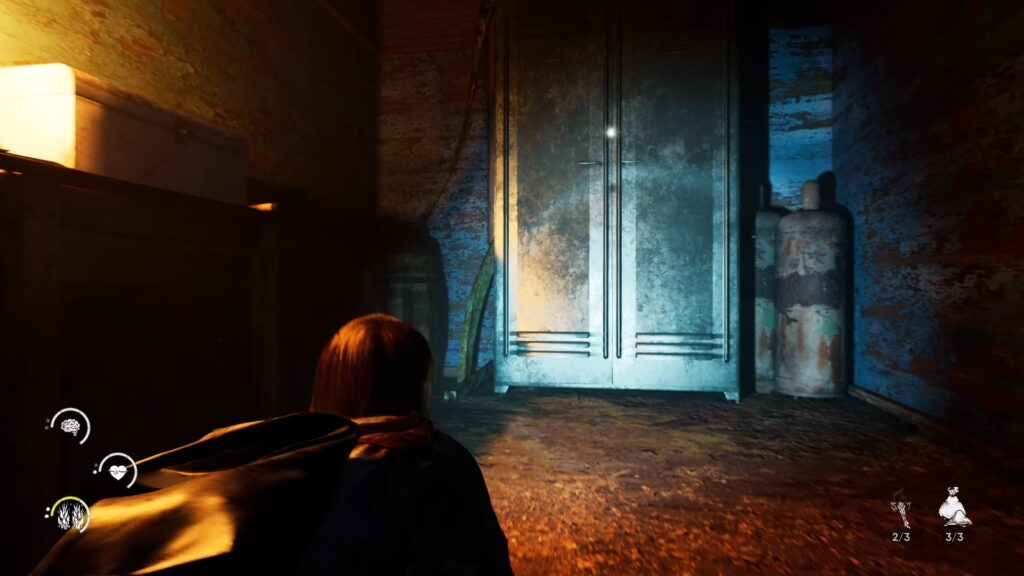
Go down the stairs and go through the double doors to find the second piece of metal. Exit directly to the bottom of the pontoon to find a chest in the tool box. Enter the water hut in front of Kim's building to use the key. The last piece of metal is waiting for you on the boat.
Combine metal pieces together in your inventory. Return to the double doors to find a sealed door behind. Use the Cannery Padlock key to open the cannery. Break the mandahart from behind to eliminate all enemies at once. Then enter the door to begin the cleansing ritual.
Chapter 3
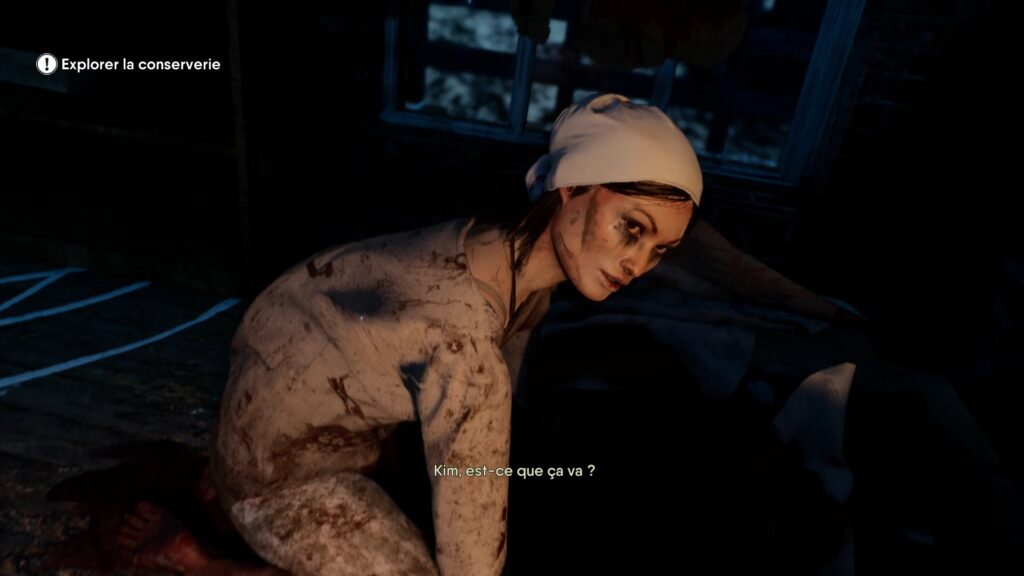
To cleanse Kim, first move towards one of the candles. Wait for Kim to attack to dodge and reverse your spots. Then attack Kim against the candle to immobilize her. When the sign is glowing, interact with Kim to hit her with the candle. Repeat the technique on the other candles and the mirror to end the fight.
Now you have to take care of Sonny. Return to the office near the dome tents to find him. After the cut-scene, the villain escapes. Pursue him into retirement. Follow the mine sign if you lose it. Once at the top, enter and go through the double doors to cross the stable.
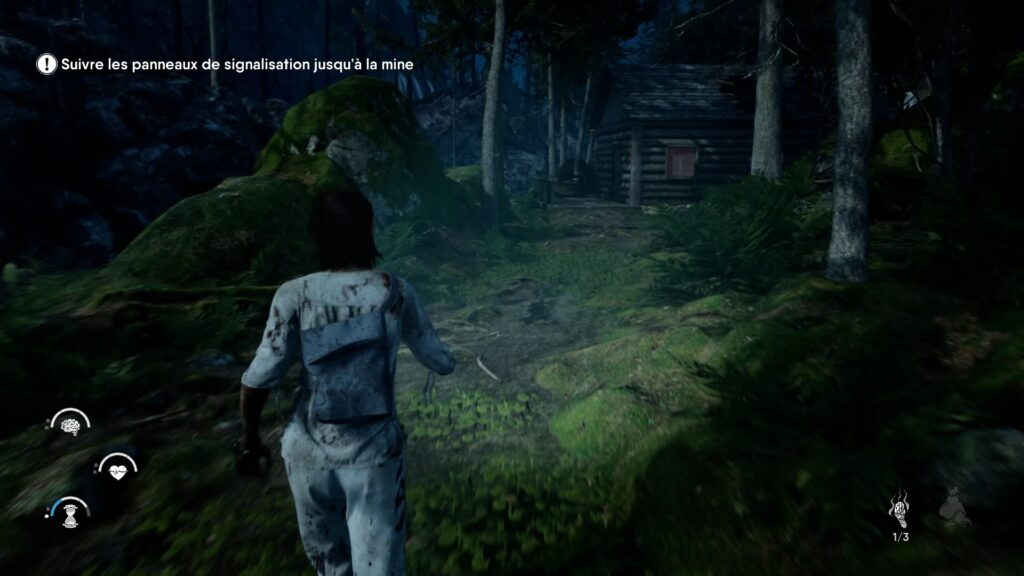
On the other side, follow the mine sign to find a wooden hut. Go inside to find the projector and reel. Exit from behind to join the gloom. After you make your way through the narrow passage, you will find a sealed door. We will open this door later. Go right to find a new path to darkness. At the end of it, a new cabin appears. Eliminate the enemies and enter the cockpit to find the metal part. Exit the hut and follow the wooden logs in the darkness to face the Mandahart. Destroy it first to destroy nearby enemies.
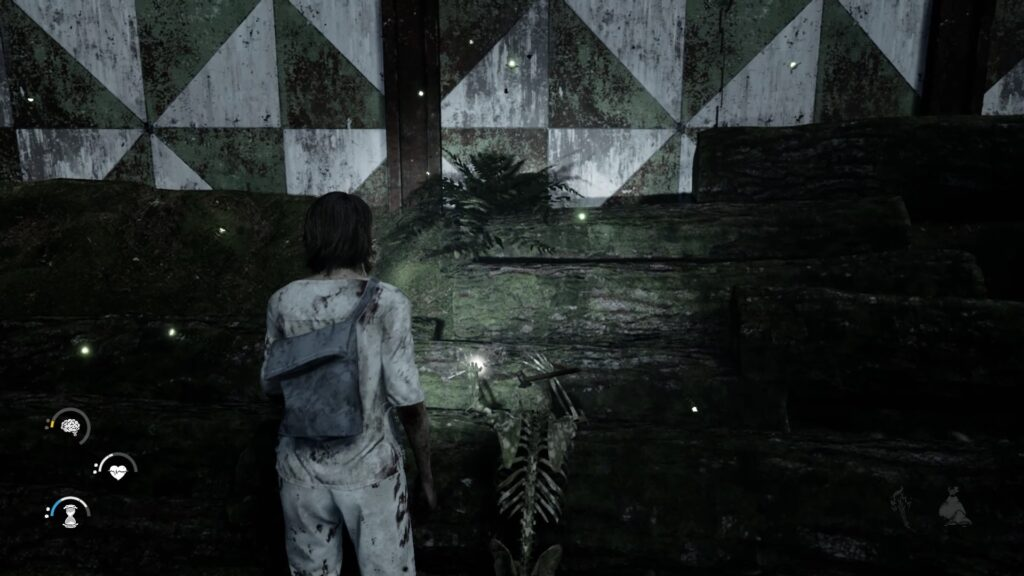
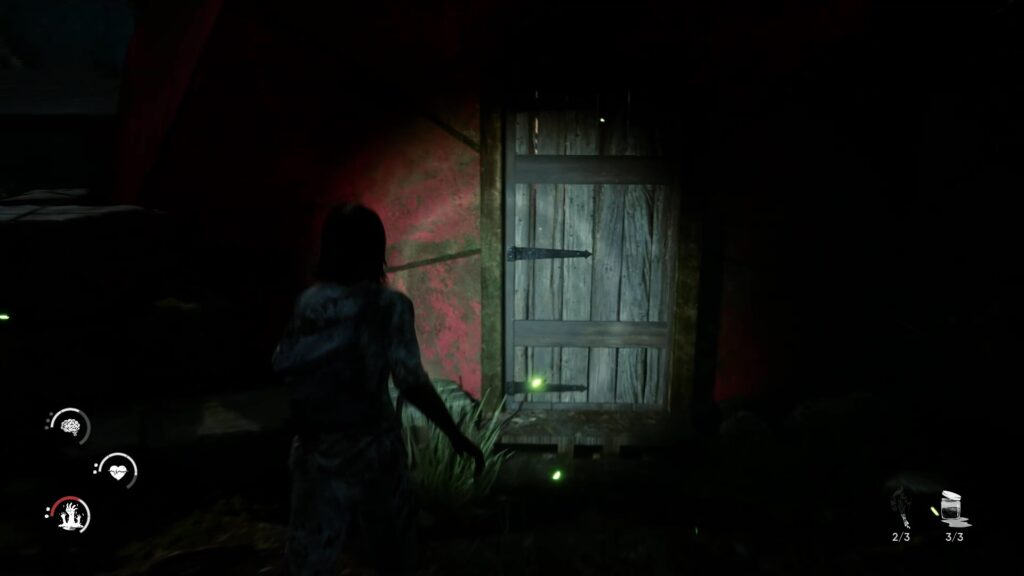
After the fight, collect the heart-shaped key from the skeleton. Watch out, Angie is back. Return to the first cabin with the projector. Outside, you will find a locked door that can be opened with a key. Go inside to find a new metal piece. Approach the previously encountered airtight door and connect the metal deuces to open access to the mines.
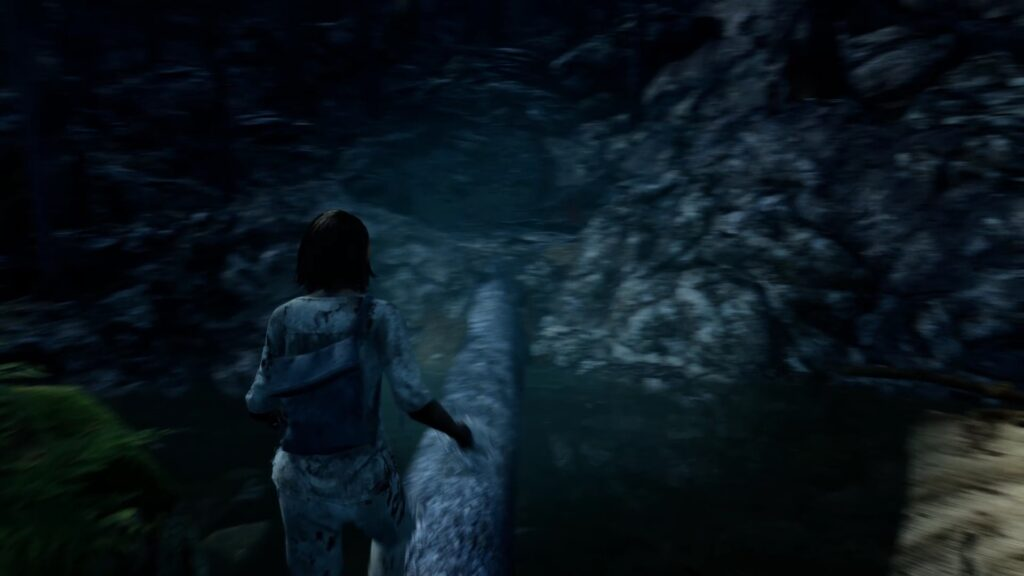
Run towards the mines before Angie catches you. You can avoid or run into enemies along the way. Go through the tunnels to get to Sonny. After the cutscene, activate the power supply in front of you. Then take out the fuse from the workbench that just ignited. Follow the light to find the second box and power it up with the fuse.
Explore the path that just became clear to find a new fuse in the bottom right corner. Be careful, the toads will ambush you. Get rid of them. Follow the steps and follow the red wire from the power supply to find the third box. Powering the third box with a fuse. Go through the tunnel to meet a giant toad. The technique of defeating him does not change from other enemies. Attack and dodge to defeat them. Then take the fuse to the locker. Once again, go into the power supply room and go upstairs. The power of the last box where Sonny was. Then follow the railroad to find the mine camp.
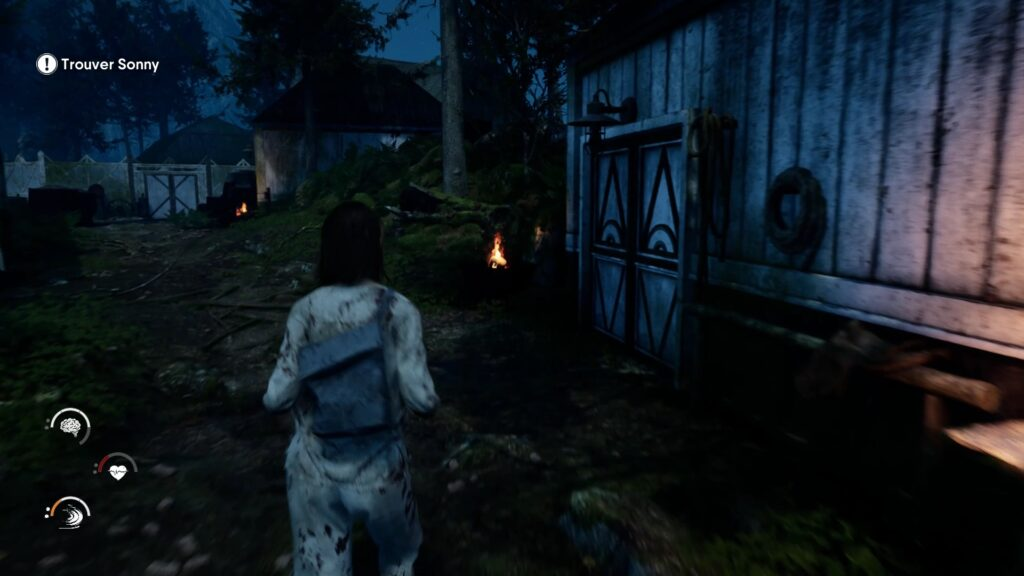
Head to the camp to find Sonny. After the cutscene, enter the shed with the double doors. Avoid or destroy the enemy inside and exit through the back door. Follow Sonny through the buildings again. When Sonny runs away, a fight ensues. After the fight, head to the passage to the left near the yellow barrier of darkness. Follow the bloody trails inside to find Sonny. He still manages to get away with it and leave you in the barn. Call the elevator and survive until it arrives. Hurry up in the elevator to go down into the mine.
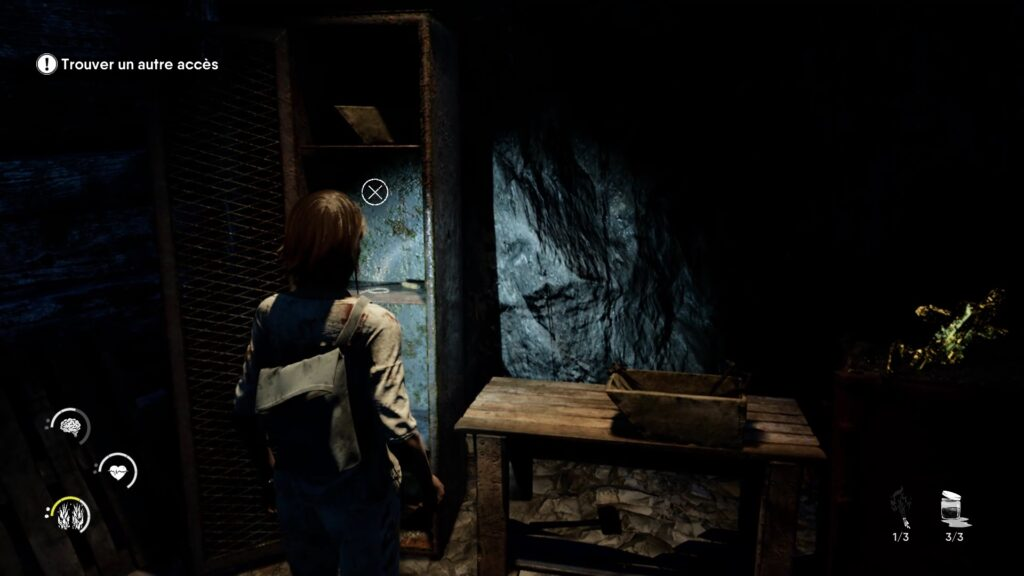
At the bottom, follow the railroad to meet the Reaper. Go through the crack and search the locker ahead for a fuse. Continue along the path to find a passage under the wall to the darkness. Inside, take the detonator and run through the passage to avoid the fight. insert the combination detonator with wick into the hole in front of the passage.
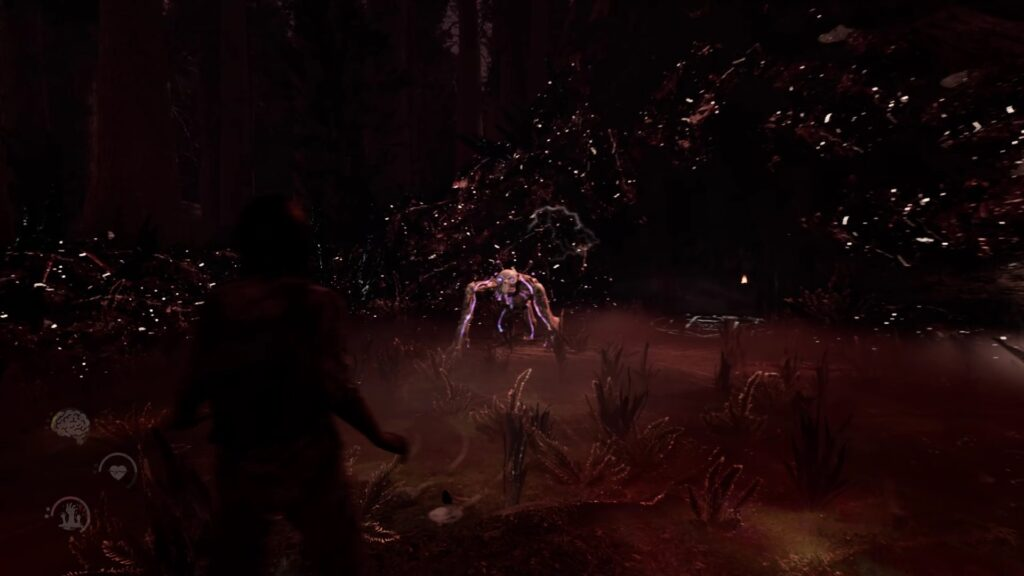
Follow the reaper in the dark. Reaching the end of the eliminated Mandahart to kill all enemies with one hit. Go deep into the darkness to find Sonny and the Reaper.

A fight breaks out against the reaper. Lure the reaper into the shrine to keep your sanity. The principle remains the same as with all enemies encountered before. Attack the reaper whenever you have the opportunity and dodge his attacks to avoid damage. When she takes shelter with Sonny, destroy her offspring to restart the fight. Repeat the technique to end the fight.

Trace your steps back to camp. Explore the building surrounded by yellow gloom. Search the double doors to find Mandahart. Break it to destroy nearby enemies. Remove the lever under the trophy.
Exit to the camp and follow the railroad to find the second house in the yellow gloom. Inside, destroy the mandahart to pick up the cog. Head to the center of the camp and climb onto the wind turbine to repair it with the lever and cog. Pull the lever and head back down the unlocked path to retirement.
Chapter 4
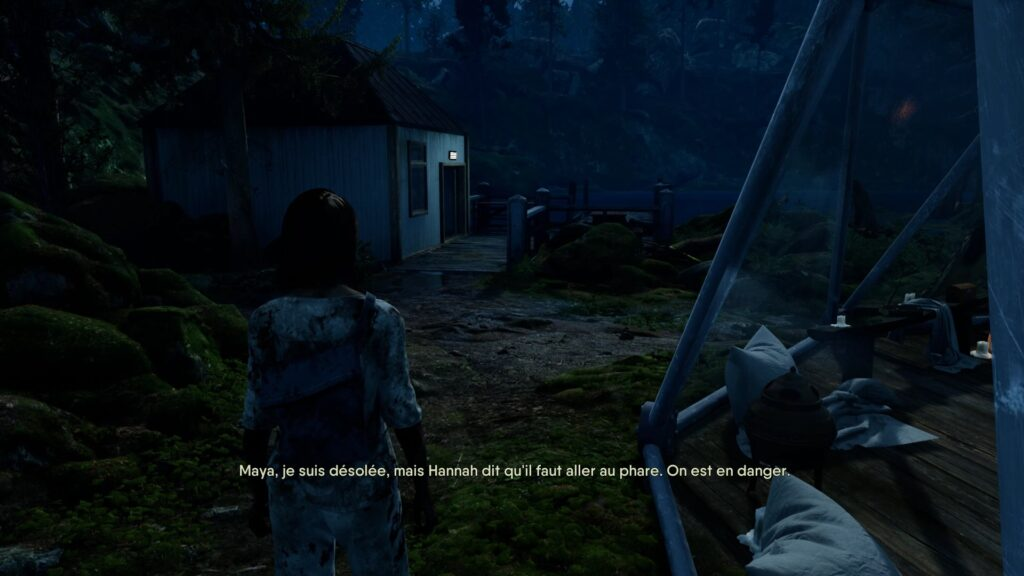
At the beginning of the chapter, head to the kitchen located next to the pontoon to find Maya. Follow her to the crossroads. When your paths diverge, follow the sign towards the lighthouse. Use the key in your inventory to open the sealed door ahead.
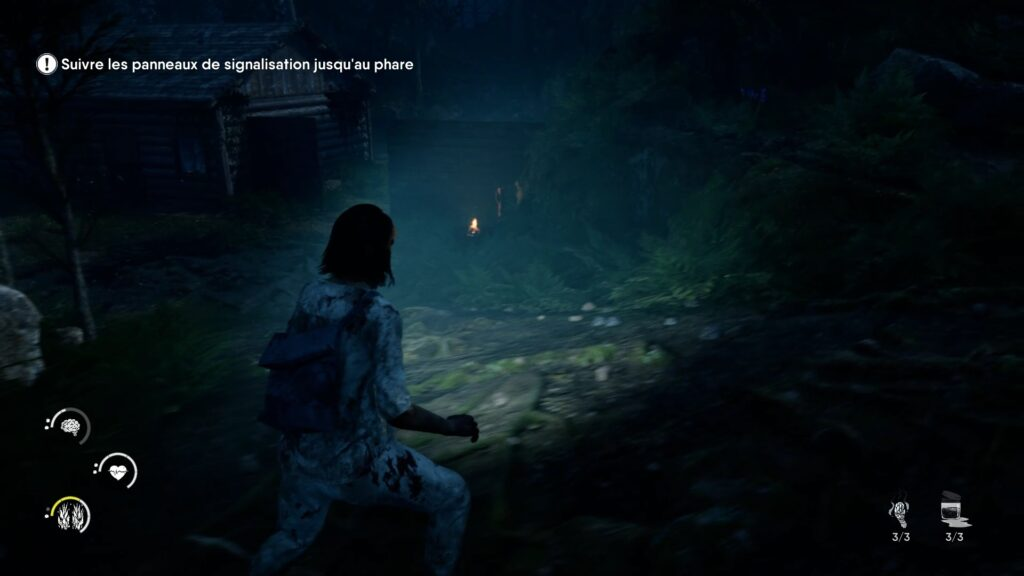
Follow the path to the lighthouse to reach the crossroads. You will find the hut on the left side. Destroy or avoid enemies to get inside. Go through the window to get outside. Toads are waiting for you on the trail. Avoid or fight them to pick up the metal piece on the rock. Follow the path to the lighthouse to find the camp. Search the tents to find the second metal piece. Then plunge into the blue darkness.
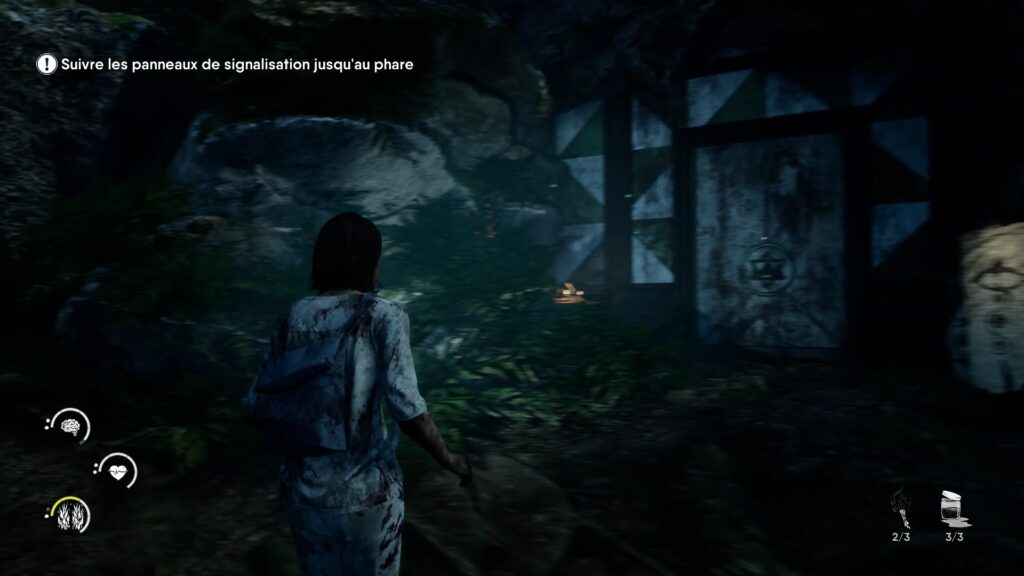
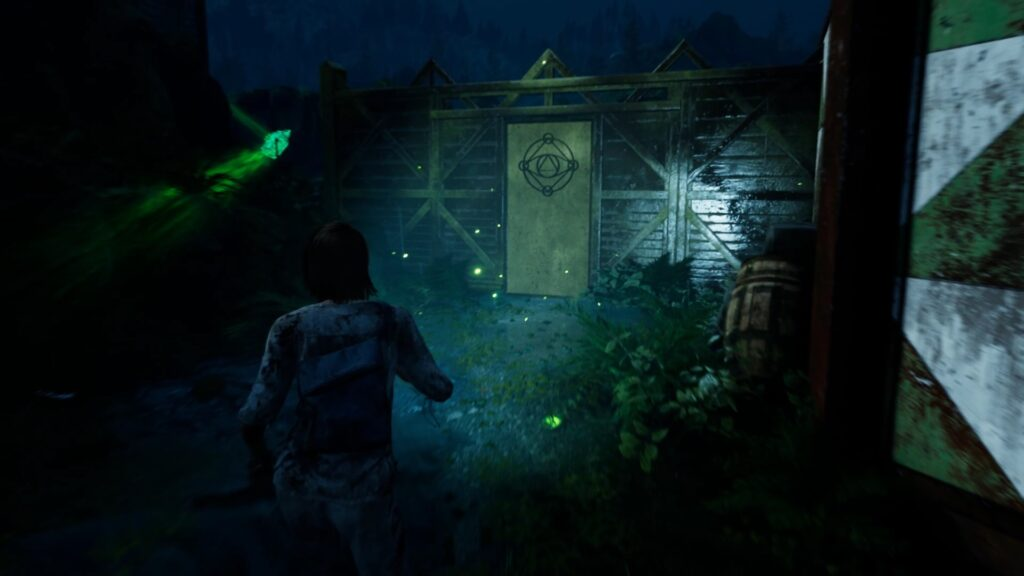
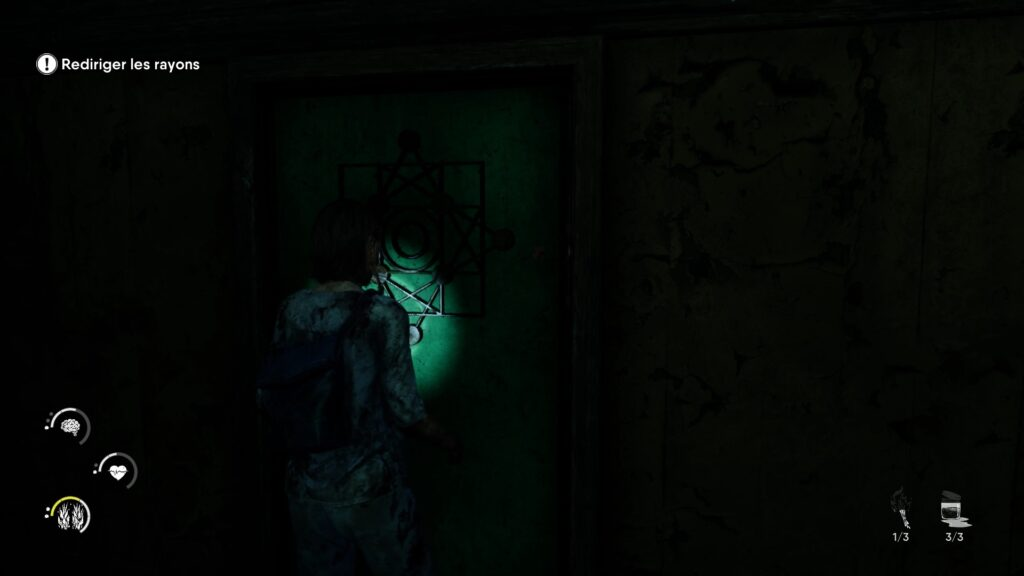
Turn left at the closed door to re-enter the blue darkness. Follow the path to the geodome to find a blue crystal door. Go inside and pick up the third metal piece. Look out, Angie is coming. Quickly return to the sealed door with metal parts to open it.
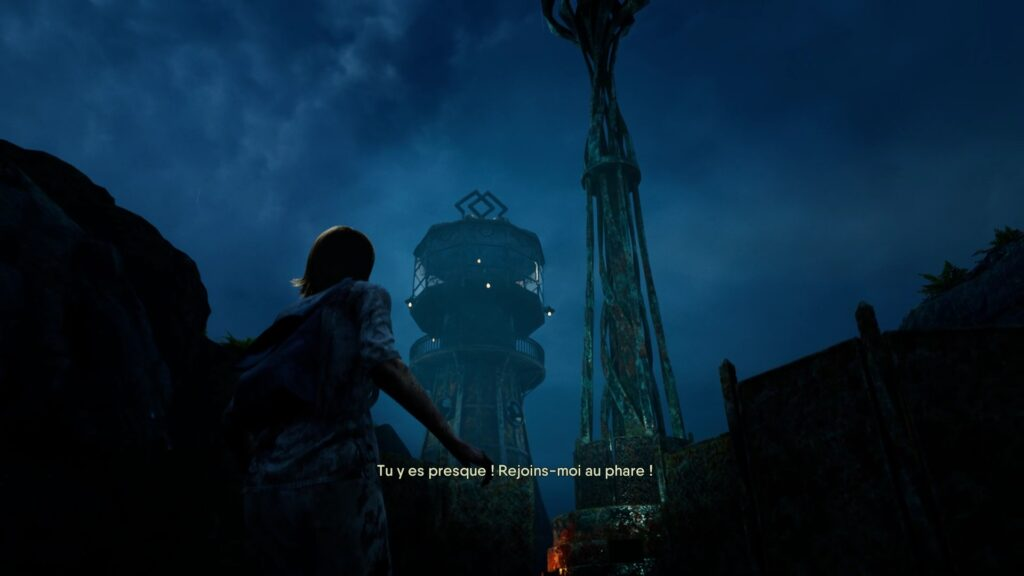
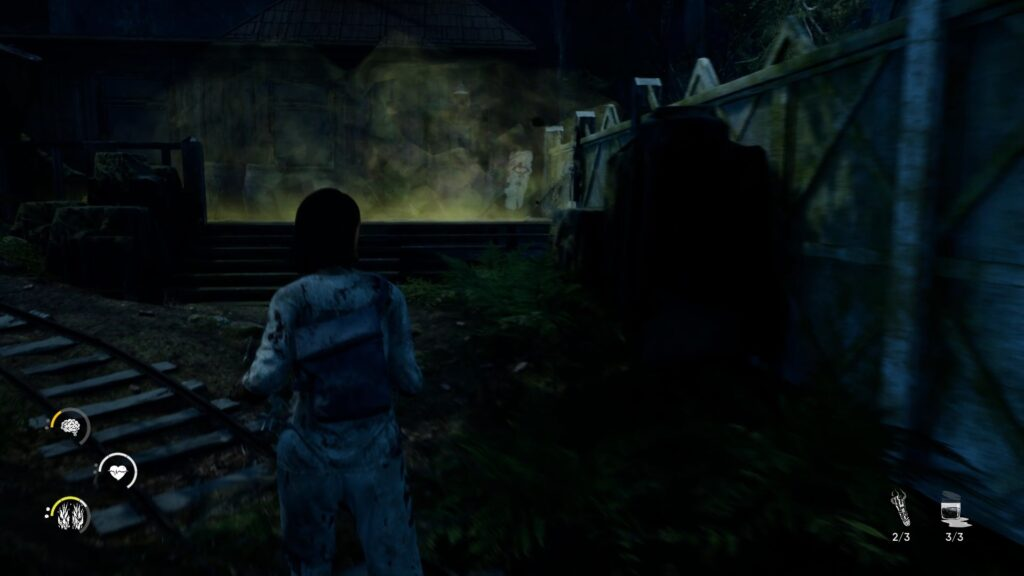
Move towards the lighthouse and go through the passage on the right to access it. Go inside to find Maya. Then climb to the top of the lighthouse to activate the beacon. Before heading down after the cutscene, grab the key next to the stairs. At the bottom you will find a workshop door that needs to be opened near the barricade.
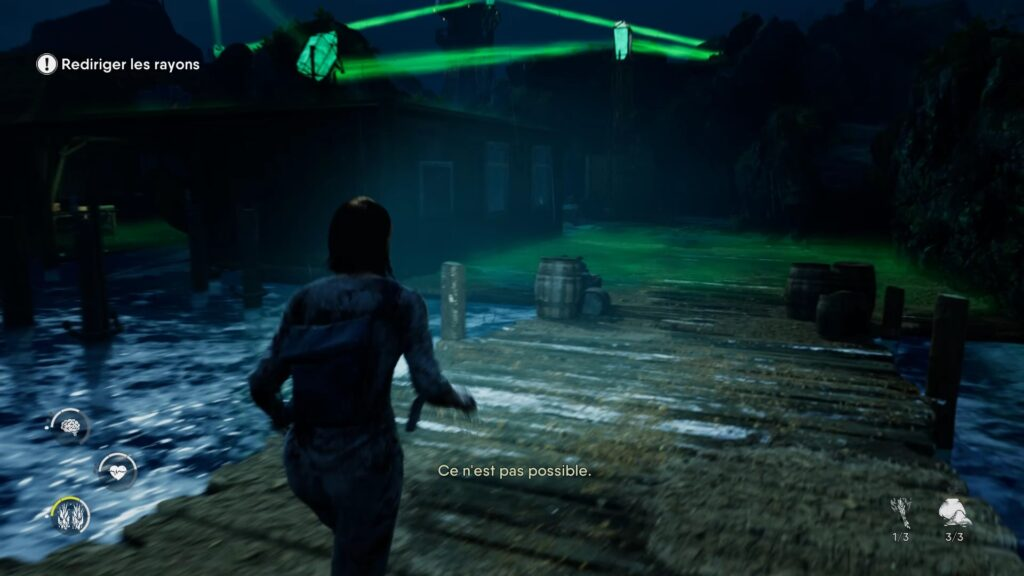
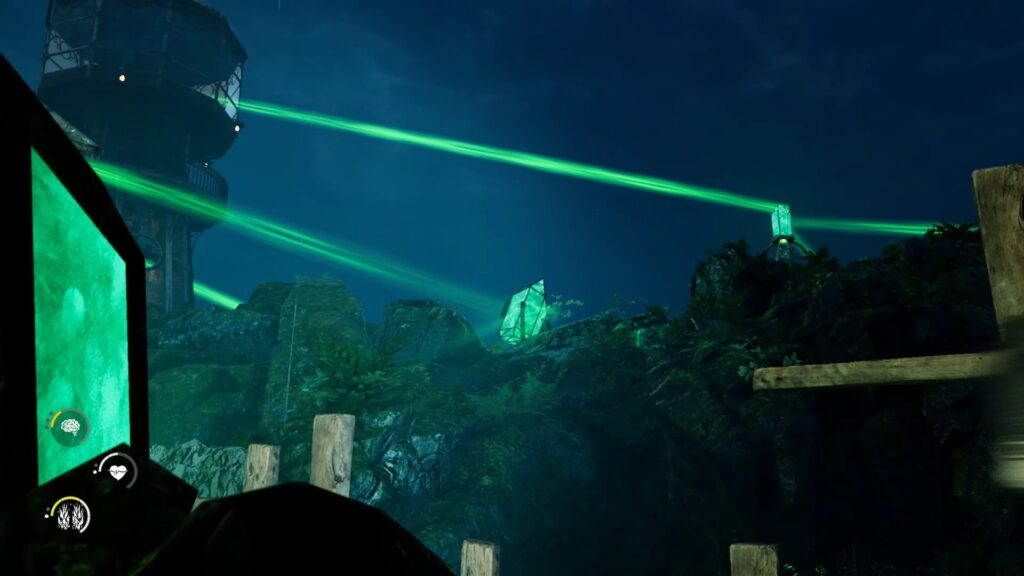
Search the locker inside to find Mercury. Then return to the lighthouse to reset the machine below the peak. Now is the time to redirect the beams. Let's start with the first one on the left above the embankment. Beware of enemies waiting for you. After cleaning, aim the beam at the reflector below. Follow the beam to get to the reflector.
Enter the building under the reflector to find the tridonic key inside. Then go up the stairs to redirect the reflector to another one. Move towards the radius to find a building to unlock. Climb up to the roof using the ladder inside to redirect the reflector.
Follow the new beam to open the door. Behind the door is a reflector. Be careful, there are many enemies waiting for you. Get rid of the enemies and use the reflector to get to another reflector on the roof. Use the reflector beam to destroy enemies flying around. Then enter the building to go up the stairs and redirect the reflector. Go back down the building to find a passage in the toilets. Destroy the mandahart inside and pick up the Yantra key from the nightstand.
Trace your steps to use the key to open the door in the building leading to the reflector outside. Use the reflector to free the next reflector from the flying beasts. Then use the reflector to power the headlight.
Join the workshop near the barricade to find a ladder on the left. Use the key to open the door. You come to the pool. Go under the small passage to get to the reflector. Light the reflector opposite and go to it. Use his beam to free the reflector down in the ruined house.
Join the destroyed house. Destroy the mandahart inside to illuminate the last reflector near the lighthouse. Use the last reflector to illuminate the beacon.

After Kim and Sonny, it was Maya's turn to fall into the hands of darkness. Use the same methods as before to get to Maya. Hit and dodge. When Maya takes cover at the lighthouse, use one of the reflectors to destroy the flying beasts. Then run to avoid being pierced and hit by Maya. Then start again at the second reflector to get to the last round and end the fight. Join the retreat to move on to the next chapter.
Chapter 5
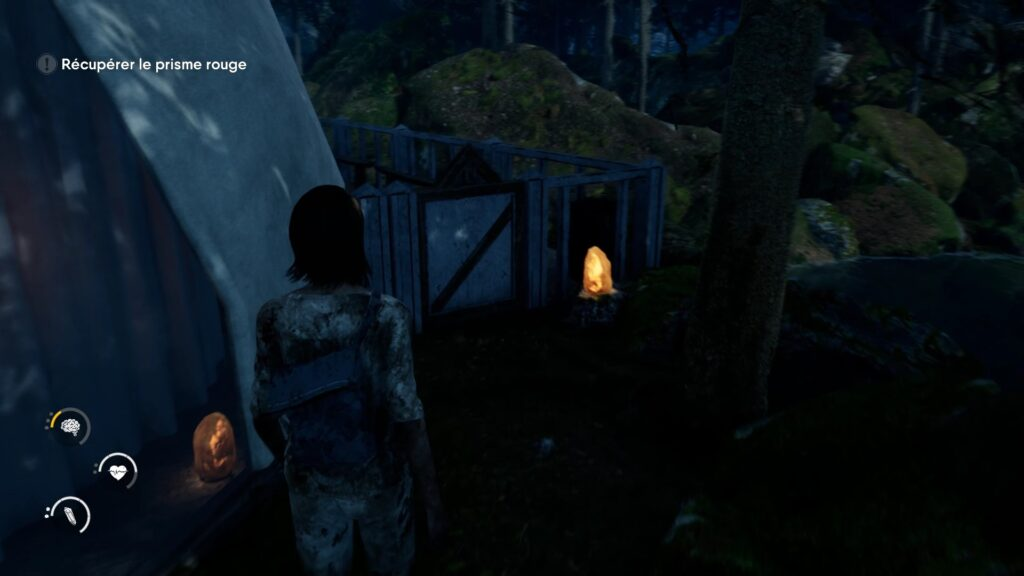
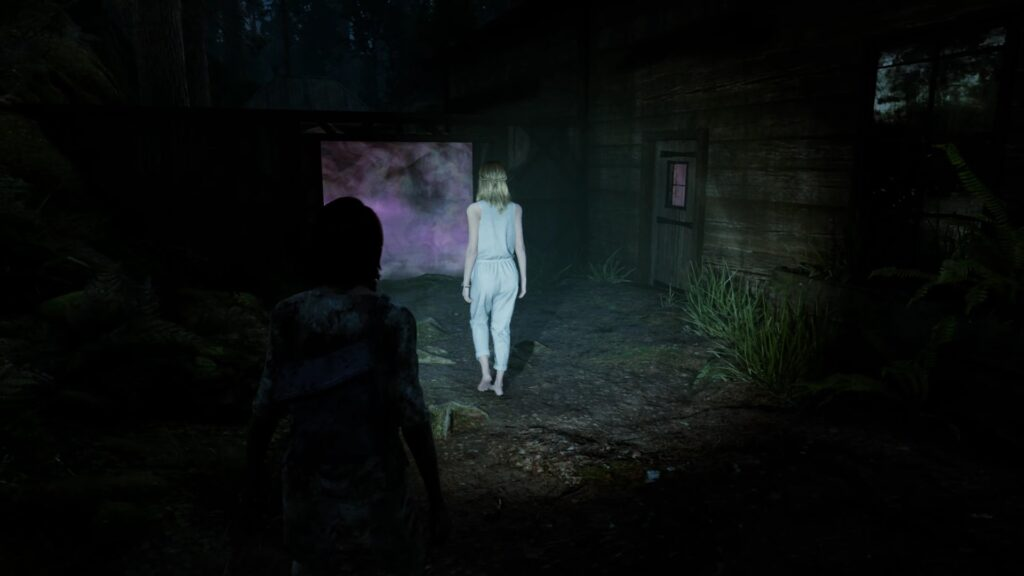
At the start of the chapter, follow Hannah to talk to Tyler. After the dialogue, quietly enter through the portal on the right. Once inside the bubble, pick up Tyler's Red Prism from the bedside table. Join Hannah to run. Follow Hanna to the crossroads. Choose the path to the spiritual path to continue alone in the red darkness. Avoid enemies on the way to the arena.
In the arena, use the power of the colossus against the crystal barrier. Do not seek to destroy the beast, he is invincible. Once over an open barrier to take cover. Move forward to reach the wooden hut. Go through the window inside to continue. Go outside to join Hanna in front of the greenhouse. The green wall prevents you from continuing. After examining the greenhouse, you will find an irrigation system without a valve, let's look for it first.
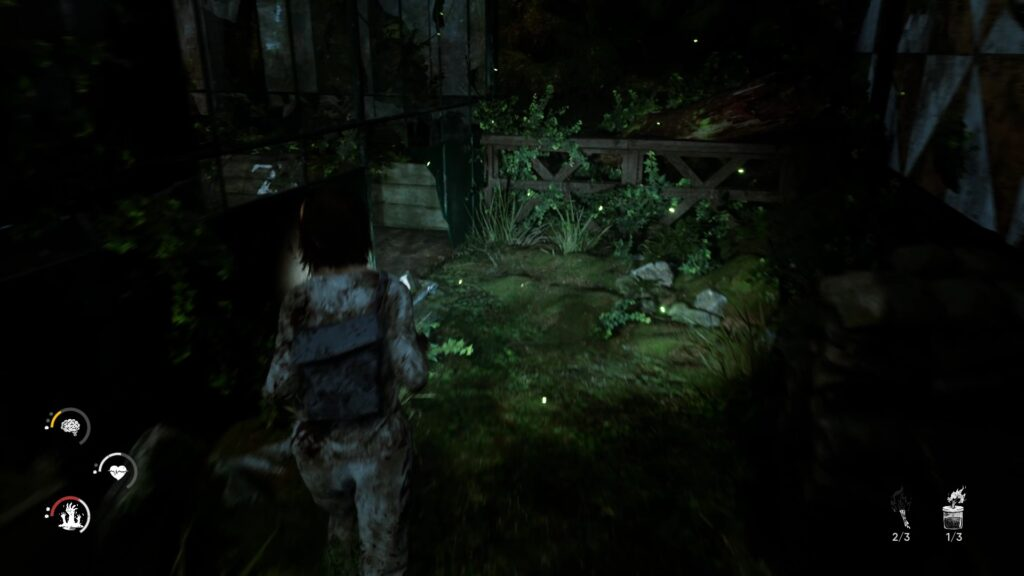
Go to the bottom of the greenhouse to find the entrance. Go inside to find the farm key. Return to Hanna for the alchemy recipe. Exit the greenhouse to find the entrance to the farm. Use the key to unlock the lock. Continue to the bottom of the farm to enter the orange gloom. You will find a valve in the cockpit at the end. Enter from behind to reach him.

Run away from the farm to avoid unnecessary fights. Return to the greenhouse and study the alchemy recipe. Each symbol corresponds to an ingredient in the greenhouse. You must first form two pairs in order to connect them and get the right mixture. You will find all items in our images above.
Then place the valve and mixture into the irrigation system to open the passage. Follow Hannah to the barn. Enter the shed in the red gloom. You will find a ladder in the room next to the projector screen. At a height you will find yourself in front of several boards. Move carefully on the board to hear if it makes noise. If a sound occurs, take a step back and try another plank. Pass only on silentboards. During our game, the path was: left, right, left.
On the way to Hanna, enter the red bubble to collect the red orb. Exit through the back door to join Hanna at the big door. You may have figured it out, but you must find all the orbs to be able to open the big door.
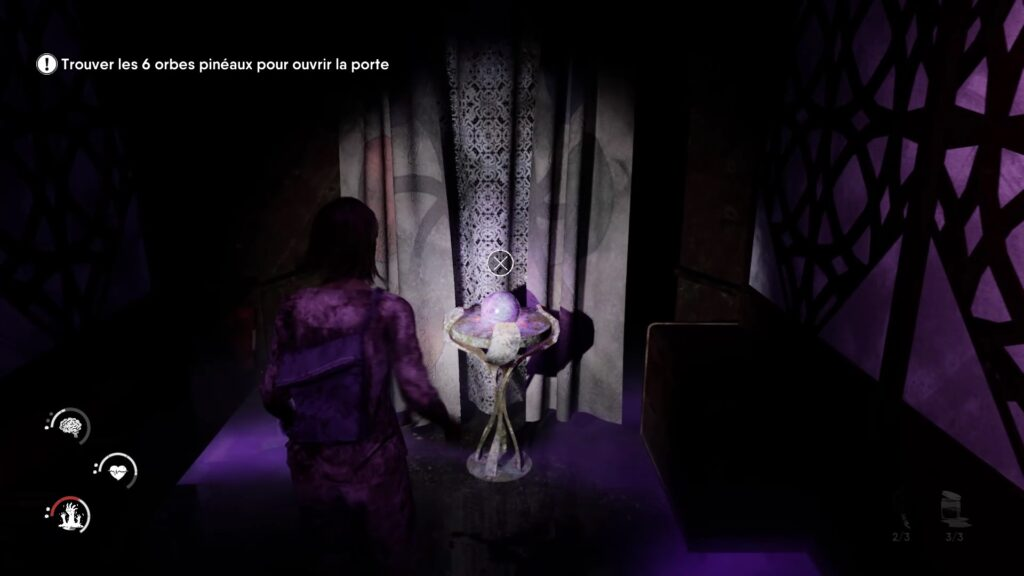
First, examine the indigo bubble in the dark indigo to Hannah's left to find an indigo ball (that's a lot of indigo). Repeat with the yellow bubble. The mandaker is to the left of the bubble if you want to eliminate the enemies around. Do the same with the green and orange bubble.
To join the blue bubble, went through the entrance under the palisade. With balls in hand, arrange the balls in order to open the big door: red, indigo green, orange, yellow and blue. The colors match the sign above the door.
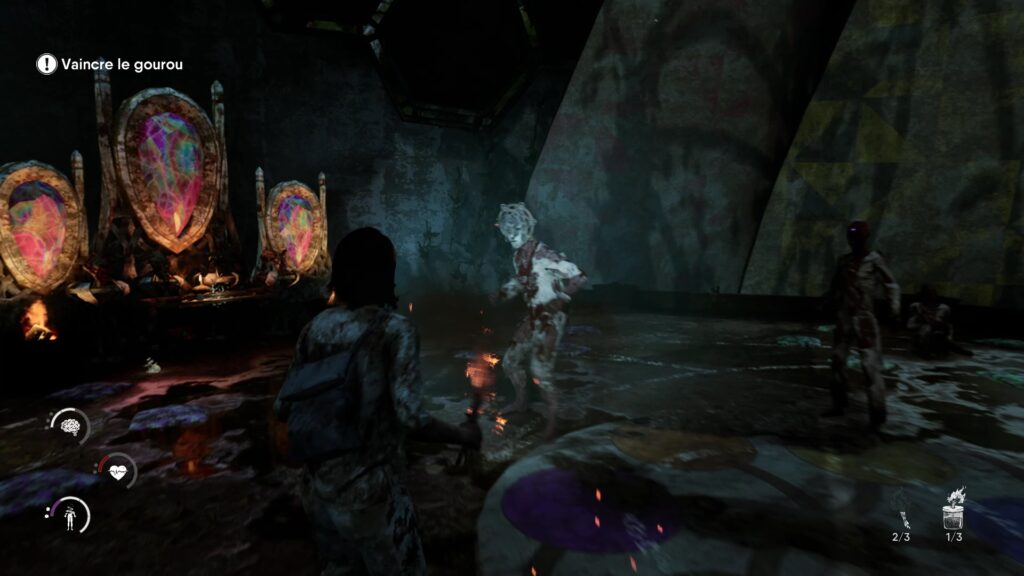
Guru wakes up. Use the same technique i.e. attack and dodge to defeat him effortlessly. In the second phase of the fight, do not hit nearby enemies. Pull them to the periphery of the area and go straight to the reflector to break it. If you are far enough away from the reflector, you will have enough time. Perform the operation on the other two reflectors to end the fight.
Chapter 6
This is the final chapter, follow Hannah at the beginning only to be separated when Angie arrives. Run to the end of the path to find a sealed door. You will have to find metal parts to open it. You will find the first coin on the balcony of the hut. Be careful, the balcony collapses when you pick up an item. Take the opportunity to engulf yourself in the rift against the wall. You will find the coin at the foot of the skeleton. The last piece is on the outside at the back, located between the carts. Connect the parts of the object for a key and open the sealed door. Follow the signs to the dome to get to Hannah.

The chase starts after the cutscene. Run, following the free paths to Hannah. At the end of the road, the final battle begins.
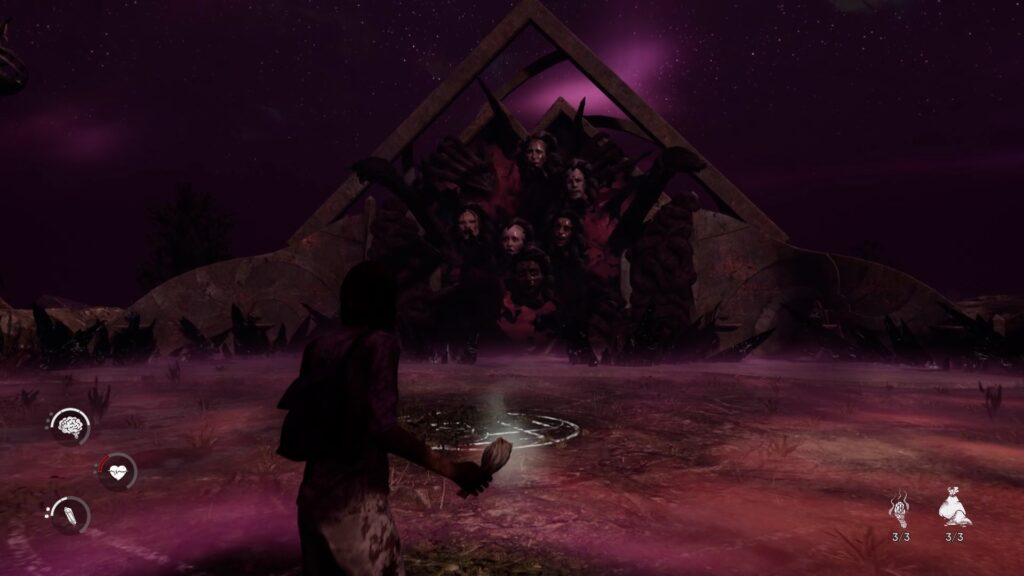
The fight is based on the same principles as the previous fights. Hit and dodge at the right time. Sanity quickly falls to the ground, take a break in the center of the arena in the Sanctuary to calm down. At the beginning of the fight, dodge Sonny's attack to avoid being impaled. Then attack the monster, paying attention to the vines on the sides. If they light up, get ready to dodge. When Kim uses her power, run towards the monster so you don't get impaled. When it was Maya's turn to hit her to call her flying beasts back. Chain Hannah and Tyler to avoid being affected by their power.
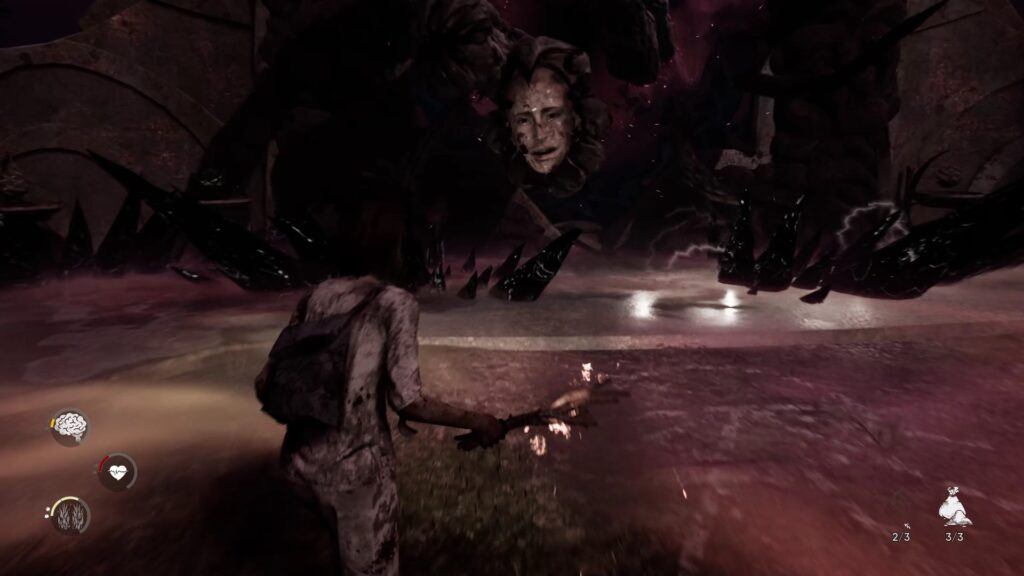
At the end of the fight, it's Angie and Jess' turn. Go around the arena to dodge Angie. Hit Jess in the head in passing when Angie is not around. Chain a few hits together before circling around and attacking again. Move slowly but surely to end the fight. You will unlock one of three endings upon completion depending on your play style and collectibles collected.
How to get different endings?
Mind
- Pick up documents
- Often revives the spirit
- Choose options for mental dialogue
- Avoid killing enemies
Body
- Kill cult members
- Restore your health (ginger)
- Selecting Body Parameters in Dialog Boxes
- Do not take any document.
- Avoid killing dark creatures.
Spirit
- Choice of Spiritual Dialogue Options
- Often regenerate spiritual energy
- Kill dark creatures
- Don't take the document.
- Don't kill a cult member
Was the article helpful?


