Thymesia is a brutal and fast-paced action RPG with a carefully crafted disease weapon system. In the role of the mysterious Corvus, you have to survive in a kingdom where death is rampant. Hunt down enemies, master the power of the plague, and unearth the truth in your own memories.
Walkthrough Thymesia - Walkthrough

Welcome to walkthrough thymesia! Our guide will take you through the entire plot of the game, all the way to the end credits.
Welcome to PortalVirtualReality's Thymesia guide! In this guide, you can expect not only to get through this tough Souls-Like game, but you will also get 100% items, tips and tricks along the way!
Thymesia is a mysterious disease that ravages the earth, and everywhere you look, everything is under the influence of this infection. Let's be honest... the game looks fantastic!
The game can be rough, especially when it comes to bosses (which Souls veterans will love). To be honest, sometimes it's a lot more like Bloodborne and Sekiro.
There are also numerous collectibles throughout the game. We'll find every possible item and provide tips for winning strategies in ultra-tough boss fights!
Ready to get started?! Let's see if we can figure out what's behind this plague... and what we can do about it!
Contents:
- Prologue of the Kingdom of Hermes
- Philosopher's Hill
- sea of trees
- Royal garden
- Fortress Hermes
- Ocean of memories

Prologue of the Kingdom of Hermes
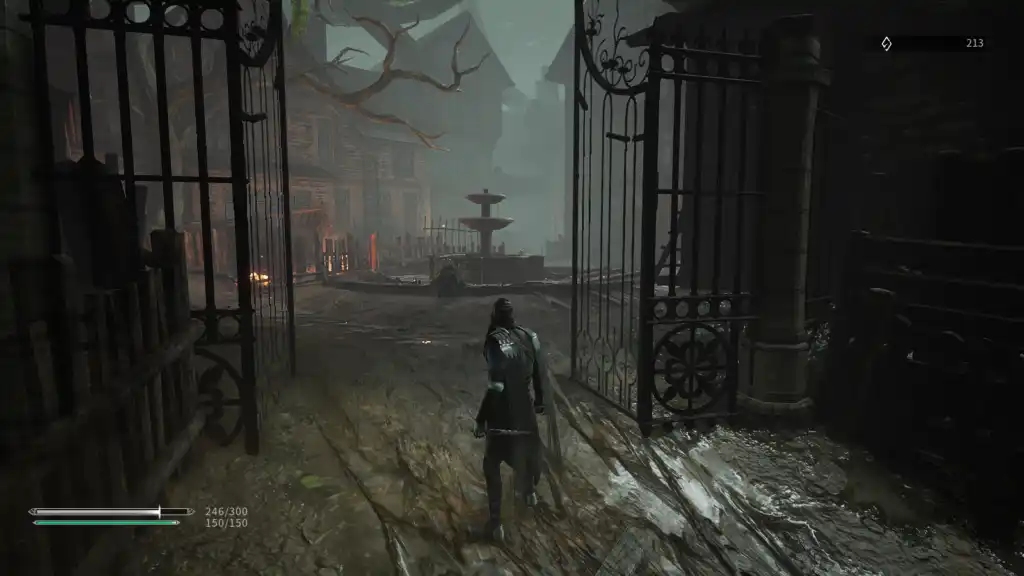
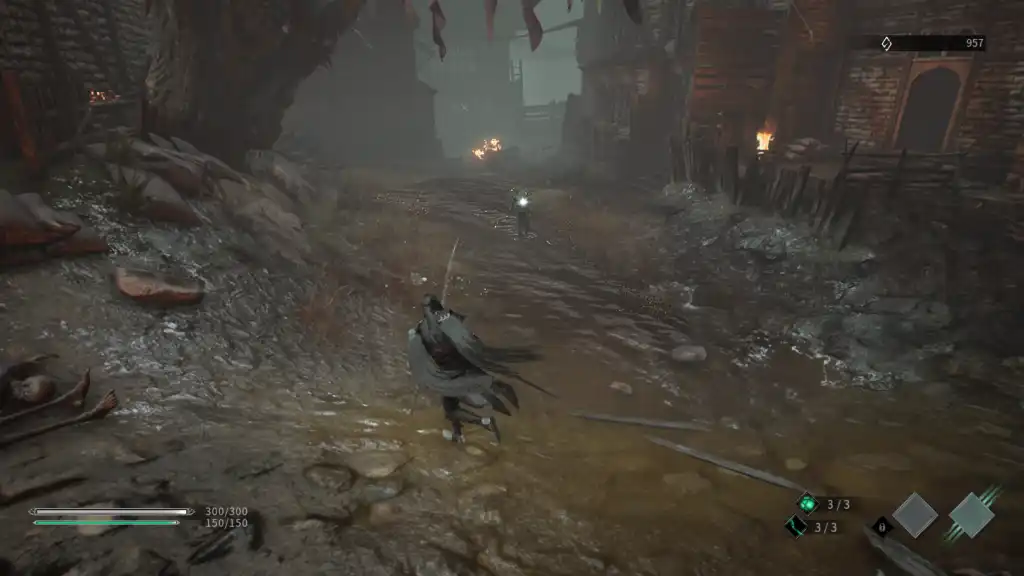
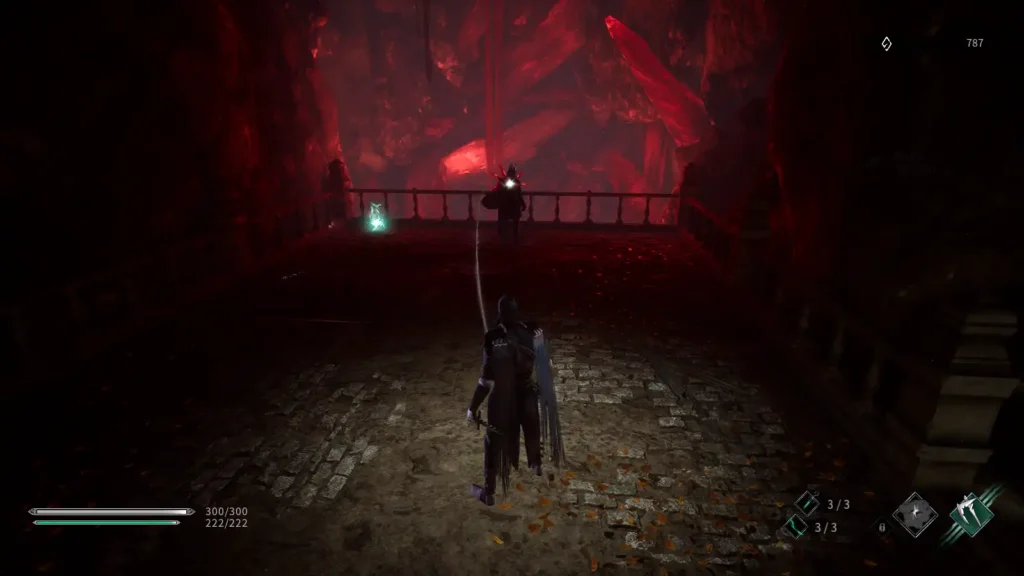
After a short cut-scene, you will be taken to a village in the Hermes Fortress. This is an area we'll come back to later, but for now, this little bit serves as a tutorial for the game.

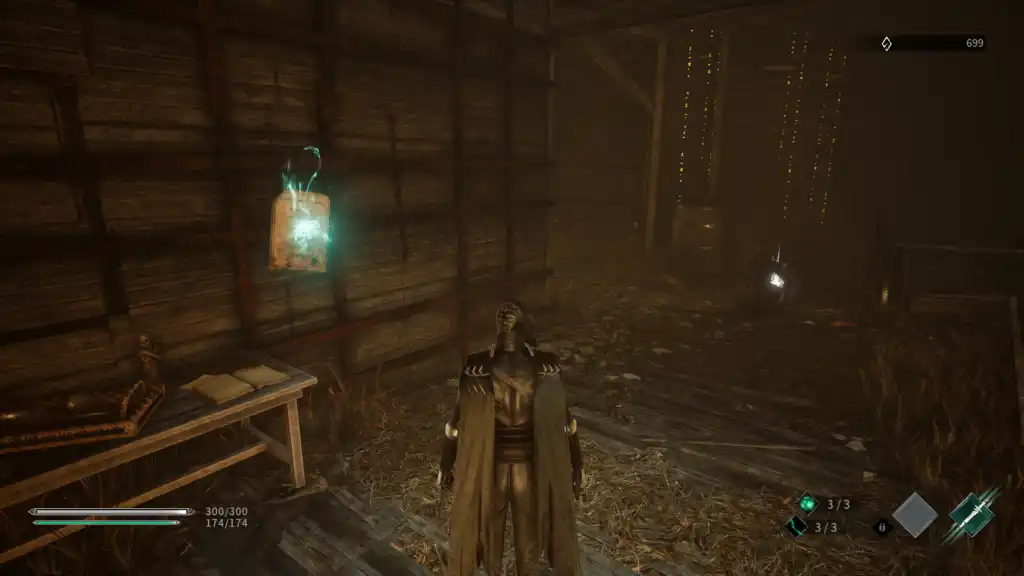
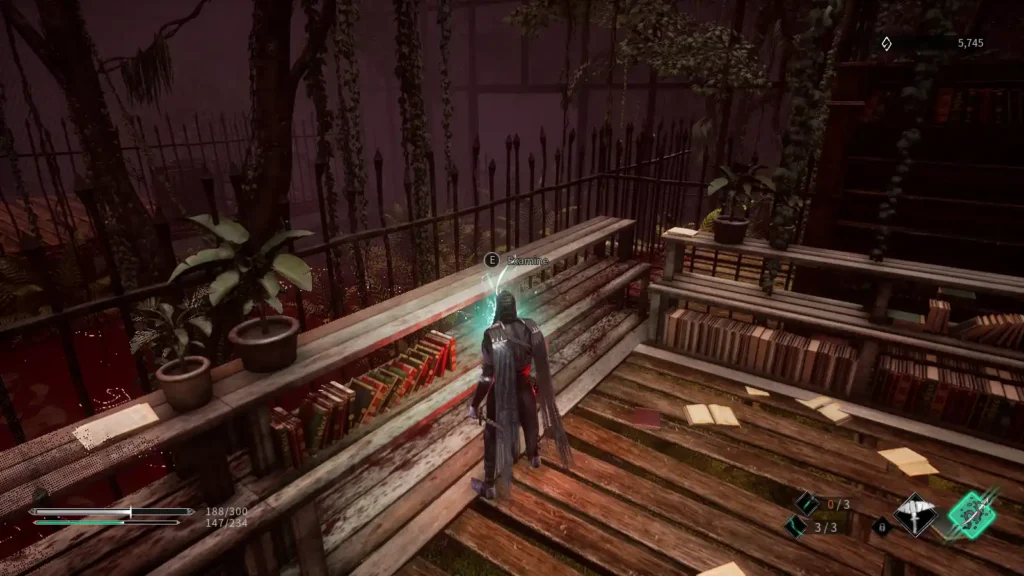
After a couple of tutorial pop-ups, you'll be given control of the Corvus and can start learning how to move, attack, and dodge. Start by looking at two Notes in close proximity to you, marked with glowing green flames. in front of you crumpled paper, behind - administrative order.
each the noteThe one you check will be added to the Collection tab and will also receive the Lvl. Memories Collection, an item that awards 100 memory when used (Memory is the version of XP in this game, used exclusively for leveling up in Beacons).
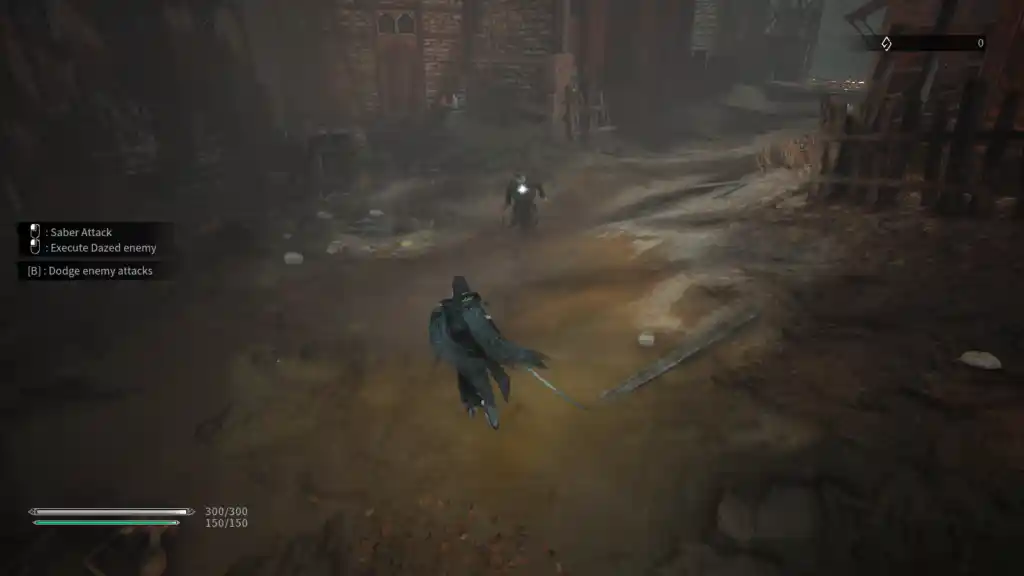
Head down the hill where you will encounter your first enemy, an ax wielding villager. This encounter will give you the chance to see the game's unique damage/health mechanics, detailed below.
Corvus has two types of attacks: Saber Attacks and Claw Attacks. Saber attacks deal damage to the opponent's white health and leave Wounds in their wake. Claw attacks are virtually useless against White's health, but deal massive damage to Wounds, the secondary blue health bar. You will have to use a combination of both to defeat almost every enemy in the game. After depleting an enemy's blue health, they will enter a Torpor state that will allow you to perform an execution by landing the final blow (note: if you don't attack a wounded enemy, their wounds will eventually heal, returning them to their white health).
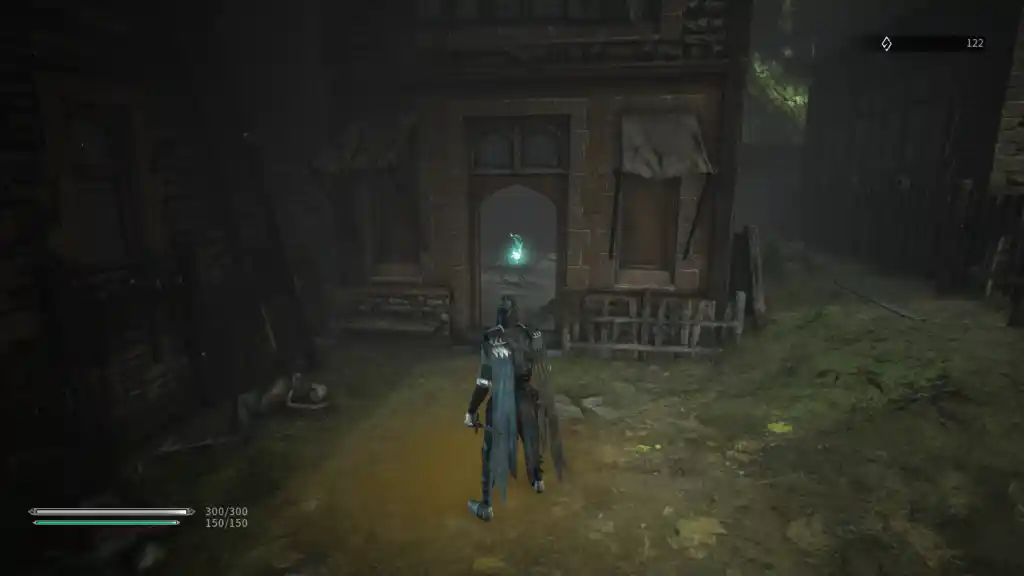
These first few enemies are incredibly weak, you can probably defeat them all without using a Claw attack at all. Follow the path forward through the alley, then stop at a house with an open door along the way. There is another one inside note, Paper on the Ground 01.
Exit the house and deal with the nearby Knife villager. This is where the game will teach you Deflecting, a parrying system that you can use to block enemy attacks and deal weapon damage at the same time. Deflection is incredibly useful if you can master it, but it's also risky given how quickly Corvus dies. Use this villager to practice your deflections, or just kill her with basic attacks and move on.
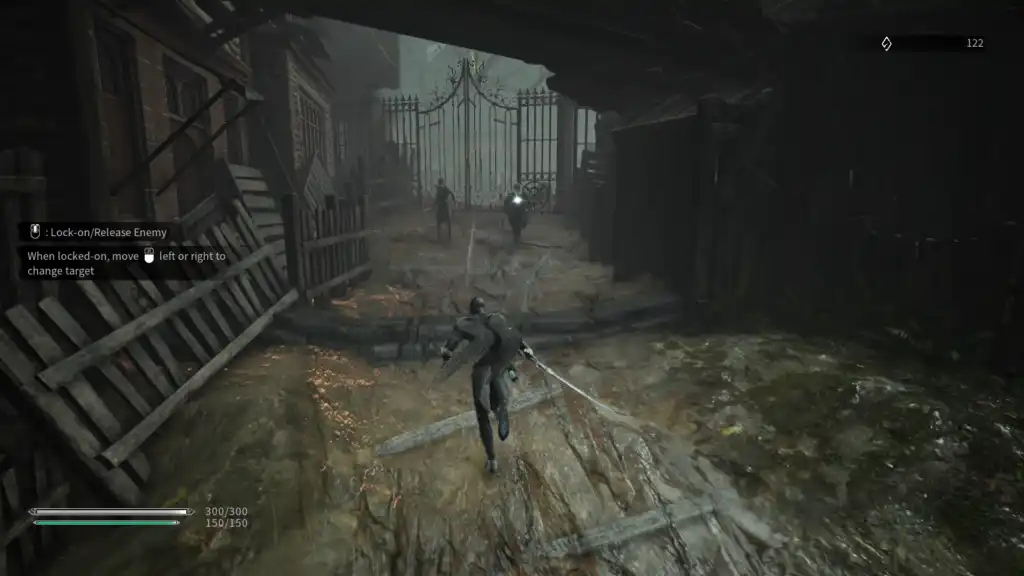
Examine the note on the wall behind the villager for an Administrative Order (if you didn't get it before), then continue up the hill. Here you will face two enemies at the same time, but they are still relatively weak, so you shouldn't have any problem just spamming them with Saber attacks. If necessary, you can dip into your potions. You start with three, and they refresh when you rest at the lighthouse (it's worth noting that you can cancel the potion's animation if you dodge before the heal activates, so be sure to let the entire animation play!). Defeating these enemies gives you Key to the Plaza.
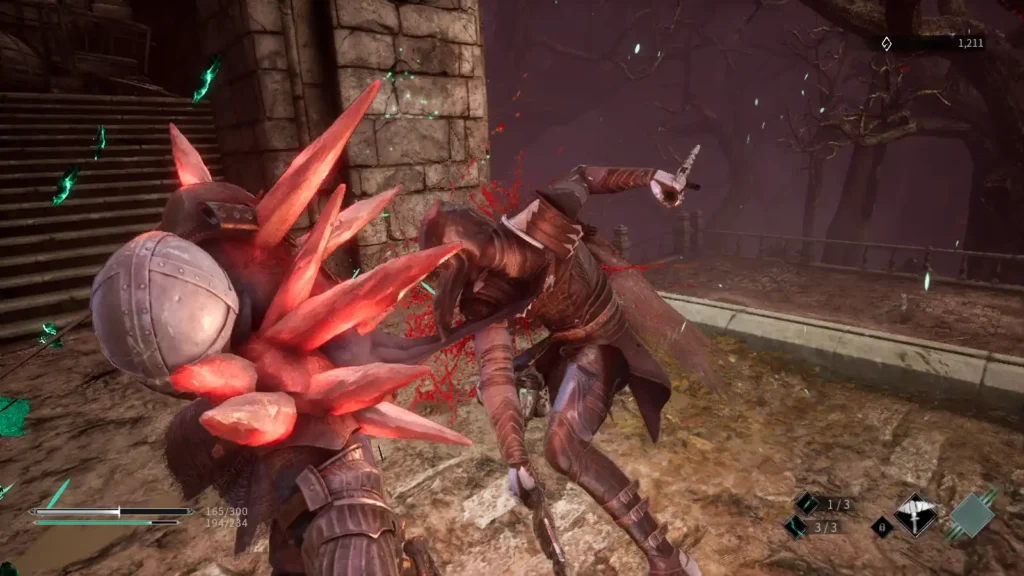
Open the gate behind the enemies to reach the square where you will face a tougher villager with an ax and a shield. This is where you will definitely need to use your Claw attacks, so put a Saber combo in it and damage Rana. Dodge when you see a villager brandishing an axe, then use a Claw attack to punish (Claw is slow to activate but has a long range). When a villager enters Daze, the game will tell you about Reaving.
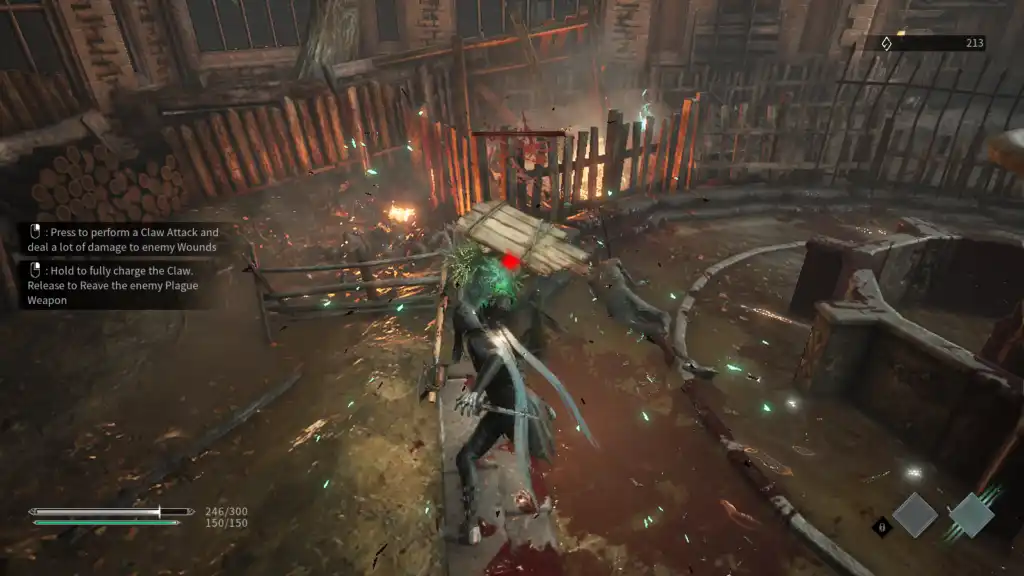
Reaving allows you to steal an enemy weapon by fully charging your Claw attack, turning it into another attack called Predator's Claw (which also deals massive Wound damage). You can use an enemy weapon once, then you need to reave another one, and each enemy has a different weapon that you can Reave.
Save the Ax ability if you wish, and then defeat the other weak villagers around the square. Don't forget to take the note behind the fire Diary of an anonymous soldier 01. Exit the square through the alley near the note, then turn the corner to meet the first lighthouse.
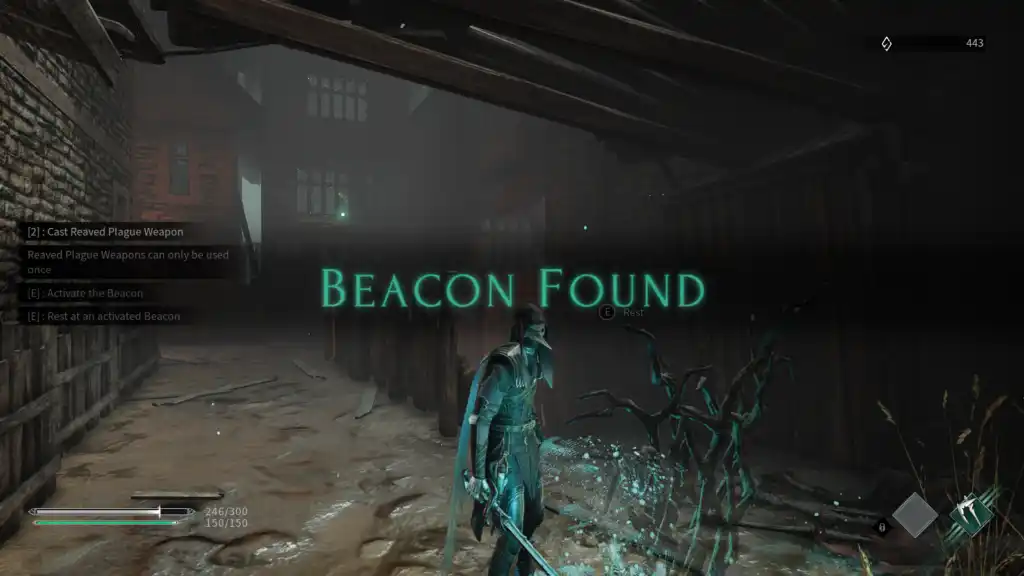
Rest in lighthouses returns you health and potions, but also revives most enemies in the area. After all, you can use them to level up and buy upgrades, but you can't do any of that in this one, so just move on.
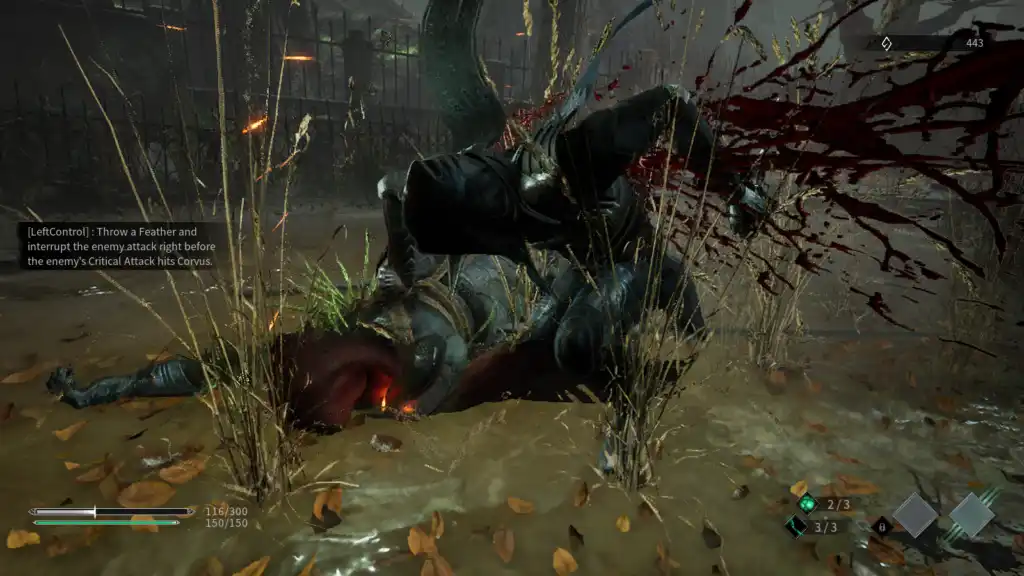
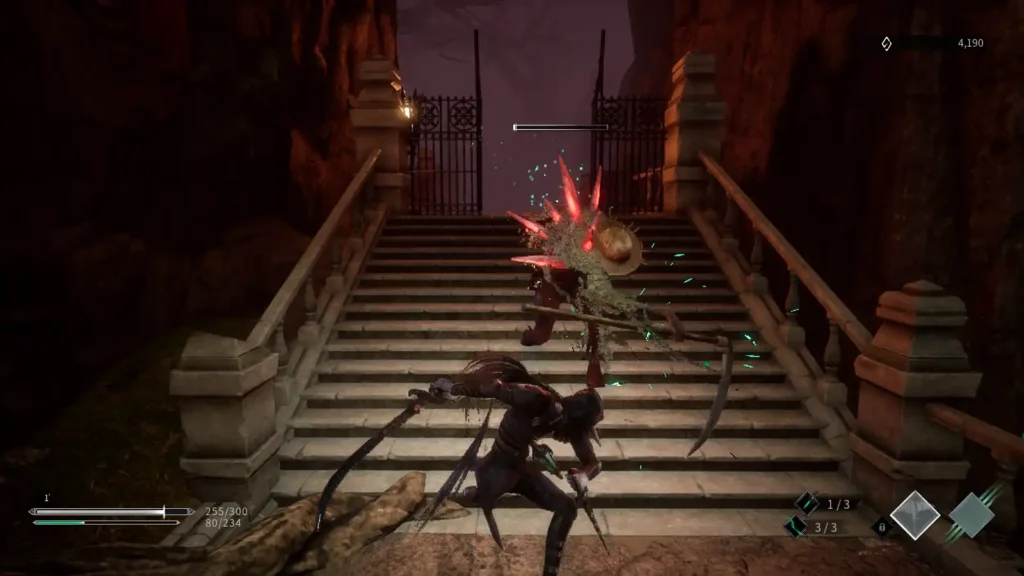
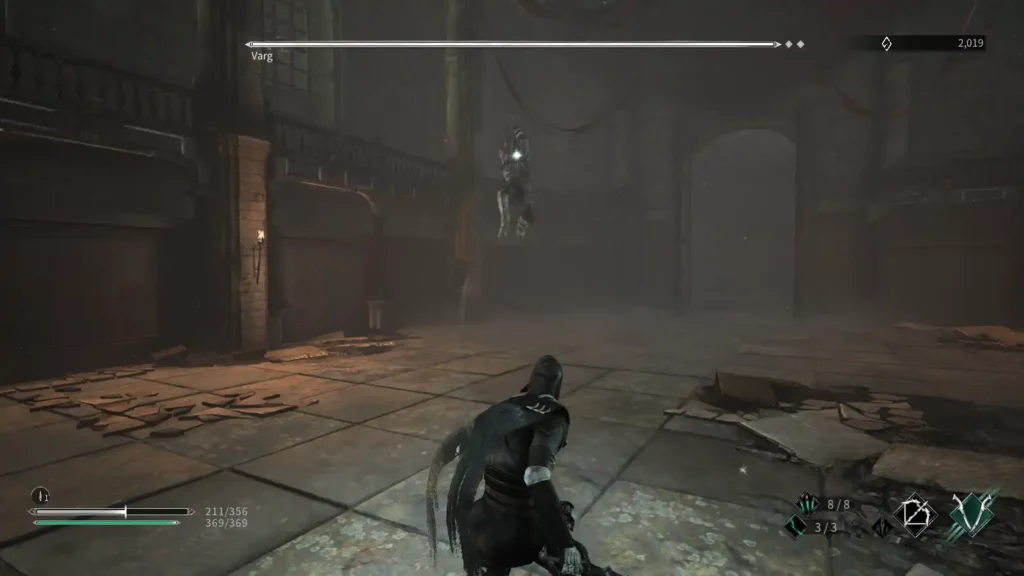
Head down the path to reach another open area where you will face your toughest enemy, the Greatsword wielding knight. This is where the game will teach you Critical Attacks (unblockable enemy attacks telegraphed by a green aura) and Feather Attacks (a ranged attack that Corvus can use to counter critical attacks). Try using your feathers to block the knight's critical attacks, or just dodge when you see him slowly swinging his sword.
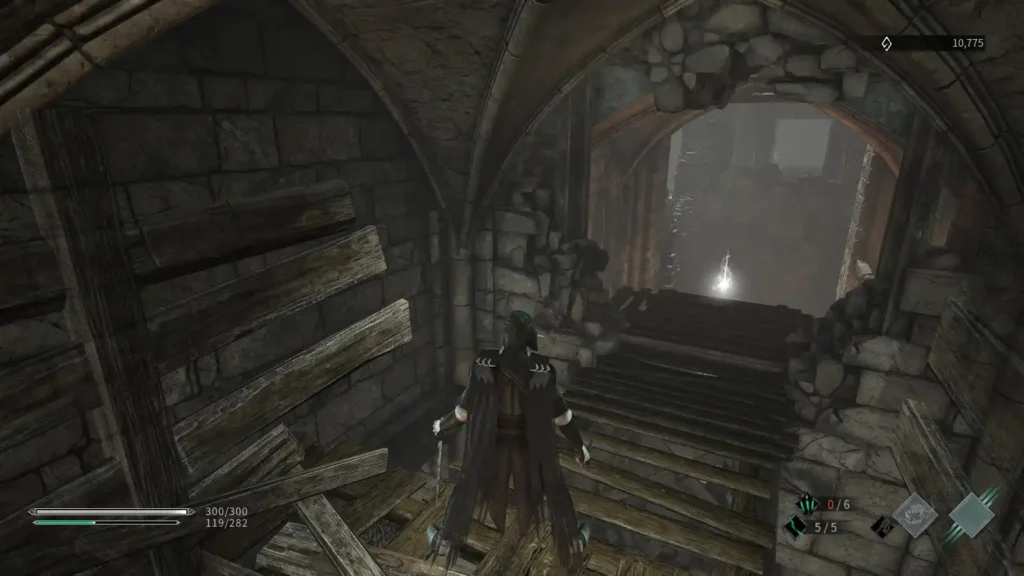
By defeating this knight, you get the graveyard key, which you can use to open the gate in the corner of this area. Follow the path up, then grab the note next to the crypt at the top of the path, Diary of a Resident. Follow the path in the corner forward to reach the stairs leading to the large monastery.
Start by going down the stairs to the area of the village below, where you will face another strong enemy, this time with a spear. Watch out for this enemy's triple strike attack as well as the critical attack. Behind the spear of the enemy you will find several more weak enemies and another note, Paper on Earth 02.
Head up the stairs and into the monastery where you will face a boss fight against a fearsome knight named Varg. This must lose the battle, so let him defeat you to complete this area and be sent to the main world, Philosopher's Hill.
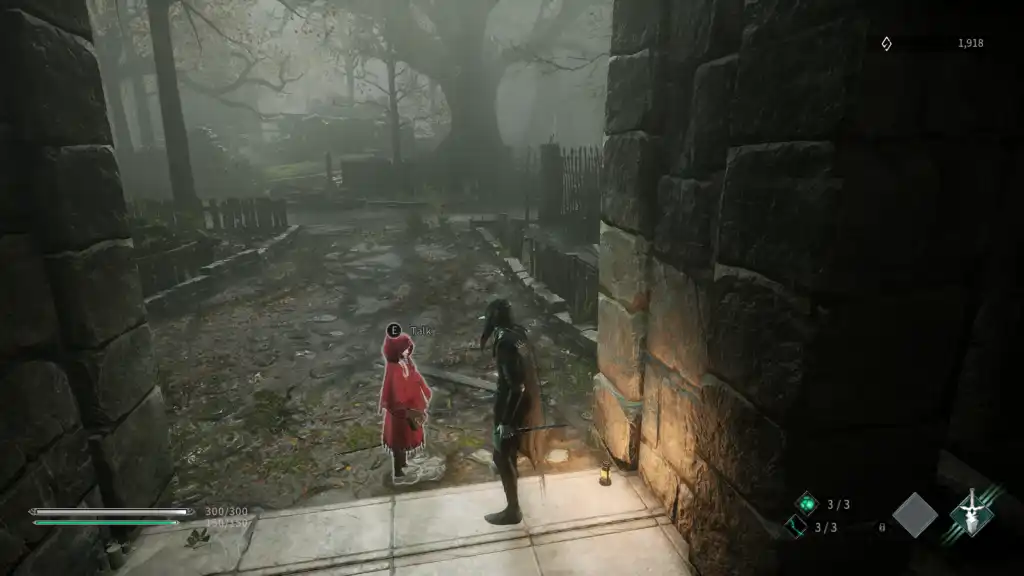
Philosopher's Hill
Philosopher's Hill is the main center of the world thymesia. Here you can level up, upgrade your gear, and move on to new levels. Talk to Aysemi to gain some knowledge and then explore the area to find a couple of new notes: Royal Bulletin of Hermes, Isemi Magazine, Notes of Edward the Blessed и Ancient words at the gate.
Talk to Aisemy again to access the rest menu where you can now level up.

There are three stats to upgrade: Strength (Saber and Wound Damage), Vitality (Health), and Plague (Damage and Claw Energy). These stats will also count towards your Plague Weapons later.
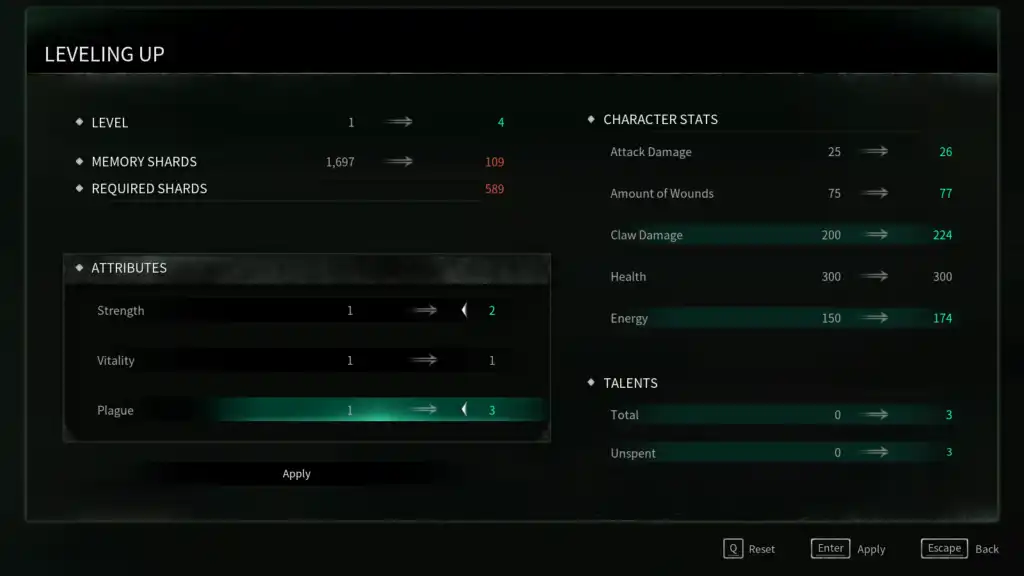
In my opinion, Plague is the most valuable stat because it provides both damage and Energy, and Vitality is the least due to the low amount of health boost per level. I would recommend focusing on the damage stats and only occasionally buffing Vitality as needed (you will have the option to reset the stats later).
Leveling up will also give you 1 point talent per level, up to 25. Check out the different talent trees to see what options are available to you, and remember that Talent points can be reallocated at any time.
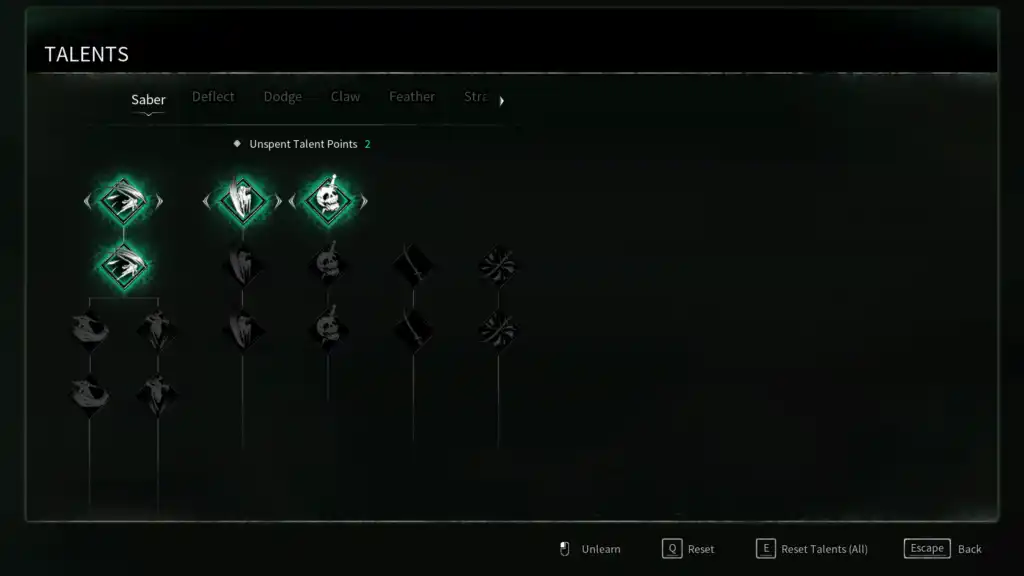
After training you should be level 3 or 4, I recommend getting the following Talents to start with: Perform Heal lvl 1 (heal after killing an enemy), Saber Attack lvl 2 (combo with a longer saber), then Long Claw 2 -th level (combo with two hits of the Claw).
When you're done with the upgrades, talk to Aisemy again and select "Continue Reminiscing" to open the level menu, then select the first area: sea of trees.
sea of trees
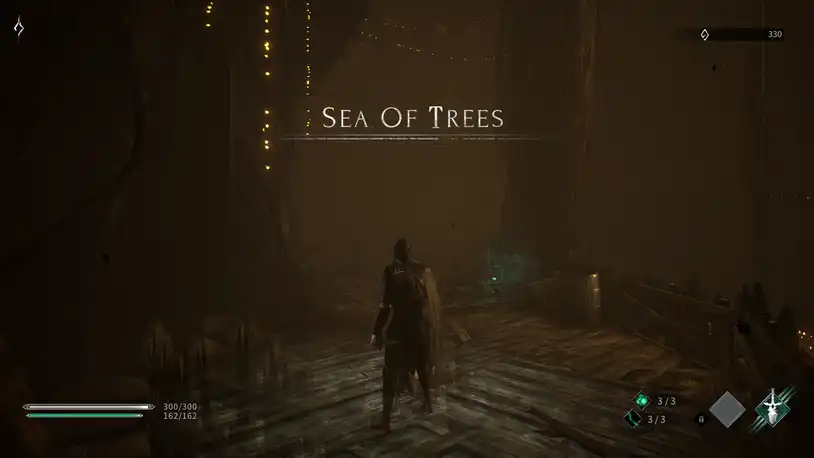
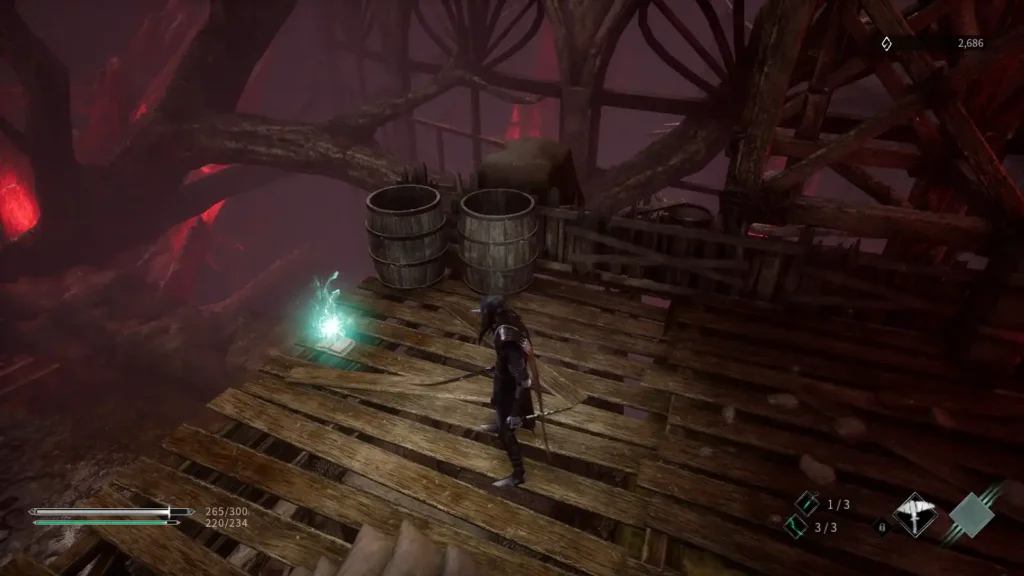
Start by activating the first lighthouse just before the spawn point, then head forward and cross the bridge to the right. The enemies here are a bit tougher than the ones you faced in the tutorial, but 2-3 saber slashes and a claw slash will still knock them out. Break through the debris on the left and follow the path around to get to the hidden area where you you can find Collection of Memories Lv1 inside the barrel.
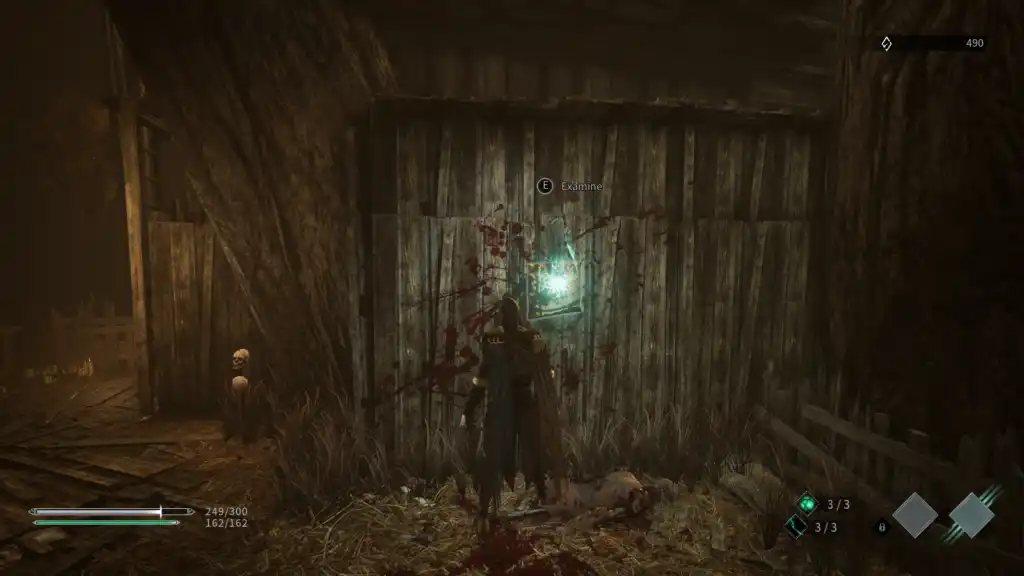
Head back to the bridge, then cross the next bridge you come across to reach a larger open platform with a couple more weak enemies. They can threaten if you let them corner you, so be sure to always give yourself a place to escape if necessary. Take them out with a few quick combos and then inspect Circus Ad Tattered Twilight, hanging on the wall. Follow the slightly hidden path behind the nearby wooden wall to face another enemy, then break through all the wooden barrels to get to the shack where you will find village elder's manuscript 01.
Exit the shack and make your way to the other side of the platform where you will find a ladder. Climb up and follow this path to encounter a few more enemies, including one of the strongest shield villagers. I recommend dealing with the weaker villager first so you can properly focus on the larger 1v1 threat, but neither should be too much of an issue. look around twilight circus poster on the table, then go through the shack to the left to find a bridge leading down to a new platform. Here you will find manuscript of the Blessed Tree, as well as another staircase leading down. Climb down and open the door below, which serves as a shortcut back to the starting beacon.

Level up and buy any new talents you need, then head back to where you fought the village shield. Climb the bridge to the right of the Manuscript table from earlier to reach another new platform. This platform leads to a dead end where you can climb down to reach the lower level. Drop down once, then look ahead where you will see a note in front of you, note from Unknown Hopeless 01. Drop down again and you'll be at the beginning again, so use the newly opened shortcut to get back to the Manuscript again, but this time we're going to climb the bridge next to the shack, which will take us to another new platform.
Cut through the shack on the new platform and you'll encounter a new enemy, a stronger version of the knife-wielding villager from the earlier ones. She has more health but is still weak to your Saber combo. Be sure to listen for the sword collision sound effect, which means the enemy has fired their Counter, giving them a chance to attack backwards. This is the perfect time to dash back and use the Claw combo to finish her off.
At this point, you may have collected a couple skill shards for a knife or axe. Skill Shards are an upgrade currency that allows you to permanently unlock Plague Weapons, allowing you to use them in exchange for energy without having to reave. You can equip one Plague Weapon by default and unlock the second slot through the talent tree. Once you've unlocked a Plague Weapon, you can continue to collect Skill Shards to upgrade it, unlock new attacks, and increase its effectiveness.
Break through the rubble between the shack and the ledge to find Hermes Life Note: Sea of Trees 01 inside a few barrels, then go around the other side of the shack to find another path where you will find Collection of Memories Lv1 (guarded by two enemies), as well as another Twilight Circus Recruitment Announcementhanging on the wall.
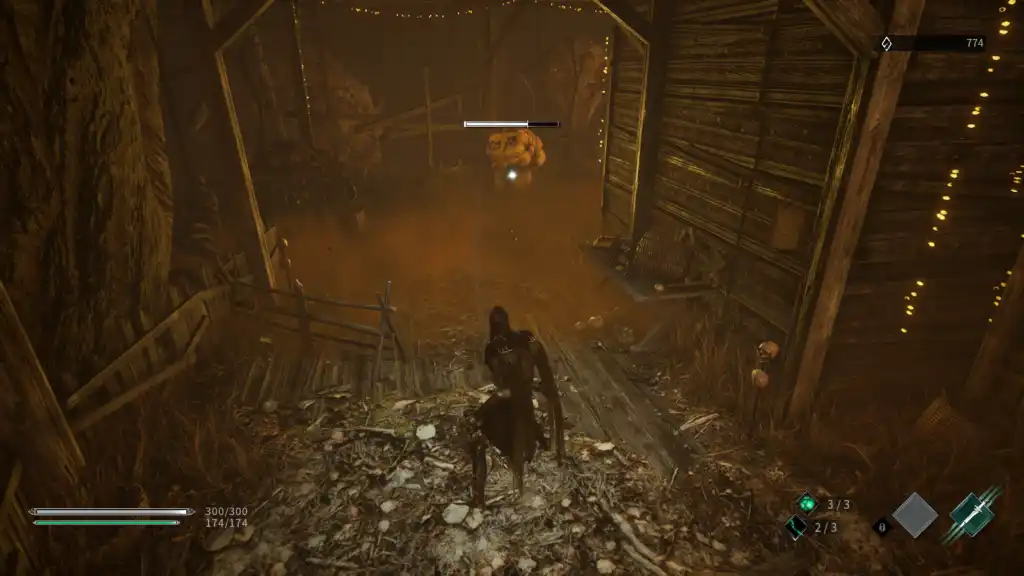
Around the corner you will see a cloud of poison coming from a bulbous yellow sac in the distance. You can destroy the sack by either rushing towards it and attacking with your saber, or by aiming at it and then throwing feathers at it. In any case, destroying it will allow you to move freely, so take Collection of Memories Lv1 from a barrel at the bottom of the nearby stairs, and then head up the stairs to a new area.
Open the door at the top of the stairs and then engage the villager's shield patrolling outside. Follow the path ahead, killing enemies along the way to reach another platform covered in yellow poison. Throw Feathers at distant enemies to pull them out one by one, then throw Feathers at the poison sac to purify the gas. Once the gas is gone, smash the debris on the left side of the path to reveal a ladder. Climb up to find a hidden platform with another poison sack. Destroy it and then inspect village elder's manuscript 02 on the ground.

Climb down and up another ladder at the end of the platform, around the corner to climb another ladder to reach a large platform with a circus tent on it. Ignore the tent for now and go past the large bloodstain to find the beacon. Rest, level up (consider getting short Dodge Lv1 Talent) and unlock some plague weapons. Neither the Ax nor the Dagger are too amazing at the moment, but we'll be getting something better very soon.
Return to the circus tent you passed a moment ago, where you will face your first real challenge, the hammer mini-boss. This enemy has a lot of health and much more devastating combos than your standard villager. Luckily, his hammer blows are VERY slow and easy to see. The main idea here is to stay out of his range until he attacks, then rush and deal damage while he prepares his next strike.
Be careful! Some of his attacks are more subtle, like his back kick, which he usually does if you're behind him. His most dangerous attacks are his critical attack (either parry or run away) and his extended spin attack (just move out of range until it ends). Because his attacks are slow, you can charge Talon's attack and keep his Hammer ability. This deals solid damage and usually causes the boss to stagger slightly.
Defeating this enemy will give you a couple of shards Hammer Skill, and it's probably worth buying and equipping the Hammer right away. You will also receive your first Alchemy Amplifier, which you can use in the Lighthouse to improve your Potion. For now, I'd recommend moving up to 4 potions, but the healing upgrade is also a smart choice.
LIGHTHOUSE 2
From the new lighthouse, open and exit through the door to the left, then climb the bridge behind the circus tent to reach the large market. There are a handful of weak enemies here, so be careful not to get surrounded. look around market announcement on the wall of the shack on the left, then look to the right where you will see a path to the back of the market where you find Notes on the Life of Hermes: Circus 01 on the table. Return to the shack and go past the announcement where you will find a room with a locked door, one enemy and a ladder.
Climb the ladder, then take the next ladder to the top level of this area. Break the debris behind the stairs to find a secret room with another locked door. Keep this door in mind for later, but for now, smash the rubble on the opposite wall that opens up a ledge.
Climb down the ledge to reach the platform below where you will find note to the royal guard inside a wooden box. Open the door nearby to return to the lower stairs. Climb back up and this time go forward and around the corner to find another platform covered in poisonous gas.
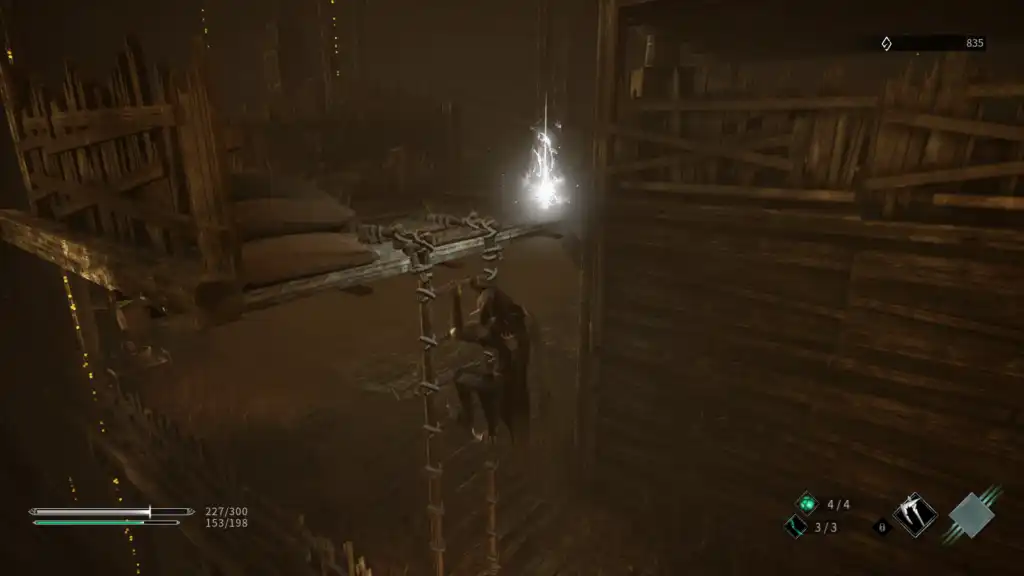
Avoid the gas for now and look to the left where you'll find a ladder leading down (look around to see the market below) and another ladder leading up. Climb up this ladder to find Collection of Memories Lv1 upstairs. Walk forward to face a powerful enemy with a Halberd, as well as some weaker villagers and a poison sack. Deal with the Halberd user first (beware of his ranged and critical attacks), then destroy the poison sack. Look behind the shelves on the left to find another one. collection of memories Lv1.
With the poison sac destroyed, you can return to the lower platform and cross it freely. Climb up the stairs on the right, then go down the stairs at the end to reach a new platform below. Follow the platform to the end and break the barrels to find fennel inside. This is an ingredient for your potion that you can use later. Look behind you and you will see another staircase leading down. Climb down to reach the restricted area on the market floor. Break the wooden box in the corner to find Notes on the Life of Hermes: Sea of Trees 02.
Return to the previously poisoned platform once more and take the middle path, past the locked iron door and over the bridge to the right.
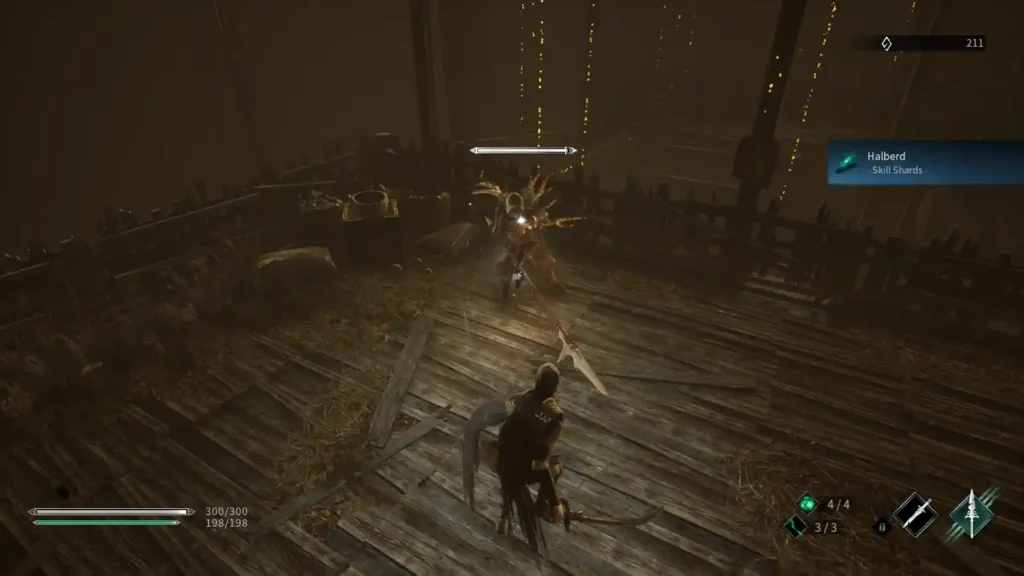
Here you will face another powerful Halberd enemy, this time even stronger than the previous one. His attacks are pretty obvious, but it can be hard to avoid their long range even if you know they're coming. Particularly dangerous is the overhead spin on a critical attack (don't forget the Feather!), which he usually uses as a counterattack. This is a good chance to get used to the flow of Saber combos, avoiding counters and then punishing with a claw attack. Most of his other attacks are straight jabs and punches, so always be ready to dodge to the side if you see him running out. Hammer is also very effective here, with its long range and stagger effect that usually leaves the opponent wide open for Talon combos.
Defeating him will give you another Alchemy Amplifier, Skill Shards halberds и Secret Market Room Key. You can also capture Collection of Memories Lv1 from the debris behind him. Ignore the stairs to the right and follow the path ahead. Turn left, then look up to a ledge where you should see a glowing white object at the bottom. Drop down and deal with the enemies that are trying to ambush you on landing, then capture Collection of Memories Lv1before falling into the area below.
This area is full of even more enemies, mostly weak ones, but at least one new, powerful Fist-wielding knight. This enemy has a lot of health, but his attacks are slow and obvious. As usual, just keep your distance until he swings, then rush in and punish with a saber. His most dangerous attack is probably his Critical, in which he does a jumping attack, but even that is easy to just shrug off or Feather Counter. The hammer is as effective as ever, dealing damage and causing a short stagger. Just beware of his backhand, which he does when you attack too many times at close range.
Wear him down and execute him to get another one Alchemy Amplifier and a few pieces fist Mastery. With the threats gone, you can explore the area where you will find a couple of notes: Note from Unknown Hopeless 02 и Village Elder Manuscript 03. Locate the ramp leading from the area where the top is collection of memories Lv1. Climb the ladder next to the item to reach a large platform with a new beacon on it. Activate the beacon and rest if you need to. Check the edges of the platform to find Collection of Memories Lv1 among the rubble, then open the cage door opposite the beacon, which opens a shortcut back to the area where you fought the Halberd enemy earlier.
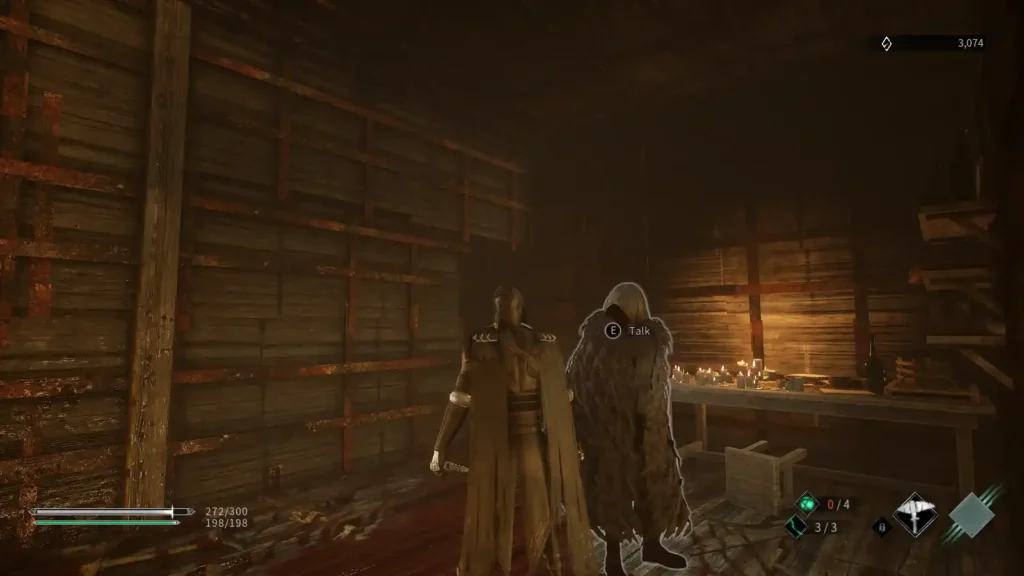
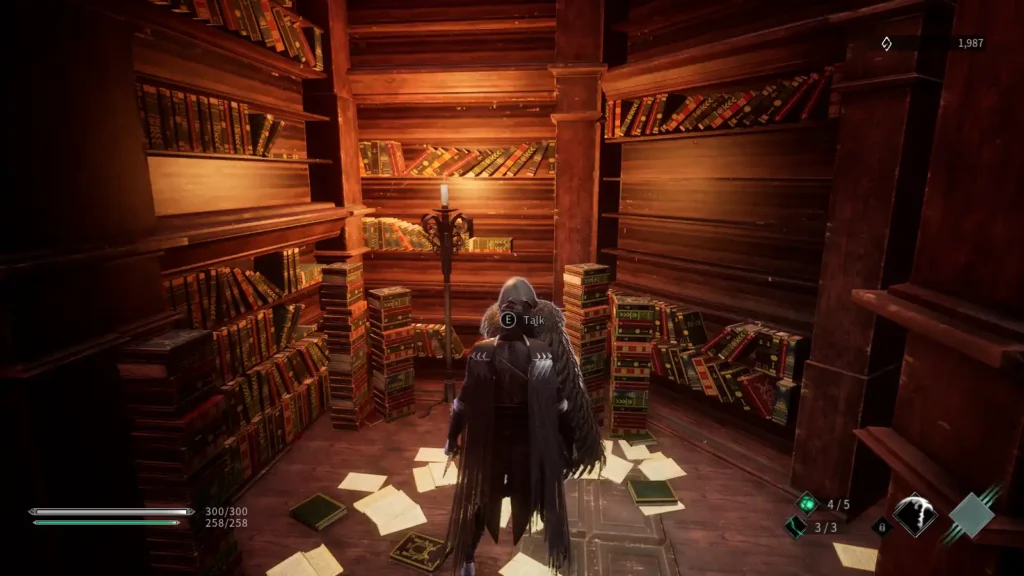
The elevator past the lighthouse leads to the boss, but we have a few more things to do before then. Grab the nearby shortcut, then head back and drop down to return to the market. Run past the marketplace notice earlier and then climb the two stairs to return to this area with the locked door earlier. Use the key to get inside where you will meet an NPC named Emerald (we can't really do anything with the Emerald right now, but I'm including this for the sake of completion).
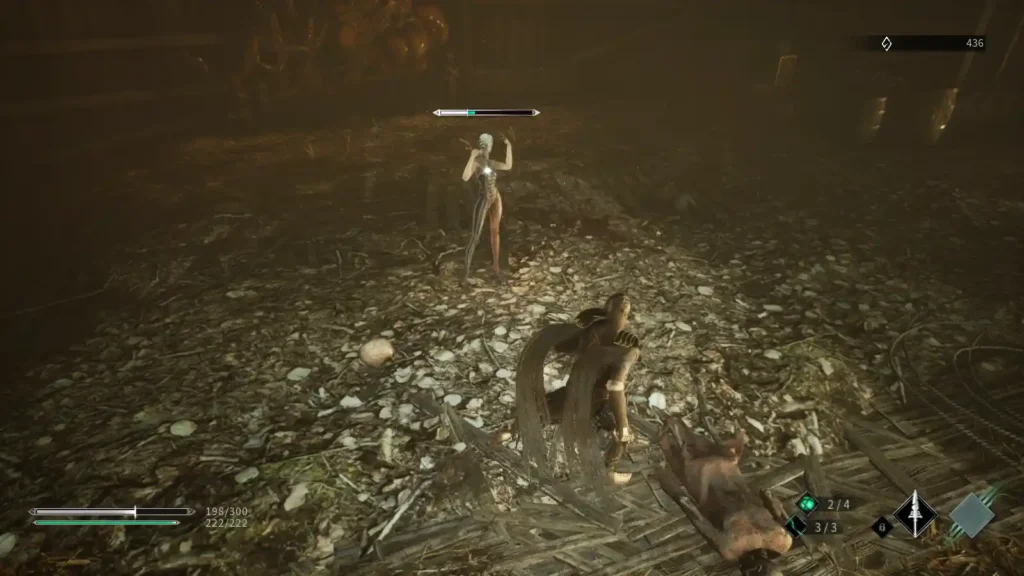
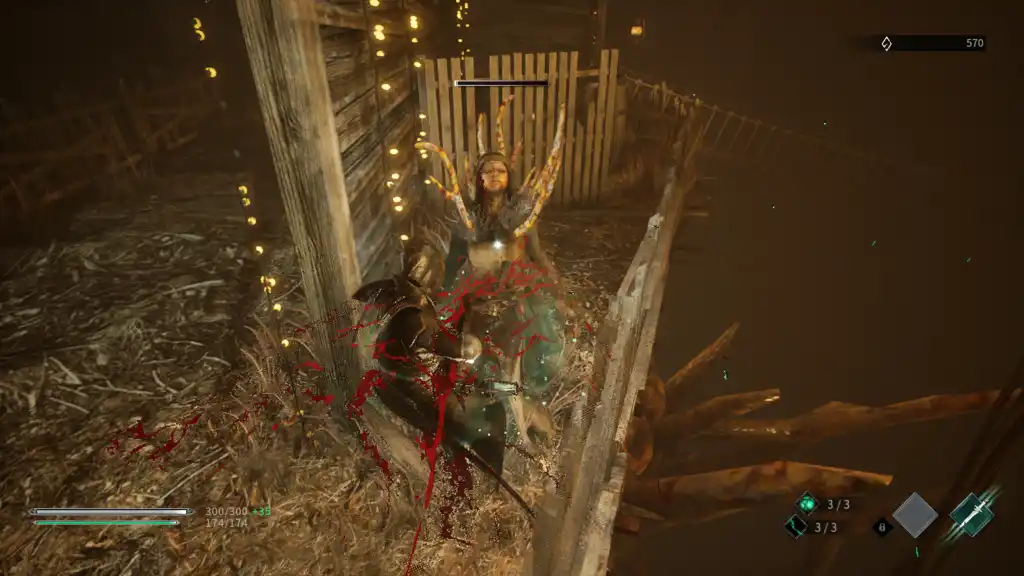
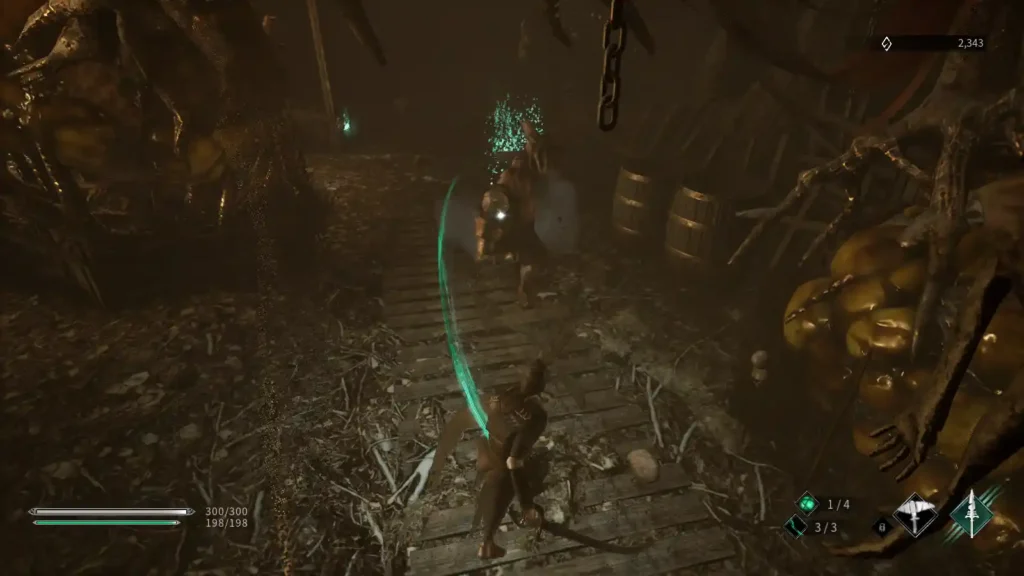
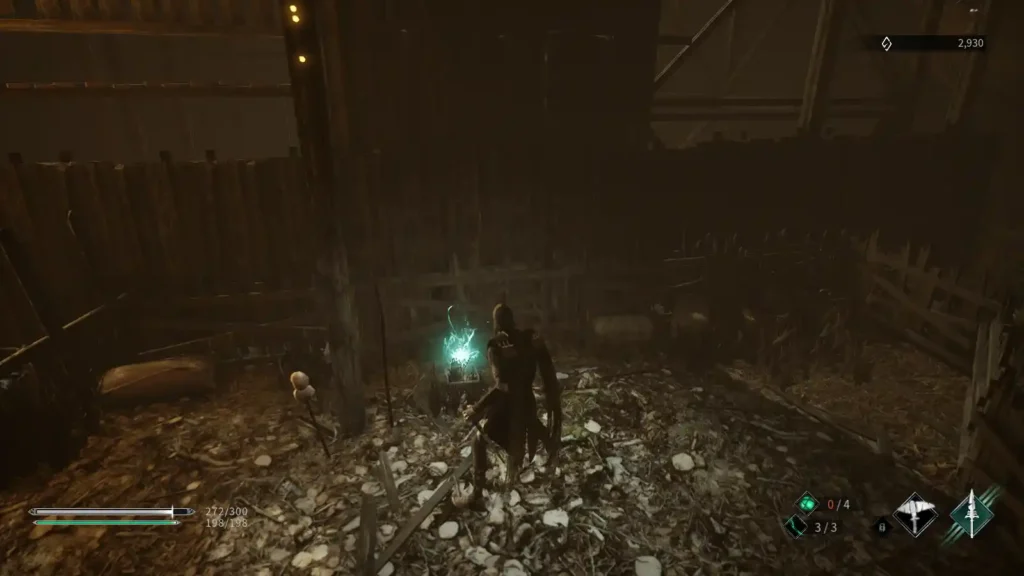
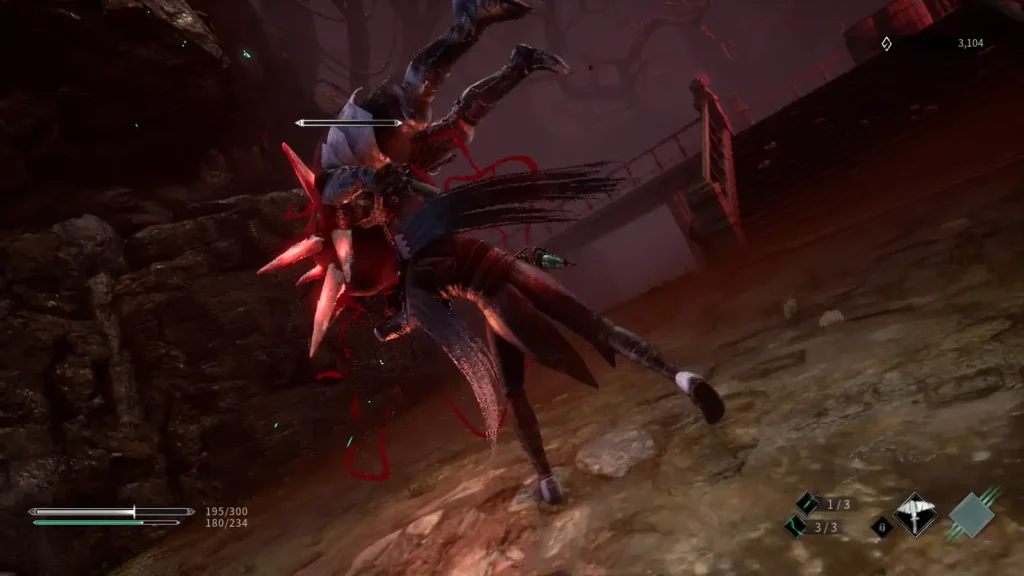
Make your way all the way back to the last beacon next to the elevator, then destroy the debris to the right of the shortcut to reveal a secret path. Follow him to another circus tent. Ignore him for now and explore the platform on the opposite side. You will see another staircase leading to a note: Hermes Life Note: Circus 02. Head back down and into the tent where you will face a Succubus-like enemy.
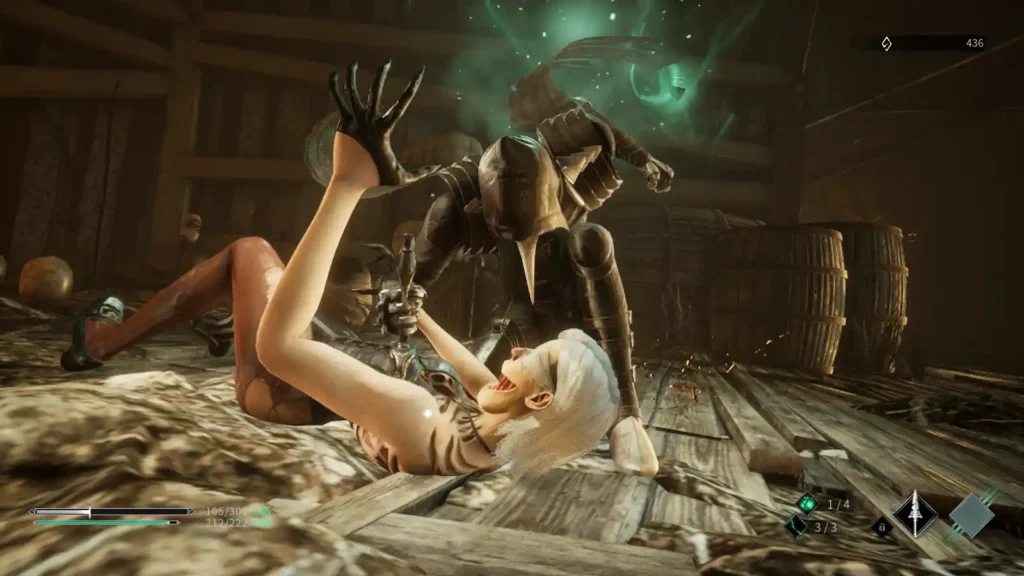
This enemy is very fast, does a lot of damage, and can close gaps quickly, but luckily, he is also very susceptible to Saber and Claw combined attacks. Wait for it to open and then lay down in it with as many attacks as you can until its Counter goes off. Her counter is usually a step back into a double strike, which you can avoid by dashing backwards or just trying to deflect if you're feeling brave.
Defeat her to get another one Alchemy Amplifieras well as several Flying Dagger Skill Shards. Return to the lighthouse and rest, level up and upgrade your potion again to prepare for the boss.
LIGHTHOUSE 3

Interact with the elevator to teleport to the boss arena. Walk forward to the opening to trigger a cut-scene and start the battle against...
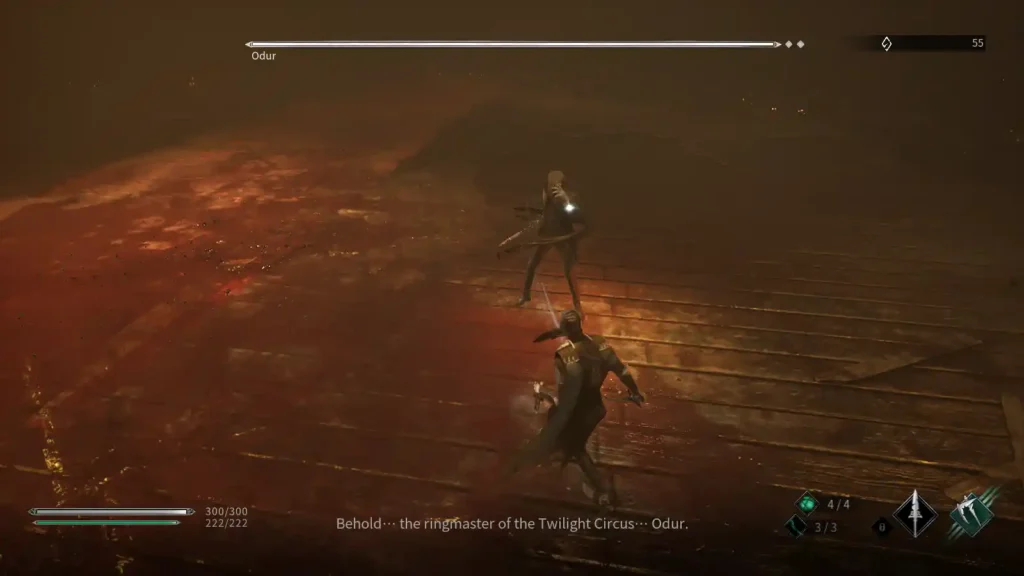
Odur
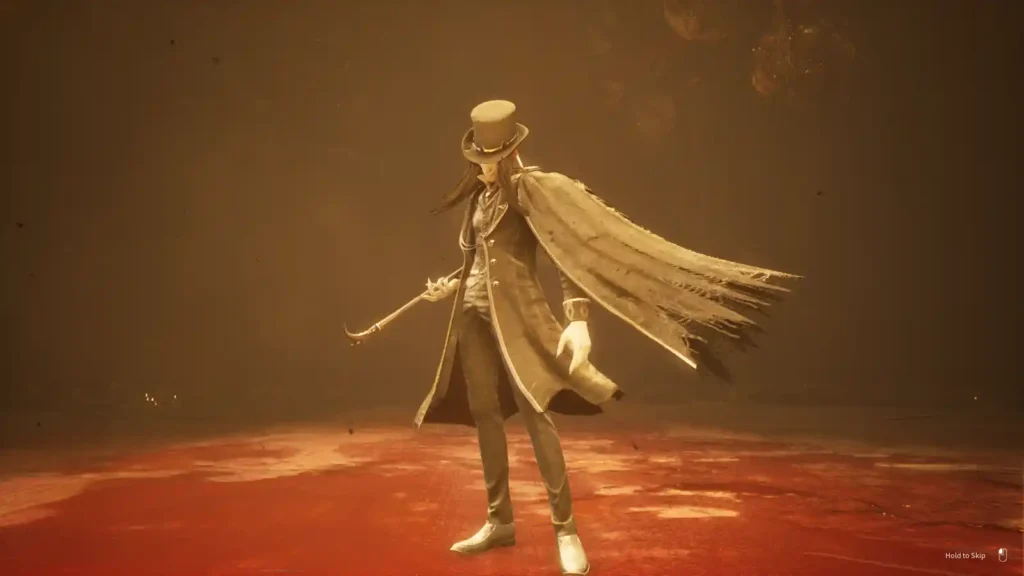
First real boss! Odur a bit of a tricky guy, but once you get used to his patterns, he's surprisingly light. He rushes around you, unleashing 2-3 hitting combos with his cane or throwing cards from afar.
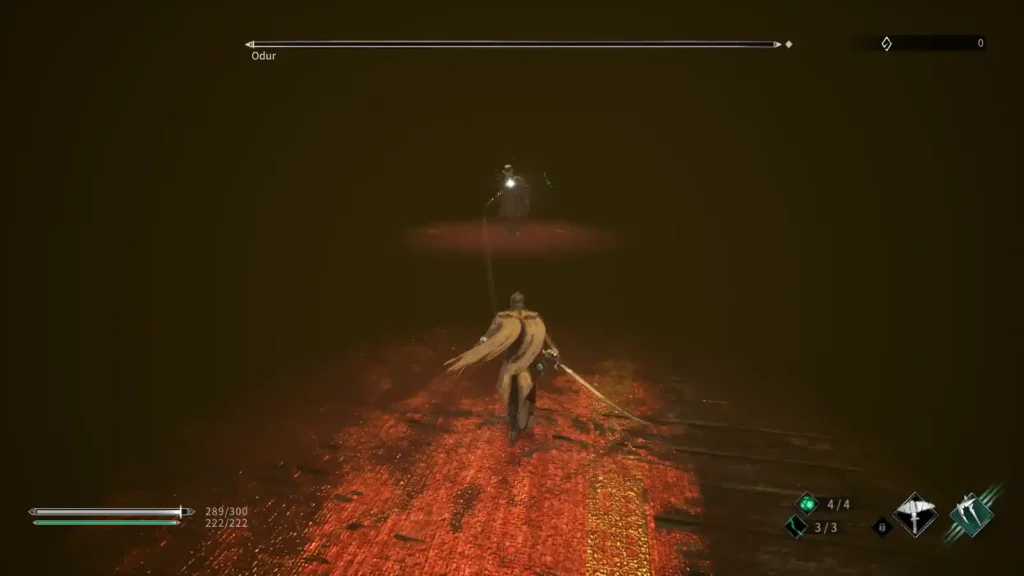
However, despite all of his bizarre moves, it turns out he's incredibly susceptible to getting caught in a combo loop. Step aside and wait for the opening (his cane to strike is a good opportunity), then step in and hit him with a full Saber combo. When his Counter goes off (sword clash noise), he does one of two things: dash back and then dash with a two-hit combo, or he will stand his ground and land one hit. When you know they're coming, both of them are incredibly easy to dodge and punish, leading to another Saber combo and another Counter loop.
If you're feeling bold, you can even master the deflection time for extra damage. Stay on top of him at all times and trap him in this cycle and he will never get a chance to use his card rolls or critical attacks. He tends to break out of the loop from time to time and suddenly launch another combo. If this happens, just step back and reset to neutral so you can start the cycle again, or you can do something like use the Hammer to stagger and get him back into the combo.
Make sure you mix an equal number of Saber and Claw combos to deplete his first health bar, then follow him up to enter his second phase. Wait out a little fanfare between phases, and then brace yourself for another round of counter loops. The second phase is almost identical to the first phase, except that Odura's combo is longer, which can be disorienting if you're already used to his pattern in the first phase. This includes his counterattacks: dashing back into the cane combo now has a third hit, so be sure to wait out one more attack before returning to another combo.
Stand back and watch his new attacks to get a feel for them, and when you feel ready, jump back in and start his combo again. The main new attack you need to avoid is Ultimate, but thankfully it's fairly easy to spot as Odur will crouch and glow red and is fairly easy to avoid as he just dashes forward. Just dash around him to avoid the attack, then get back in range and continue your flurry.
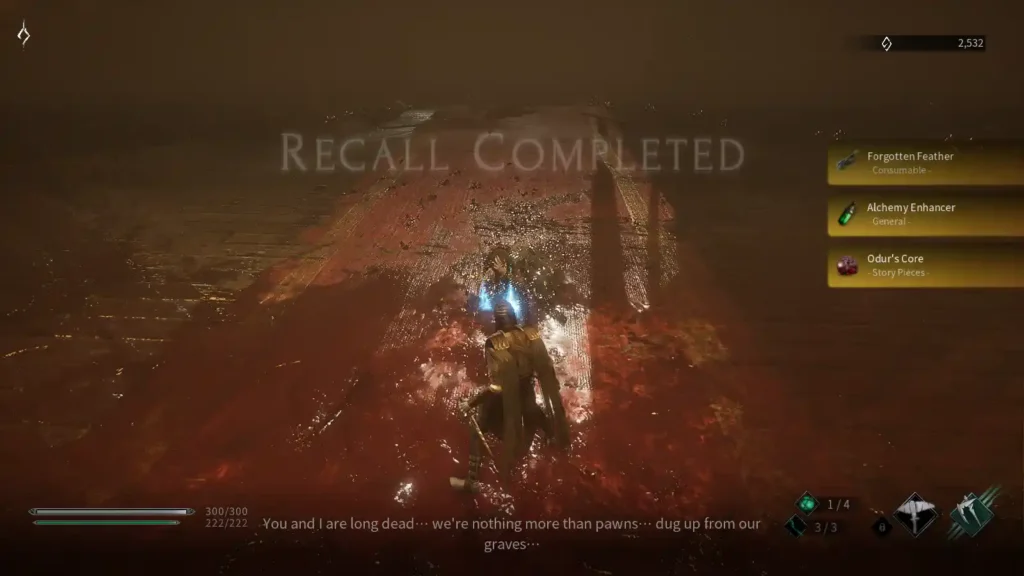
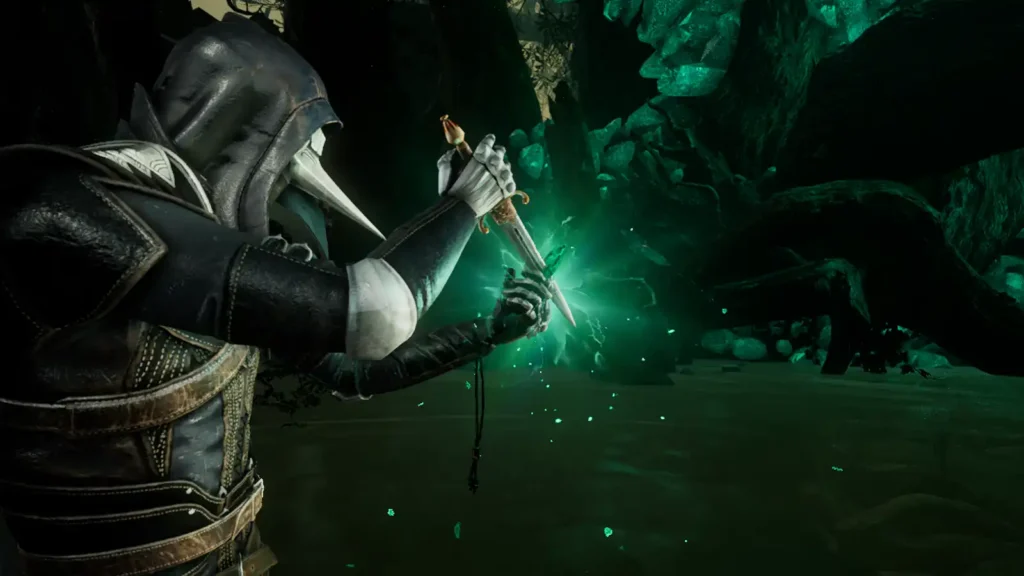
Deplete the second health bar and perform an Odur to end the battle and get Odura core, Alchemy Amplifier и Forgotten Feather, which allows you to reset all your levels. It will also drop some shards miasma Skill shards and will award 2500 Memory. When you're ready to exit the level, talk to Isemi's ghost and choose "Yes. That's all I can remember" to return to Philosopher's Hill.
Upon returning to Philosopher's Hill, you will be rewarded with a new type of Potion, Long Potion. This potion has higher healing but is much slower to activate and heal over time. Since we're not actually improving Vitality, I don't recommend using Long Potion. You can also show some of your new key items to Aysemi in exchange for important knowledge and some collections of memories Lv2 (500 memory shards when used).
Royal garden
As always, start by activating the beacon to your right. Go down the stairs, then take out the soldier patrolling in front of you. As usual, the enemies here are a bit stronger than the ones you've encountered in Sea of Trees, and even those weak ones will counterattack if you give them a chance. Kill this enemy and then head to the right where there is an Archer on a ledge. If he sees you, he will immediately start shooting at you, and his arrows are very accurate. Make it a point to quickly walk up to him and knock him down before he gets a chance to molest you.
If the Archer drops bow skill shards, then: Congratulations! You have just gained access to one of the most broken Plague Weapons in the game. The bow does good ranged damage, has a relatively low energy cost, and doesn't have a cooldown. You can spam it to inflict a ton of damage and then follow up with claw attacks to kill. Pair it with Vigorous Weapon, Healing Execution and Vigorous Claw to maintain near-infinite Energy and let the enemies get going! If you're feeling too cocky, you can even pause here to farm Bow Skill Shards and upgrade your Plague Weapon to max level, which deals more damage, lets you fire two arrows at the same time, deals damage over time, and lowers your energy cost. That might be enough to get you through the rest of the game!
Behind the Archer is a Shield Knight, combo him until he is countered, then dodge or deflect his punch attack and use a Talon attack to finish him off. As soon as he dies, you can inspect Notes on the Life of Hermes: Garden 01 behind him. Climb the stairs back down and follow the path at ground level where you will meet another Knight of the Shield. These guys will sometimes counter a three-sword combo, so back off until the combo is done, or use this as a chance to practice your deflections.
Go through the archway behind him and turn left when you exit on the other side. Follow this to a platform where you'll find another Knight of the Shield. Pull it out, then head up the ramp to the right and immediately examine the ladder above to create a shortcut back to the lighthouse below. This is important because there is a strong Twin Swords enemy on your left that may require several attempts to defeat.
Twin Swords Knight is strong and fast, with quick multi-hit combos that can deplete your health in an instant. He is susceptible to combo cycle, but his counters can be difficult to deal with. He usually counters a four-hit combo, but sometimes goes into a critical or longer combo that can completely kill you if you don't expect it. He will also occasionally crouch into a defensive stance and then quickly unleash a multi-hit combo. Again, this is a great chance to practice Deflects if you like it, as well as your Feather counters. Or you can appease him with the aforementioned Bow Plague Weapon and then just hit him with a Claw combo to finish him off.
Defeating him will give you shards Twin Swords skilland Alchemy Booster. look around Notes on the Life of Hermes: Garden 02 at the end of the path behind him, and Collection of Memories Lv1 to the right of the stairs. Head back down the ramp, past where you fought the Shield Knight, and head down the stairs to the right. Here you will encounter weak Scythe and Shield enemies, as well as find a locked gate.
Go right, down the stairs, and around the corner you will meet another Knight of the Shield. Go down the stairs behind him to reach a dead end with a villager's scythe and a note: Diary of an Unknown Soldier 02. Remove the ledge to the ground below, where you will face another strong knight, this time with a Greatsword.
We fought one of these guys in the tutorial, and although this version is much stronger, the plan is pretty much the same: wait out the slow swing, punish with the fast combo. Again, the Bow is amazing here, as is the Hammer for creating a punishment hole. Remember that his swing often covers a lot more ground than it looks, so be sure to backtrack when an attack is coming. Be ready for the Feather Counter when you see him preparing a Critical Attack, but otherwise just keep weaving in and out with quick attacks until he is defeated. Your reward is one more Alchemy Amplifier, as well as some Shards Great Sword Skill.
With all these Amplifiers of Alchemy you might be tempted to start upgrading your potions even further, but I would wait until you've completed this level to unlock the final potion variant before doing anything.
Climb the stairs behind him and follow the path to the iron gate. Open it to get to the two Scythe enemies behind. One of them is a stronger variety with more health, but he is quite susceptible to just being a combo, so put Saber attacks on him, only retreating if he raises his scythe over his head or prepares a critical attack. After killing him, you should get skill shards spit, another good weapon that restores your health when damaging enemies. There is also collection of memories Lv1 in nearby debris.

Return to the path and go up the stairs and cross the bridge where you will meet another archer. Kill him and run past to get to the iron gate we went through earlier. Open it to create a shortcut back to the beginning.
Return to the area where you fought the Great Sword Knight, but this time go down the stairs and follow this path to the end. You will face several weak enemies as well as another Knight of the Shield. Stop to grab the Collection of Memories Lv1 off the table, but then keep marching forward until you reach the large greenhouse at the very bottom of the area.
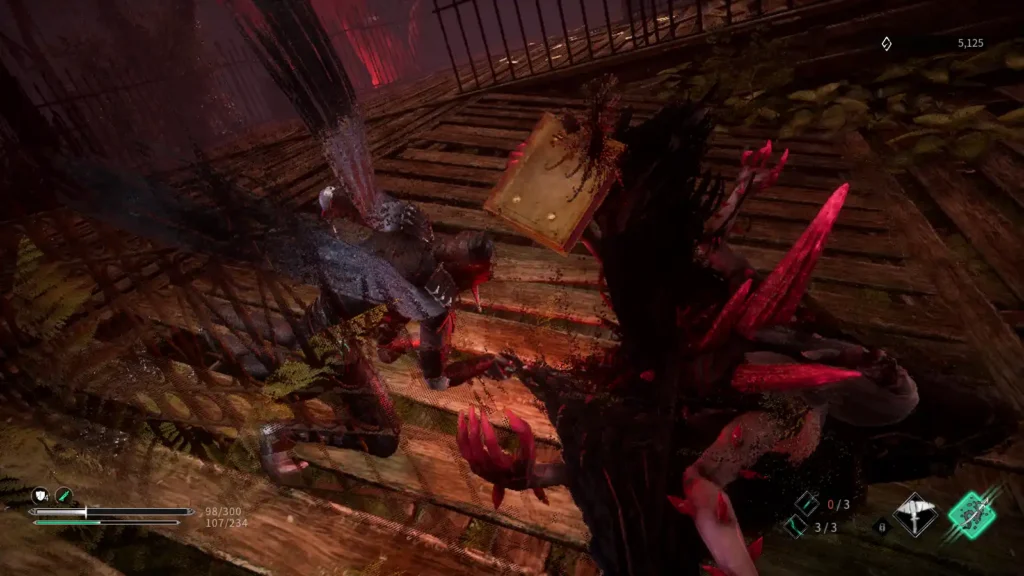
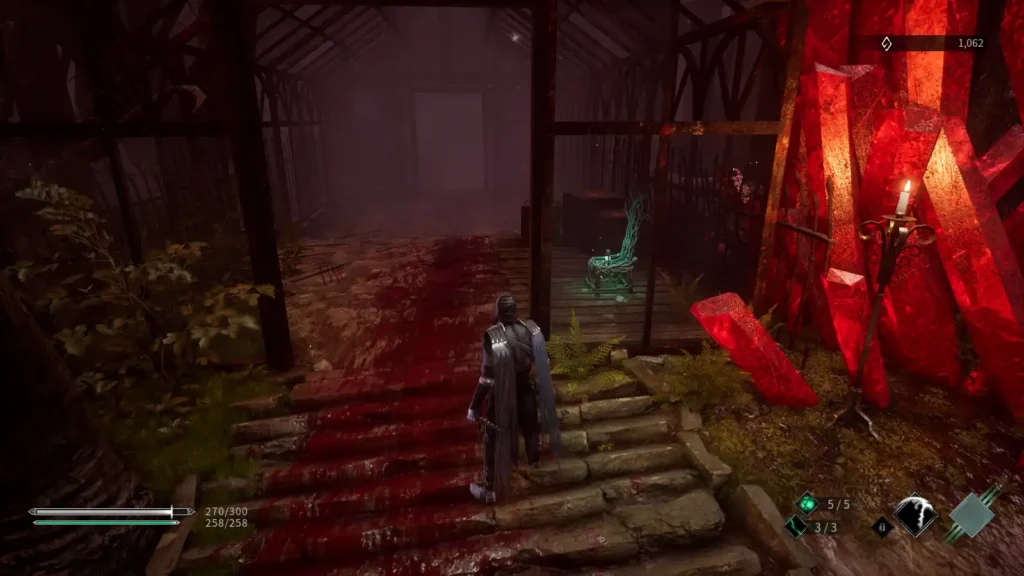
Here you will encounter a few more enemies of the Scythe, but more importantly, the ghost of the Bloodblade. This guy is quite annoying due to his ranged claw attacks and high damage output. He has two attacks: one hit with his long red claws, and a left/right combo that has no claws. Just run away every time you see him preparing an attack if you don't want to deflect and then return fire with a bow or hammer. If you stay too far away, he will start throwing bloody projectiles at you, so try to stay on him as often as possible.
As usual, you will be rewarded Alchemy Booster and some Skill Shards, this time for Blood Blade. This weapon gives you higher damage in exchange for health, I've never found much use for it compared to other options. look around notebook of an experienced researcher 01 on the bookshelf he was guarding, and then continue to explore the greenhouse, which should contain a few more Scythe enemies. Follow the path through the greenhouse, past the last few enemies (grab Collection of Memories Lv1 in the enclosure near the end) to get to the new lighthouse on the other side. Activate and rest to prepare for the next section of the level.
LIGHTHOUSE 2
Go forward, then go straight to the split in the paths to meet another powerful Halberd Knight. As always, keep an eye out for his ranged poke attacks, especially his spinning reamer. His slow attack with three jabs is very punishable, or you can always deal damage with a bow/hammer like normal. Watch out for his sneaky counter where he spins and then suddenly throws one jab. Otherwise it's business as usual and the reward is also normal: Alchemy Amplifier and some pieces halberd skill. look around alchemy researcher's notebook 02 on the bookshelf in the back, then go back and rest by the lighthouse if needed.
Then head to the large greenhouse on the left side of this area. Inside, you will face some weak enemies, as well as another one of the Blood Blade ghosts from the past. The game plan is exactly the same, walk away every time he finishes any of his claw attacks. Watch out for a critical attack where it slams forward with its long claws. Defeat him to get another one Alchemy Amplifier and a few more Skill Shards.
Inspect Folk Potion Research Report 01 on the shelf, then head up the stairs to get to the back of the greenhouse, where you will face another strong enemy. This strange enemy wields katars and has a number of multi-hit combos and tear-closing attacks. His range isn't great, but he can deal a lot of damage once you let him get close. However, like most enemies, he is prone to combo looping, and his pick is usually a slow two-handed attack that can be easily dodged by simply stepping back. Open it up with a Hammer/Bow/Scythe, then launch a combo string, diving in and out whenever it tries to swing. As long as you don't give up, you should burn his health pretty quickly. Complete to receive your regular reward of Alchemy Amplifier and Skill Shards Qatar.
Examine the item in the pool of blood behind the Cathar beast to get mint, another ingredient in the potion. Rest at the lighthouse if needed, then return to the area where you fought the Halberd Knight and exit through the path in the back corner. Fight the Shield enemies along the way and smash the rubble to the right of the closed iron gate to find Order for the purchase of a greenhouse. Then go down the path to the left of the gate to enter a long hall where you can inspect alchemy researcher's notebook 01and then continue to the blood library at the end.
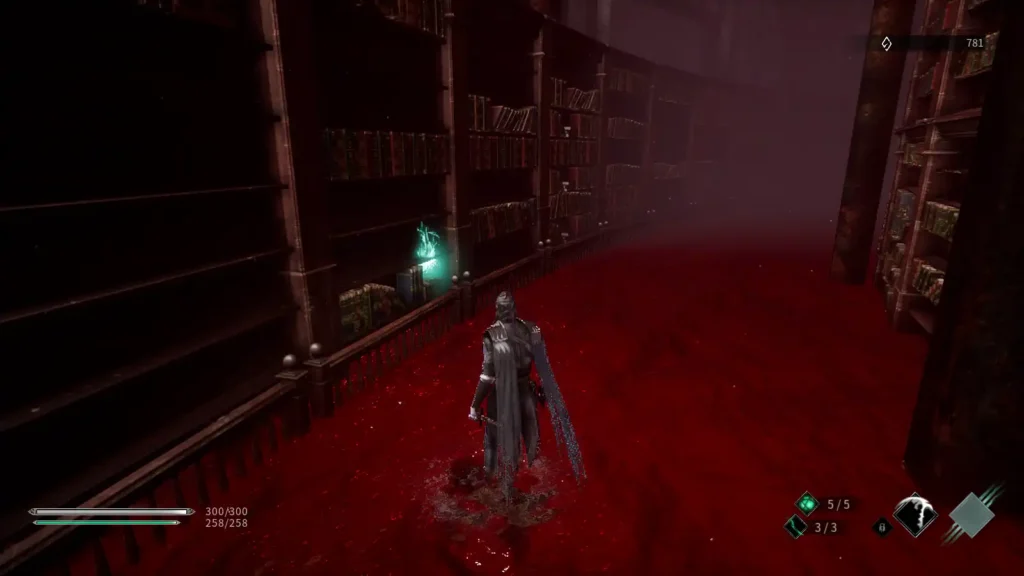
In this area, you'll have to deal with randomly spawning Blood Wraiths that will haunt you and deal a small amount of damage. They take three hits to kill, so don't let them build up or they can become a problem. Turn left down the corridor and look around Introduction to Alchemy on the shelf as you walk by. When you reach a large open area, look to your right where you will see two paths.
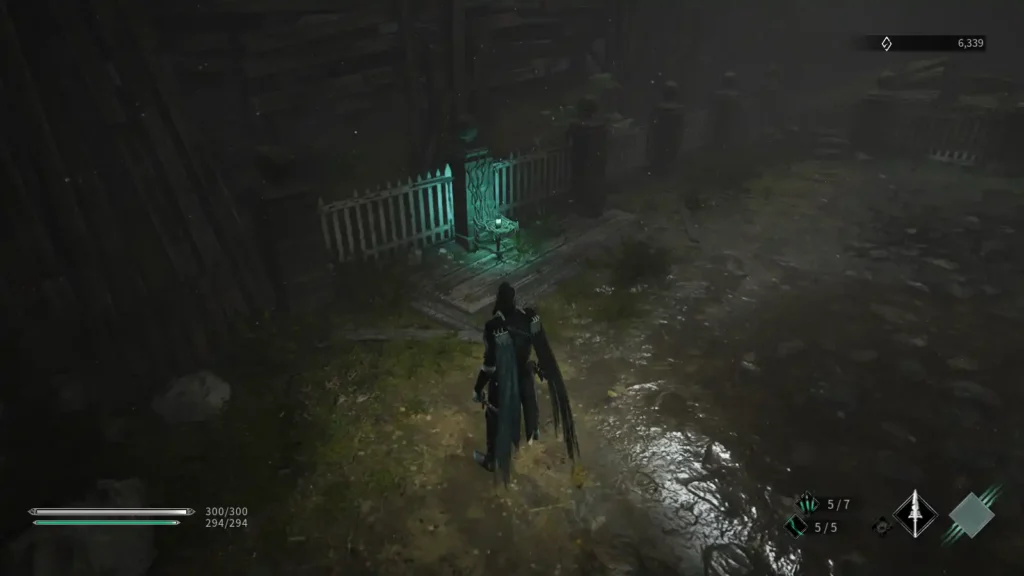
Choose the right path and follow it to the end, where you will find a weak enemy shield and two ladders. Emerald, an NPC from the past, is on top of one of them, and you can talk to him again if you want. This time you can show him some of the key items you have in exchange for Collection of Memories Lv2.
When you're done talking to Emerald, go down the stairs and up another set and drop down the other side. look around the last page of the explorer's diary, lying on the ground, and then deal with the nearest Knight of the Shield. Turn right from here and follow the path to the end to reach the last lighthouse in this area. Activate the beacon and rest. The boss is just ahead, but we have one last thing to take care of. Head back through the bloody library, all the way to the large open area we've been ignoring before.
At the far end of this room is a larger blood wraith wielding a whip. It will crack its whip, sending out a long-range wave attack towards you that can be easily avoided with a quick lateral step. If you get close to a Whip enemy and attack, he will disappear and reappear somewhere else nearby. Because it has almost no attacks, it's an easy enemy to defeat, but you'll have to deal with the smaller Blood Wraiths swarming you while you're chasing the larger one, which makes it a little annoying. Defeat the big ghost to get regular Alchemy Amplifier and Skill Shards whip, then grab Collection of Memories Lv1 from the back of the room and look around Alchemy Researcher's Notebook 03 on a bookshelf on the wall.
Head back to the final Lighthouse and equip yourself with the Whip Plague Weapon we just got. This will be very useful against the boss of this area. Take care of any other upgrades you need and then proceed to the boss room.
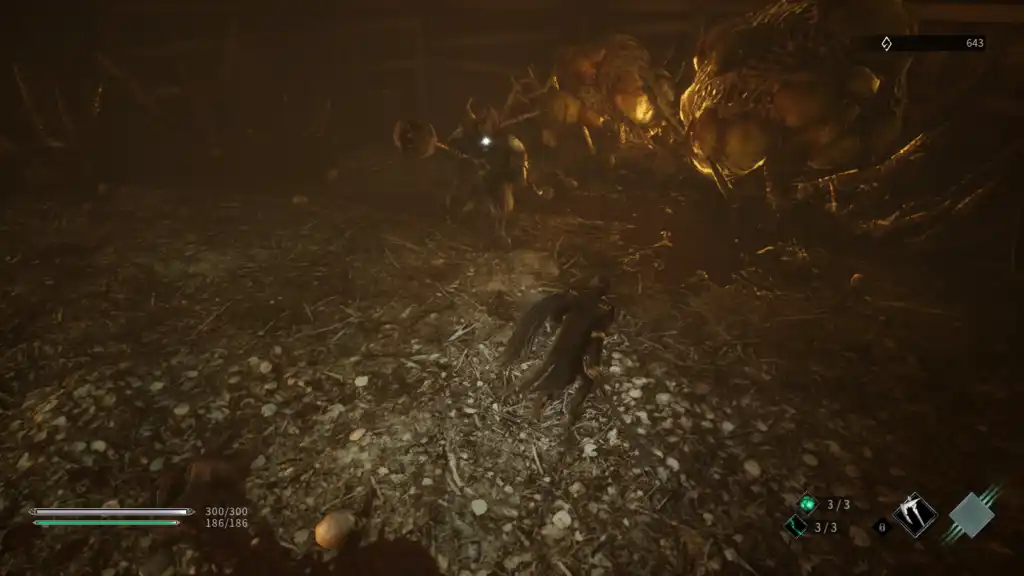
The Hanged Queen
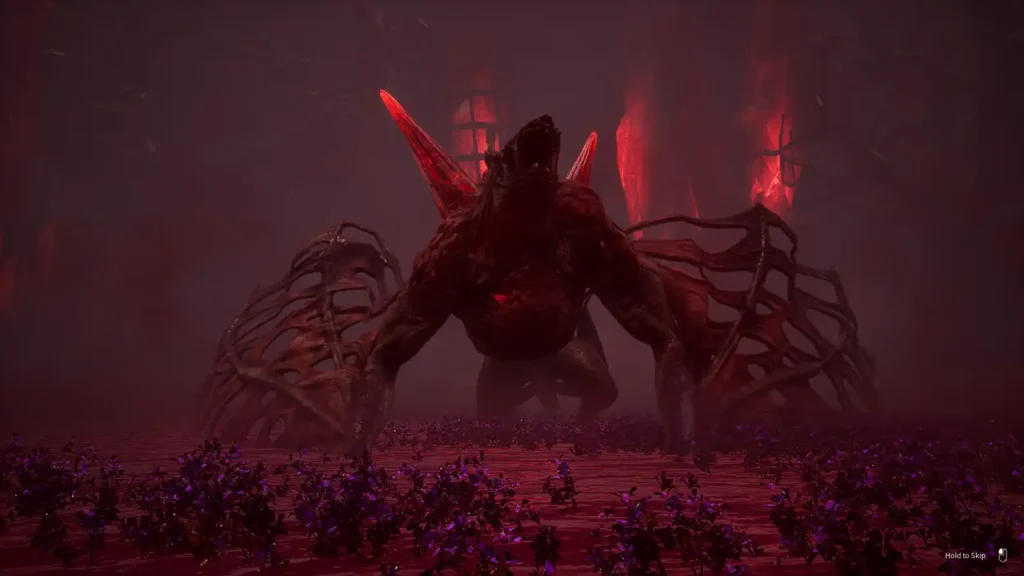
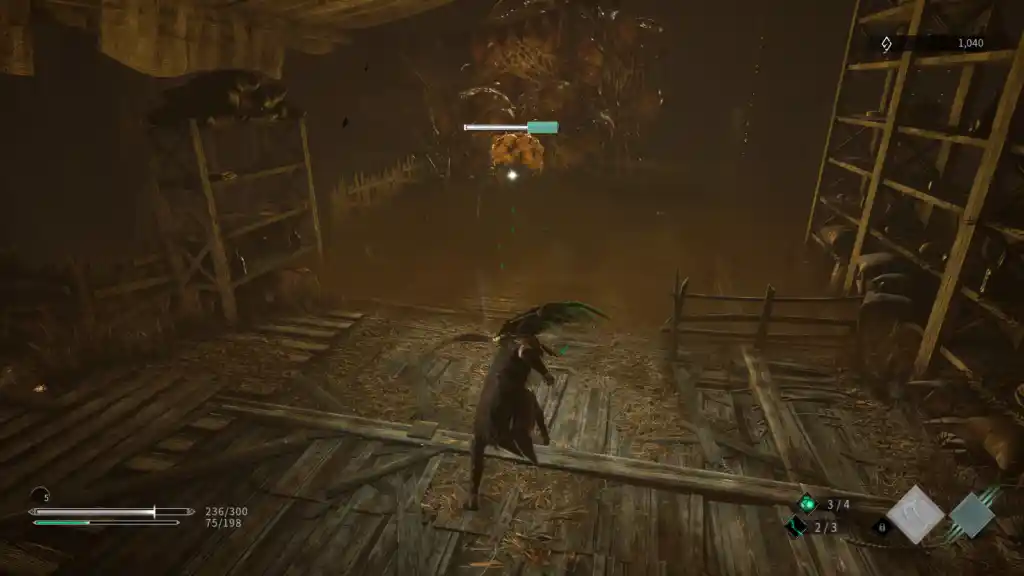
The Hanged Queen is a giant, seemingly intimidating beast, but in reality, she is probably the easiest boss in this game. Her attacks are obvious and easy to avoid, she only has one health bar and her healing trick is easy to counter.
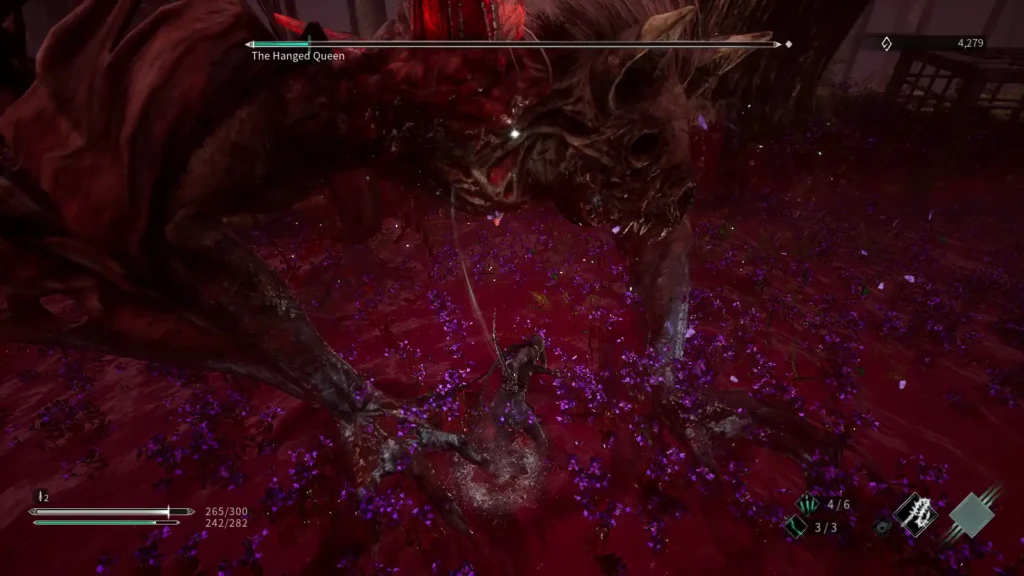
The queen will open either with a jump kick or a forward attack. Avoid any side step attack and then instantly start investing in it with a Saber combo. You want to stay right under her head most of the time, which will force her to do one of two attacks: her high jump kick, which can be easily avoided by simply dashing when she lands, or her claw swing, which you can avoid by simply dashing to the opposite hand with which she attacks (for example: she raises her right claw, rushes to the left side). This claw sweep is in two parts (strike, then swing), so if you get caught in the initial attack, be sure to knock out to avoid the second part.
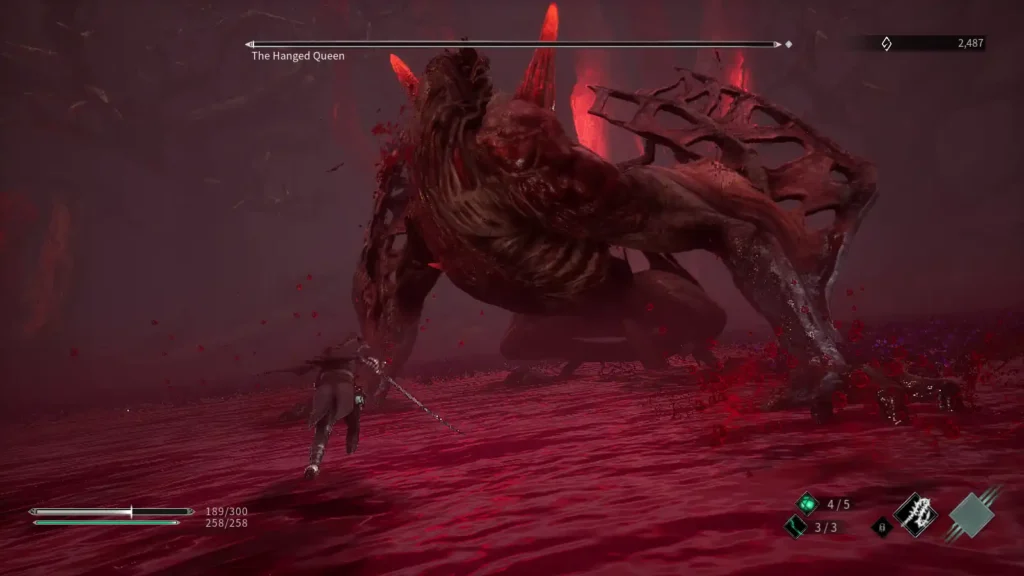
After taking some damage, the queen will jump back and absorb the blood. This will either cause her to fire a blood projectile (avoid with a bypass) or activate her healing ability to get some of her white health back. Once she jumps back, you'll have a chance to use our powerful new weapon, the Whip. The Whip's special ability pulls you towards your enemy if you hit them with the tip. It may take a few attempts to get the distance right, but once you get it, you can use Whip to not only interrupt her long-range maneuvers, but also instantly close the gap and keep attacking her.
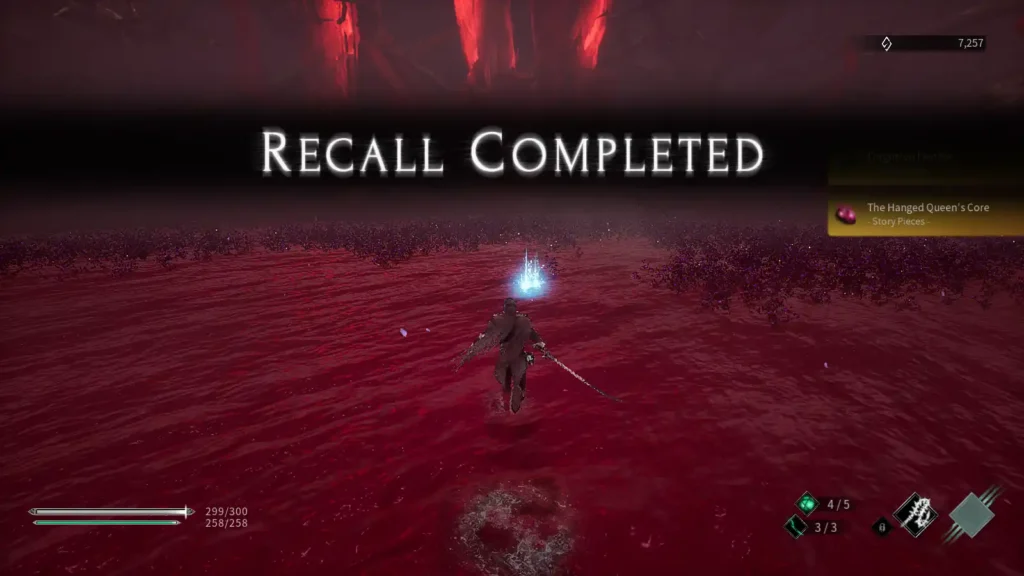
Use this to stay on top of her as much as possible, keeping up a flurry of Saber and Claw attacks until she is defeated. Your reward is hanged queen core, forgotten pen and a few skill shards "Blood Storm».
Blood Storm - Another amazing plague weapon that allows you to trade a lot of energy to restore 200 health. This makes it a great secondary that allows you to save potions while you maintain your energy.
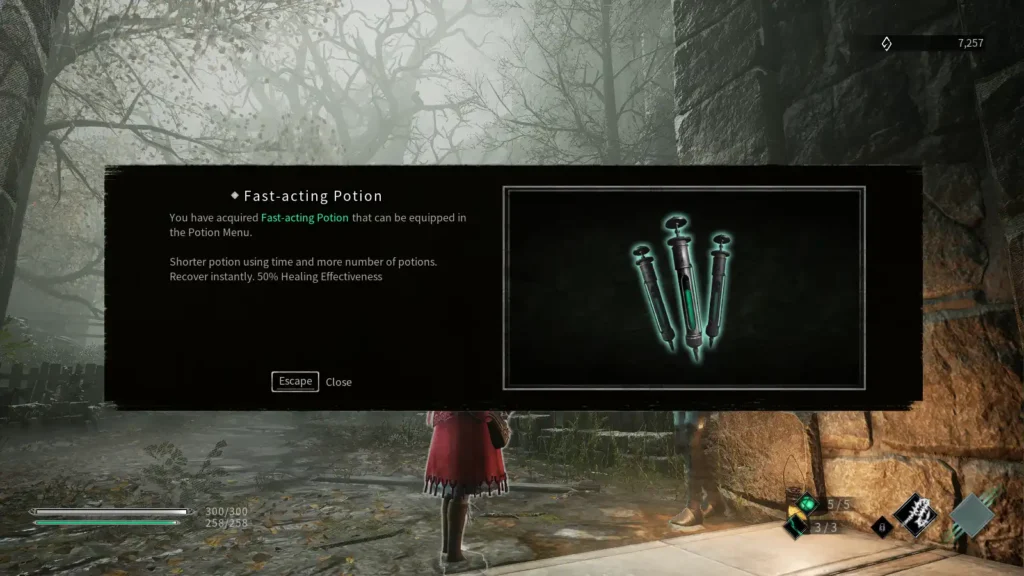
Talk to the ghost of Aysemi to return to Philosopher's Hill again and get Quick Potion. This potion has the lowest healing of all, but is the fastest to activate and has the most uses. Given that we're not updating Vitality much, this is the perfect fit for us. Finish any upgrade you still need to do and get ready to return to Hermes fortress.
Fortress Hermes
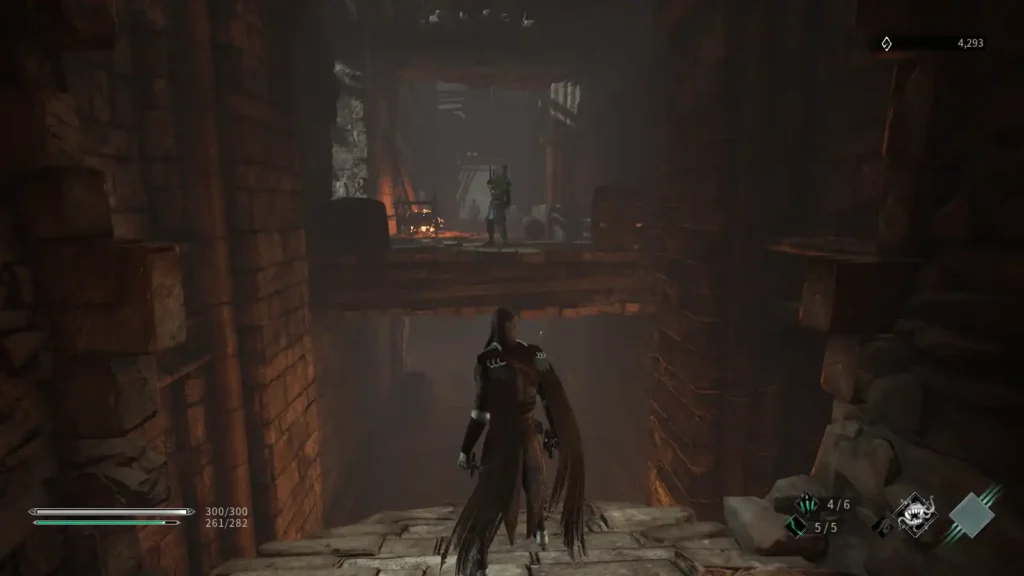
Start by activating the beacon on the right, then go forward through the crumbling wall and into the fortress. You will immediately run into some weak enemy spears that you can dispatch easily before heading up the stairs around the corner. Climb up the stairs to find an open platform with a few more enemy spears.
There is an Archer in the tower in the distance, who can spot you and start shooting, so carefully deal with the enemies on the ground in any way you like, and then climb the stairs on the wall to the right. look around soldier's sachet on the ledge above, then drop back down and go forward to the tower in the distance.
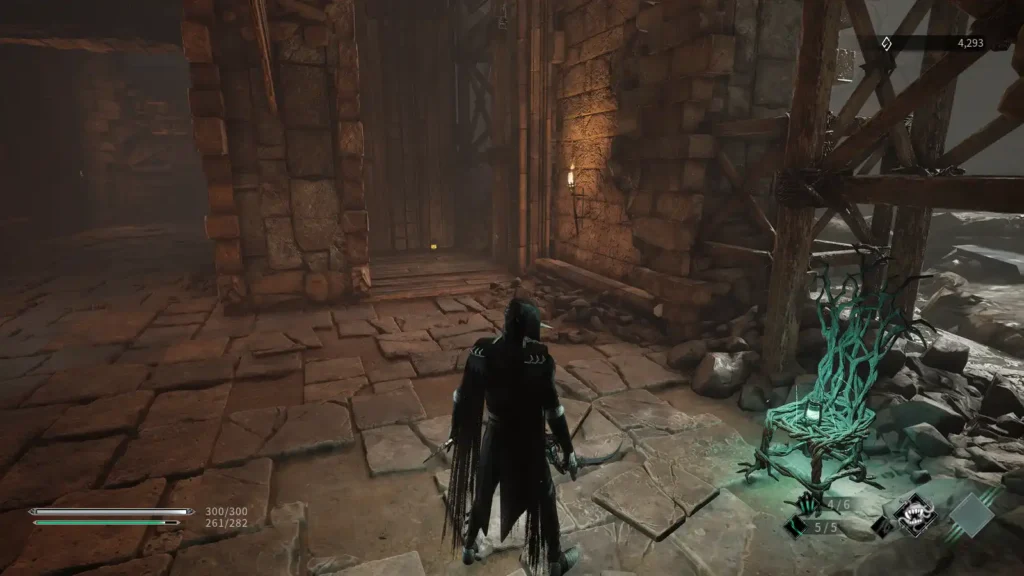
Before you reach the wooden ramp, look to your left and you should see a path leading to a ledge. Remove this ledge, then turn left and follow until you reach a dead end where you will find a wooden crate with Diary of Mother Knight 01 inside. Turn around and go back to where you came from, this time turning right into the splits. Here you will find a ledge with a ladder that you can drop down to create a shortcut back to the first lighthouse. From here, you will finally take the third path, which leads to another ledge. Drop down to the platform below and follow the ramp down. Kill the enemy on your way, then enter the tower from below.
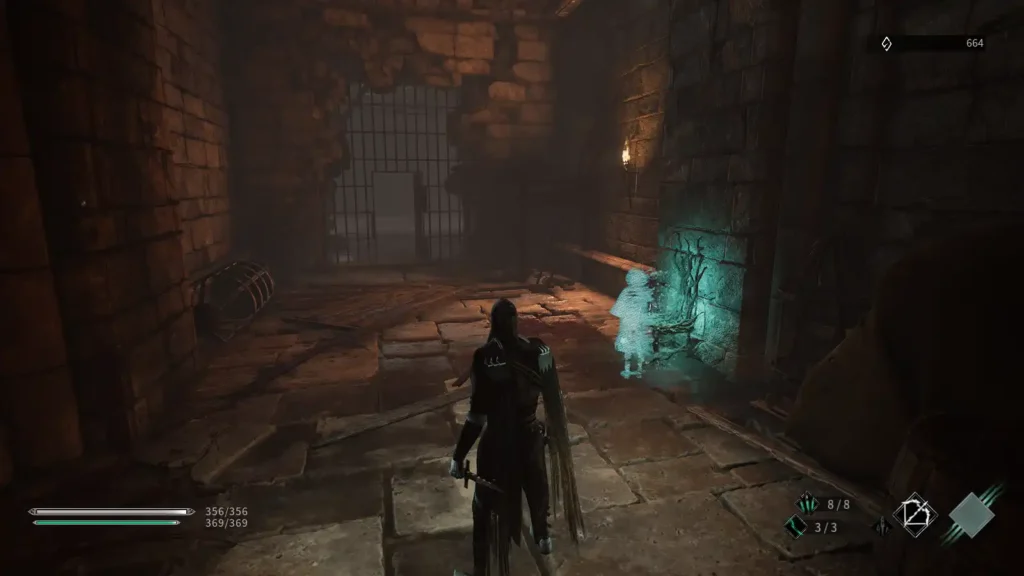
Make your way through the lower level, clearing out all patrolling enemies. Go to the glowing blue item in the far corner of the tower to collect a new potion ingredient, garlic. Turn around and go up the stairs on the wall to the left to go to the next level, where you will encounter two more knights, as well as an Archer who shoots at you from the corridor in the middle. Avoid standing in the center of the room and the Archer won't be able to see or shoot you. Move on and enter the room on the other side, which contains two more enemies, as well as a note Pure Blood Injection Records.
Return to the main room and go to the corridor where the Archer is. Unfortunately, you can't contact him directly, so instead head into the hallway below where you'll immediately find a collection of memories Lv1. Go to the end of the hall to get to the second lighthouse.
LIGHTHOUSE 2
Climb the stairs to the left of the lighthouse to reach the upper level where the Archer is waiting. Quickly kill the Archer, but be careful: there is another Archer above this one who will immediately start shooting at you as soon as you enter the hall, as well as a strong Spear Knight patrolling the ground. Your best bet is to run down the corridor to the other end, where you can enter another room, away from the Archer's view.

Here you will encounter a few more weak enemies, as well as a locked iron door. Ignore the door and go through the door on the far side of the room that leads to the stairs. Climb up to the next level, then go right. Kill the enemy in your path and then head up the next ladder, which will take you to the same floor as the pesky Archer who attacked us. Kill him and then various Spear Knights will scatter across the rest of this floor. Break the debris on the rampart to reveal Tales of Folk Potions 02, then turn around and look for the stairs behind you.
Climb the stairs to the next level, then immediately go right and up the wooden right to find another ladder that will take you to the top of the tower. Drop down to the roof, then smash the wooden crate near the corner ledge to reveal Diary of the Unknown Knight 01. Climb down the ledge behind you to land on a small platform with collection of memories Lv1, then drop down the ledge to the left to return to the bottom level of the tower.
From here we will exit this tower, located on the opposite side from where the Archer was sitting. Here you will find a ledge with a staircase that opens onto a large courtyard below with collection of memories Lv1 in the middle. Drop down, grab the item, then around the corner to find the third beacon, as well as a shortcut leading back to the base of the tower.
LIGHTHOUSE 3
Open the shortcut, rest and upgrade if necessary, then look to the left of the lighthouse where you will see a doorway leading to an open area. Here you will face the mighty Twin Blade knight. As usual, you can raw him with a bow if you like, or face him with your saber and deviations (boring). Kill him to get Alchemy Amplifier, several Skill Shards Double Blade и Key to Cathedral Path, which opens a large iron gate behind the knight. Ignore this for now and explore the area instead. You can find a note about the troop selection ceremony in the large archway in the corner and then find a ladder hidden behind some wooden debris in the middle.
Climb the stairs then follow the path to find Collection of Memories Lv1 in the small room upstairs, then exit the room and go down the ledge on the right. Keep falling down and down and you will eventually end up back in the courtyard near the lighthouse.
Rest again if you need to, then go through the door next to the lighthouse and return to the bottom of the tower. Go left, back into the corridor with the Archers, then smash the rubble on the left side to reveal a hidden area. Enter the room and kill the Spear enemy waiting inside.
Once you've killed the enemy's Spear, head up the stairs next to it to reach the top level of the tower. Follow the path ahead from the top to get into the tower ahead, where you will face another Spear enemy, as well as the Archer who shot at you earlier. Defeat all the enemies and then release the nearby ladder which creates a shortcut to the bottom of the tower (you can go down and grab Memory Collection Lv1 behind the stairs very quickly). Exit the tower through the door to the left of the stairs where you will find A note about the life of Hermes: Fortress 01 on the ground. Turn around and head back to the tower, then use the wooden ramp and ladder to the left of the Archer's post to climb to the top.
Here you will face another one of the mighty Great Sword Knights. The game plan remains the same as always: wait out one of his slow attacks, get into him with a Saber combo or Plague Weapon skill, and then retreat before he can launch another attack. Alternatively, you can simply splatter him with a bow until his white health is gone, then slowly dismantle him with carefully placed claw strikes. Whatever your method, you receive the Alchemy Booster., several Mastery Shards Great Sword и Key to the Top of the Fortress Wall.
Return to the tower, then go down the stairs that we released a little back. At the bottom you will find an iron door that you can open using our newly obtained key. Go through the door and follow the hall all the way to the end (ignore the left turn, it leads to a locked door) where you will find a ladder. Head up the stairs and immediately turn left, following the path around until you reach a ledge at the end. Drop down and turn the corner where you will see a glowing note in the distance. View it to read public servant's notebook 01.
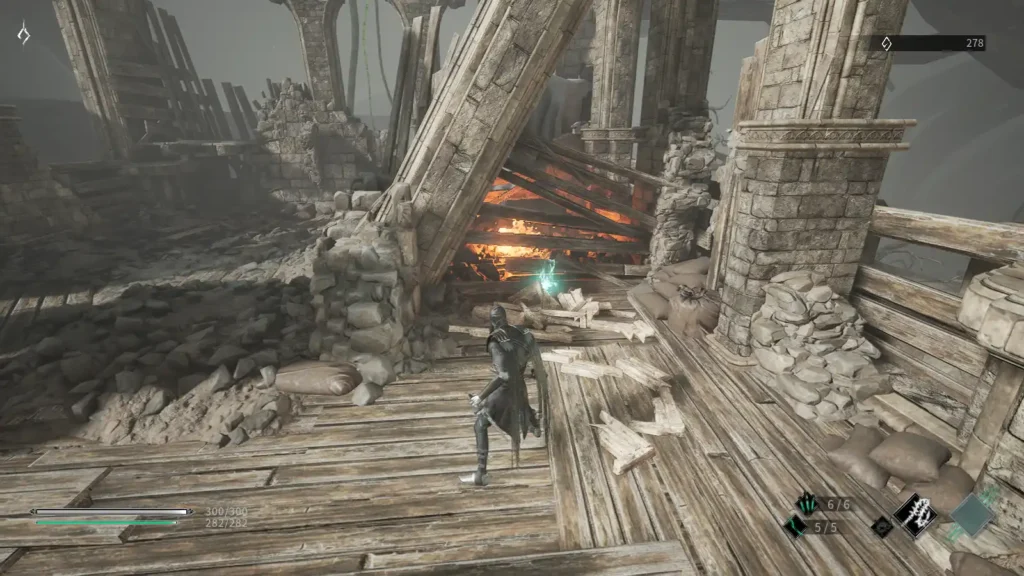
Don't drop off the ledge, instead turn around and go up the wooden ramp and then follow it to another series of ledges that will drop you onto a stone staircase. Head up the stairs, then down one last time to be on your way to the area boss.

Head to the right and up the stairs, killing the weak enemies patrolling the area as you make your way up to the cathedral above. There are five in total, so make sure you don't offend them all at once and don't get overwhelmed. Be sure to grab Memory Collection Lv1 at the top of the thin staircase on the right side, and then go up the larger staircase that leads you straight to the front door of the cathedral. First go right and examine Diary of Mother Knight 02, then go left and follow the path around to find the last beacon for this area. Opening the nearest door will let you access the boss, but we have some cleanup to do first.
Make your way back to where you originally fell down this path. Keep going forward and you'll find an Archer and Shield Knight patrolling a long corridor. Kill them both and then make your way to the end of the corridor where there are two iron gates. The gate on the right can be opened with the Key to the Cathedral Path to create a shortcut back to Lighthouse 3, and the one in front of you can be opened to create a shortcut back to the Path to the Top of the Fortress Key door. Open both of them, then turn around and head up the ladder on the wall behind you to reach the last extra area.
Go up the stairs immediately to your right if you want to meet up with Emerald, but otherwise ignore it and go down the hall to your left, which is patrolled by a Knight of the Spear. Kill him and then go down to the very end, where there are two stairs, one of which goes up and the other goes down. We will start from the descent, so we will go down from the ledge and get into the hall below. Dive into the alcove on the left to find Collection of Memories Lv1, then head down the hall where you will face the mighty Halberd Knight.
This long hallway is the perfect setup for whacking this guy with a bow, but if you feel the need to be honest, just remember that his attacks extend further than they look, his slow triple kick is very punishing, and always be ready with his feather counterbalance. various critical hits. Defeat him to win the pieces Alchemy Amplifier и halberds. Break the rubble on the right side of the hall to reach a muddy outer path that leads to another Collections of Memories Lv1, then go to the very end of the hall and follow the path on the left, which will lead you to Note Tales of Folk Potions 01.
Go back to the ladder we came down from and then up the second ladder we ignored earlier. This will take you on the path to Collections of Memories Lv1 and a ledge that will drop you off in a familiar area: the yard near Lighthouse 3. From here, you can cut through the square to get back on the cathedral trail and back to the last lighthouse.
LIGHTHOUSE 4
Relax, spend all your upgrades and get ready for a tough fight. If you haven't upgraded Vitality at all, this might be a good time to use one of your Forgotten Feathers to reset your stats and get at least 5 Vitality so you can survive more than two boss hits. I recommend investing in the following Talents to maximize damage potential Plague Wounds Lv3, Long Claw Lv3, Predator Claw Lv3, Short Dodge Lv2, Sharp Weapon Lv2 and Dodge and Slash Lv2. I don't find camber or feathers very necessary for this fight, so feel free to drop those talents for now. When you're ready, enter the cathedral and prepare for a rematch with…
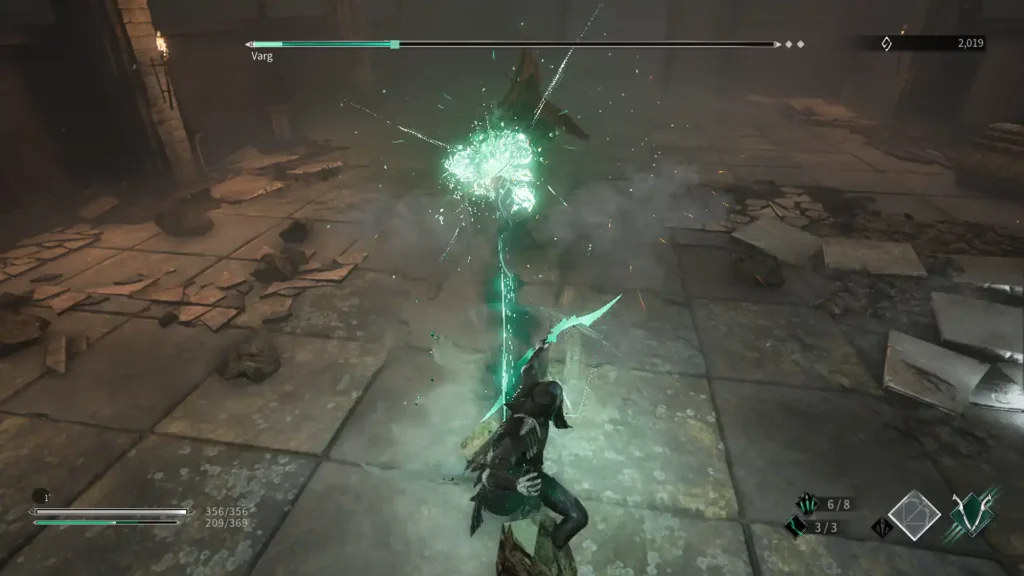
Varg
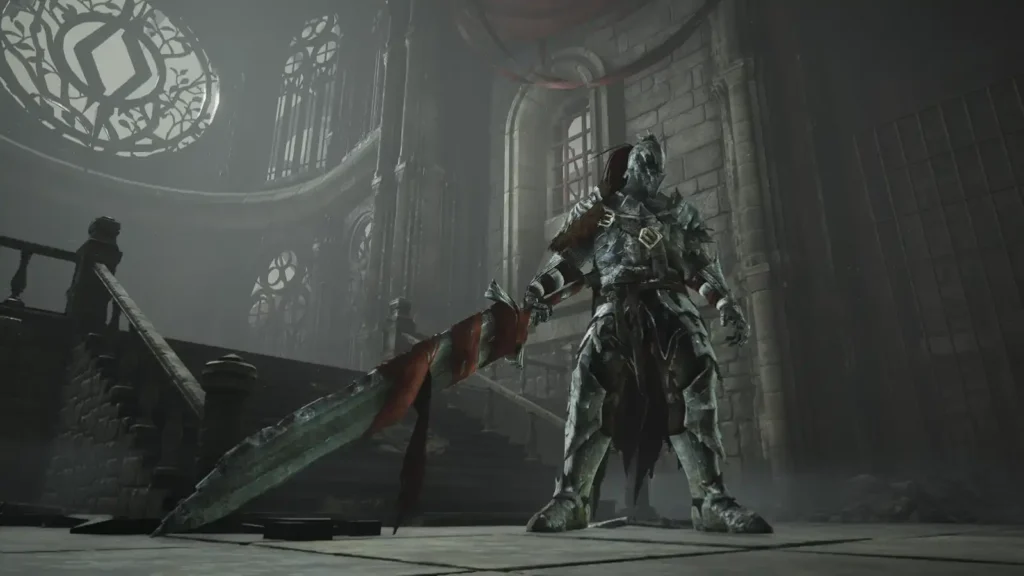
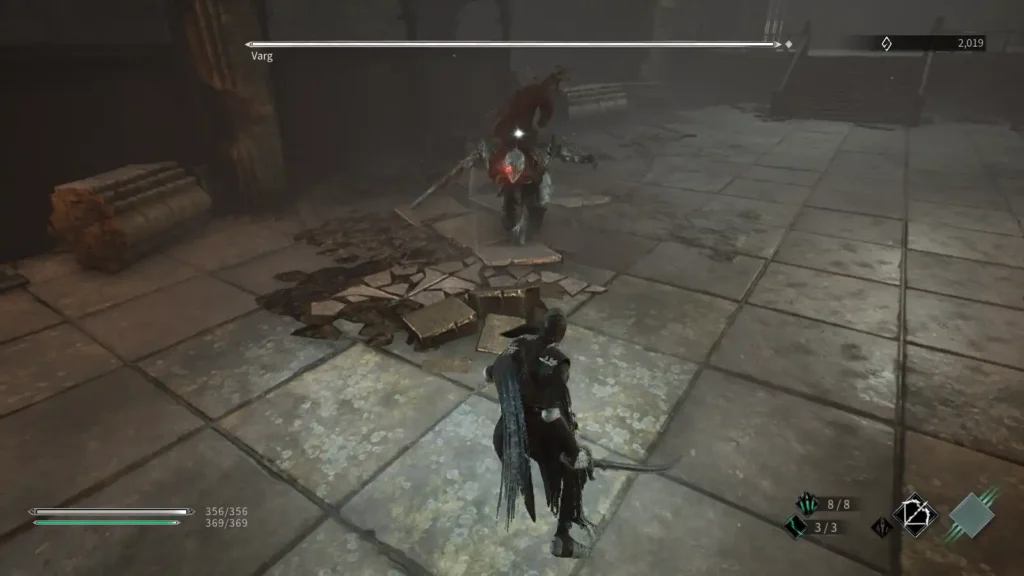
We find ourselves face to face with Varg again, so it's finally time for revenge. Varg can be an intimidating enemy at first due to his high amount of health and highly devastating attacks, but like the Great Sword Knights, his attacks are incredibly easy to predict, dodge, and punish.

Varg will always open either with his jumping slam or running towards you with a massive swing. Both of them can be easily dodged by simply dashing right before hitting, after which he races with Saber attacks. As we are experienced Plague Wounds Lv3 Varg's health will regenerate slowly so first focus on dealing with as many Wounds as possible so later on you can focus on slowly breaking down his blue health with claw attacks (remember if he starts to regenerate, you can always chip it with the Feather to slow it down).
As long as you stay close to him, Varg will always choose one of his slow close range attacks: overhead swing, horizontal swing, or forward thrust. Each of them can be easily avoided by simply breaking past them before hitting, and the window for success is quite wide. He almost always links one of these attacks into another, so be sure to let the second attack out before continuing with your Saber combo. You can usually get 4-6 hits before he tries another attack, but be prepared to dodge at any moment if he decides to break the pattern.
Warg is generally quite slow, so if you need to heal you can just dash a few times to create distance. Just be careful with his fast jumping kick that can cover a lot of ground and of course his running kicks that he can execute with tricky timing.
Of course, you can always take on an alternate strategy and just blast Varg with your Bow until you run out of Energy, then perform a couple of careful Claw attacks to restore your Energy before retreating again. The range of the bow is longer than the range of the Varg's jump strike, so this strategy is pretty safe as long as you don't get cocky.
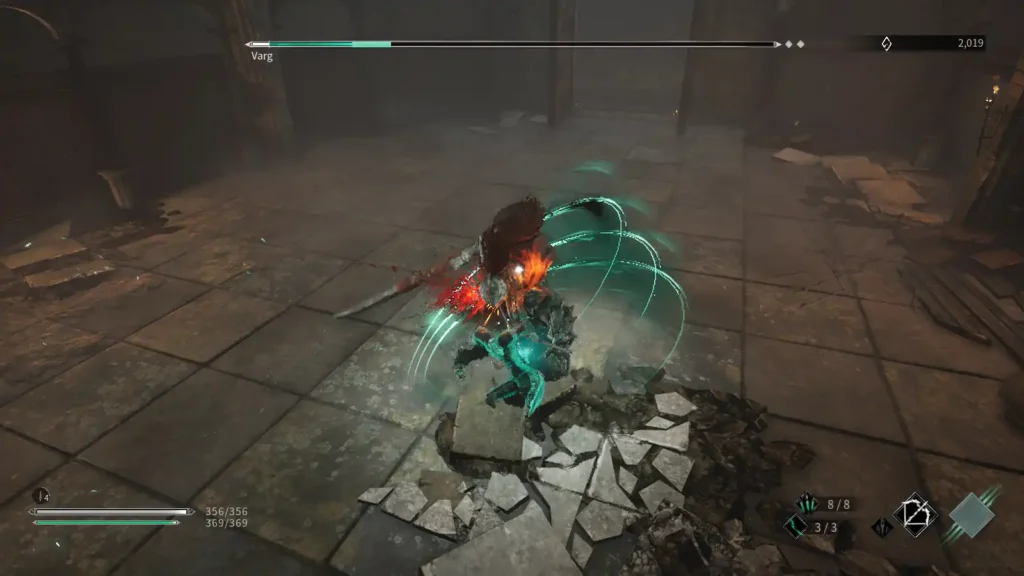
Whichever strategy you choose, pummel Varg until his first health bar is depleted, then execute him to start the second phase. Varg will always open the second phase with his Ultimate, in which he roars, then runs at you and tries to grab you. Unfortunately, this attack has a VERY short range, so just get as far away from it as possible and wait out the animation before returning with the same set of strategies as before. It's more of an endurance battle than anything that forces you to dodge and punish enough times to defeat him before the potion runs out, but once you have the template, it's relatively easy.
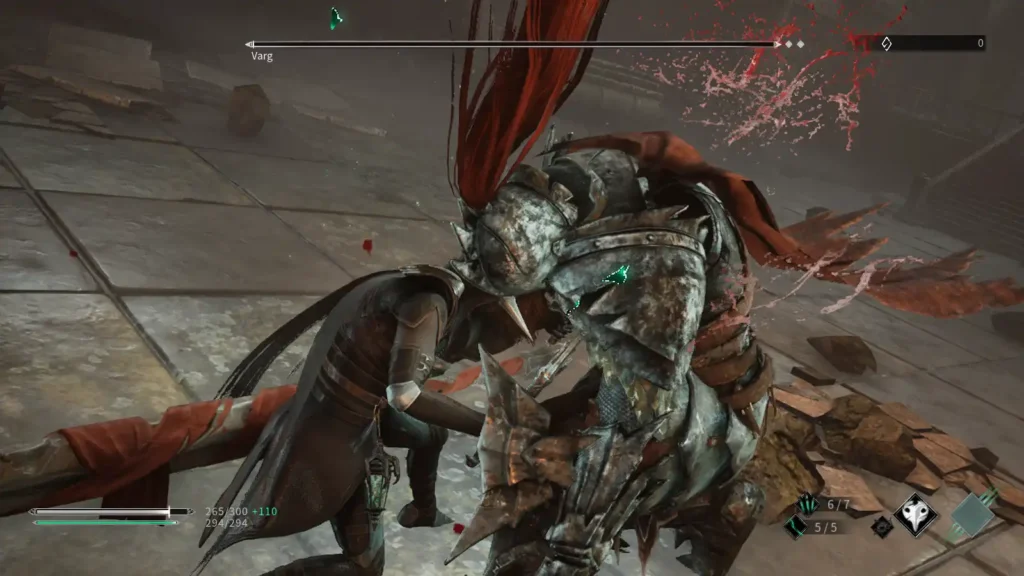
Deplete his second health bar and execute him again to end the fight and claim your rewards: Varg core, forgotten pen and a few pieces giant sword skill. Speak with the ghost of Aysemi to return to Philosopher's Hill.
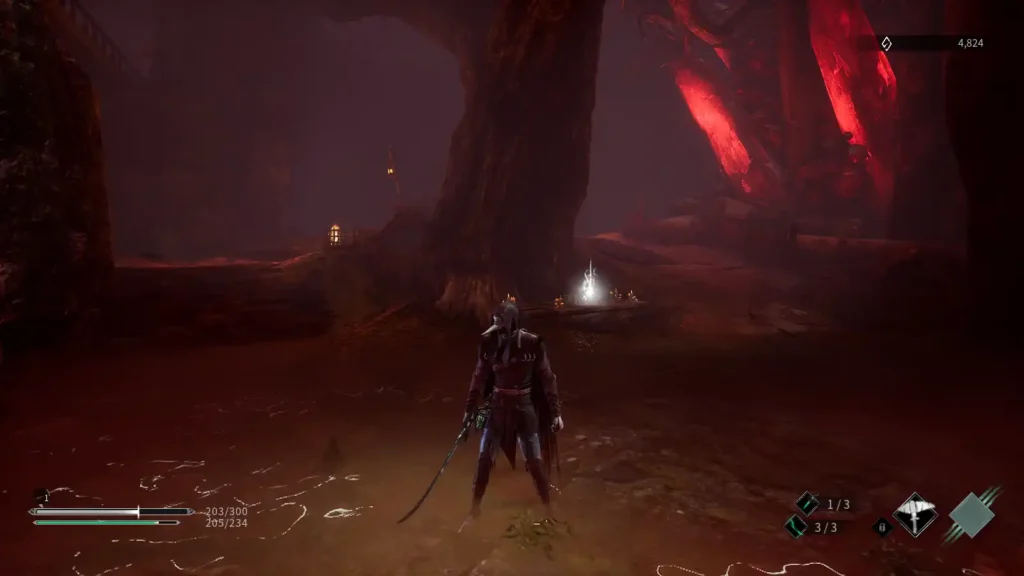
Ocean of memories
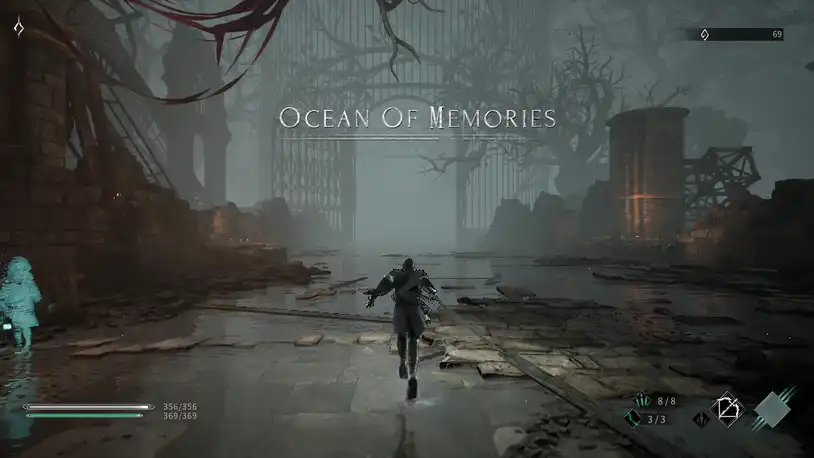
So, there is not much walkthrough here. Activate and rest by the lighthouse to your left and make final preparations for the final boss. You won't need a Healing Execution right now, so feel free to take those points out and place them somewhere else. If you don't plan on using Deflections, I would recommend throwing some points into the defense talent. This turns the Deflect button into a Block button. It doesn't negate all damage, but it can be a great backup plan if you find yourself trapped in a combo.
Also, I recommend just taking as much damage as possible while maxing out the Talents. Plague Wounds and Predator Claw are good options here, as is Energy Claw if you plan on overusing any Plague Weapons. The combination of Bow and Sword Spear is great in this fight.
When you are ready for the final battle, enter the large arena directly in front of you where you will face... yourself?
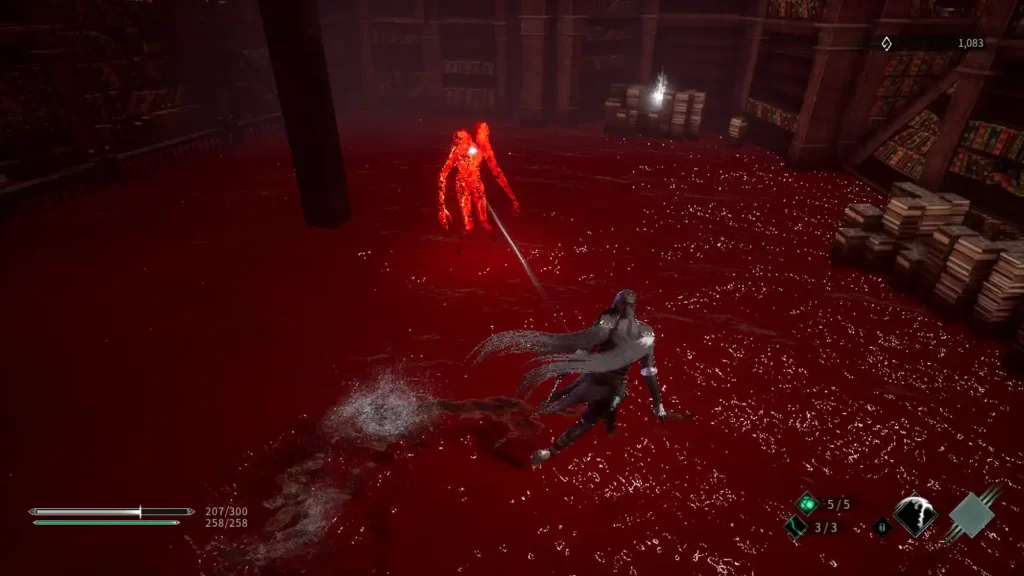
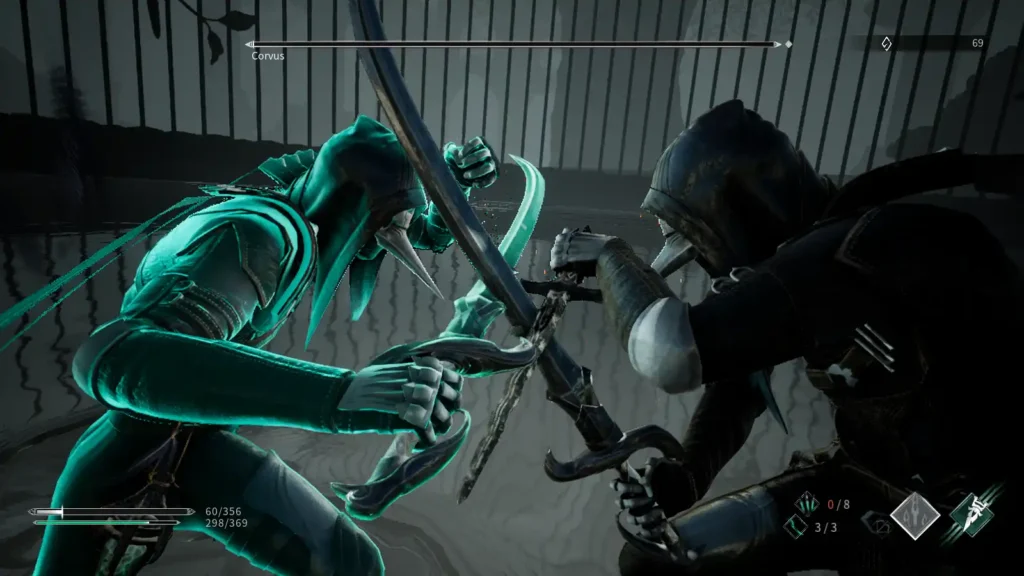
Corvus
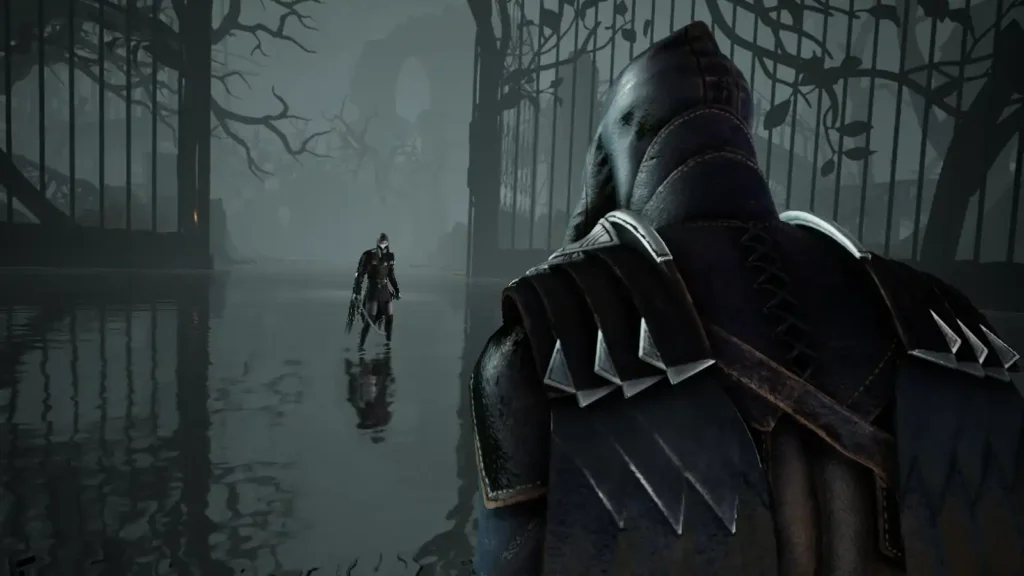
Yes, well, of course, why not, the final boss is yourself! As you can imagine Corvus has almost the same moveset as you (including Feather Dart and Claw attacks), and can even use all of the same plague weapons as you. This is great news because it means we already know what to expect from him, which makes a lot of these attacks pretty easy to dodge!
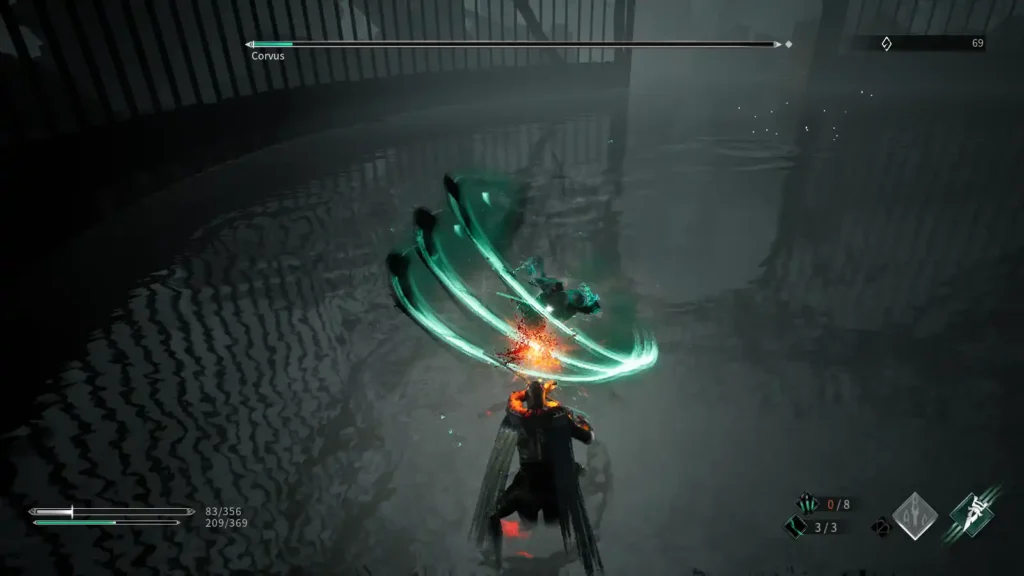
Corvus is a bit more dangerous than most of the enemies we've fought up to this point, so we don't want to stay on top of it like we did with Odur and Varg. Instead, I would recommend standing outside of melee at all times and waiting for him to perform a bad attack. Hammer, Scythe, Spear and Claw attacks are quite slow, so if you see any of them coming out, dodge, immediately jump back to unleash a quick combo of Saber or Claw Attack, depending on what type of damage you need .
Unfortunately, Corvus is not very phased in combos, and often flares up and starts his counterattack after just a few hits. Getting caught by one of his melee attacks, especially his long Saber combo, can be very deadly, so try running or just blocking until the combo ends. If you are an expert in deflection, this will be your time to shine as you can take massive damage deflecting his constant Saber attacks.
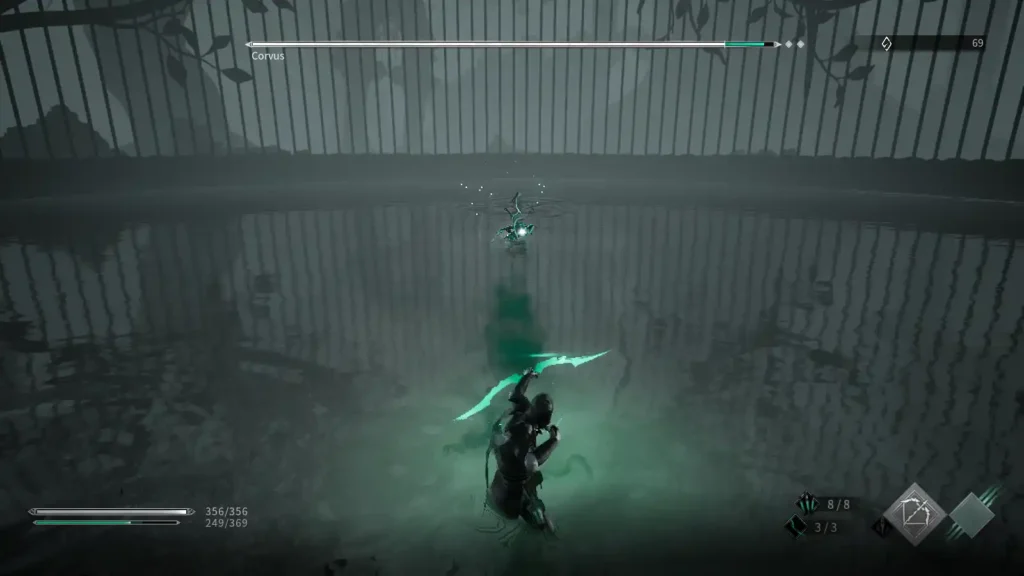
However, I don't recommend doing all of THAT when you can just step aside and overuse the Bow and Spear Sword. It's very damp, but isn't that part of the fun? If you keep your distance Corvus will eventually resort to using his own bow, but it deals much less damage so you don't have to worry about taking a few hits from him. He may also try to Feather Dash to close the gap, but a well-placed arrow will stop him in his tracks, leaving you free to fall back again.
Corvus has two health bars, but I didn't notice any difference between the two phases, so once you deplete the first one, keep doing what you're doing until he dies. It's more of a battle of endurance than anything else, taking him down before he can deplete your potion pool.
Defeating Corvus will trigger a short cutscene and then a cutscene that will take you back to Philosopher's Hill.
The final

When you return to Philosopher's Hill, you will find yourself in a conversation with Aysemi. She will ask you if you finally remember what you put in Hermes' answer. If you've been following the lore, this is a mixture that is meant to cure the plague.
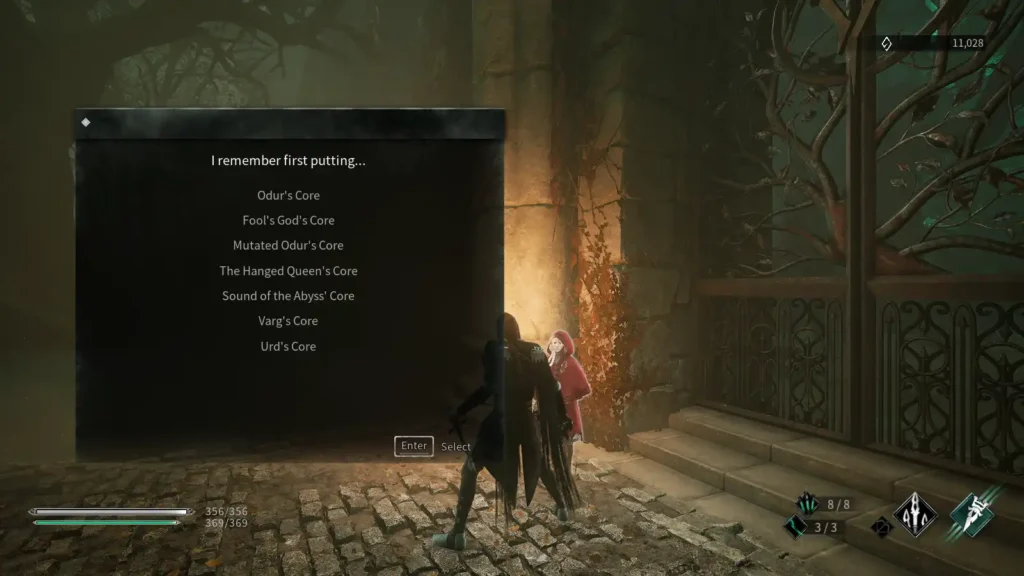
You will be presented with a list of all the boss cores you have collected throughout the playthrough (both mandatory and optional bosses) and you need to select two to put into healing. Your choice will determine your ending.
Once you choose, Aysemi will open a gate next to her, allowing you to go inside and trigger the final cutscene. Once you see your ending, the game will ask you "Is this true?". After saying no, you will return to Philosopher's Hill and try again, although you will need to defeat Corvus again to choose a new ending.
Was the article helpful?