Intro to the New AFK Arena Adventure: The Decrepit Ruins The Decrepit Ruins is the latest thrilling adventure in the world of AFK Arena,…
Remnant: From the Ashes - All Bosses of Planet Rom
0
Rom is the second planet you will visit in your playthrough. Remnants: From the Ashes. This planet is mostly sandy and has many dungeons to explore. The following are the Roma bosses you may encounter:
More Remnant: From the Ashes Guides:
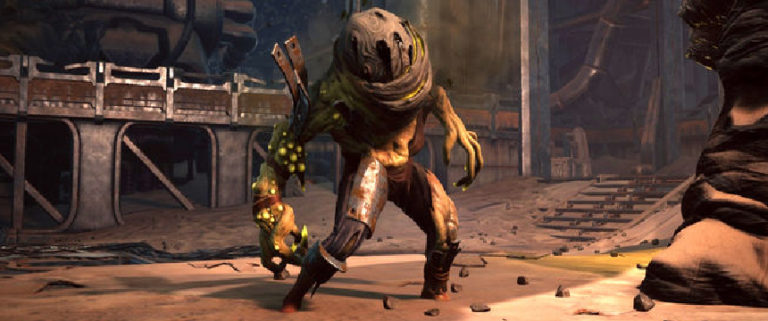
Undying King
Immortal King is the main reason why we visit Rum. This NPC wants you to get the Guardian's Heart for him. If you refuse his request or give the Guardian Heart to someone else, you will activate a fight with him as a boss. During the fight after you have killed the Immortal King, he will regenerate about half of his health.
Weakness: Head
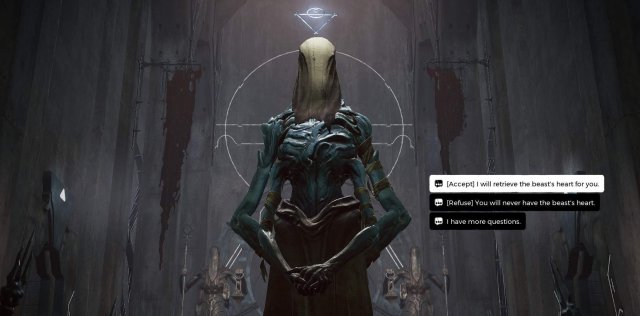
* You can choose to fight this boss or not! Either option results in a labyrinth key.
To fight: decline helping him - if you choose to fight him you will get an immortal heart to craft the ruins (rifle) as well as a regicide trait (+Crit hit Dmg).
Avoid fighting: agree to bring him the heart of the beast (Ixilius) - if you decide to help him, you will have to defeat IXILLIS on Corsa. As a reward, you will receive Riven (melee weapon).
The fight is pretty hard!
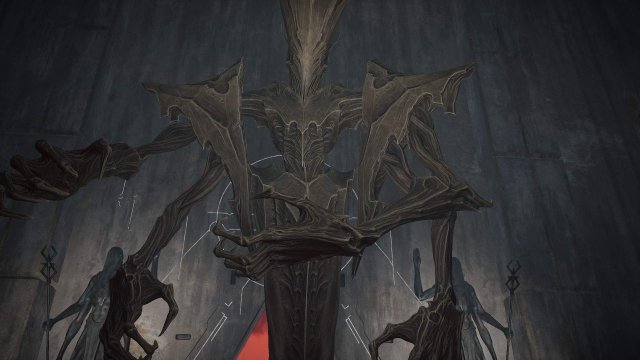
Stage 1:
The boss will spawn reinforcements coming out of the coffins located in the room.
On top of that, it will also summon two flying light balls that are stationary that fire projectiles at your location. Destroy them as soon as possible.
Stage 2:
Basically, the king will only summon things and dodge shots until he draws his melee weapon.
When he draws a melee weapon, he will slowly follow you.
If he is close, he will jump towards you and follow up with a combo, when this happens, dodge the forward throw and run.
Stage 3:
The boss alternates between phase 1 and 2 until you deal enough damage to him.
Once you have dealt enough damage, the king will begin to return to his pool, where he will meditate to regain hit. Fortunately, it regenerates slowly.
When he regenerates, he is immobile, so after clearing all the helpers in the room, destroy the projectiles in his head. This will stop his meditation and bring him back to Phase 1.
Note that he respawns the first time you kill him.
Claviger (Spindle)
When you travel to the Scouring Wastes, you can enter an area called the Spindle. Inside the Spindle you will find a boss named Claviger. Claviger is a giant root that you fight on a circular platform. Like the Scourge, Claviger uses a radiation effect, so prepare an elixir of heavy water.
* This fight is tedious to say the least, you may need to bring an ammo box if you run out of ammo.
Rewards: Guardian Stone.
Alternative reward: Void silver
Stage 1:
The boss will spawn with two orbs on his side, which creates a field that protects him.
Destroy the balls.
The boss will call for help during the fight.
The boss will also shoot a lightning ball at you. Just run left and right and you'll be fine.
Phase 2:
After a while, the boss began to spin like a spindle.
When you start to see some yellow particles and his hand starts clapping, be prepared because the boss can unleash a beam that will be very painful. To dodge the beam, just sprint as close to the boss as possible where there is room for you to roll to avoid the beam.
If you're feeling brave, you can also jump over the beam. Usually I just dodged and ran from side to side.
After a while, the beam will stop and the actions from phase 1 will happen again.
The Harrow (World Boss)
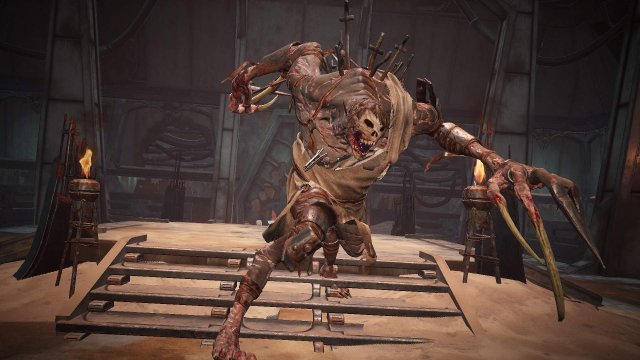
The harrow will charge at your location when you are at a distance, wait until he gets close and dodge forward. Try shooting at his legs as this will stagger him. If you shoot enough times at his legs he will fall to the ground, if you run after him you can grab a lost harpoon weapon.
Note: If you grab the Harpoon and die, you will have to repeat the process. Unlike some of the other alternate boss rewards, the Harpoon Taken state is not permanent between attempts.
When he gets close, he will perform a three-hit combo that can deal high damage, try to dodge forward and stay behind him. When you deal enough damage, he will run away and cast backup. Try to defeat them before the harrow returns.
Charge and impact: He will charge at your location by attacking with his claws. Log out: Wait until he is near, then dodge forward while avoiding him.
Three combo attacks: He will use his claws to perform a powerful three hit combo. Log out: Dodge forward and run away from him.
Reward: thermal geode (you must kill the harrow without taking the lost Harpoon.)
Raze (Lair of the Eyeless)
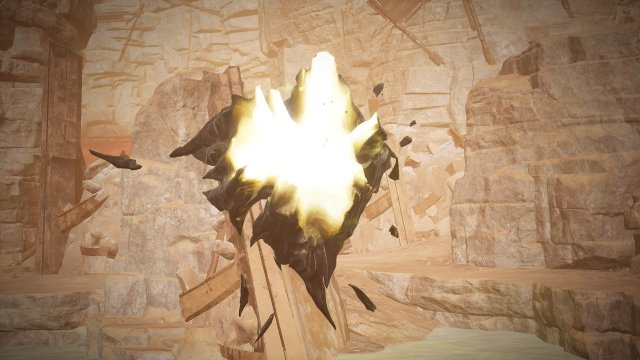
In Roma, in an area known as the Lair of the Eyeless, there is a boss named Raze. This boss is a giant flying root that shoots projectiles at you.
He will scream and summon flying entities. Output: try shooting at the yellow core while it screams to deal critical damage. Then send the entities to the next world before dealing with Raze.
fire salvo: He will fire a volley of fire at your location. Output: try to hide behind the building. This can burn you so hit the spacebar to put yourself out or use hydro coolant.
* Fun fact: The boss hides underwater to cool down. Reward: Sentinel ShardWeakspot: Yellow core when opened.
Scourge (Beehive)
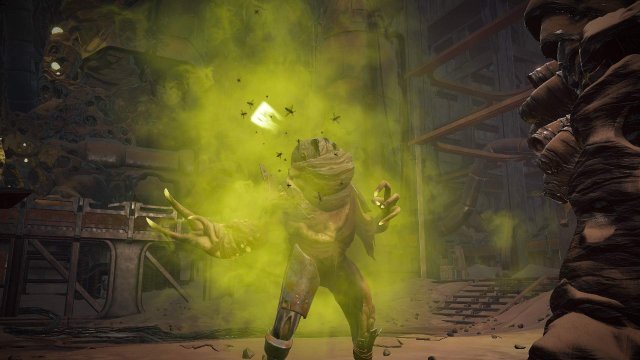
You will find the boss in the Hive, which is located in the Wasteland Dungeon. The whip will apply a radiation effect on you. To negate this effect, you will need an elixir of heavy water.
Yeah, remember the hives? Now you have a bigger problem.
The whip will chase you around the room, trying to hit you with its claws. Try to stay close to the building in the middle by running in a circle, when he gets close you will see that he stays still and his arms start to grow, you can jump back to avoid his attack and take a couple of shots at him. Every time you shoot him, hives will spawn from his head, try to use high damage weapons so he can spawn less hives. The Scourge will also occasionally defend itself in the field and summon many hives. You can hide inside the tunnel in the middle of the room, but be careful as some hives can still reach you. You can also try to lure him inside and fewer hives will spawn.
Remember to use the heavy water elixir when you are irradiated.
If you're having trouble avoiding the hives, you can use adrenaline to run faster.
Attack claw: It will expand its claws while performing a wide attack. Log out: you will see his arms grow before he performs an attack, you can avoid him jumping back
Hive protection: When you hit it, the hive will be released from the head and chase you. Output: try to deal damage, avoid the hives, and then attack again.
Hive attack: He will protect himself in the field and release many hives that will chase you. Log out: He is invulnerable when performing an attack, so try to run and avoid the hive. Don't run into it as there is a higher chance of being damaged. You can also hide in the tunnel in the middle of the room
Reward: radioactive skull
Houndmaster and Maul (Stalker's Lair)
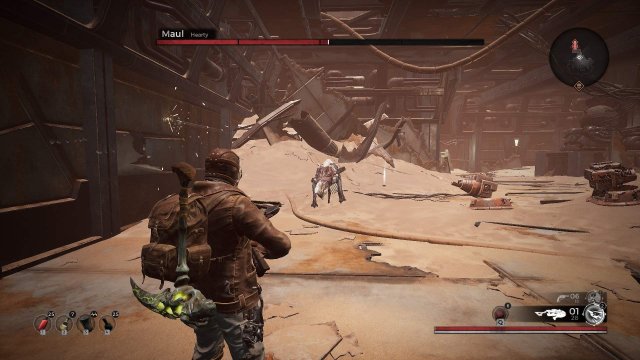
There is a place on Roma called the Stalker's Lair. There are several Stalkers and NPCs in this area. You can sit down and talk to an NPC and buy an item from them. Once you're ready, you can shoot the pack (or come back later) and start the boss fight with Maul and Hound Master. After defeating them, you will receive the Control Rod item, which will allow you to fight the next boss.
This boss is accompanied by a lot of dogs. Don't let them backstab you when you focus on the boss!
Howl and call the dogs: She will howl and call for help. Log out: Use the opportunity to shoot the boss. Kill the dog as soon as you see it.
Charge and impact: It will charge and bite you. Log out: Dodge both ways and shoot him.
Weakness: head
Reward: Beagle Choker
Alternative: Headshot to the houndmaster (below) for the control rod to be placed in the ancient structure.
Ancient Construct (Wasteland Trader)
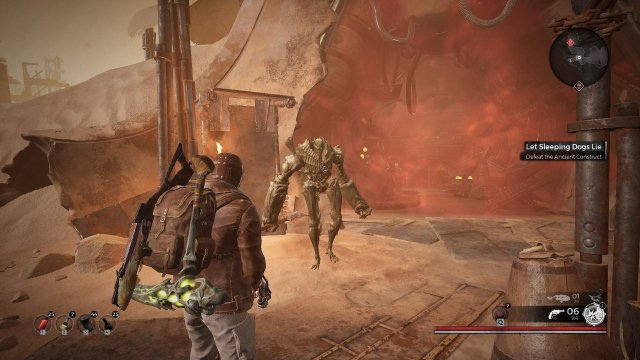
In the Wasteland merchant's shop (that's the dude who sold you the Osiris armor and the Black Sun ring, that dude who wears an eye patch, that dude with the injured boy next to him) has a broken car. If you interact with the machine using the Control Rod, the machine comes to life, triggering a boss fight.
The ancient construct can periodically summon an automatic turret that fires at you. When this happens, focus on destroying them as soon as possible.
When he can throw a radiation ball at you from a distance, dodge him in any direction. He can also strike with a spear. Dodge him in both directions.
When at close range, he will attack you with a spear. Dodge back and keep shooting at him.
Call turrets: He will summon automatic turrets that will shoot at you. Output: destroy towers as soon as they appear.
Radiation impact: He will throw a ball of radiation at you. Log out: Dodge in both directions. Use an elixir of heavy water if necessary.
Charge and impact: He will hit you with a spear. Output: Evasion on both sides. Use an elixir of heavy water if necessary.
Melee strike: He will strike from below with his weapon. Log out: dodge back.
Reward: ancient core
Weakness: head
Schism and Shadow (Hall of the Faithful)
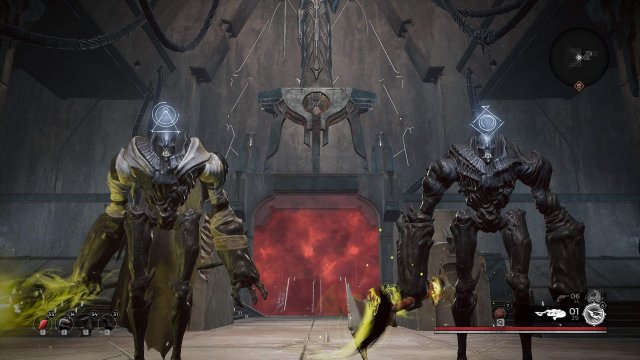
Shatter and Shadow are a duo of bosses that you can encounter in the Hall of the Faithful, on the planet Rom. This battle will not be easy, you will have to fight two enemies at the same time.
When you enter the room, you will encounter a shadow and a rift at the same time. The Shadow will stay at a distance using the staff as a ranged weapon, while the Shatter will close in on you using the spear as a melee weapon. You need to defeat both.
The best strategy is to focus on Shadow first, dodging backwards when Shatter gets too close. This way you can focus on avoiding Shadow projectiles. When they perform a combo attack, try to deal with the enemies before destroying the force field. You can also hide in one of the corners and sometimes the radioactive orbs won't reach you, giving you time to regenerate your health and remove the radiation with a heavy water elixir.
Once Shadow is defeated, you can focus on Shatter without worrying about projectiles. Just dodge his attacks and shoot while he recovers.
Shadow (In Range):
Shadow fiery projectiles are so easy to stay behind the walls.
The shadow also summons giant yellow orbs that deal high damage that radiation does.
Split (Hand-to-Hand Combat):
Just pay attention to its positioning and dodge.
The rift sometimes hits the ground to create an explosion that damages and knocks you back.
Combined Attack:
When any boss takes a certain amount of damage, they combine their attack where the shadow casts a spell and bombards you with yellow orbs while Shatter creates a force field. There are a lot of entities around during this stage, so hide behind the wall and eliminate them first before removing the force field
* Side note You can enter the force field, but you would take the point while in it.
Reward: Black tear
Weakness: Head
Was the article helpful?
 Thank you very much!