
Resident Evil 2 is a third-person re-release of the 2 action-horror classic Resident Evil 1998. The sequel takes place two months after the end of Resident Evil HD Remaster. In the small American town of Raccoon City, a catastrophe occurs. All its inhabitants have turned into zombies under the influence of biological weapons created by the pharmaceutical company Umbrella. The main characters - Leon Kennedy and Claire Redfield have to find a way out of this zombie madness.
Resident Evil 2 Remake: Walkthrough Guide for Leon

Resident Evil 2 Remake features two heroes, Leon and Claire. You can choose one of two at the very beginning of the game. The passage of the storyline for Leon will be different, depending on the chosen hero. The prologue events remain unchanged!
Escape from the store, search for the police station and the east wing
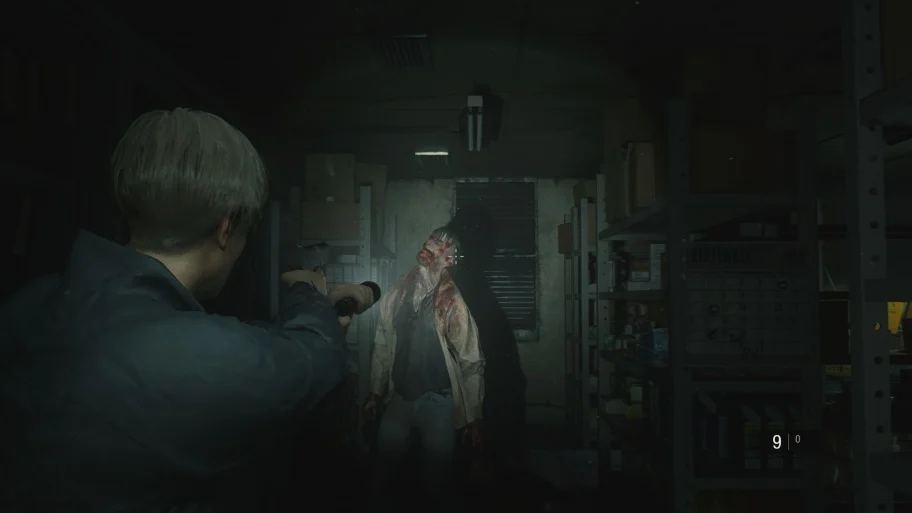
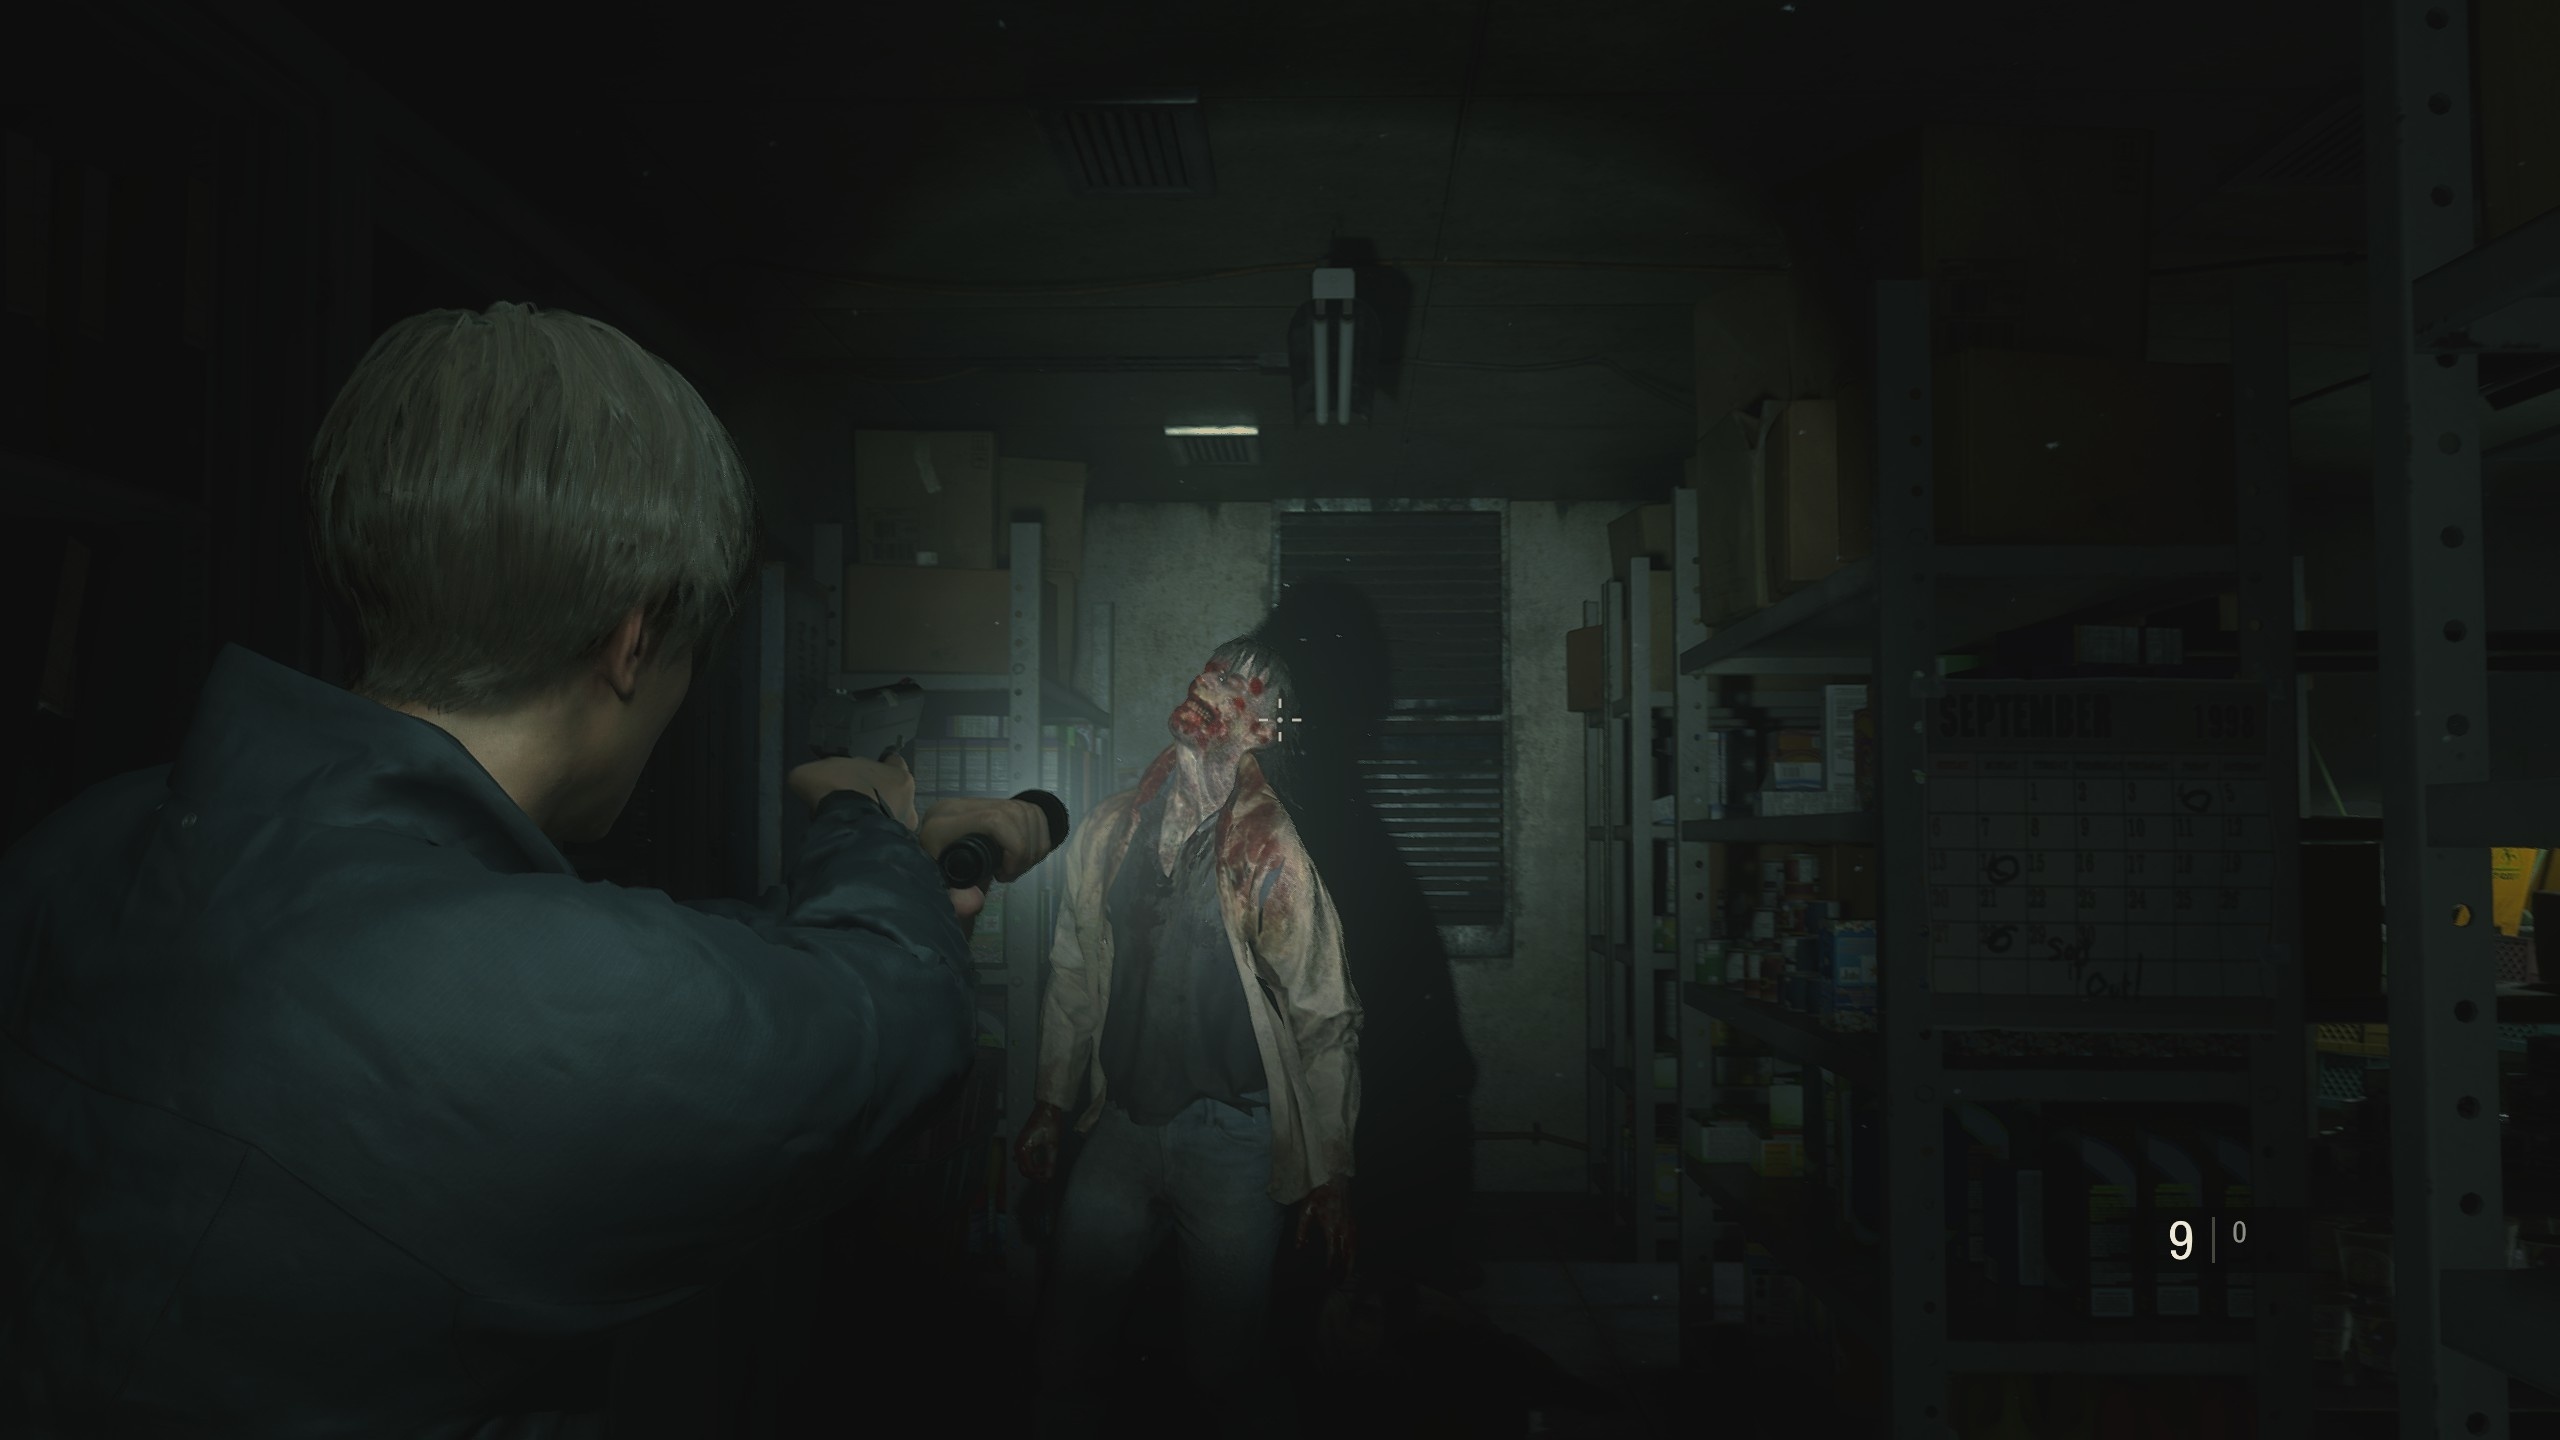
Go inside the store through the front door and go to the left side of the building to see a wounded man. Keep moving until the cut-scene and encounter with the first zombie. Shoot in the chest or head until the enemy falls, then in the far right corner of the room, look for a locker on the wall and take the key. Examine it in your inventory so that the real name of the item appears instead of the usual signature. This is how it should be done with every thing. This is the key to the storeroom.
Use it on the door on the side, to the right of where you found the item, to return to the main part of the shop. There are zombies everywhere. You can't go directly to the front door, so run to the right. You may have to attack some zombies, although you can run around enemies to save ammo. When you are at the door, a cutscene will play.
How to find the police station
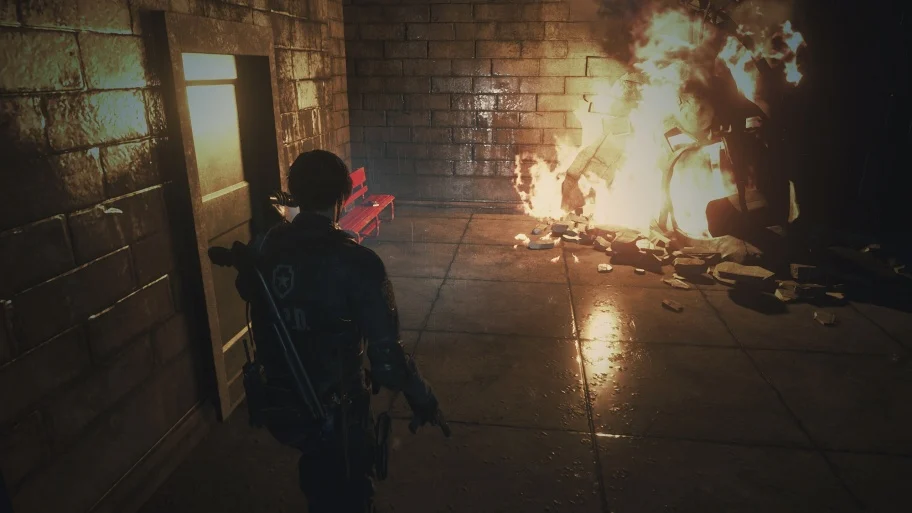
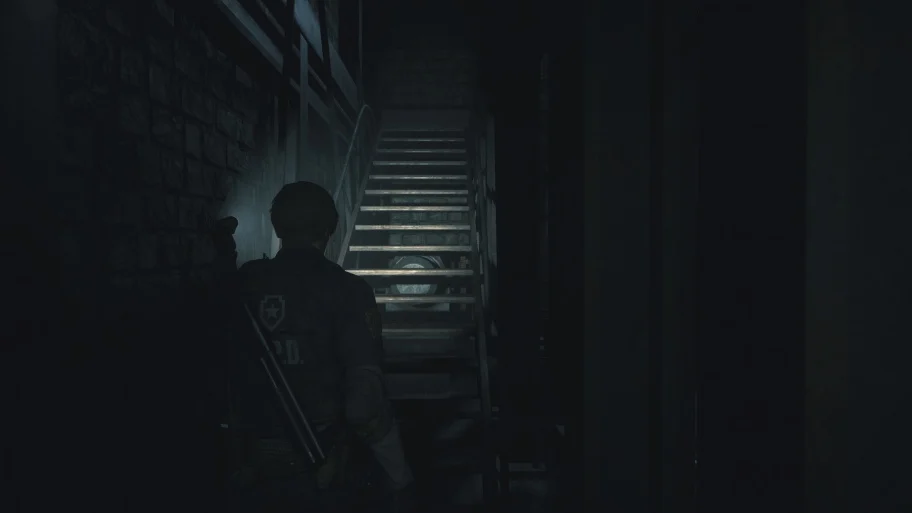
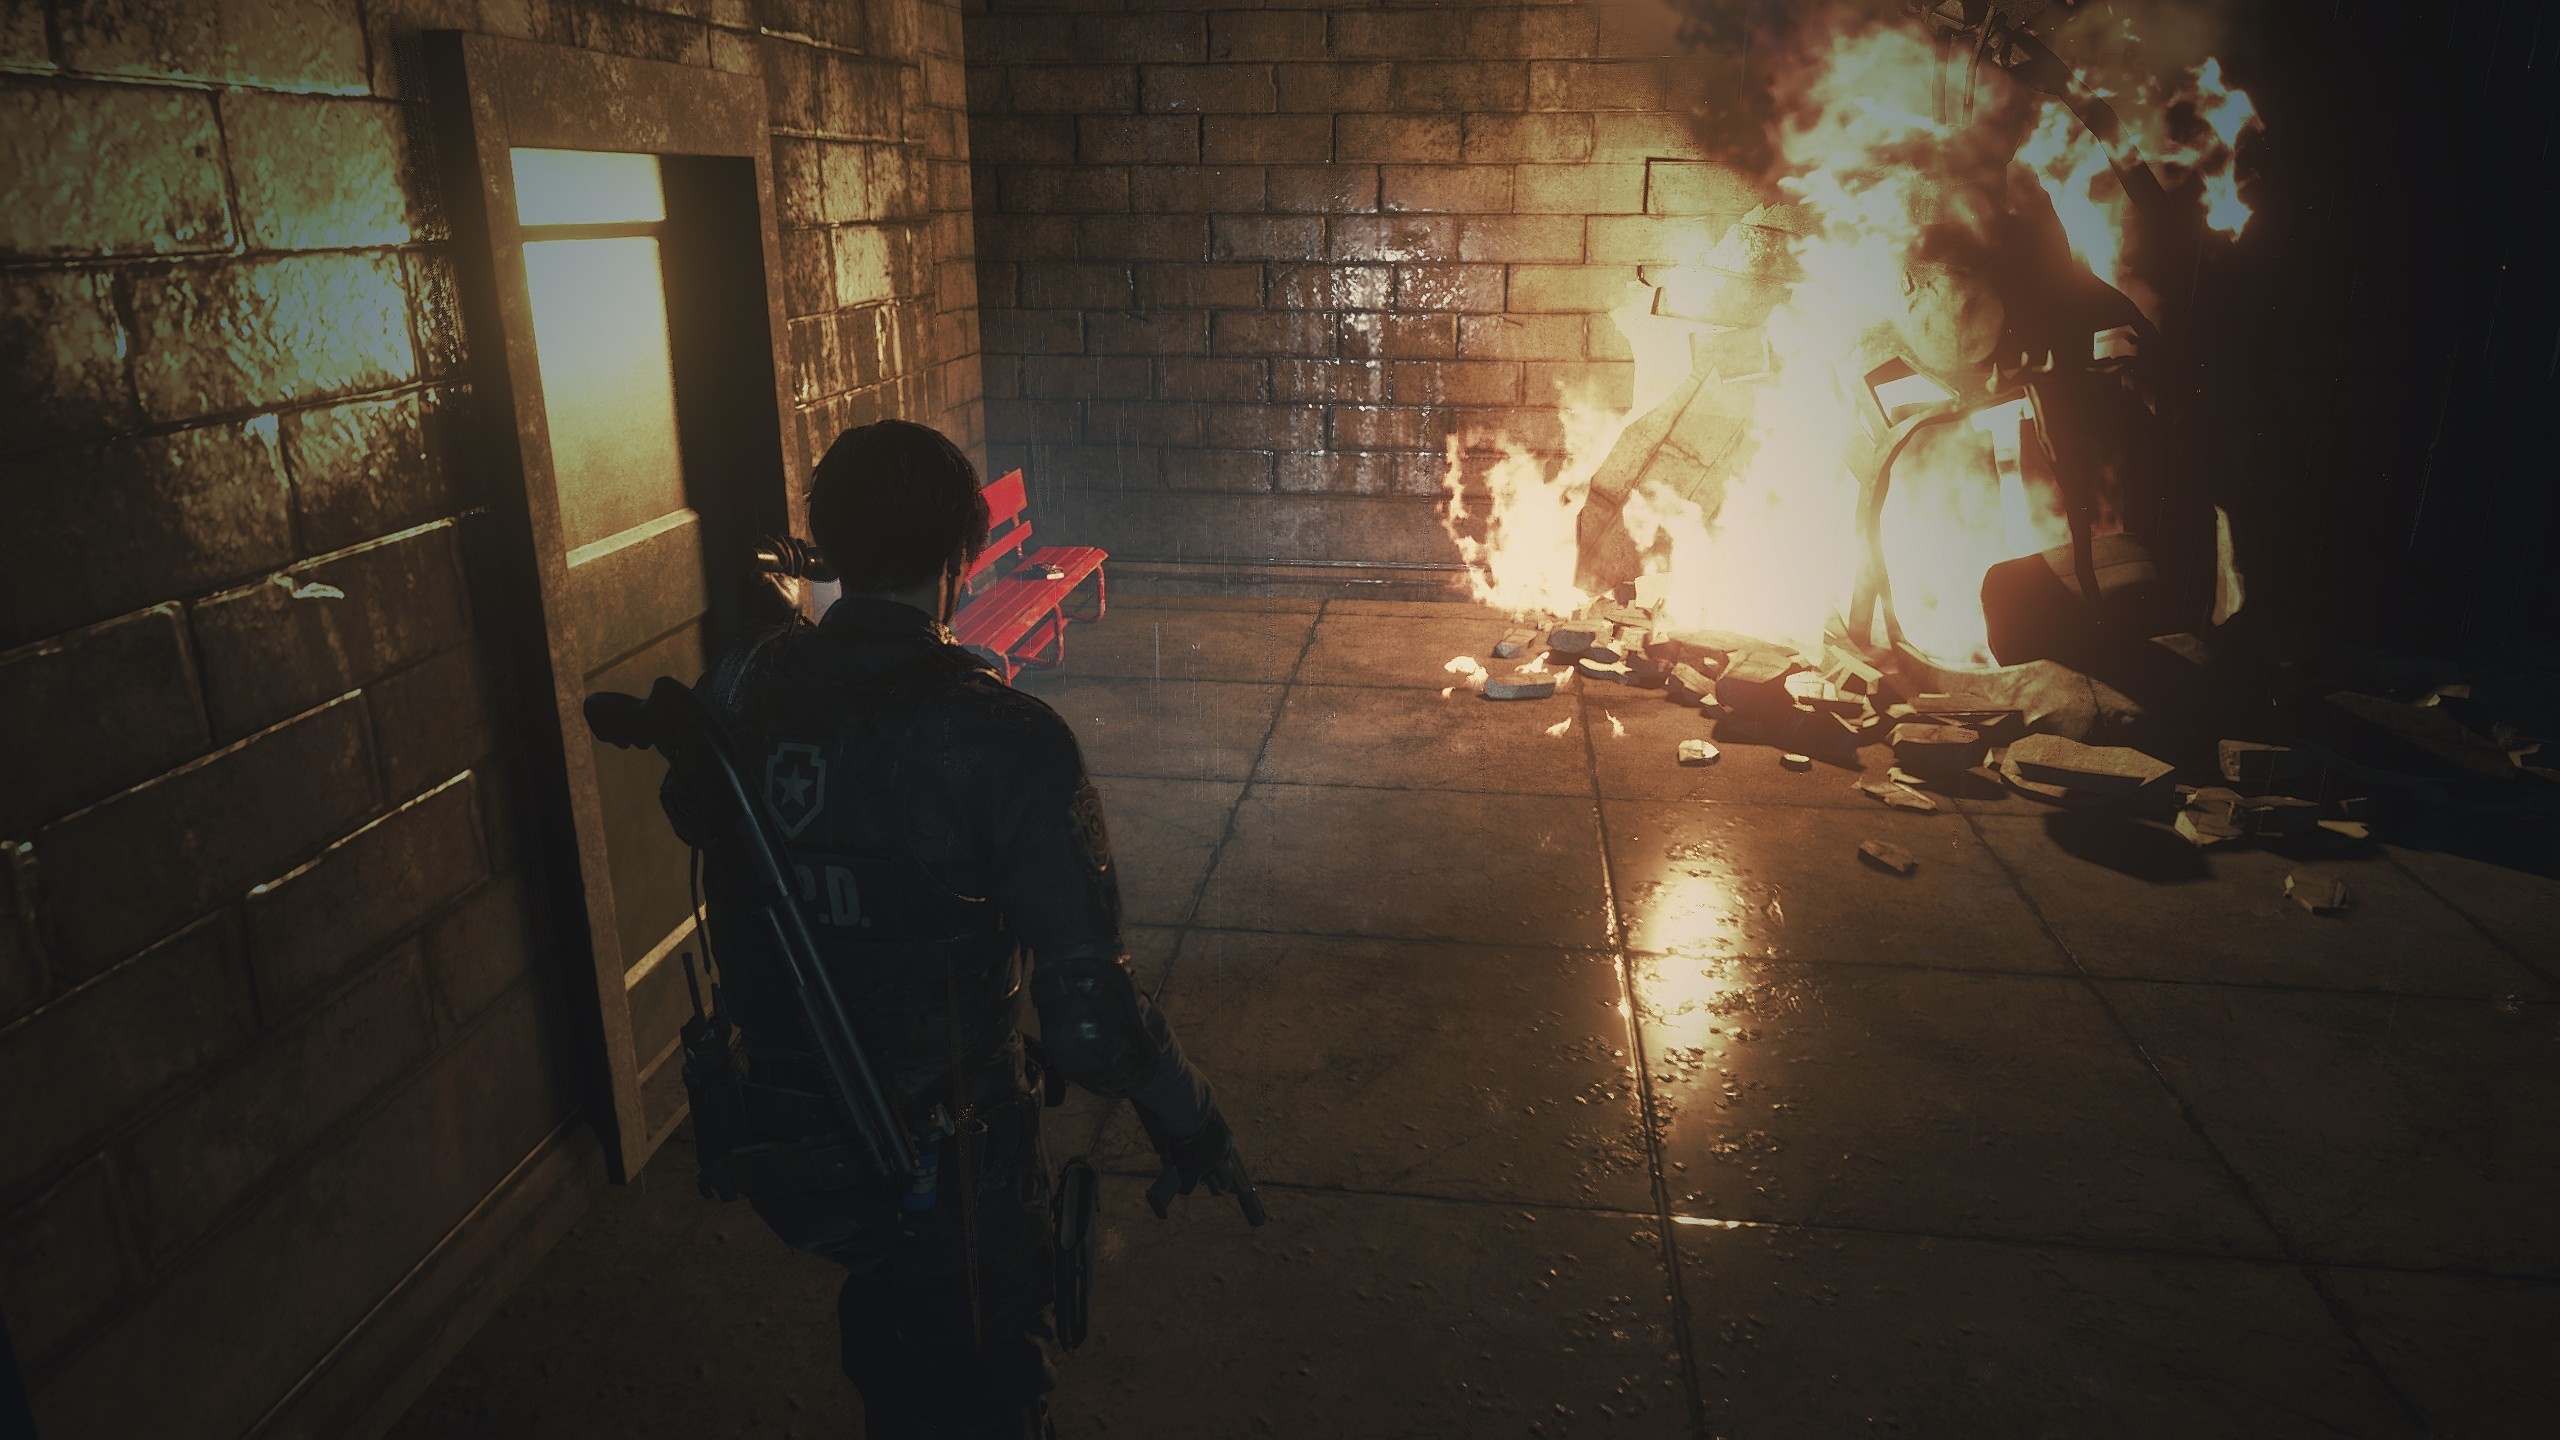
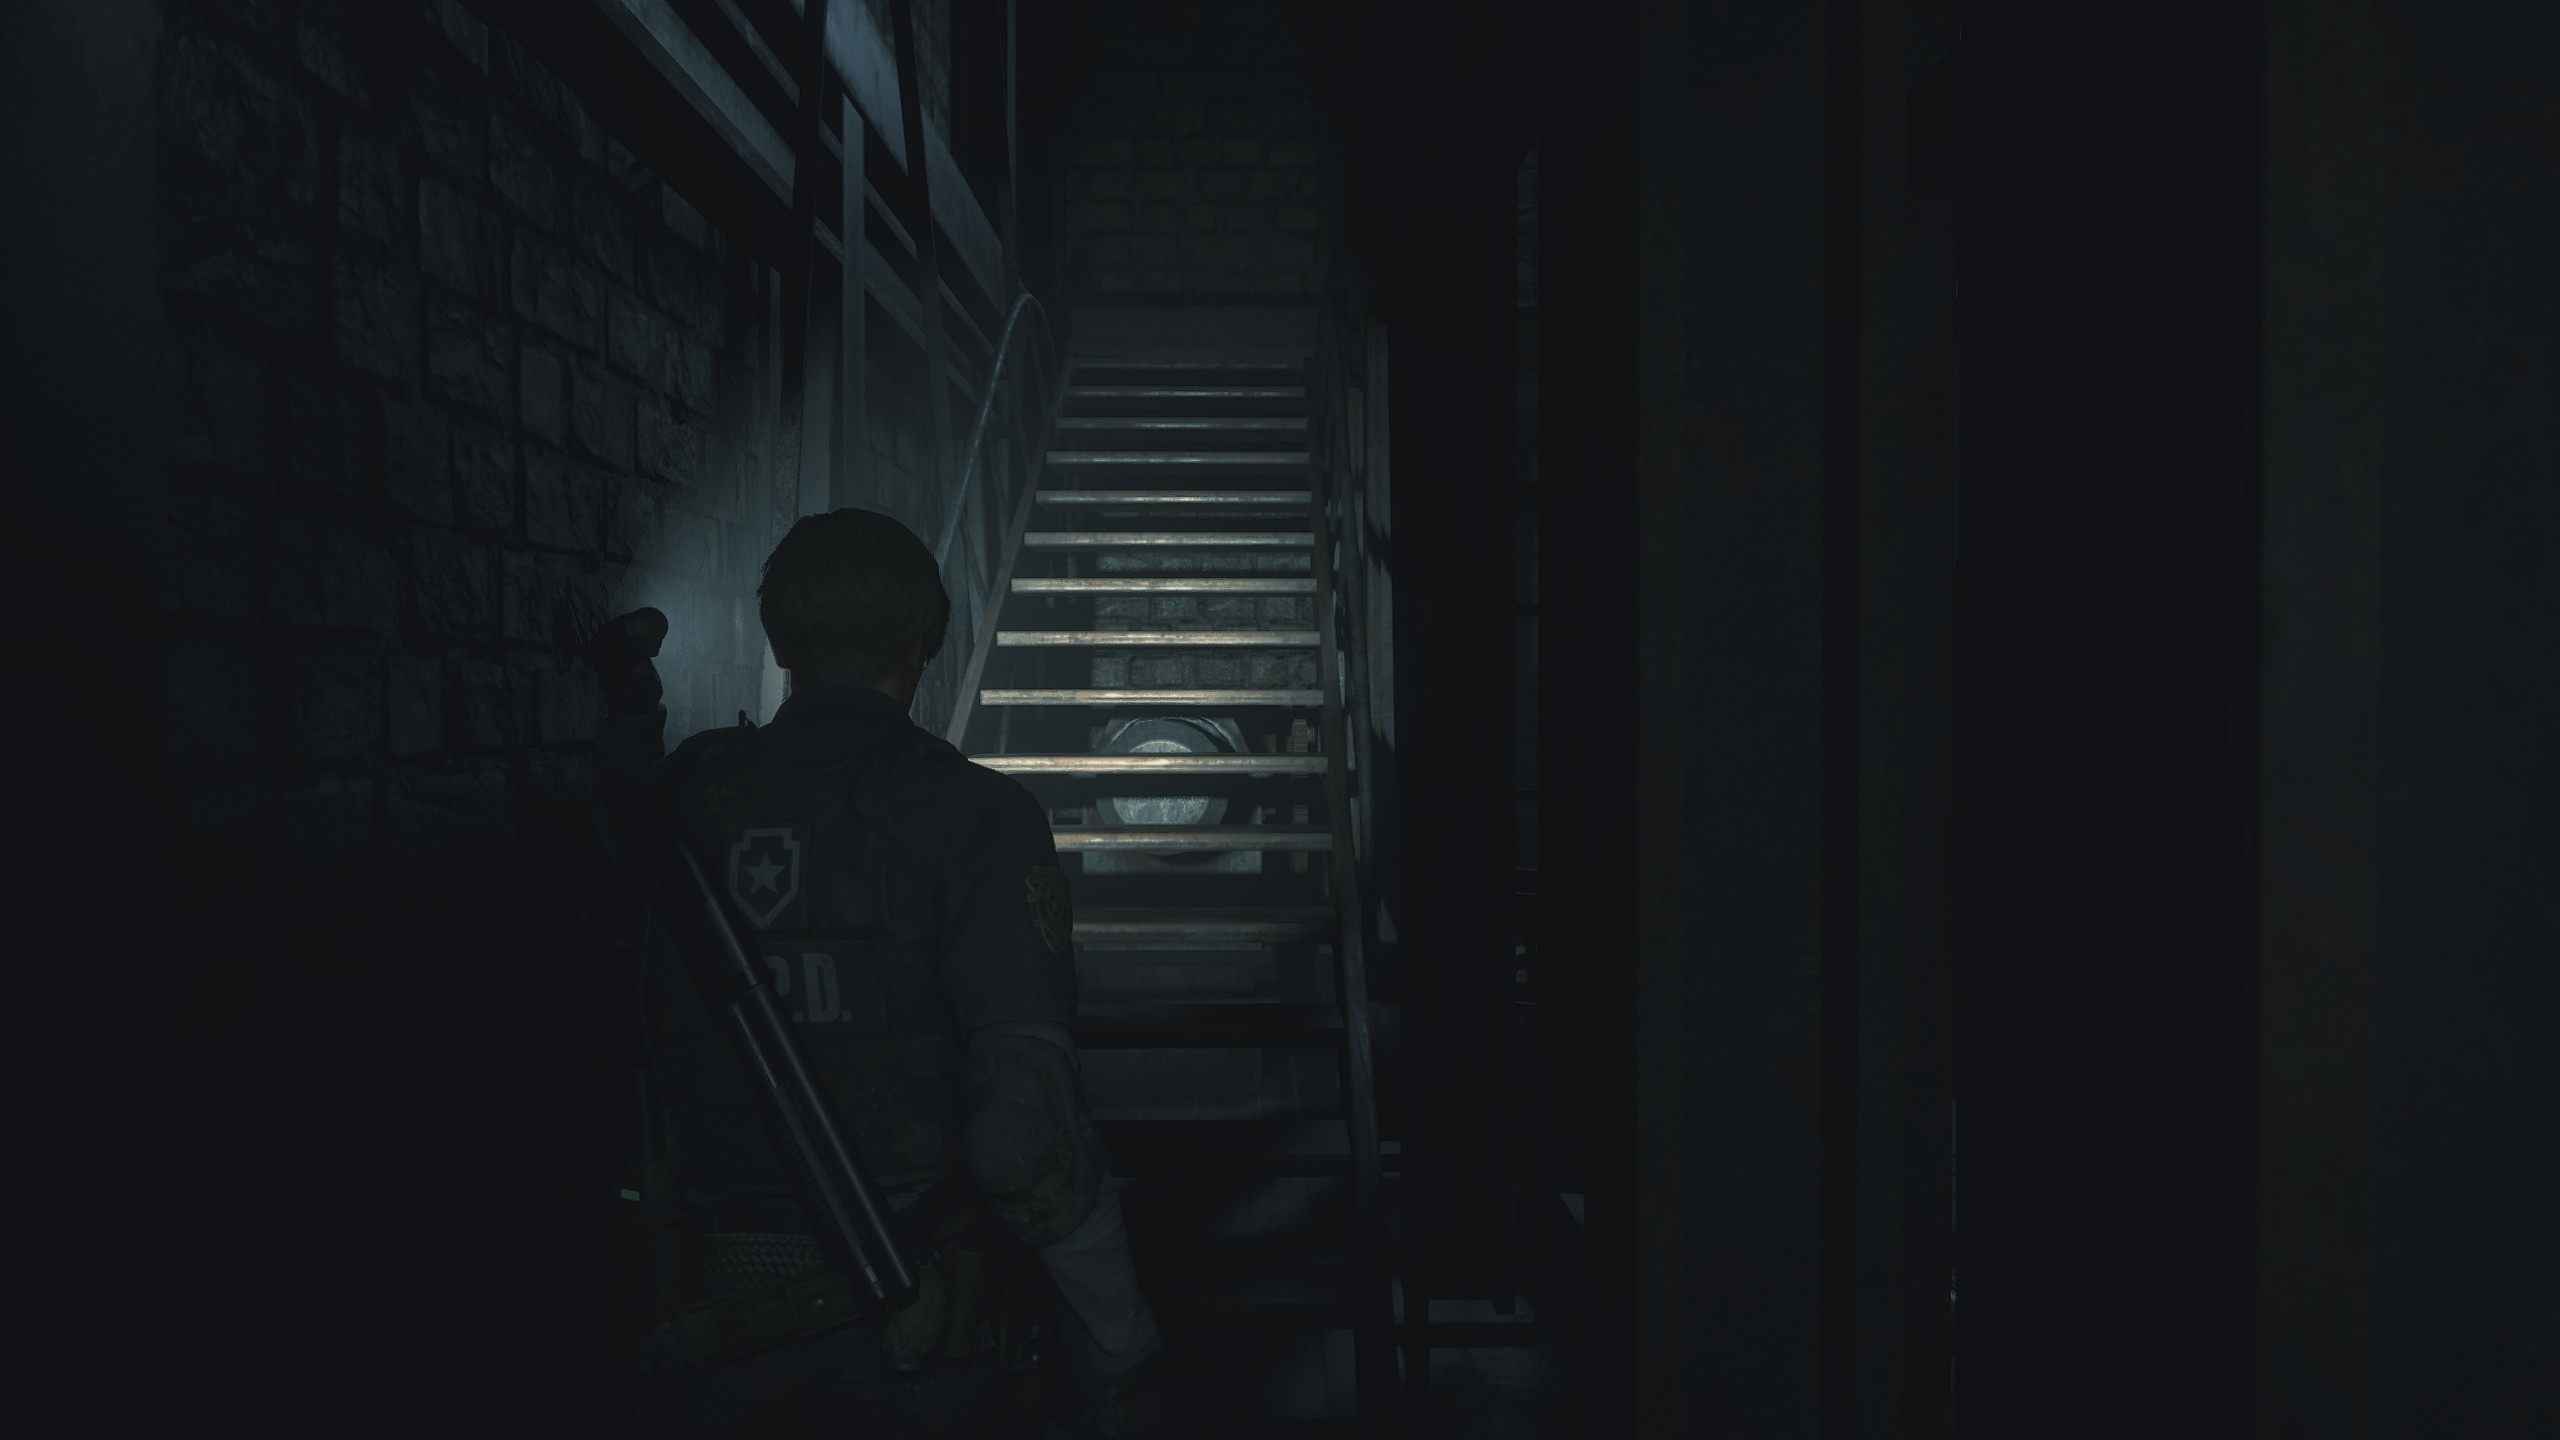
Run away from many monsters. Go around the destroyed objects until you find a path to the left along an alley with a fire at the end. A few steps with graffiti will make it clear that you are moving in the right direction. When you are upstairs, you will see the police station.
Run forward, go past the school bus and through the gate. Enter through the main door to find yourself in the police station.
Main hall and east wing of the police station
In front of you will be an administrative desk with a typewriter that allows you to save the game. Grab the handgun ammo and view the computer log to update your objective: head to the east wing. There is also a large chest on the floor, allowing you to store items and get them later from any of the same box. You can hide the store pantry key inside as you don't need it anymore. There is a spray on the crate on the right.
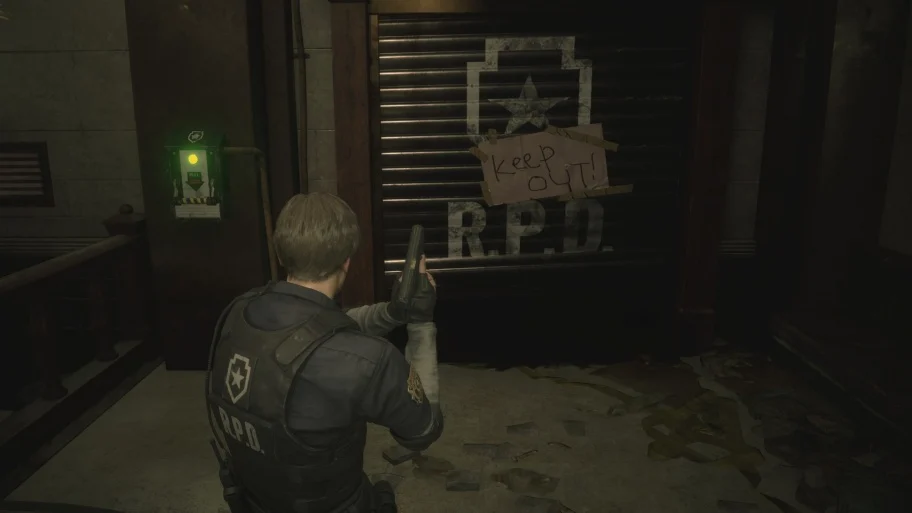
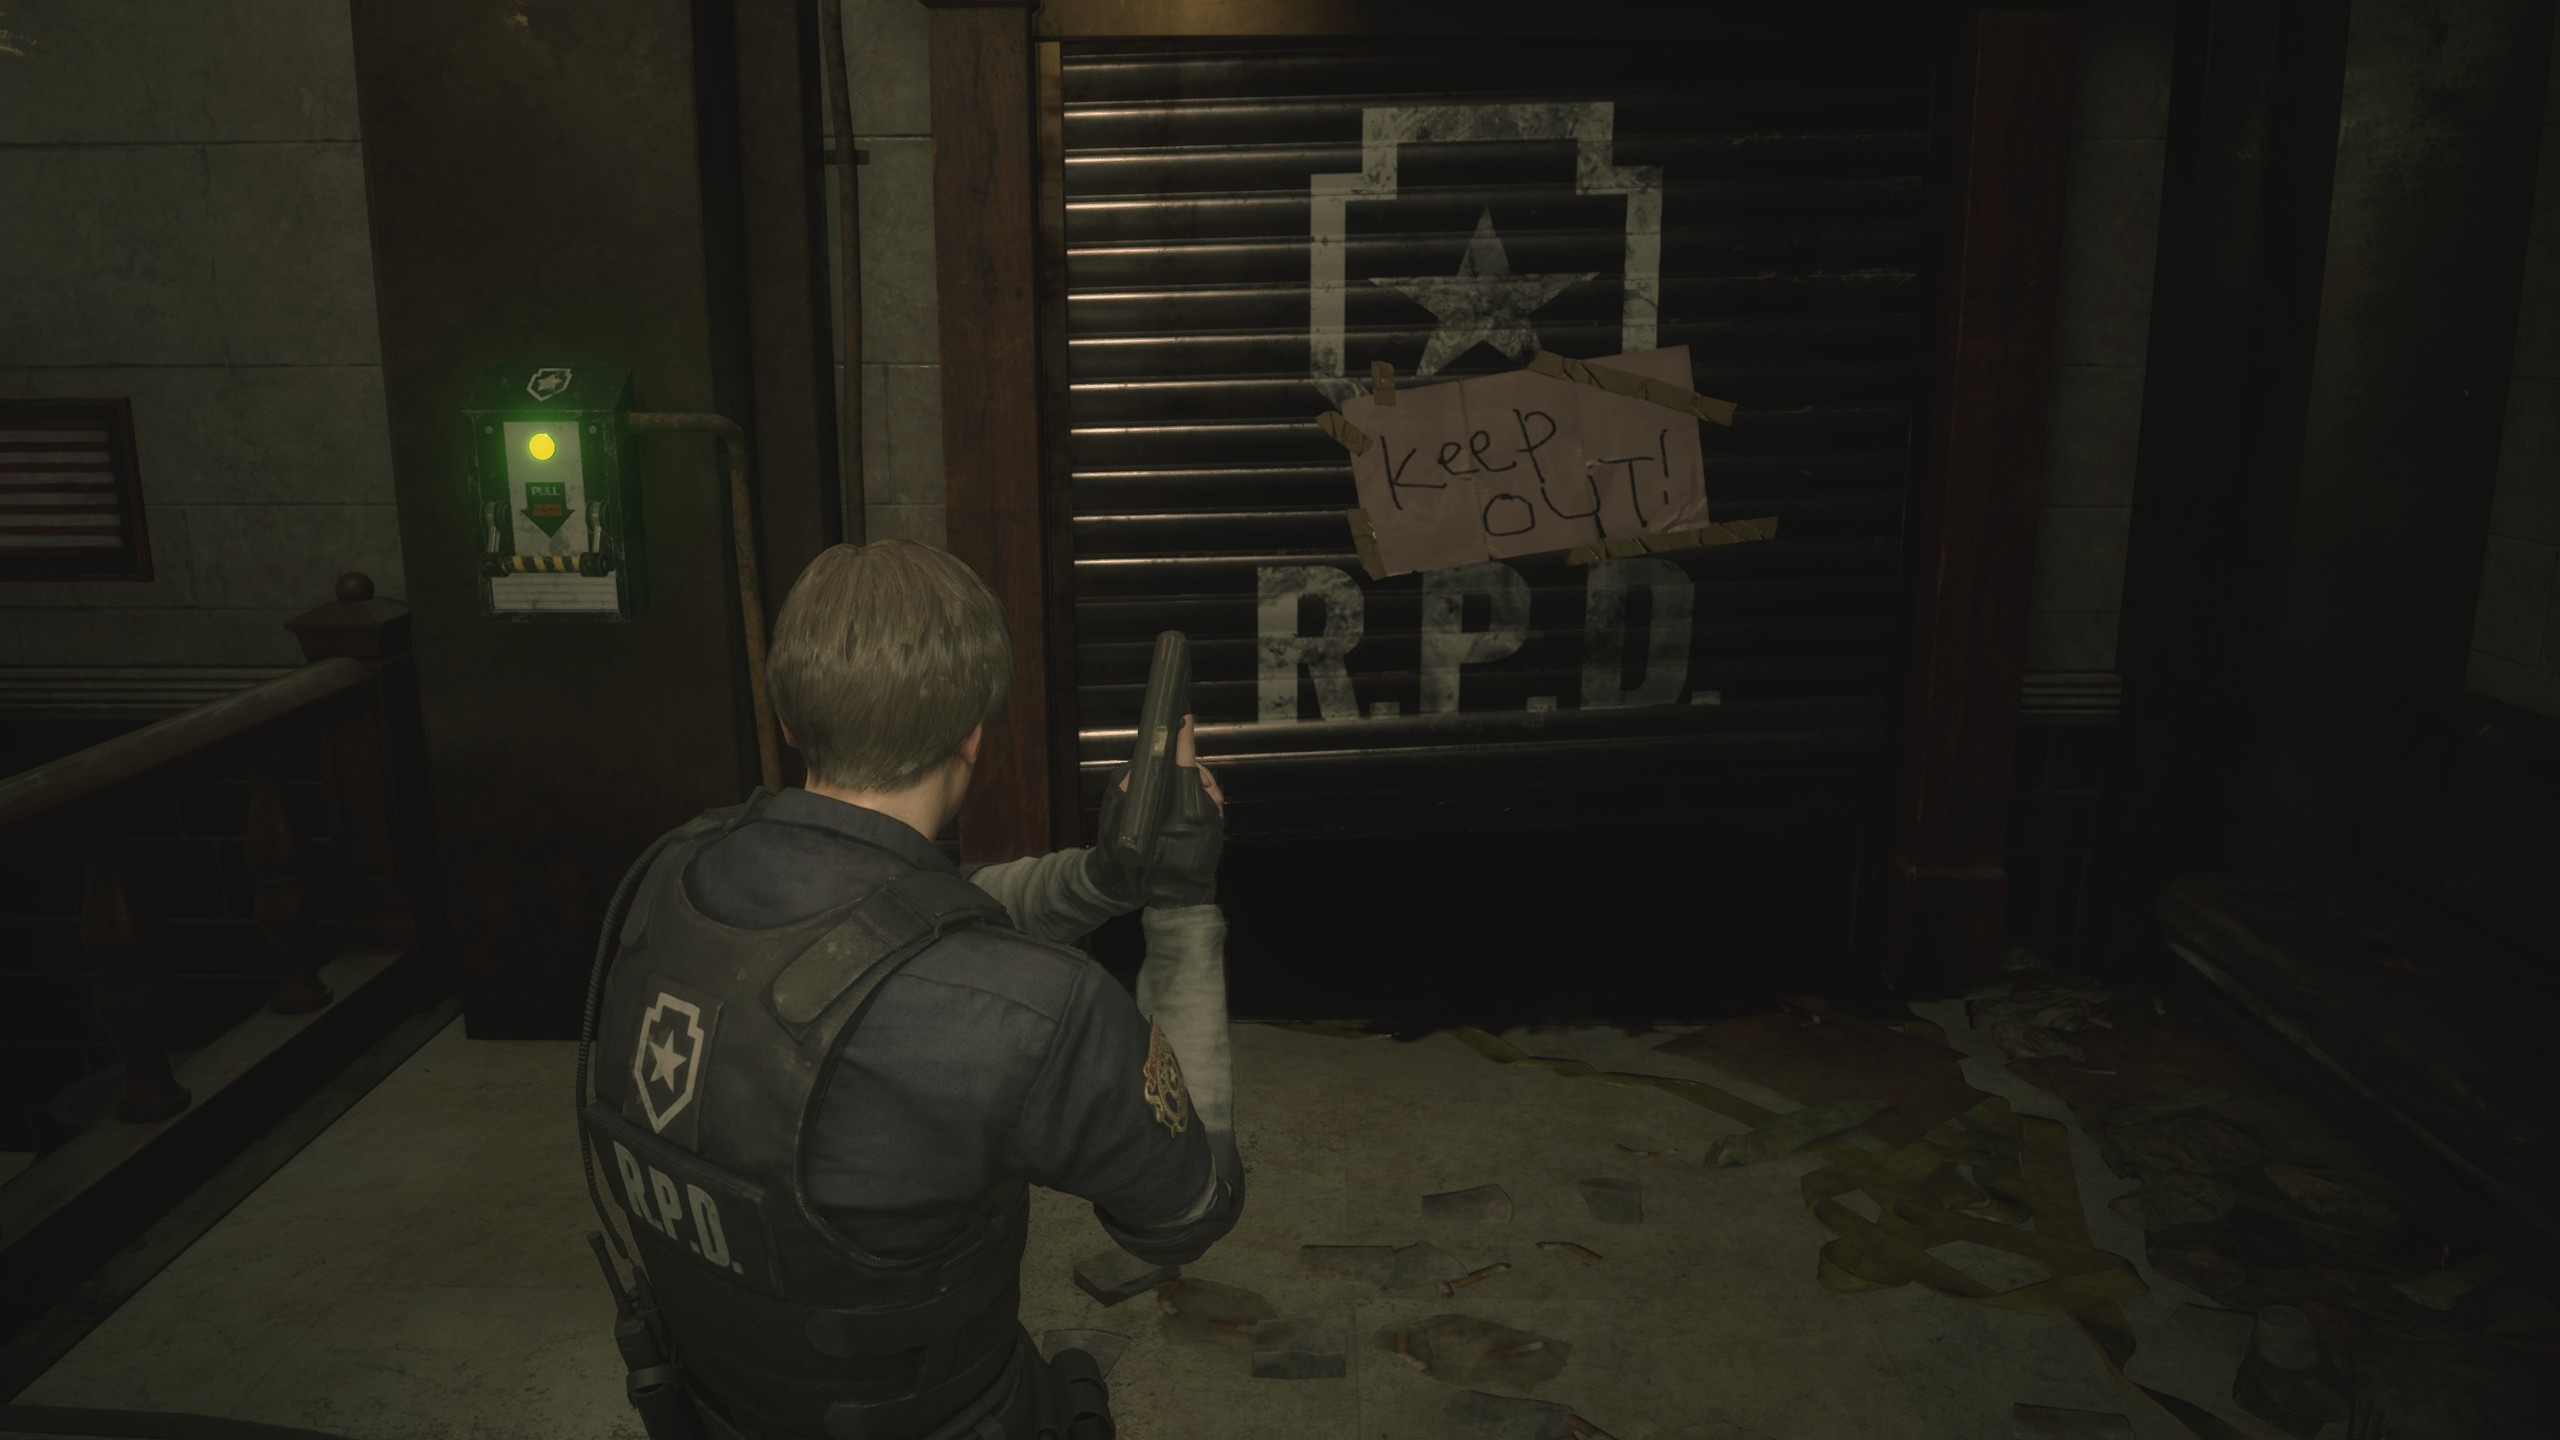
At the beginning of the game, the main hall is almost completely closed, so first go to the right to see the shutters with the inscription KEEP OUT. A console hangs on the wall to the left. Approach and interact with her to open the shutters and enter the east wing. This part of the police station is plunged into darkness. Follow the corridor, remove the fallen locker from the path by holding the indicated key (button). On the left side there are two rooms (before and after the locker) where ammo and spray are located.
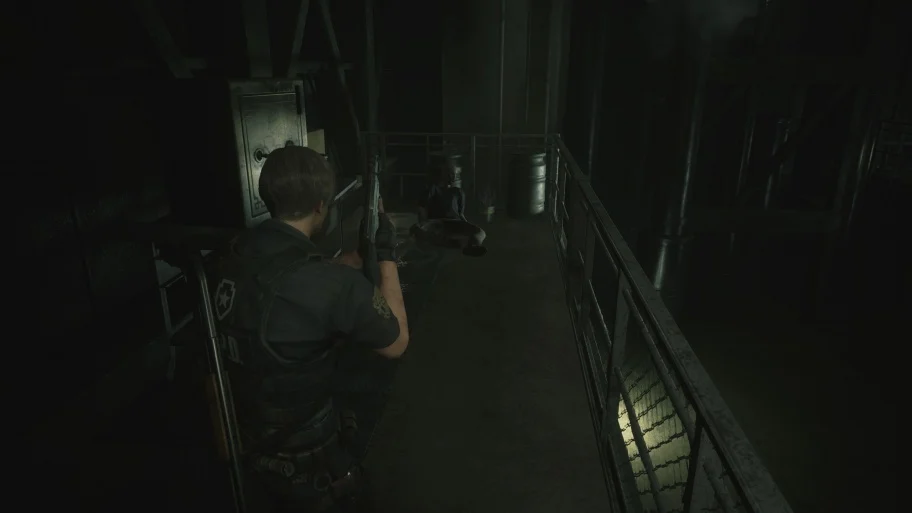
Soon you will hear screams. Enter the small glassed-in room and walk towards the shutters at the very end to watch a cutscene. Upon completion, you will receive officer's notebook, which will help solve puzzles with statues and medallions. Go back the same way you came here. Along the way, you will encounter many zombies. We do not recommend spending ammunition on their complete destruction: it is best to shoot once or twice in the head so that the zombie loses coordination, and run past.
Returning to the shutters, you will see a video and meet Marvin. He will give combat knife. You can find several of these knives, and they are needed for the reason that each has its own margin of safety. You can use the knife to fight off the enemies that grabbed you (but in this case, the zombies will have to be killed in order to retrieve the weapon), or shrug it off by holding the "Space". Similarly with conventional and stun grenades.
Approach the closed shutters leading to the west wing and inspect the panel on the right side. Use a knife on it to remove the yellow tape and open the passage.
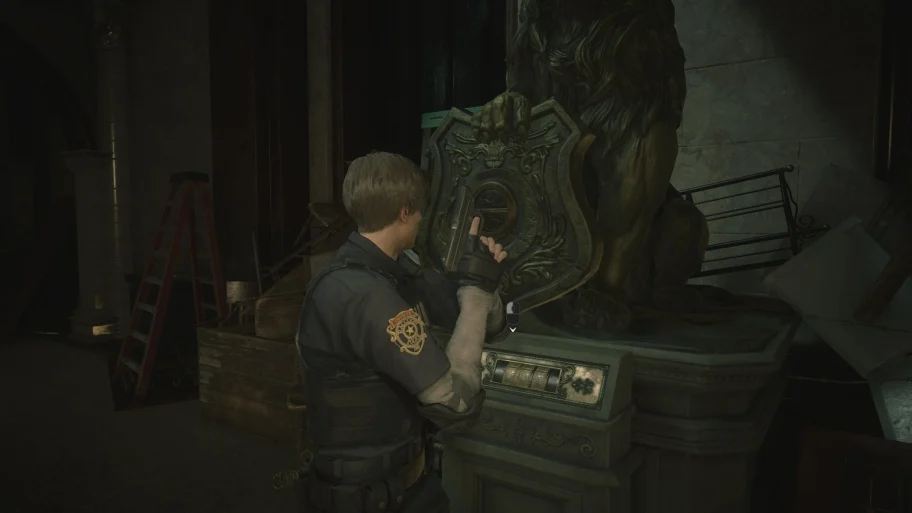
Before you leave the main hall, you can solve one of the statue and medallion puzzles. On the second floor there is a statue of a lion. If you do not want to do this now, then go to the west wing of the police station to find the blue spade key there.
Exploring the West Wing and Finding the Blue Key
Move through the reception and get to the dark corridor. Examine the body in the corner, at the very end. Keep going with a few turns. However, the path is linear. Move like this until you find double red doors that you can go through.
Enter inside this room, take the file with the report and remove it from the board ground floor map. To continue, use the small window in the southeast corner of the room. This will take you to the corridor. Here you will see a large zombie knocking on the door. It is distracted, so you can safely pass by.
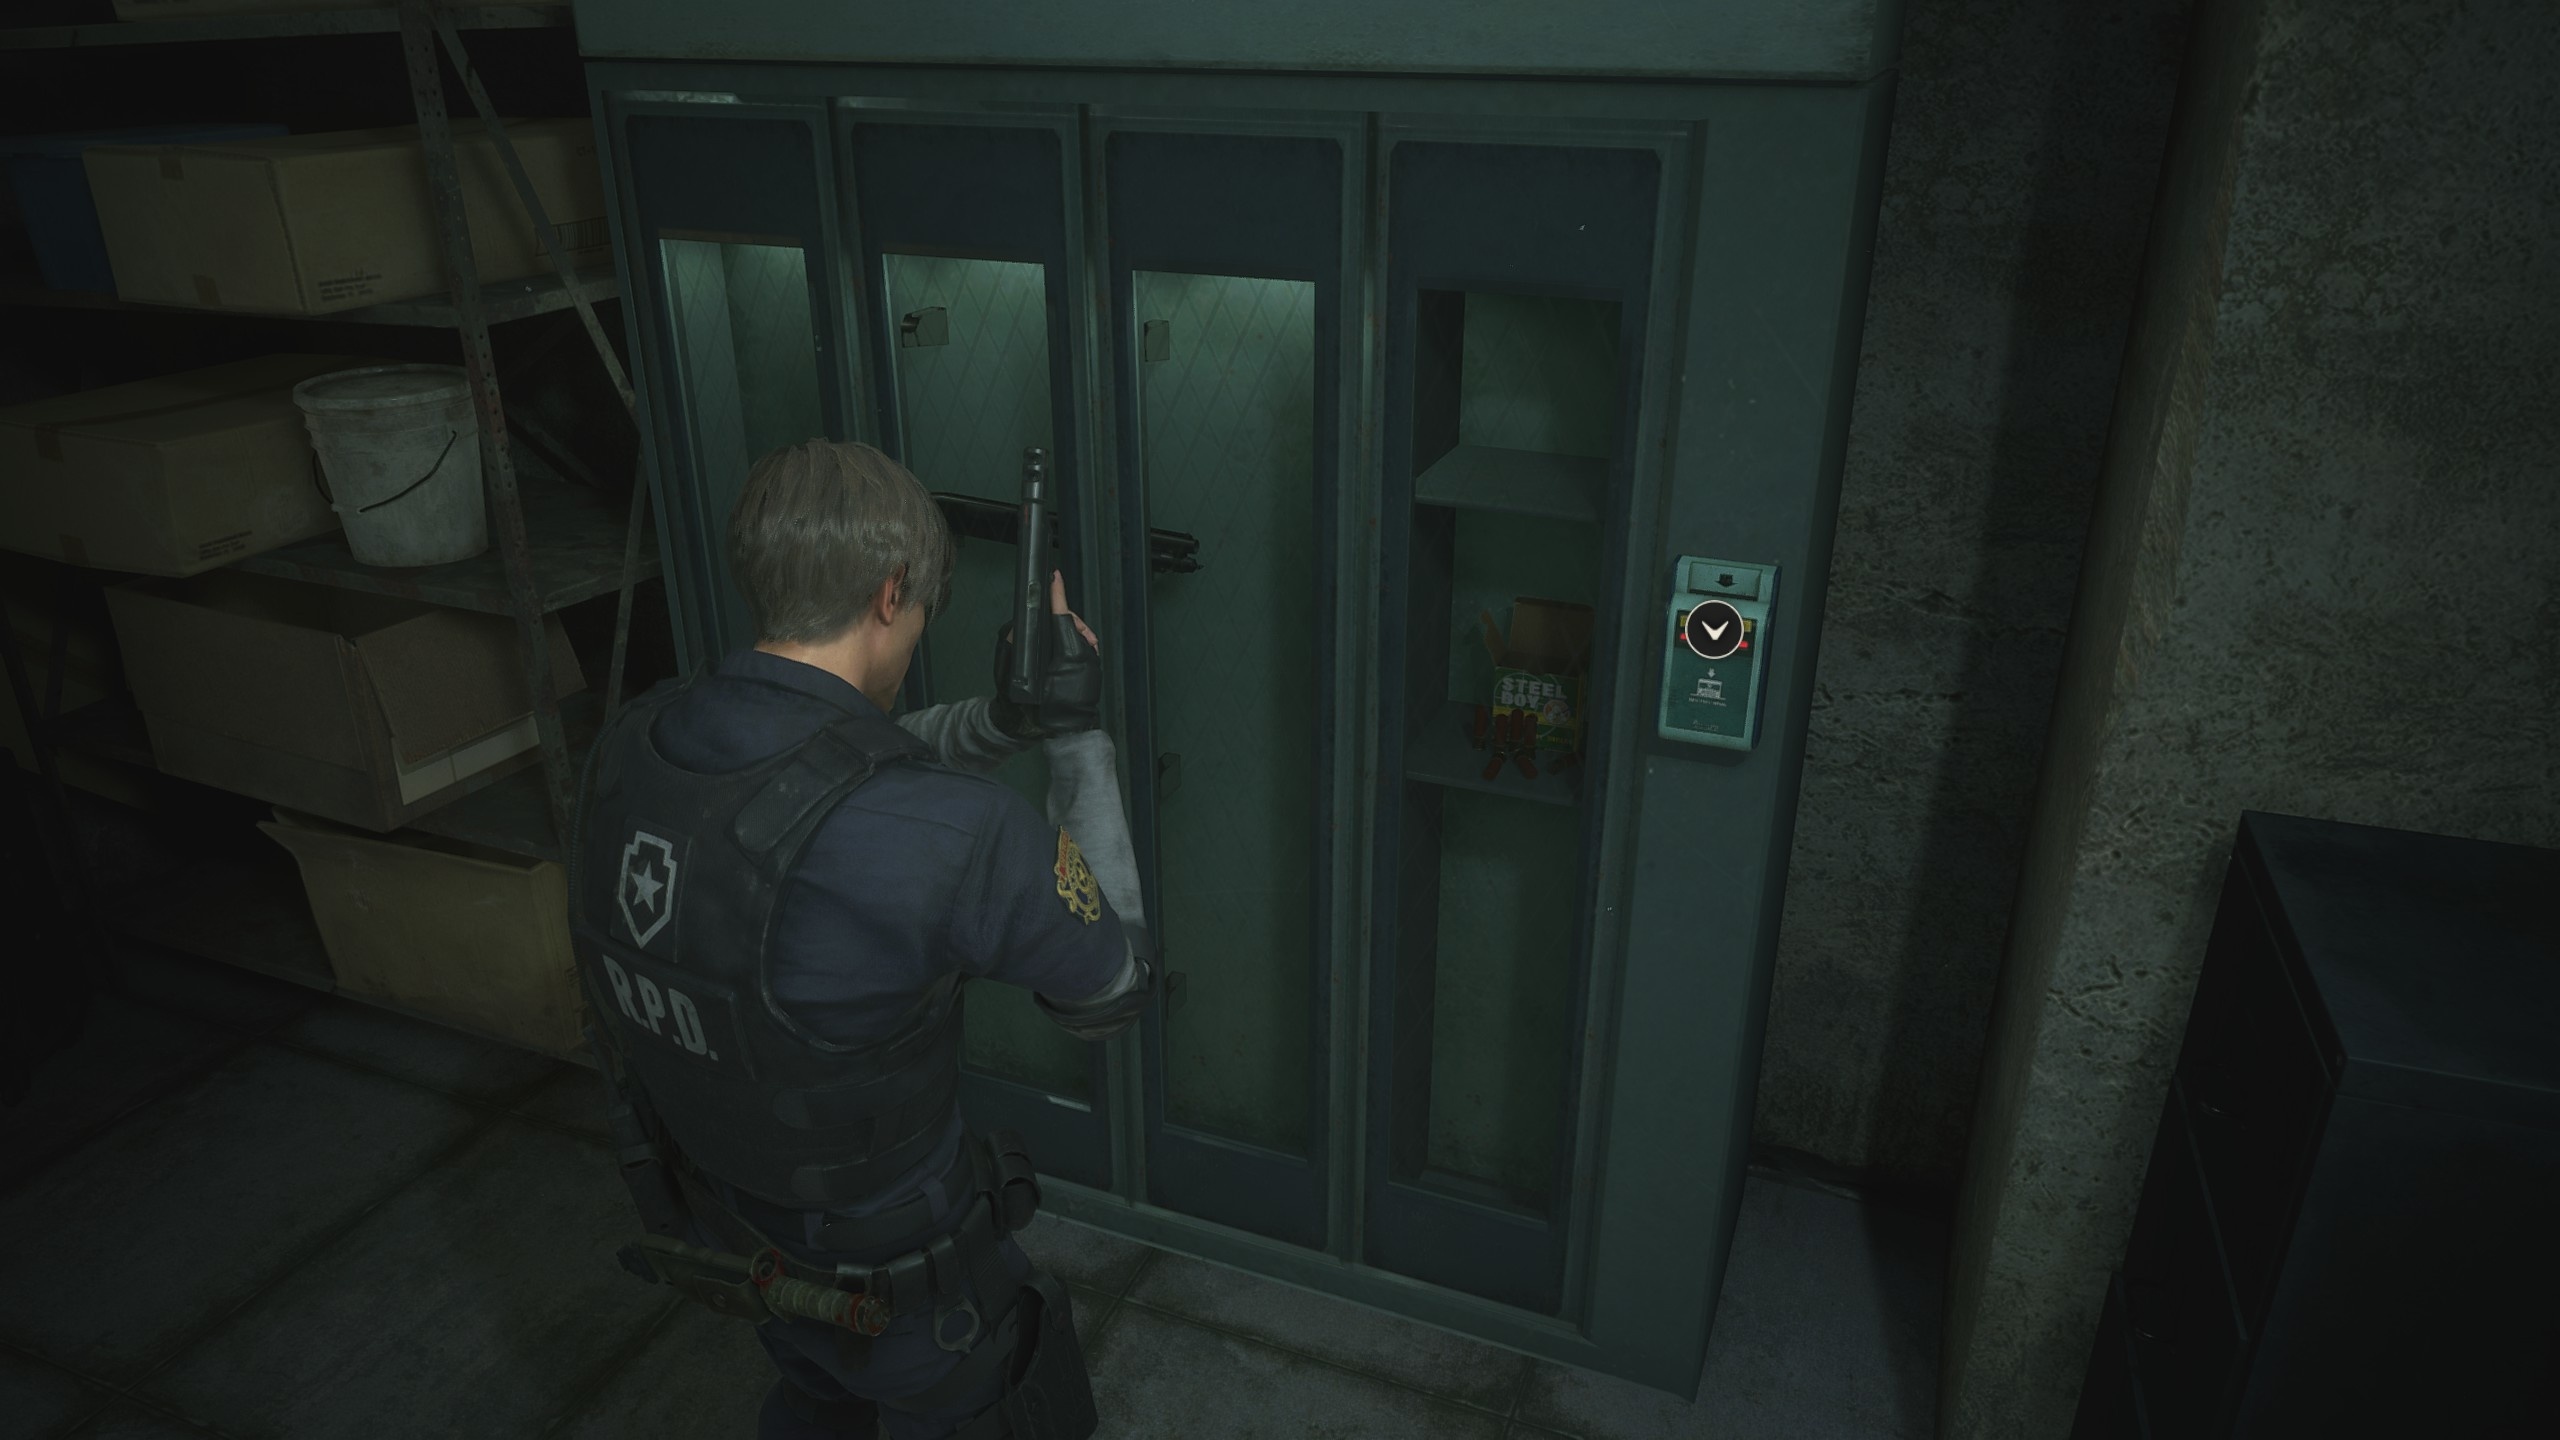
There are three doors in this part of the corridor. The right (western) is blocked. There is a zombie next to her. The two doors on the left, opposite each other, have some interesting items. Enter the storage room on the left side. On the stand on the left is a leaflet with instructions for the storage terminal. At the end of the room is a clear glass cabinet with a shotgun (or grenade launcher for Claire) hidden behind it. Soon you will be able to open it to pick up a new weapon.

At the beginning of the room there is a dial, on which two keys are missing - "2" and "3". You can use the rest of the buttons to open the drawers on the right hand side. And when you find the other two buttons, you can explore the rest of the cabinets.
There are only two lockers that can be opened right now:
- 106 with film;
- 109 with pistol cartridges.
Next, go to the western office, located opposite the storage room. Two files can be found here: one is about recipes with gunpowder, the other is a report on the operation. There are two closed objects inside the room - a safe in a small room on the side and Leon's desk at the opposite end of the office. Opening them is optional, but desirable, since this way you can get several additional items and even an inventory upgrade. We told you more about all the codes and passwords IN A SEPARATE GUIDE (just open the "Tips and Tactics" section of our website and find them).
To continue, you need to go along the previous corridor to the northeast, past the two rooms opened earlier. Turn left to enter a long and dimly lit hallway. Go to its end to find a ladder. On the right side you can find boards, with the help of which you will immediately board up the window by the stairs (the zombie is knocking on it). You will find other boards when exploring the police station, so be sure to board up those windows near which the opponents are standing. Examine the door on the right side of the stairs.
This is a safe room with a typewriter, cartridges, a document with recipes for using the herb, and a dark room for developing film. Apply the film found in one of the lockers of the storage room to the sink of the darkroom to get a photo with a hint. When you're ready, head up the stairs at the end of the hallway and you'll be on the second floor.
Second and third floors of the west wing, blue key
This floor is currently unavailable for exploration, as the pipes in the men's shower have burst and steam is blocking the path deeper into the tier. On the other hand, you can inspect numerous lockers. There is a zombie in the leftmost drawer, so don't open it. Nearby there is a box with a lock that requires you to enter an alphabetic password. We talked about all the codes and passwords IN A SEPARATE GUIDE (just open the "Tips and Tactics" section of our site and find them). Also in the room you can find the first portable safe (if you play for the second time, then this safe will be in the interrogation room, and in its place you can find a box with stones). You can open the safe right now to get one of the buttons for the terminal in the storage room. It will allow you to open additional lockers, although access to № 203 still will not be (but inside just lies hip bag to improve inventory).
To unlock the safe, you must press eight buttons in such a sequence that the green lights turn on in a circle (counterclockwise) one after the other. You can start with any green light bulb.
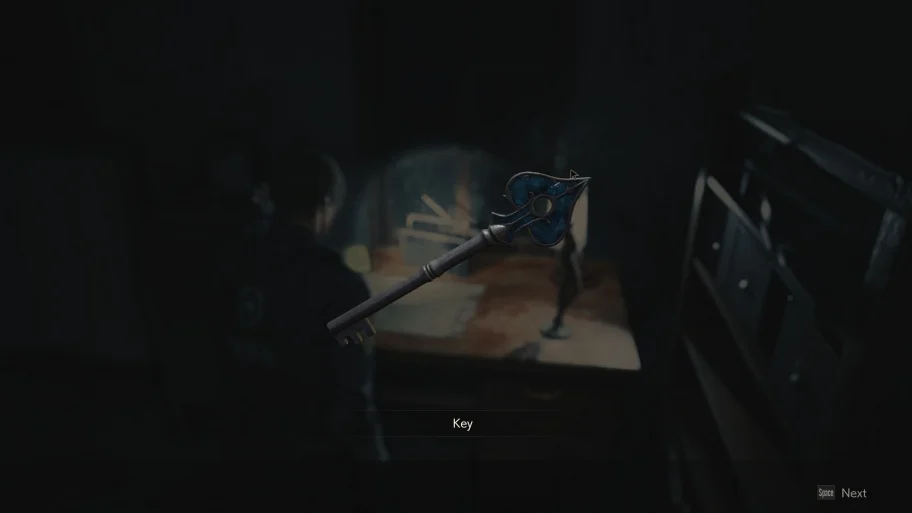
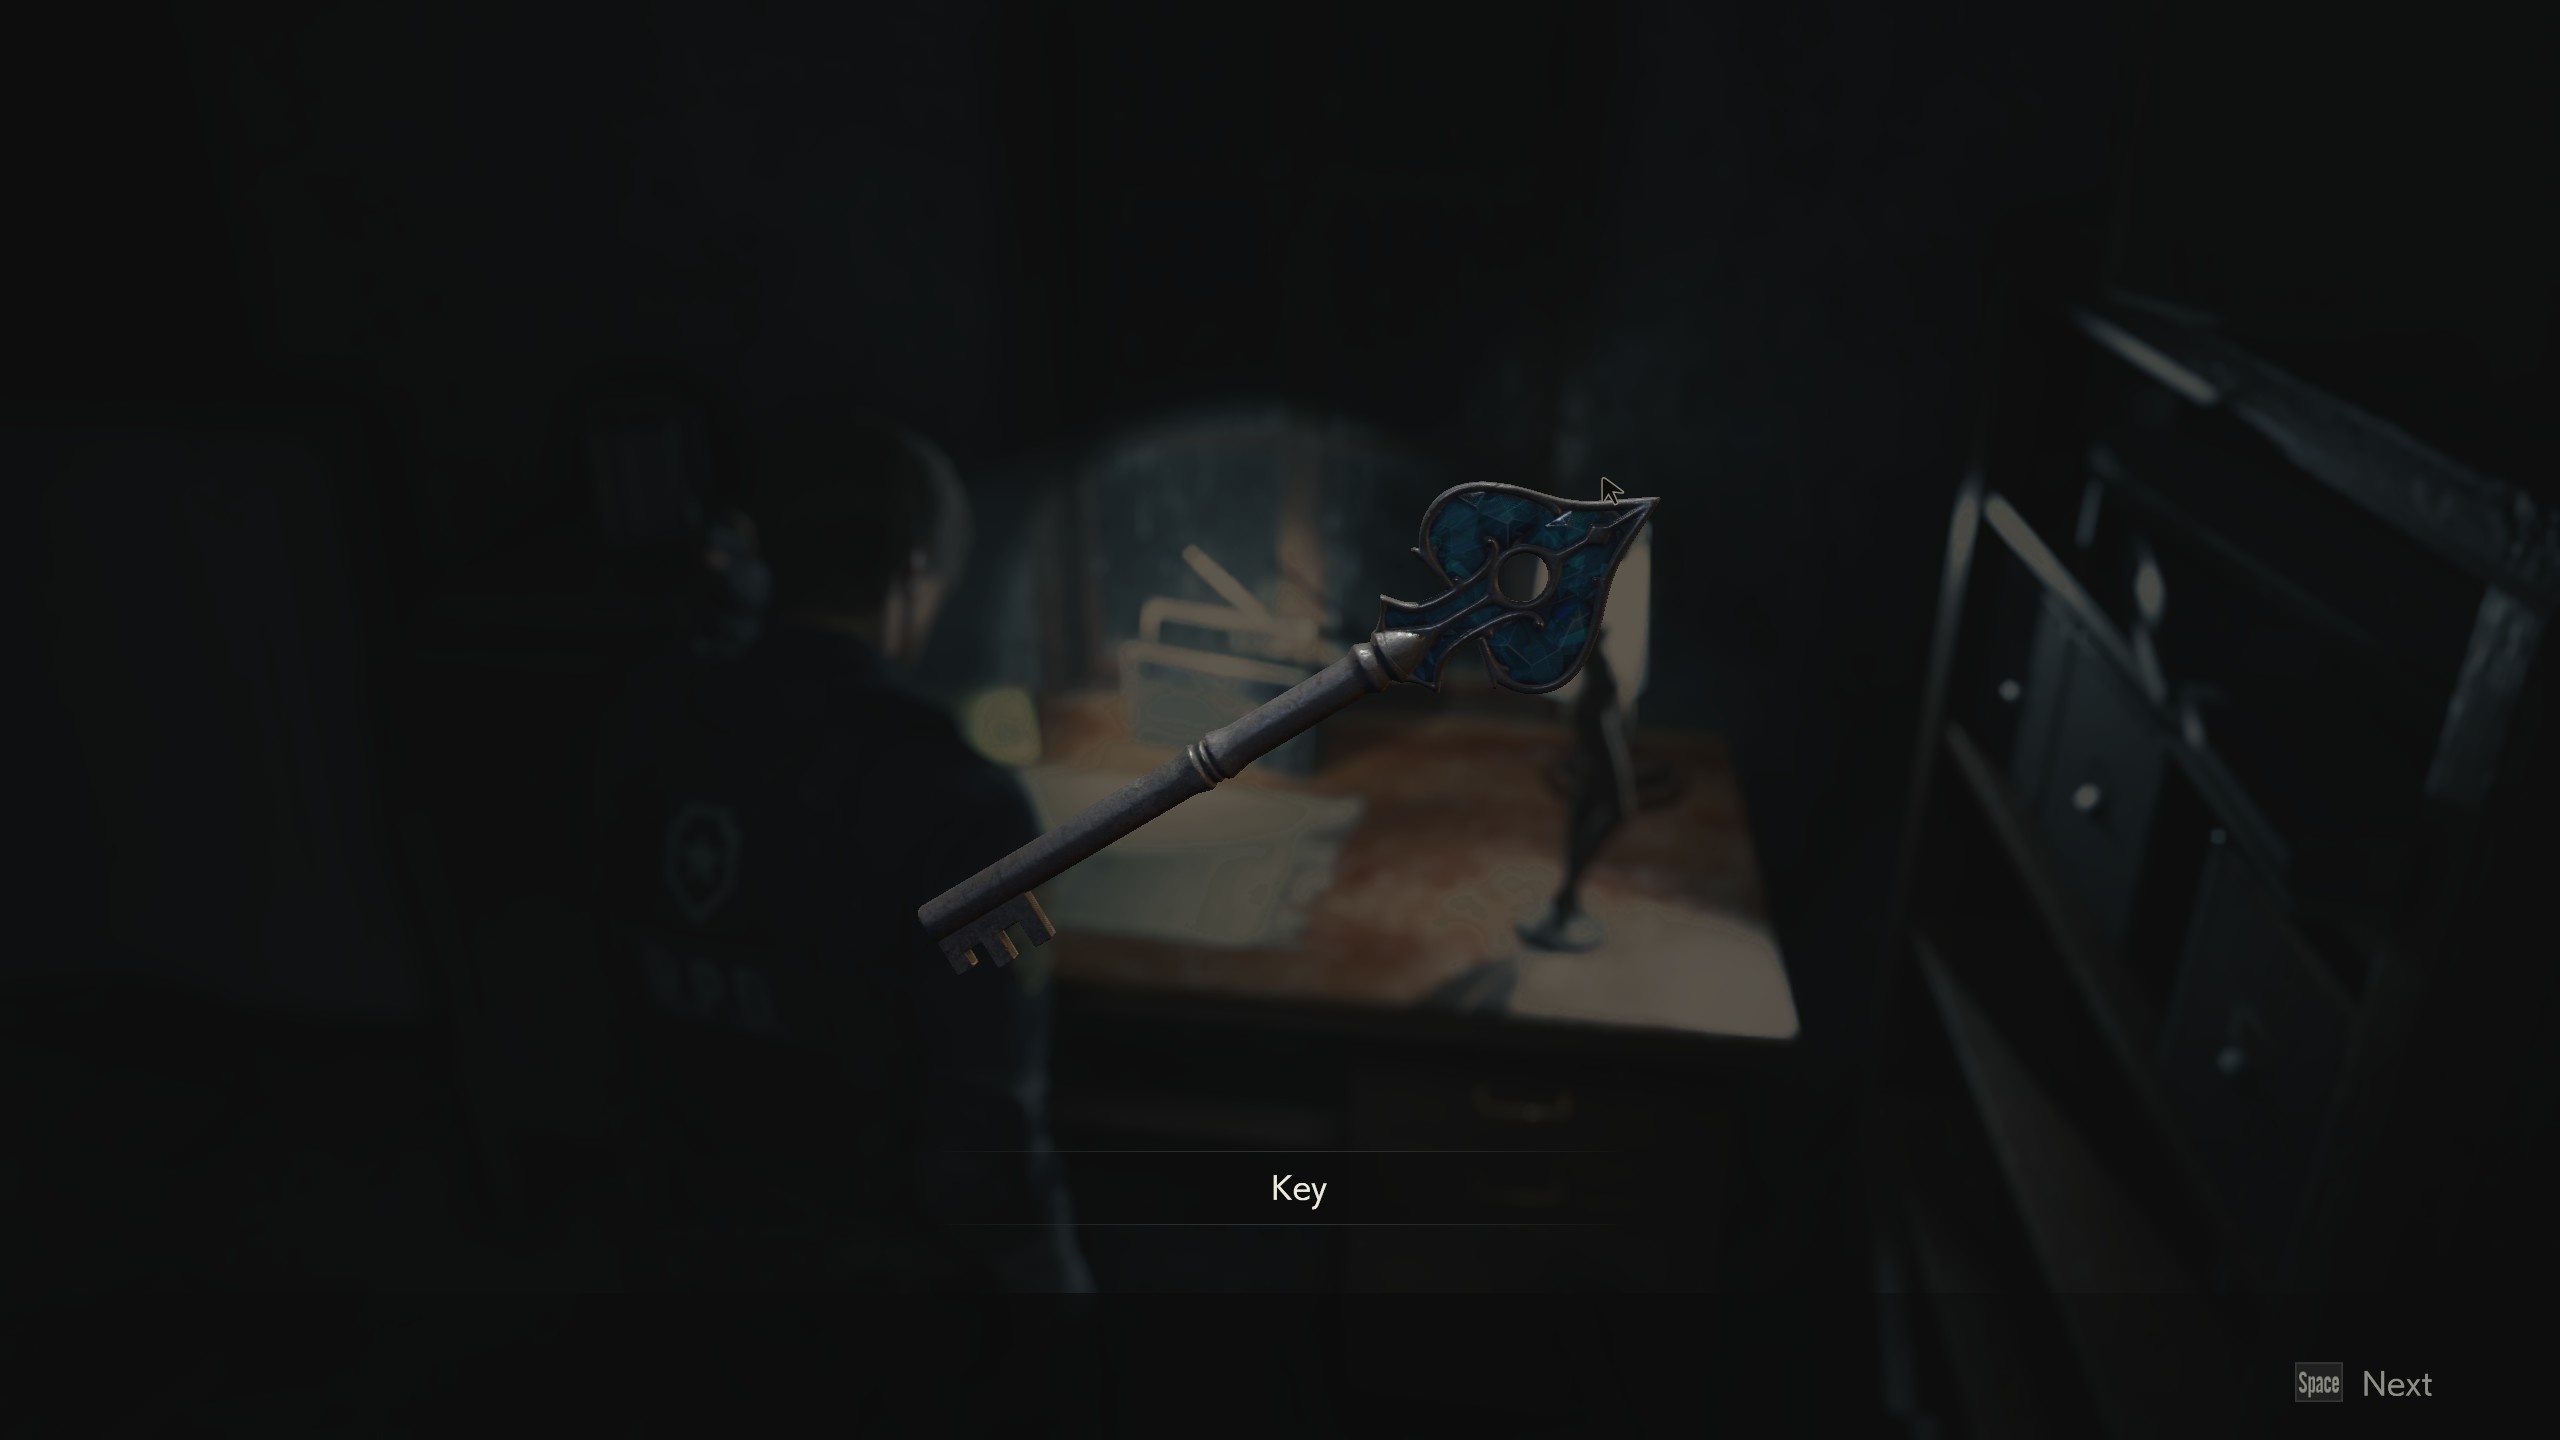
Go to the third floor of the west wing along the same stairs and at the end of the corridor you will find a locker with another lock that requires a letter code. Whether you opened it or not, enter the room on the right and find on the table with the lamp blue peak key. Examine it in your inventory so that its correct name appears.
Move west through the door to another corridor. At the end of the path is a note for any survivors. Enter the door on the left side to find yourself in the western pantry. Here you can find several useful items, and in the southern part of the room there is a document and hip bag to increase inventory. On the wall nearby, which is formed from several boards, hangs a C4 explosive. To activate it, you will need to find a detonator.
In the meantime, head west through another door that leads to the library (you will need to lift the leaning cabinet). Marvin will radio Leon and ask him to return to the lobby as soon as possible. You don't have to go back the same way. The newly found blue key will open the door at the bottom of the library, through which you will return to the main hall, to the second floor.
There are some zombies on the bottom floor. If you go through another door from the bottom, near the steps, you can get into the lobby with another statue (unicorn), which allows you to get a medallion. Here on the stand lies second floor map. After solving the puzzle, capture the map. We will indicate the solution to all puzzles in the chapter below.
You can also get red book, which lies on the table next to the door in the library. Take the item, go through the door and go down the stairs to find Marvin. A cut-scene will start, after which you will need to get to the courtyard of the police station.
Yard, red book and puzzle in the gallery
When you talk to Marvin, you can use the chest and the machine. If you have collected some kind of medallion, immediately place it in a large statue in the hall. Climb to the second floor and go to the waiting room in the east wing. Here you can pick up green grass from the table, a brochure and find a locked safe behind the counter. We will indicate later how to open it, according to the clue found.
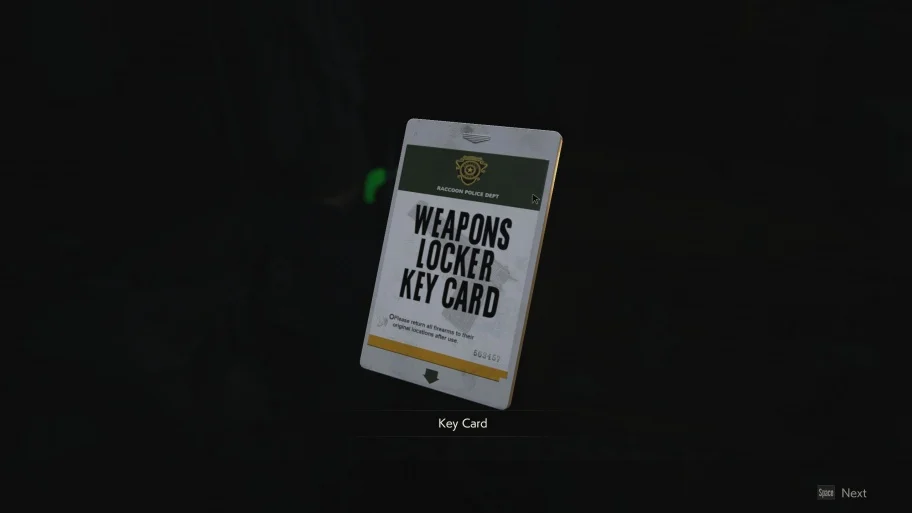
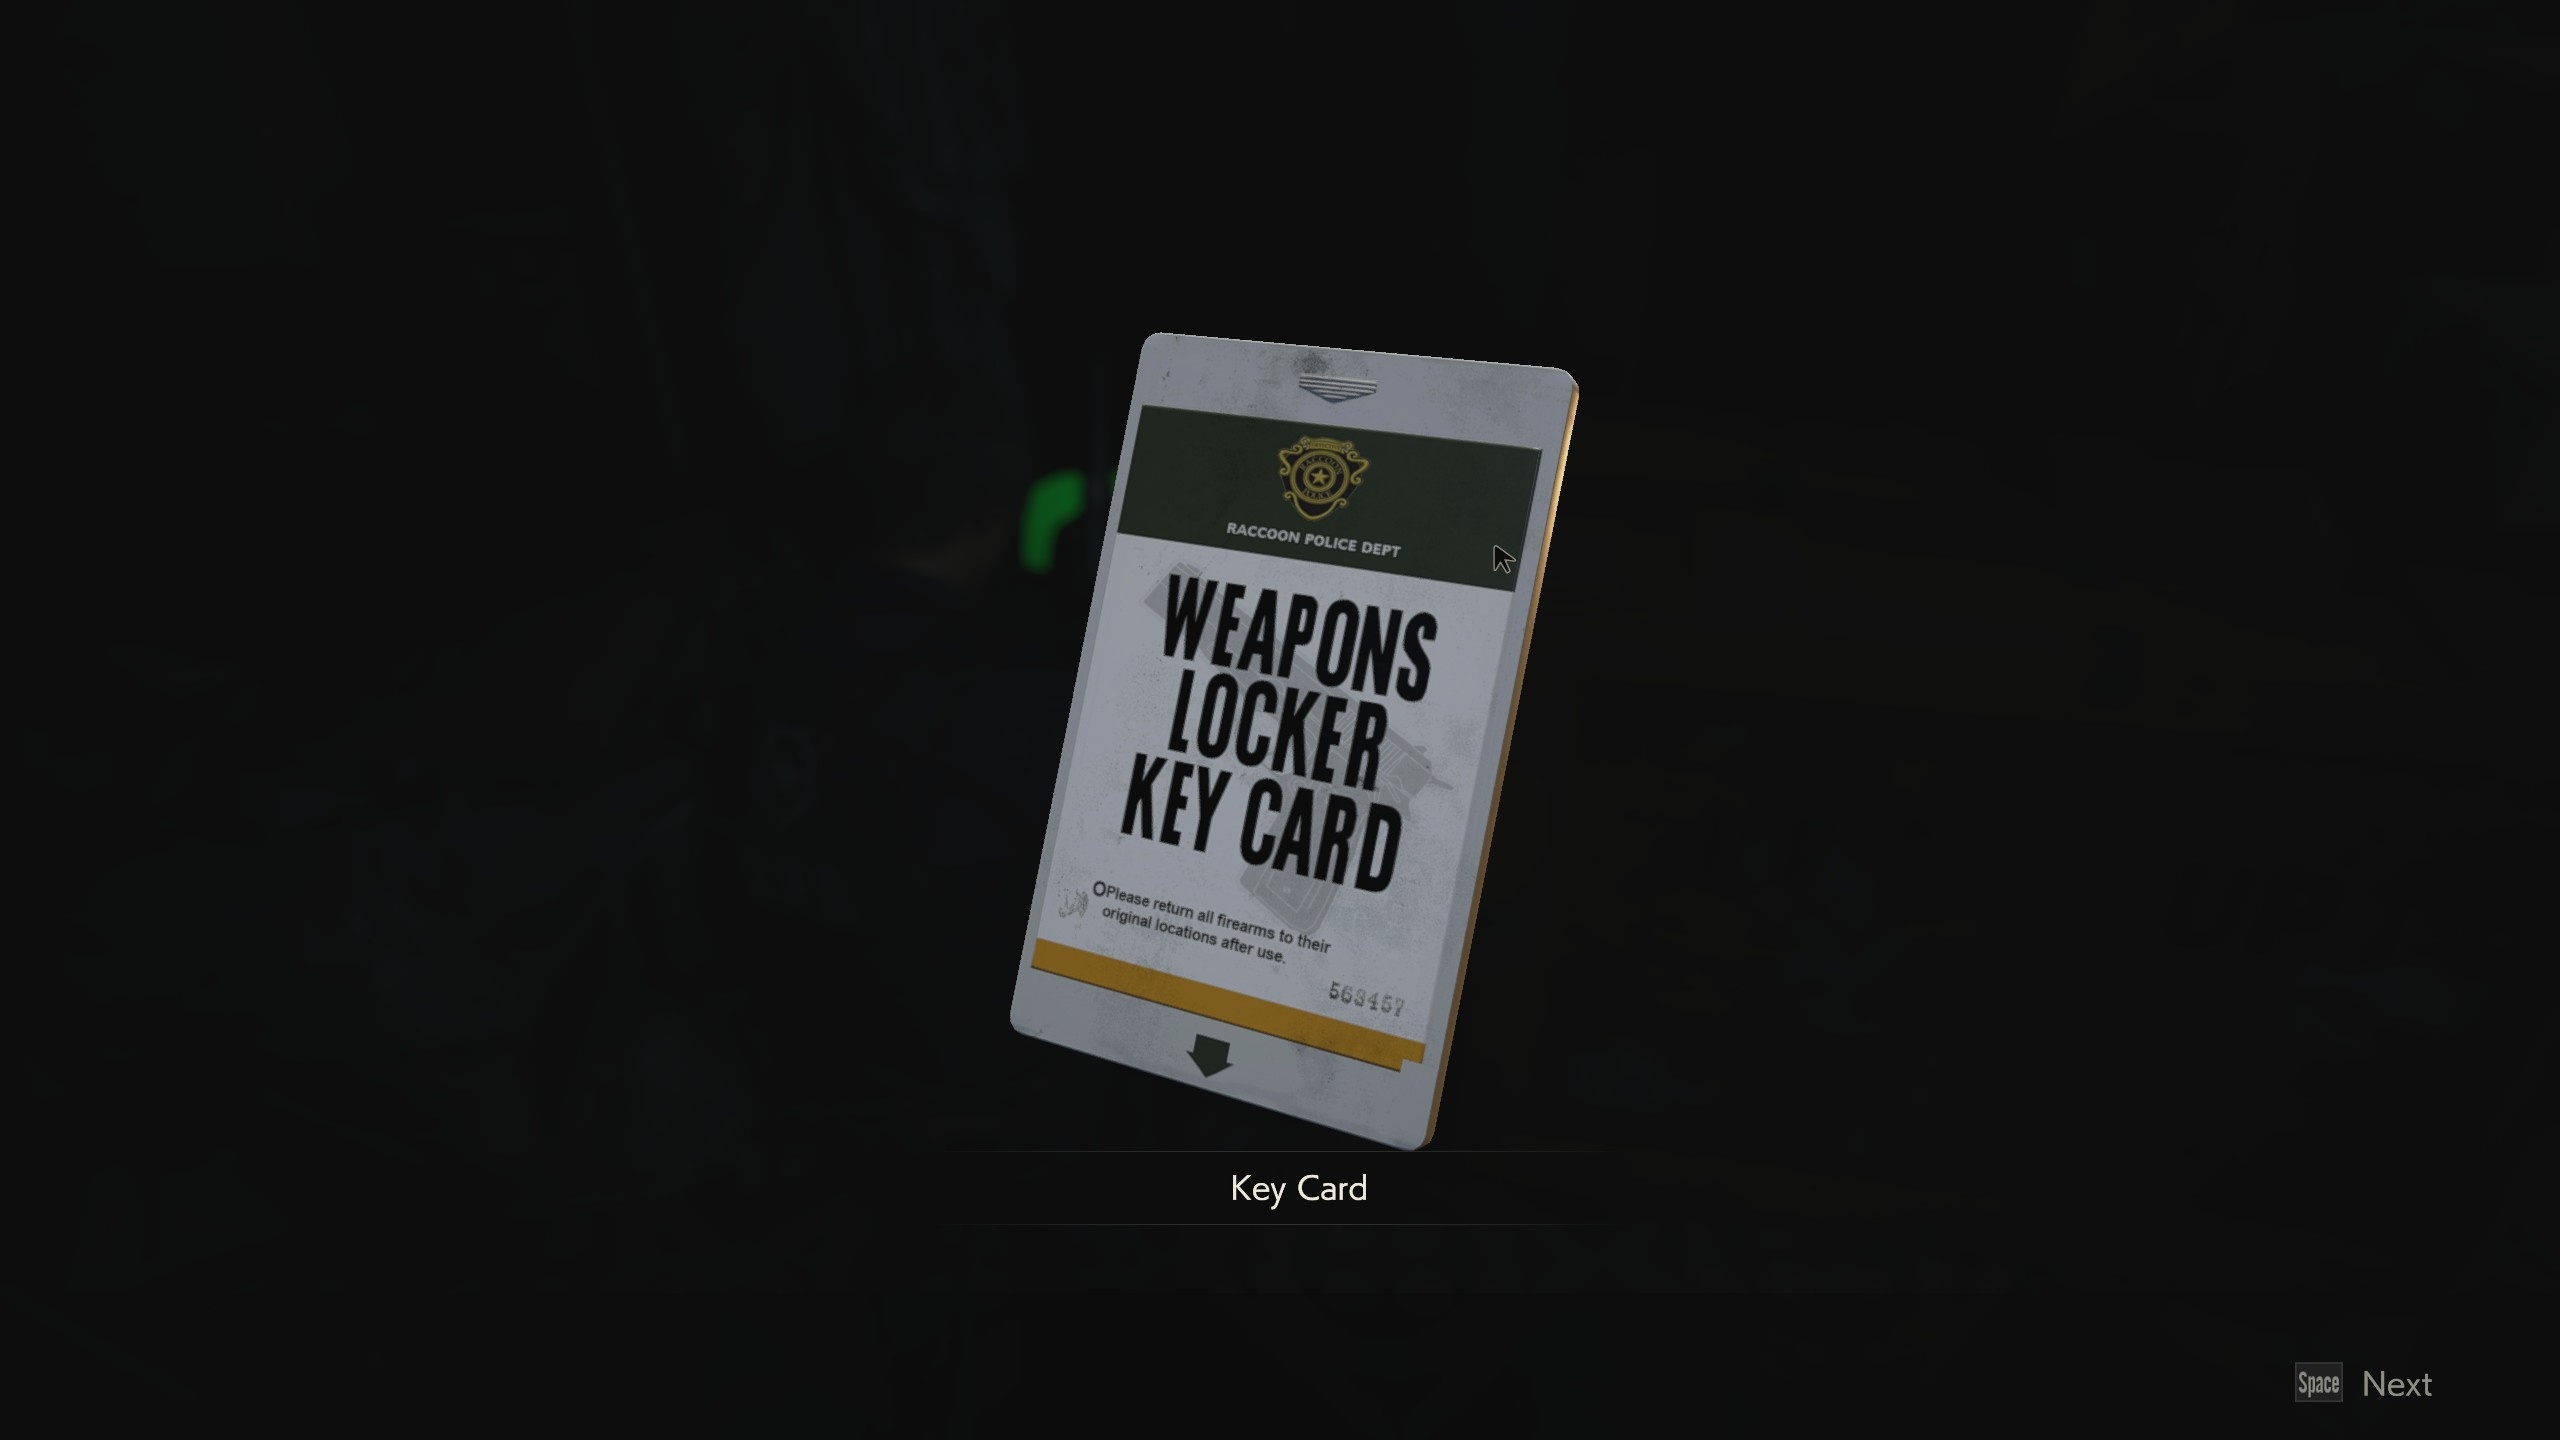
When you're ready, use the blue key on the door in the corner leading to the hallway. First, go left and enter the gallery on the right side. Collect the redstone article and pick up access card from the storage room in the armory. It will allow you to pick up a shotgun or grenade launcher, depending on the playable character. There is a statue in the room, and the left hand lies nearby.
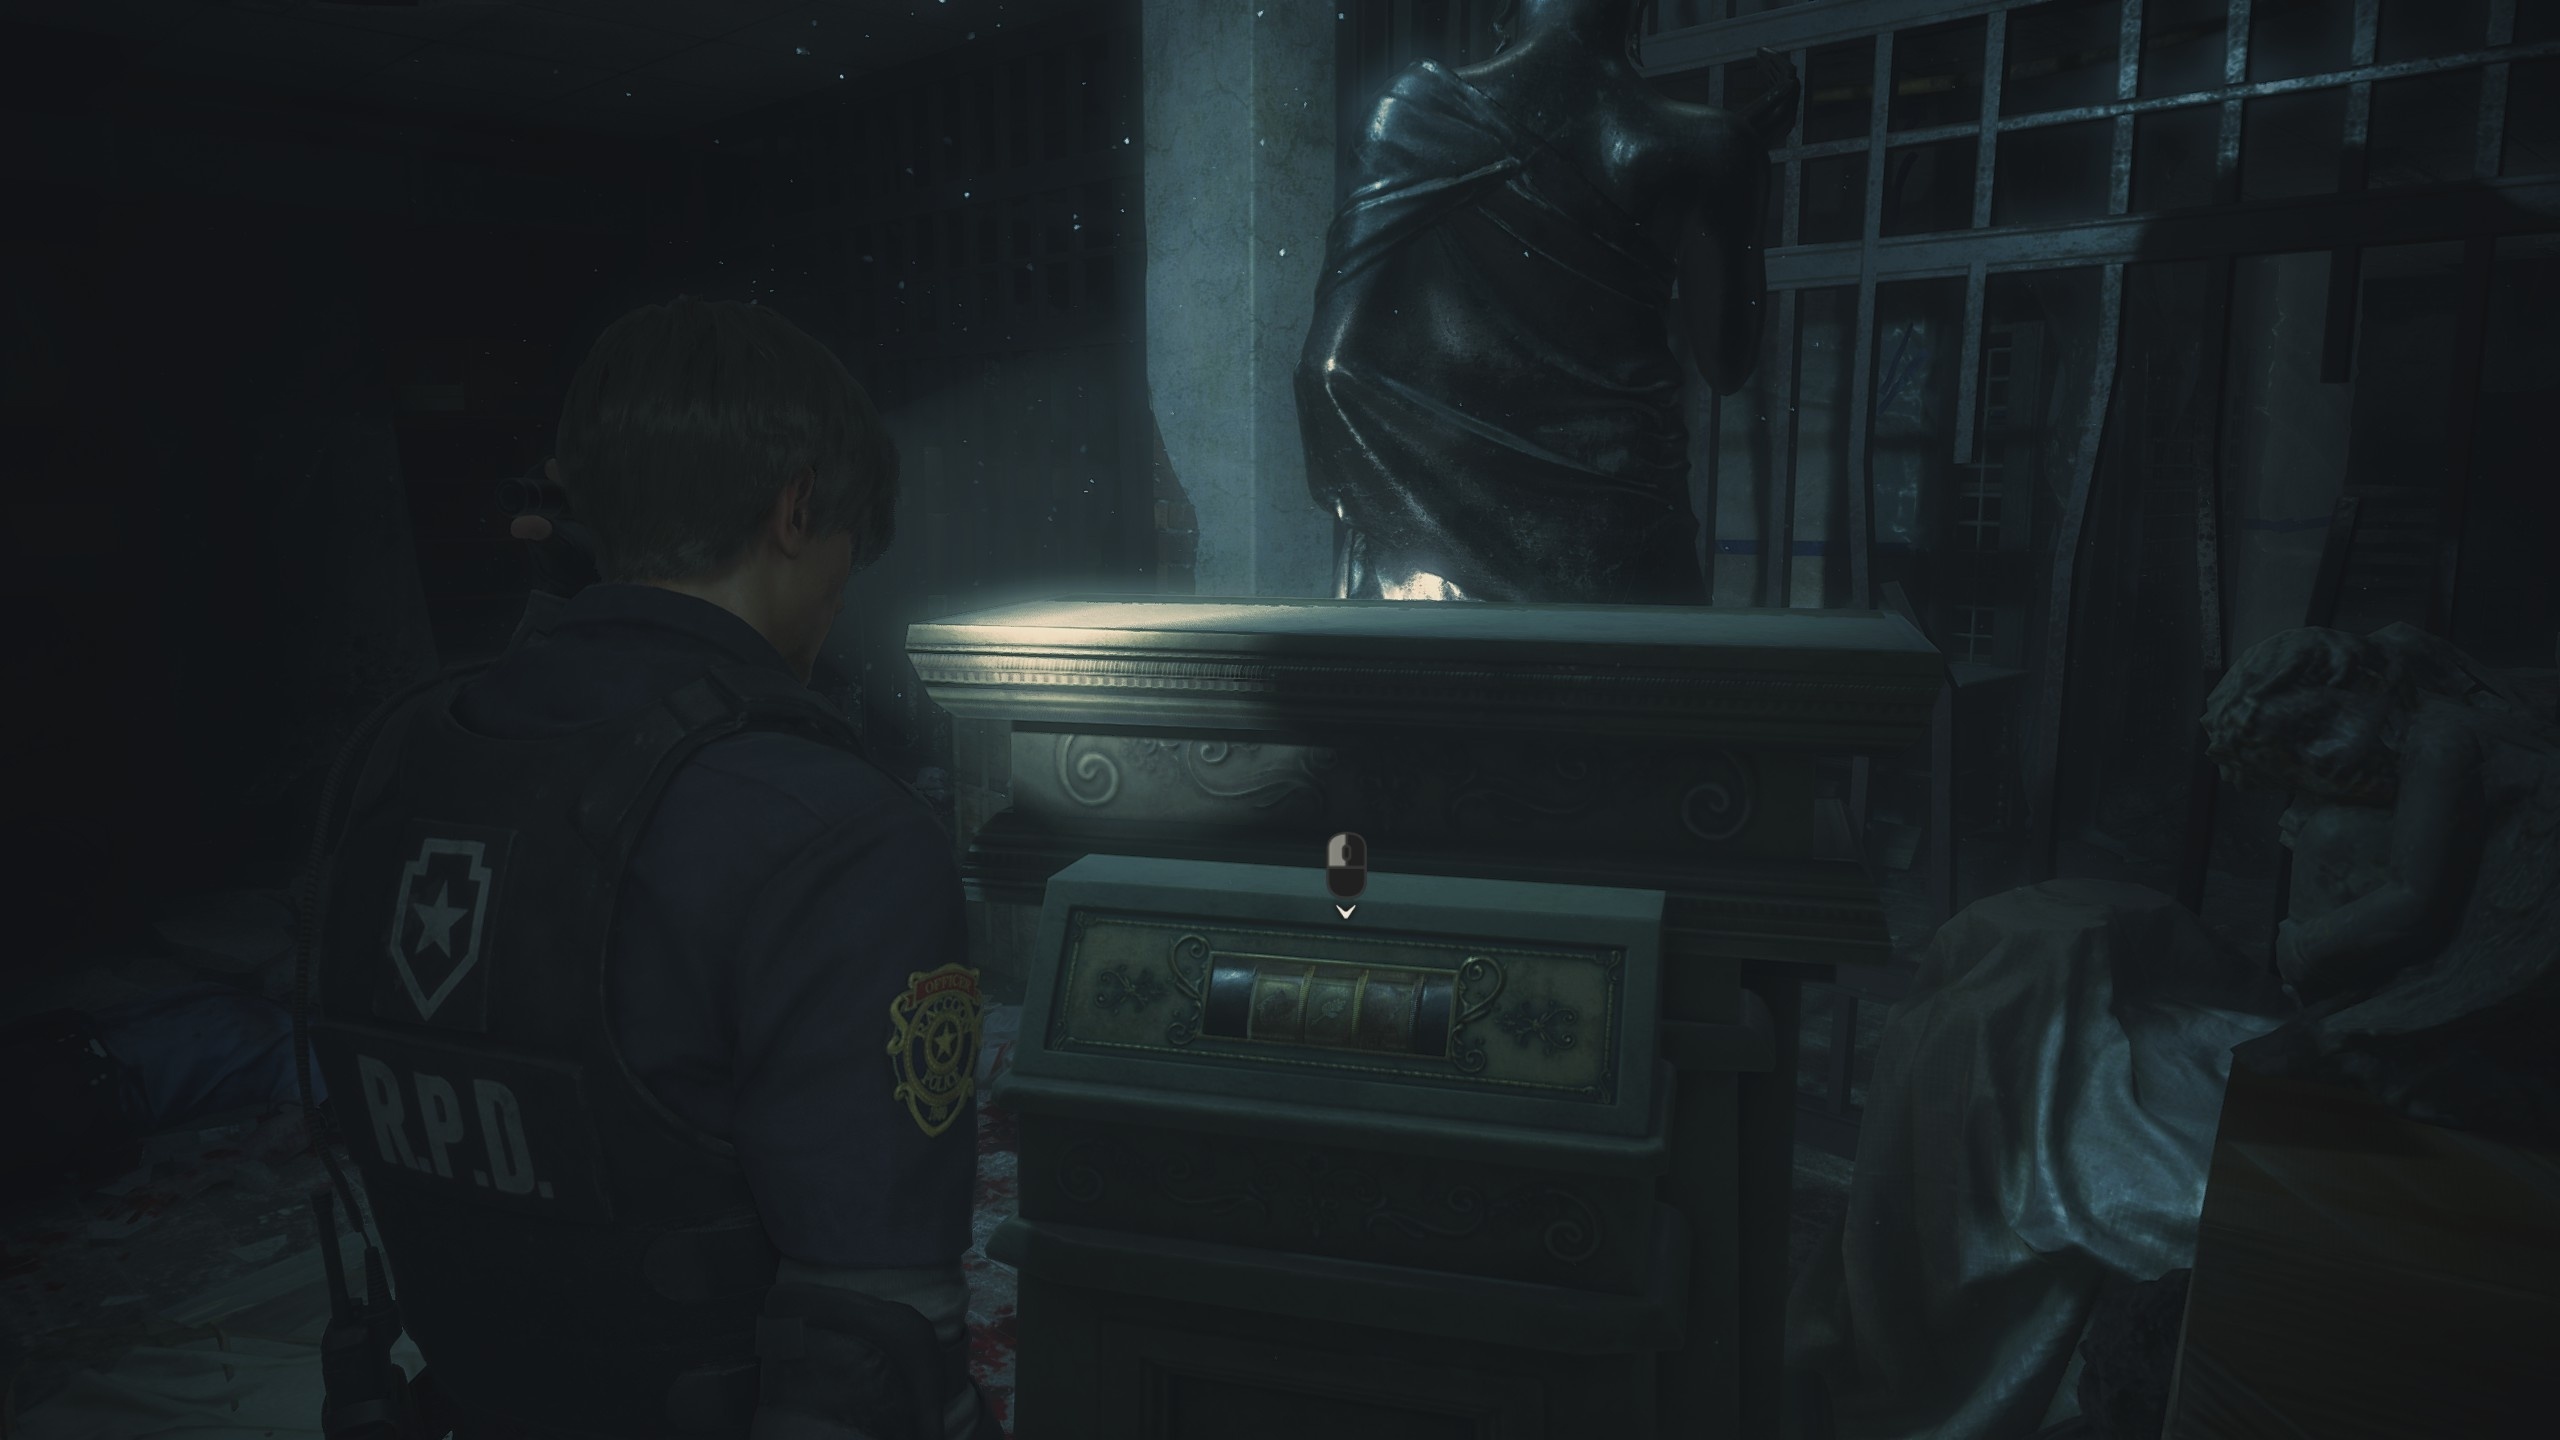
In inventory, combine this hand with the red book found in the library to get the book hand. Combine it with the statue of the king, as a result of which you will receive skipetr. In inventory, examine this item, which will allow you to pick up the red stone. To do this, you will need to unfold the scepter and press the button. Return to the hallway and head south to see a light and a crashing helicopter. Continue down the corridor to find some debris blocking the path further. Turn back, pick up green grass from the windowsill and go to the door that leads outside to the fire escape.
After the cut-scene with Claire (playing as Leon) or Leon (if playing as Claire), pick up the planks on the left side of the pistol ammo from the barrel. You should not go upstairs, instead pay attention to the door with a chain. Next to the barrel are bolt cutters. Take them and cut the chain to return to the familiar room in the east wing, where they found the officer's notebook. Use the bolt cutters again on the door in front where you couldn't go before to gain access to the east office.
This room will be attacked from all sides by zombies. One will climb through the window, the other through the door behind the hero, and some are even inside. Deal with them before exploring the room. To the left of the entrance there is green grass and a stun grenade, in the far corner of the room you can find electrical part (fuse) . In the corner of the office, on the table is valve, and next to it on the shelf is yellow high-quality gunpowder.
When you're ready, move the chairs blocking the door to the west and exit into the hallway. Here you can expect opponents. Go left, south, in the direction of the main hall, use the fuse on the shield next to the shutters and get out of here. Zombies cannot enter the lobby. You've got a few new items, so now you can collect the detonator and detonate the explosives to get to the statue of the maiden with the third medallion.
C4 detonator and battery, how to fight Slimer
You received the bolt cutters, the faucet from the east office, and the access card from the weapon locker in the storage room from the gallery. Worth going back to the west wing! Make your way around the first floor, passing through the reception area and a hallway infested with zombies. When you get to the room where you found the map of the first floor (and climbed through the window), you can go into the corridor through the door, cutting the chain with bolt cutters. After that, a hint will come up that the item can be thrown away, since it is not needed. All such items will be marked with a "red bird" in the inventory. Feel free to throw out the bolt cutters.
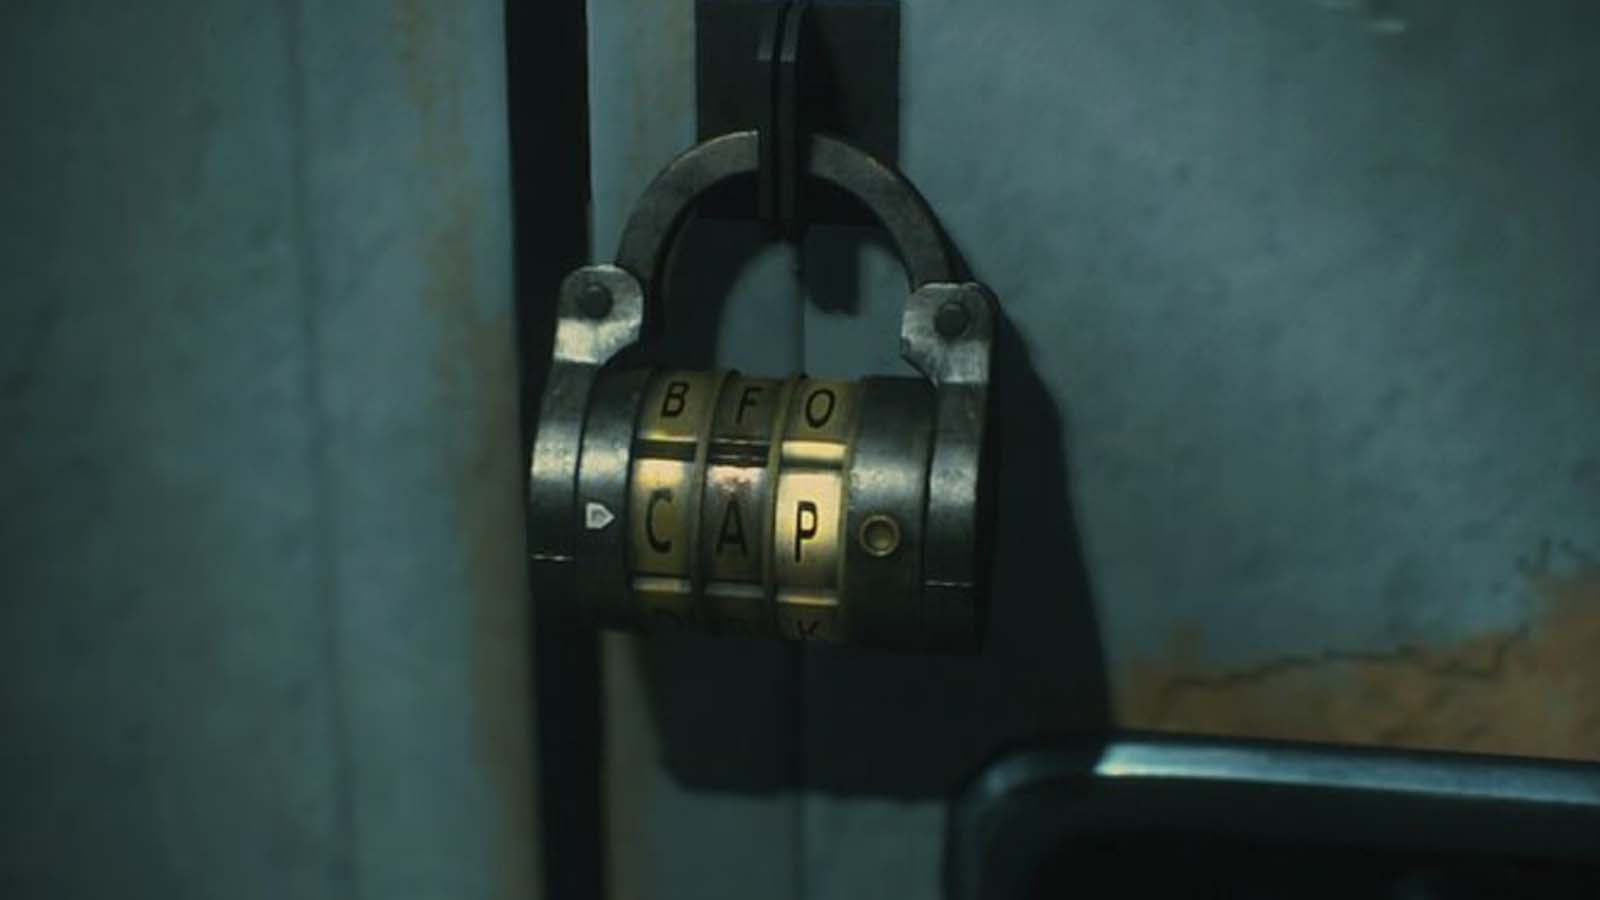
Go through the door and on the table you will see electronic gadget. Examine it, turn it around and press the button on the back to understand that it is a detonator without a battery. In another part of the room there is green grass and the password for one of the lockers is CAD. Remember this code, because now we can open the locker.
Where to find the battery and detonator for explosives
When you're ready, head west into the hallway past the storage room and the west office. On the way, you can look into the storage room and use the access card in order to open the locker and pick up the shotgun with ammo. This weapon will allow you to destroy zombies in one or two headshots. However, we recommend saving ammunition for emergencies.
Go northwest, climb the stairs to the locked cabinet on the second floor, in the shower room, and use the CAD code on it to access the contents. Inside are shotgun or grenade launcher cartridges, depending on the character. In the same shower, use the valve on the broken pipes to remove the steam. There is nothing else of interest here, so move forward and exit into the corridor at the far western end of the second floor. It is advisable to have a shotgun or grenade launcher with you.
How to fight Slimers
Pick up ammo on the left and get ready to face the first Slimer. These are blind creatures that will not see you, but will be able to react to the sound made. You can safely move around them, but any sounds will gradually attract the attention of Slimers. You can pass them if there is a place for this, but in this cramped corridor it is desirable to take the fight. It's good to have a stun grenade with you: throw it to temporarily stun the enemy (even though he is blind).
When fighting Slimers, keep your distance to avoid being hit and the monsters' long tongue. If you play as Claire, they are much easier to fight thanks to her grenade launcher (just a couple of projectiles are enough). By controlling Leon and using a shotgun, you will have to get close to the target. Keep calm and soon kill the enemy.
When you're done, go through the door on the left to the STARS office, located in the middle of the hallway. Look into the small room on the left and take it from the table battery. Open inventory and combine it with the electronic gadget you found most recently. This will allow you to get detonator.
There is a small document at the far end of the room that lists the combination from the safe in the west office on the first floor. Inside is a hip pouch that expands inventory (+2 additional slots). On the other side of the office, there is a computer on a table. It cannot be used yet, but remember this place. Search the room to collect supplies.
Use detonator C4
Time to use the detonator. Go back to the stairs through the men's shower and go up to the third floor. Enter the western storeroom, look for explosives in the southern part and use a detonator on it. Move back a bit to avoid the damage from the explosion, then go through the resulting hole and look for the maiden statue. After solving the puzzle, you will receive the third medallion.

Once you're done, be prepared to face Slimer and the regular zombies that will attack you as you move through the western pantry. The path to the library will be blocked by a fallen wooden cabinet, so it's best to fight all the mutants. When you figure it out, then enter the library, return to the main hall and you will be safe.
If you haven't already, use the blue key on the door with the blue symbol on the first floor of the main hall, which will allow you to quickly access the west office and get rid of the blue key (you don't need it anymore). When you have all three medallions, it remains to apply them to the statue of the goddess in the main hall, on the first floor, and then go down to the subway.
The location of the three medallions and the solution of the statue puzzles
Each medallion statue has a unique puzzle that requires three correct symbols to be identified. All clues are given in the officer's notebook, which you found in the east wing of the precinct. Read the notepad to understand what characters and where to enter. Below we point out the correct solutions.
The location of the lion medallion and the solution to the riddle
The lion statue is located on the second floor of the main hall, which can be reached by one of two parallel staircases. It will be available as soon as you get to the police station. Puzzle solution from left to right: lion, branch, bird. You'll get first medallion.
Unicorn medallion location and puzzle solution
You will find a statue of a unicorn in the loggia on the side of the library. Go out of the library through the door next to the stairs, at the bottom. Here you could also find a map of the second floor. Puzzle solution from left to right: fish, scorpion, jug. You'll get second medallion.
The location of the maiden's medallion and the solution to the riddle
The statue of the maiden is located on the third floor of the west wing, in the west pantry, which can be accessed by destroying the explosives on the boards. Puzzle solution from left to right: woman, bow, snake. You'll get third medallion.
You now have all three medallions. Insert them into the statue on the first tier of the site and go down to the subway.
Fight the first boss and explore the police station dungeon
The first area of the subway is the secret room, which is a safe area that contains consumables, a typewriter, and a chest. Here you will find a pipe at the entrance, for which there is no tool yet. Stock up on shotgun ammo, grenade launcher ammo, healing items, as they are about to come in handy.
When you're ready, go right and call the elevator. After going down, move further down the stairs. There will be a passage halfway to the left, but first we recommend going down to the very end. Look for a grenade on the right on the ground. There's also a weapon crate here that can't be opened yet. Climb up the stairs and turn into the nearest doorway to get to the control room. Turn right and go until a cut-scene starts, foreshadowing the battle with the first boss.
How to fight the first boss
The fight will take place in a closed space, although the arena is wide enough to run away from the enemy. A lot of ammunition is scattered around the corners. Your goal is to shoot the enemy in the head until a large eye opens on his shoulder. When this happens, attack the eye. After a while, the eye will disappear. In this case, just run away from the enemy until the eye opens again. If this does not happen, then try to make a few extra shots.
Escape from the mutant is quite simple. This is a rather slow opponent that will allow you to retreat or even bypass yourself from the side. Despite the huge hand, the attack range is not that great, so you just have to keep your distance and attack. However, the mutant can grab you at any time if you get close enough. In such cases, you will need a combat knife, blind or regular grenade, which will give you a chance to escape without taking damage. Running out of ammo or out of medicine? Examine the corners of the combat zone.
On the other hand, moving around the corners, you run the risk of getting into a dead end and a trap. However, you should collect supplies at a time when the monster is far away in order to get time and go back. Don't be afraid of the enemy, just try to get past him. You will be surprised how simple it can be. After a while, the boss will disappear. Just run around the location until he falls to the ground, so you can re-attack the enemy. This can be a lengthy battle, despite the fact that it is quite simple in itself. If you do not have enough ammunition, then restart the game, find new ones and return again to the control room.
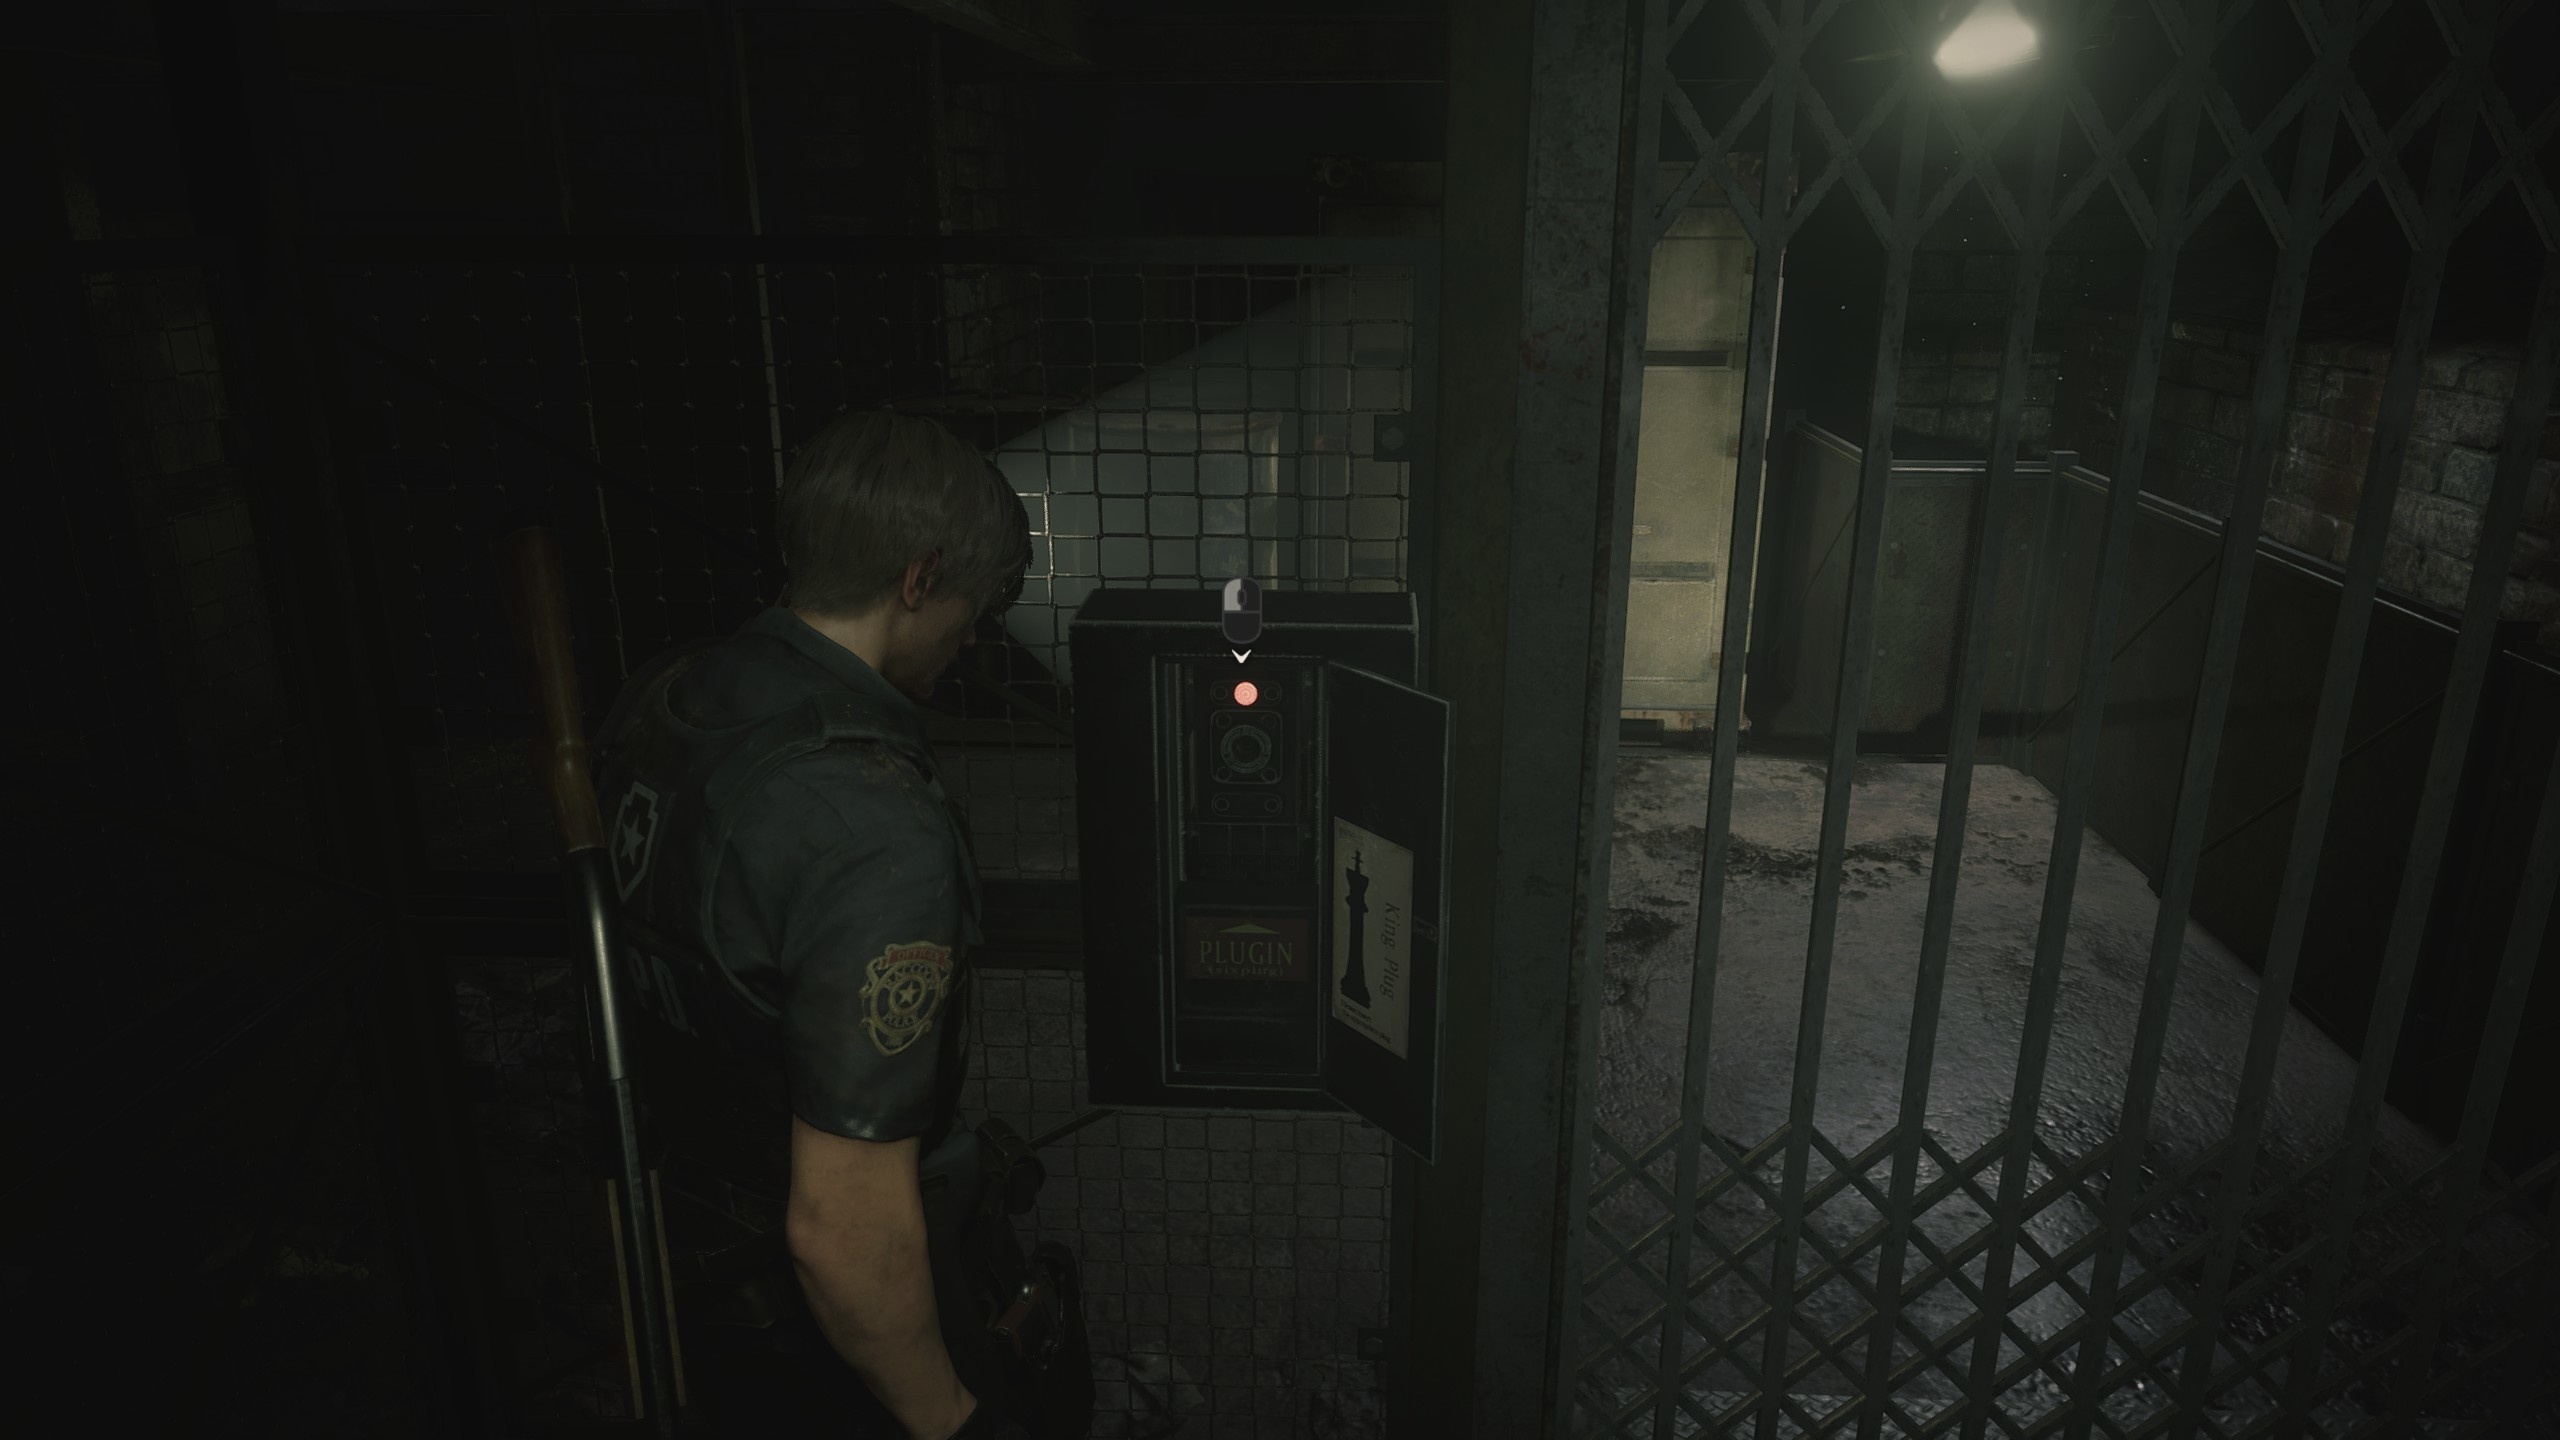
Once the battle is over, a ladder will descend. In the office on the right, upstairs, there are consumables, including green grass by the door. Follow the path to the east and interact with the console to move the path and go to the operator's room. Take the hip pouch from the locker to increase your inventory, then use the chest and typewriter. Exit through the door to the north and up the stairs to reach the parking lot. Examine the machine near the closed garage door. You need a magnetic card, and for this you will have to study level B1 of the police station.
Parking, car key, pink key, generator
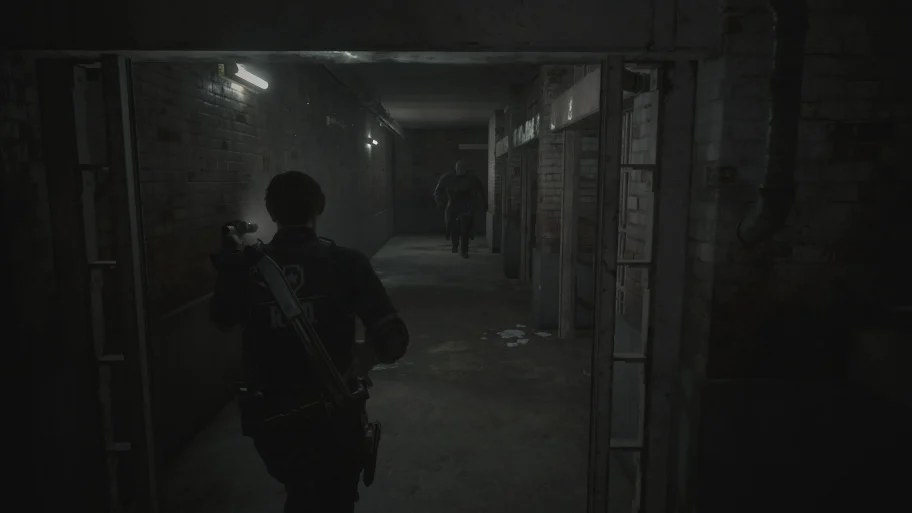
After you get a new goal (find a magnetic card), then first go through the door in the southwestern part of the parking lot, where the mysterious character fled. It is there that you will find a room with a magnetic card. Ignore the cages as they are all locked. Go through the isolation room to the very end to trigger a cutscene.
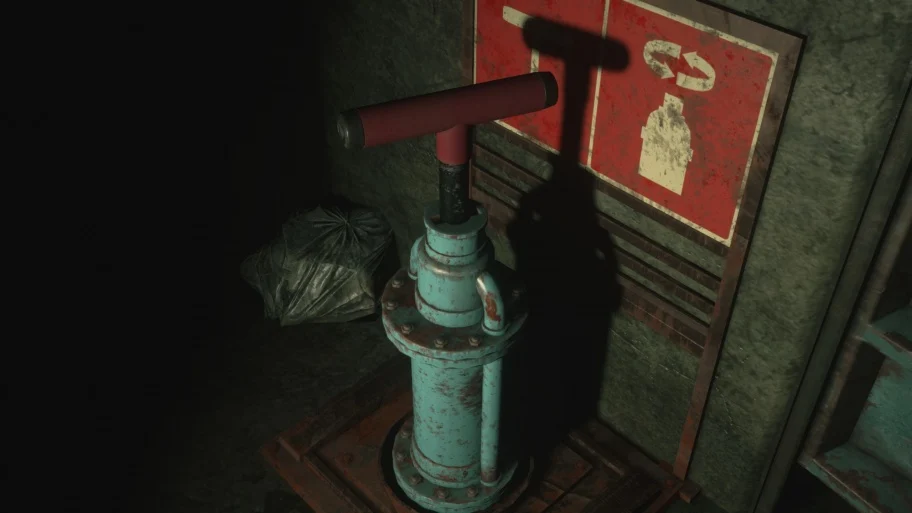
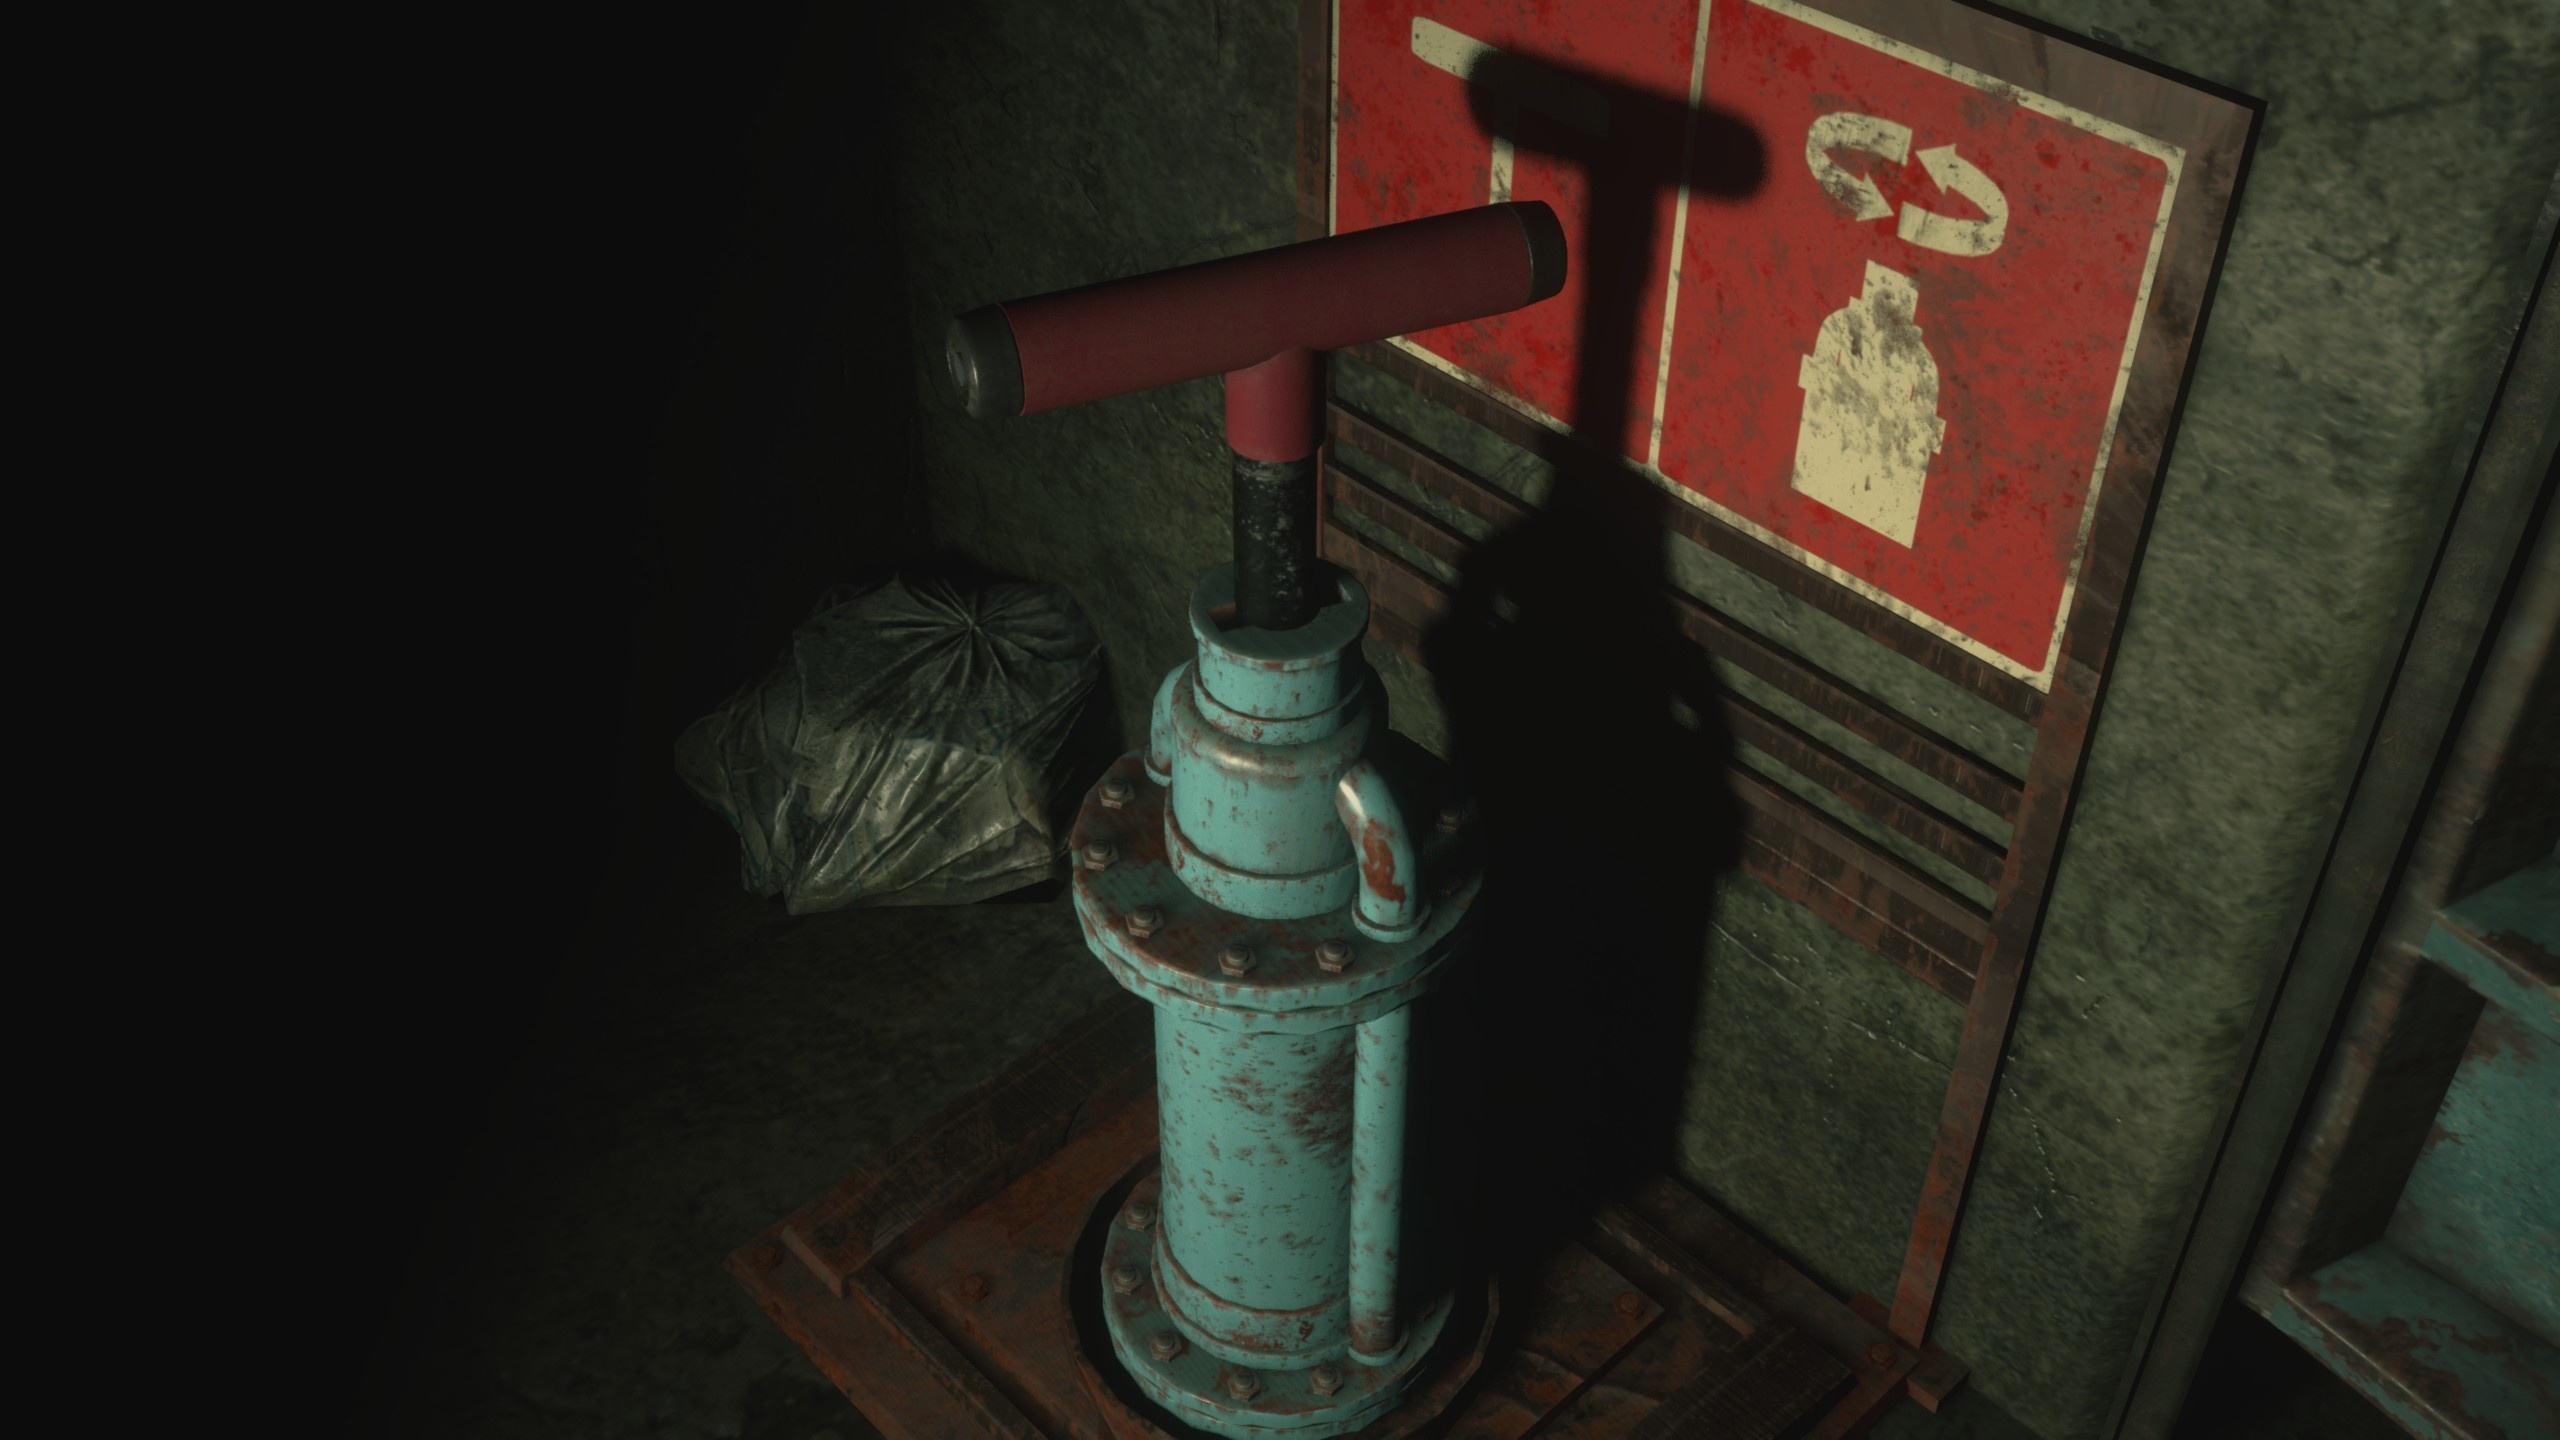
After the cutscene, explore the south side of the room to get tool (examine in inventory to get the real name). In fact, it is about handle for a rotating mechanism. There you will find a note. Read it to get a new goal: you need to collect parts of the electrical panel. To do this, you will have to visit two places - a room with a generator (generator) and a clock tower. To begin with, let's go to the first place, but along the way you will need to solve a small puzzle.
How to use the car key from the shooting range
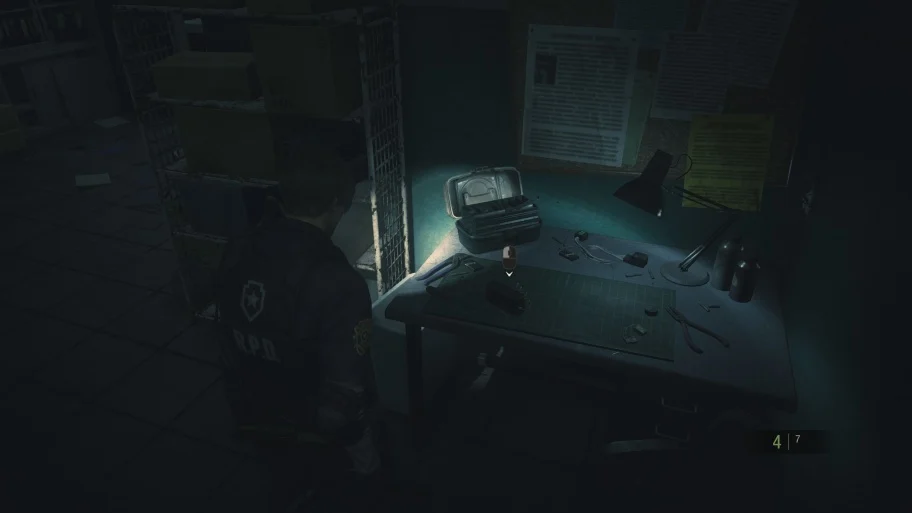
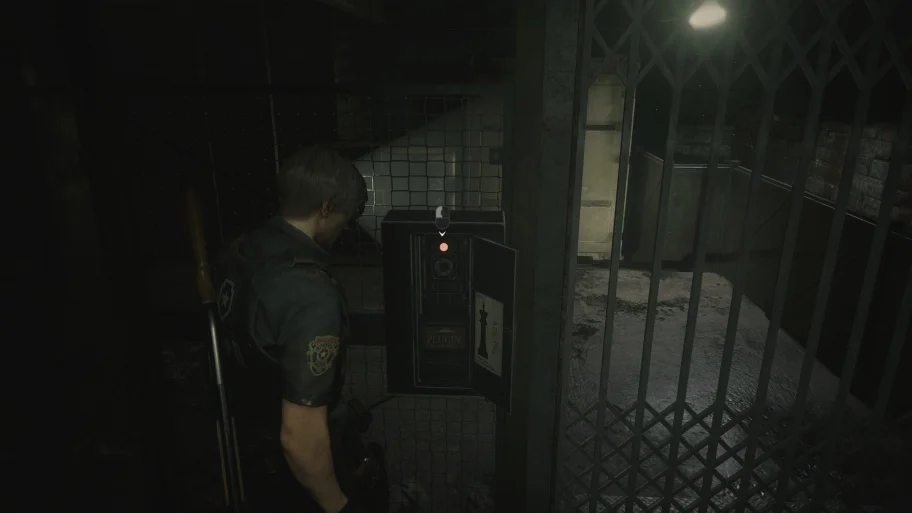
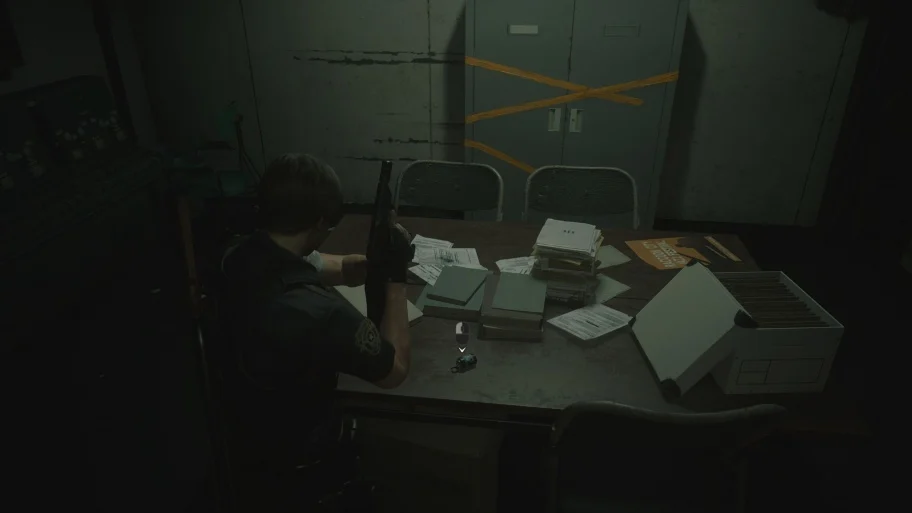
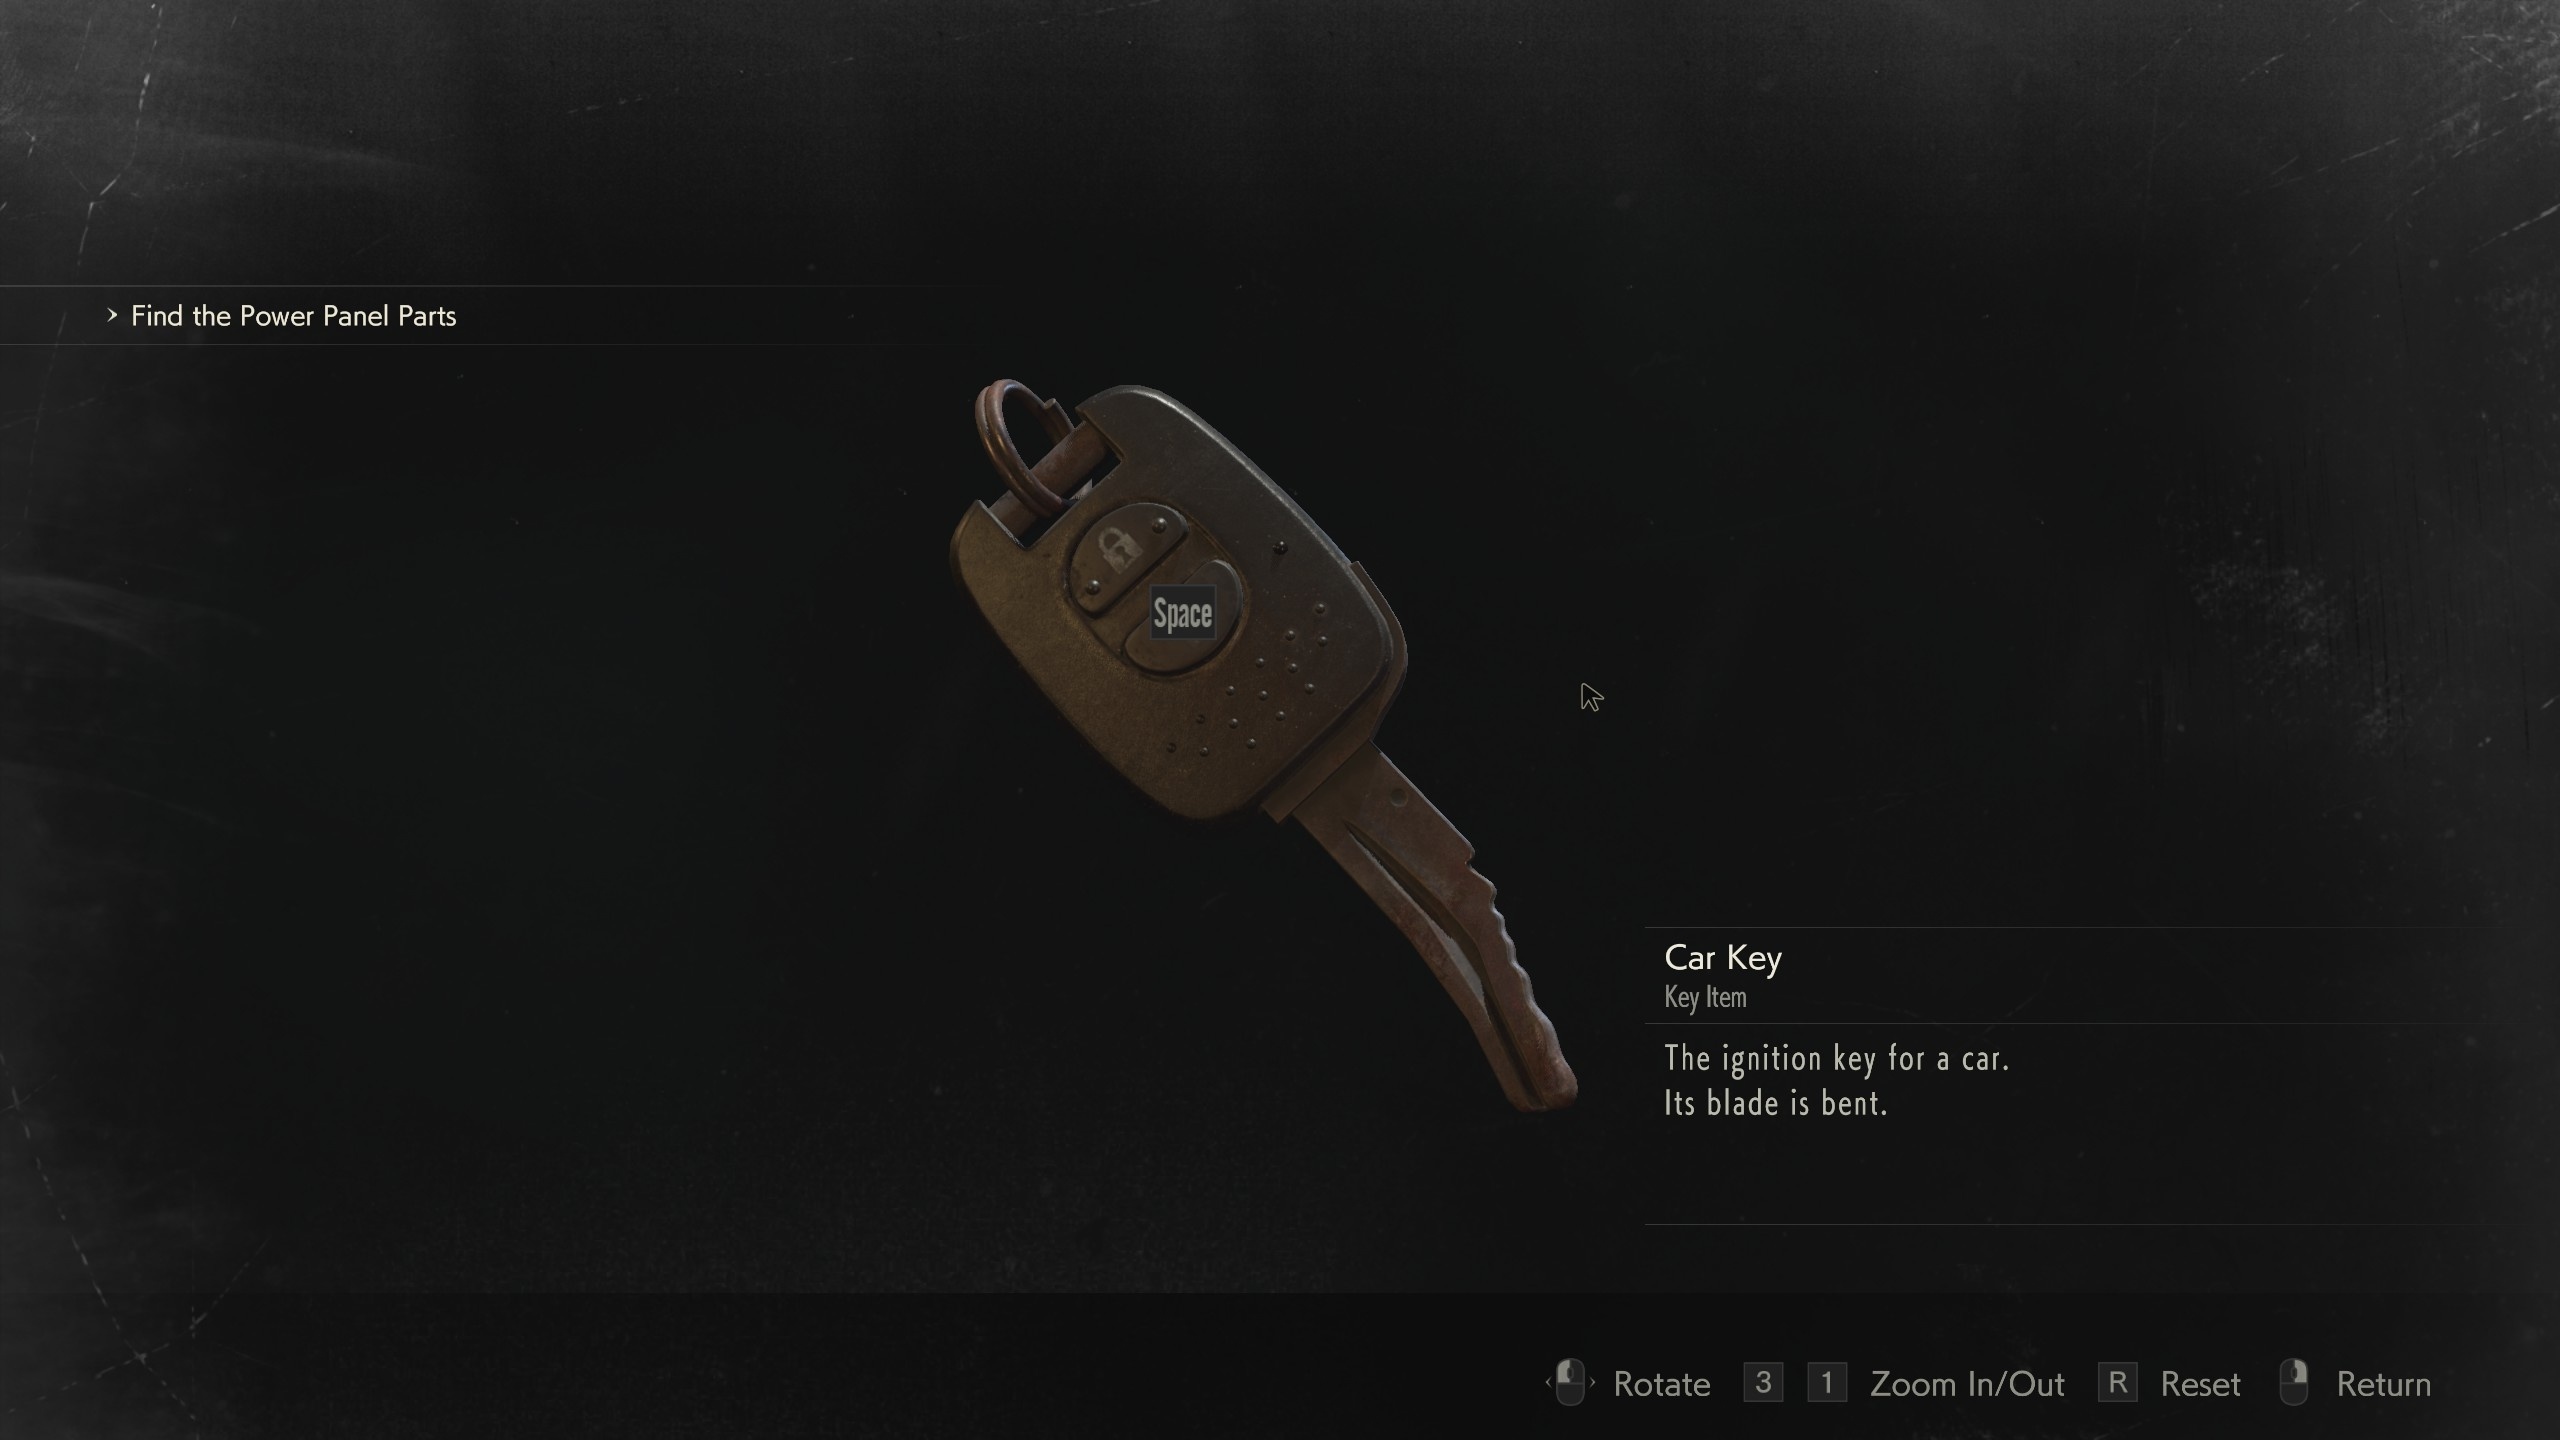
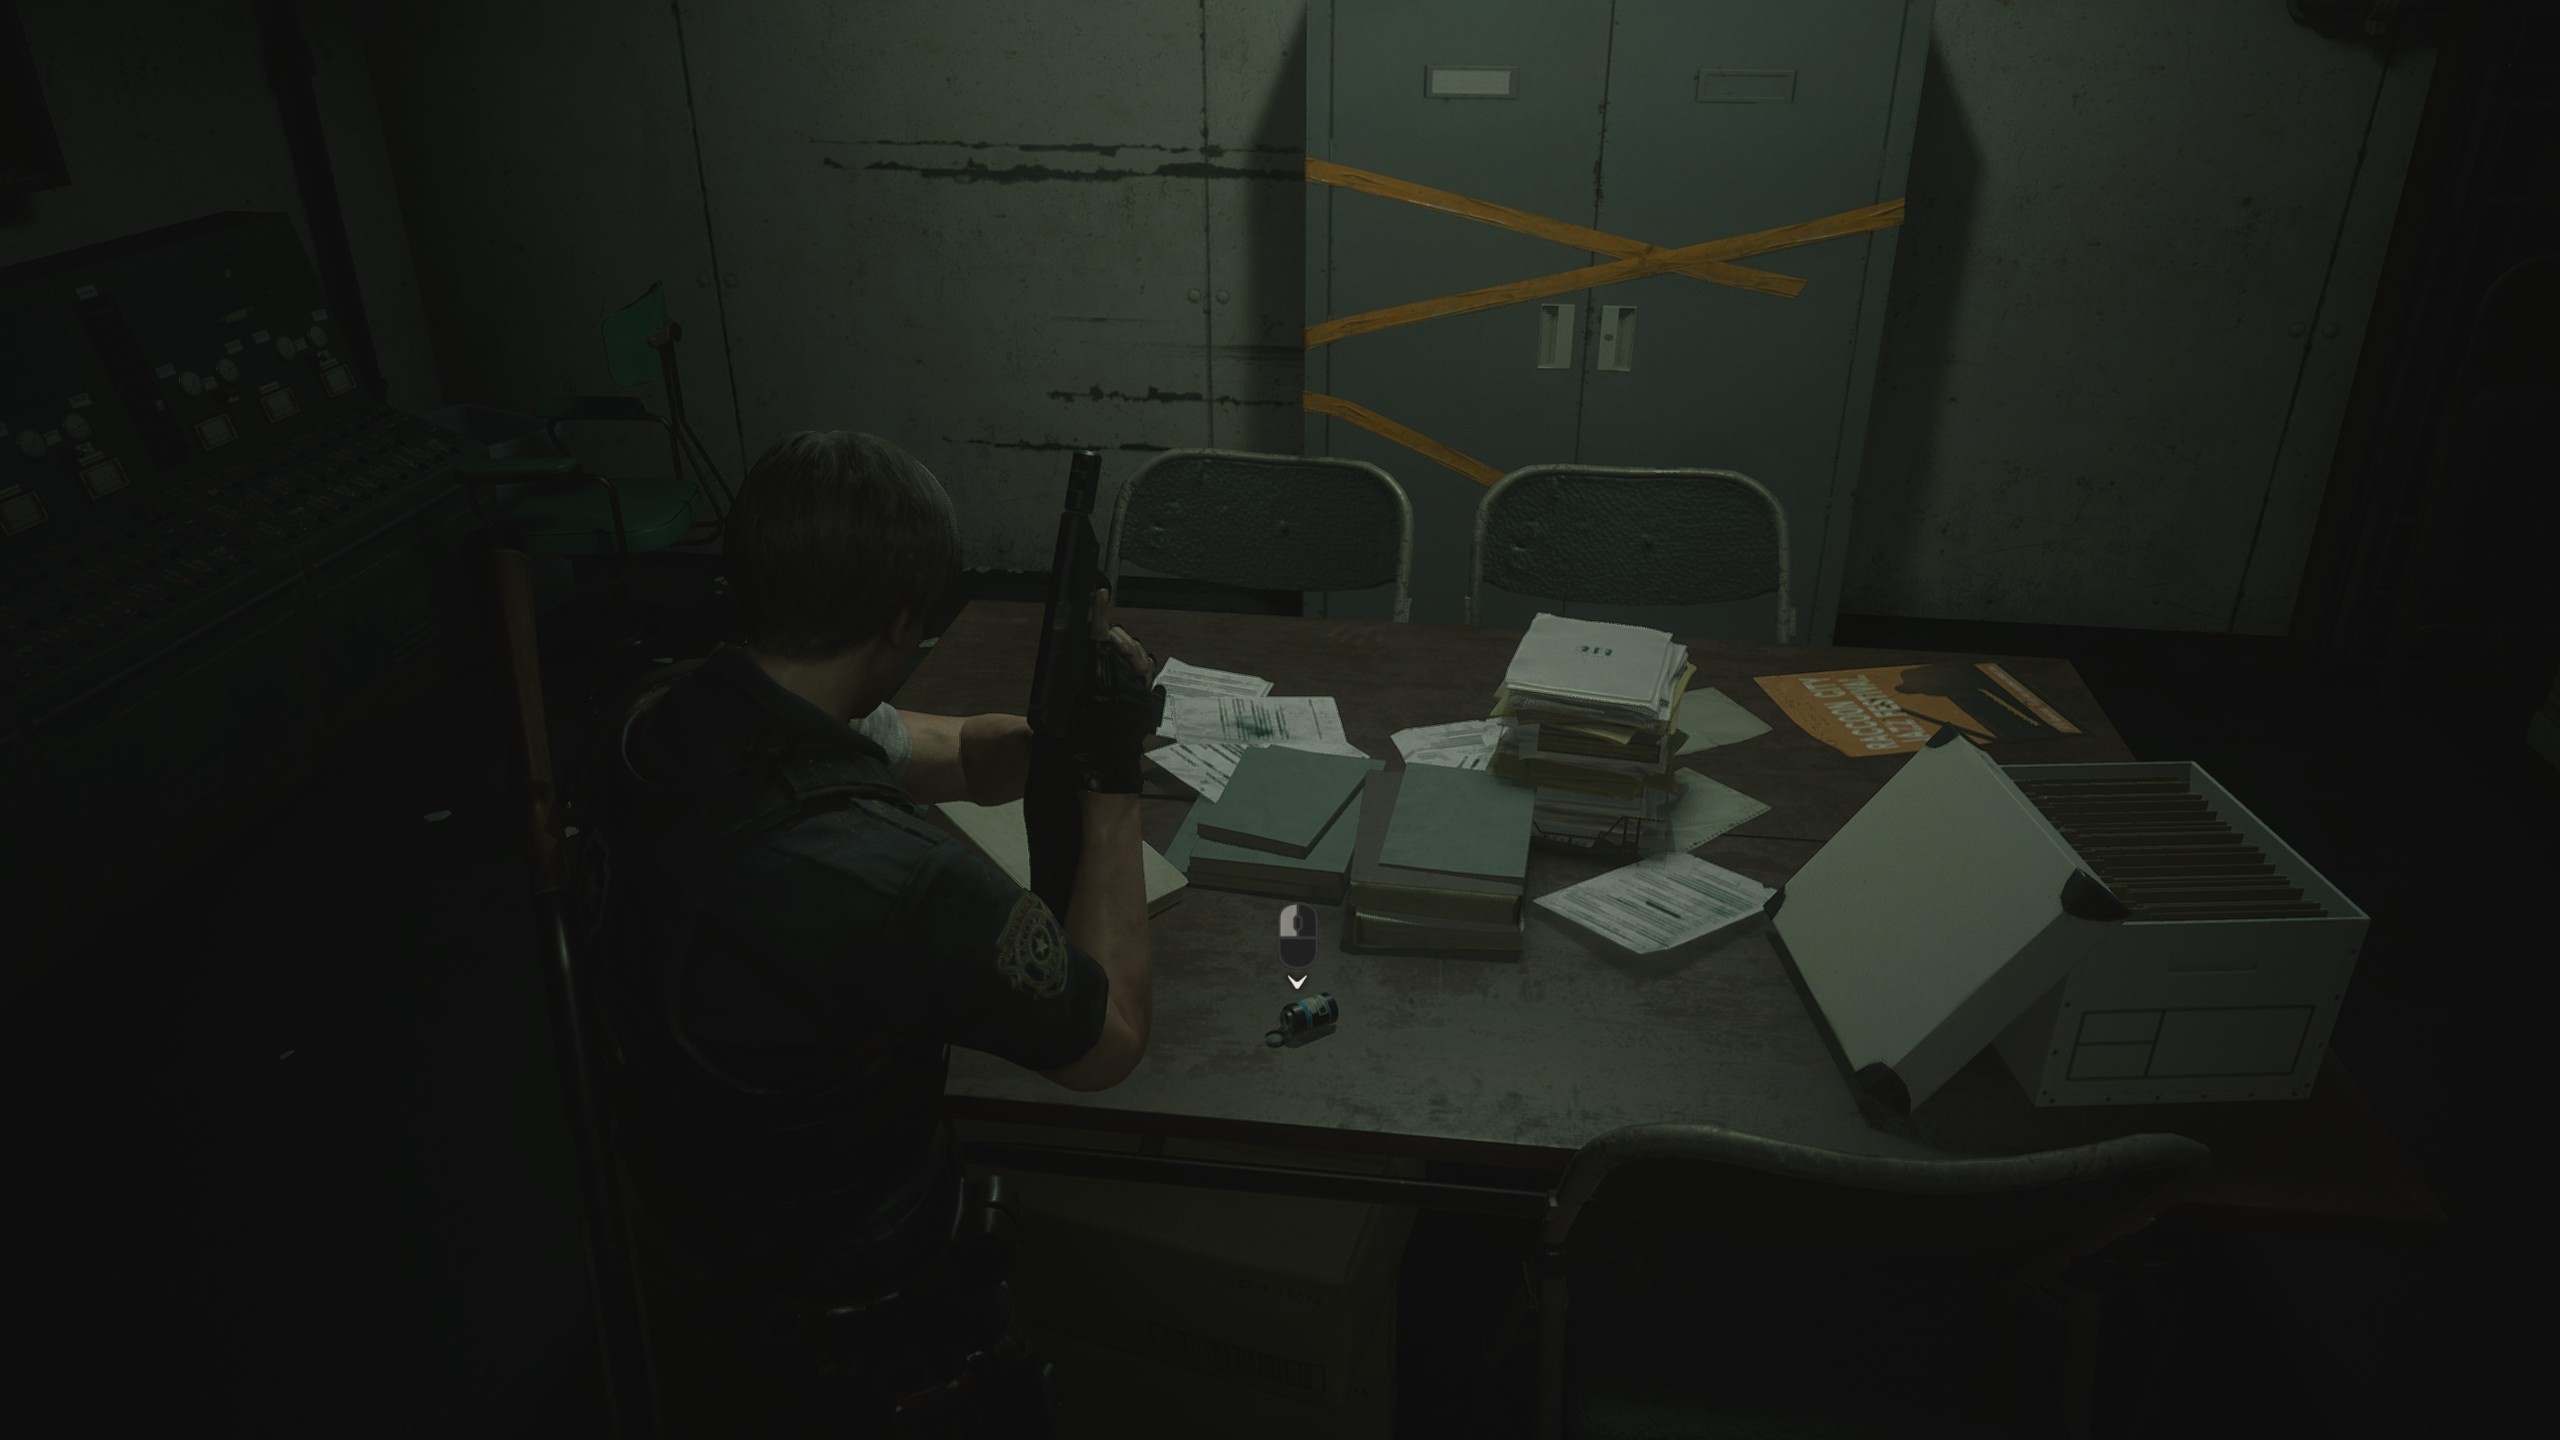
Exit the holding cell back to the parking lot, then go to the easternmost door and enter through it to enter a hallway that you can go left or right. First move forward, then to the left at the shooting range and find a document with disposal notices from the table on the right. There is also a yellow box here. Examine it in your inventory by rotating it around to open it and take it out. car key. Examine it and find an active button.
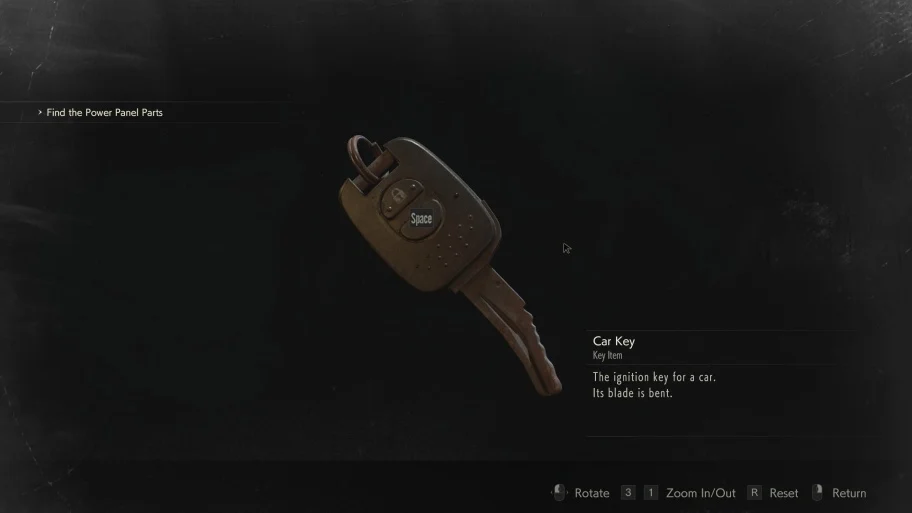
If you return with the key back to the parking lot, then in the southwestern part of the room you can find a car. The car has the license plate 7329. Open inventory, examine the car key and press the button to open the trunk. Inside it you will find an upgrade for the Matilda pistol. Combine it with the Matilda to turn the pistol into a semi-automatic weapon (you can fire bursts of three bullets).
Return back to the shooting range. Take the letter from the reception before you find two doors in the corner. To open the door on the right, you need a pink diamond key. When you have it, go to this room if you want to pick it up film with the code from the box on the third floor of the site and red grass.
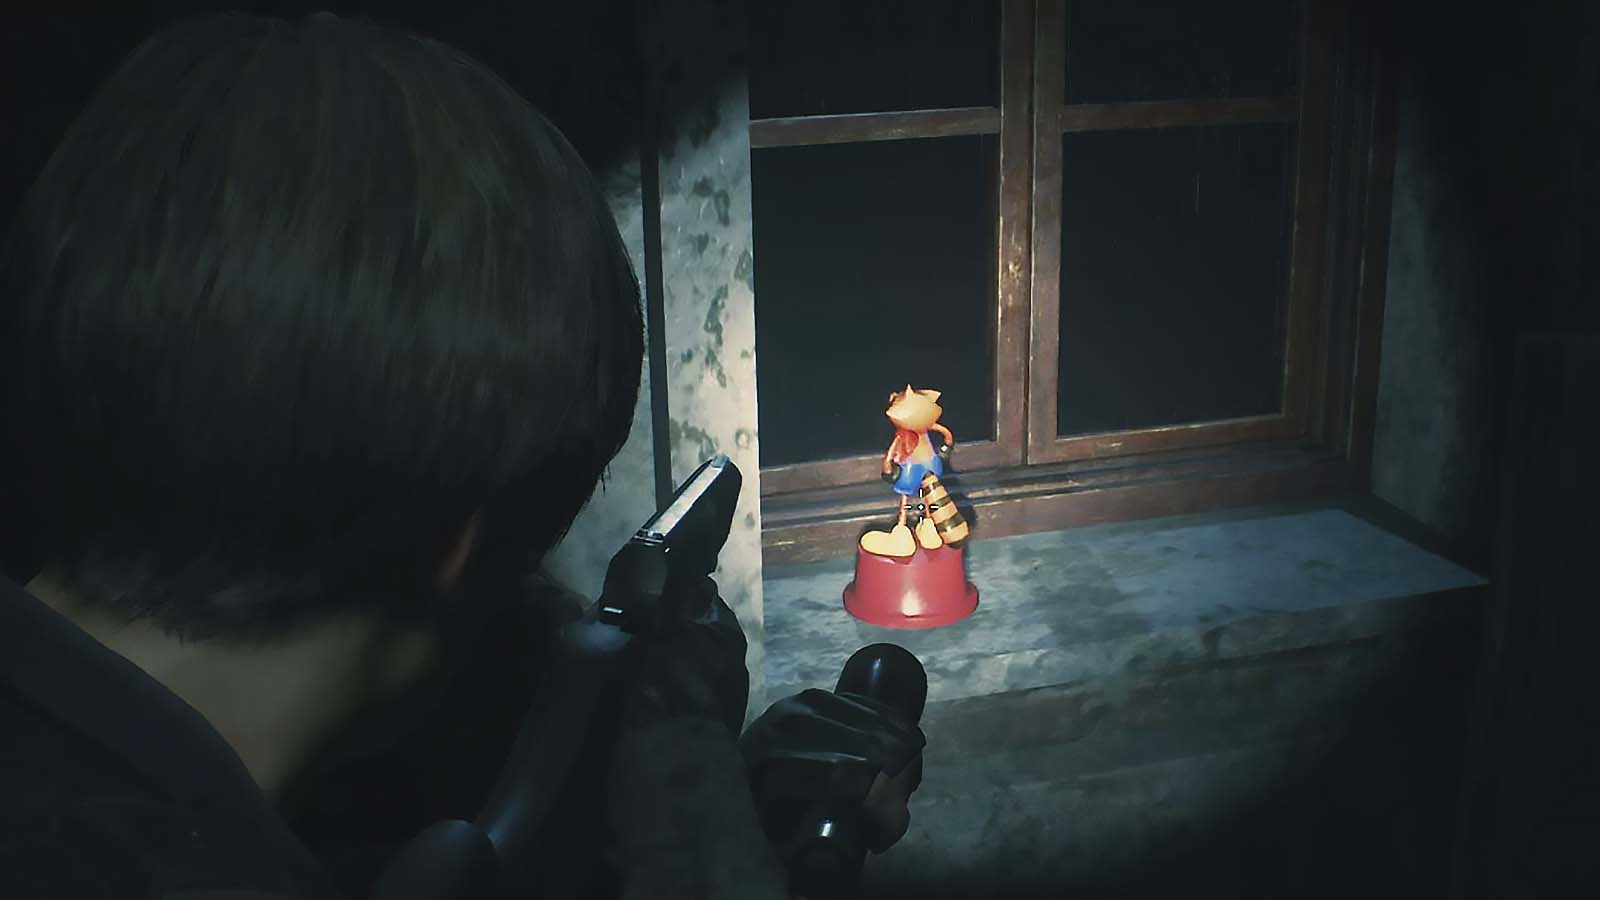
Through the western door you can go to the zombies, find the ammo and Mr. Raccoon, standing at the far, fallen target. As indicated in the found document, it must be destroyed. Mr. Raccoon is a collectible, and there are 15 such figurines in the game. We've covered each one in more detail in a SEPARATE MANUAL (just head over to the Tips & Tactics section of our site and you'll find them).
How to get to the generator
Return to the corridor east of the parking lot and go the other way along it, to the south. At the end of the path, a little further than the door is blue grass, and behind the door itself is a nursery. To your right is a barrel of gunpowder. There is nothing else, so get out of here through the far door to another part of the corridor. Go through the door to the morgue and take the document with the autopsy report from the table.
Freezers for storing corpses are placed at the southern and northern walls of the room. You can explore each of them by holding the interaction key. On the south side in the second chamber lies red grass, in the last - a stun grenade. On the north side in the second freezer with a corpse lies pink diamond key.
When you pick up the key or study it, you will be attacked by a zombie that was in the same freezer. A second monster will come out of the other chamber. Go out into the corridor and on the right side you will find roller shutters, which can only be opened with the help of a handle. If you haven't visited the isolation ward located southwest of the parking lot yet, then do it. That's where the handle is. When you get the item, return to corridor B1 and raise the shutters by using the crank on the hole in the right wall.
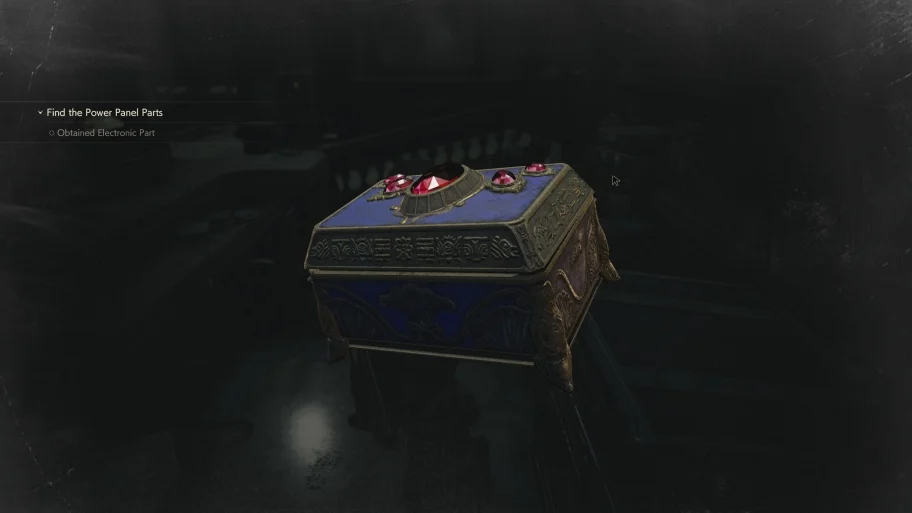
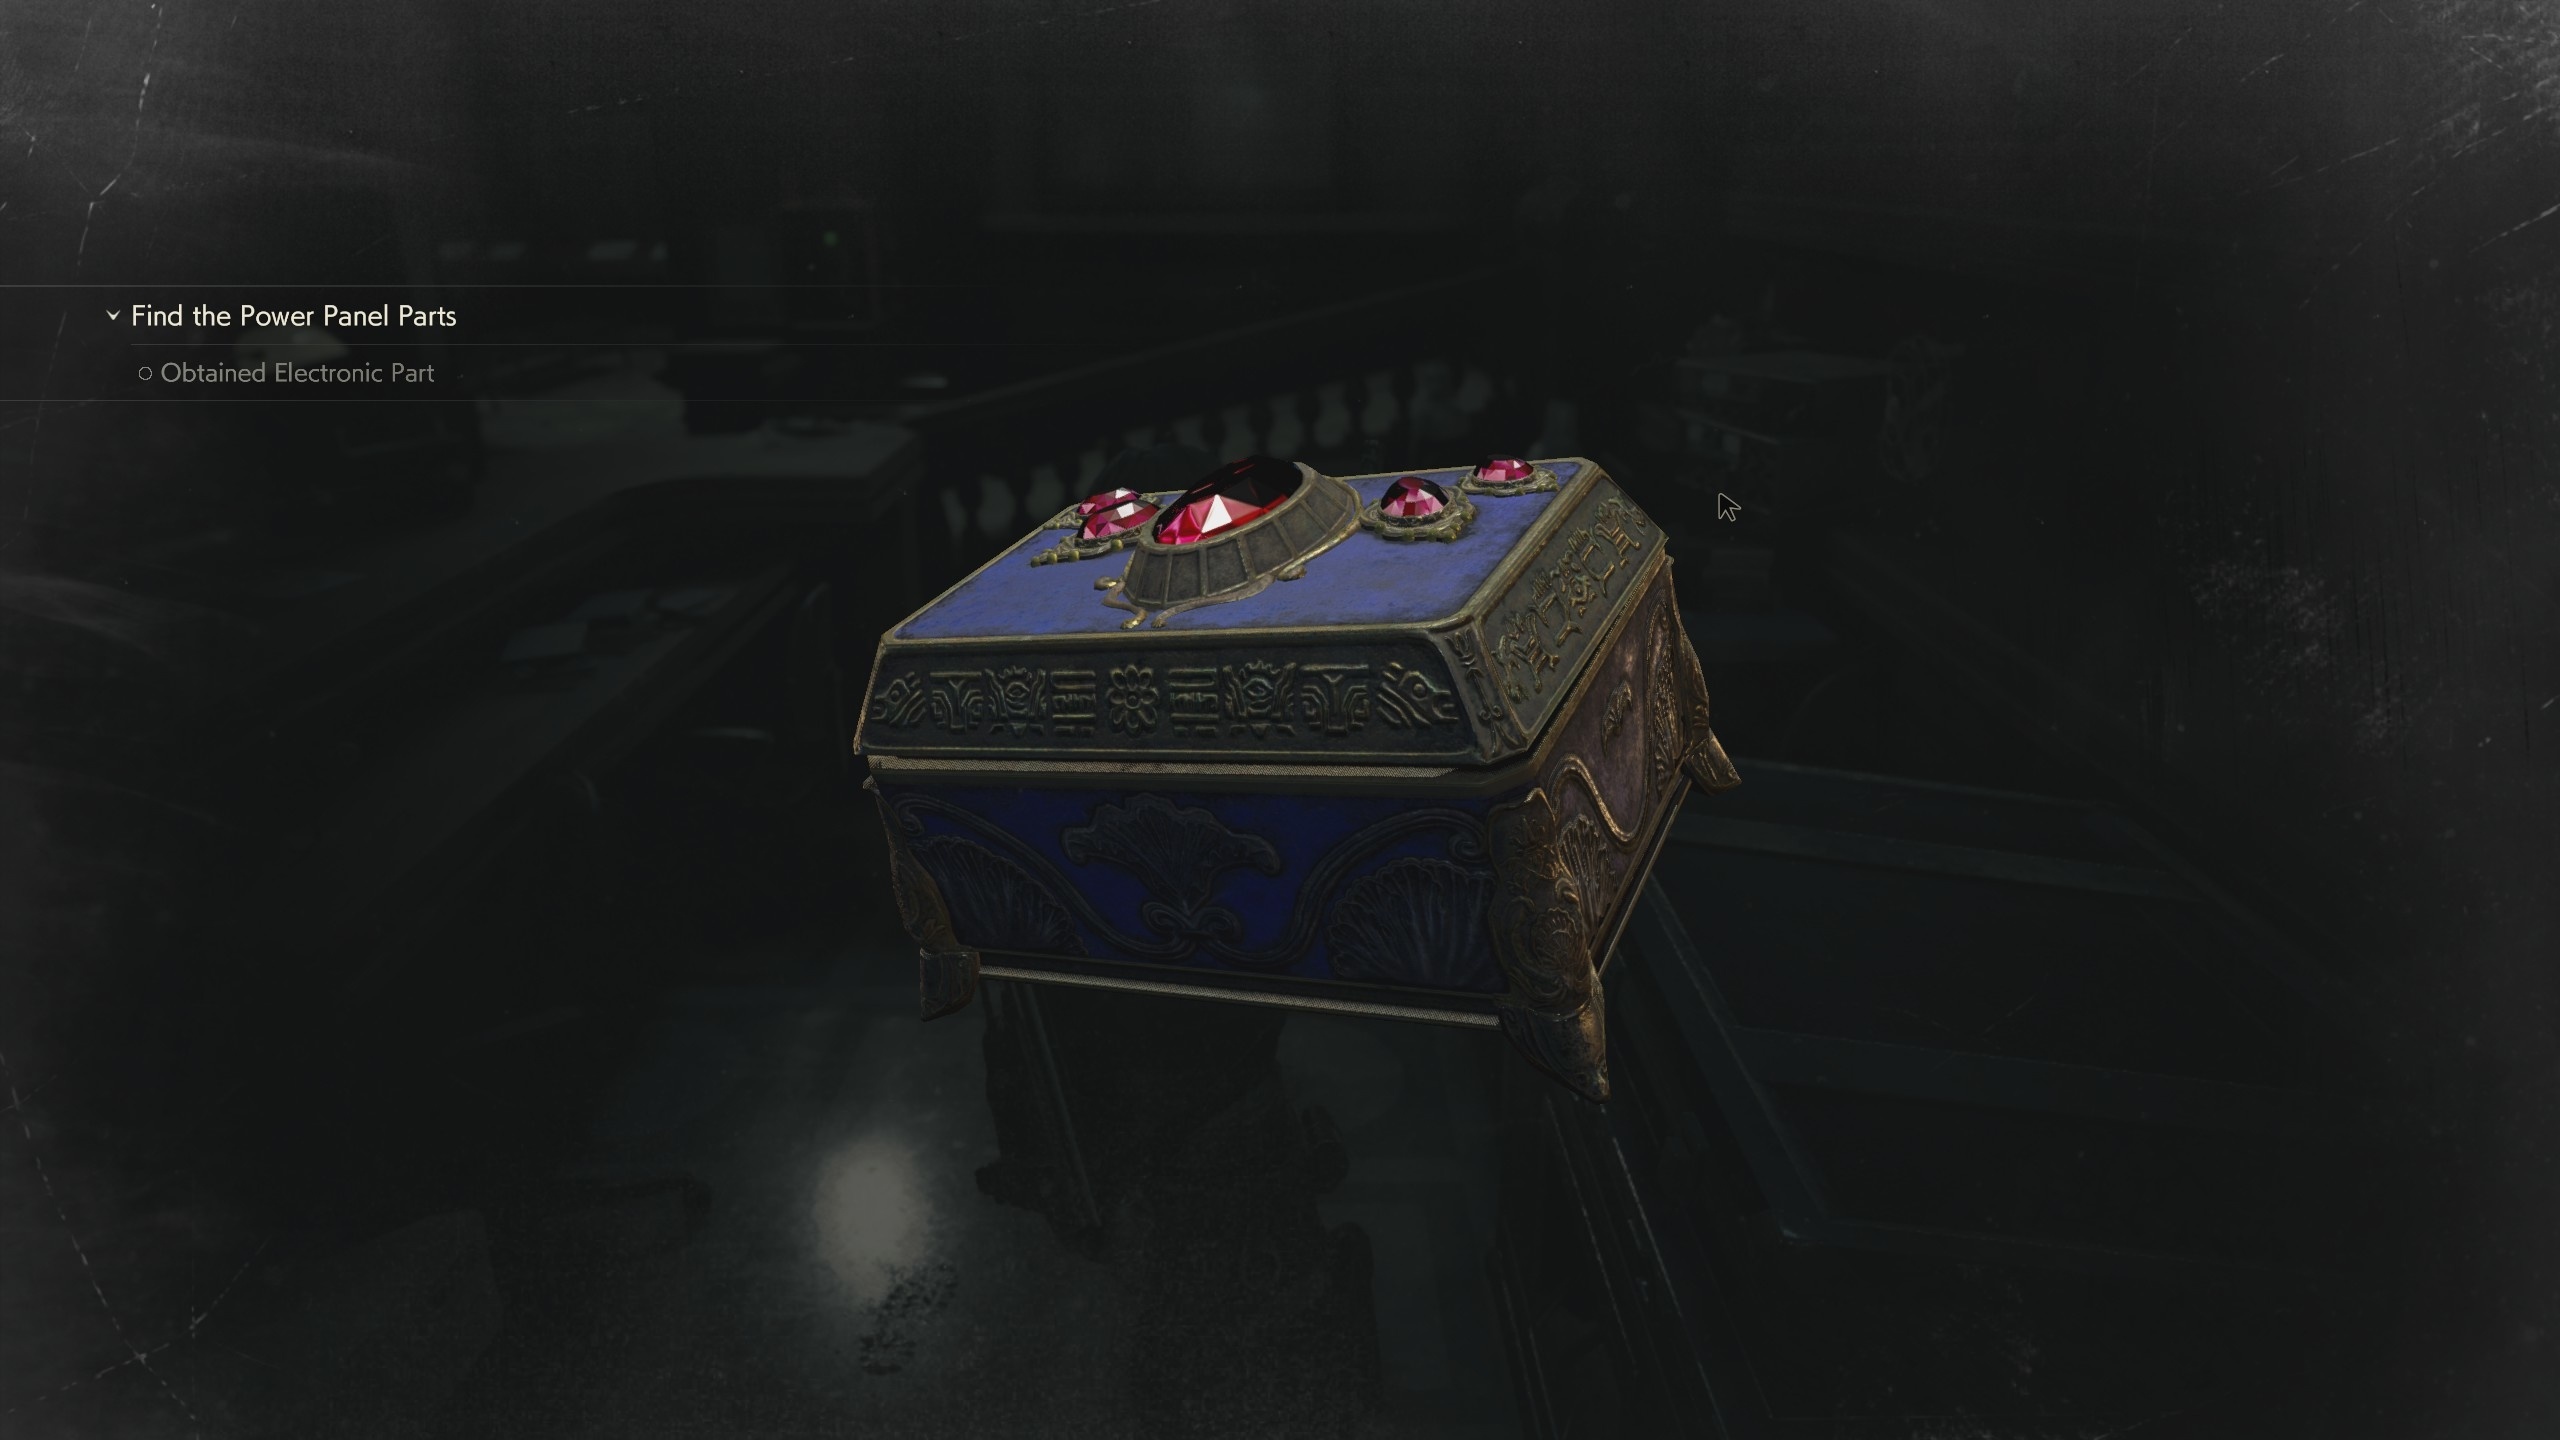
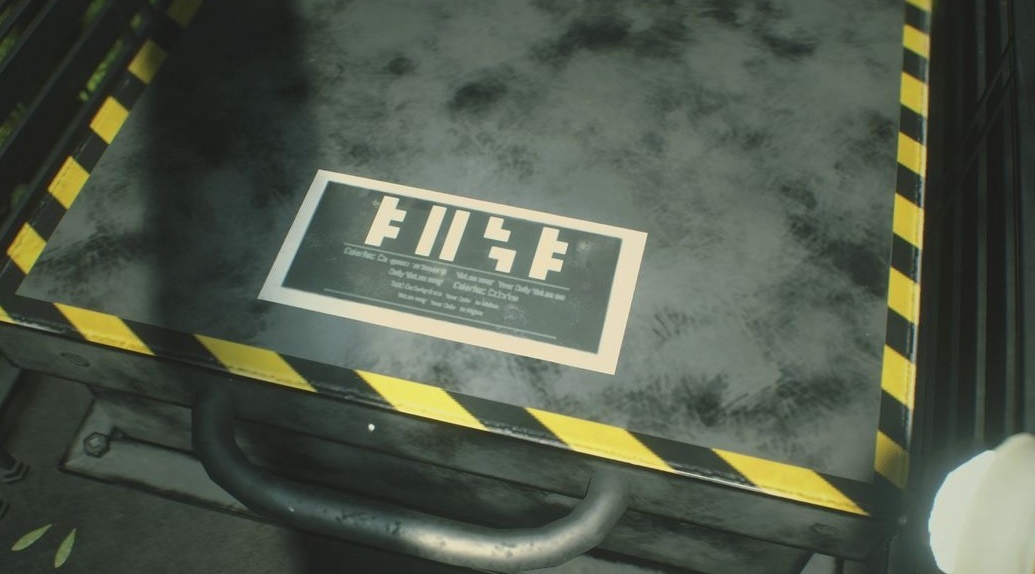
Go north to the generator room. Take the box in front of you and examine it in your inventory. Expand, open and receive the first electronic part for the electrical panel.
Solving the generator puzzle
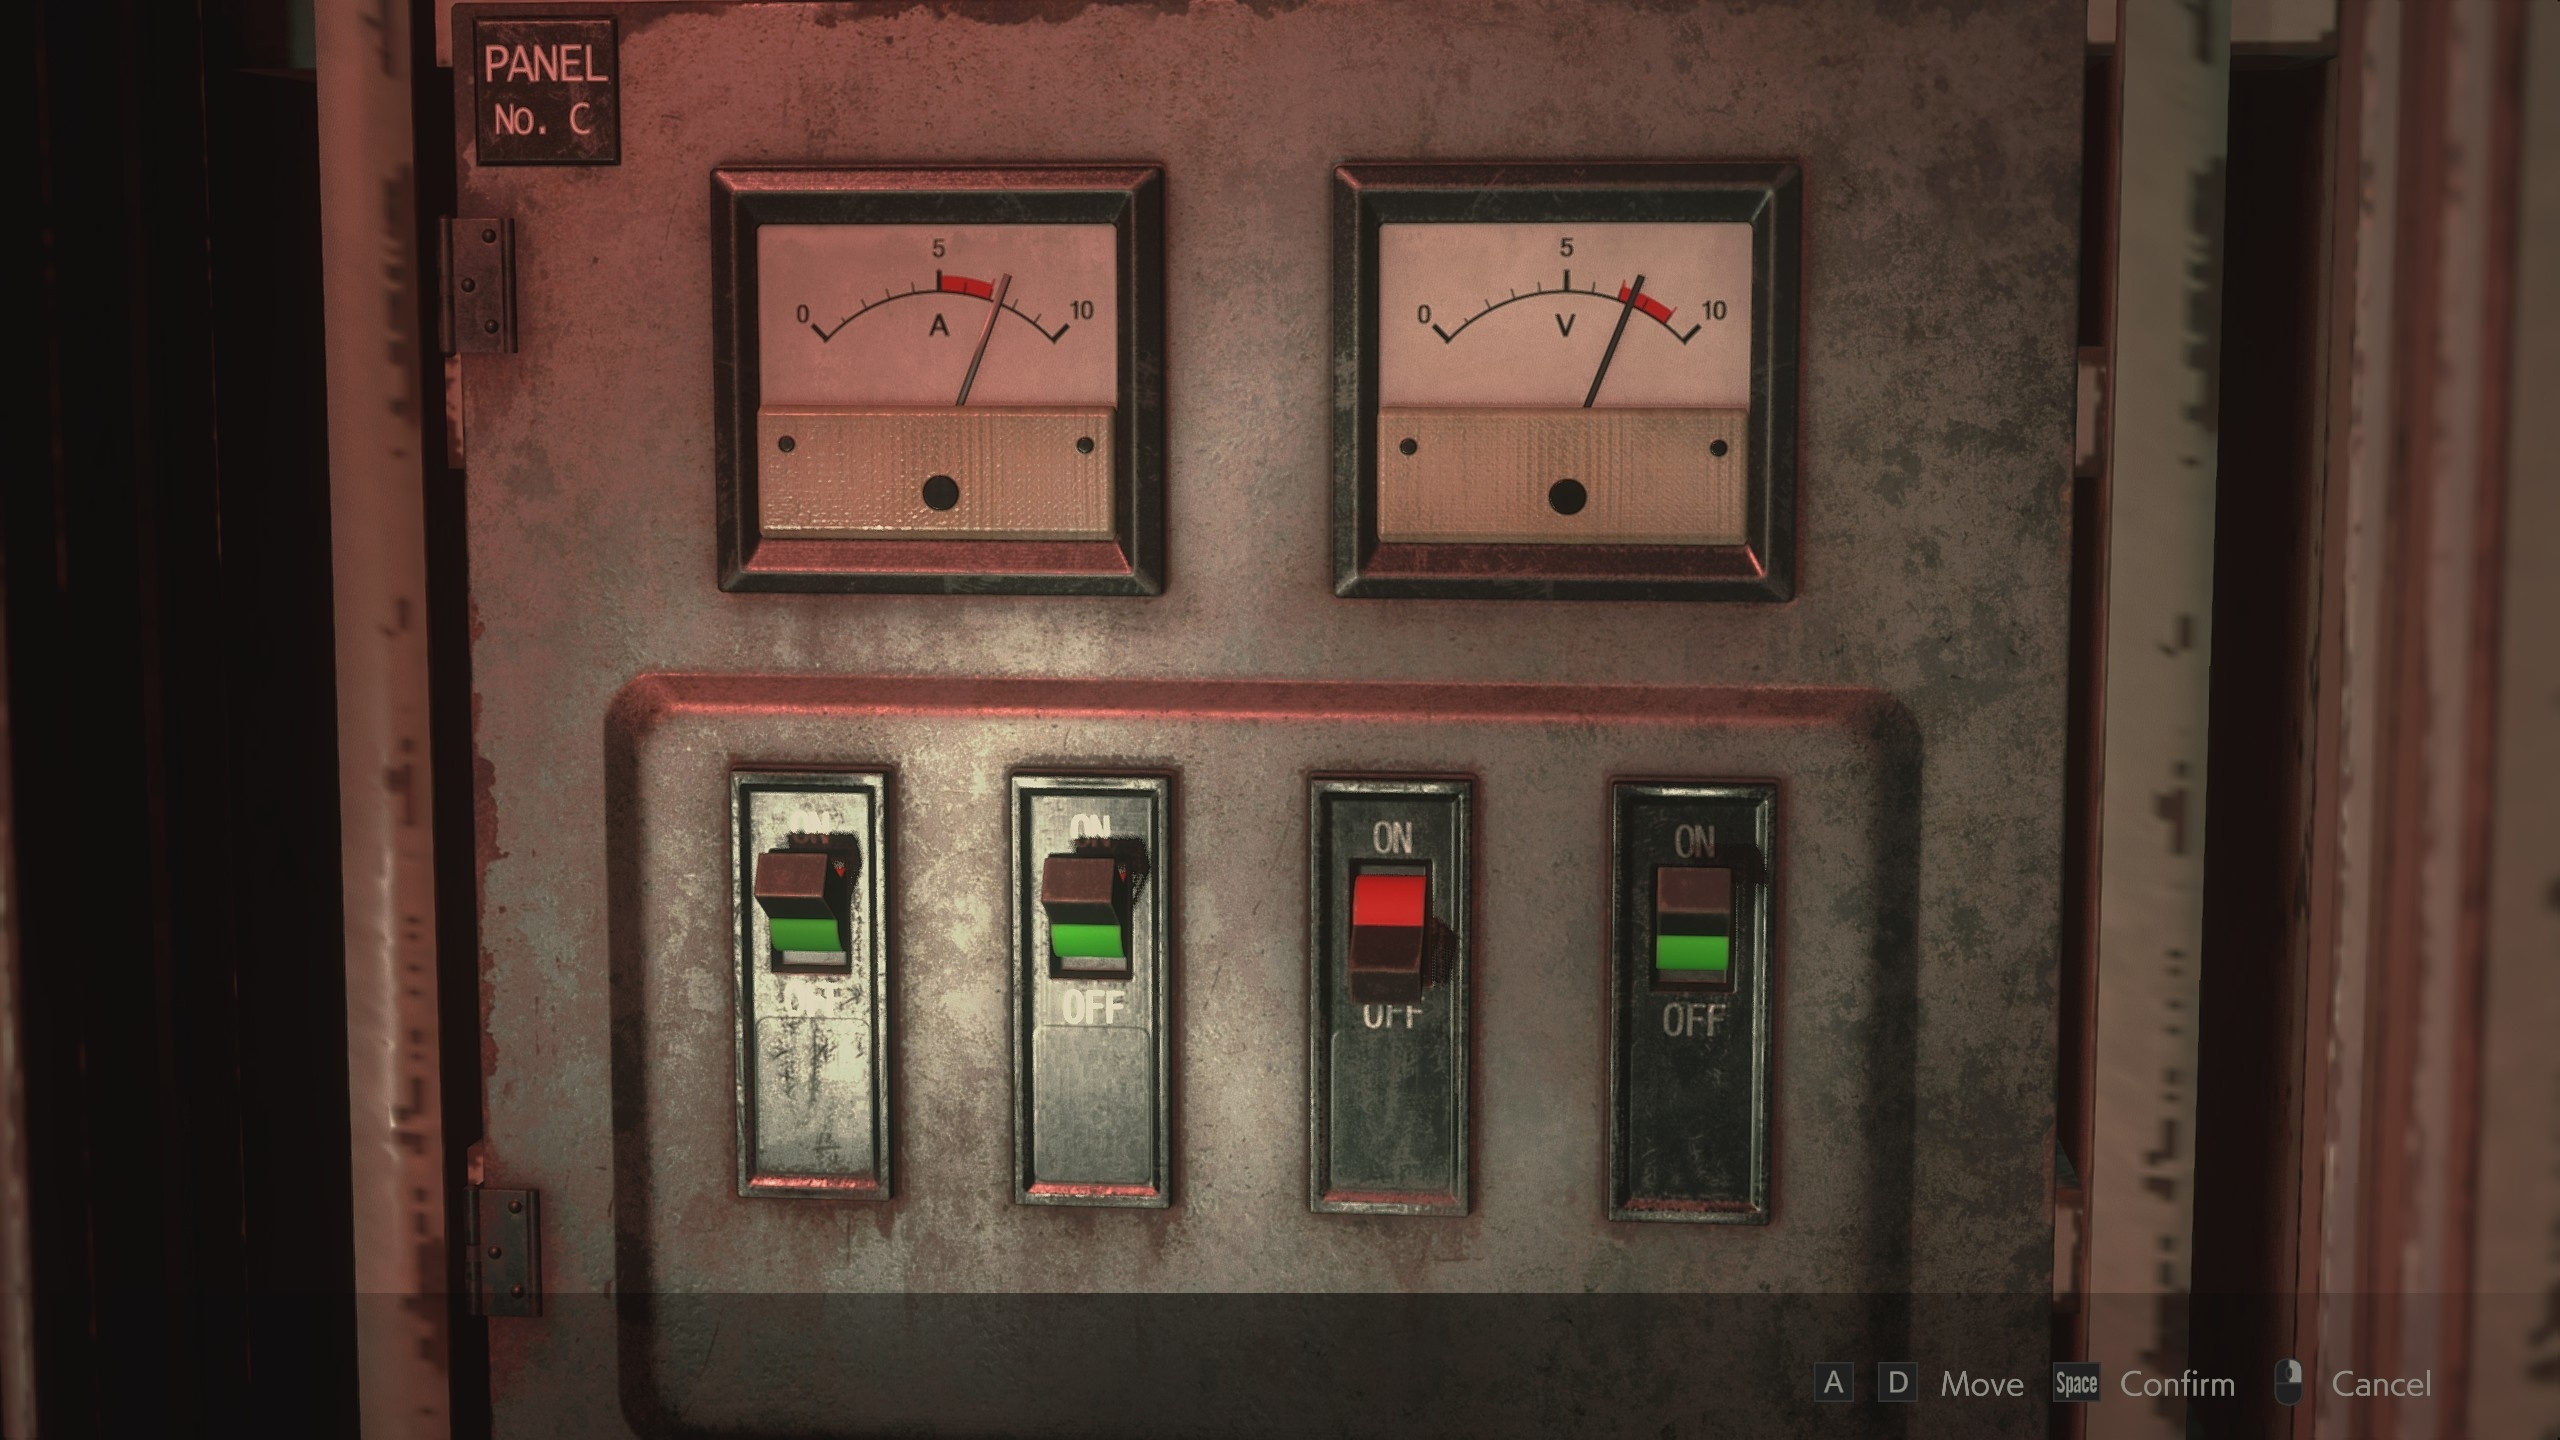
Go to the end of the room to find a switch puzzle. You need to make sure that the arrows on the two displays are in the red zone (each in its own). To do this, toggle the third and fourth switches.
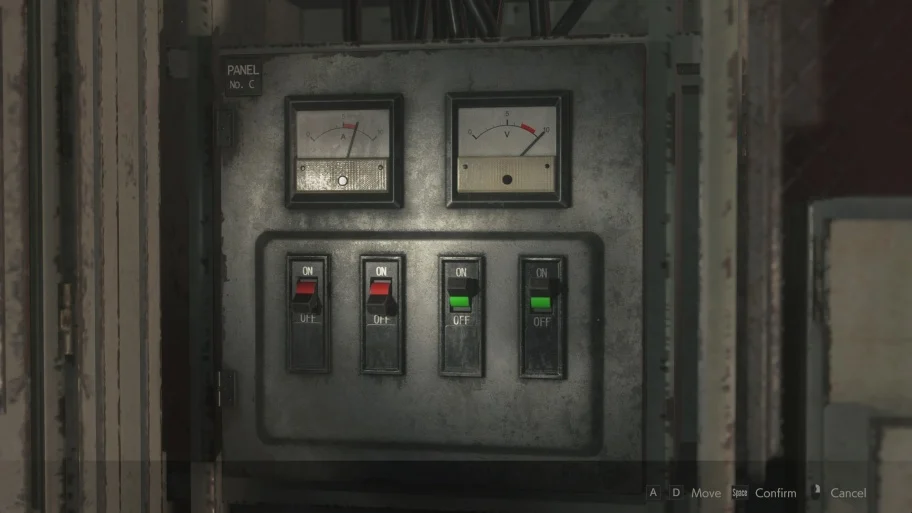
When you do this, the generator will start, and this part of the dungeon will be filled with mutant dogs. If you are low on ammo, just run past the dogs along the corridors, periodically restoring your health.
You can return to the isolation ward and install the found electronic part on the panel next to the cell where the murdered man is located. Two dogs are waiting for you in the parking lot. You can hide the part inside the chest. As you wish. Get to the door at the other end of the corridor, not far from the shooting range (you opened it when you started the generator), go through it and follow up the stairs. You will find yourself in the northeast corner of the first floor of the police station, where you will need to find a green club key.
Green Key Location, Big Gear Location, and How to Survive Against Tyrant
After leaving corridor B1 of the police station, go to the rest room, where there is a typewriter and a chest. Here you can find several consumables, including ammo for the revolver, which can currently be placed in the chest, as well as electrical part (fuse) lying on a chair between the beds of the back room.
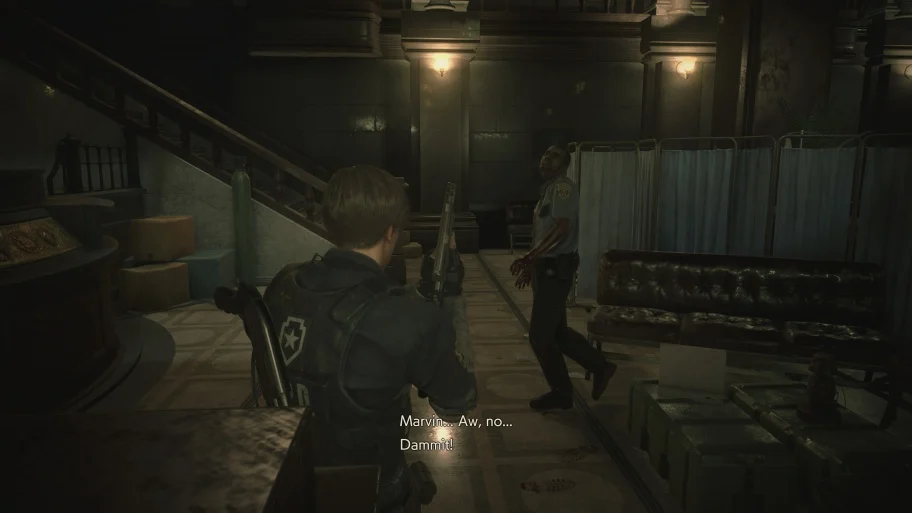
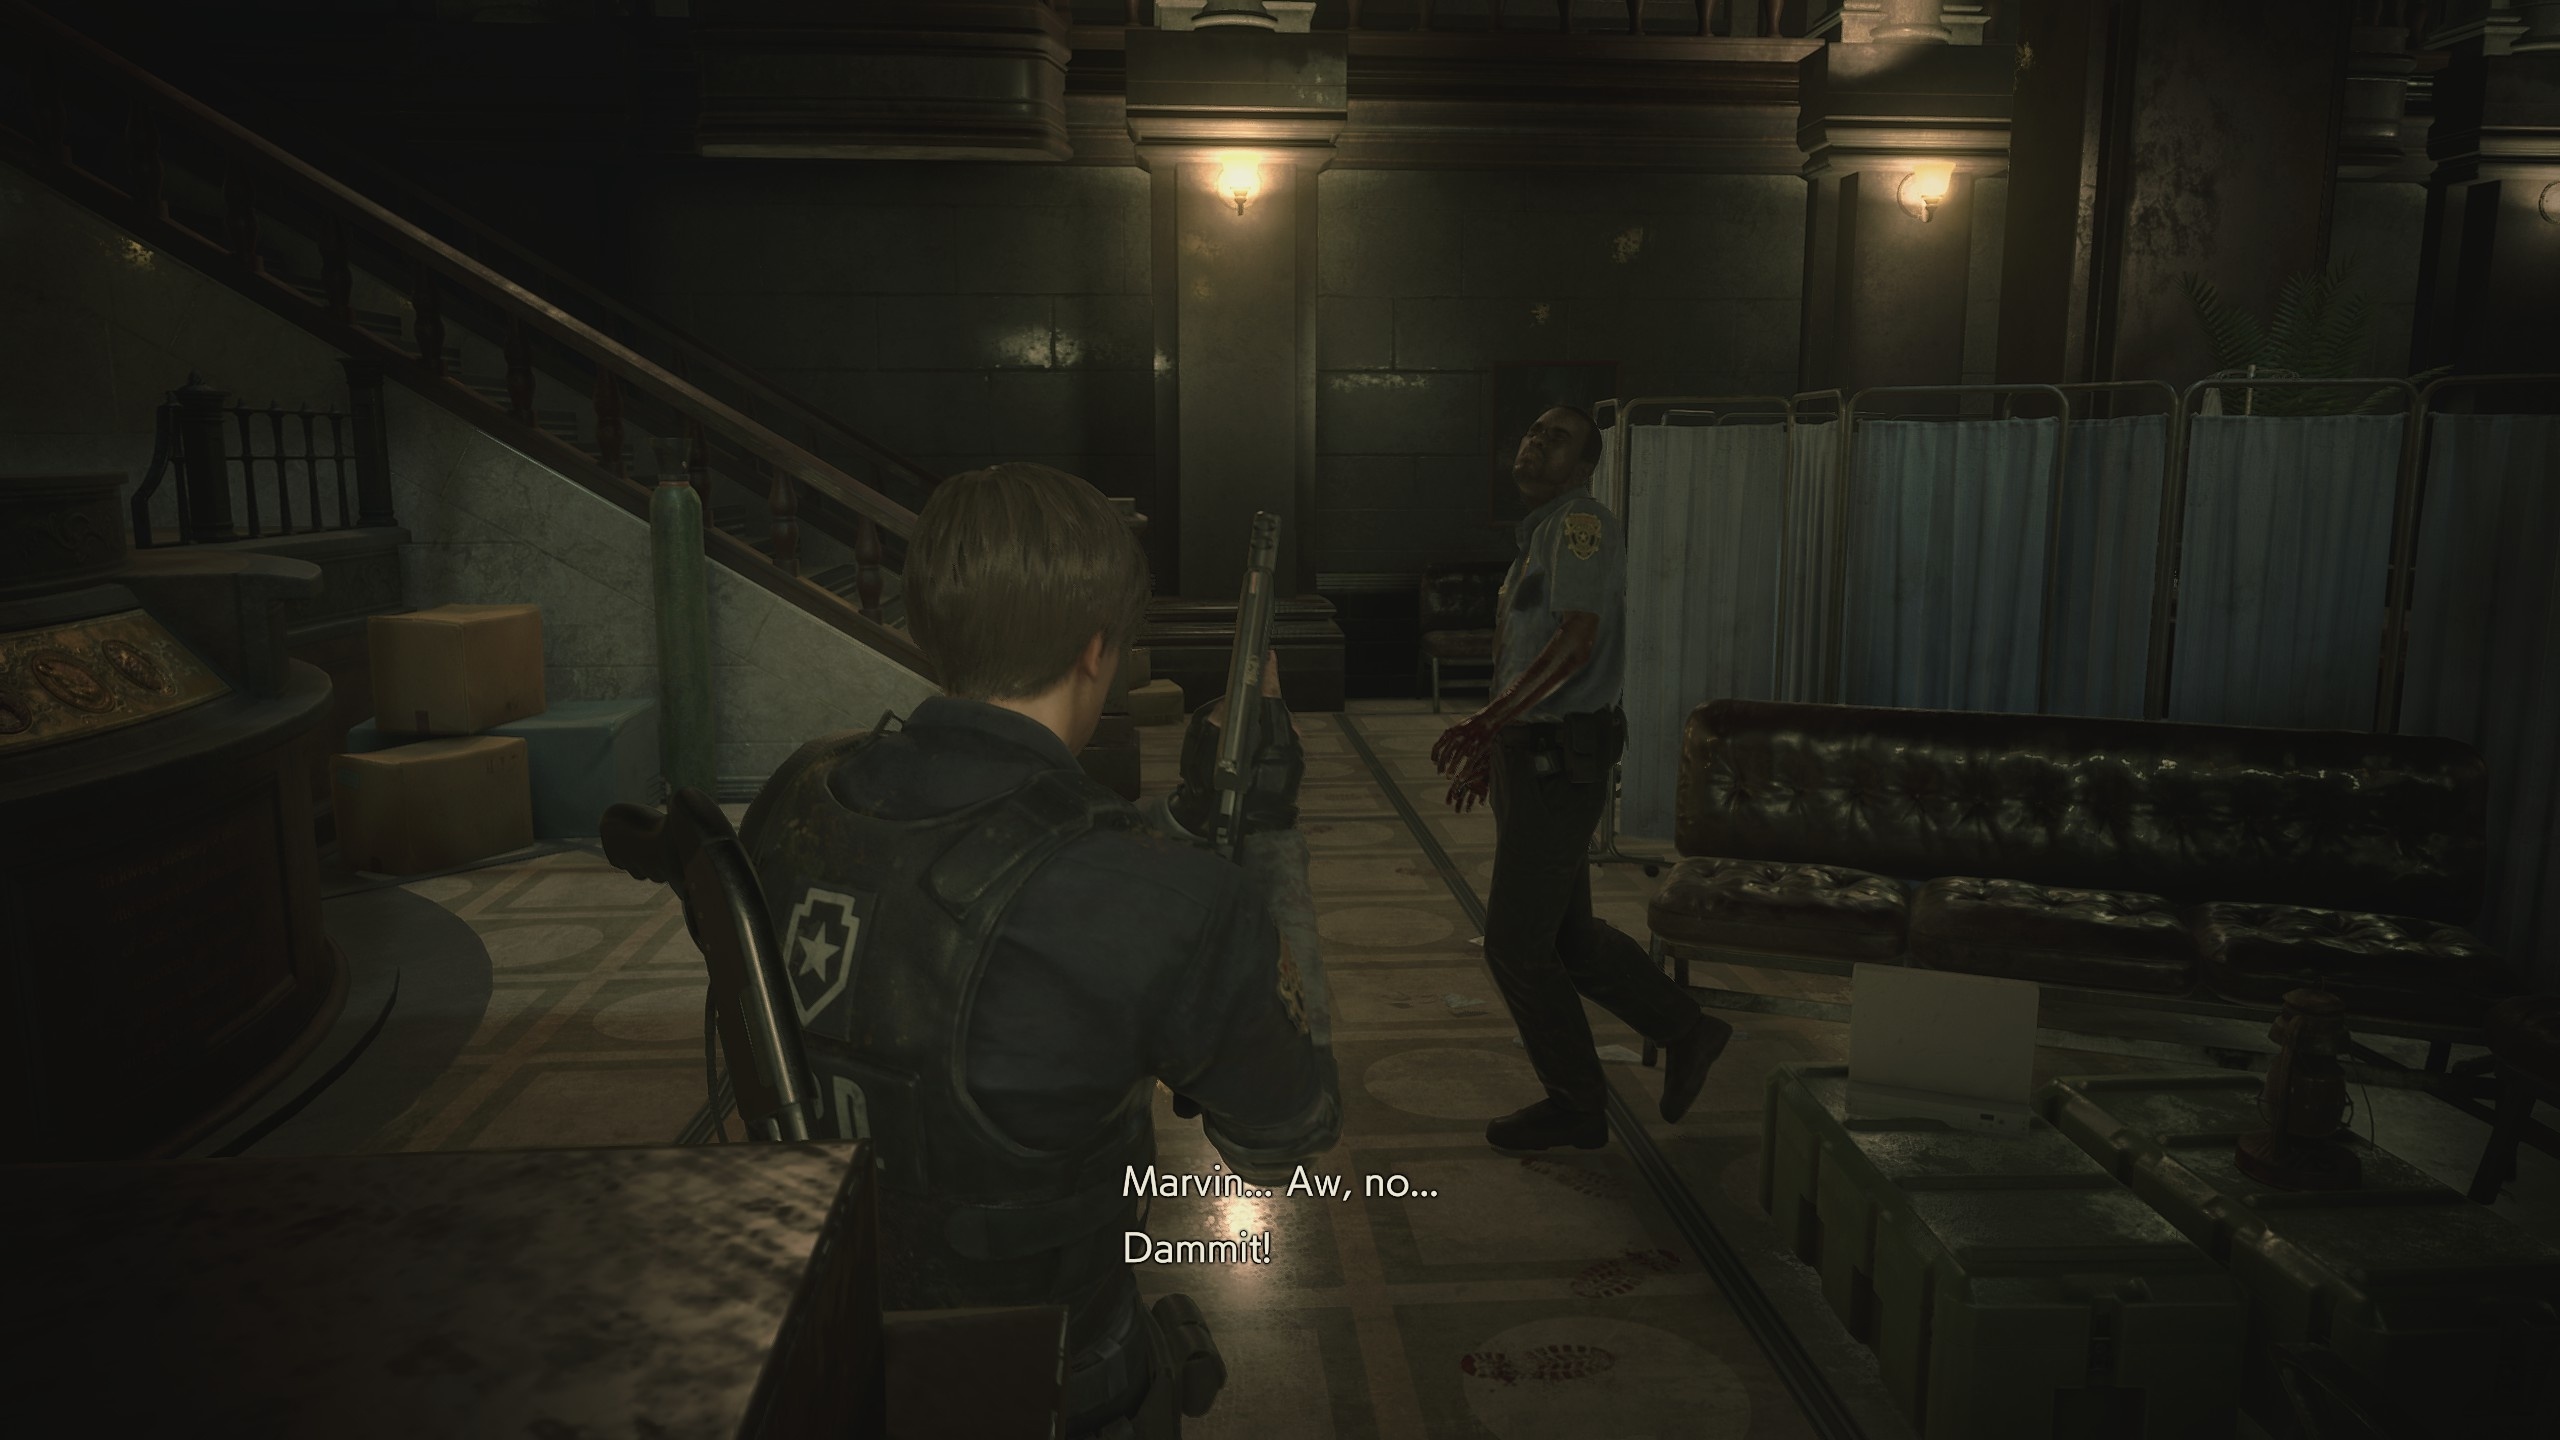
After picking up the item, go south to the caretaker's room. This corridor is infested with zombies. Kill two, and the third will be busy devouring the corpse. Place the fuse in the shield on the wall to raise the shutters and unlock the path to the rest of the east wing. Now it will be possible to return from here to the main hall.
Be careful, because Marvin has already died and turned into a zombie, so you can put him out of his misery. If there are several places to get to, but first take the stairs to the second floor of the main hall, go through the waiting room and raise the shutters in the corridor north of the gallery using the bent handle found in the basement by the parking lot.
You cannot enter the chief's office as Leon, but you can find Mister Raccoon near the stairs. You can choose to go up or down. At the bottom there are locked doors that are not yet accessible, so first go to the third floor. There will be two doors here. Going west to the east pantry you will find some consumables and big gearwhich is of no use to you now. But you should take it with you if there is a place for it in your inventory, and then transfer it to the nearest chest.
How to find the pink diamond key
The other doors are locked, so head back up the stairs, head south to the balcony, and head down the fire escape. It will break, but you will find yourself in a new place - on the roof. Ignore the lever on the right side and go to the left side, to the north, to go down even lower on the stairs. This path leads to the boiler room. Two zombies will break through the door, so first deal with them, and then go inside. In addition to consumables on the board, you can find diamond-shaped pink diamond key, as well as use the typewriter and the chest.
Leave the boiler room and look at the wall on the right to find another lever. Move it to position L. Climb back to the burning helicopter, use the lever to the right of it to apply water and put out the fire. This means that it is now safe to enter the corridor with the helicopter leading to the gallery. Make your way around the corner down the corridor (by entering through the door to the left of the helicopter) and you'll soon find a formidable new enemy - the Tyrant.
How to survive against Tyrant
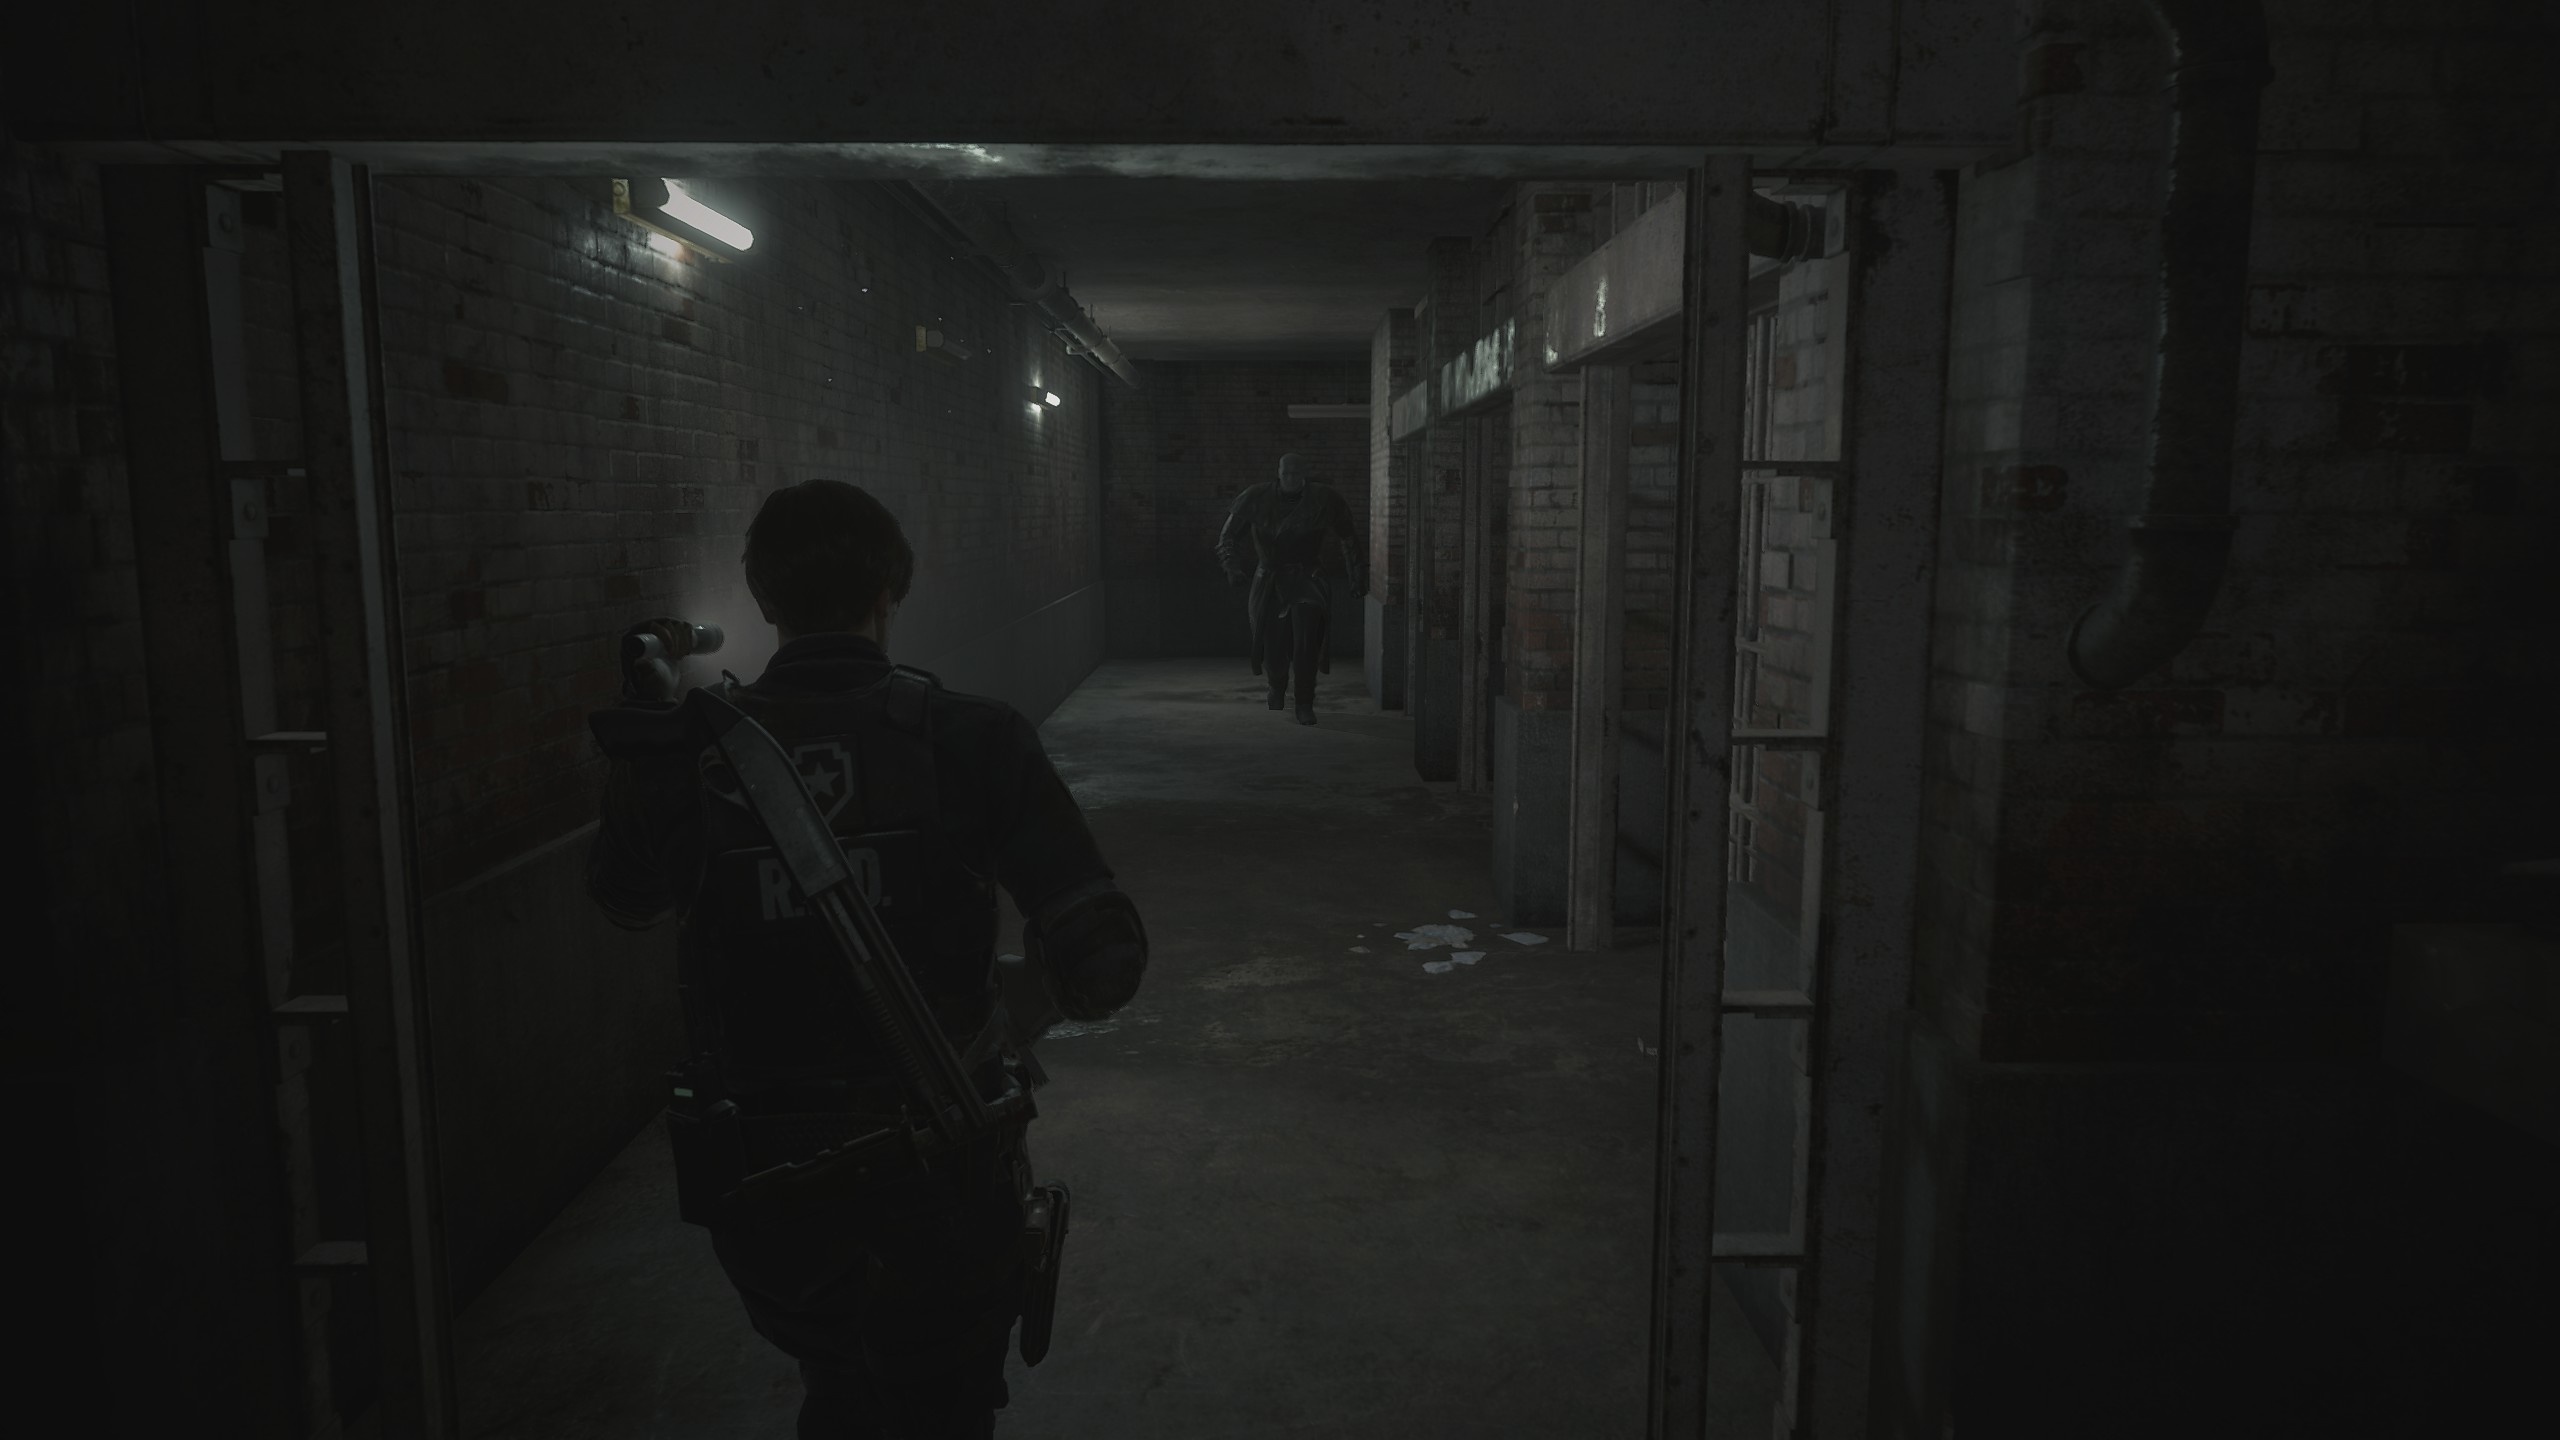
If you haven’t played the original game of the last century, then know that the Tyrant is an invincible enemy who constantly chased you around the police station in scenario B. But in the 2019 remake of the game, he appears in the first scenario. And this is bad news.
You can put a few bullets into the enemy's head to temporarily get rid of him, but the best way is to run. In this first encounter with the Tyrant, turn around and run back to the safe room located in the boiler room. No opponents can go there, including the Tyrant.
Wait in the boiler room until you stop hearing the monster's footsteps. Now you know for sure that he left, so you can return to the corridor. From now on, the Tyrant can appear in any part of the police station. Listen to his footsteps to know that he is somewhere nearby. If they get louder, then expect him to appear from the nearest door. On subsequent spawns, either shoot the monster's head until you stun it, or run away. Stun grenades, a grenade launcher and a shotgun are best suited for stunning the enemy. Another option is to run away and hide in a safe room. It is worth noting that the main hall is still a place where other zombies cannot go, but the Tyrant can still be here.
You can also hide from the Tyrant by simply fleeing. You will still hear the steps of the monster. If you hear them, then stand still and wait, looking at the door. Perhaps he will pass her. If the Tyrant entered the place where you are, but the music did not start playing, then the mutant still does not see you. He might even leave here through another door.
For fans of tricks, I’ll immediately note that you should not try to save in the main hall when the Tyrant is nearby, then restart the game and hope that the mutant will disappear. I checked and it doesn't work.
Now it's time to find the box, USB flash drive and solve the clock puzzle.
Box of stones, armory in the STARS office, jack and clock tower
Apart from the Slimers in the corridors and the Tyrant wandering around the lot, there are many key items left in the building that need to be found and used. After getting rid of the Tyrant on the roof, go to the corridor outside the gallery, follow the stairs to the north and go down to the first floor. Use the newly found key to get into the observation room.
Inside are consumables, a document of confiscation (which contains the code for the safe on the second floor in the reception) and box with stones. In the inventory, combine it with the long-received red cane to unlock it and get a STARS token. Examine the item in your inventory, unfold it and press the button to open the connector and get a flash drive. You can use it in the STARS office, but more on that later. Before you leave, jump over the glass to the interrogation room and collect the ammo.
How to solve a puzzle in the library
Return to the main hall. Keep in mind that the Tyrant has breached the wall just around the corner from the observation room. Follow the first floor of the hall, go through the reception in the west wing and get to the record room in the southwest corner, using the key you found earlier. Along the way, you will meet Lizun. Either kill him or run past him. Along with consumables in the recording room, you can find jack handle.
Go to the library. You can get there through the second floor of the main hall. Use the handle on the jack to lower the cabinet. Move a few shelves so that three of them are next to each other and stand in the place of the destroyed path above. Kill the zombies, escape from the Tyrant, and only after that do these actions.
Where to use the STARS token and USB stick (how to open the armory in the STARS office)
While you're here, there are two additional things you can do. If you want to end up using the pink key and then throw it away, head to the laundry room on the second floor. It is located between the living room with the unicorn and the STARS office. Inside there are several consumables and another portable safe.
Then enter the STARS office, use the USB from the token on the computer on the left and click on the monitor to open the armory. Enter inside and collect the Thunderhawk Revolver and the STARS member document
As for the portable safe, after solving the puzzle with it, you will receive the second button for the panel from the storage room. Replace the button, then open locker #203 and take hip pouch to improve inventory.
How to use the gears in the clock tower
Climb the stairs to the top level of the library and cross the bookcase bridge to reach the third floor of the main hall. Move south and use the right door to enter the clock tower. Inside you will find two mechanisms where you can install gears, as well as a document with a repair plan. If you haven't gotten the big gear yet, find it in the east pantry. You can get there through the third floor of the hall by opening the door on the other side. You can also go down the corridor in the clock tower to get to a dead end, but on the windowsill to find Mr. Raccoon.
Once you have a large gear in your inventory, place it on the mechanism next to the front door. This will lower the ladder up. Climb up there to find another device with small gear. After taking it, go back down and install the small gear in the device next to the stairs. Take the large gear from the mechanism next to the door, go up to the clock tower and install the part in the device located here, from where the small element was taken.
This will activate the bell, which will knock down the orange box. Examine it in inventory and get second electronic part for electrical panel. It's time to leave the police station. You can return here later, but be sure to search all available rooms and collect items, open safes and lockers. After that, go to the first floor of the east wing, use the stairs in the northwest to go down back to the underground level of the police station, where there is a nursery, a shooting range and a mortuary.
Solving the puzzle with electronic parts
Run past all the mutated dogs and head to the isolation ward in the southwest. Get to the far chamber, where Ben's corpse lies, and install the second piece into the panel on the wall (and the first one, if you haven't already done so). Now you can start solving the puzzle, for which you can rotate the parts without swapping. The solution will be:

After that, the prison cell will open, giving access to the corpse. Search for a magnetic card from the parking gate and examine the document lying nearby. Be sure to pick up the spray and Ben's other document before leaving. When you get out of here, all the other prison cells will open and the path ahead will be blocked by a lot of zombies. Throw a stun grenade at them, if you have one in your inventory, to clear a path and run past the enemies. In theory, the switch on the wall should open a path to the north, but I haven't tested this. And that is not all! At the most inopportune moment, the Tyrant will appear.
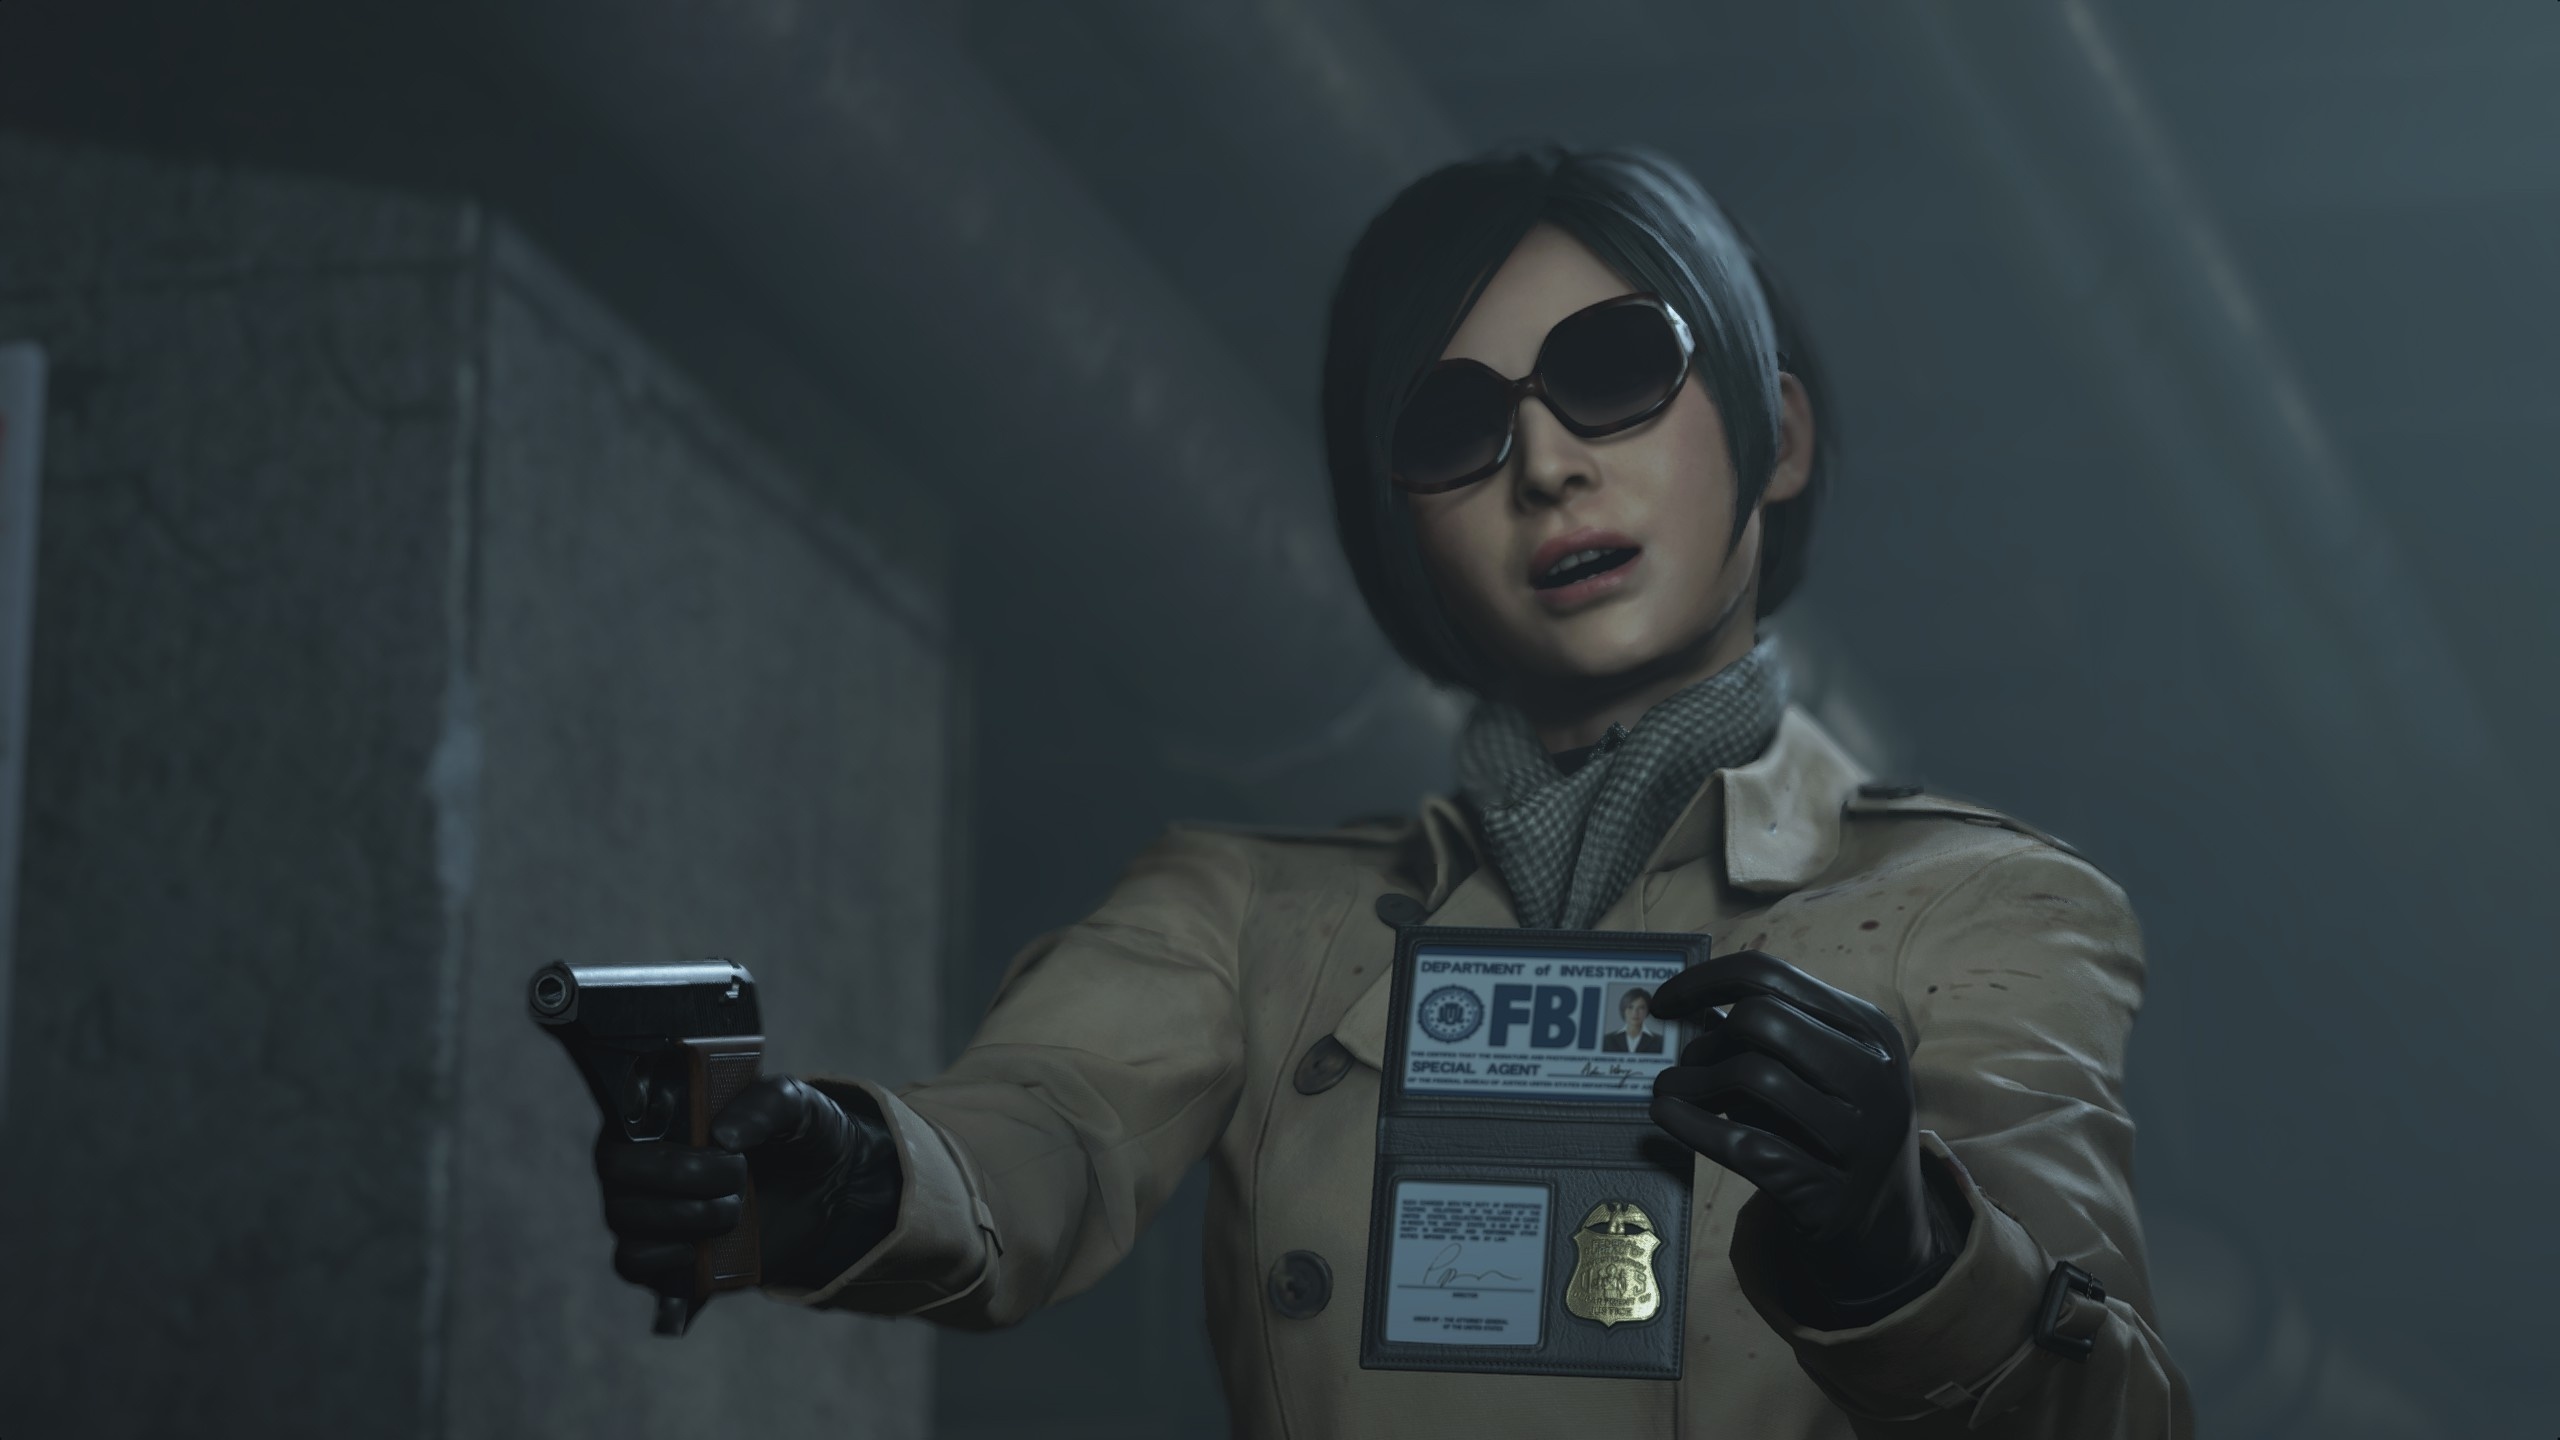
Walk around him. When you return from the detention center to the parking lot, you will see a cut-scene with the Tyrant and Ada Wong. Ada will be waiting for you to apply the magnetic card to the terminal. You can now return to the police station and complete some business, as you will be busy exploring another place for a couple of hours. However, it will still be possible to return to the site. By the way, now the Tyrant is not in the area, so this is another chance to study it up and down without worrying about the monster.

After leaving the parking lot
Follow Ada until you're inside Kendo's weapon shop. Collect various consumables and a shotgun upgrade from the nearby shelf, then circle the room to trigger a cutscene. After that, follow Ada again, who will lead Leon to the sewers. Follow the linear path until you reach a chest and a typewriter.
Keep moving until you run into the Crocodile. In fact, meeting with him does not pose a serious danger. Just run towards you, moving to the sides during the attacks of the monster. Then, when you are at the bottom, and the Crocodile grabs the pipe, shoot it to blow up the monster. Continue along the linear path until you see a cut-scene in which Ada and Leon are conditionally separated.
Sewerage. Passage for Adu, how to leave the incinerator
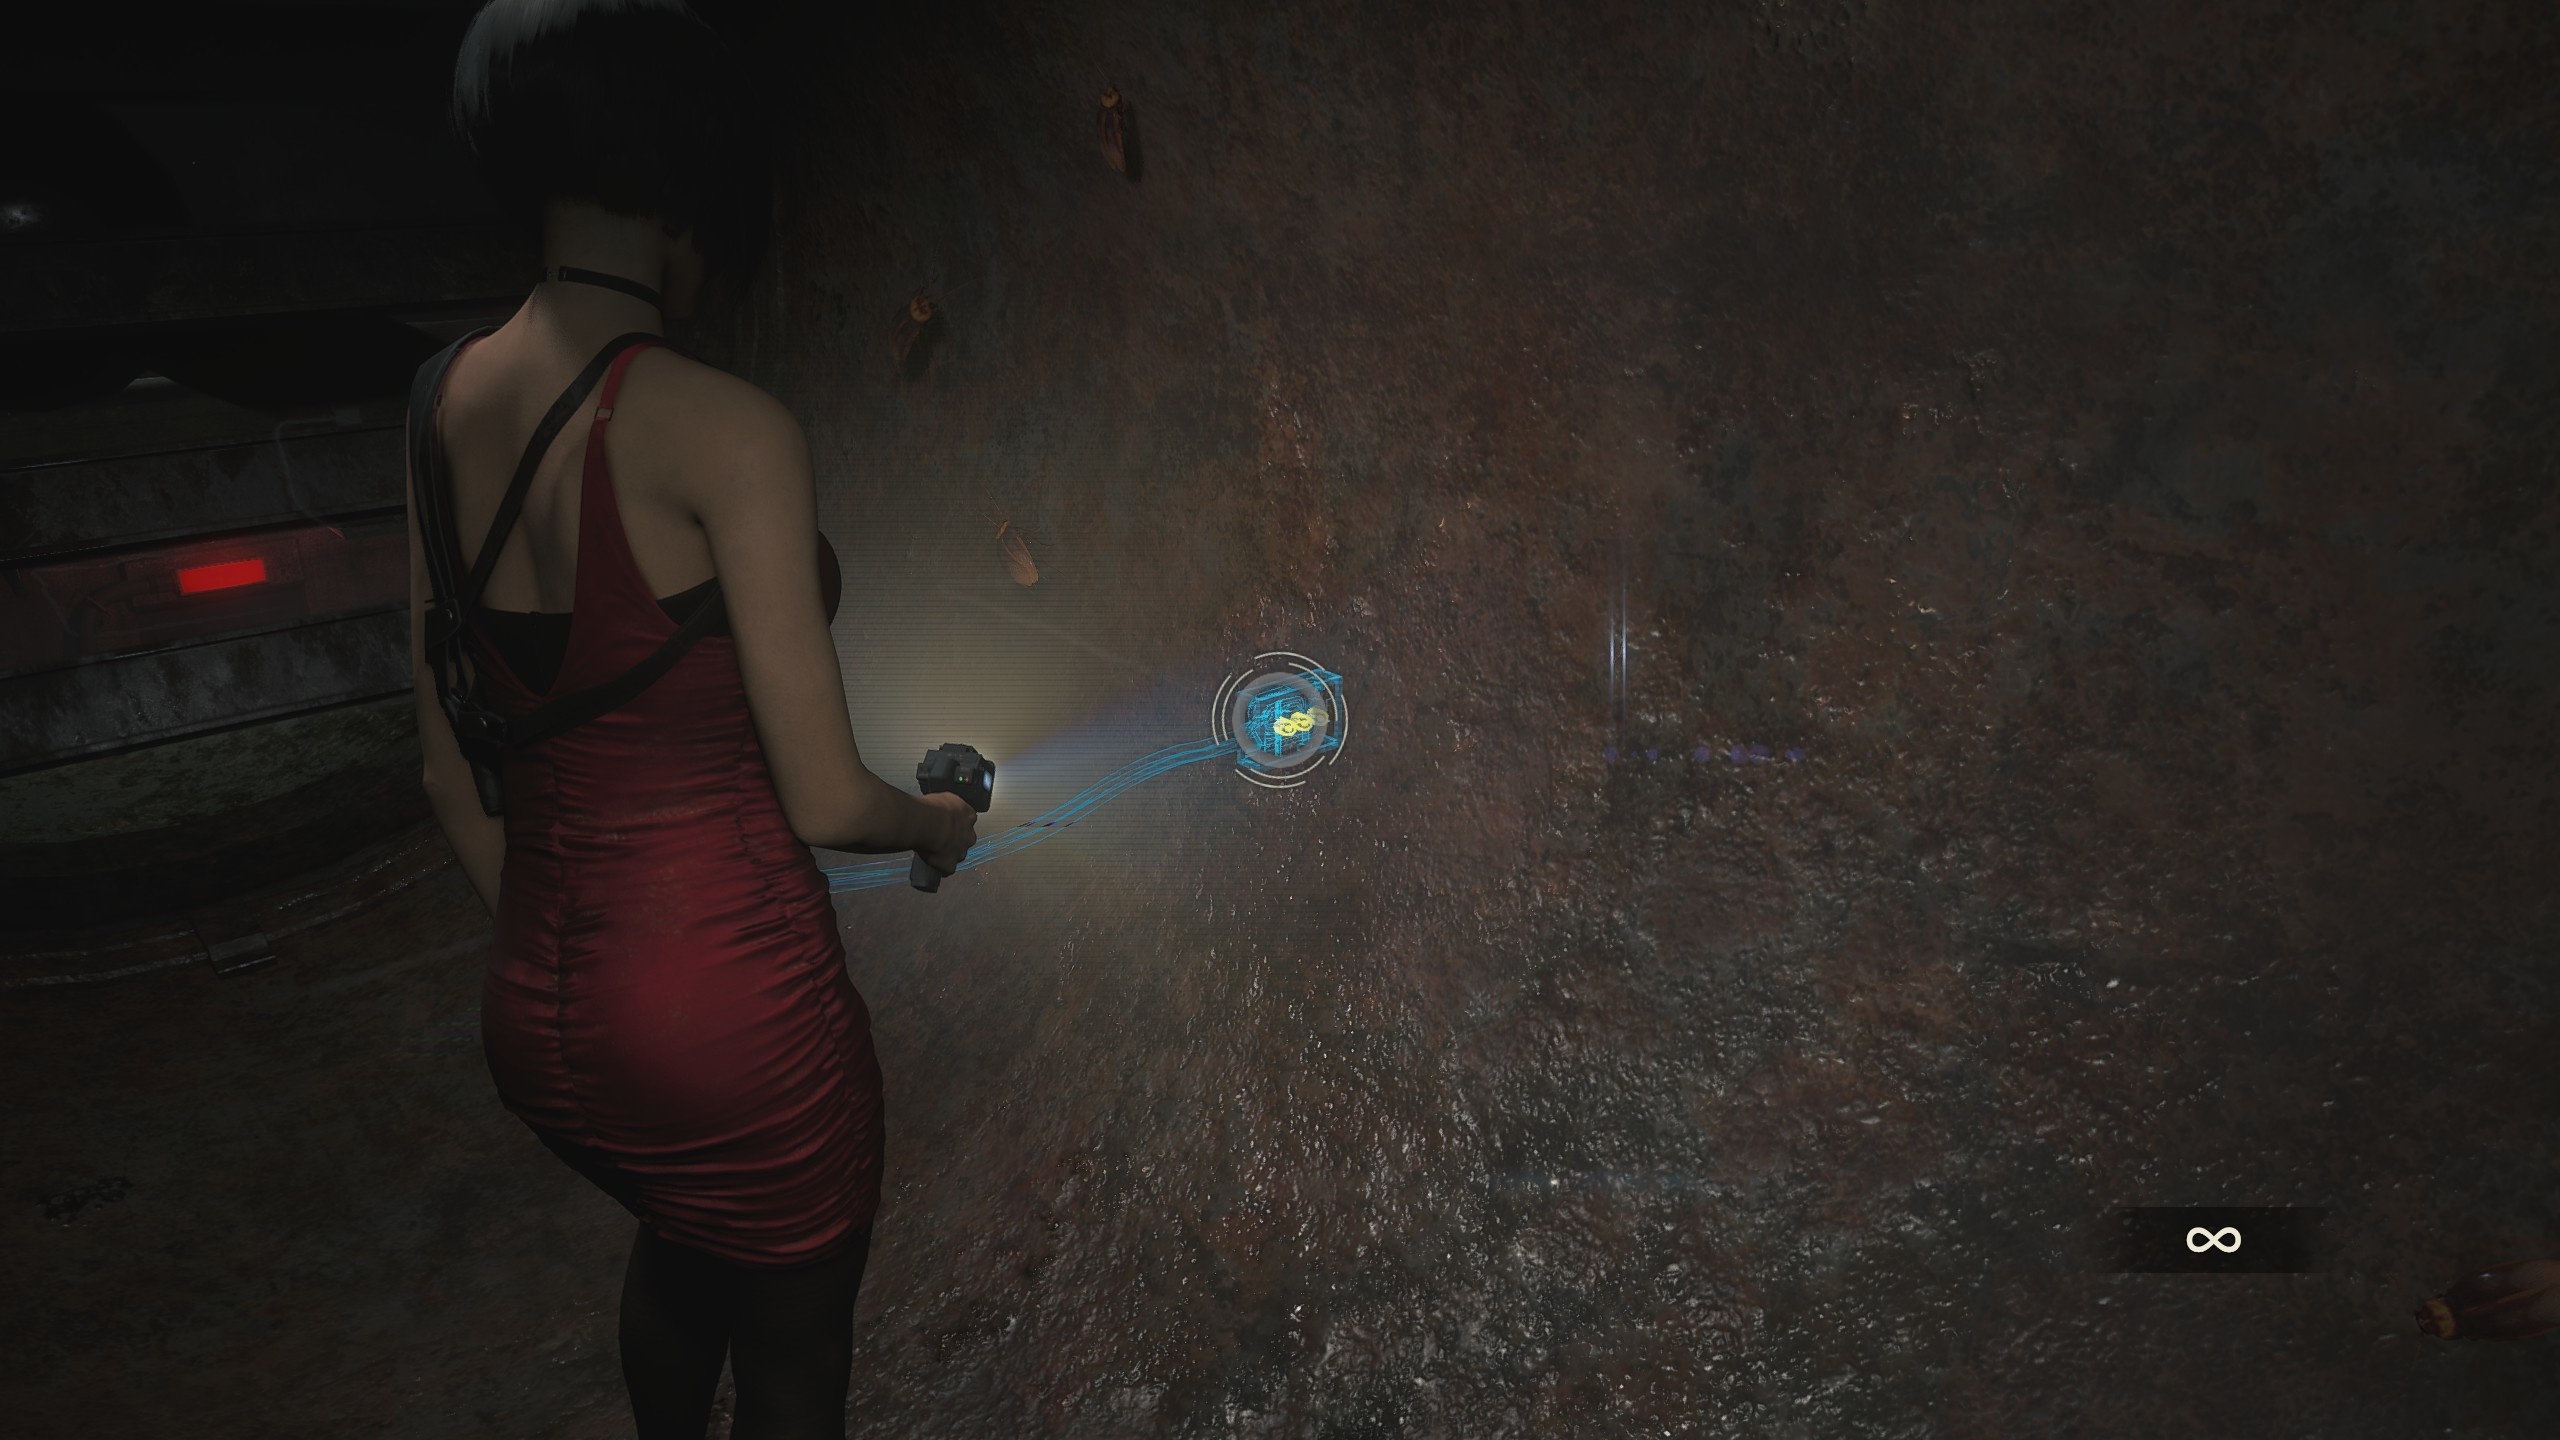
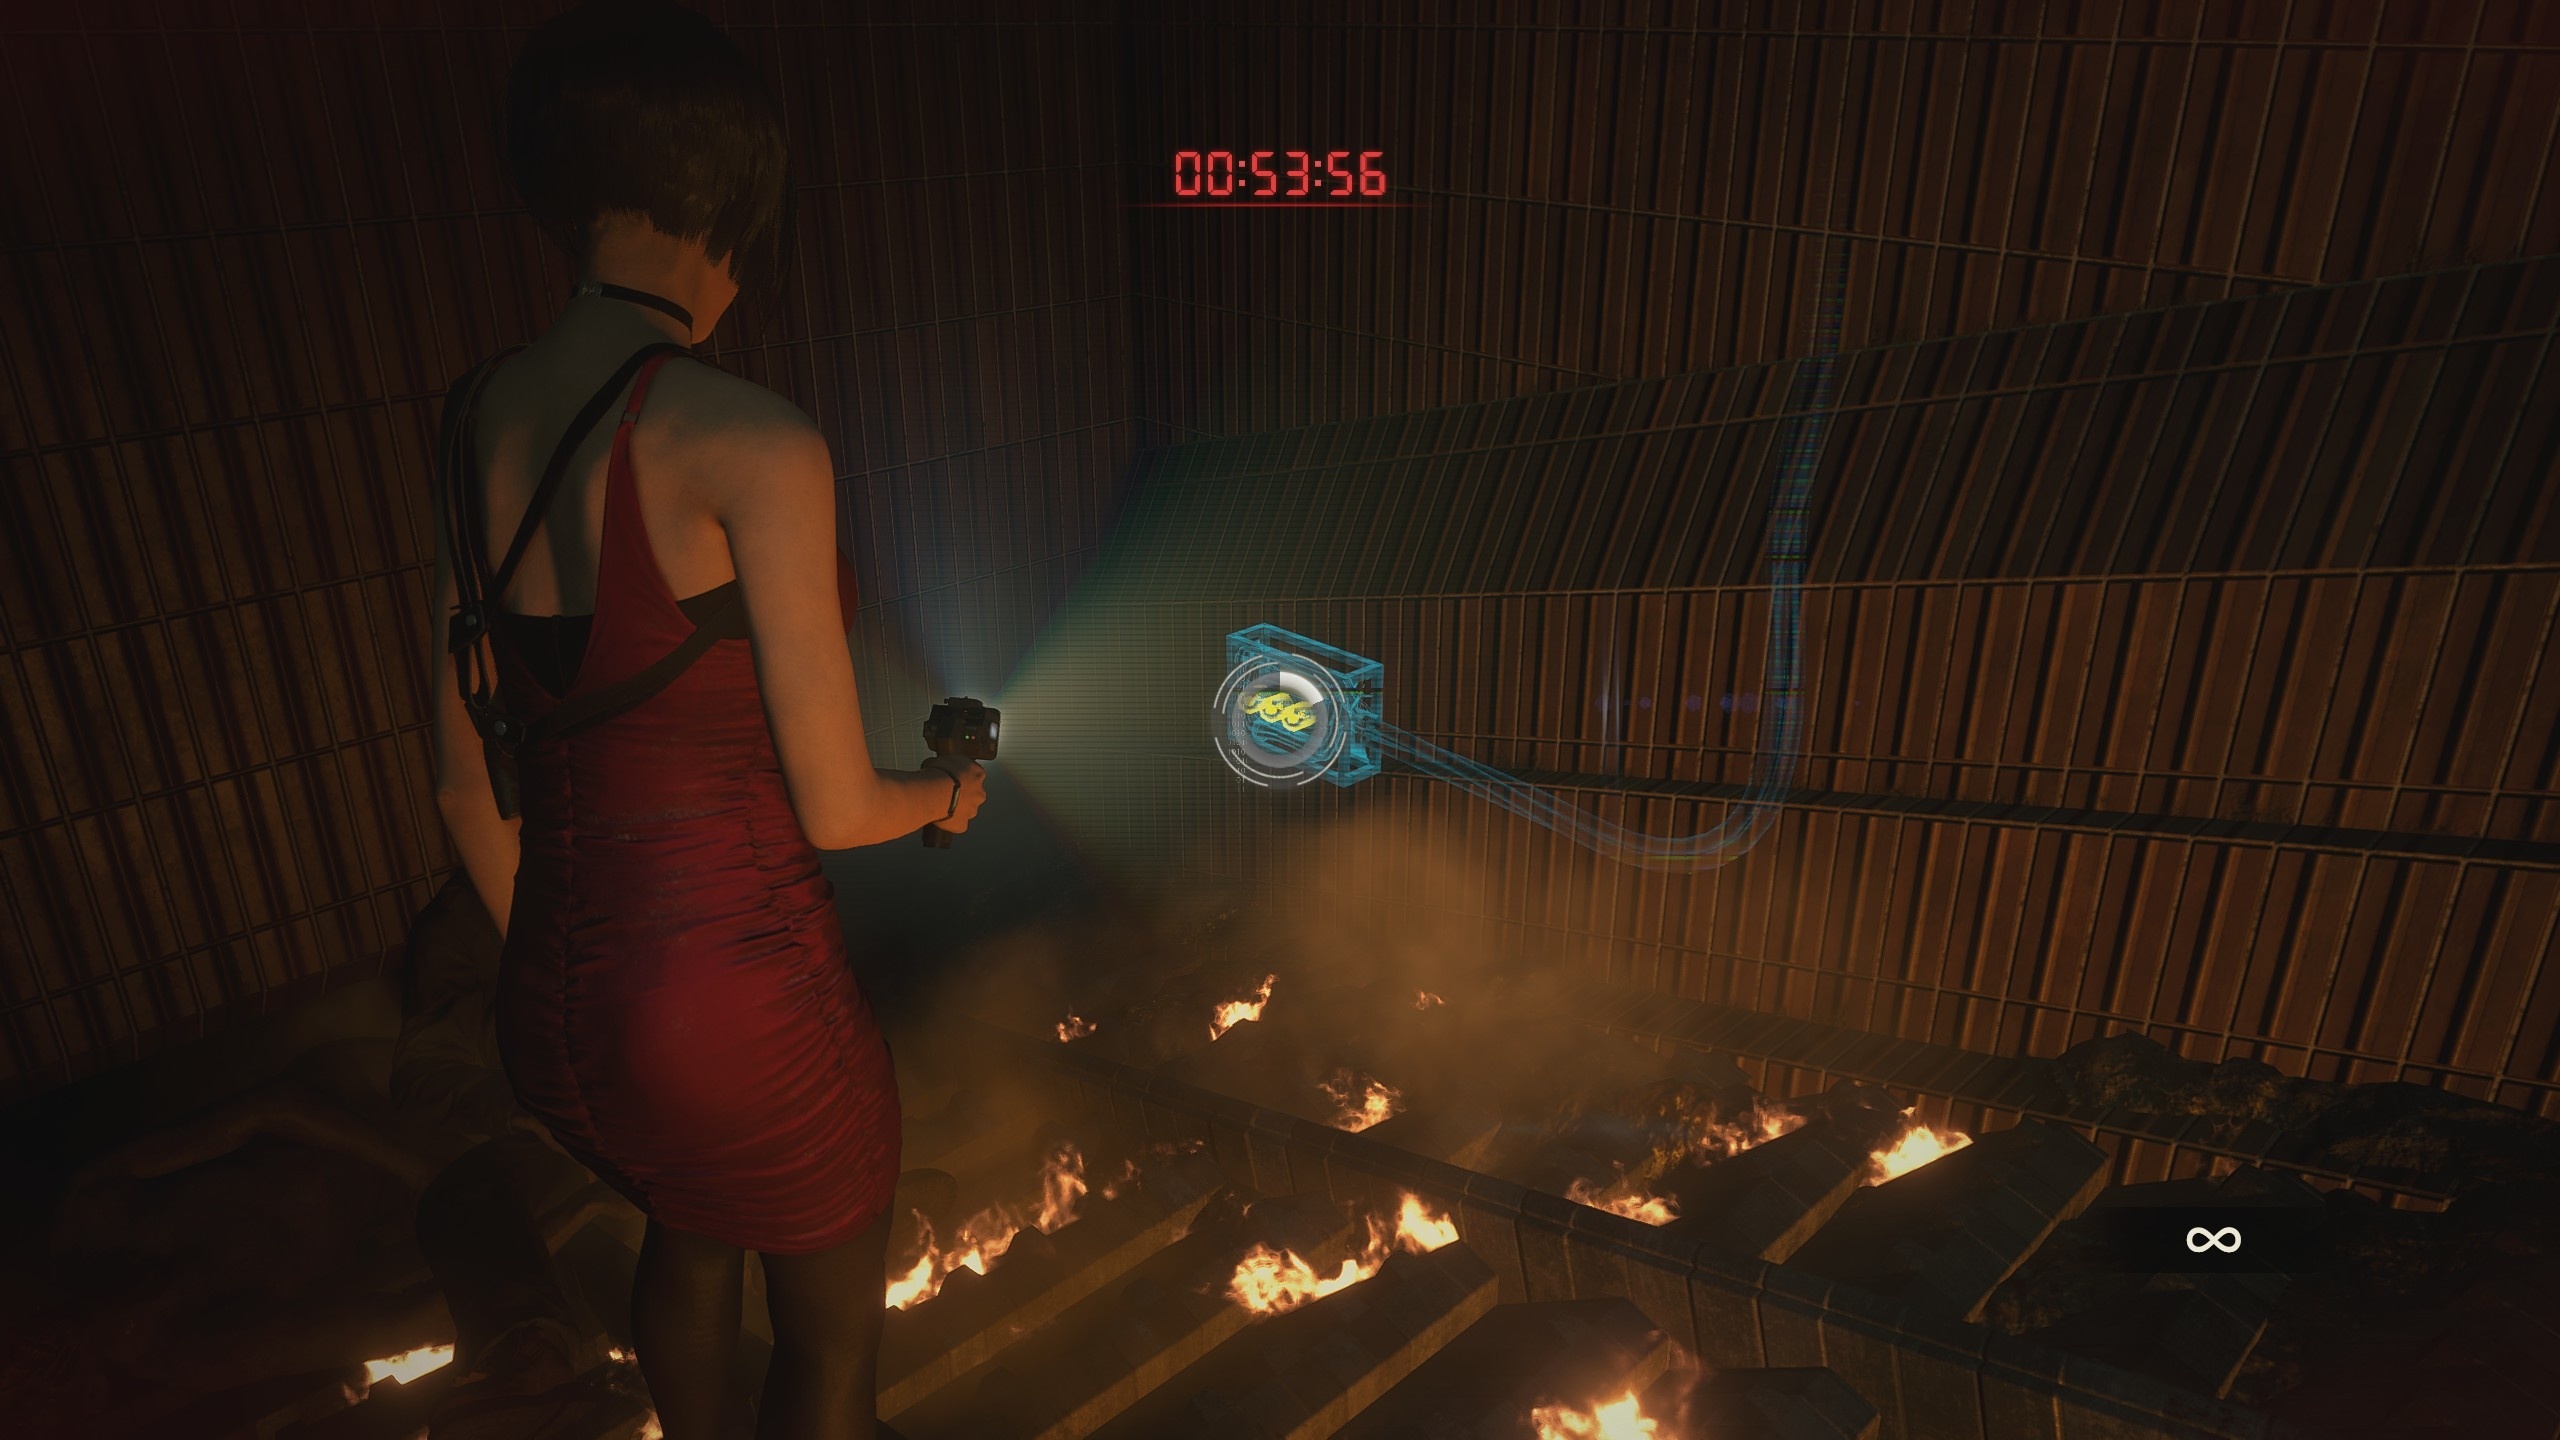
Ada Wong's primary tool is the EMP Visualizer, allowing her to see and control electronic systems through walls. First, go to the ladder and interact with it. Ada will get a visualizer, and you will see a hint about its application. Hold the desired button and pay attention to the panel to the right of the stairs. Download it. You must remember two important things:
1. You can interact with blue devices that have orange spots.
2. If the wire is blue, then no electricity flows through it.
3. If the wire is orange, then it powers the connected devices.
Thanks to this, the power will go to the fan at the top. Interact with it through the visualizer to speed up the rotation. Keep doing this until it explodes and flies out. A passage is formed inside.
Climb up and do the same for the fan at the other end of the shaft, turning on the power supply on the right side. Jump into the room, kill the zombies and pick up the document from the table on the right. To exit the room, look at the door and follow the blue cable to the fork and power source. Make sure both spots are yellow, which will turn the light above the door green.

In the next room, take the ammo and go down the stairs. Your goal is to power up the lift in the corner. Use the EMP Visualizer to track the equipment through the wires and get to the power source. The power line curves left and right across the room and passes several zombies. You need to move around the perimeter of the room clockwise. Go behind the red container, move along the wall until you are at the railing in the far east. The energy source is on the wall away from you. If you go north, you can get ammo and consumables. Activate the power supply.
The real difficulty in this area comes from the fact that you don't have enough ammo to kill all the zombies. Therefore, do not aim to kill every enemy: make one or two headshots to stun and run past. As soon as you return to the included elevator, then stand on it and go further.
The next segment will be more difficult, as the Tyrant will appear. Run into the room to the locked door and use the visualizer to activate the energy source located on the right. Use the switch to open the door. Do not rush to go ahead, but using the same visualizer, switch the device mode next to the same door. This will power the fan up ahead in the new room.
Run there, picking up ammo from the table, and if you have time, immediately restart the fan, speeding up its speed. If there is no time, then either stun the Tyrant, or lure somewhere far away. Once the fan is destroyed, crawl through the hole in the wall.
How to solve the riddle in the incinerator
After dropping down and escaping the Tyrant, head up the stairs to the north to be next to the incinerator. Use the typewriter on the right. Staying on the first floor, go around the corner to find Mr. Raccoon. Shoot him, then go up the stairs and pick up the document on the left hand. Use the switch that allows you to open the incinerator. Go down the incinerator and pick up the ID bracelet on the corpse.
After the cutscene, you must leave the incinerator within 60 seconds. To do this, overload the three motors above the door. You must understand that these engines cannot be activated at the same time - only one at a time. Using the visualizer, chain to any motor and overload it, then change the power line.
To get started, stand facing the back of the incinerator where you picked up the bracelet. Activate the power supply on the right side (with the visualizer). This will start the leftmost motor and you can overload it. Walk along the left wall to see a fork in the chain. Activate it to turn on the rightmost motor. Get rid of it, then activate the fork on the right wall to connect the middle motor. Reload the equipment.

After that, the door will open, and you can run out of here. Use the typewriter again, then go through the door next to it. Move north to the room with the purification pool. Follow the linear path until the cutscene starts. Now you will control Leon.
Learning the sewers as Leon, how to defeat water monsters
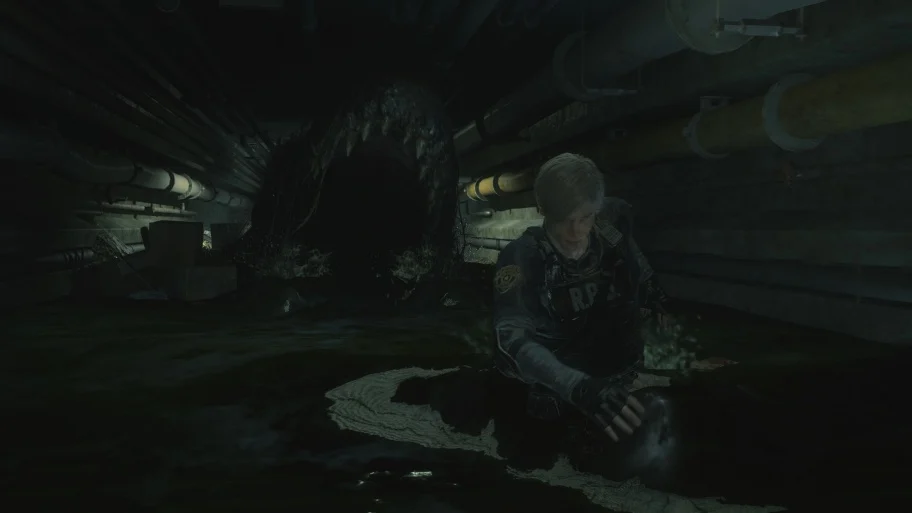
And again we play for Leon. You can't move past Ada with the same steps, so head northeast and use the lift to get to the airlock. If you want, use the chest and the typewriter in the corner, then go down the stairs and jump into the water. To the right of the garbage there are ammunition. Go through the tunnel.
On the left is a blue pipe for the T-handle. You don't have it yet, so head east through the tunnel. There are two paths - the left to the north (dead end, but there are supplies), and the right to the south. Go there, go up the stairs and see the corpses of the soldiers. Lying on the floor first videotape.
Keep going up to several passages with a locked door on the right and another in the corner. Between them there is a console that can be accessed. You can pull the rook out of the panel, but in this case, the bridge will rise and you will not be able to go through the door ahead.
Leave the rook in place and move forward along the path, past another locked door and down the stairs. Pick up the item from the barrel, jump into the water and go west, going down into the lower channel. Pick up the blue herb on the ledge on the left, where there is another tube for the T-handle. Continue moving west. The left path is blocked, while a mutated creature awaits you in the right tunnel.
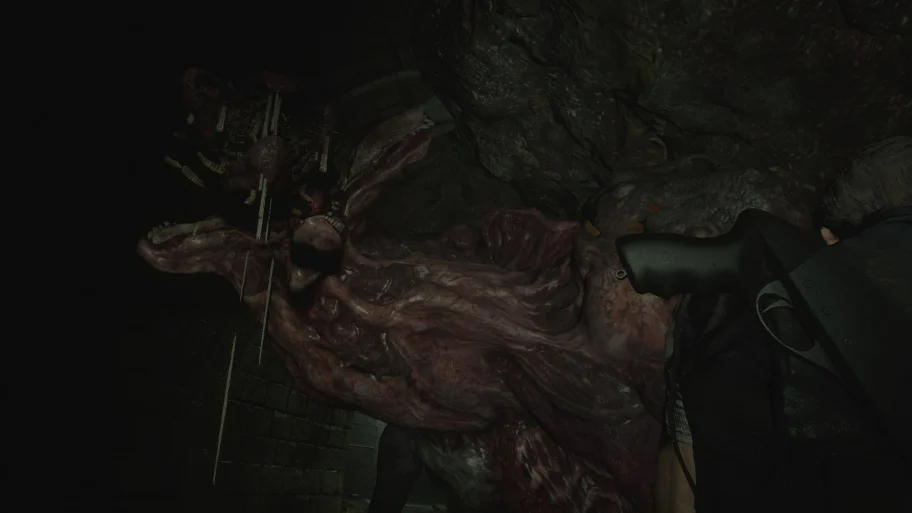
How to defeat water monsters
If you get too close, the mutant will attack Leon in melee. In addition, he periodically spits his minions into the water, who rush to attack Leon. Keep your distance, destroy the small creatures while they wallow in the water (with a pistol), and use the shotgun to kill the mutant. Aim for the eye on his shoulder. Keep repeating the actions, stepping back periodically until you kill the monster.
Walk past it and climb onto the ledge on the left, into the room with the funicular. Continue moving up the linear route to the control room. On the table to the right is a folder with a copy of the letters to the Umbrella headquarters, next to it is a locker with a code combination. You can open it right now using our separate guide, or wait for the hint.
When everything is ready, then go downstairs to the monitor room, where the cut-scene will start. It's time to save Ada. Now you are in a safe room, where there are several interesting places:
- Sewer map on the left side of the window, overlooking the location of Ada.
— File with documents on the table in the middle.
- A VCR that can be used to watch the videotape found earlier.
- The door on the east side, through which you can exit into the next room with a purification pool.
Read the document in the far corner of the room where the panels are to update the objective. You need to find all the chess with plugs. If you examine the panels on the wall, you will see several chess pieces - a bishop, a pawn and a knight. Leave them where they are, as there are three more figures that need to be found to complete the puzzles.
The location of the king, queen and rook, solving the puzzle in the warehouse
When you're done interacting with the typewriter and the chest in the monitor room (and I highly recommend emptying your inventory slots), exit through the door to the west to reach the passage above the room with the purification pool. Use the switch located here to lower the bridge. Cross the bridge and follow to the left to find next to the funicular T-valve. He lies on the table. By the way, this place will be used by you in order to go to the laboratory. But you need a bracelet that Ada has.
Keep moving down to pick up the document with receipts and the code to the safe from the table. Head south, past the bridge you used earlier, and find a safe on a table to the right of the door. According to the instructions in the previous file, the code is on the side, on the wall. Turn the handle 2 times to the left, 12 to the right and 8 to the left. Inside is an upgrade for a shotgun. Combine it with a weapon to apply an upgrade.
There is a consumable item on the right, but note that the zombie located there is still alive. Go through the door nearby and go down the stairs to the intersection between the lower and middle channels. Deal with the zombies, then go even further down the stairs and use the T-valve on the pipe to raise the gate. Run down the path to the other side and collect from the wall sewer key.
If you go up the stairs located here, you will run into a dead end with a broken door, so where you found the key to the sewer, find the stairs down into the water. Move along the lower channel to the west, using the ledges, until you find another monster. I recommend killing the first enemy. Aim for the eye on the shoulder. It doesn't make sense to fight the other two, so you can just run around them, saving your ammo.
The south wall has some revolver ammo. At the end of the lower channel, climb up the ladder and through the doorway to reach the supply area. Climb up the stairs and shoot Mister Raccoon on the left side of it. Then go west to the pantry.
Warehouse puzzle: how to get a flamethrower
Climb down the steps to see a room with lots of panels for plug items. In the far room there is a new weapon. Here you need to follow simple steps. In the middle corridor is a panel with a queen. Pull out this chess piece, go west to the panel that requires the queen. Install the figure in this panel to open the door.
Climb the stairs and take the king figure from the panel on the right, which will close the door. Drop down to the previous area, go through the same door with the queen again and use the king on the panel on the left to get to the chemical flamethrower. Open the locked door by sliding the shutter.
Return to the panel with the king and take the figure with you by closing the door by the stairs. Take the queen and place it in the panel where you first found the chess piece. Use the king on the panel opposite the stairs from where you came here, which will open the door nearby. Return to the panel with the queen and pull out this piece. Go back to the stairs through the door that was opened by the king. Take the king with you, after which, together with flamethrower, queen и king get out of here.
Where to find a rook
Go back to the lower channel, run around all the water monsters to save ammo. Hug against the left wall, climb up to the ledge and be ready to face the monster right next to the stairs leading back up. You can bypass it or use the recently obtained flamethrower. They are much easier to kill these creatures than any other weapon.
I recommend visiting the monitor room again to place the found chess pieces in the chest and unload the inventory in general, then return to the intermediate level between the middle and lower channels. Use the panel on the wall on the right to open the airlock and go through the water tunnel nearby. Head east across the water, past another monster, and climb up to the ledge on the right. Use the T-valve on the blue tube to open the door leading to the elevator to the workshop. Take the elevator up.
In this way you will reach the workshop. There is still a living zombie lying on the ground. Take away from the table film "Cashes" (we have covered this in more detail in a SEPARATE MANUAL; just head over to the Tips & Tactics section of our site and you will find them) and hip bag. Open the door to return to the area where you were before. Now you can safely take rook from the panel on the left.
Now you have access to all chess, so you can immediately return to the monitor room and solve the puzzle associated with them. However, additional rooms can be explored with the sewer key. Although the following steps are optional, it will allow you to get a weapon upgrade and some loot. In addition, you will learn how to get back to the police station.
Solving the puzzle in the monitor room (chess), where to use the sewer key
The sewer key, found in the lower channel on the way to the vault with the queen and king, can be used in two places (next to the rook). One of them is a chamber with a pump in the north. To get there, make sure the rook is in the panel and you haven't taken it. There is gunpowder inside. Another room is a rest room for workers, where consumables and a document with a code from a locker in the monitor room are located. And most importantly, you can move a large closet with yellow tape. Move closer to make an interaction point appear and move the cabinet. Behind it is a secret passage to the elevator.
Climb on it to return back to the underground complex under the lot. To the left of the elevator, there are some magnum ammo. Before heading up the stairs, you can open the secret weapon upgrade locker on the left. To do this, use the STARS token
If you do not have a token, then go up the stairs to the secret room. Here you can use the T-valve to create a path back to the police station. Thanks to the film, which was found earlier in the sewer workshop, you can find out the location of two caches. Go to the photo lab, print the film and get two photos. In a separate guide, we told you where to look for caches and what they contain (in one - weapon upgrades, in the other - cartridges for a flamethrower or electric gun).
Use this opportunity to complete all the pending activities in the police station by opening different lockers and safes. Ignore the chief's office, as Leon can't get in there. Access to the key with a heart is exclusive to Claire. In addition, now there is no Tyrant in the area, and new enemies did not appear.
After that, return to the sewers through the secret room and the worker's rest room. Apply the STARS token if you have just found it. There are two ways back to the monitor room, where you can use the collected chess. You can head south through the lower channel and use the T-Valve one last time, or go through the workshop as before. In the monitor room, you can open one of the lockers, since you learned the code in the workers' rest room.
Solving a chess puzzle in the monitor room
You now have all six chess pieces in your hand, including the queen, king, and rook. First, take them into inventory, then read the instructions attached to the wall:
— The rook and the king are on the same wall.
The Bishop and the Queen are not next to each other.
The queen and rook are opposite each other.
There are pictures of chess pieces next to the two panels to help narrow down the answers. Having taken all this into account (leave the pawn in its place, and move the knight to the panel where its image hangs), set up the chess as follows:
- King, Queen, Pawn.
— Knight, Rook, Bishop.
After everything is done, you will open the door. Make sure you have your most powerful weapon (we recommend a revolver), then head to the generator room to the south, where you will have to fight Birkin a second time and solve a small puzzle.
Second battle with Birkin, switch puzzle
When you get to the generator room, you will need to activate the switches in the right order so that power is applied. To do this, two arrows must be located in the red zones. As in the puzzle from the basement of the police station, there can only be one solution:
— Green, green, red, green (switch positions).

After that, try to leave the room. When you do this, you will be stopped by a familiar monster. More precisely, you will see his clawed paw. Stand on the edge of the room closest to the shutters and then move around the room to avoid the claws. Sooner or later the Birkin will break the shutters. Go around it and run as far as possible, along the only path, until you are next to a large container. Here the battle with the monster will begin.
Boss fight
Your goal is to remove the container from the platform and then turn onto it again by hitting Birkin. First, go to the panel and press the button. The container will go to the back of the hall. Now dodge Birkin's attacks until the alarm goes off. This means that the container has reached its extreme point and is ready to be moved again. At this point, you need to lure Birkin to the opposite side of the platform (from the control panel) and deal enough damage.
With a fully upgraded revolver, this will take two accurate eye shots on the monster's shoulder or back. When he kneels down, quickly run to the panel and press the button so that the container returns to its place and pushes Birkin before he can get to his feet. You must do this twice to win the battle. As in the first encounter with Birkin, ammunition and consumables can be found around the edges of the location.
However, you can attack Birkin with a container without knocking him down. To do this, you will have to correctly calculate the time, but it is really difficult to do this. Birkin will use a series of fast and powerful attacks, so you need to shoot at those moments when he moves slowly.
Finally, it's worth mentioning that the panel allows you to move the container between the platform and the end of the hall, so don't worry: you won't turn it the other way while it's in the process of being moved. When the battle is over, walk across the metal sheets on the side and turn on the switch near the door. After the cutscene, follow Ada to the funicular. Once you have completed all the side activities, you can safely start the vehicle to go to the laboratory. This is the only point of no return in the game..
Lab study how to improve ID bracelet
After reuniting with Ada, she will guide you to the funicular. After moving on it, you will no longer be able to visit either the sewers or the police station. When you reach the laboratory platform, you will receive an ID bracelet from Ada. Use the chest if you need to, then go right and enter the Lab Reception.
Improving the ID bracelet
You will notice that ahead, to the south, there is a door with a blue panel. It is locked, and only persons with an improved bracelet can access it. Let's deal with this. First, go to the room opposite the reception desk, to the east on the map, to get to the security office. Go to the table at the very end of the room to find map of the north wing of the laboratory. Go back to the reception room, where there are two files - study one on the computer behind the reception desk (sleep log), and the other on the wall in the next room, where the typewriter and chest are also located.
When you're ready, go to the corridor to the west, go to the first door on the right and look into the dining room. It's filled with zombies. Ignore those who feast with corpses on the floor, but the rest will have to be killed. Several useful items are scattered around the circle, and Mr. Raccoon can be found near the stairs.
Climb the stairs and through the ventilation shaft get to the kitchen room. Here you can find various supplies. Exit through the door and note the zombies to the left of the locked door. Go to the rest room and get an electronic chip. In inventory, combine it with an ID bracelet to upgrade the latter. The chip can be taken from the corpse, whose arm sticks out from behind the blinds on the right. Now you can open doors with blue screens. There is an upgrade for a flamethrower in a locker nearby, and there is a panel on the wall to turn on the electricity. Now it is useless to interact with her.
The newly upgraded bracelet will allow you to pass through the previous corridor without turning into the kitchen. Head back to the reception room, along the way, pick up the document from the corpse of the commando to gain access to the central part. The file says that the G virus is in the west wing, but you can't get there right now. Your wristband can give you access to the east wing. Use the panel in the main shaft to open the bridge and go to the east wing. This is where you have to explore the greenhouse and find the codes for the terminal in the greenhouse control room.
Exploring the greenhouse, locating codes for the terminal
Go to the main lobby and use the chest with the typewriter. The south door is locked, and heading east will take you to the meeting room. Look through the window to see a corpse with an electronic chip, which is needed to further upgrade the bracelet. You can't access the computer on the counter right now, but remember this location.
Go to the northwest room and slowly turn the corner. Ahead you will see zombies with plants. Instead of shooting him in the head, aim for the orange growths on his body to destroy him. If you shoot accurately, then use a regular pistol, otherwise a flamethrower will do. If a zombie dies, it will definitely catch fire.
Keep moving forward and you will reach the greenhouse control room. Activate the console by the window to get atomizer cartridge. Then go through the door on the left. There are even more plant zombies in the greenhouse. Either ignore them or use the flamethrower to quickly kill enemies.
Location of Codes for the Greenhouse Control Room
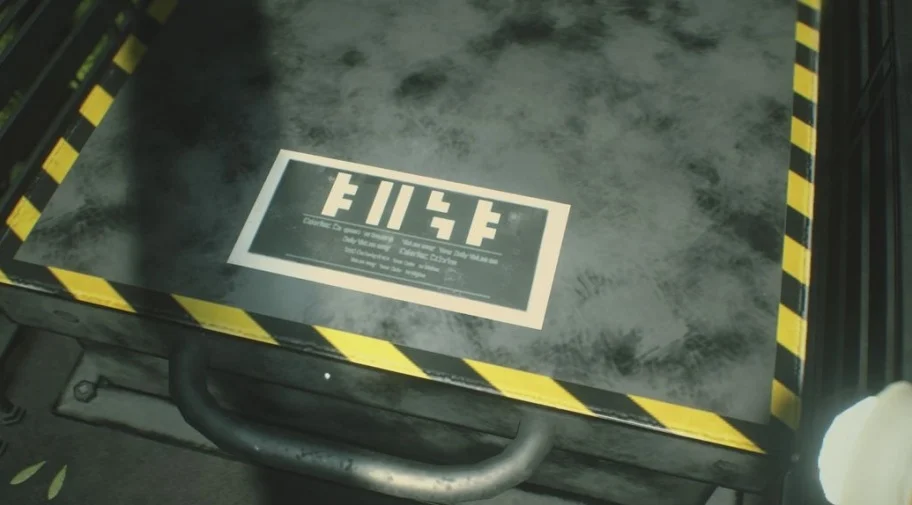
Go left, then forward, and at the very end, left again (to the southeast dead end) to see a hatch with various symbols on it. You will need to enter this code on the console on the panel in the greenhouse control room. Here are the characters in the screenshot below:
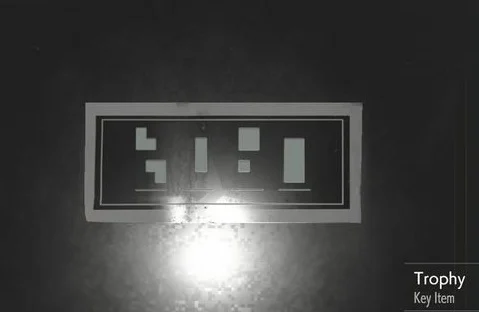
After opening the hatch in the far part of the greenhouse, go down to find yourself in the mine. First, go left to find on the table map of the east wing of the laboratory. Go in the other direction, go through the door and head south to the open living room (in the same room). Pick up from the center table trophy and examine in inventory to find another code of strange symbols. It can and will need to be entered on the panel in the greenhouse control room.
Follow the corridor to the west to be attacked by Slimers and regular zombies. We recommend that you run to the door at the very end, go down. There is another zombie here that will fall from above as you walk up the stairs.
You will return back to B1, to the storage room south of the lobby. Take someone's notes from the chair and pull them out of the panel in the wall signal modulator. Return to the lobby, save, then head to the greenhouse control room. Enter the code found on the bottom of the trophy into the remote on the side. There he is:
Thanks to this, you will gain access to the testing laboratory (you need to go out into the greenhouse and immediately turn left twice to go through the door into the room). Here you have to solve a puzzle with mixing liquids and creating a herbicide.
Test lab puzzle, herbicide creation, refrigeration, signal modulator application
To get to the puzzle, from the control room, go to the greenhouse, turn left, right and immediately left. Take the document from the table, which contains instructions for creating the herbicide, and go to the working device in the corner. Use the atomizer cartridge to start the puzzle. The goal is to create the exact amount of solution for the tube, which is marked with a red line.
You see three test tubes - small, medium and large, and below them there are three more buttons. The left one moves the contents from the middle tube to the left one, and the middle and right tubes allow you to rotate the tubes in pairs. To solve the solution creation puzzle, first combine the two halves so that all the solution is in one tall vial on the left:
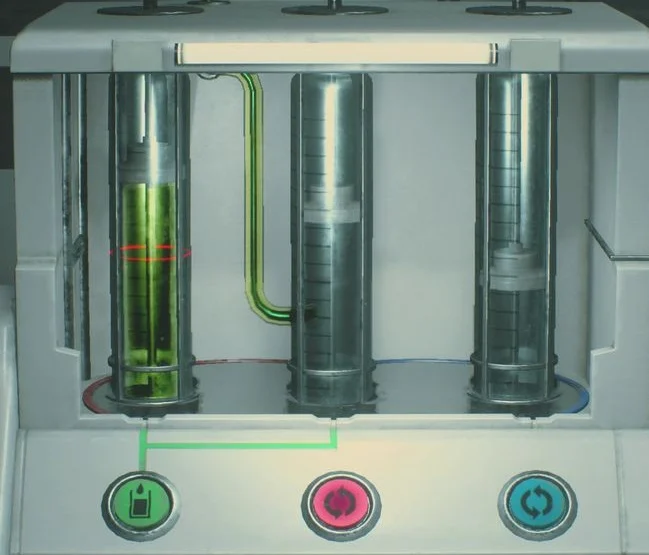
Swap the two tubes and move the contents from the large tube to the middle one (setting it on the left). Rotate the tubes so that they are arranged as follows - small, medium, large (from left to right). Transfer the solution from the medium to the large so that all three test tubes contain the solution in descending order. Now rotate the test tubes so that the large one (but with less solution) and the small one (with the most) are on the left and in the middle, respectively. Combine both to move the solution up to the red line. Completing the puzzle will give you a solution cartridge. But the creation of the herbicide is not yet complete, because the solution needs to be cooled.
How to Use a Signal Modulator and Cool Your Herbicide Solution
Return to B1 through the greenhouse and go into the living room. Destroy all enemies on the way and examine the signal modulator in your inventory. It must be set to the same signal as the electronic wall panel - MURF. Use the buttons on the side to switch to MURF, then switch the toggle switches to the desired positions: green for two o'clock, red for four o'clock.
Insert the modulator into the wall to power that zone. Head to the server room in the north, which is a safe room. There is a chest and a typewriter here. When you're ready, head south to corridor B1, but turn left into the low-temperature testing lab. On the south side is a computer that you can interact with to get a new Wayne Lee file. Enter the lab itself and insert the solution cartridge into the device to cool it down.
Now return to the greenhouse control room. On the way, you may encounter many zombies. Insert the herbicide cartridge back where it was taken from to destroy all vegetation in the western part of the greenhouse and get the senior employee's electronic bracelet.
Combine it with the ID bracelet in your inventory to upgrade it and gain access to the purple panels. Once this happens, the Tyrant will appear behind you. Run back and return to the lobby. Be sure to check the computer in the meeting room, which is now accessible, to read messages for Brian Cartwright. East wing survey completed. Time to return to the main mine.
Before heading to the West Wing, you can head to the North Wing Break Room along with the Signal Modulator. Open your inventory, set the modulator to the MUF signal like on the panel, then turn the red toggle switch to 4 o'clock and the green toggle to six. Use the modulator on the panel to restore power. The beds on the right will open, and on one of them lies hip bag. Wayne Lee's note can be found in the adjacent cell. It's time for the final. Head to the west wing!
Third battle with Birkin, study of the west wing of the laboratory
Return to the main shaft, open the western sector and enter the corridor. Pick up the video cassette lying on the floor, near the corpse of the commando. Apply the signal modulator to the wall, after setting it to the OSS signal. Turn the red toggle switch to 12 o'clock, green to 4 o'clock. This will restore power to the room and continue on your way.
You can also access the computer to read William Birkin's papers, as well as use the video cassette on the player near the chest. From here it is quite easy to get to the desired laboratory.
Read the file on the PC on the left side, and then take the G virus from the far compartment. Make sure you do whatever you want as this is the last item that can be collected in the game. After that, it will be impossible to go back.
When you take a virus sample, an alarm is triggered. There is no need to hurry. Use the typewriter in the room to the north, prepare for battle, and keep going back the way you came.
Boss fight
On a huge monster, eyes are now growing literally all over the body, including the back. You must shoot in each eye to stun the enemy. Next, you need to shoot a lot of eyes on the chest. Repeat this cycle until the enemy is defeated.
The problem is that at this stage Birkin is more aggressive than in previous encounters, so keep enough distance from him that you can dodge his attacks. He will also pick up items from different parts of the room and then throw them in your direction. When this happens, find cover.
His aggression comes in handy, as after every attack or when he prepares to throw something, the enemy stops, leaving his eyes open on his body. Use this moment and attack him with a revolver - a deadly weapon that requires high accuracy. We recommend using a shotgun to shoot while the boss is moving, and a revolver if he has just completed an attack and is standing still.
After the second hit to the chest, he will start ramming you with his eyes open. At this point, it is more difficult to shoot accurately, so we recommend using a shotgun. In addition, at the beginning of this stage, it will pull the panel out of the wall. When this happens, run sideways to dodge the blow.
Stay moving and dealing damage until the enemy is destroyed. Remember that consumables are scattered along the edges of the battle arena - cartridges and medicines. When the fight is over, be sure to collect all of these items before taking the elevator up. Once you're on top, move towards the main shaft. After the cutscene, you will be given ten minutes to leave the lab.
Escape from the laboratory, how to defeat the Tyrant
After the cutscene, turn left into the main shaft. When you start the escape, then pay attention to the typewriter. The path to the exit is linear. You can kill enemies or bypass them. Shortly after the start of the episode, our old buddy, the Tyrant, will show up. Use the empty space around which the path runs to get around the enemy, luring them back a little. Keep moving until a cutscene in which you break away from the Tyrant.
Here you will need to pick up a power element. It needs two inventory slots. Stock up on medicines and ammo for the shotgun and revolver. Use the power element on the connector in the elevator control panel to start it and start the final battle.
Battle with the Tyrant
Titan will now be even more aggressive than before. All you have to do is keep shooting at him while avoiding oncoming attacks. A revolver is best, although a shotgun is worth using in cases where the Tyrant is accelerating. You can focus on the debris falling on the lift. The more of them, the further you have advanced in the battle. You need to wait until about half of the platform is filled with rocks.
The hardest part of the battle is staying alive. Titan attacks very powerfully and painfully, and acts much faster than before. You have to stay on the move, which will make the task more difficult. Keep your distance from the monster. In the end, he will use a more powerful attack: first he will scream, and then he will run at you, scratching the floor with his claws. Step aside to avoid damage. On hardcore, going to the side will not work, so you will need to quickly shoot at the enemy with a revolver to interrupt the idea.
In the end, a box with a rocket launcher will fall onto the platform. Grab it and shoot at the enemy to end the battle. It only takes one shot. Pay attention to the fact that he can attack literally immediately after the appearance of the rocket launcher.
After that, go through the door on the right and approach the funicular platform. There is a doorway with zombies here. If there are shells left, then shoot them with a rocket launcher. Walk past the enemies or their corpses until the final cutscene plays.
Recall that in order to see the true ending of the game, you will have to launch the "New Game: 2nd Playthrough" mode and go through Resident Evil 2 Remake again, but with a different character.
All Game Guides:
- Resident Evil 2 Remake Walkthrough Guide (Claire).
- Codes for safes and locks
- All Raccoons including DLC
Was the article helpful?


