Resident Evil Village - 100% Walkthrough
Village
Once next to the wrecked car, run forward until you reach an abandoned hut. Go down to the basement, and when you hear a noise upstairs, leave the basement and get out of the house. Follow forward until you find yourself in a village. Look around the houses and pick up useful items. In one of the huts you will find a knife. At this point, the door of the house will be blocked. Find a passage with curtained curtains and interact with it. After the cut-scene with the old man, you will meet the werewolf for the first time. Kill him with a gun or knife. In the house, take a bolt cutter, get rid of the chain on the gate and inspect other houses.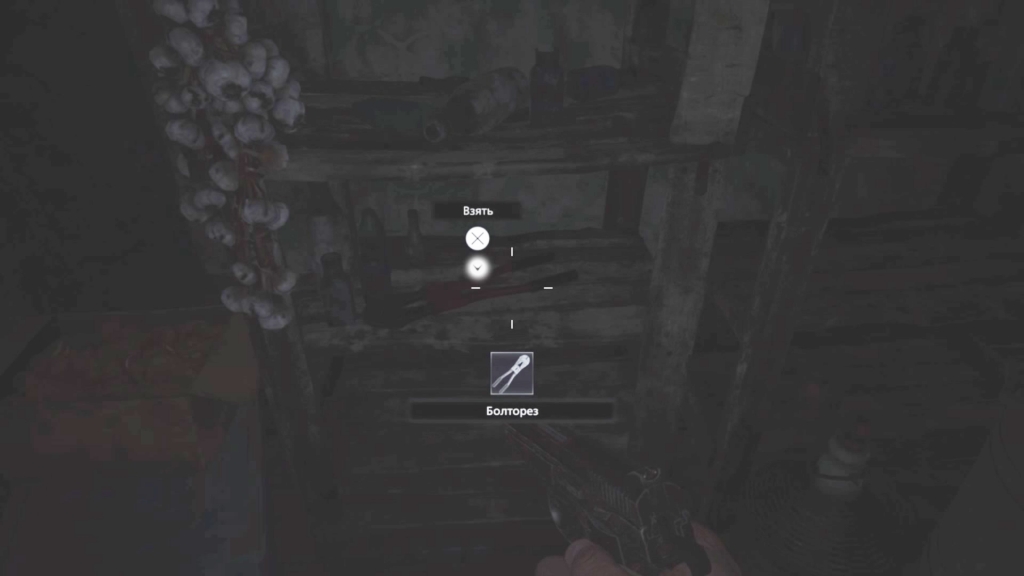 At this point, zombies will start attacking you. Use cabinets to lock yourself into houses, flour boxes to stun enemies, and explosive barrels to get rid of a lot of monsters. When part of the settlement is on fire, choose the main street and watch the video, after which the attack will end.
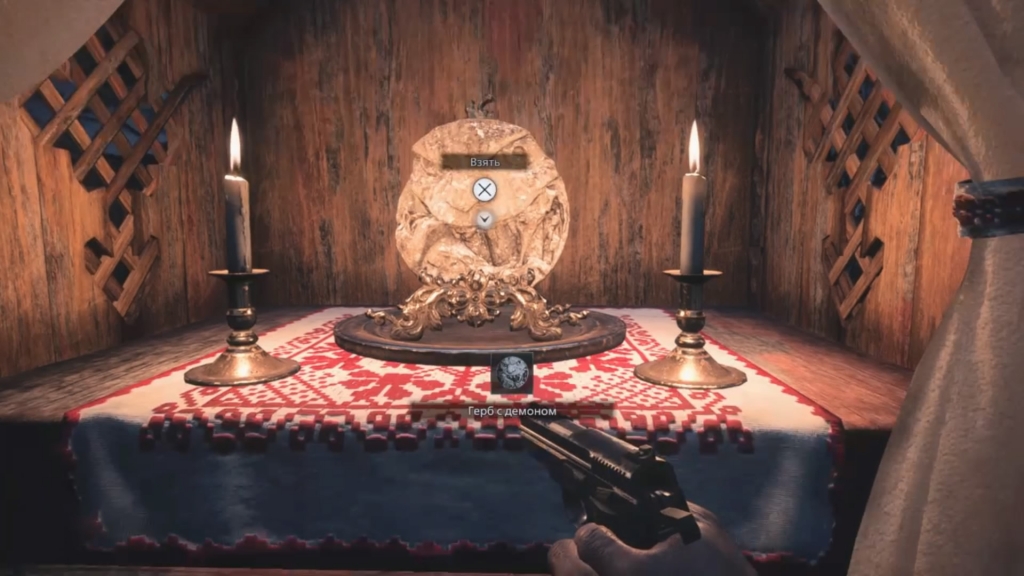
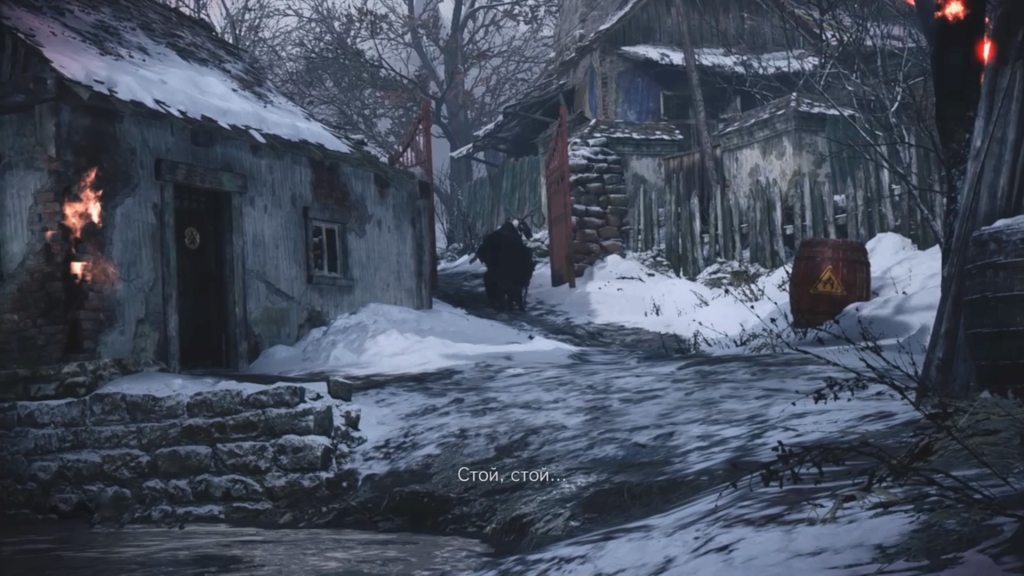 Follow the old woman to the red gate and listen to her. Examine all open houses and find the altar with the first wooden goat in the cemetery. On the altar in the church, take the coat of arms with the virgin and study the map of the village on the bench. Leave the church through the second gate and go up to Louise's estate. You may encounter zombies along the way, so be careful. Enter the small building to the right of the estate gate and talk to the two locals. Leave the building through the window, climb the boxes and climb over the fence. Open the gate to the locals and knock on the door of the estate. After the video, you will be able to save the game. Watch another fire scene and look around the garage. In one of the drawers, find the key to the van and a screwdriver inside. Use the key as intended, then get out of the house and use a screwdriver to open the altar and take the coat of arms with the demon.
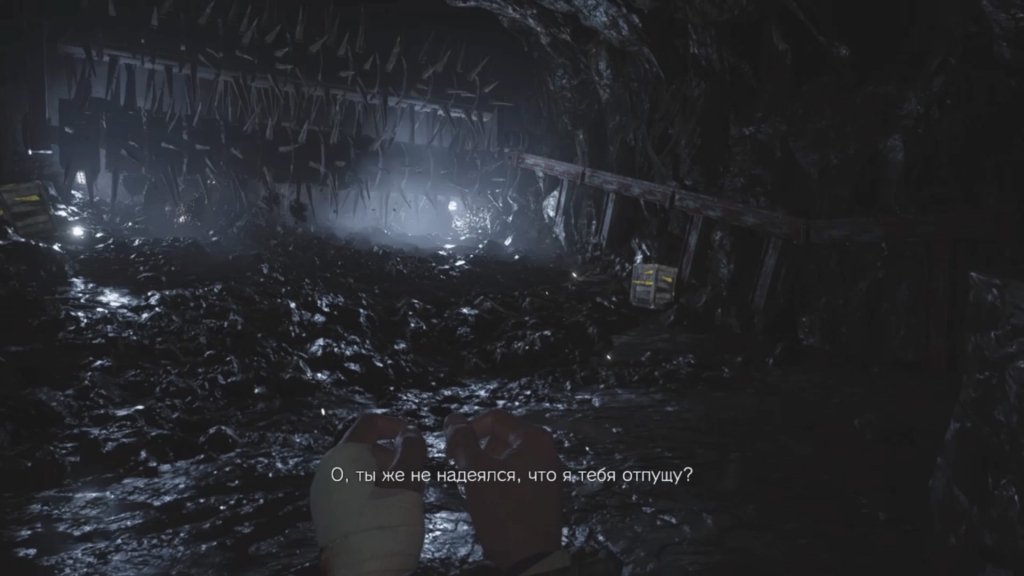
 You should return to the church and insert the two emblems found into the locked gate that leads to the castle. Cross the bridge and enter the castle. Pull the lever by the door, after which a cut-scene will begin. You need to run away from the monsters. Follow forward to the stone bridge, after which you will find yourself in a small cave. There is a small opening on the left side of the cave. Take cover here and wait for the next cut-scene to start.
 Get out of the cave and activate the lever in front of the door. You will find yourself at the gates of the castle, where you will meet the merchant Duke. You can use the Duke's shop to purchase ammo or upgrade your weapons. Don't forget to sell all the treasures you find to the merchant.
 Dimitrescu Castle
Main goals:
- Get out of the boudoir and find the red eye ring.
- Climb to the second floor and escape from the first daughter of Lady Dimitrescu.
- Go down to the basement and solve the puzzle with the braziers.
- Save yourself from the bloodless.
- Escape from Lady Dimitrescu's second daughter.
Additional tasks:
- Take a scarlet glass.
- Find the Duke.
- Collect all the clues to the riddles.
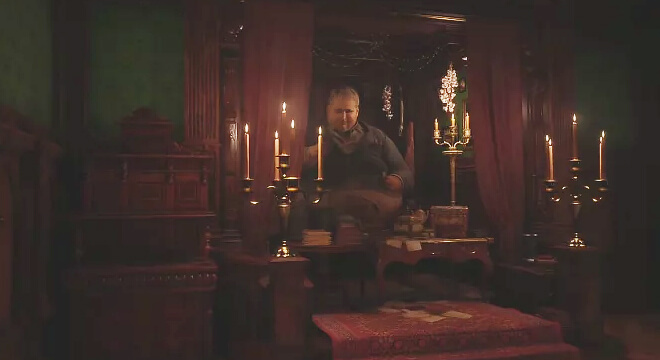
The first room of the Castle is a bedroom where Ethan can catch his breath and gather his thoughts. On the desk, littered with books, there is a scarlet glass. In an early demo, there was a secret inside it, but now it's been removed. However, you still need to take a glass with you - this is a treasure that can then be sold.
Near the fireplace is a lever with a knob in the form of a horse. It cannot be activated yet, but the top of the horse is a logo Heisenberg, the potential leader of all lupins, so this detail should not be forgotten.
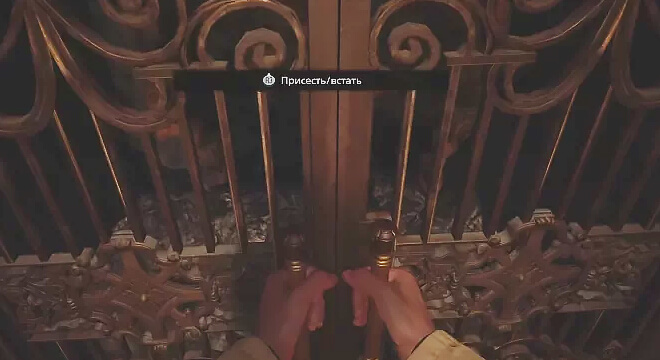
The next room is a small living room, the door to it is open. On the sofa lies the clothes of Lady Dimitrescu herself (this can be understood from the length of the outfit). There is also a passage in this room, but it is locked. To go further, Ethan must open the fireplace doors and make his way through the chimney. You need to move towards the world.
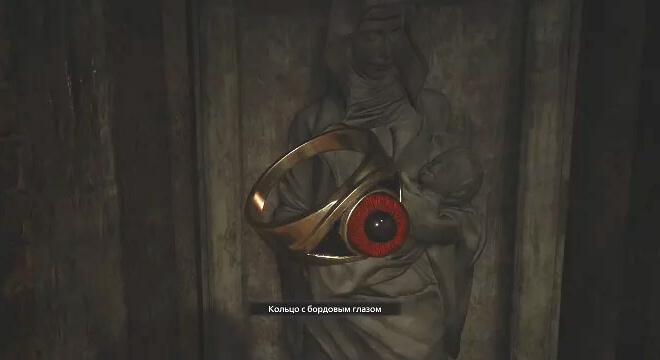
As soon as the main character gets back on his feet to the left of the overturned chest, he will be able to pick up rusty debris. After that, you need to go forward, to the bas-relief of the virgin with the baby. Click on it to get a burgundy eye ring (plot item). After that, a secret passage will open and Ethan will be able to enter the castle.
Hall and Duke
To the left of the main character is a large double door, and to the right is a corridor. First you need to go through it and get gunpowder from the pedestal to the left of Ethan. On the same pedestal stands old faded photo with a doll, which in the future will be one of the antagonists of the game.
The small door that is at the end of the corridor is a shortcut that leads to a small living room, so now the main character needs to return to the large double doors, behind which hides entrance to the main hall of the castle.
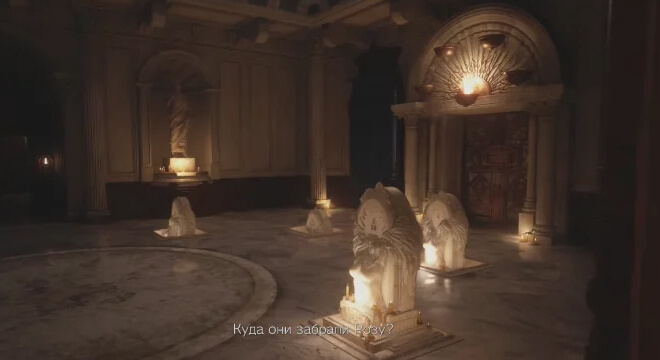
4 white pedestals will come out of the floor - the first serious puzzle of the game. There are a lot of passages here, so you need to explore them one by one. On the right is the exit from the castle, on which is written "Mask the blind eyes of angels to save your soul” (hint to the puzzle with pedestals - we again have to collect items). To the left is the main staircase that leads to the second floor. However, first of all, the main character needs go straight, through the open small door. Behind her is the Duke.
In addition, the duke will immediately offer to buy or sell something, and it is better not to ignore this offer. You can give him treasures, for example, the same scarlet glass, medicines, ammunition and weapons. Also, the duke can improve the weapons of the main character, but not for free, or sell him something useful for survival.
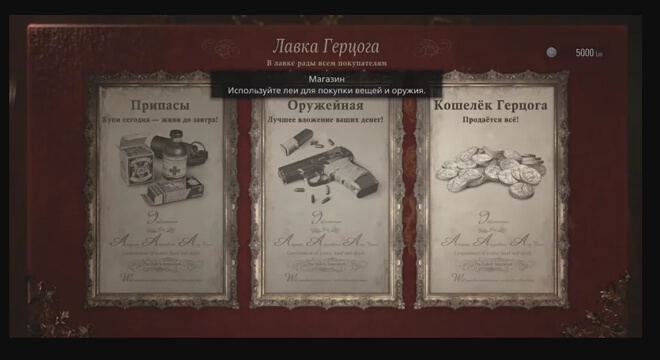
Phrase "What do we buy? Ha ha, one of my friends liked to say so much” from the lips of the Duke is a reference to the merchant from Resident Evil 4, who constantly started trading with this phrase. It is obvious that these characters are familiar.
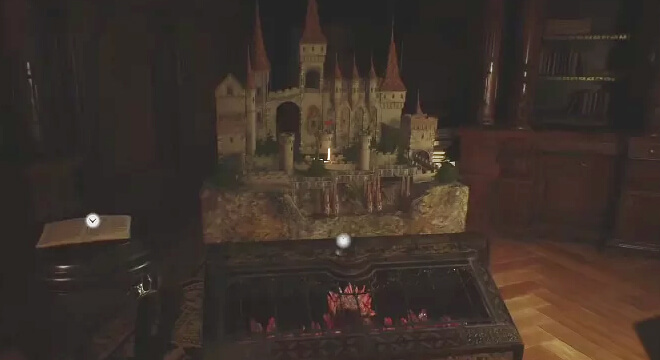
To the right of the merchant, on a pedestal next to a miniature copy of the castle, there is a note that tells about Norstein's Labyrinths. This master built 4 labyrinths, and the Castle is one of them. Also the results of his work are the House on the Hill, the Waterwheel and the Iron Tower.
Dimitrescu's first daughter

After leaving the count's room, you need to look into the next passage and go straight along the corridor, open the door to the left of Ethan. It's also not locked. In the new room, there is a white vase on the left - it is worth breaking it to get ammo from the pistol. After that, you need to climb the stairs. On the second floor, the large door on the left is locked, so follow straight ahead and open the small door.
In the new room on the right there is another white vase - break it and get some more pistol ammo. To the left, a large portrait of three ladies hangs on the wall. The sign at the bottom says "Three daughters: Bela, Cassandra and Daniela". These are the daughters of Lady Dimitrescu. On the table to the left of the portrait is a diary with records of important meetings. From it we learn that the mistress of the castle conducted business negotiations with the duke, met with Mother Miranda, and Rednik brings her people: 1 man and 3 women.
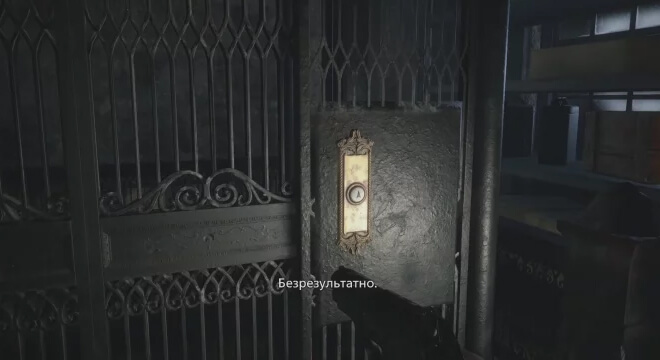
This room has a large door opposite the portrait, but it is closed with a large grill. Therefore, we return to the image of the daughters of Dimitrescu and turn into a small passage on the right. This is a room with an elevator. Here on the box is a bag with 500 coins. The elevator does not start - pressing its buttons does not make sense. On it in the future it will be possible to climb to the chambers of Lady Dimitrescu.
Now Ethan needs to return to the main hall. We go up the stairs and get into the living room with a fireplace. The door to the right is locked, but the door on the right is open - this is another shortcut, don't forget to open it. There is a white vase in the corner near the tea table with the bloodied cup, which can be broken to reveal 250 coins inside. In the drawer of the cabinet next to the shortcut are pistol cartridges.
We go up the stairs again and find ourselves at a crossroads. Directly - the wine room, where you can find the reagent on the barrel. On the table in the same room is a diary with records of the winemaking affairs of the Dimitrescu family. Particular attention is paid to the drink "virgin's blood", which is stored in a bottle decorated with silver flowers. On the far wall stands a strange altar, but so far it will not be possible to activate it. In order to solve this puzzle, you will need a bottle of the same wine.
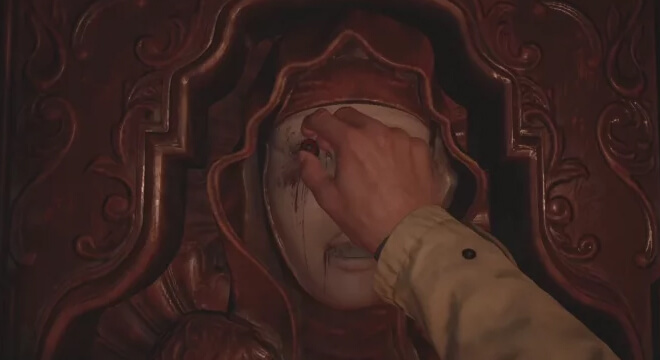
Turning to the right, the main character will fall into a long corridor. Around the next turn, he will find the door in which the white mask in the form of a woman's face. The mask is missing one eye. To solve this riddle, you need to open the inventory, get the ring and pull out the scarlet stone from it. After that, the eye from the ring is inserted into the mask. Before you open the passage, break the white vase in front and get 250 coins.
The door will open, and Ethan will immediately be attacked by a swarm of small dark insects - this the otherworldly appearance of one of Lady Dimitrescu's daughters. She will appear to the right of the main character. It's time to run.
Come back. You will stumble upon door with golden decorations - she will not give in, so do not waste time on her and immediately turn left, and then left again. You will find yourself in a small room, but there will be no time to study it - at the very end of the room on the right there is a boarded-up passage. Ethan will easily break the boards and open his way to escape. Move straight and jump into the hole, barely covered with pieces of wood, to get into Footer.
Footer
There is only one passage from the first room of the basement, and next to it, on a wooden shelf, there are interesting notes from one of the maids. The last entry says that the young ladies complained about the stale air, but when the maid opened the window they shouted and ordered it closed. This is important information for further passage.
We get down into the basement and go to the first dead end. There need squat down and go into a narrow tunnel left. At the end of this passage there will be another room in which we will first see Lady Dimitrescu. She will take a bottle of wine from the table and leave through a small door. Now you can get out of your hiding place. There are ammo on the cabinet to the right.
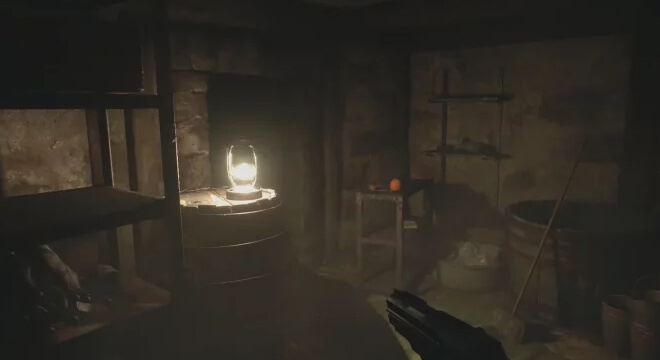
Of course, you should not follow the Lady - the door is locked. We turn right into the passage. On a rack with wine barrels, you can break a box from which 220 coins will fall out. We follow straight and get into a round room with bas-reliefs of warriors. On the right side of the wall, there is an inscription written in blood, "trust the light". A lighted lamp hangs in front of Ethan, and two extinct braziers stand on the sides. They need to be lit by swinging the lamp from side to side. After that, the walls will move apart and a passage will open.
Prison
Ethan goes to jail. The cells are empty - there is no point in exploring them. You need to go straight to the blockage. On a table on wheels lies a note with the names of "candidates" and "rejected". The room on the right is empty. Now you need to open the door on the left and go around the blockage. Beware: here you will find the first screamer in the form of a falling body in a bag, which was suspended from the ceiling.
In the new room will appear first opponents to fight in the castle. Turn right twice and run into one of them. No need to wait until the monster comes close - immediately shoot and lure them away. Enemies are slow, but quite strong, so wait for three monsters to follow you into the barrel room and run around them. If you still join the fight and survive, then you will get loot (described in detail in the section with secrets).
We return to the passage, from which the monsters were lured before, and run straight. Along the way, you can break the crate on one of the barrels and get some more handgun ammo. There, Ethan is waiting for a few more monsters - one enemy will jump out of the cell on the right, and the other will advance in front. Dodge their blows and run up the stairs.
The door is directly locked, so turn right. Ahead, the hero will find another box that can be broken - there are cartridges inside. However, this is just a trap for the player, because as soon as Ethan appears in this part of the location, another daughter of Lady Dimitrescu will come to him and start attacking the main character in the guise of a swarm of black insects.

We leave the room and immediately turn left. You need to run straight and turn left until the right hand of the main character appears ladder. We rise along it and select the cartridges from the shotgun on the table to the left. After that, we run to the right, taking the reagent from the barrel along the way. We break the boards with which the passage is boarded up, and the main character is attacked by a vampire. This is a cut-scene that cannot be avoided.
2nd visit to the village
On the way to the old city, you will come across a cave with live fish. From now on, you will find animals, after killing which you will receive meat. This is necessary to improve your character. For more details, check out our Resident Evil Village hero health guide.
How to get into the house with the red pipe
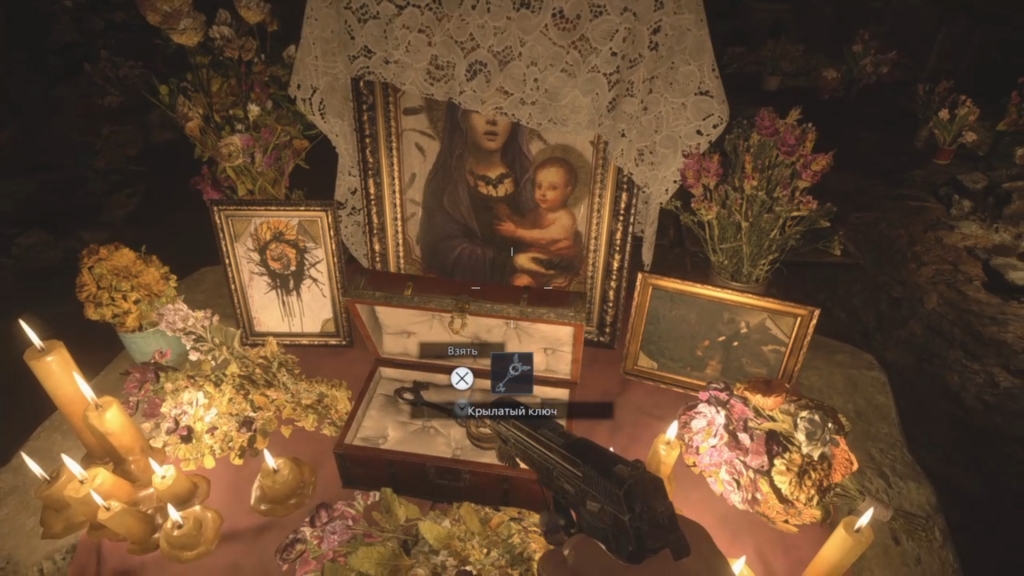
Find the old woman in the cave and take the winged key. Return to the old city and chat with the Duke. He will send you to the house with the red pipe.
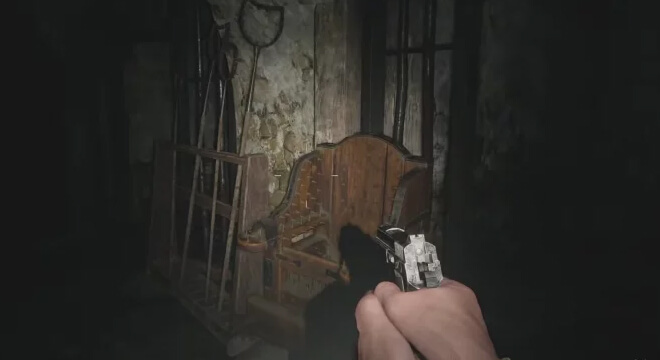
Behind the Maid of War statue there is now an open passage with a two-story house. Not far from the well in the central square there is an entrance to the basement of the house. Explore the basement and find the Teddy Bear treasure. Enter the house and open the door to the courtyard (next to the door is the "Wooden Beast" treasure). Go through the barn and look for a tractor on a jack. Here you will see a gate with the inscription: "Do not enter." Go through this gate and examine the small building on the left. Inside you will find a note "Look out the window", as well as a locked safe. The combination to the safe: "070408". Open the safe and pick up the jack handle and the M1911 pistol.

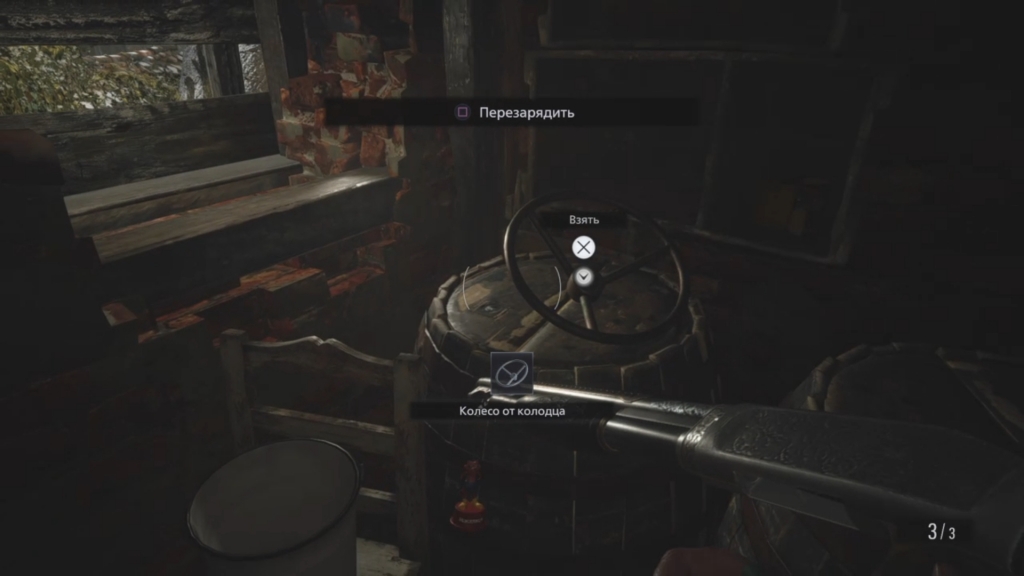
Return to the tractor and use the jack handle. Search all buildings and take valuable items. In one of the houses there is a treasure "Madalina (torso)". Open the marked door and take the wheel from the well. With this wheel, you can raise the mechanisms of the wells and get valuable items.
Climb the stairs to the roof of the building and move to the courtyard of the house with the red pipe. Search the house. Find the winged key piece and return to the Duke.
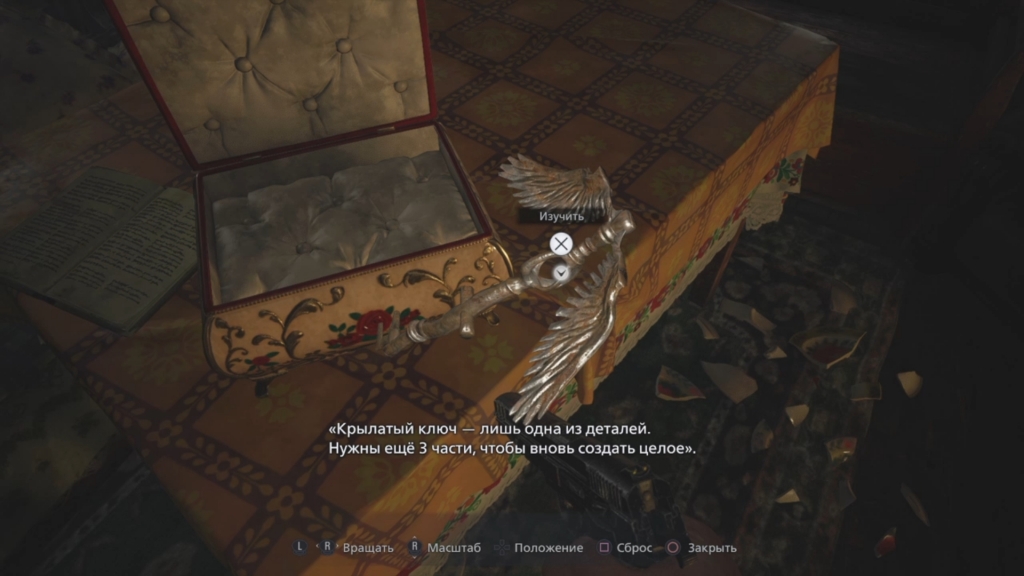
Now you have access to a complete treasure map and you can start searching for valuable items in the wells. When you decide to go further in the story, return to the Duke and open the door with the four-winged creature. This road leads to the house of Beneviento.
House Beneviento
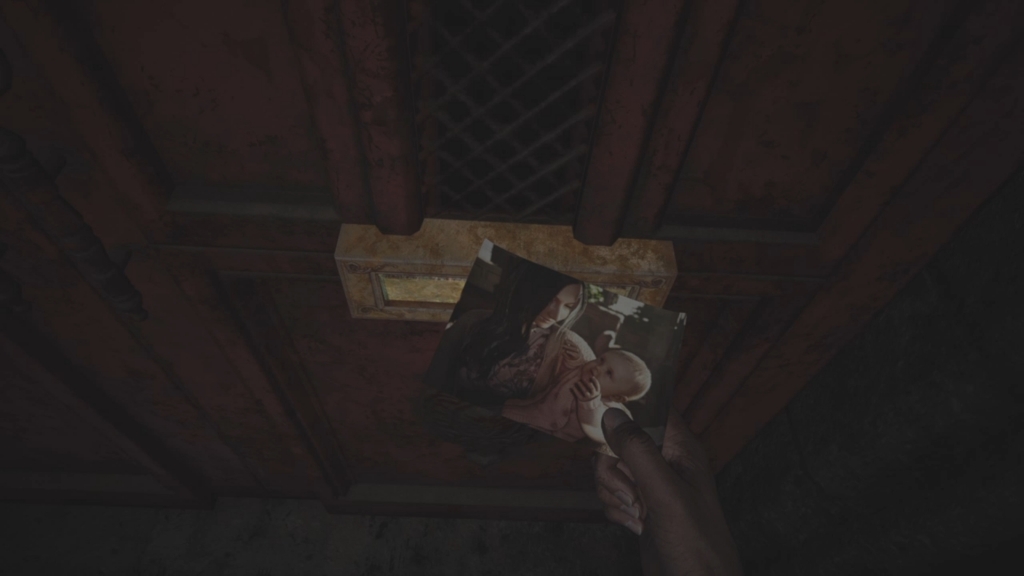
Walk through the garden to Beneviento's grave and read the note by the door that says "Give me back your memories". Interact with the letterbox and use a family photo.
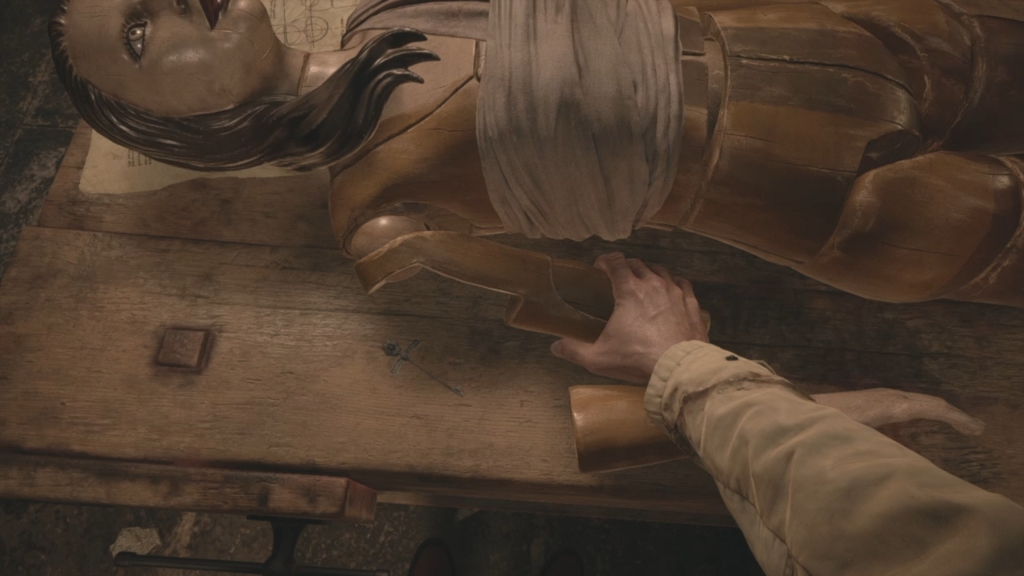
Enter Beneviento's house and find the elevator. Go down to the basement. Go down the corridor to the only unlocked room and pick up the flask. Ethan will lose all weapons, and a female body made of wood will appear on the table in front of you. Examine it and find a ring covered in blood, as well as a silver key in the shoulder part of the right arm. Examine the left leg and take the winding key.
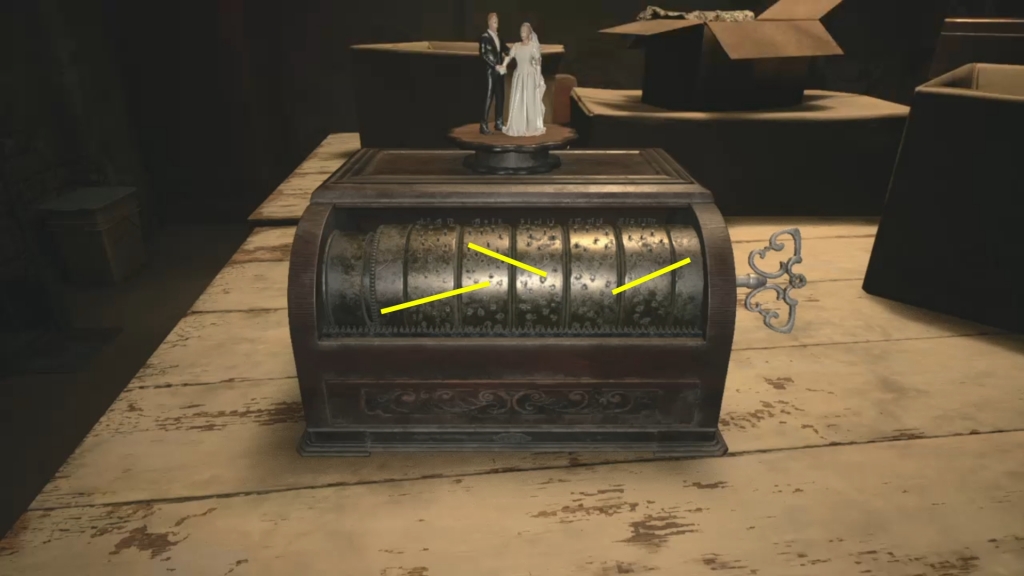
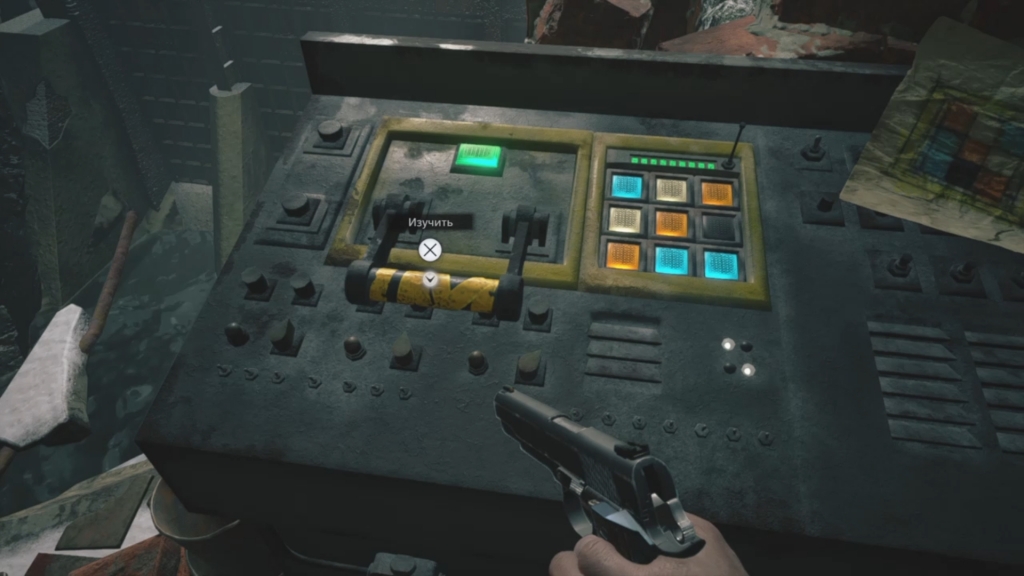
Use the silver key to open the door to the laboratory and go to the sink. Wash the blood off the ring to find the code for the lock: "052911". Open the door and find the door to the warehouse. Here you will find a box. Insert the winding key into it and place the drums as shown in the picture. You will receive tweezers.
Return to the wooden mannequin and use the tweezers to pull the film out of the mouth. Next to the elevator there is a door to the office, where you need to use the resulting film. To watch the video, place the tape in the following order:
- Film with a toy.
- A bowl with a book.
- Film with Rose.
- Film with music box.
- Film with a wedding ring.

A secret passage will open where you will find scissors. With their help, we cut the fabric on the mannequin and get a copper medallion. At the same moment, a passage to the left of the double door will become available. Approach the door with two medallions and insert the third one. Make a combination of two medallions, as shown in the image below.

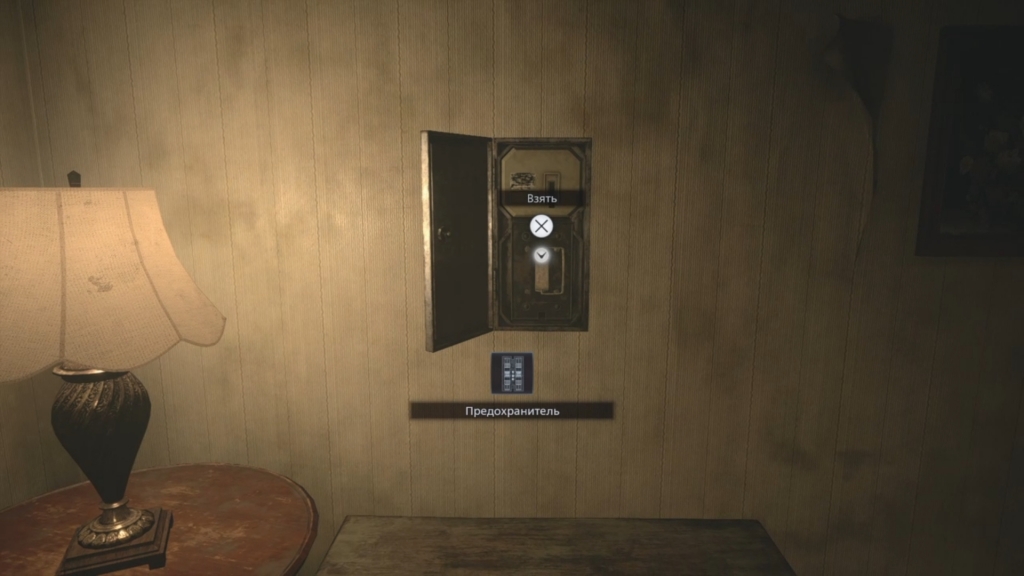
Go down the well and pick up the key from the electrical panel. Use it on the shield by the elevator and take the bas-relief with the child. The bas-relief must be inserted into the door next to the laboratory. Do this and go through the kitchen to the bedroom. Take the fuse and run back. At this point, a monster will attack you. Return to the bedroom, hide under the bed and wait for him to walk around you. Insert the fuse in the electrical panel, get into the elevator and go up to the first floor.
Watch a video with Beneviento, who will offer you to play hide and seek. You need to find the doll several times. Correct sequence:
- In the room on the second floor, next to the bed.
- At the table in the living room.
- To the left of the entrance, next to the door to the closet.
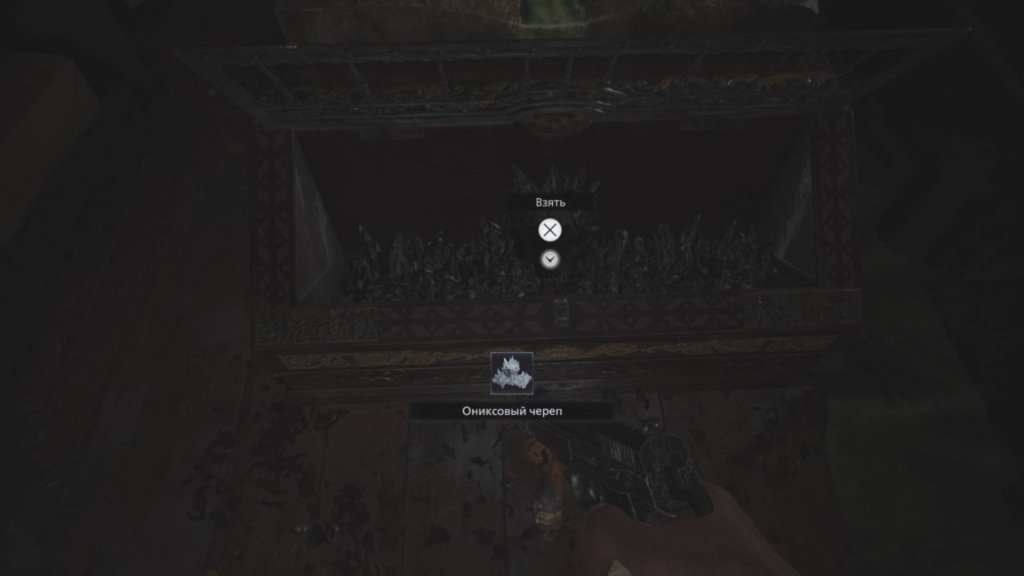
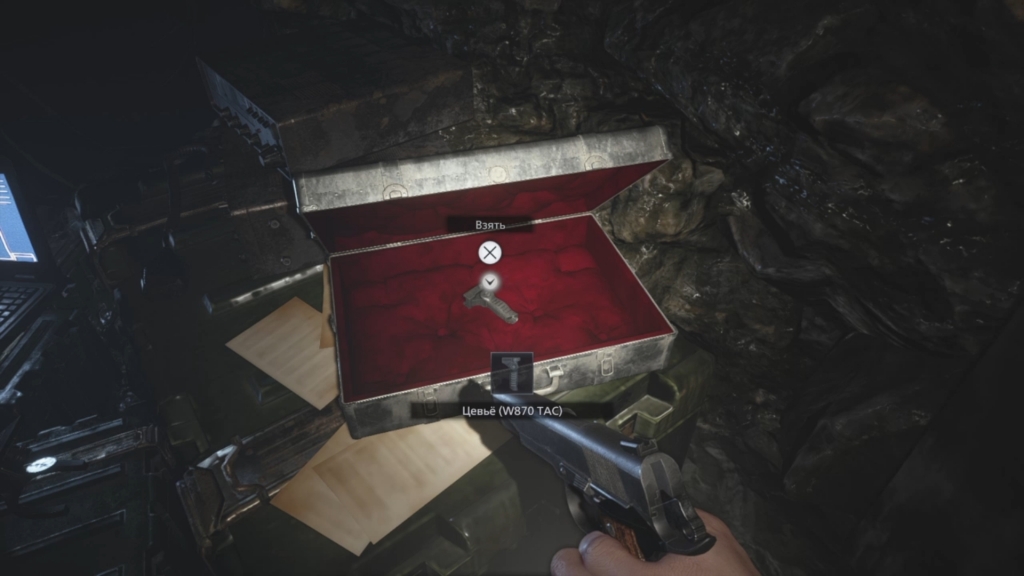
After that, you will receive a part of the key. You can leave Beneviento's house and look around the garden in front of the mansion. In one of the houses, look for the W870 TAC shotgun. There is a tree next to this building, under which there is a casket. In it you will find a ball with the sun and the moon. This orb must be used in the nearby building to solve the maze puzzle and get the Onyx Skull treasure.
In the same building, find the violin maker's key, whose house is located in the old city. In the toilet behind the house, look for a photo of a strange bird. Examine the well and find a piece of the Medellin (head) treasure.
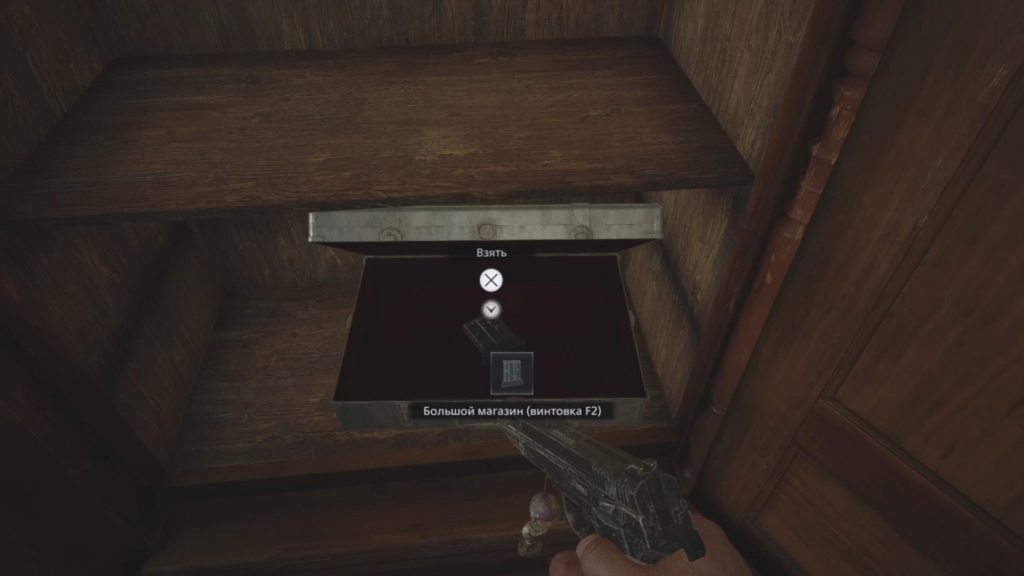
Return to the old city. If you found the Violinmaker's Key, you can search his house for the Steel Hrösvelg treasure, as well as the Large Magazine (F2 Rifle) weapon upgrade. To open a locked cabinet, use the password: "270917".
Open the door with the four-winged creature and the embryo, which is located next to the Duke's shop. A monster will attack you. Kill him and open the locked grate with a mark. Pick up the GM 79 grenade launcher and high-explosive shells here. Follow the stream and find a passage to the reservoir.
Flooded Moro houses
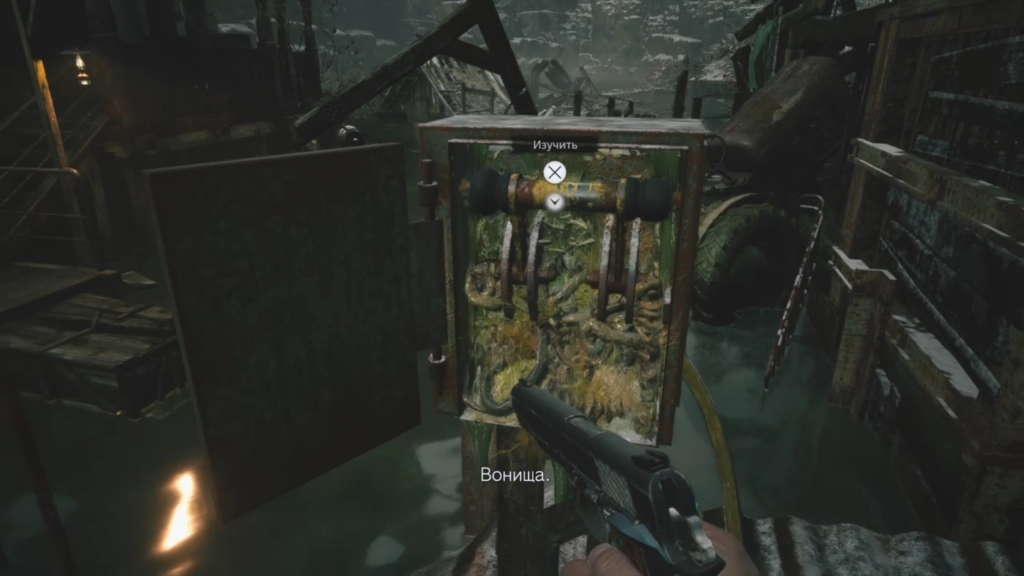
Get rid of the slime with a few shots from your weapon and climb over the fence with the ladder. Enter the mill building, find a photo of a rare animal and go down to the elevator.
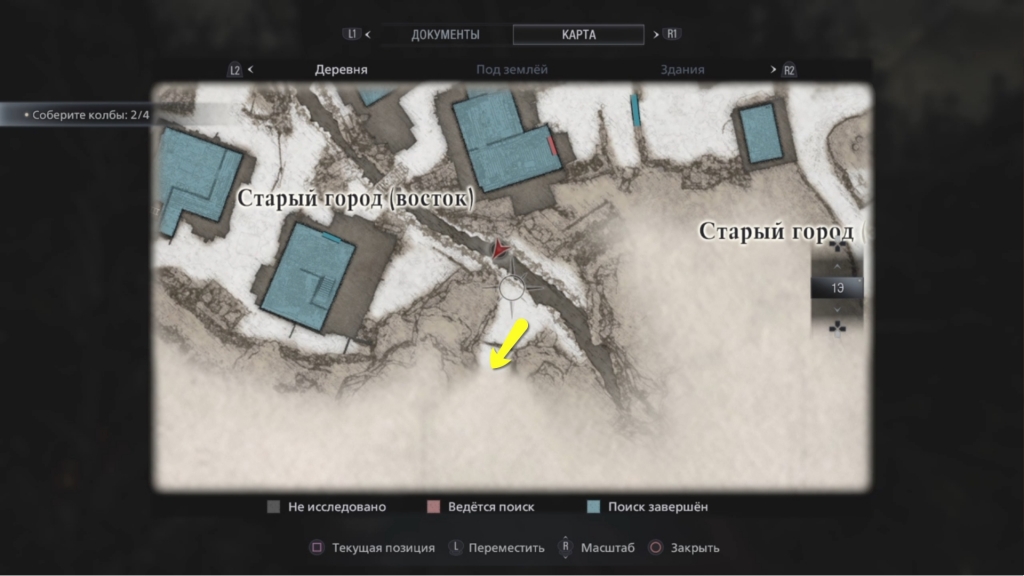
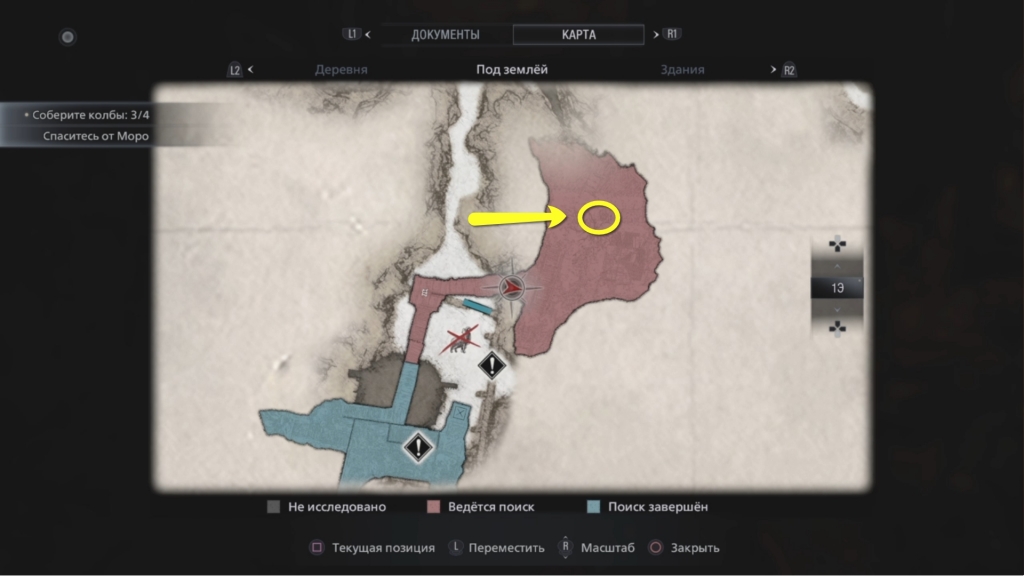
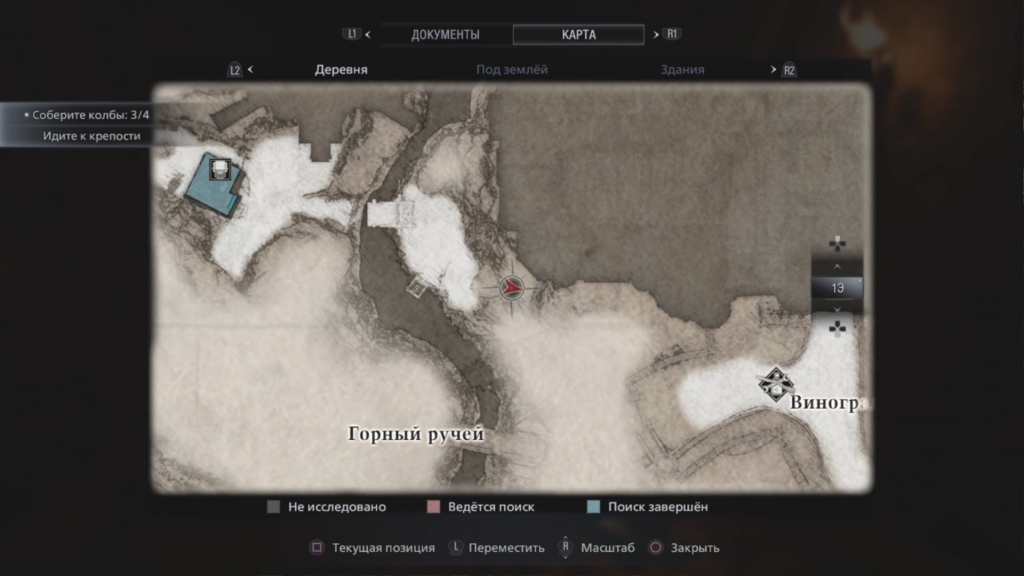
Run along the only path. Take the flask and run back to the exit. Open the map and look around. You need to get to the northern part of the cave and find the key to the boat.
Leave the cave and use the boat to get to the flooded houses. After the cut-scene with Chris Redfield, go up to the water pumping station building. Here you will find a passage to the mills. Go down to the flooded houses. Beware of the huge fish as you pass from one house to another. Push the first cart into the water and use the lever.
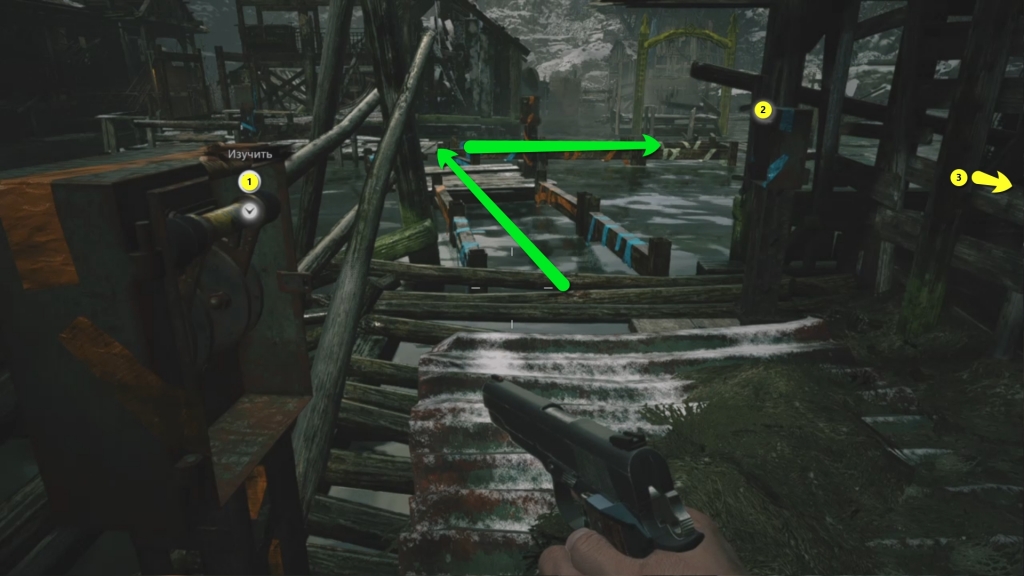
Solve the lever puzzle. Each of the levers has its own color. When the lever is activated, the corresponding platform rises out of the water. To get to the ruined house with three levers, activate the blue lever, stand on the platform and activate the red lever.
In the house you will find three levers: blue, red and yellow. You need to activate them in the correct sequence:
- Red lever.
- Blue lever.
- Yellow lever.
Launch the second cart and look for a lever with which you can understand the sunken ship. Climb the stairs to the mill building, take the handle and use it on the mechanism. With the help of a steel cable, move to the opposite mill to use the handle on the second mechanism. Return to the station, restore the combination on the panel and open the airlock. Correct combination:
- Blue, white, red.
- White, red, black.
- Red, blue, blue.
How to beat Moro
You opened the floodgate and pumped water out of the flooded village. Now you can go downstairs and search the buildings, as well as fight Moro. In one of the houses you can find an upgrade for the M1911 pistol "Big Magazine".
The battle with Moro will take place in a small location between houses. During the battle, use explosive barrels and deal damage to Moro until he climbs onto the roofs of houses. At this point, find any cover, as the monster will start attacking with poisonous slime.
Repeat the steps until Moro dies. In the cave, find the key piece and combine it with the four-winged embryo key.
Moreau laboratory
Drawbridge
Drawbridge (hidden treasure)
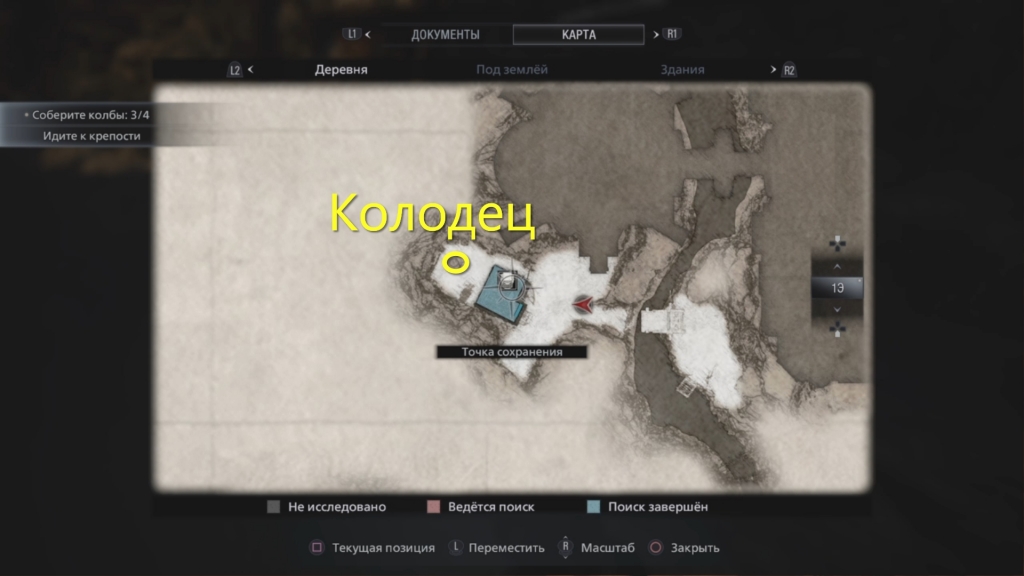
This part of the passage does not affect the plot, but can bring you good bonuses. Returning to the square to the Duke, run towards the mountain stream and stop at the stone bridge. Go down under the bridge, use the lever and lower the raised wooden bridge. You will open a passage to a motorboat, with which you can move up and down the river.
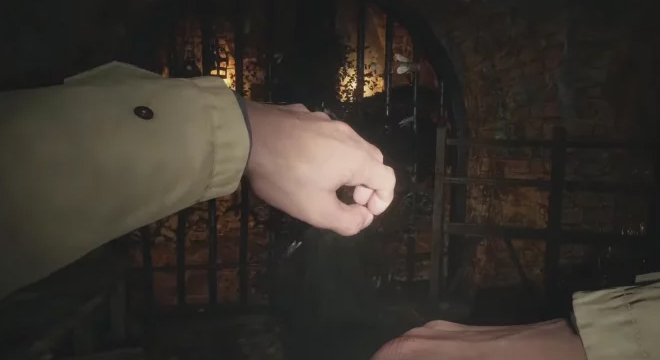
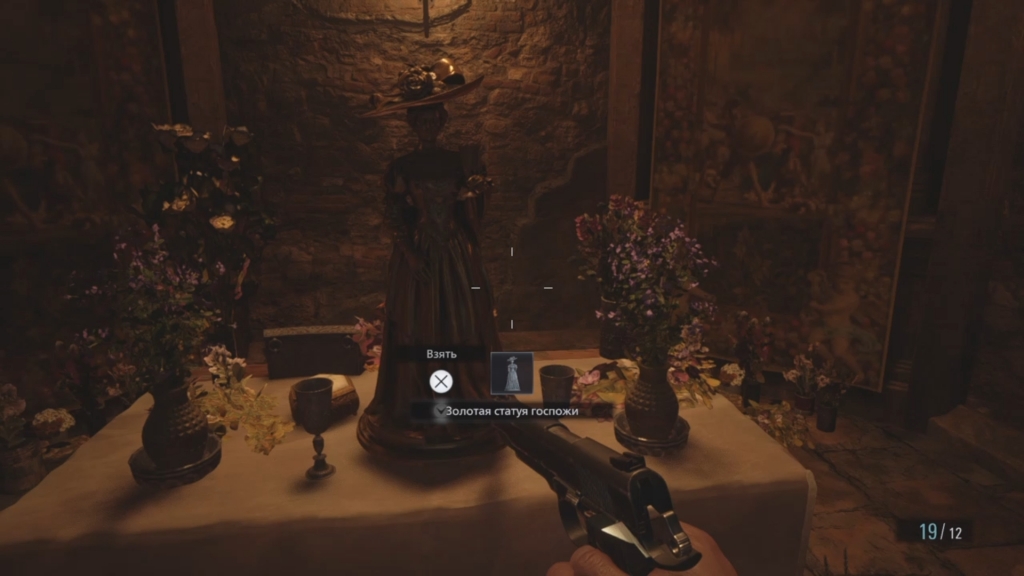
Ride up the river and stop at a similar sliding bridge. Here you will find the entrance to the crypt. You need to solve the torch puzzle. Use the hanging torch and light the two nearby torches. When the monsters start to appear, have one of the monsters come up to the hanging torch and ignite. Lure him to the torch in the next room to get the Golden Lady Statue valuable item, as well as revolver ammo.
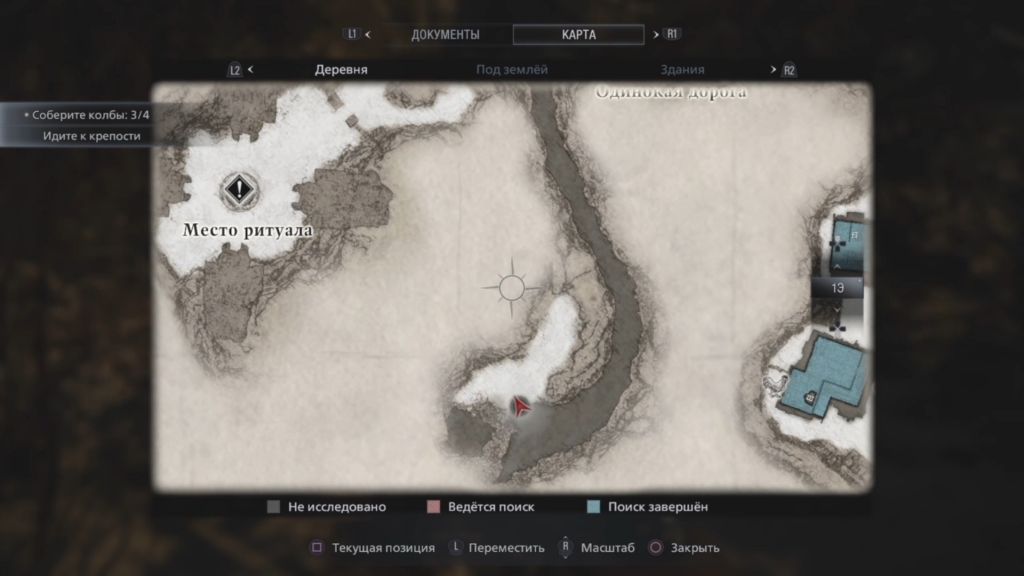
Leave crypto. Use the lever on the raised wooden bridge. Use the wheel on the well behind the house and go down into the cave.
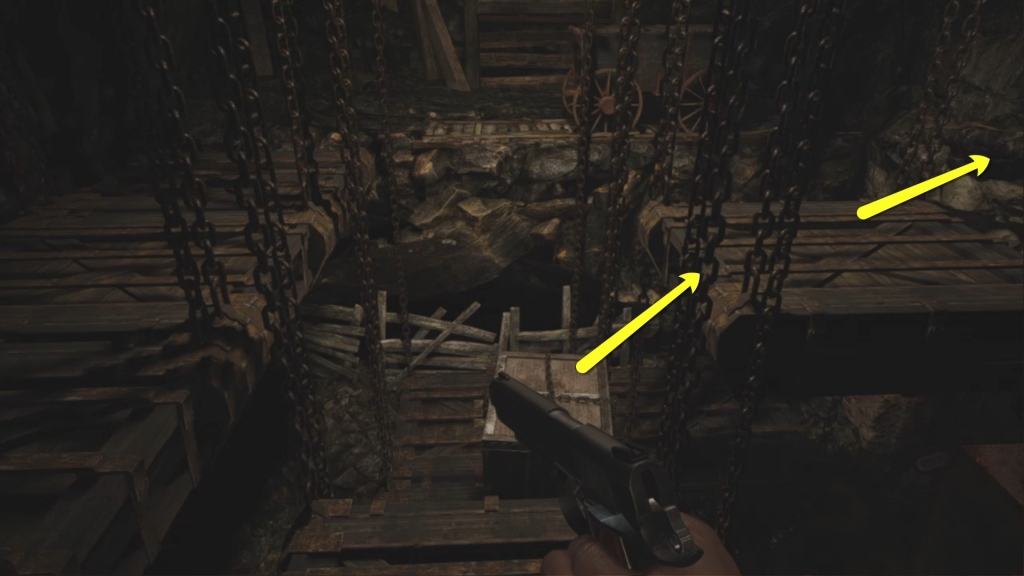
Here you need to solve a puzzle. Climb up the crates and push the cart aside. Lift the leftmost platform where the second cart is located and drop it down so that the cart is on the central platform. Raise the rightmost platform (platform at the iron door) and climb into the room.
Pick up valuable items and ammo, after which you can return to the boat. Climb down the river and find a small lake next to the cave.
The lake is home to excellent fish, and in the cave you will find a large amount of ammo, a valuable item "Ancient Coin", as well as an improvement for the shotgun "Handguard (W870 TAC)".
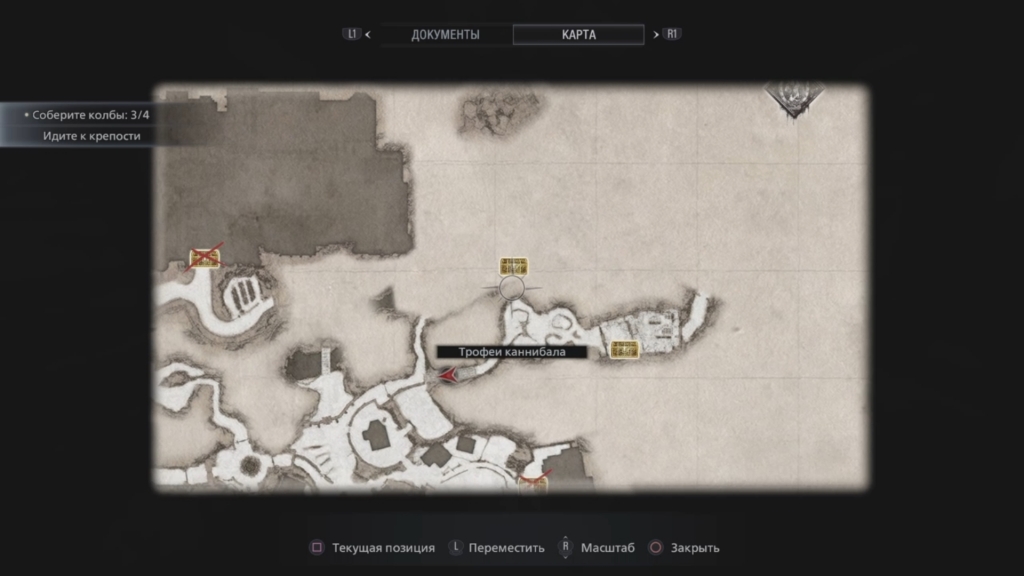
Otto's Mill (cannibal's hut)
Open the door with the six-winged embryo behind the church. Here you will see a fork. The road through the bushes (to the left) leads to the cannibal's hut. If you destroy this enemy, you can pick up a large amount of meat, poultry and fish, as well as the treasure "Angel of Father Nikola".
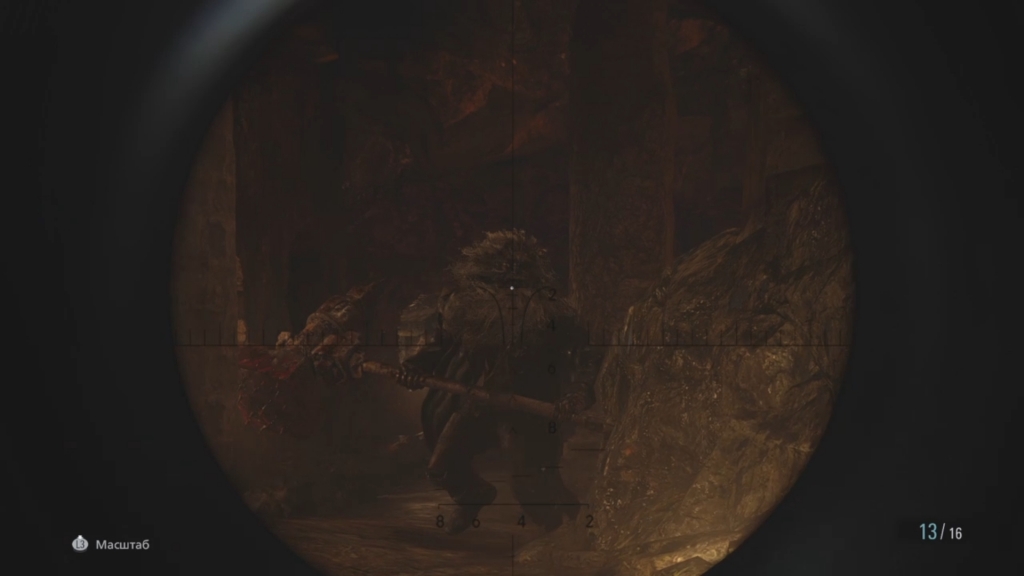
Forbidden Forest (fortress)
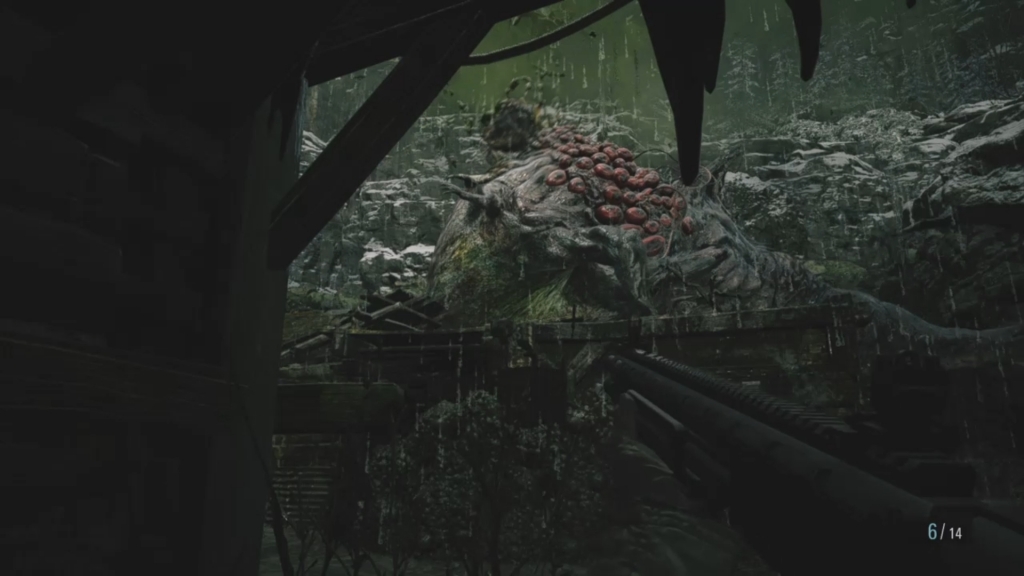
In this part of the walkthrough, you need to follow forward from the gate with the six-winged embryo, enter the fortress and defeat all enemies. In the fortress dungeon, defeat the main monster to open the way. The giant has no weak points, so deal damage to the body until he dies.
After the battle, go down even lower and take the last flask with a part of the Rose. Find the Guillermo's Plate treasure and return to the merchant. Insert all four flasks into the Giant's Chalice, pick it up and take it to the ceremony site.
Heisenberg Factory
Factory. Ground floor (B4)
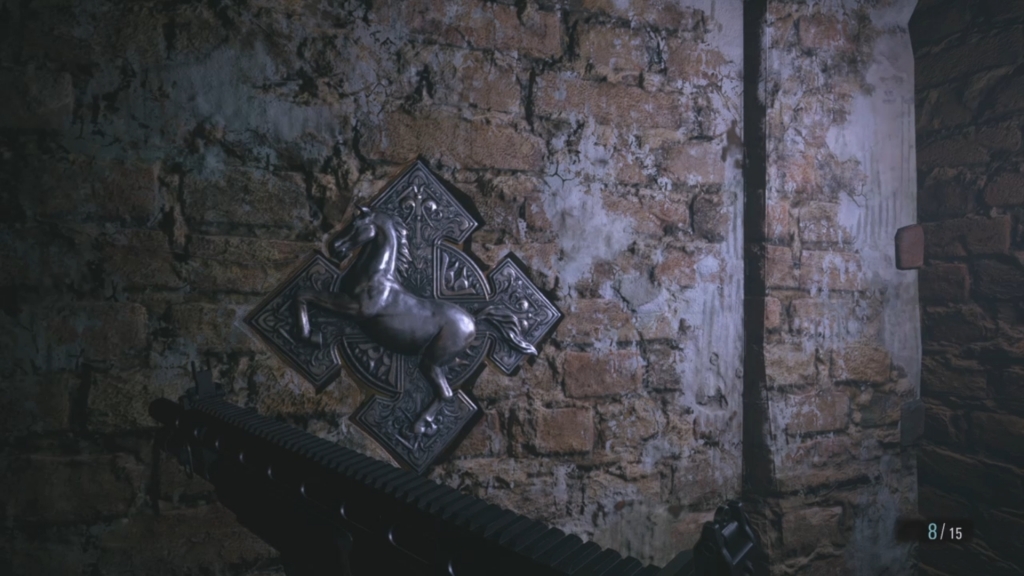
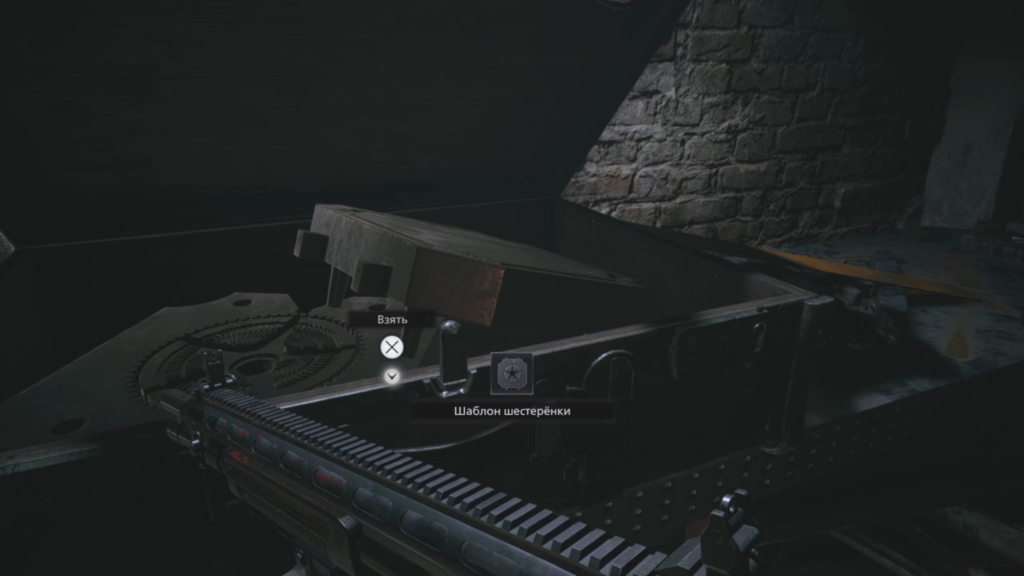
The factory consists of three floors. On the first floor, find a casting machine, and a chest with a bas-relief template. Return to the casting machine, install the bas-relief template in it and take the bas-relief with the horse. Insert the bas-relief into a special hole in the wall.
Walk through the engine room. When you get to the stairs, pay attention to the crack in the wall. Destroy the wall with a Pipe Bomb or Mine to collect the Spare Part (Cylinder) Treasure and Shotgun Shells.
In the engine room, find the mechanism into which you need to insert the gear. Open the only door in this room and take the factory map (lower floors). Here, take the gear template in the chest.
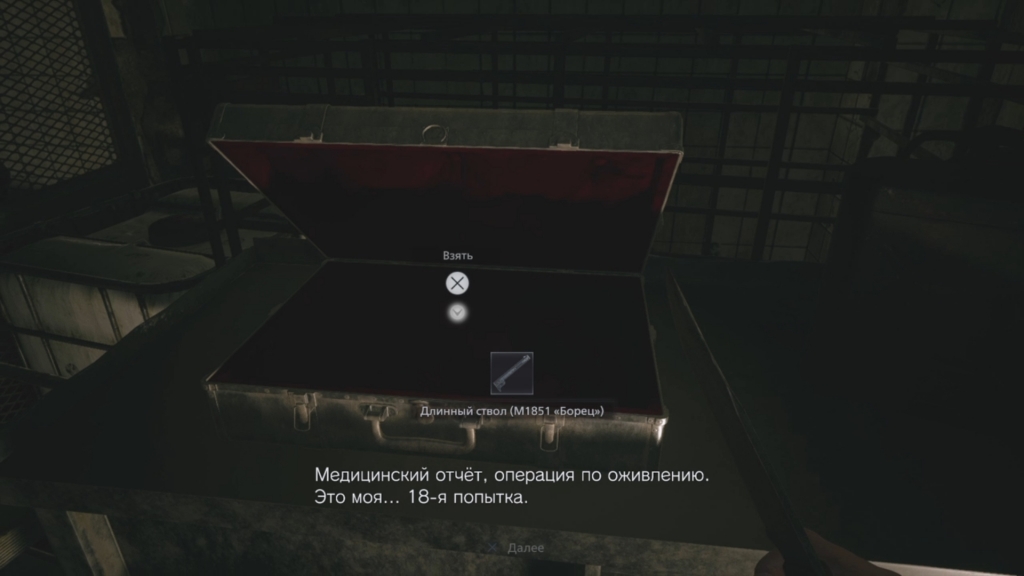
Return to the casting machine and create a gear. Insert it into the mechanism that activates the power of the lower floors. You will now be able to return to the casting machine and look around the operating room for valuable items. Basically, you need to find the M1851 Long Barrel Revolver upgrade here. Get out to the second floor of the factory and call the elevator.
Factory. Second floor (B3)
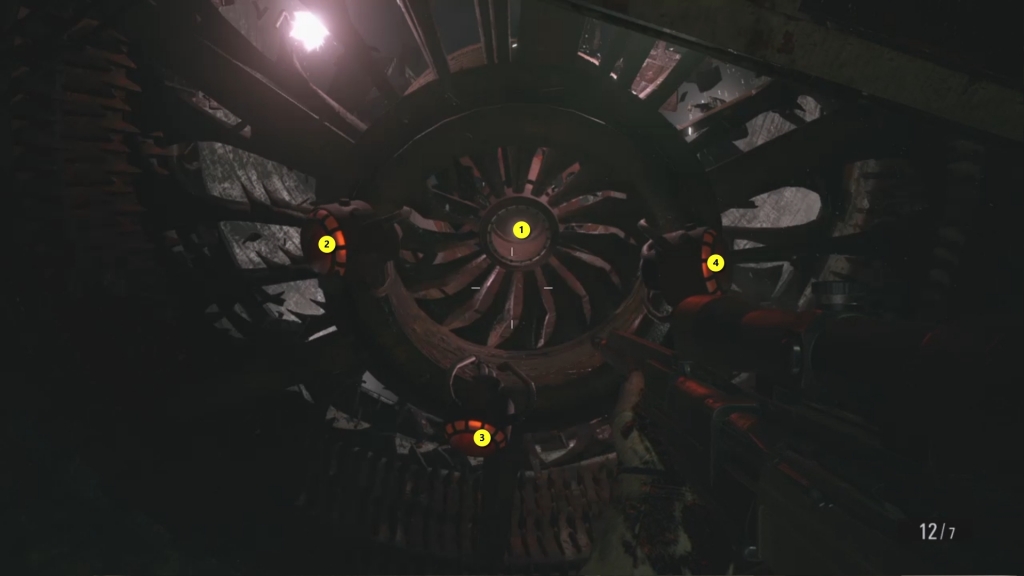
When the elevator arrives, you can save your progress and purchase new goods from the merchant. Climb the stairs and find the entrance to the cave. Go through the cave and get to the ventilation duct. The hero is attacked by two strong opponents. You can fight them or avoid the fight. To climb up, you will need to stop the fan blades. This can be done by destroying the four red lamps under the fan.
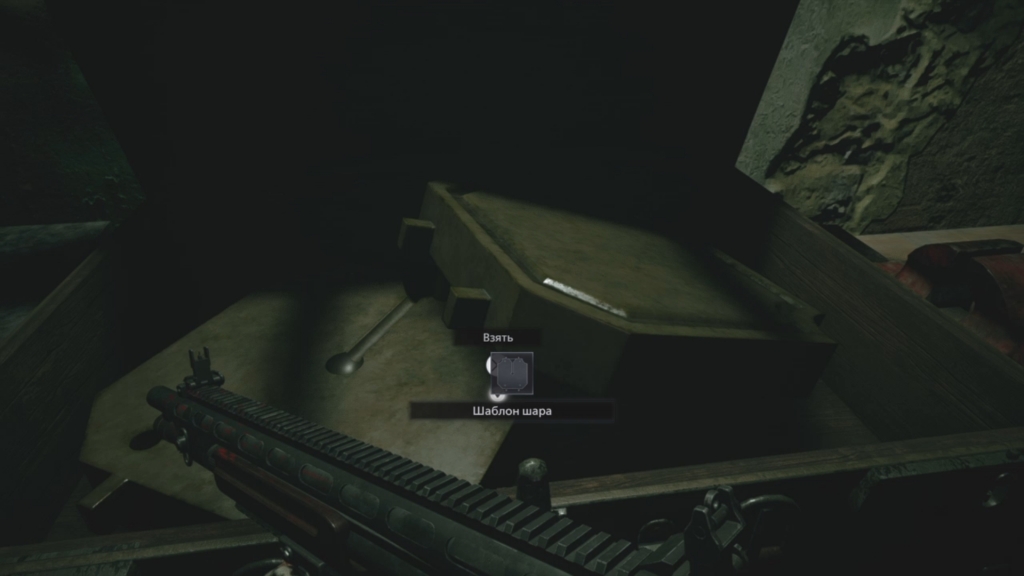
Climb the stairs and take the factory map (upper floors). Move the cart aside and make your way through the ventilation pipe. Take the balloon template.
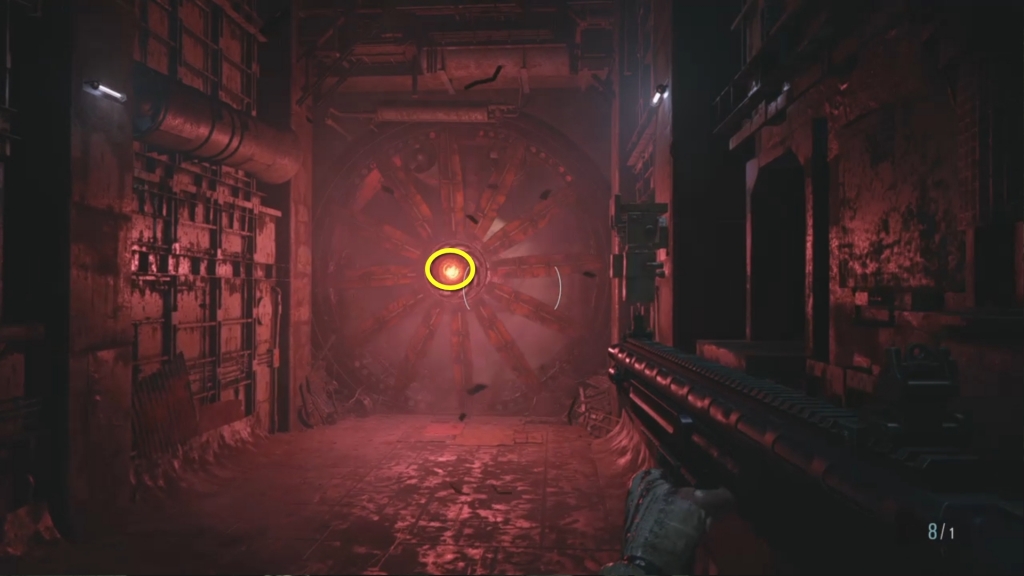
On the top floor, you will see a large fan that will start sucking you in as soon as you get to the edge of the platform. While flying, you need to shoot the red lamp on the fan to stop it.
Some players may encounter an error. If you try to aim and shoot at the lamp without activating the script, during which the character begins to be attracted to the fan, then you will break the level. The fan will continue to rotate at a low speed, and you will not be able to go any further. Faced with such a problem, you will have to load the last save.
Go through the shaft behind the fan and take the elevator up. Take the key template and high-explosive shells for the grenade launcher. Call the elevator to the third floor and return to the foundry to craft the Heisenberg key and the iron ball with the horse. An iron ball with a horse can be used on the first floor of the factory, in a small room opposite the elevator with a merchant.
There is a locked door next to the foundry, marked on the map as "Heisenberg's Residence", which can be opened with a key marked with a horse. In this room you will find the Spare Part (Handle) treasure.
Factory. Third floor (B1)
Use the Heisenberg key on the third floor door to fight the Assault prototype. The most important thing in a fight with him is to constantly move and try to avoid dead ends. Every time an enemy hits the walls, shoot at the weak spot on the prototype's back.
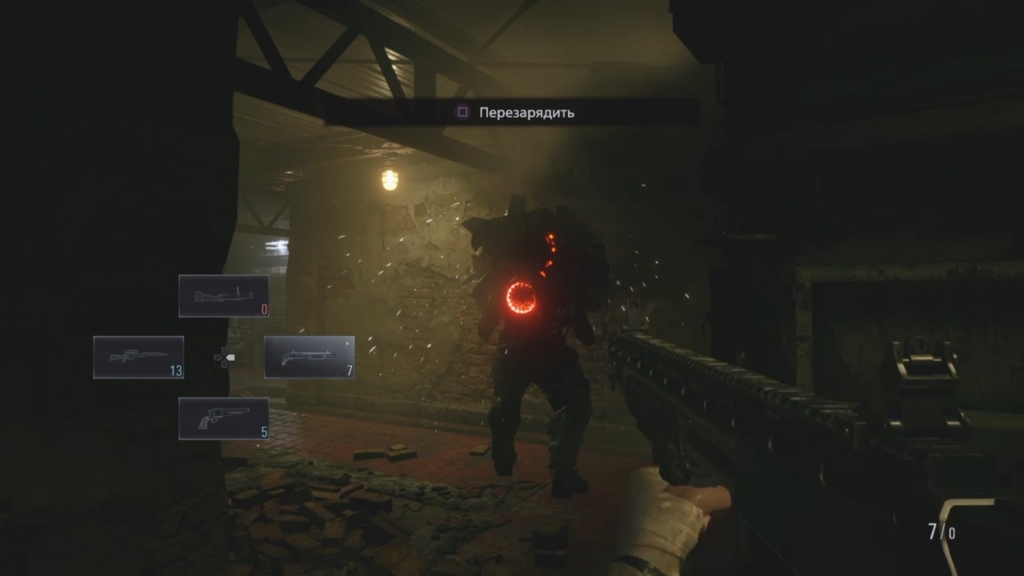
As soon as the enemy moves into the next phase and starts attacking with fire, it will be more difficult to hit the weak spot. You can use explosives to deal a lot of damage to the boss. After the victory, we go up the elevator and watch a few cut-scenes with Heisenberg and Chris.
How to beat Heisenberg
Before the battle with the Heisenberg Combat Form, you will receive a new weapon - a jeep with a machine gun and a rocket launcher. The battle is divided into three parts:
- Shoot at Heisenberg's weak spots (highlighted in red).
- Attack Heisenberg with your firearm (you can shoot at any part of the body).
- When the control of the jeep returns to you, aim and shoot at the fan on the top of Heisenberg's body.