Get to know the whole spirit of naval battles in a team of your friends or random players. You have to surf the sea, coping with the whole ship, occasionally landing on land. A lot of exciting tasks will only brighten up an already fun journey.
Sea of Thieves: Walkthrough Tall Tales "Pirate Life"
Where to get the Tall Tales quest "A Pirate's Life"
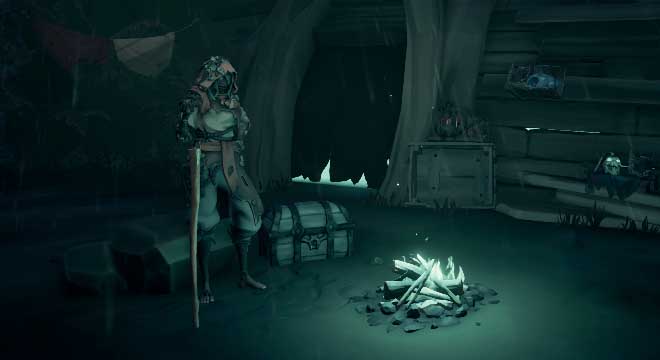
At any outpost we find the Hermit. Here's what it looks like in game:
It is from her that we take the task “Life of a Pirate”: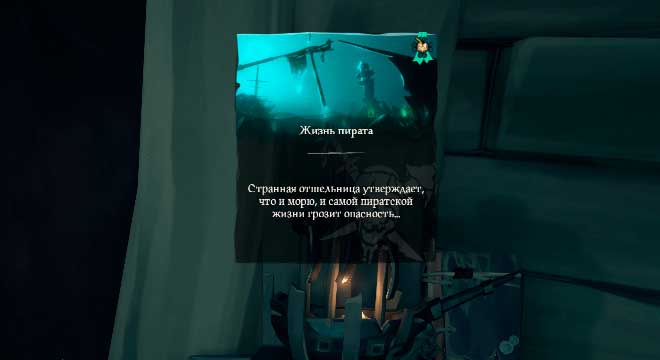
After a dialogue with her, a place appears where you need to swim:
Passage of Tall Tales "Life of a Pirate"
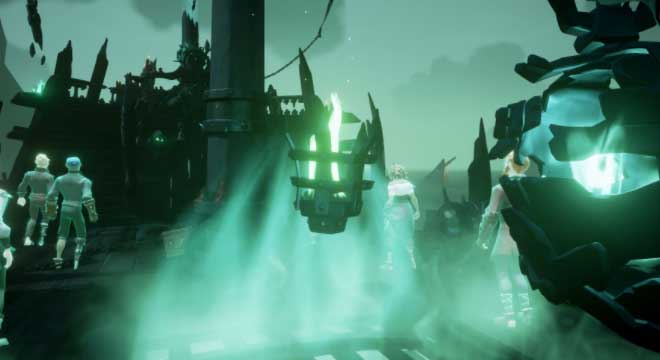
We continue to swim forward until we see this scene:
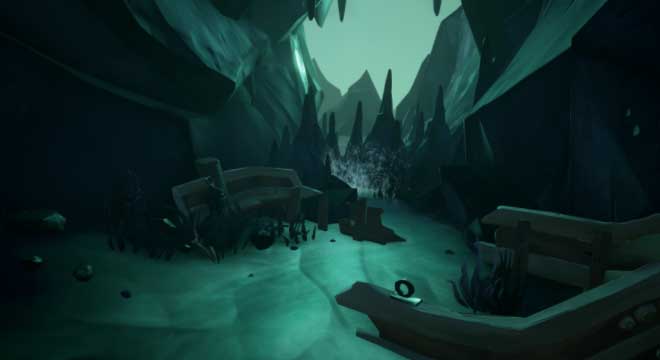
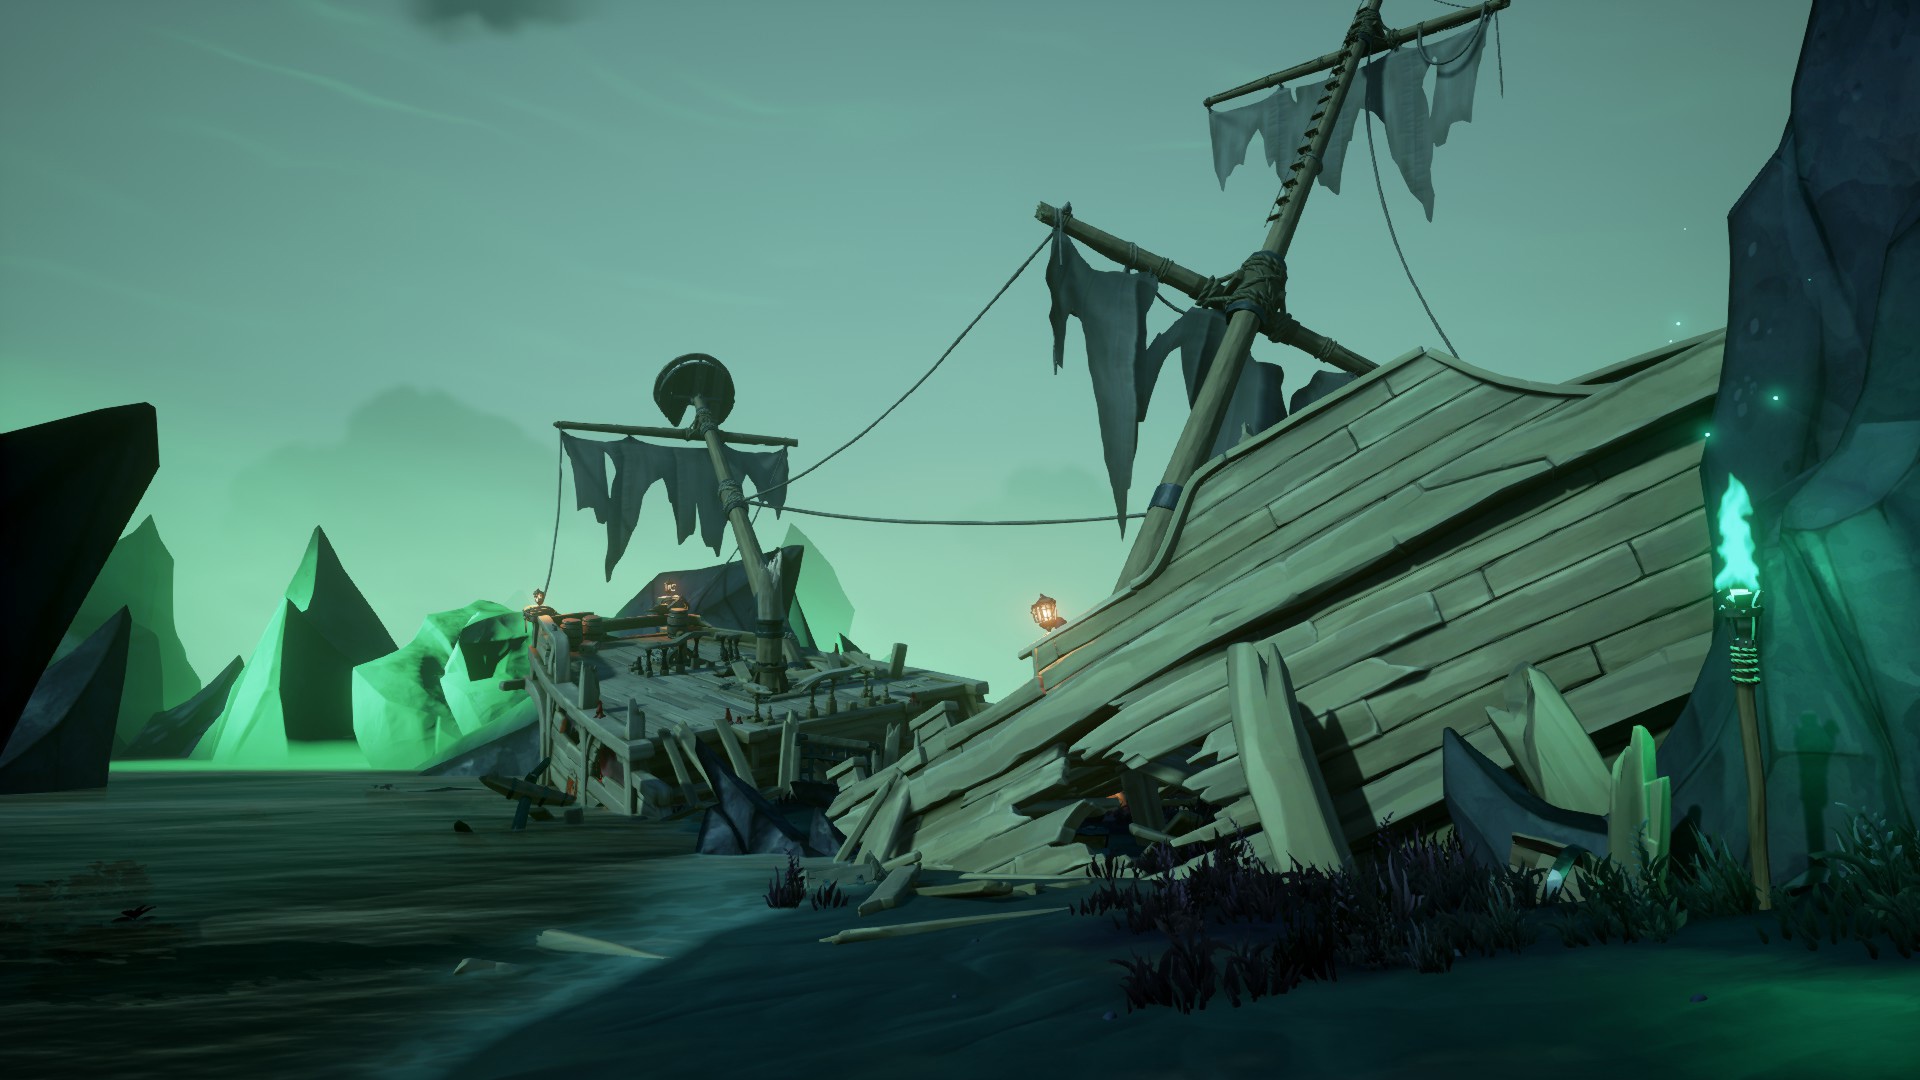
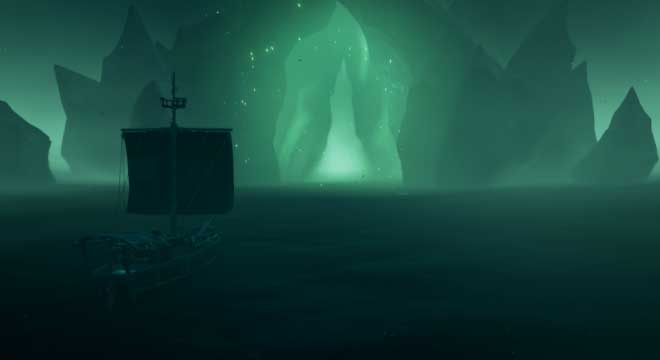 After teleportation, we get to the strange islands location:
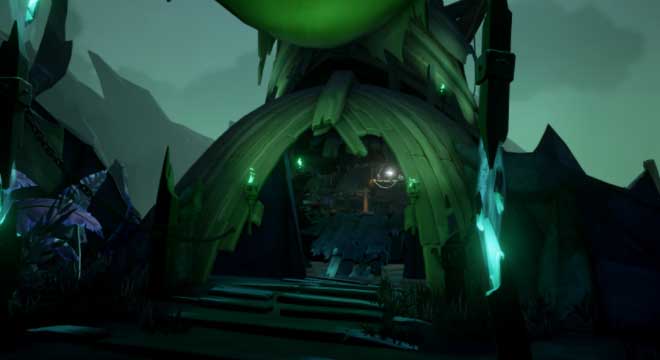
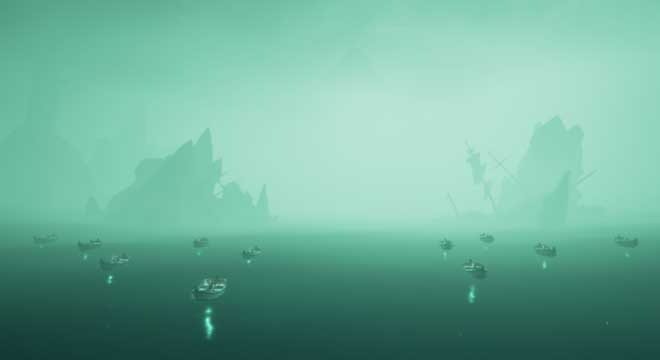 We swim straight until we see the island, land on the island and go deeper. The statue will serve as a landmark:
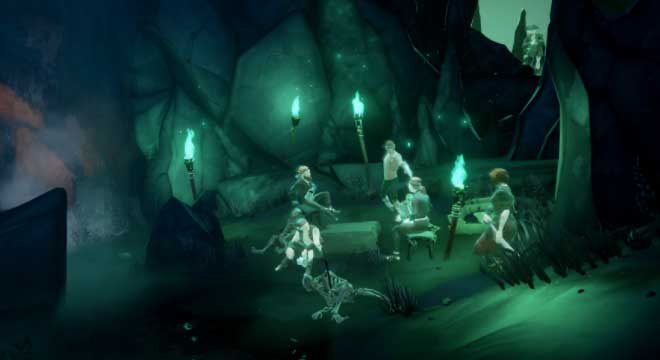
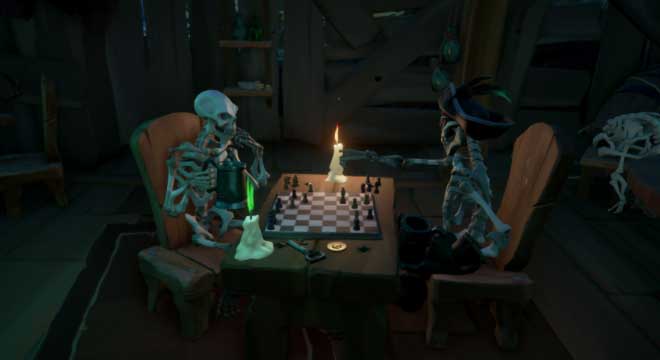
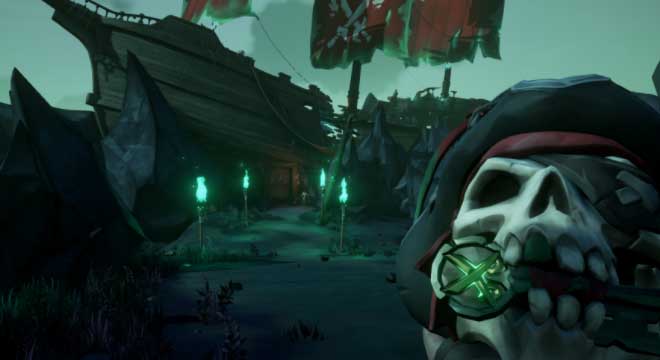
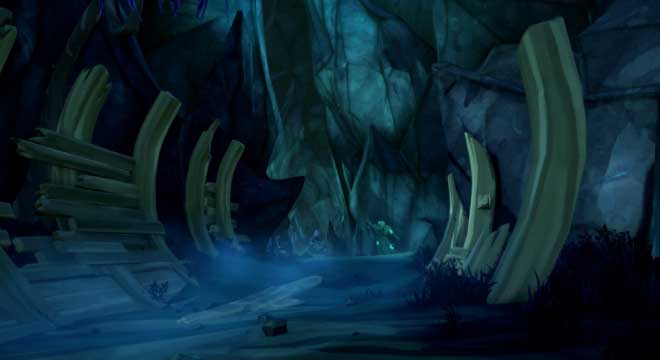 We pass into the cave and see two pirates sitting by the fire. From this fire, you will need to take a light that will come in handy for us along the entire path of history:
 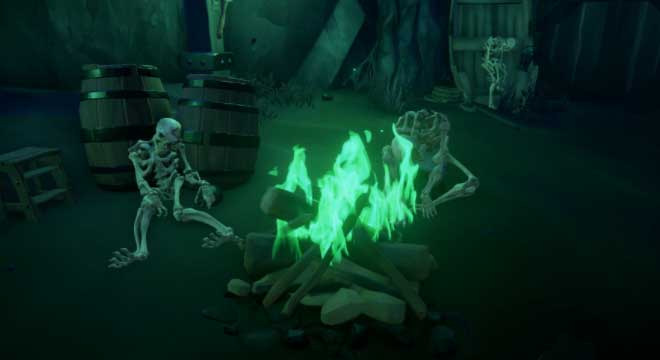 For the first time, we pass the light into two lanterns not far from the fire:
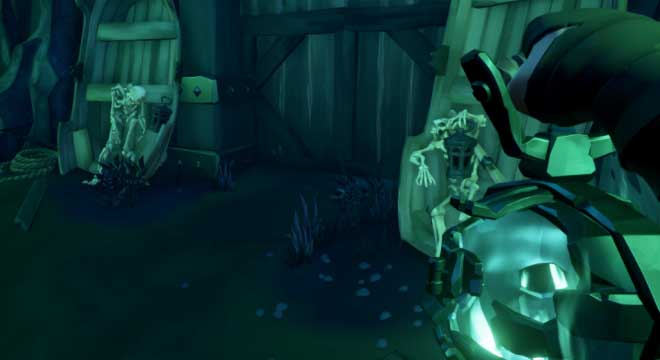
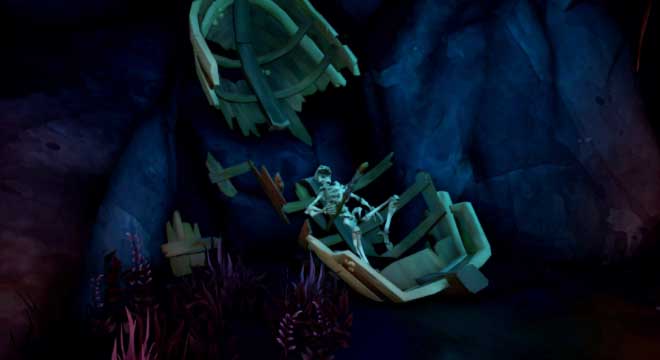
Once in the next part of the cave, we are looking for the following lanterns. The first one is located a little further from the entrance:
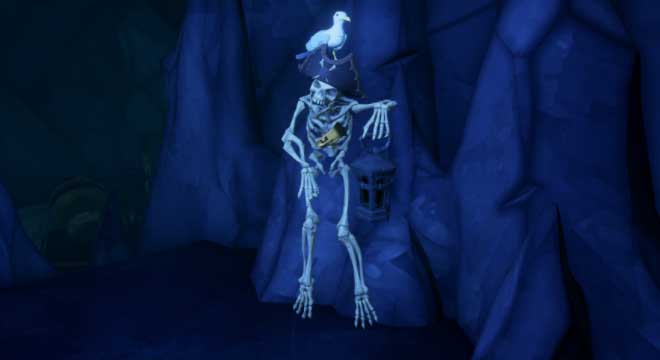
The second is in the center of one of the skeletons:
We will find the last lantern if we go to the left of the second downstream:
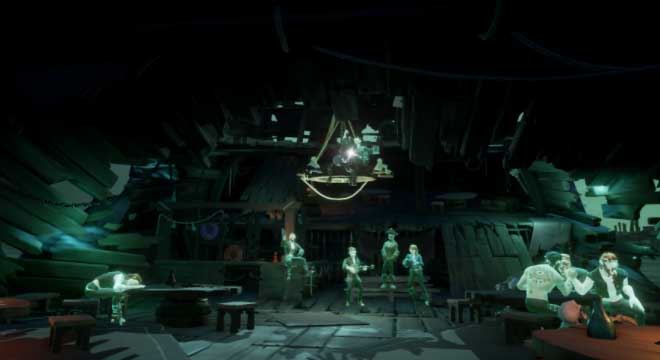
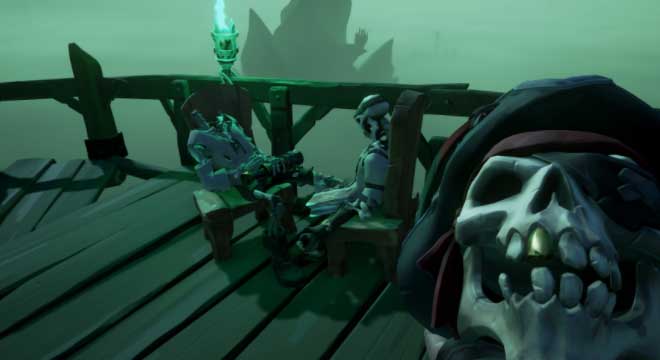
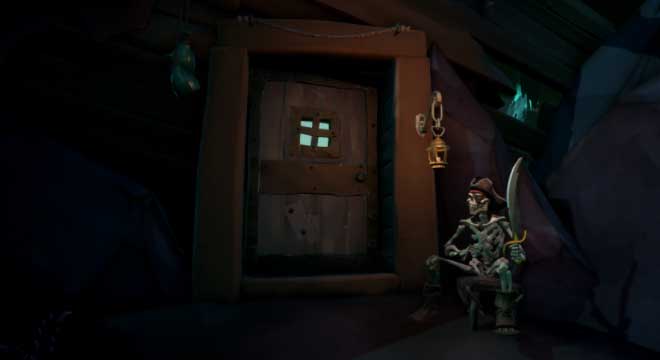
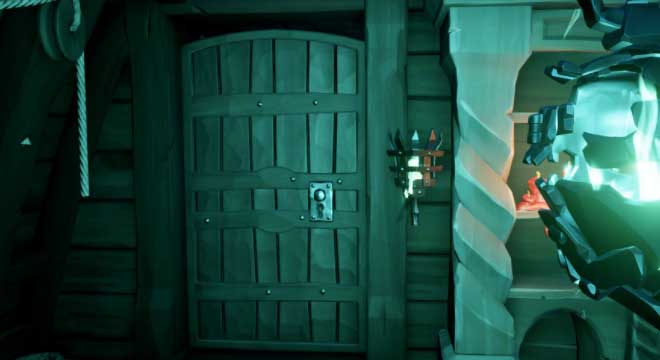
After we kindly open the door, we go further until we find the celebrating ghosts:
From them you need to go left through the waterfall and pick up the broken oar:
We use it to repair the lever and open the door:

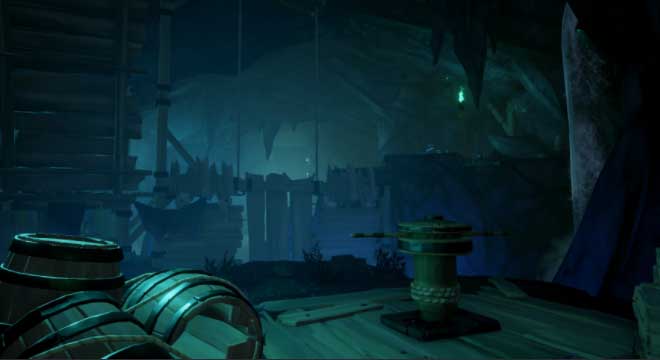
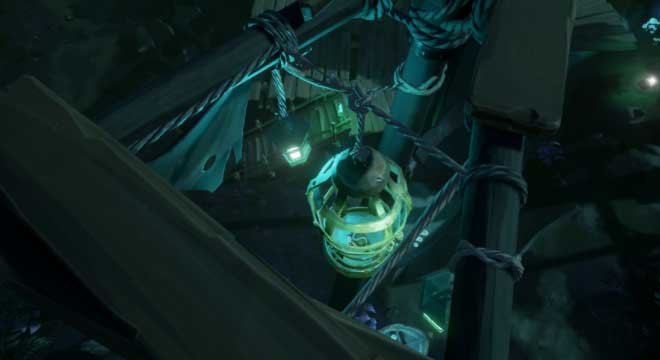
We go further until we see the following lantern:

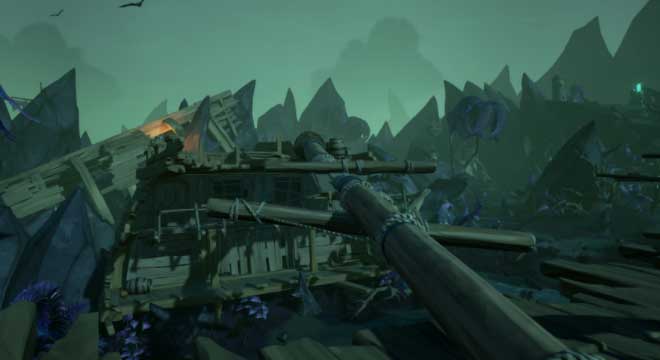
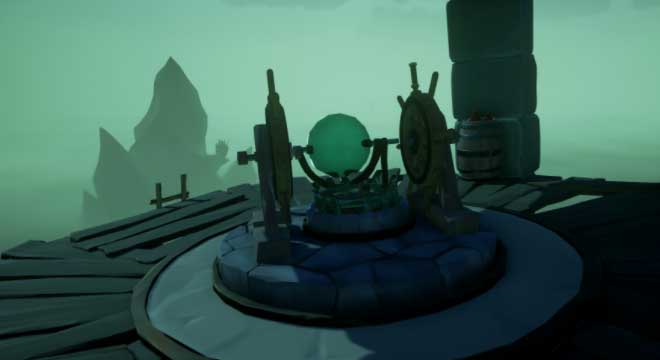
We follow the ghostly boat to the walls and pass by twisting the spire:
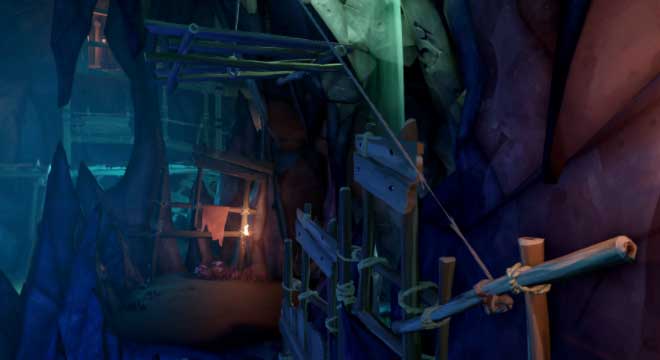
We lower ourselves the bridge and then go to the lantern. Here you need to climb the stairs up and cut the rope.
After the bridge, you will need to pull the mast towards you and jump on it before it goes back.
Then we cut the rope in the same way as for the first time:
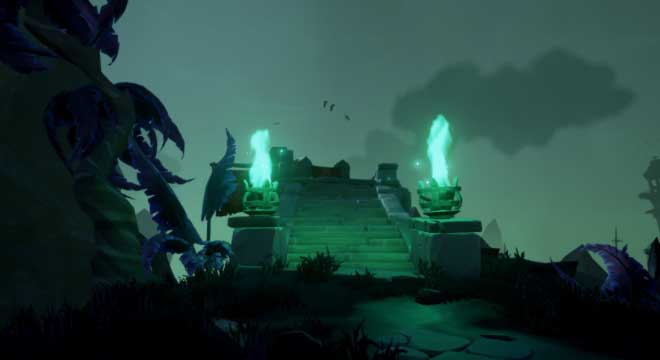
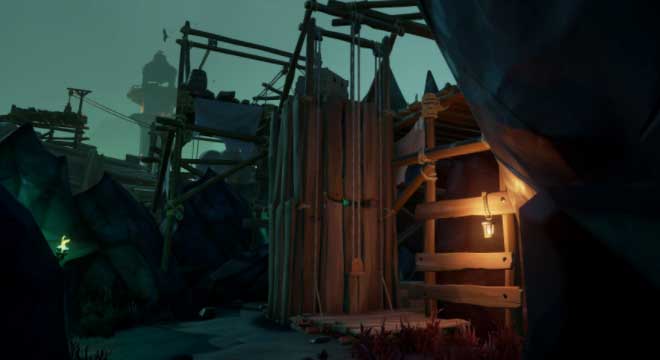
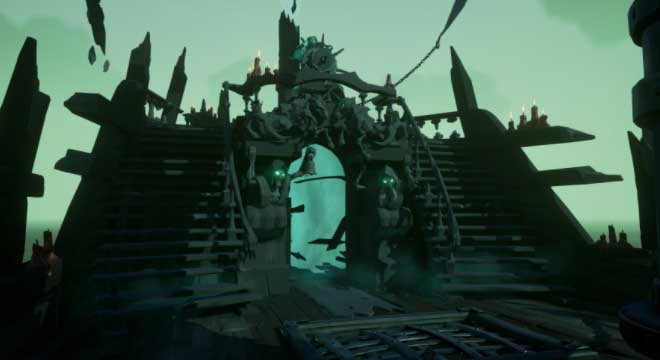
Coming out of the cave we will see stone buildings and closed gates. We turn left from them to light the brazier:
After passing through the bridge, we will hear the voice of the captain who needs help.
To lower the cage you need to follow the following route:


IMPORTANT
Near the right platform, you can jump into the cave where there is a special recipe of Captain Bones, which we will need a little later:
We cut the rope to drop the cage:
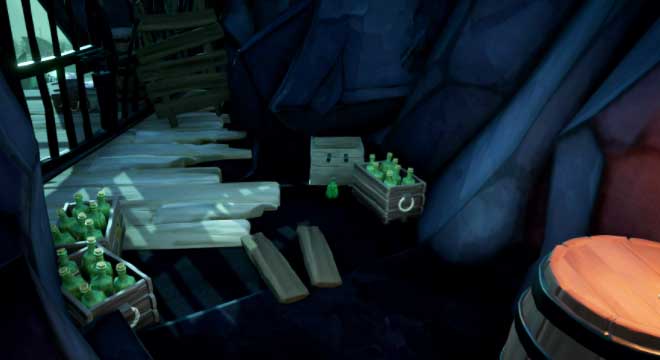
After the cage falls, you will need to find the key that will open it. He is in the bar behind the ship from which the path to the cage began:
We take the key and go to open the cage. After the cage is open, the captain will ask you to take him to the lighthouse, BUT FIRST IT WILL BE NEEDED TO OPEN THE PATH TO THE DIARY. Therefore, we ignore it and go to pick up other parts of the puzzle. First you need to find the treasures of the unfortunate Dagi. To do this, you need to talk to him. We go to the lighthouse but turn left under the pier:


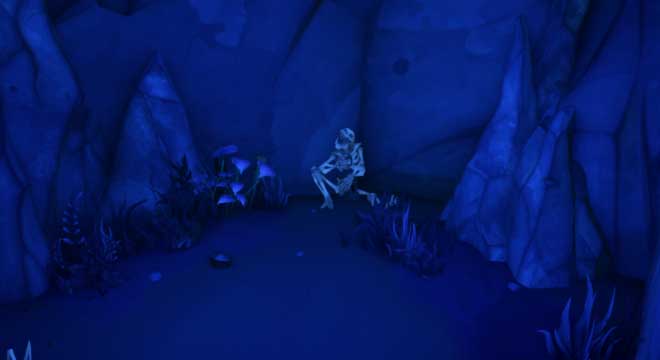
After passing through it, we go into the room where you will need to open the curtains and light the torches outside on the second floor:
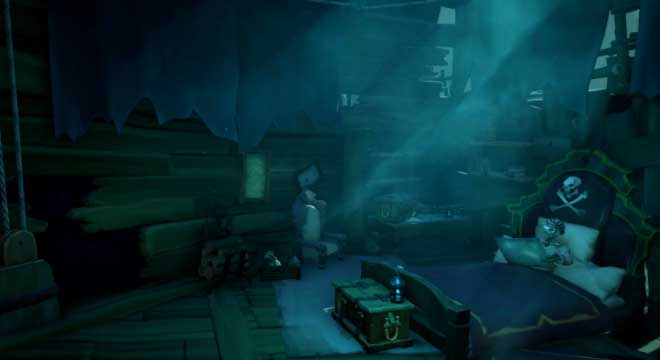
After that, we approach the skeleton on the bed. He will show us where the treasure lies.
We return back to the entrance to the bar. Treasures are located to the left of the entrance:
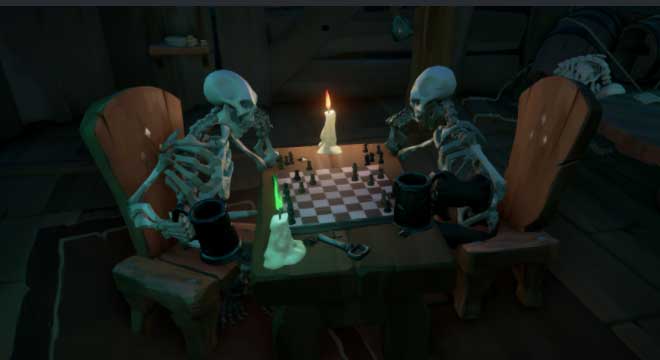
We dig up the chest and carry it back to the unfortunate. Then he gives us the key to the chest. Open the chest and take the medallion. With this medallion, as well as the special recipe of Captain Bons and the captain's head, we go to the place where they dug up the chest, but we pass by until we see two gambling skeletons and light the second candle:
First, add a special recipe to a mug and wait for the explosion.
After that, we bring the captain's head to the table, to which he will say that we need a bet. To do this, put the medallion on the table and the captain's head in the vacant seat:
After the captain wins, we pick up the key and carry it to the elevator where we were before:
We open the door.
We pick up the treasures and go further until we see the masts with sails:

They need to be turned to the right in order to light the brazier with a beacon.
Now we return for the head of the captain and carry him to the lighthouse.
We wait until he politely asks us to raise the bridge and move on.
At the top of the lighthouse we will see two skeletons, one of which will become the new body of the captain.
Next, you will need to light the beacon and direct it to three braziers:
After that, turn the beacon back and shine on the brazier that was hidden by the sails to access the Headless Monkey's ship:
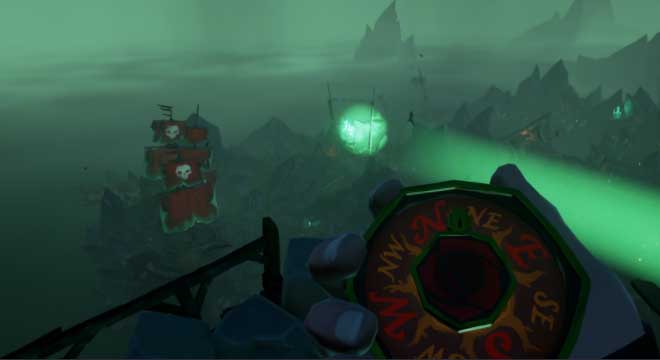
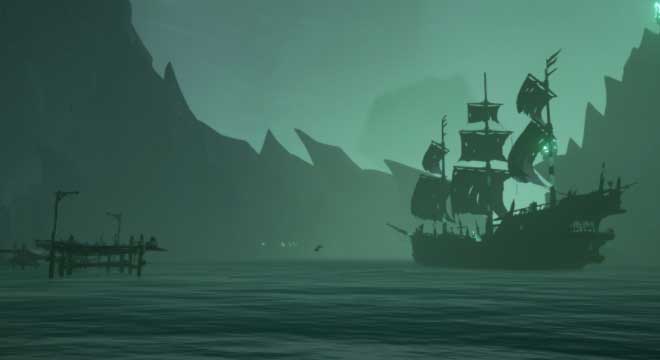
We take the captain's head and go to the ship with red sails:
We place the captain's head on the skeleton near the door and wait until he opens the door for us:
We pass through the ship up and place the head of the captain on his body. After which he gives the key which opens the door behind him.
The final
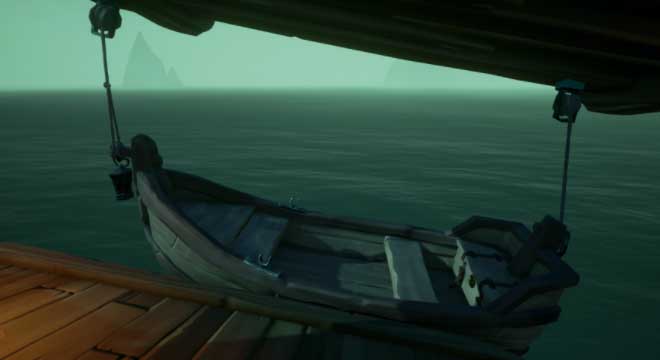
We pass through the door until we see the boat:
IMPORTANT! Last chance to collect diaries!
We get on the boat, unhook it and sail to the ferry:
We get on the boat, unhook it and sail to the ferry:
On the ferry, you will need to place a fire in the well of fate:
We go down into the opened aperture and light the torch near the door:
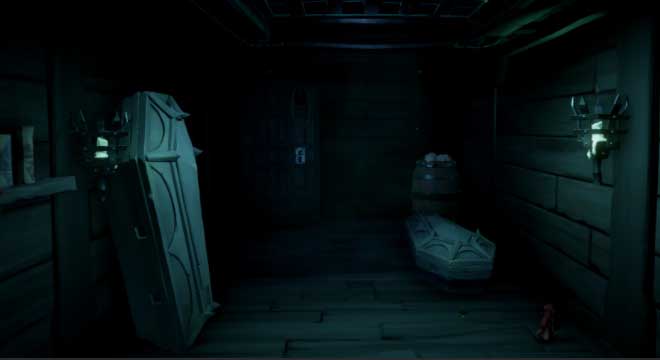
We go further and light two more torches, one of which is closed by the lid of the sarcophagus:
We save Captain Jack Sparrow and return with him to the deck.
We fight with the Flying Dutchman until Davy Jones sends a wave that shakes the ferry and throws Captain Sparrow into the water, after which we wait for the ferryman to open the doors and return through them to the world of the living:
Blogs
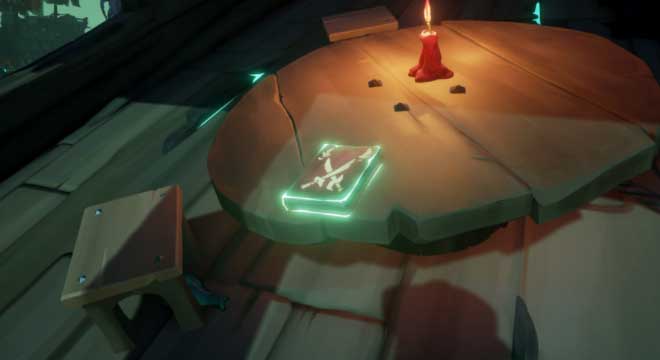
Cursed Captain's Diaries:
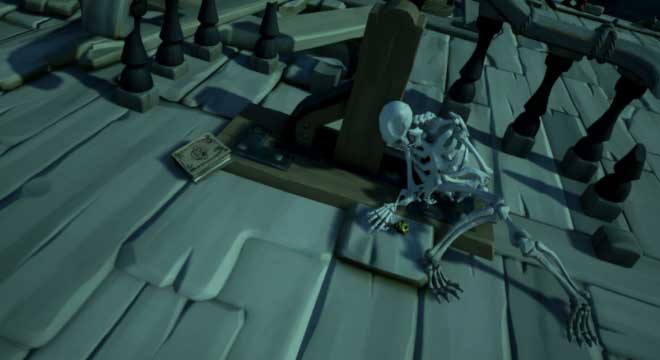
We find the first diary where the sleeping captain is.
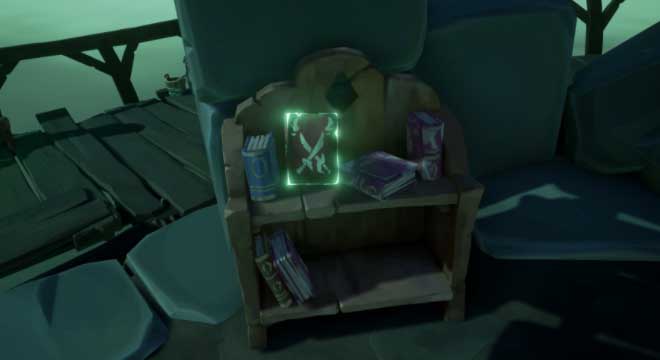
The second diary is where gambling skeletons
The third one is on the roof of the bar
Fourth at the lighthouse
The fifth is in the damned captain's cabin
Headless Monkey Diaries:
All diaries are on the Headless Monkey's ship.
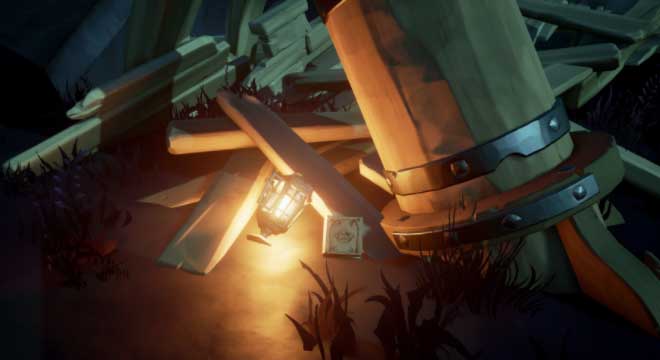
The first diary is near the lantern
The second is at the helm, and you also need to take the key from the skeleton
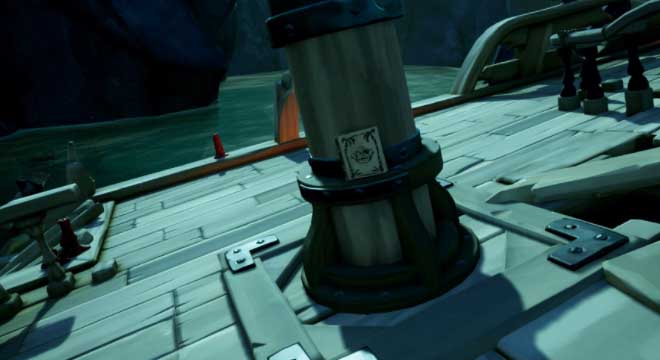
Third on the mast
The fourth and fifth are in the room that we open with the key!


Was the article helpful?