Gray Zone Warfare is entering Early Access, and if you're looking to make informed choices in the fight, this guide will help you...
Groa's Secret Walkthrough God of War: Ragnarok
Walkthrough God of War: Ragnarok 100%. Groa's Secret (Groa's Secret) is the fourth quest Ways, which represents the main storyline of Ragnarok. Within our guides to God of War: Ragnarok we are going to share our full walkthrough passing the chapter Secret of Groa, which includes puzzle solutions, combat strategies, and any other key areas of interest.
On this page:
- God of War Ragnarok Walkthrough Secret of Groa
- God of War Ragnarok: The Secret of Groa Objectives
- God of War Ragnarok: Rewards The Secret of Groa

Walkthrough Secret of Groa God of War: Ragnarok
Reach the Shrine of Groa at the top of the temple
The mission begins after entering the land of Alfheim, you will again control Kratos throughout the quest.
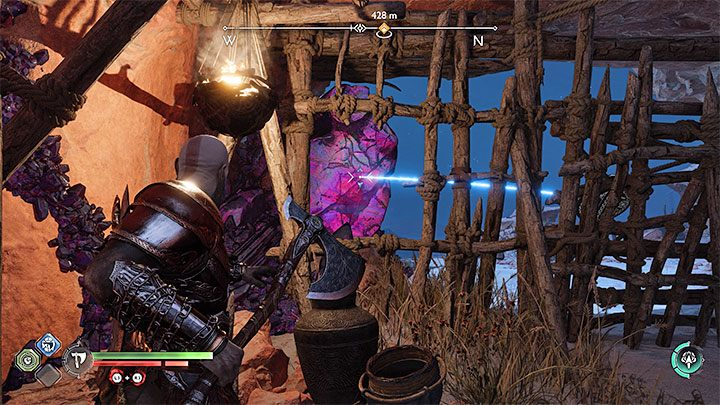
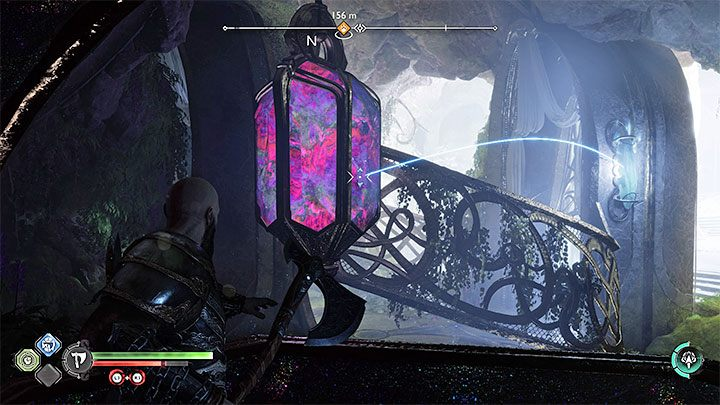
In the process of exploring the location, you will encounter Twilight Stones for the first time - they can reflect the throws of the Leviathan Axe. To correctly calculate the trajectory of the throw, watch how the color of its line turns blue. To get past the first barricade, throw an ax at the stone on the left.
On your way through the location, you will encounter light elves - they are distinguished by their dexterity, so perfect dodges, blocks or parries will be required to defeat them. You can also ask Atreus to stun them with his arrows.
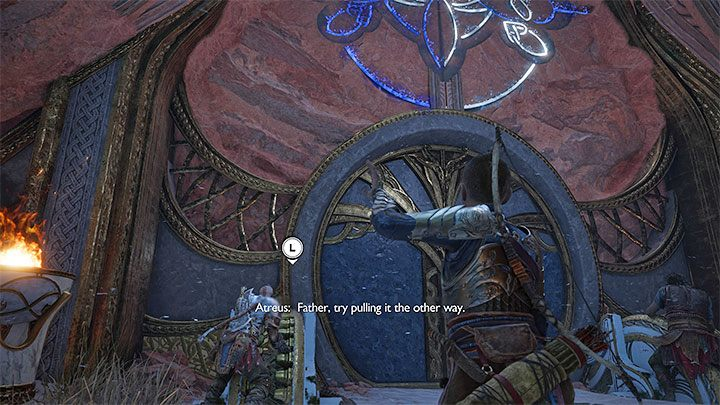
Soon you should reach the entrance to the Temple of Light. To unlock the path forward, start by activating the mechanism on the left. Listen to Atreus' instructions - you must stop the mechanism and start turning it in the opposite direction.
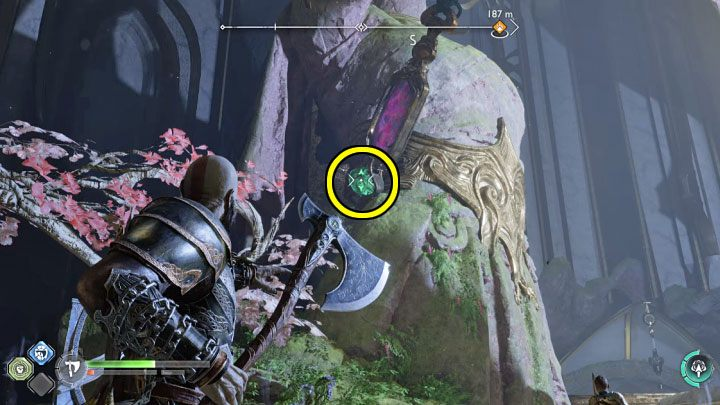
As soon as you enter the first room of the temple, there is a short puzzle that blocks the way forward - you must throw the ax at the Gloomstone in such a way that it hits the crystal above.
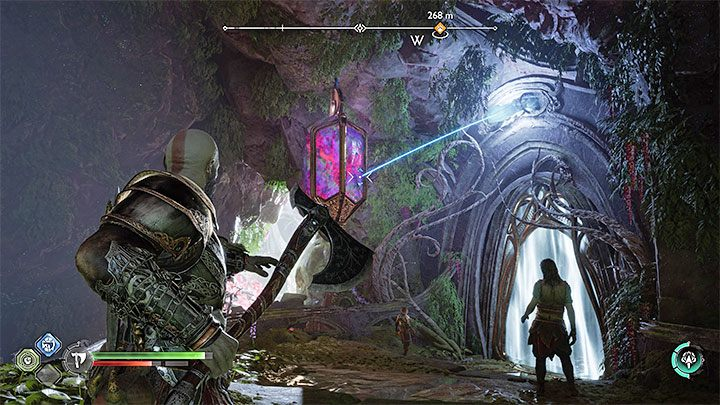
Along the way, you will pass by the Well of Souls. In the next room, you need to repeat the action with the Twilight Stone to destroy another crystal blocking the Door of Light. You will reach a large gate that leads to another part of the temple.
Defeat new opponents and take the time to explore this area. Kratos can jump and grab onto ledges. To do this, you need to turn to the ledge and press X. When you're ready, go forward. During the following battles, watch out for exploding monsters - to avoid damage, quickly jump or dodge the red area, which indicates the radius of the explosion.
Follow Tyr and Atreus. You'll reach a new room with a blocked passage ahead - to unlock it, you need to throw the ax at the Gloomstone again so that it reflects and hits the crystal.
During the next section of the fight, the elves will use a new weapon - Homing Spheres. Use ranged attacks to take them out from a distance, as the projectiles take a long time to reach Kratos but are hard to avoid. Once you get rid of the opponents, approach the gate.
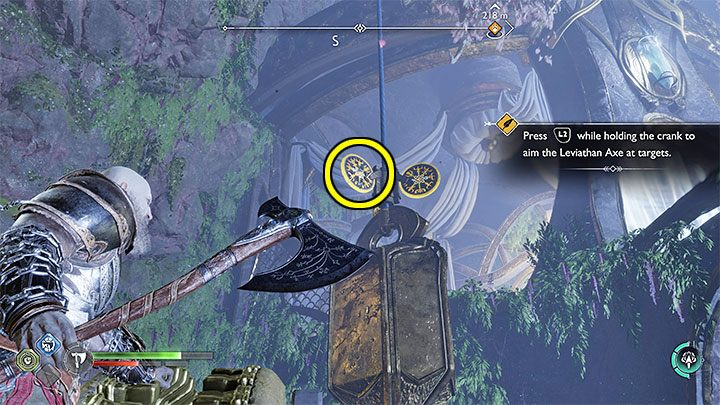
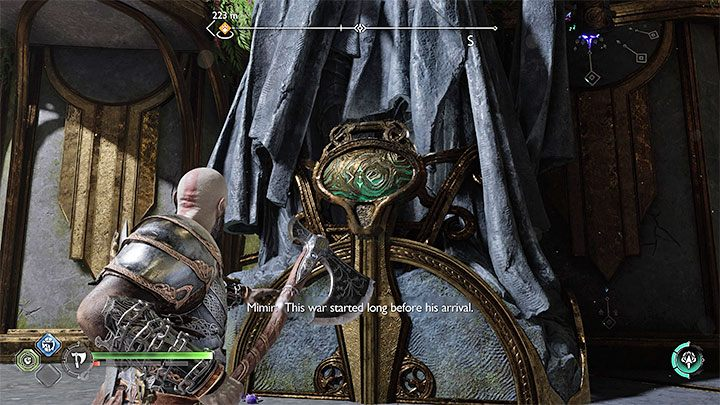
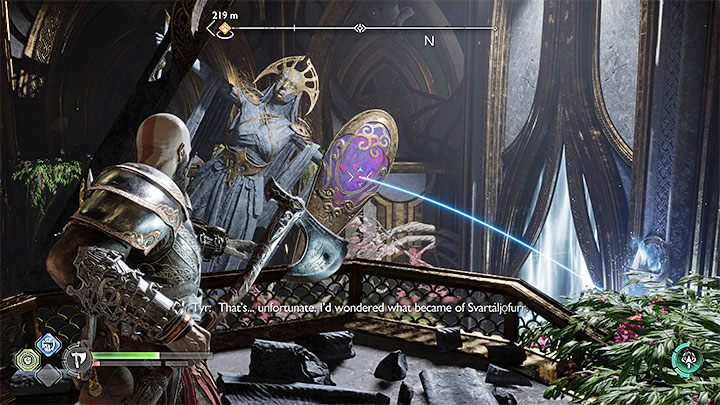
The stairs you find lead to a dead end - in order to continue, you need to solve a puzzle involving a light door and a rotating mechanism. Drop down to the lower left level and use the mechanism. Lower the hanging weight and throw the ax at its left shield without letting go of the mechanism (screenshot).
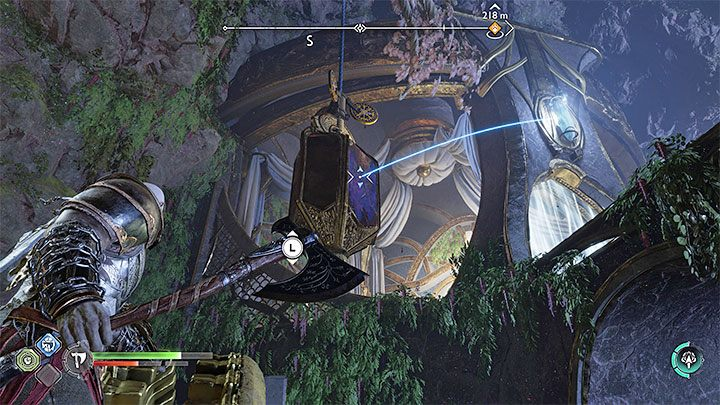
A successful hit should rotate the object 90 degrees and reveal the Twilight Stone. Now you must throw the ax at the twilight stone so that it bounces back and hits the crystal. This will open the way forward. Return to your companions.
During new battles with elven warriors, you will learn about the blue attacks that they can use. You can stop them by quickly pressing L1 2 times in a row, i.e. causing the shield to hit the ground. This will interrupt the enemy's attack and break that block.
Use hanging ledges and an interactive grappling hook to get to Tyr, which is located on a remote ledge. During further battles, you will learn that twilight stones can be used to stun opponents, i.e. you can throw an ax at a stone so that it bounces and hits the enemy. This will only work if a blue trajectory line appears when aiming.
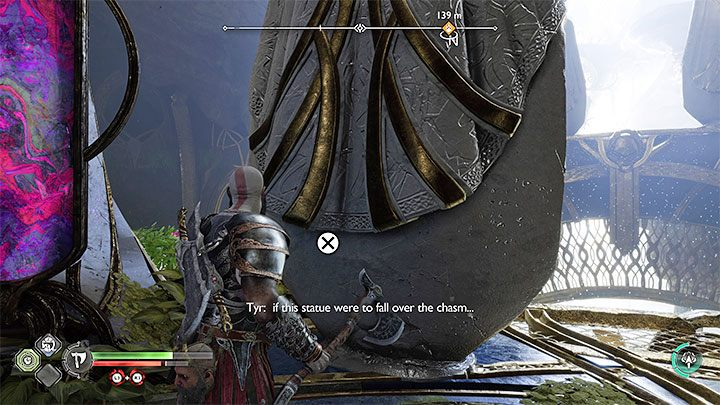
In the statue room, defeat the opponents and push one of the statues. Your action will result in the creation of an incomplete bridge. The shooting gallery will automatically repeat the action with the second statue, opening the way forward.
Keep defeating other opponents until you reach a large gate. Behind it, there is another puzzle involving the Door of Light and statues. Turn right and order Atreus to destroy the seal on the statue on the right. Part of the statue should fall.
Grab the fallen statue (the one on the right) with the Blades of Chaos. Make her fall to the left.
When you move the statue, a hook will be revealed that will allow you to access the upper ledges. Once you're on the top floor, run to the right and grab the top hook to reach the opposite balcony (the one behind the still unused statue).
Behind the statue on the left there is another seal, Atreus needs to hit it with an arrow.
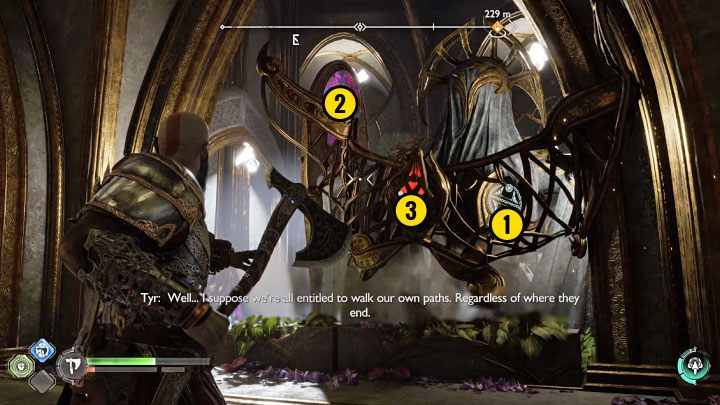
Now about the statue on the left:
- throw the ax at the newly placed shield (point 1 on the screenshot) - the statue will fall to the right;
- point the ax at the Gloomstone (point 2) - the trajectory line must be lit in blue for the throw to be successful and bounce off the stone and hit the statue, damaging its other fragment.
- use the Blades of Chaos on the red element (point 3) - the statue should fall to the left.
Now return to the balconies behind the statue on the right. The last step is to throw the ax at the dusk stone found on the statue on the left. Make sure you are in the right position (shown in the screenshot above). The ax must bounce off the rock to hit the crystal above the Door of Light. Congratulations - you have opened the way forward.
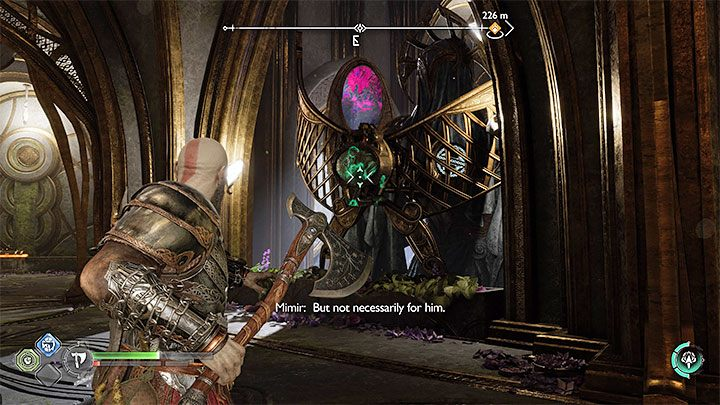
The next step of your journey is the Central Chamber, where there will be another puzzle. On the left there will be a green hook that Atreus can shoot at. This will swing the hanging twilight stone.
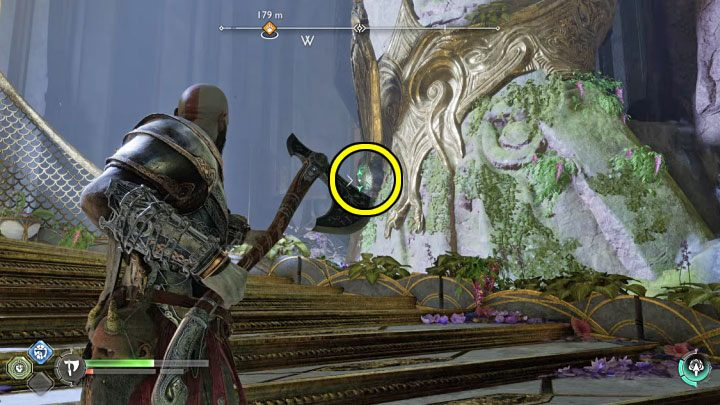
Unfortunately, the stone is facing the wrong way. Explore the area to the right of the Light Door. Atreus must shoot at another green object (screenshot above). Once this is done, a location will be unlocked that Kratos can use to get to the back.
Tyr will lose his patience and plant the Twilight Stone for you. Return to the central area and throw the ax at the twilight stone. Use the unlocked stairs and elevator to continue following Tyr. There is a gnome store along the way - you can make a detour and resupply. Interact with the marked object to activate a cutscene.
Go down the light well
You will have to face a lot of elves on your way out, so again keep an eye on their blue attacks and be sure to interrupt them with your shield. Continue down to the lower levels and use the Blades of Chaos to reach the ledge.
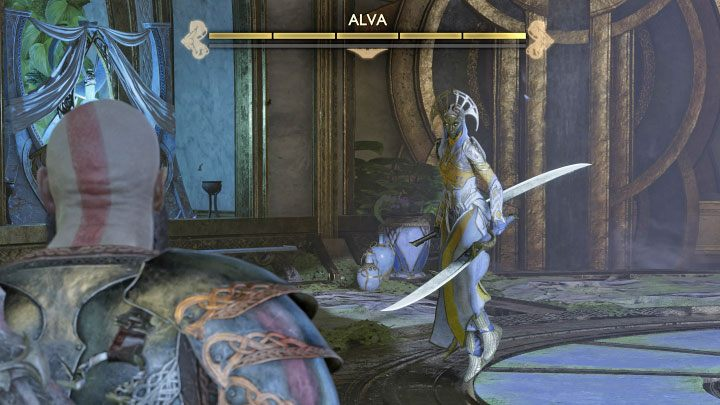
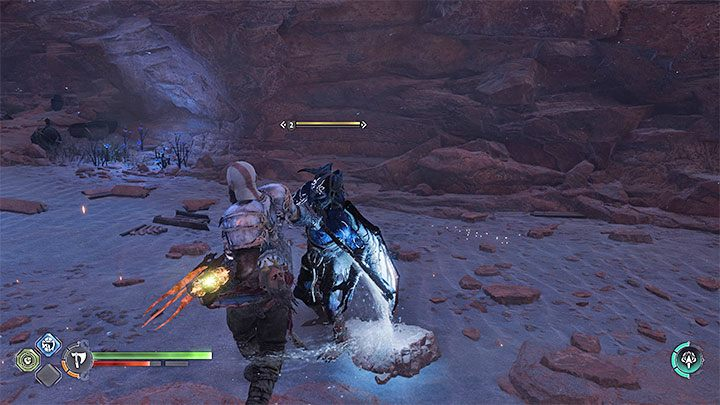
Alva will stop you. Like other elves, Alva uses blue attacks that must be interrupted. This will allow you to avoid damage and, at the same time, make the guard vulnerable to your attacks.
You can stop the attacks indicated by the blue rings by pressing the parry button - L1 twice. You must time before the blue attack reaches Kratos. Attack Alva immediately after interrupting her attack - you will have time to make several normal attacks.
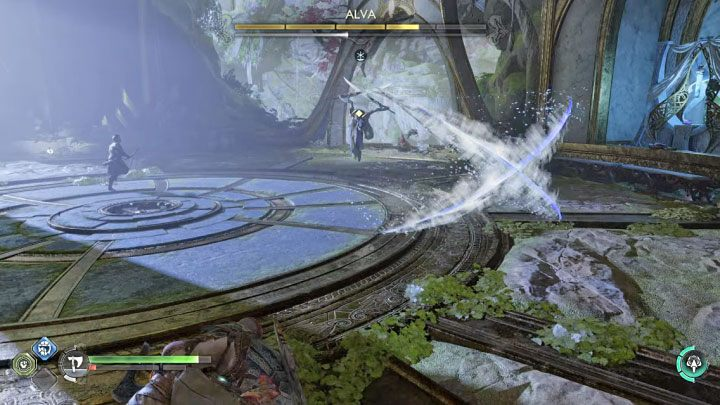
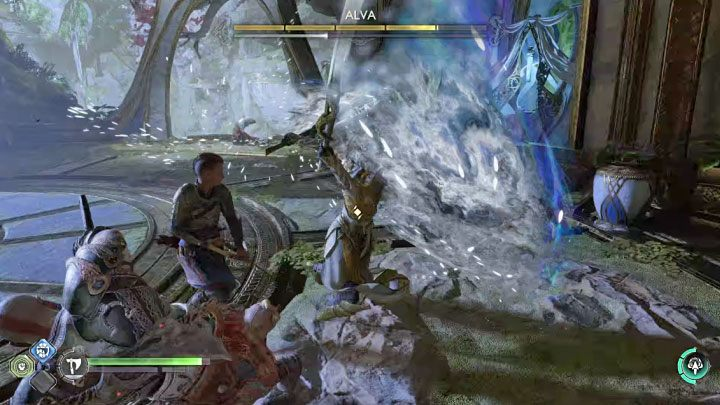
Alva has a dangerous red attack with which she releases an X-shaped wave. We remind you that red attacks cannot be blocked - they can only be dodged.
Note. The boss can use more than 1 red attack in a row. Be prepared because the boss can use the same attack twice.

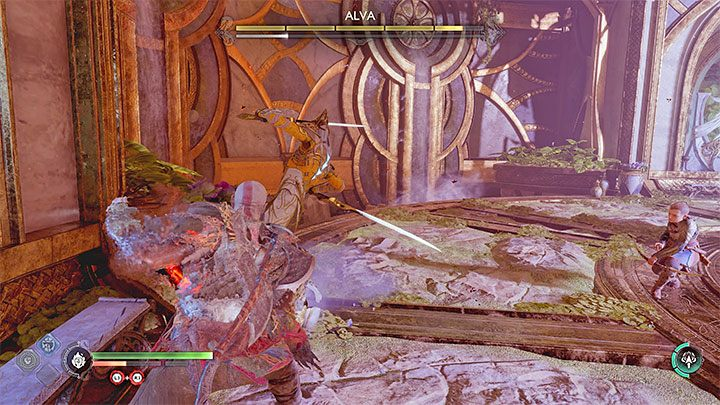
Alva's yellow attack is to combine her two weapons into one. She can then:
- perform a swing when she is near;
- throw a combo weapon at you.
You can try to parry the yellow attack, however dodging is safer.
Alva's normal attacks, i.e. not marked with any color can also be dangerous. These can be quick strikes with a melee weapon or a dash. It is best to block these attacks, although you can quickly dodge to the side.
You can weaken Alva with standard attacks (preferably fast) and Spartan fury.
If you get a lot of damage, then start running around the arena and look for green medicines. As always, make sure the boss doesn't hit you while you're trying to heal yourself.
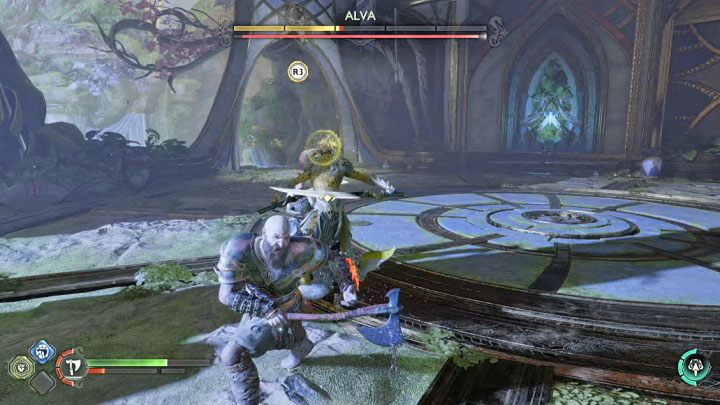
You can fill the white bar and stun the boss. After that, press R3 - Kratos will grab Alva and deal a lot of damage to her.
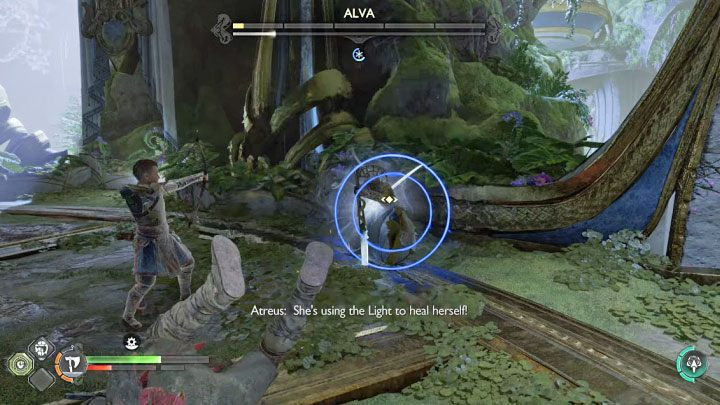
At the very end of the fight, Alva will try to heal. You must:
- Run up to the guardian and press L1 twice to interrupt her healing;
- Press R3 to finish her off.
After that, watch the cut-scene. Be sure to collect all the loot left behind by Alva. Among other things, you will find Frostfire and a shield upgrade.
Go to the Mystic Gate
Further along the way, you will begin to meet dark elves - they are not much different from their light counterparts. You can also take advantage of the situation, as some of the elves are initially busy fighting and you can make a surprise attack. When you are fighting an Elfcaller, focus on taking him out as soon as possible.
Return to Sindri when you're ready
You have returned to the Mystic Gate again, and you have a choice:
- You can simply go through the gate and return to Sindri's house (this will continue the story).
- In addition, you can explore additional areas of Alfheim. You can access them through the path in the Canyons and it's a good way to get XP, resources and unlock collectibles.
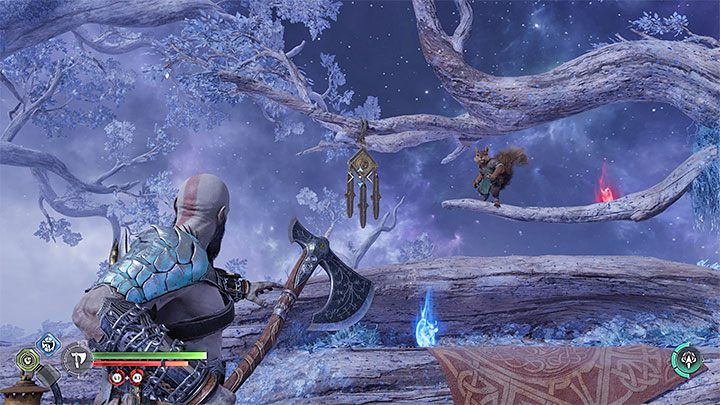
Talk to Ratatoskr and try hitting the bells with the Leviathan Axe. Enter the house and sit at the table. You have unlocked Atreus' new quest, The Lost Sanctuary.
God of War Ragnarok: The Secret of Groa Objectives
- Reach the Shrine of Groa at the top of the temple
- Go down the light well
- Go to the Mystic Gate
- Return to Sindri when you're ready
God of War Ragnarok: Rewards The Secret of Groa
- Kratos:1,500 XP
- Atreus:750 XP
Was the article helpful?