
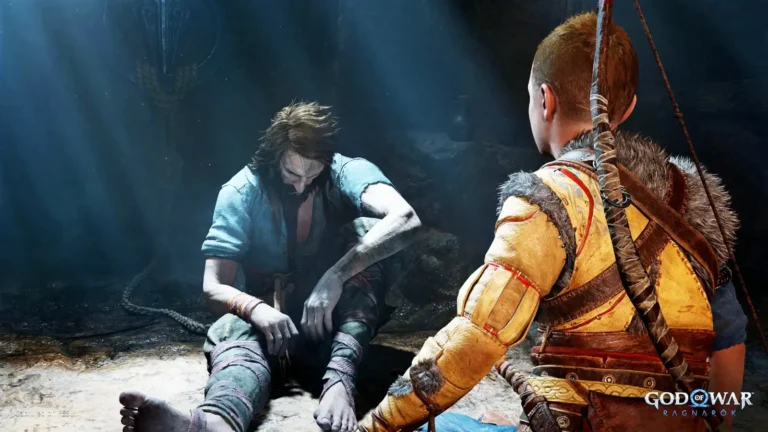
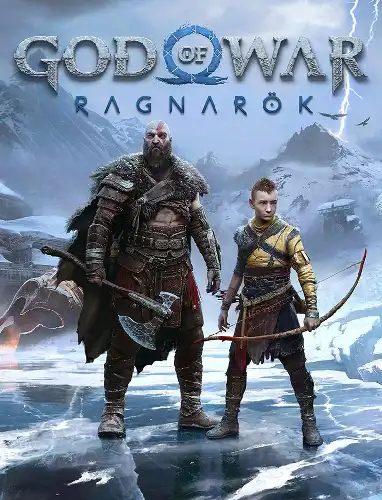
A sequel to God of War (2018), in which Kratos and Atreus must make a choice that will determine the fate of all living in the Nine Realms, all in the face of approaching Ragnarok.
Word of Fate Walkthrough God of War: Ragnarok
Walkthrough God of War: Ragnarok 100%. Word of DestinyThe Word of Fate) is the ninth quest Ways, which represents the main storyline of Ragnarok. Within our guides to God of War: Ragnarok we are going to share our full walkthrough passing the chapter Reckoning, which includes puzzle solutions, combat strategies, and any other key areas of interest.
On this page:
- God of War Ragnarok Walkthrough Word of Fate
- God of War Ragnarok: Word of Fate Goals
- God of War Ragnarok: Rewards Word of Fate

Walkthrough Word of Fate God of War: Ragnarok
Go to Midgard
You start the mission in the House of Sindri - when you try to get out of it, you will receive a repaired Shield of the Guardian (you remember that it was damaged during the battle with Thor). It is not necessary to equip it - you can wear your current shield.
Reach the Mystic Gate and select the fast travel point in Upper Wildwood. Get to the wolf kennels and open the gate. You can now use the sled to travel faster.
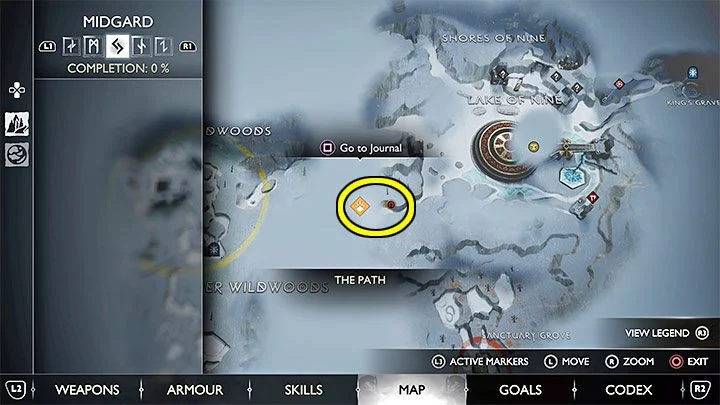
Follow the wolves to the norns
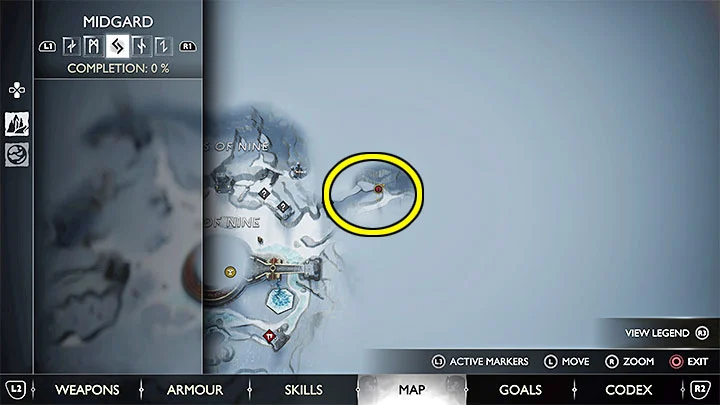
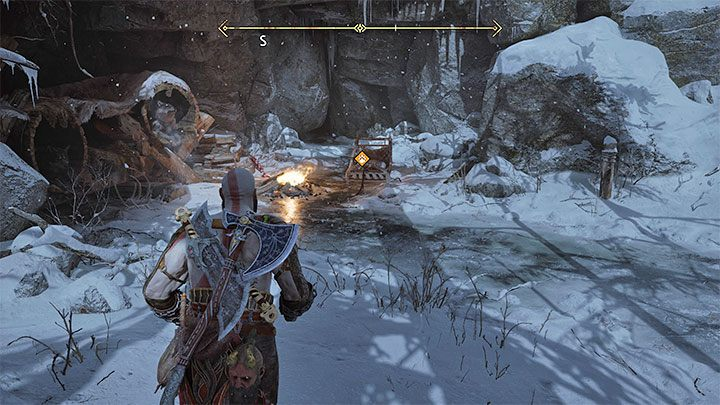
The road will lead you to the Lake of the Nine, which is completely frozen. You have to follow the wolves, besides, you can hear them howl once you are on the right track. The first destination is the Royal Grave. This area is marked on the screenshot - it is located in the northeastern part of the Shores of Nine.
You don't have to rush through the main quest, and if you wish, you can explore the Shores of Nine in search of side activities. However, not all locations are explorable, and some battles can be difficult if your Kratos isn't leveled enough.
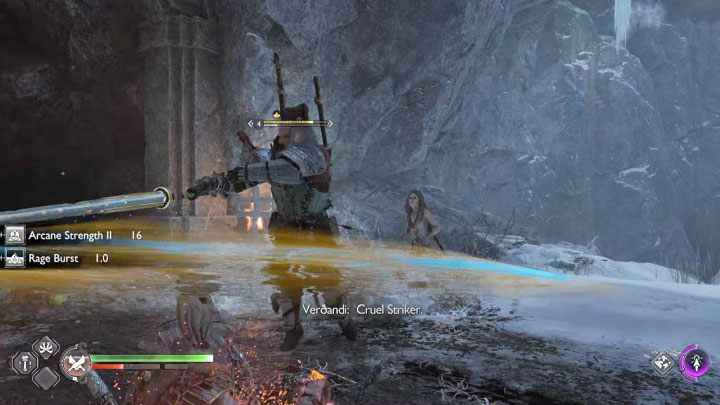
Walk to the grave. Here is the fight for you:
- You can stun the ogre and jump on its back. This will allow you to use his hands to attack other opponents.
- Some enemies have blue health bars, i.e. have increased resistance to ice attacks. Attack them with Blades of Chaos.
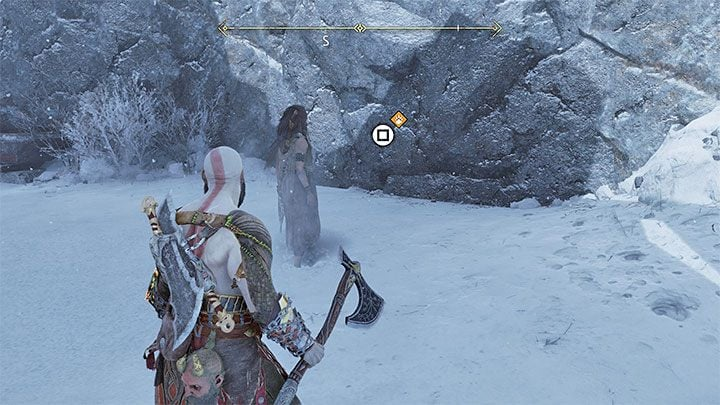
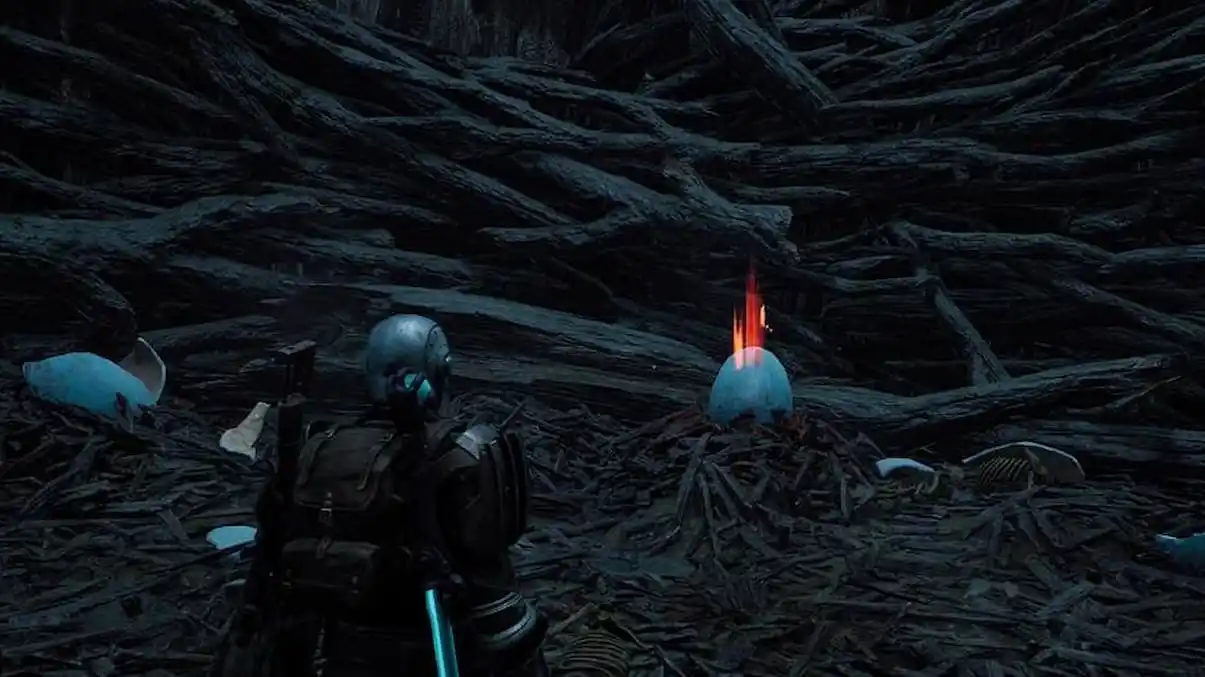
After the battles are over, you should find Skofnung's Inert Hilt. Follow Freya and after she stops, press Square to dispel the illusion (screenshot above). There is nothing here (and there shouldn't be).
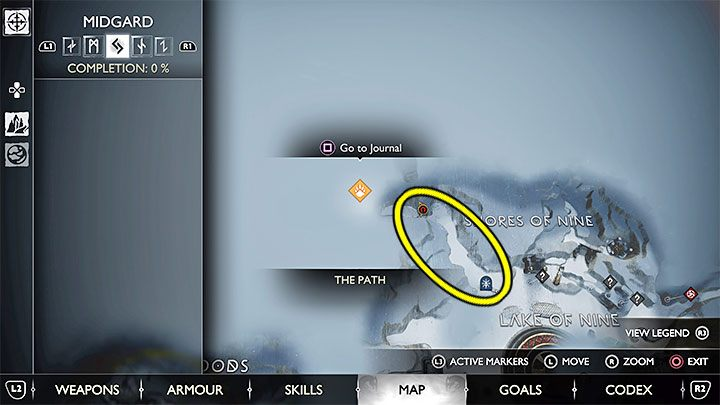
Keep tracking the norn
Return to the sled. Again, follow the path and make sure you are heading in the right direction. You will reach the Abandoned Outpost, which is located in the southwestern part of the Shore of Nine (screenshot).
Explore another illusion - again you will not find anything.
Return to the wolves and keep hunting down the norn
You will be attacked by a group of enemies with an Ice Draugr when you try to return to the sled. This monster is resistant to ice, so use Blades of Chaos instead.
Once again, you need to follow the clues left by the wolves - the new destination is the path near the Mystic Gate of the Lake of Nine in the northwestern part of the Shore of Nine. You will reach the Well of Urd.
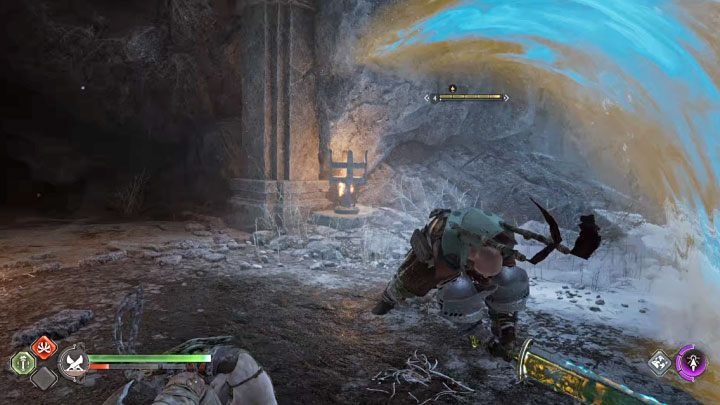
Keep walking and climb where necessary. To open the way forward, destroy the wooden barricade with an axe.
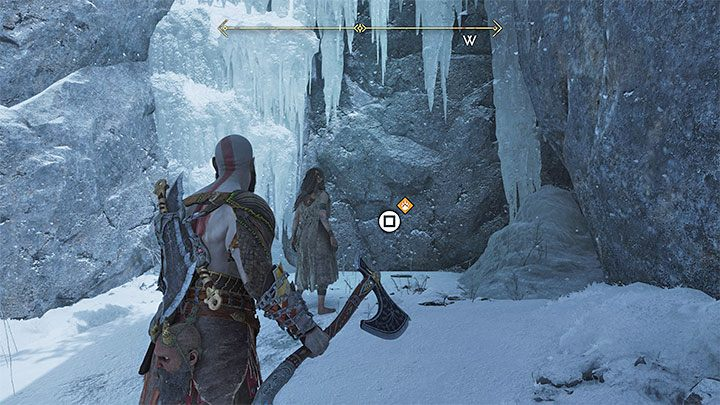
Defeat the encountered enemies and continue climbing. Eventually, you will reach the area shown in the screenshot - press "Square" to explore the Illusion. This time, you will find the path forward you need.
Find the norn at the Well of Urd
At the beginning of this hike, you need to set fire to the bramble bush - ask Freya to create a seal and set it on fire with the Blades of Chaos (screenshot). Keep climbing.
Next, you will meet the Wayfarer, who is a mini-boss. There will be more of them in later parts of the story. The fight is always the same.
Tactic
The traveler is a trained warrior. He does not have a large health bar, but he is a level 4 opponent and it will take some time to defeat him.
The Wayfarer uses a large melee weapon for his attacks. As for yellow attacks, he can perform horizontal swings with his weapon. You can try to parry them or rely on dodges.
His set of red attacks includes powerful ground slams. You should already know that red attacks cannot be dodged - it's better to jump left or right at the right moment.
When facing the Wayfarer, consider using Freya's help - she can hit him with projectiles or poison him (charged attack - hold a square).
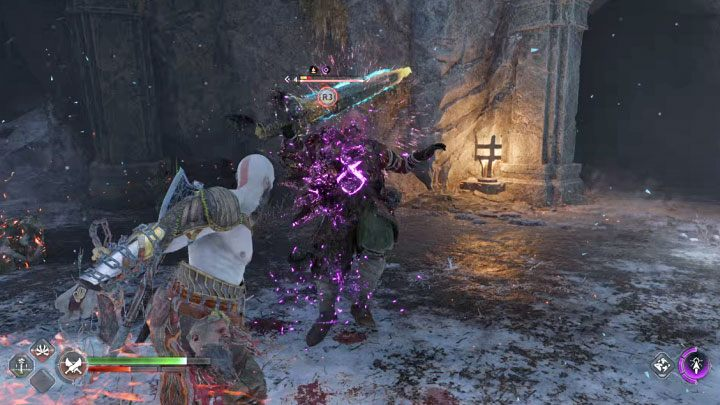
The mini-boss has a healing ability that can unfortunately prolong the fight. Try to limit his healing by staying close to him at all times. After you deplete his health bar, you can execute him (press R3). A brutal animation follows.

Continue and defeat the enemies emerging from the rifts. Along the way, you will also encounter various standard opponents.
Be especially careful when dealing with Hel's ghosts and monsters, which can inflict a negative ice effect that can slow down Kratos. Dodges are the key to avoiding this attack.
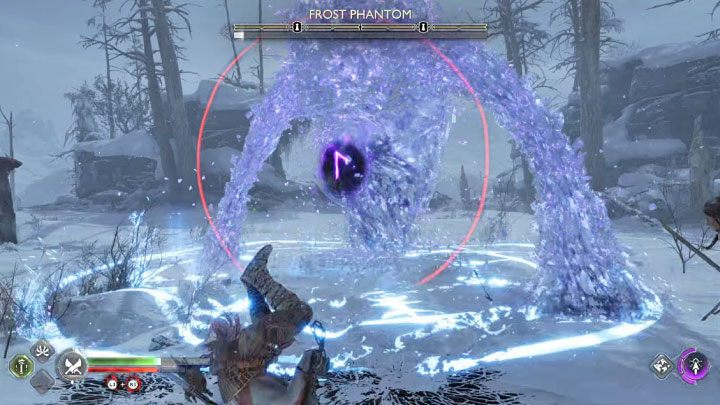
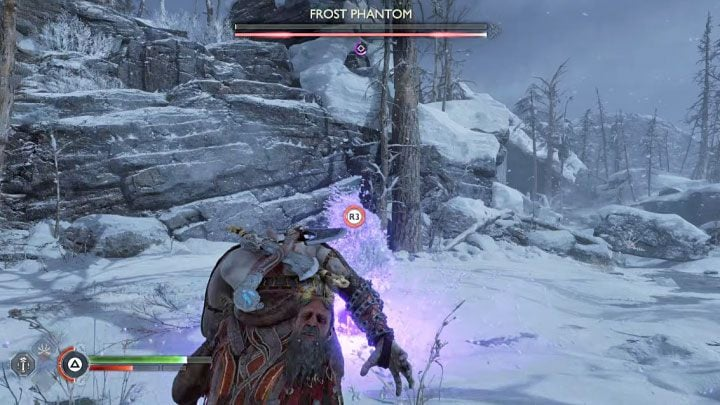
In the location with totems (screenshot) you will meet an Ice Phantom.
Description of the boss fight
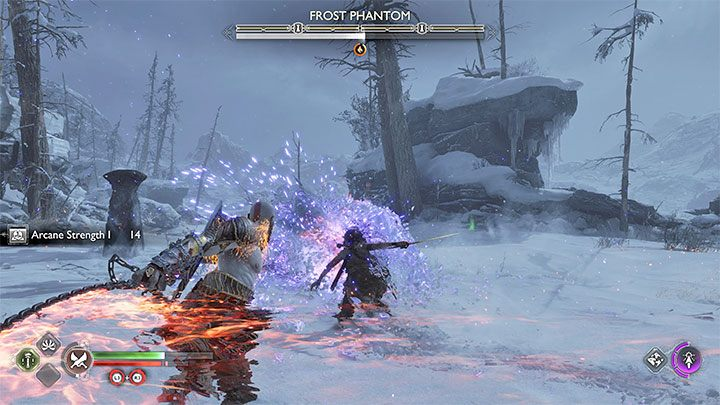
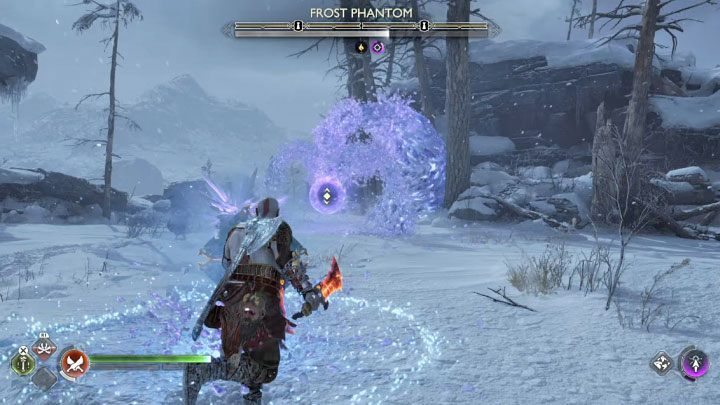
To deal damage, you need to attack the Phantom's core, which will glow. The best weapons for this task are the Blades of Chaos, which work well at medium ranges.
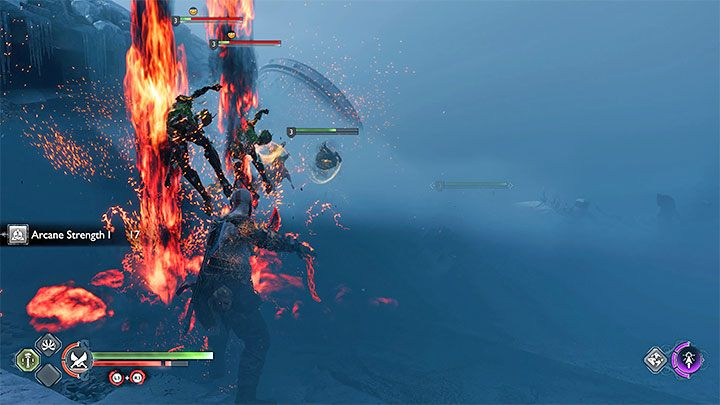
You can also order Freya to launch her own attacks. They are not as powerful, but will help you weaken the boss.
Beware of the following attacks:
- tail swipe (yellow) - you can parry it or dodge it;
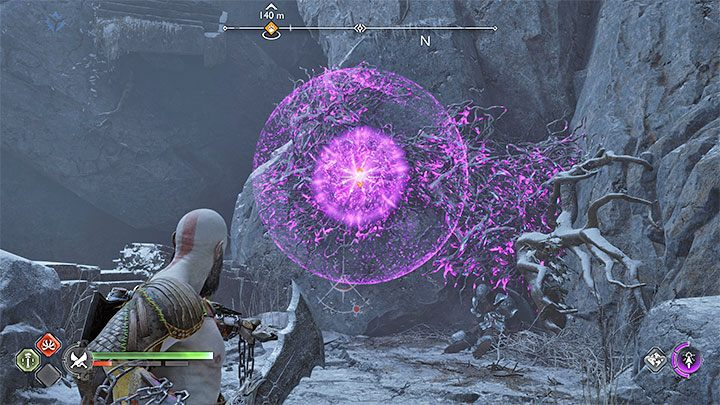
- ground slam (red) (screenshot above) - quickly move away from the area marked with a blue circle.
Among the standard attacks, the boss uses the following:
- regular tail strikes - block them with a shield;
- generation of circles on the ground (screenshot above) - quickly leave such zones.
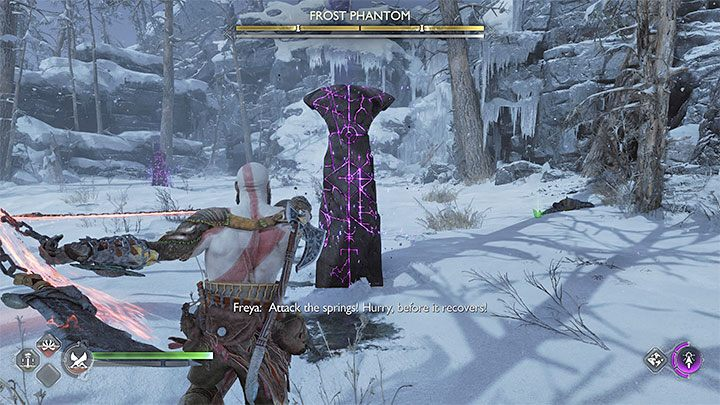
You need to continue your attacks until the white bar fills up for the enemy to be stunned. Once the boss is stunned, attack one of the 2 sources in the arena (an example is shown in the screenshot). Destroy it before the boss attacks again.
Ice Phantom's move set is updated after the first totem is destroyed:
- The new normal attack includes a shockwave (screenshot above) - block it with a shield when it approaches you.
- New red attack - forward lunge (move proactively and dodge to the side just before the attack).
To win, repeat the same steps with the glowing core. This will allow you to destroy the other source.
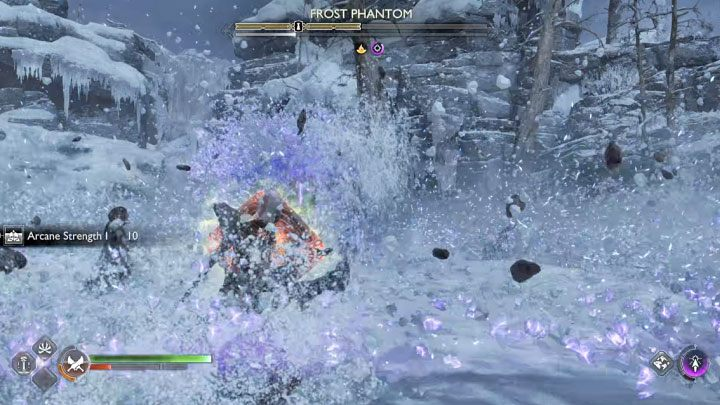
To finish, run up to the stunned Phantom and press R3 to activate an execution scene (if the stun bar isn't full, hit him a few times to fill it up).
Once the Phantom is dealt with, pick up the large boulder to open the way forward. Go down the vertical wall. The heroes will reach the gate - interact with them.
Kratos will experience "hallucinations" which include watching scenes and fighting. Get to the tree where Mimir is. Take part in further battles - fortunately, you don't have to defeat the Valkyrie Sigrun. Follow Atreus and destroy the approaching enemies.
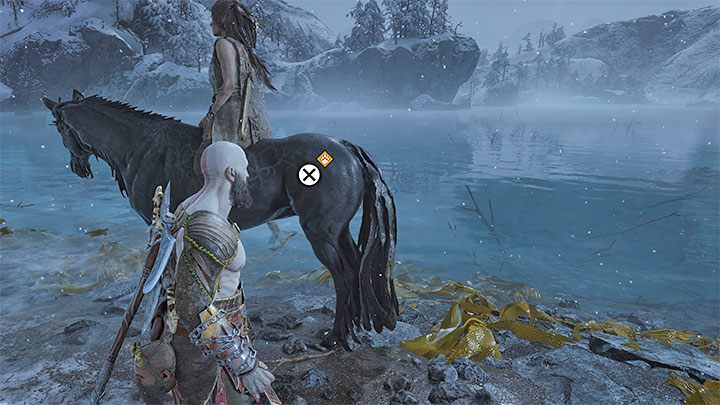
Back in the "real world", enter the Well of Urd with Freya. Jump on the horse that Freya rides. You will reach the place where the norns stopped. Approach the mission marker to start a cutscene depicting the encounter.
Jump up the mountain again and you will return to the main part of Midgard. Complete the linear passage back to the Shores of the Nine.
Return to Sindri when you're ready.
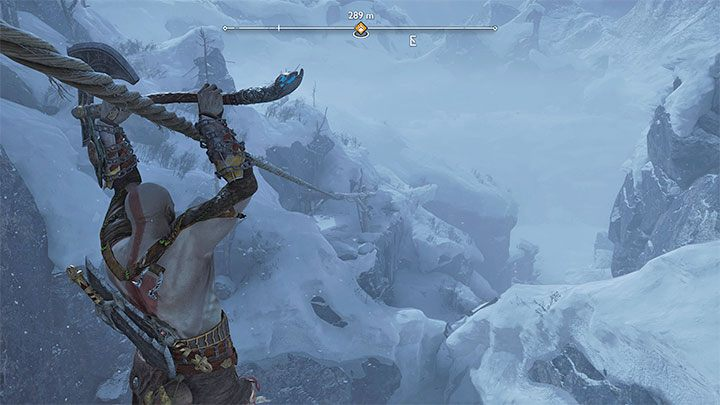
Get down with the rope. Drop down to the lower ledges and return to the sleigh with the wolves. You need to get to the nearest Mystic Gate - use the sled or keep walking.
Returning to Sindri's house, talk to the gnomes. Watch the cutscene and use the Mysterious Gate to return to Svartalfheim. You will reach a new region - Myrkr Tunnels, and a new story quest (Forging Fate) will begin.
God of War Ragnarok: Word of Destiny
- Follow the wolves to the norns
- Keep tracking the norn
- Return to the wolves and keep hunting down the norn
- Find the norn at the Well of Urd
- Return to Sindri when you're ready.
God of War Ragnarok: Word of Destiny
- 4500 XP Kratos, 4500 XP Freya
Was the article helpful?


