
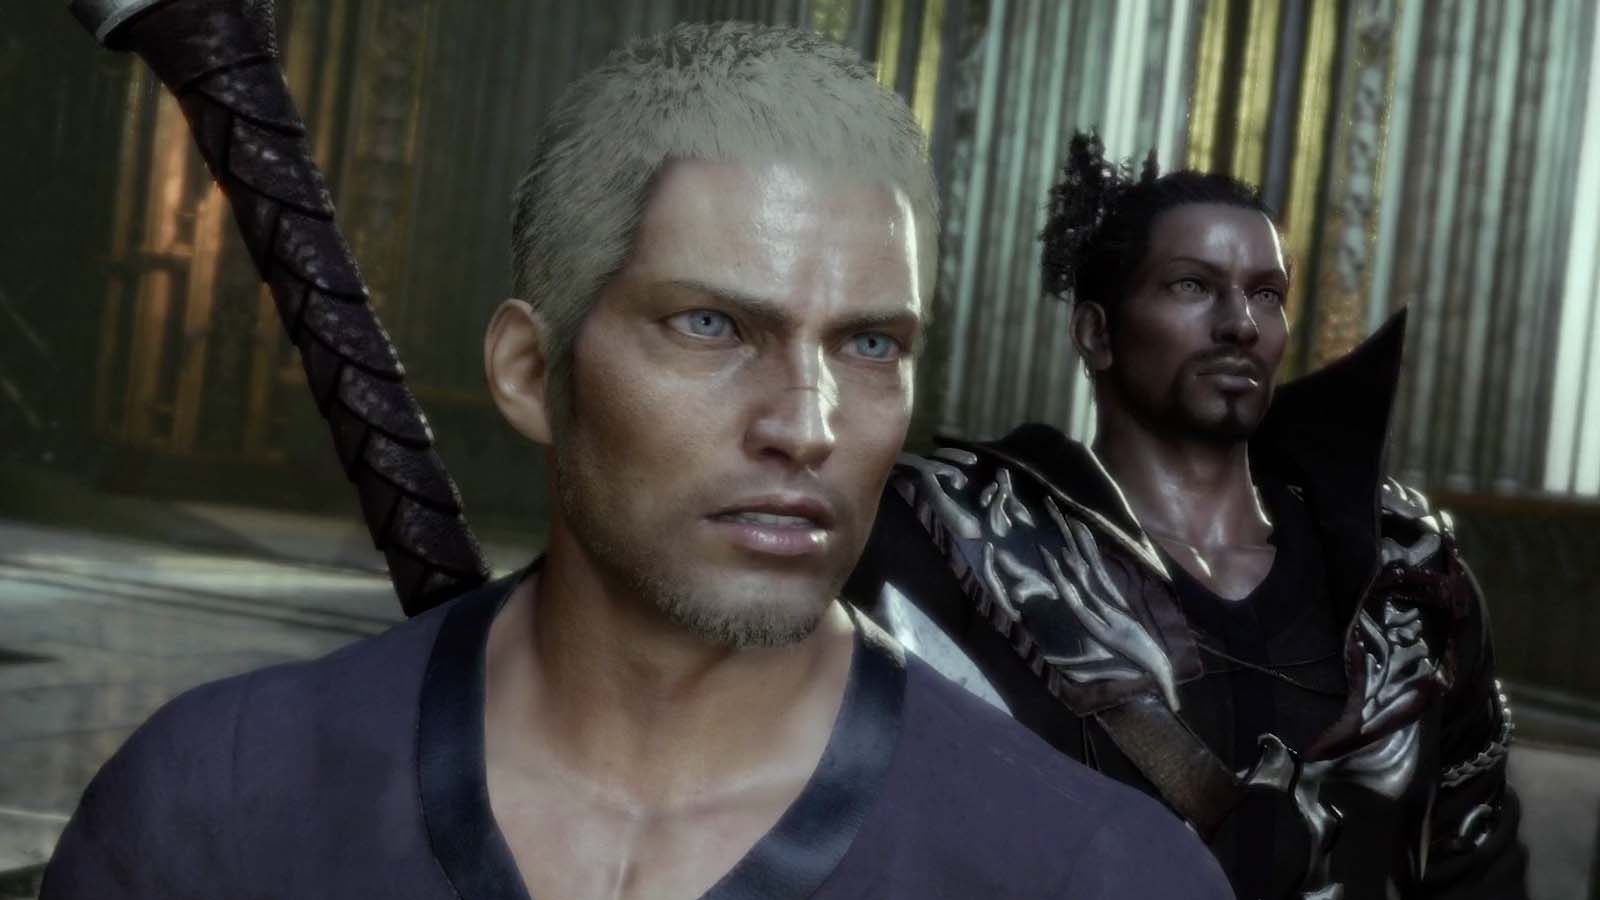
Welcome to our Stranger of Paradise: Final Fantasy Origin walkthrough guide. This page contains information about the Temple of Chaos in the game,…
Stranger of Paradise: Final Fantasy Origin Walkthrough Sanctuary of Chaos

Welcome to our Stranger of Paradise: Final Fantasy Origin walkthrough guide. This page contains information about Temple of Chaos in the game, including how to approach each encounter, as well as a guide on how to defeat the Chaos boss.
| Content |
|---|
| Temple of the Dead |
| corridor of fools |
| Shrine of the Gone Light |
| Road to rebellion |
| tower of fate |
| Boss fight |
Temple of the Dead
After you finish the quick tutorial, you will be shown a cut-scene where our main characters open the door to the Sanctuary of Chaos and enter inside. Head forward towards the glowing object in front of you and hold the touchpad to access it.
These Dice will act as your respawn beacons throughout Stranger Paradise. The last Cube you activated will be where you come back to life if you die. They will also replenish your HP, MP and potions.

Climbing the stairs is your first enemy, the lone goblin. This is the same enemy you fought in the tutorial, but now is a good time to try and practice a few skills like Soul Shield (with Circle), Guardian (L1) or Dodge (with X). Using these three damage prevention methods in tandem will help keep you alive longer.

The more successful Soul Shield parries, the more your max MP will increase, so if you're fighting an enemy you know you can handle, try parrying them or Soul Burst them by breaking their Break Gauge.
When the Goblin is defeated, move forward towards the glowing orange orb to learn about the Great Swords before fighting the next group of two goblins. This is another opportunity to practice your learning skills. Try Soul Shielding the Goblin's purple attack, or use the Lock On feature to help you track multiple enemies at the same time.

Once the goblins have been defeated, you will most likely have a new level to spend in your Quest Tree. Open the menu as directed and level up what you can. You earn Job Points quite often, so don't be afraid to spend on things that interest you. You can also view demo videos for some abilities by clicking Square in the quest tree.
Once you've unlocked a new combo ability or command, click X in the quest tree to equip it immediately. Onslaught is the first unlock for the Swordsman and must be equipped in the R1-R2 Combo Ability slot to use it.

The area on the right has nothing else but a few pots that you can break for some deputy, so head left and up the stairs to the goblin guarding them. Beware of stone throw attack. Try using your new Rush ability.

Once the Goblin has been dispatched, you can open the Chest on the landing, which will give you new gear. Raise it by pressing the touchpad. You can then follow the guide to learn how to equip different pieces of armor in your combat setup.

When you're ready, head to the top of the stairs. It's smashed and broken at the top, so you'll have to fall back to the ground. Now you will find yourself on the other side of some debris that was previously impassable, right next to another goblin. Take them down quickly, head forward and make sure you have a decent amount of health before you start this next fight.

In front of you is a Dark Air Vent that will spawn enemies in the Goblin Guard when you get close to it, which is a larger and stronger type of Goblin enemy. Don't forget to guard and dodge attacks to stay clear. Hitting a Guardian rarely interrupts their attacks, so you can't make it through this fight.

Once you've defeated the Guardian, move to the Dark Vent and hit it until you can rip it apart, clearing a path forward for your team. Then head up the now broken path and up to the new cube so you can replenish your HP.

Now is also a great time to level up your Quest Tree and equip any new gear you may have found. Once you've done that, head down the stairs to open the chest and find some loot before heading up the stairs to make progress.

In front of you is the Bomb, a classic Final Fantasy enemy. The bomb uses magical attacks that damage you even if you successfully defend against them, so be sure to avoid these attacks if you can. If you get close, stay away from his Wildfire attack, which fires multiple projectiles in front of him.
The Bomb Enemy loves to use Fire in your group, which is an attack you can take on yourself with a successful Soul Shield. Now that you have your Instant Ability assigned to Fire, you can use Bomb's weakness, which is to hit him with Fire enough times to self-destruct. Every time you hit a Fire Bomb, it will Grow until it gets too big. This is a good way to take this enemy out from a distance, but make sure you are free of the blast radius when it goes off.
corridor of fools

After you've defeated the Bomb, head up the short stairs to the hallway. There are a lot of bombs in this upcoming area, so take it slowly. First, it's the Bomb, accompanied by the Goblin. The bomb is also located in a patch of grass, which it will ignite when attacked, damaging any party members in the area.
Soul Shield any fire attacks that come your way and use them to stagger the Goblin or make the Bomb grow. Once there is only one enemy left, this battle will be as easy as the ones before.

Around the corner are two more bombs in the distance, which will start to deal long-range attacks on you. There is also a beam of light along the ground, presenting you with a fork in the path. You can either continue down the hallway and run into more bombs, or turn right and go to the outer balcony where you will run into more standard goblins and move down the side of the hallway.

Here we will cover both areas, starting with the rest of the corridor. Two bombs that will keep attacking you. This makes this fight easier and harder at the same time, as you will almost always have a fire attack on Soul Shield, but you risk taking more damage if you're not careful. Either make them explode, stagger them for a Soul Blast, or take their health to zero while avoiding their devastating magical attacks.

Once this part of the hallway is cleared, you can explore the small side room before moving forward. Next to the outside balcony walkway, there is a small room on the opposite wall with a chest inside. Grab your goodies and then continue down the hallway.

Before you is another large group of four bombs. Just like before, you will have plenty of options to fire back attacks, but you will need to be careful with Soul Shield at the right time so as not to mess up your Break Gauge. Keep a distance here so you can keep an eye on all incoming attacks until the group gets a little smaller.
Now that they are out of the way, grab the chest they were guarding and head to the door in front of you. Now that we're halfway down the hallway, there's another doorway leading outside where the outer path takes you. Let's take a moment to discuss the path of the balcony.

Here you will find more goblins and dark vents. Watch out for their attacks and keep an eye on them as you take them down. If you have any new attacks, this first encounter is a great place to practice them. Once the first group of goblins is defeated, Soul Burst the Dark Vent opens up a new path.
Head forward and you'll notice the second doorway leading inwards that we discussed shortly before. Staying on the balcony for now, there is another group of goblins guarding the Dark Air Vent, along with a single Bomb. You can use the Bomb's fire attack to damage the goblins at a distance, or detonate the bomb to make the arena easier. You can also return from the Bomb's range to deal with the goblins separately.

Once this group is dismantled, Soul Burst the Dark Vent will again and move forward through the pillar. Don't forget any pots or boxes in your path if you're low on MP.
On the large landing you will find some crates and the entrance back inside next to the door. It's the same door at the end of the corridor, so keep it closed if you want to skip the fight with the remaining bombs. If you went through the hallway, then don't worry about opening the door. Rest at the Cube and then open the chest in front of you.

There will be a club inside that will unlock a new battle pack and a quest for you. Quests function similarly to classes in other adventure games, and you can switch between the two quests by switching between your triangle battle sets. You determine which missions you have assigned to which Battlepacks in the Battle Settings menu. Think of each battlepack as a loudspeaker that changes your job, gear, and abilities at the touch of a button.
The club is a magical weapon that allows Jack to cast many different spells with his ability attacks. A melee attack with the Club will deal a lot of Break Gauge damage, so although its range is limited, you can break through enemy defenses up close pretty quickly. Use the Water spell as directed to put out the fire in front of you. Try using your new Water spells on Bombs in the upcoming fights.

After the fires are put out, you will encounter a Cactuar supported by two bombs. Catuar is relatively weak, but if you don't block his 1000 Needles attack with Soul Shield, you will probably get knocked out by him. Be sure to protect yourself from it. Once the Catuar is dismantled, try experimenting with your Magical Ability on the Bombs behind it.
Open the chest they were guarding behind them, then open the door next to where the Cactuar was hanging out to continue. Now is also a good time to watch your mission trees. Now that you have a new Quest, you have a new Tree to level up. They level up independently of each other, so don't worry about saving up quest points to spend on trees.

Shrine of the Gone Light

This large open area is home to a number of new enemies and loot. Head down the right ladder and destroy the Dark Vent to reveal a quick alternate route. Cross the bridge and open the loot chest on the other side. From here you can go down the stairs to reach the floor of the main room.

If you head left down the initial stairs, you will run into the Wolf. The Lone Wolf doesn't put up much of a fight, so you shouldn't have any trouble taking them out.

Keep moving around the edge of the room and up the left side stairs to bring you to an elevated landing. At the top of this landing is a bomb. Using your new mage abilities, you can use the Waterg spell on the bomb to stun it, causing it to drop down to the floor below, where it can then damage the enemies roaming there.
Once you've fully explored, head to the main floor where you'll find a pack of wolves ready to tear you apart. Large area attacks are good in this fight like Spinning Slash Ability Attack or big spells if you have time to cast them.

The Alpha Wolf will approach after a while, and is a bit harder and more durable than your average Wolf. Stay away from his attacks when he hits hard and try to lower his Break Gauge so you can Soul Burst him. Don't forget that you can back off a bit if you need a place to heal or restore your Break Gauge.
Once they are all taken care of, you will most likely have a large amount of loot to pick up. Pack it up and comb through your inventory to make sure you have the most up-to-date equipment, level up your quest trees, and then it's time to move forward.
On the ground of the right stairs is another chest. The way forward at ground level is difficult, so climb the stairs to the upper balcony. Once there, you'll find a chest containing a Halberd, which will introduce you to Lancer's Work. In order to use the Lancer mission, you will need to change one of your two battle sets to equip the Lancer mission instead of the others.

The Lancer quest allows for ranged melee attacks, both with extended range attacks and an ability attack that transforms your weapon into a Javelin. Experiment with each of these tasks and see which one you enjoy the most in the future.

Another closed door passes through the archway. Open it up and... Have we been here before? We returned to the Temple of the Dead where we started. Head to the left of the doorway to go down the stairs, which will lead you to the second cube you used at the start of the demo. Then go back up the stairs and around the other side of the balcony to advance.
Road to rebellion

After opening the door, you will see a bomb across the bridge. However, as you approach, two goblins will jump over the edge of the bridge to attack you as well. Use your new Halberd to see how much you enjoy Lancer's Work as you take out these enemies.

As you move to the base of the tower at the end of the bridge, three leech bats will descend from above. These creatures are fast and agile, and will stay away until they burst inside. You'll want to attack with some range here, or alternatively Soul Shield their supersonic wave to create your own Wave attack.

Once he's dealt with, collect any dropped loot and then head up the spiral staircase. At the top, there is a broken path on the right where your next objective is, but you can also keep walking to the balcony of the tower in front of you. On the other side of it is a chest for you to loot. Once you've grabbed this, head down the rubble ramp you just ran past.

At the bottom of this ramp is an arena with three separate Dark Air Vents protected by Bombs and Bats. Leech Bats can be fairly easy to break in this fight, and when you soul blast them near other enemies, it can help shrink those enemies as well as their own burst sensors. This can lead to a chain of Soul Bursts, which is great when fighting smaller enemies to quickly clear the field.
As smaller enemies are removed, goblins will also spawn, which can prove more difficult with their increased health bars. If you find yourself overwhelmed, feel free to move back from the Dark Vents to gain some space and push the enemies a bit. There may be several of them, but they are all relatively easy enemies to fight.

Keep the enemies at bay until you can keep attacking the Dark Air Vents. As you blow each one up, more enemies may start to reappear, this will be in fewer numbers than when you started, so they shouldn't prove too difficult.
Crush the remaining Dark Vents to destroy the massive tower above you. As with other vents, this creates a new way for you to move forward now that the fight is over. Collect the loot and then climb the tower. Turn right at the end, go up the stairs and activate the Cube in front of the doorway. To the left of the doorway is also a chest that you can open.

Now is the time to test your newest gear, quest trees, and ability attacks again. Now that you have three different jobs, you can also register different job speakers as presets in this cube. This allows you to replace a given combat set without losing the specifics of the set, allowing you to re-equip it from a different cube later.
tower of fate

As you enter the Tower of Doom, you will be introduced to a new and dangerous enemy type, the Skeleton. These enemies also introduce Unblockable Attacks or Red Attacks that will always connect and damage you unless you dodge them. You cannot use Guardian or Soul Shield against these attacks.
Skeletons are weak to break the caliber of mace damage, so using Mage's Quest here can work quite effectively. Soul protection from their normal attacks also stuns them, allowing you to enter and stay close.

After getting the Skeletons out of the way, you can move to the doorway on the left side of the room and go through it. You will find yourself in a grand entrance. The big door at the end is locked, so head to the door at the opposite end of the room you entered from. At the end is a chest that you can open to find the Door of Destiny Key. Turn around and...

It is a trap! The two bats quickly approach as three skeletons rise from the ground behind them. Try to finish the Leech Bats quickly to focus on the much deadlier skeletons before they finish their approach. If the Bats are still in place by the time the Skeletons are on you, don't focus too much on them, as the Skeletons are much deadlier.

Watch out for the Bone Stab attack and take them down like you did before, stunning them with Soul Shield and breaking their Break Gauge. You have room here to move to the other side of the room in case you get overwhelmed, so use it if you need to heal or spread enemies.
Once they're out of the way, it's time to open the Doors of Destiny. Check your inventory and quest trees. You may have gained the ability to unlock an extended quest by progressing far enough through one quest tree to this point. These jobs are more versatile and have different skill sets than those that came before them. However, for the boss fight to come, you'll want to have at least a high-level job in your battle sets so you can take advantage of the increased stats for the fight.

Head to the shiny doors in the large entryway and use your new key to open them. Before you is another large room in which there is not much to find. Climb the stairs and move along the right balcony to find a chest. Other than that, all that's left to do is activate the Cube, level up the quest trees, equip your best gear, and then get ready to face the Temple of Chaos boss.
Chaos - Boss Fight Guide
In order to have effective combat sets, it is important that the tasks that you are comfortable with are your active ones. Since the demo is quite short, it is unlikely that you will have many, if any, advanced tasks at your disposal, and if you do, they can be quite low level.

Magic and Chaos instant spells are meant to increase Break Gauge's damage in this fight. However, be careful when casting more powerful spells. Because Chaos moves especially fast, any long cast time will be punished very easily by the warrior, so only try to cast simple spells if you don't have room to breathe.
When the fight starts, you will notice that Chaos moves and attacks very quickly. These attacks mostly come as single hits before another attack follows a second or two after that. You can defend against most of them fairly easily, however all attacks happen so frequently that your Break Gauge won't get a chance to cool down, so be sure to change your Battle Sets to upgrade your Break Gauge.
Chaos will use Blaze against your team. Think of this attack as the faster moving Fire attack that Bombs have been using against you so far. It's pretty effective to catch this with Soul Shield and use it back in Chaos to damage the Break Gauge from a distance, so catch it when it's safe.

Chaos after a while will be thrown by the Firebearer, who will fill his sword with Fiery properties. This will make each attack deal some magic damage, meaning you will still take damage even through an effective guard. Guard if you need to, but don't forget that dodging at the right time with X will allow you to dodge attacks, allowing your Break Gauge to refill while at the same time protecting you from magical damage.

Chaos will eventually cast Inferno, an Area of Effect spell that explodes the area around it. Move away from it to avoid damage and get close while it reloads to get a hit or two. Most of the damage you deal with his Break Gauge or HP needs to be done between hits, and since he attacks so fast, you'll need to do that as well.
If you see Chaos jumping back, he's about to throw Ice Shard projectiles at you. Either dodge them or remember to defend against them as they hit hard and fast.

Your companions can focus on the boss from time to time, giving you a chance to heal or restore your Break Gauge. However, they can quickly be taken down in this fight. This is a tough choice as to whether to revive them or not, as they generally don't do that much damage to Chaos, but it can be very useful to get distracted from time to time and not be the boss's only focus. If you have more than two potions left, it might be worth reviving them if you have the opportunity, but less so, you risk surviving the fight if you get hit.
If you manage to knock Chaos' Break Gauge down completely, or reduce his HP to half, you will gain the ability to Soul Burst him. Quickly heal or revive your teammates if you wish, then activate Soul Burst. This will activate the second phase of this boss fight where the difficulty really increases.

Most Chaos attacks will now be multi-attack combos that will drastically reduce your Break Gauge and give you fewer opportunities to retaliate against it, as well as provide more opportunities for inaccurate block or dodge to result in you taking massive damage .

Chaos will start using Firey Hold, which is unblockable and deals massive damage. Be sure to dodge this attack when it comes, and remember that if it comes from afar, dodge it when it gets a little closer to you, as dodging too early will mean you'll get caught anyway.
These multi-attack combos that you will need to deal with can be avoided, but dodged by being very close to Chaos. If you are close and you dodge past Chaos, then his attack will go behind you, which means you can dodge with a little more leniency. You will have to do this multiple times in most cases to avoid his combo.

Chaos can also launch an attack with Chaosbringer, another AoE attack that you will need to avoid after walking some distance. This attack can be used when Chaos is not elementally charged, and it happens quickly once it starts charging, so be prepared to dodge.
Instead of Firebringer, Chaos will now throw an Ice Sword, imbuing all of its attacks with Ice Magic. It's more dangerous because many of these standard attacks start to include an Ice blast that expands the Area of Effect of these spells, meaning they're much harder to dodge. Security is sometimes the only effective means of negating these ice attacks.

Like Inferno, Chaos will present Blitzzag as an explosive Zone of Effect, so clear things up quickly when you see this attack coming.
Because these ice attacks can also hit multiple times, your Rupture Gauge will deplete very quickly. Keep an eye on him and keep changing your Battlepacks to keep him fresh, as your companions will most likely not be able to get Chaos' attention for very long to get him refreshed on his own.

The times when Chaos throws Firebringer or Ice Sword are great few seconds for you to get some free hits. This also applies to detonations in the area of effect. Any time you can take some harmless damage, you need to take advantage of those benefits.
If you have enough MP, you can cast Lightbringer, with L2 + Circle. This allows you to deal more Break Gauge damage, but you will still take damage, so be careful how many times you attack, as doing a bit more damage will be pointless if you don't survive the fight.

If you died enough times during this fight, you may have lost most of your MP. You can get it back by attacking Soul Shielding Chaos or by defeating standard enemies outside of the boss fight. Having that much extra MP might not be too helpful, as most ability attacks that use MP have very long completion times, leaving you vulnerable or inaccurate, so you might prefer to just jump back into combat after death and wipe out Chaos health.
If you can keep dodging Chaos' combo attacks, you'll be able to destroy his health enough that you can finally defeat him. This is a tough win and it can take you a lot of tries, so don't be discouraged if it takes you a while.
Was the article helpful?