
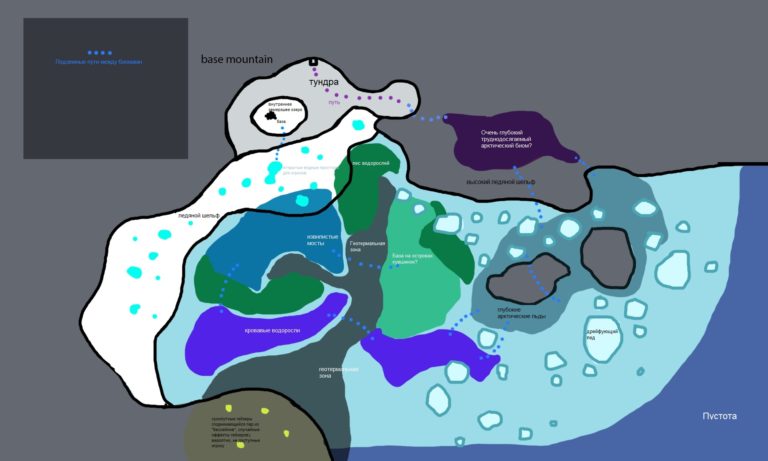
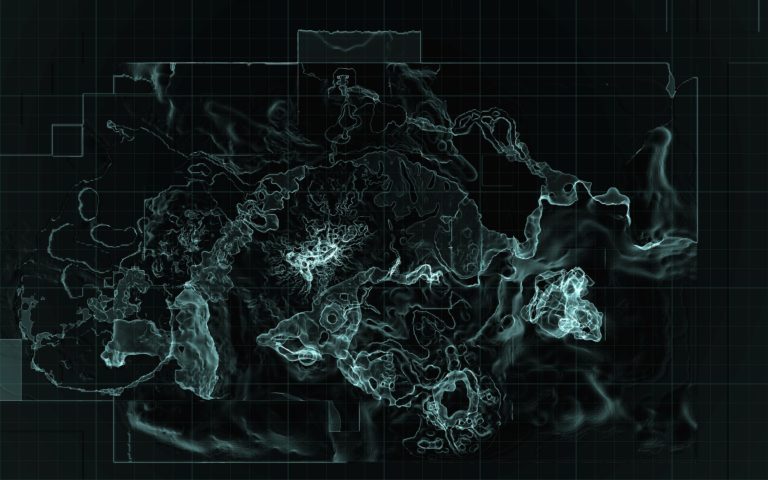
The Subnautica Below Zero map is a vast icy wilderness, so here are every location you need to know about and the coordinates you need...
Subnautica: Below Zero 100% Walkthrough


Home
You play as Robin Aya, a Xenoworx: Alterra Initiative employee who sneaks onto the planet 4546B. Robin's mission is to investigate the death of her sister Sam Ayu.

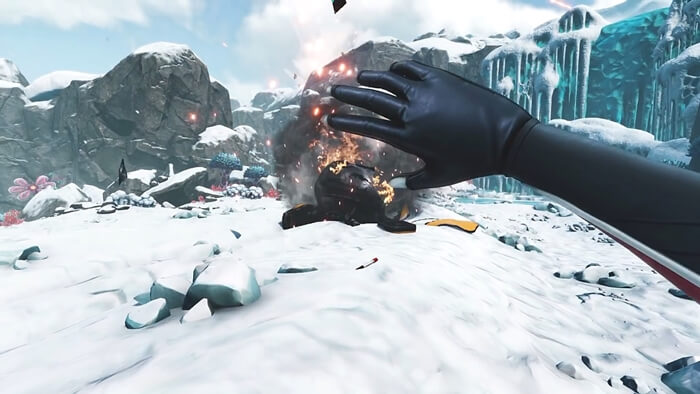
The story begins with Robin crashing into a shuttle launched from a passing freighter during a meteor storm. After the opening cutscene, you gain control of Robin. There are some supplies on the ground, collect them. There should be 3 Filtered Water Bottles, 3 nutrient blocks and 9 torches. When walking outside of the water, you should pay attention to your body heat. If hypothermia becomes unavoidable, you can warm up with thermal lilies or the burning wreckage of your shuttle. You can cross the path to open water, from where you can swim to the drop pod.
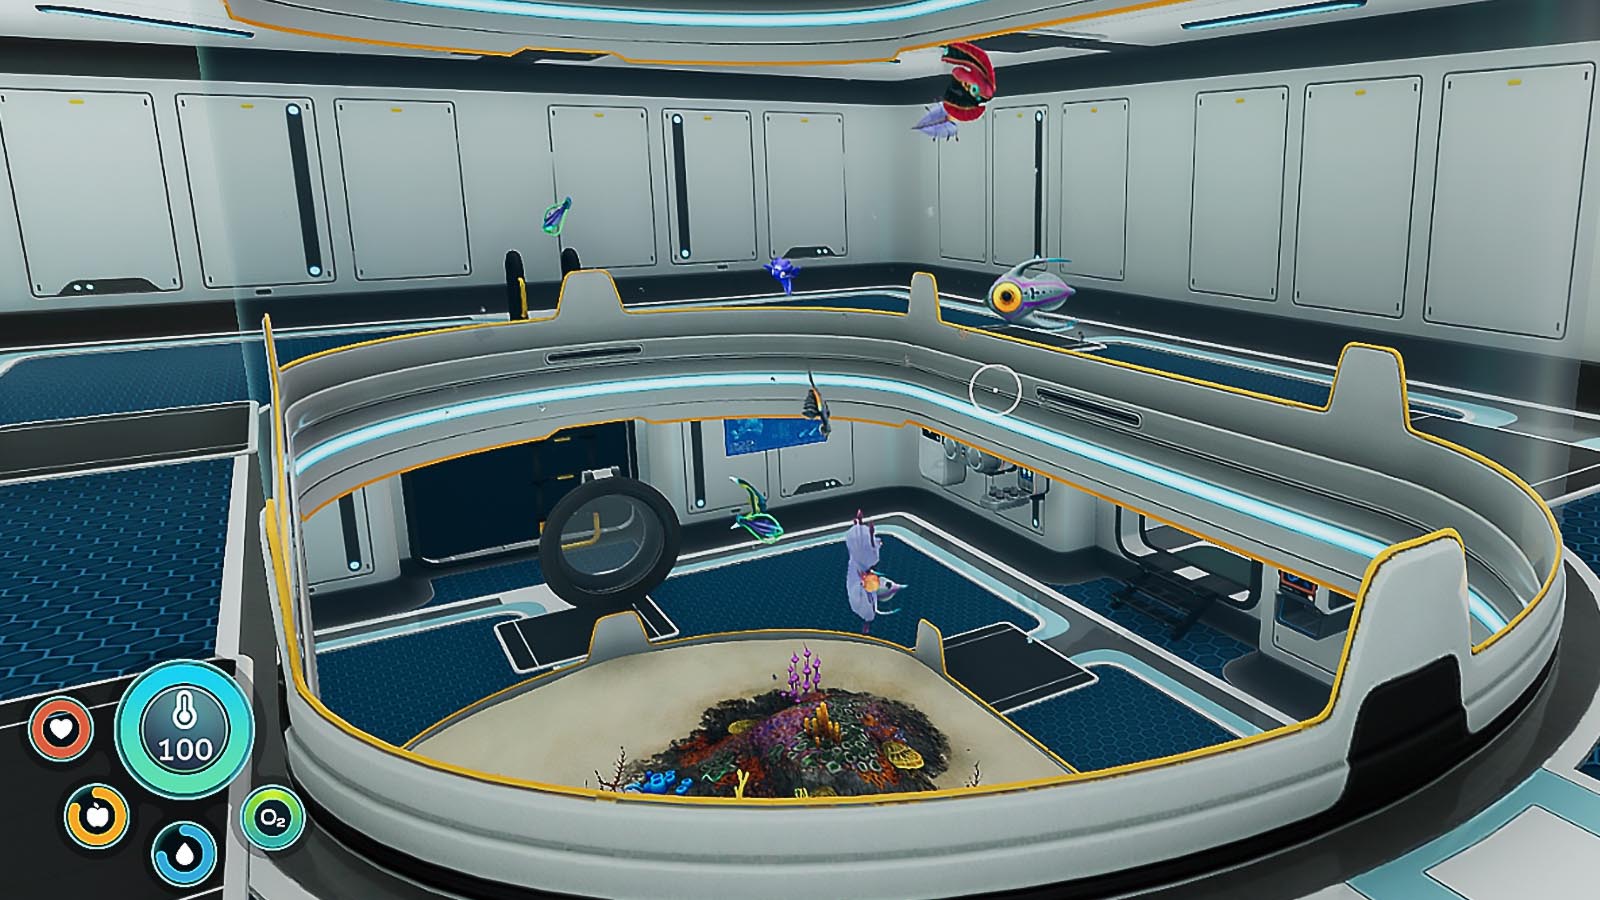
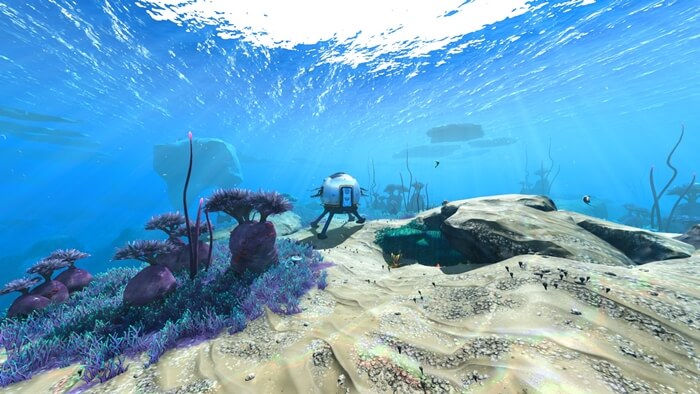
The path exits into the main gameplay area known as Sector Zero. The exact biome you're currently in is Shallow Winding Bridges. At this point, your food bar should be about half full. Food and water are the two main gameplay threats that need to be constantly managed. In order to replenish her food and water supplies, Robin must eat boiled fish, which can be cooked using caught fish in the Fabrikator, eat Stockfish made from fish and salt deposits, and drink filtered water, which can be cooked using bladder fish. There is also a health bar that keeps track of how much damage you can take before dying. Damage is usually caused by predatory fauna or flora, although it can also be caused by falls and excessive heat. Healing requires the use of first aid kits, but health will also slowly regenerate if you have filled your food and water meters enough. Finally, the last two indicators are oxygen and temperature. Oxygen slowly drains at a rate of 1 per second (unless your depth is below 100 meters and you don't have a rebreather) while you are underwater and in unpowered bases/vehicles. On the other hand, the temperature decreases when it is out of water and in a cold environment. Please note that the rate of temperature decrease depends on the biome and the current weather.
Shortly after exiting the trail, Robin arrives at the Drop Pod, a safe place to store and craft items. Inside the pod is a 6x8 storage locker and a Fabricator, one of the most important crafting machines in the game. The Fabricator has four tabs: Resources - for creating items that are used to create final products; Livelihood - to create food and water; Personal - to create equipment and tools; and deployables - useful items that fit into the world and have a convenient effect. There are three vital crafting items right now: Survival Knife, Scanner, and Standard Reservoir.
Important Tools
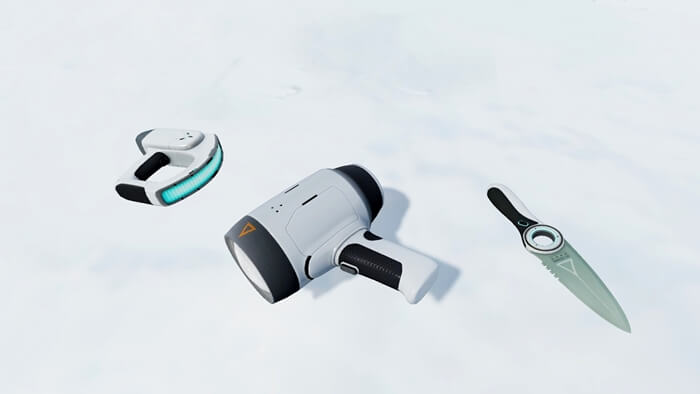
The fastest creation tool is the scanner. His recipe is one battery and one titanium. Titanium can be obtained by breaking limestone outcrops that dot the floors and walls of many biomes, including the one you're currently in. Outcrops also drop copper ore, which is needed to craft batteries. The other resources needed for batteries are two Ribbons, which are small, narrow, yellow, and green plants commonly found in Shallow Winding Bridge caves. Once you have all the necessary items, return to the compartment to create a scanner. The scanner allows you to scan fauna, flora, rocks and, most importantly, fragments. Fragments are broken pieces of technology that dot the floors of many biomes. Each biome has its own set of fragments. One very useful piece of technology that can be scanned on Shallow Winding Bridges is the Sea Slide, which greatly increases your movement speed. Note that it and the scanner require a charged battery to function. If your tool runs out of power, simply create another battery and replace it by pressing R while holding the tool. Later in the game, you will be able to craft a charger and place it in your base to recharge the batteries you have. The next important item is the Survival Knife. The knife allows you to collect certain resources and fight off aggressive life forms if necessary. The knife recipe is one titanium and one silicone rubber. Silicone Rubber can be crafted by harvesting a Seed Cluster in the Arctic Kelp Forest. One of the forests can be found in the direction away from the tunnel. Once you get there, the seed clusters are bright red bulbs hanging from tall pine trees that look like real seaweed. It's wise to pack as much as you can carry, as you'll need more later. Once you have everything you need, return to the drop pod to craft the knife. The third item to be crafted is the Standard O₂ Tank. The reservoir increases the total amount of oxygen, allowing you to stay underwater much longer. His crafting recipe is two titanium and a fiber mesh. Fiber Mesh is crafted using two Creeping Kelp specimens, which can be purchased with the Survival Knife at Creeping Kelp in the Arctic Kelp Forest. To use a knife, simply equip it with the number keys and then press the right mouse button. Once you craft the tank back into the Drop Pod, a few more crafting recipes will be unlocked. While not strictly necessary, there are some other tools you can create. One is a flashlight and the other is an air bubble. The flashlight just requires a battery and glass. A flashlight can help you search for materials in the dark, as the world can be very poorly lit in certain places, especially at night. Glass is made by combining two quartz glass. You may have already seen quartz; it is a white crystalline object found on the floors of the Shallow Winding Bridges. The air bladder requires silicone rubber and a bladder and can be used in two different ways. The first way is to replenish the oxygen meter with 10 seconds of air. Another, more useful way is to allow Robin to quickly rise 100 meters from the ocean floor to the surface of the water. The speed at which the player climbs is faster than most Predators, making it a useful escape tool in a pinch. Something that you should take the time to create is a high capacity tank, an upgraded version of the standard tank you previously created. While it's not absolutely necessary to progress, if you're an inexperienced player, it's recommended that you create this update. The blueprint for it can be found in Winding Bridges; just explore until you find it, or skip to the next section if you can do without it. Once you have everything you need, return to the drop pod to create a tank.
Station "Zero"
In search of refuge
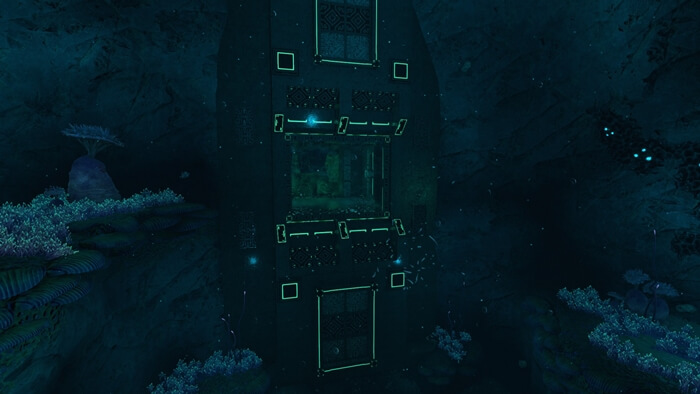
If you explore the Winding Bridges, you will receive an SOS signal coming from the shrine. The sanctuary is located deep in the biome, at a depth of 200 meters. You can find the entrance by moving away from the Drop Pod, in the opposite direction from where Robin's shuttle crashed. As soon as you get close to the sanctuary, you can see some alien pillars. Follow the pillars to find the sanctuary, which is another large alien structure with a wide, square façade. After passing through the hole, you will come out of the water and get back on your feet. The first thing in front of you is the cave of the sanctuary. The entrance to the inner sanctuary contains three Ion Cubes, which you may want to pick up as they are not very common. Be sure not to waste them, as they will be required to progress, though more can be found in Sector Zero. Follow the rocky path to reach the inner sanctuary, which is marked by more alien structures. Inside the inner sanctuary is a large open room with a giant cubic structure in the center.
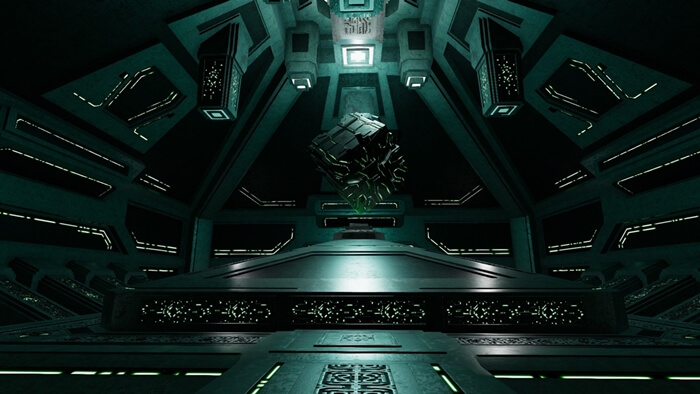
Along the way, you'll get a message that the facility's capacity is low. An alien, disembodied voice speaks to Robin and says that he is running out of time. Subject informs Robin that "a storage container has been found on her face." Walk around the cube and up the ramp to find a green hologram. Interaction with the hologram initiates a cutscene in which the Architect's consciousness is uploaded into Robin's brain. Once Robin regains consciousness, she and the alien talk to each other, and Robin gets upset about what happened. The alien falls silent as he thinks about solving their current situation. Finally, the Sanctuary Cube collapses. Now you can exit the sanctuary. After Robin exits the Sanctuary, the Architect's voice tells her that he needs a body to transport himself into. The voice tells her that he belongs to a species called the Architects. Robin asks for his name and he tells her that she can add her seed code to his species name. The voice admits that Robin might call him Al-An.
Delta Island
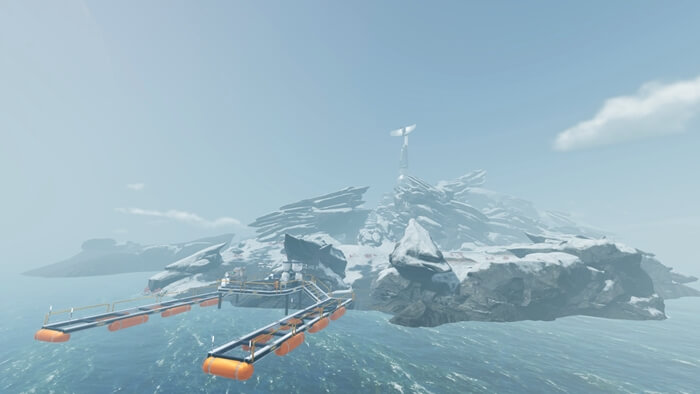
In the days after landing, the game will give you the exact location of Delta Island. It is in the center of Sector Zero that the Communications Tower is located, a large installation for monitoring activity in Sector Zero. Head to the island, which is visible from quite a distance to the south (away from the tunnel and mountains). When you get to the island, you must climb to the top where the tower is. Go through the caves to get to it. It is at this point that the player is most likely to face the danger of hypothermia for the first time. On Delta Island, thermal lilies or crystalline sulfur hot springs provide a very convenient source of heat, making survival on the island very easy. On her way to the top, Robin triggers a cutscene featuring Marguerite Maida, who tells her to stay away from her land, and then leaves in her modified Shrimp costume. Your PDA will mark a signal showing its last tracked position. Remember this for later.
Delta Station
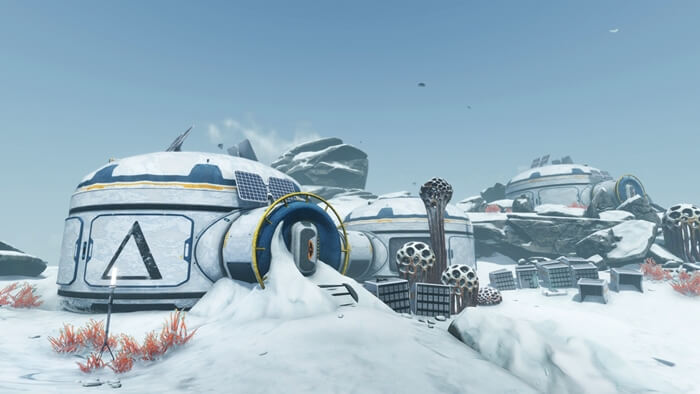
Once at the top of the island, you will most likely see the Delta station before you see the tower. At the base is a fragment of a builder's habitat. The Habitat Builder allows Robin to build naval bases in the water or on land. Naval bases allow you to have a base away from the drop pod, which can contain storage and useful objects like the Builder. The database also contains certain scanned objects. Most of them have no use other than vanity, however two particular objects stand out as being extremely useful: the Multipurpose Room and the Modification Station. The room can be scanned from the outside (it's a large round room, there are two of them), and the modification station is inside the base's bedroom. It can be used to upgrade certain equipment and tools such as the knife and oxygen tank. After scanning everything you want or need, leave the base and go up the stairs in front of you to the radio tower. It was also revealed that the following members were quartered at Delta Station: Fred Lachance, Jeremiah Mergl, and Emmanuel Desjardins.
communication tower
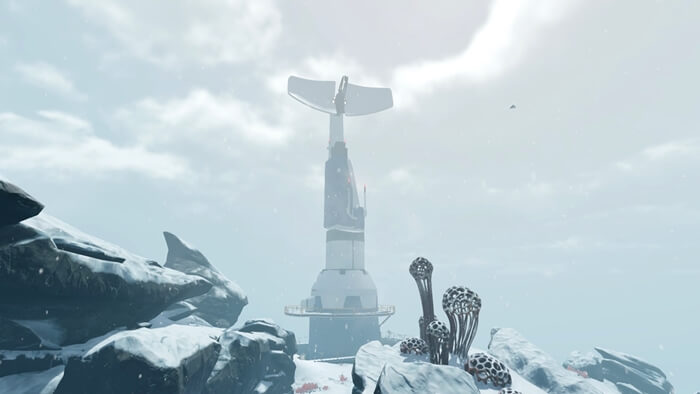 At the very peak of the island, Robin can walk up the Communications Tower. There are a couple of PDAs nearby, most of which were abandoned by Jeremiah Murgle. A terminal can be found in front of the tower's ladder. When Robin interacts with the terminal for the first time, she will receive a status report revealing that the area is under active satellite surveillance.
Deeper Exploration
Seatruck
At this point, the story will force you to delve into the deeper sections of the region. It is highly recommended to purchase the Seatruck, a submarine that can be modified to suit your needs with attachable and detachable modules. The first step is to search for its Fragments, which can be found in Twisting Bridges, Purple Vents, and Thermal Spires. They are more easily located in the Thermal Spires, the biome immediately surrounding Delta Island. Once you scan the three pieces, you will unlock the seat; however, you also need a mobile car bay that allows you to build vehicles. These fragments (you need three) can also be found in Twisted Bridges, however they are more common in Arctic Kelp Caves, which are large caverns that have entrances in the Arctic Kelp Forest. Be careful diving here; sea monkeys can steal your item and you might have a hard time finding your way out. Once you have both blueprints, it's time to create both. Once you create a bay, simply equip it and throw it into some deep water and it will float to the surface and open up. Climb up by clicking on it and click again to open the crafting menu. Then you need to craft the seat itself, which is harder to get the ingredients for. Once you've managed to collect all the materials needed to craft the seat, return to the mobile car bay or drop it back if you picked it up. Get on the seat and craft it. After a short animation, it will be dropped into the water in front of you. You can enter it through the hatch on the roof. The Seatruck runs on power cells that need to be charged in power cell chargers; alternatively, you can build a moon pool to recharge your Seatruck while docked. The seat controls in much the same way as the player; mouse to look around, WASD to move. The main feature of the sea truck is modularity; using Seatruck modules, you can choose what your Seatruck can do, from storage to teleportation. It can also be updated with updates created in the fabricator. Modules and upgrades must be unlocked through more research, although some upgrades are unlocked by default. The next section requires your Seatruck to descend to less than 150 meters; however, the Seatruck cannot yet go below this level. To improve its crush depth, you must build a Seatruck MK1 Depth Upgrade. This update increases the crush depth of the seat. The recipe for this is quite simple (you can check it in the blueprints tab of your PDA). Once crafted, you can place an upgrade in the seat by opening the hatch on the cab roof. It is recommended to keep the depth update for making the Seatruck MK2 depth update and, as a result, the Seatruck MK3 depth update.
Koppa Mining Site
The lady you saw was in the Shrimp costume; a vehicle that can walk on the seabed or over water. It is equipped with two modifiable levers and is very resistant to damage. His blueprint can be found in Glacial Basin, Outpost Zero, and Koppa Mine. The latter is a little more dangerous, however it also contains an arm upgrade for Shrimp's suit, so you still want to go there. The entrance to the mine is located southwest of Delta Island, approximately 120 meters deep in the Thermal Spires; it is close to the island. You'll know you've found the entrance when you find the doors in the biome wall. However, this entrance is too small for a truck to fit in, and it's nearly impossible to get all the way through the mine on oxygen alone, no matter how much equipment you take with you (except for the pipe network; it might work, but it'll be expensive) . Most likely, you want to bring the seat through a secondary entrance; it is close to
There is a bend a very short distance down the cavern from the loading bay; the cave is divided into two parts. There is a large artifact on the left side of the cave. You don't really need them to progress, but since you're in the area, you should take the time to scan it. Artifacts can be found throughout Sector Zero, and scanning enough of them will reward you with new hybrid technology. The cave on the right is where the mine ends. The elevator in the center of the room holds a blueprint for Farah, a wearable flashlight. Also in the room is the last piece of Shrimp's costume. Collect it and you should have everything you need from the mining site. You can exit the same way you entered, or through the hole in the ceiling of the last room.
Prawn Suit
Now that you've unlocked the Shrimp Suit blueprint and Drilling Arm, you can return to your base or Drop Pod and craft them. The Shrimp costume is made in the compartment of a mobile vehicle. Once you build your shrimp suit it will sink to the bottom of the ocean where you can enter it and start walking on the ocean floor with the same controls you would use when walking on land. You can also control the left and right hands by pressing the left mouse button and right mouse button.
Margaret Maida's base and a piece of Mercury-2
As Robin crosses Delta Island, she briefly confronts Marguerite in her modified Shrimp costume, threatening her to stay away from her land. Just before she leaves the island, she will tell you not to follow her. However, this is an incentive for you to follow Marguerite. Robin will then notice that she was not as lonely as she expected. It should be noted that this cutscene will allow you to access her naval base.
Base
To get to the Marguerite Maida base, which is 380 meters underwater, it is recommended that you have a Seatruck equipped with the Seatruck Depth Upgrade MK2. The base can be reached from the western corner of the Lilliputian cleft, marked by clusters of shrubs. It is also accessible from a crevice under north Wentgarden in the Treespires. When Robin first enters the base's large room, Marguerite will ask her to turn off the Communications Tower on Delta Island shortly before she enters the adjacent large room. The rest of the rooms have special indoor units including Refrigerator, Sink, Toilet and Shower. Her Snow Chaser will prevent Robin from entering other rooms in her base until Robin captures the Comm Tower. You are currently scanning the Test Override Module and taking the Seat Perimeter Protection Upgrade lying on the carpet that the desktop rests on. You can pick up Marguerite's third log in her work room, and the fourth one in her bedroom. Her naval base is locked by default until you meet Marguerite on Delta Island.
Tower
After Marguerite Maida asks you to turn off satellite surveillance, find and scan the test override module fragment located on the table with Snowfox parts. There is also a place next to the table to improve the perimeter protection, it is recommended that you raise it. The test redefinition module schema consists of simple materials as well as a special element known as a parallel processing unit. You will need to scan three fragments to unlock the parallel processor circuitry. Each of the three sections of the Mercury II has at least one piece of the parallel processing unit. Mercury II is a wrecked ship. Its debris is broken into three sections, with the largest of the three ending at the slope bordering the Purple Vents, the Lilliput Islands, and the Tree Spires, the second largest at the Lilliput Islands, and the smallest at the edge of the Purple Vents above the crevice. At this point in the game, you are expected to have a seat equipped with the MK1 Depth Upgrade to easily navigate to the entrances to any Mercury II section. It is recommended to take an ultra-high capacity tank and a seagull with a flashlight on when you enter the stern or bow of the Mercury II, as they can be difficult to navigate. Oxygen plants can be found in both sections to buy time to find fragments of the Parallel Processing Unit. A few pieces of the Parallel Processing Unit require you to bring a laser cutter, as some of them are sealed behind small doors that can be cut with a laser. Once you've finished scanning all three Parallel Block fragments, return to the Drop Pod (or your base if you have a Fabricator installed) and craft a Parallel Block. The rest of the stuff for the test override module should be pretty easy to access. Start making test override modules as soon as you have the materials. Once you've finished crafting the Test Override Module, head to the Communications Tower on top of Delta Island and take the module with you. Once you get to the tower, head up the stairs to the maintenance port and insert the module. Then go back down and select [Enter Test Mode] on the tower terminal to complete the mission. Margaret Maida will call you and tell you how to get to her greenhouse.
Marguerite's Greenhouse
After Robin disables the Communication Tower, Marguerite will call her and tell her how to get to the greenhouse. Margarita's greenhouse is located on the southeastern iceberg in the Eastern Arctic. The coastline of this iceberg is marked by several boxes, light sticks, and part of a skeleton. Robin will get a clue about the location of the destroyed Omega Lab after talking to Marguerite in her greenhouse. You can also harvest a variety of edible flora.
Opening Other Outposts
Omega Laboratory
The location of the Omega Lab is hinted at by Marguerite Maida shortly after she ends her conversation with Robin in her greenhouse. To access the laboratory, which is located at a depth of 200 meters inside the largest suspended land in the Lilypad Islands, it is recommended to use a Seatruck equipped with a Seatruck Depth Upgrade MK1. You will find the base in a state of disrepair as a result of Margarita setting fire to the base, which subsequently caused the base's nuclear reactor to detonate. You can find several PDAs at the base, indicating that the Omega Lab was a research center for experiments on Kharaa from the Frozen Leviathan. You will also find that the explorers Vinh Pham and Daniel Valenti lodged at the base. In the outpost's large room, you can scan a nuclear reactor, a charger, and a couple of command chairs. In any multi-purpose room, you can find an exclusive buildable aromatherapy lamp. Both multipurpose glass domes can also be scanned.
Base
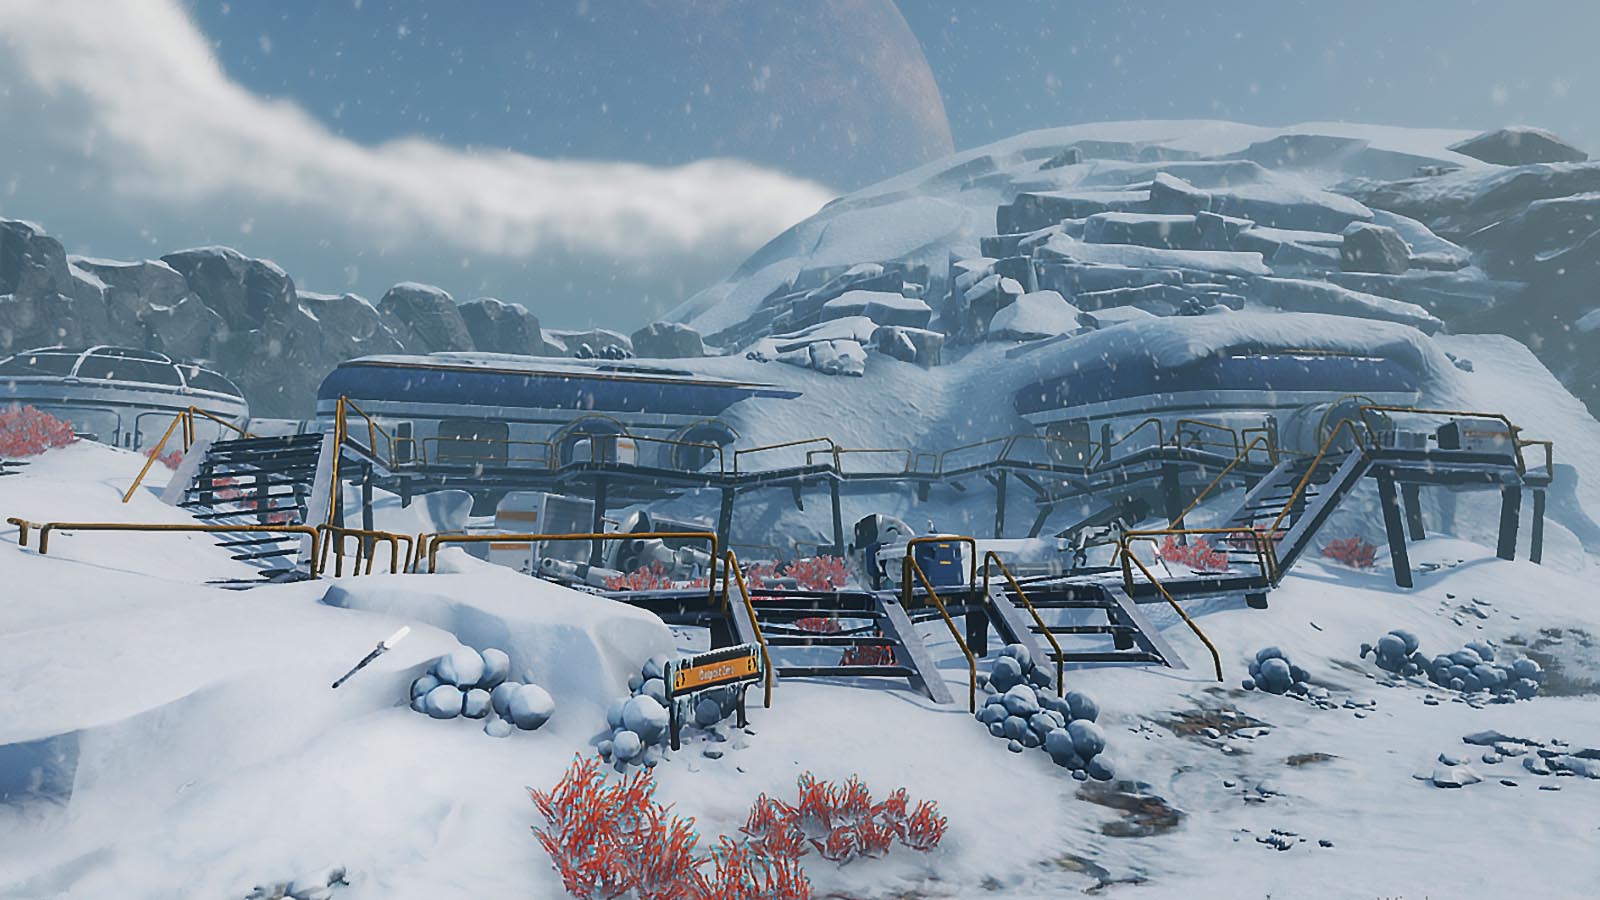
You can access the Abandoned Base through a gap in the Lean Arctic, northeast of the Drop Pod. You might want to take a seaslide with you, as the ice sheets over the Rough Arctic make it difficult for the player to replenish oxygen. When you surface, you will find yourself in a small cave with several thermal lilies. From there, there is a direct path to the outpost, and behind it is the "Architect Phase Gate" facility. In the base lab, you can find an ion cube, a data block for the Control Room, several drawings made by Lillian Bench's children, a fragment of an modification station, a portrait of Potato (Robin and Sam's cat), and several PDAs relating to Lillian Bench. The kitchen has several different scanners, several posters, and a water filter machine. You can scan the base's multipurpose greenhouse and collect lantern fruit from the lantern trees grown in the indoor flower beds. In the living quarters for Sam Ayew and Lillian Bench, you can find a portrait of Robin holding a potato, more different scanners, and more of Lillian's childhood art, as well as a Crater Quarantine Enforcement Platform poster.
glacial basin
Entrance to the pool
When you head to Glacier Basin, you'll want to go through Glacier Bay, as it's an infinitely safer route than the alternative Glacier Junction route, which is filled with Eye Jelly. This alternative entrance is deep below, under the ice front. You will have difficulty carrying your saddle; luckily you don't need it in the Pool, so you can leave it there and move around the cave until you reach the surface. Once you surface, there should be a dock nearby that you can use to get on land. If you head through Glacier Bay, you will receive a signal from a beacon outside the Phi Robotics Center. Head towards it and you can pick up the beacon to unlock its blueprint. Immediately head up the nearby hill by climbing a ladder that will take you to the pool wall where the Phi Robotics Center is located. Enter the cave to warm up, as the temperature in this area is very dangerous. While here, you may want to scan the spy's remains, as they will become useful later on. Zeta Landon's bedroom contains a cold suit fragment that will help the player survive the freezing weather of Sector Zero. In Glacier Basin, if you don't have a Cold Suit, temperature is your biggest enemy. Due to the unusual climate of Sector Zero, blizzards are very common and can quickly lead to Robin's death. Glacial Link Lake, caves and underwater tunnels serve as safe spots where you can ride out a blizzard. Beware also of Snow Stalkers, bear-like predators that will attack Robin at sight.
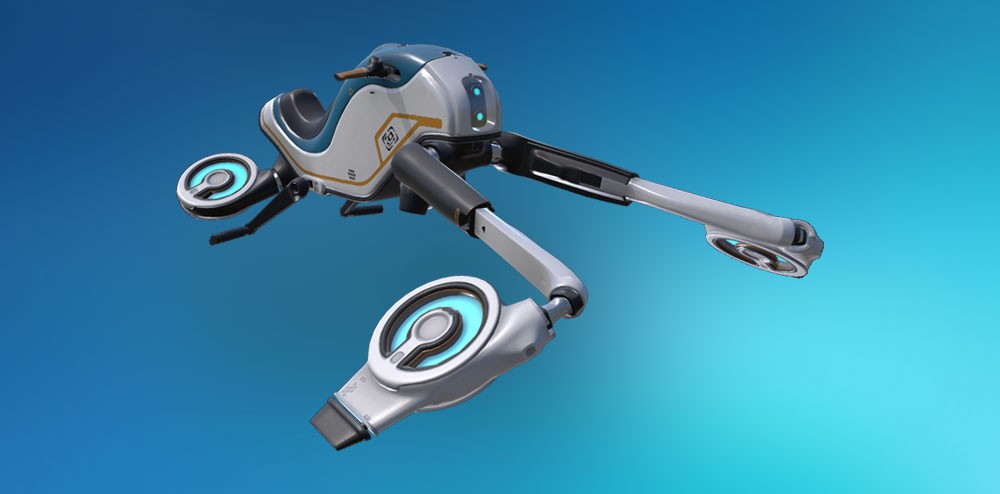
snowfox
Your first goal in the pool should be to build the Snow Wolf. It is a ground vehicle that can quickly hover over the Glacier Basin. Its fragments are scattered throughout the area; you need three. At the Phi Robotics Center, you can also find the Hoverpad Snowfox where Snowfox is built. Once you get the materials, build a hoverpad somewhere in the pool with the Habitat Builder and then build a Snowfox on top of it. Snowfox handles in much the same way as other vehicles; WASD to move, mouse to rotate. LSHIFT also makes Snowfox move forward. The snow dog can also be picked up and moved by clicking on its back, behind the seat.
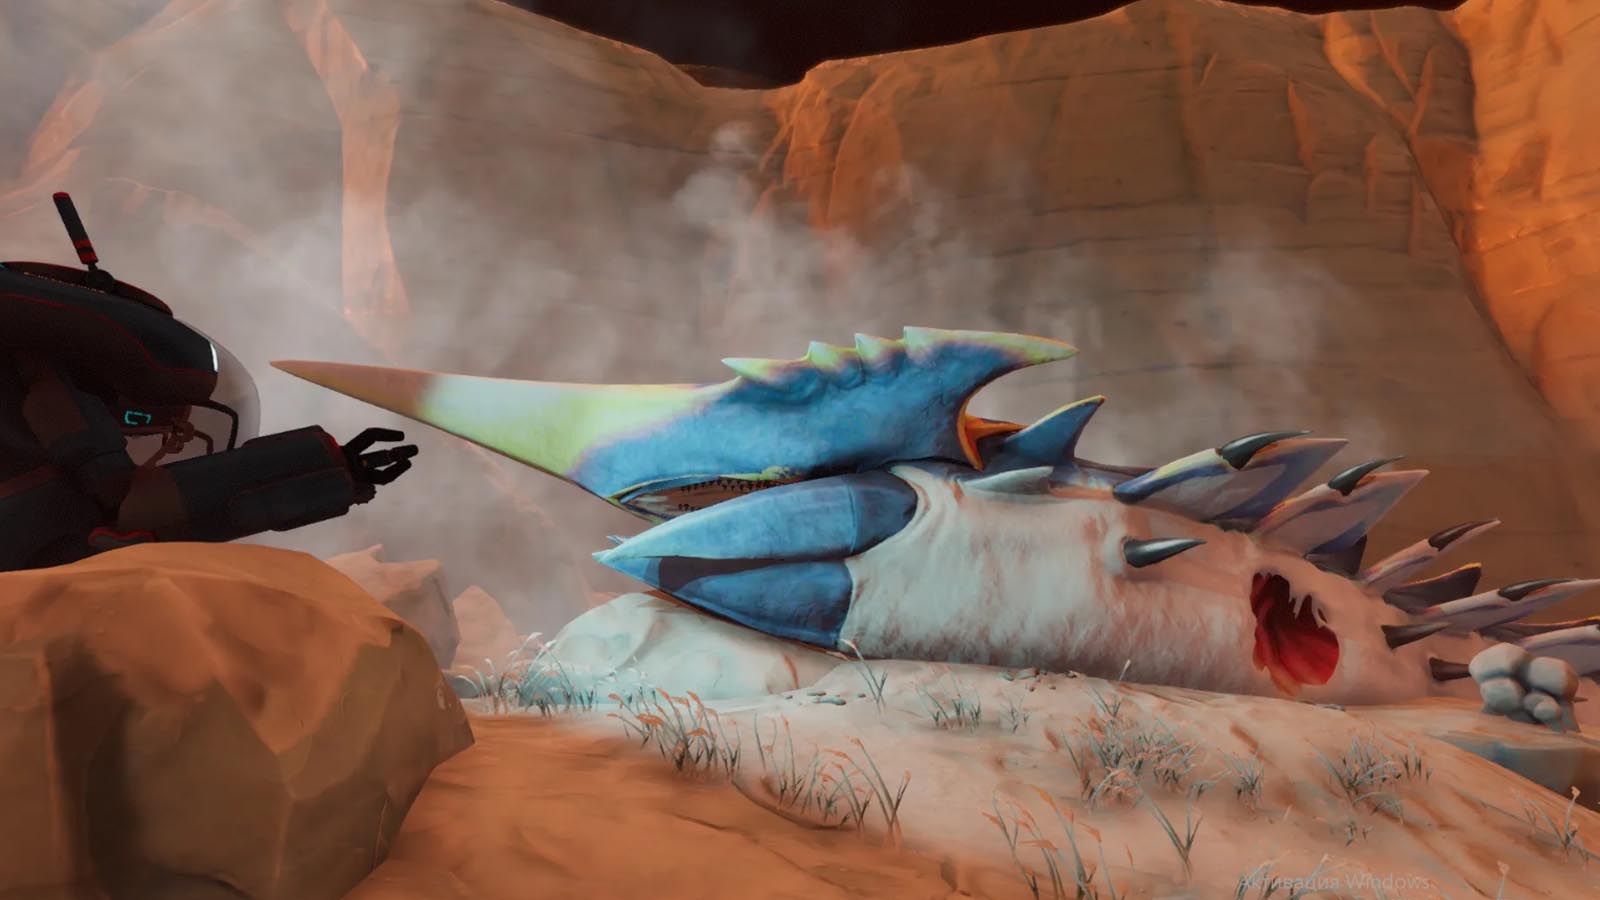
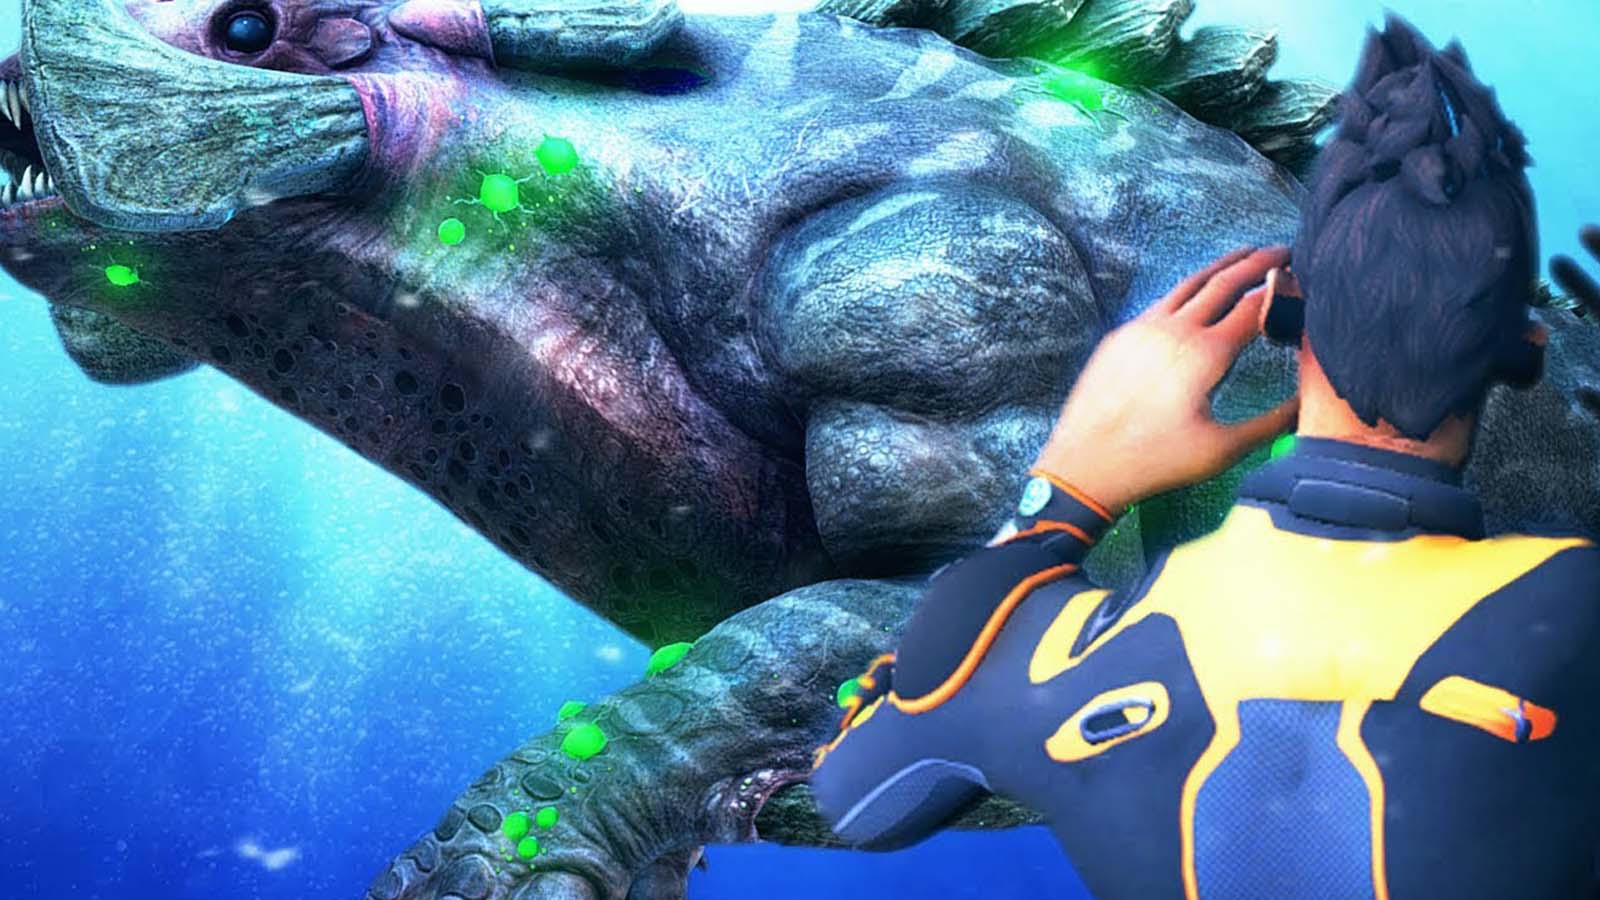
Frozen Leviathan
After exploring the Glacier Basin, you may have stumbled upon the Phi dig site, where the Frozen Leviathan is located. The ultimate goal of researching the Glacier Basin is to cure it. It is located in the northwest corner of the basin, under a high ice mountain. The entrance to Phi's excavation, marked with several boxes and light sticks, can be found in the northwest corner of the area. Before entering the cave, you can head south of the cave entrance and grab the Snow Wolf Jump Module blueprint from the tech site nearby. After that, go to the cave. Upon entering the cave, you can stumble upon Parvan's bunker. There are a couple of posters, a CD from a jukebox and several PDAs about the deceased security officer Parvan Ivanov. If Al-An is in Robin's head, entering the cave will also indirectly inform Robin of his presence. The frozen Leviathan is encased in a large ice cube, and Alterra has been experimenting with it. Examine the cave; you can take the lift to the next level of the area. That's where the leviathan's head is. The lower tunnel in the ice carving leads to the chamber that was used to analyze the creature's claw. You can scan the claw. You can also take the vial of hydrochloric acid on the table next to the claw. At the end of the lower tunnel, you can scan the Shrimp suit fragment. The entrance to the cave's main chamber is littered with rubble from a cave collapse, inadvertently caused by Sam Ayu setting off an explosive device in an attempt to eliminate Kharaa. At the opposite end of the chamber, next to the table with Alexis Rydell's report on the investigation of the aforementioned incident, an inactive tap was found. Before you leave the cave, you might want to grab some hot peppers; they are purple fruits hanging from small trees that keep Robin warm when she eats them.
Cure Frozen Leviathan
On the second level of the ice carving, there is a sample injection robot to remove the Kharaa pustules scattered on the sample. To do this, you must have a spy in your inventory, as well as his remote control. It must be used to purchase the antidote that Sam Ayu kept on the spy site.
If you exit the cave containing the Frozen Leviathan, head south past the Glacier Forest and the frozen river that borders the southern tip of the forest. You should find yourself walking up a hill and there should also be a light stick on top of the hill. Turn left and you will find yourself walking past the top of a frozen waterfall. Descend the slope leading to the western end of Glacier Conjunction Lake. The spy patch containing the antidote should be directly below the slope. Deploy your spy Pengling and use it to collect the antidote at the end of the cave. You can find this site if you scan a map of the Glacier Basin at the Phi Robotics Center. Return to Phi's dig site and insert the antidote into the sample injection robot. Interact with the terminal to start injecting the antidote into Kharaa Frozen Leviathan's pustules. After the injection is successful, Robin will end it with a moment of closure due to the death of his sister. On the other hand, if she has Al An in her head, it will include some information on how the architects are considering the closure.
Information carrier Al-Ana
Al-An needs a new storage medium so that he can perform a wider range of functions than Robin's brain allows. To do this, Robin needs to collect certain parts that are in various caches of the Architect around Sector Zero. It should be noted that until Robin downloads Al-An into his head, the caches will remain inaccessible.
arctic peaks
The first stash is in the Arctic Spiers, an above ground biome connected to Glacier Bay. The Cold Suit you picked up earlier is very useful in the Spiers, however it requires a resource you don't already have - the Snow Stalker Fur. I hope you scanned the Spy fragments while you were in the pool. If not, go back and scan it. Pengling is fairly easy to build and doesn't require anything you haven't seen yet. You also need to create a Spy Pengling remote control to control the pengling. Once you've built both, return to the Glacier Basin and place the Spy Pengling down, then equip the remote control and right-click to activate it. Be careful not to drive the Pengling into the water or more than 50 meters from the Robin. To acquire the Snow Stalker Fur, you must find the Snow Stalker and grab it. You need 4 mechs, but you can easily get them all from one Snow Stalker. To retrieve the mechs from Spy Pengling, simply walk up to him and open his vault with the left mouse button. Then return to the fabricator and create a Cold Suit. Make sure you craft all three parts, head, body and gloves for complete protection. The suit is very helpful in combating the effects of the cold.
Bridge repair
The arctic spiers are inaccessible by conventional means, as it requires refueling the bridge connecting it to Glacier Cove. Find a torn fragment of hydraulic fluid on the lower half of the bridge and scan it. The project does not require a lot of resources and requires you to travel to the Arctic Kelp Forest and biomes containing gel bags, provided you don't have the materials. The nearest biome containing gel bags is the Deep Winding Bridges. Once you have the materials, craft one hydraulic fluid and return to the bridge. Insert liquid into the fuel bay and you will have access to the bridge terminal. You'll want to ride your Snow Fox into the steeples. Not too far into the canyon you will find a tech site with a big crane; this site contains a drawing of Thumper. It's in your best interest to return home and create some goons. If you haven't encountered it on your way to or from the tech site, then you have yet to encounter what is known as the Ice Worm. Ice worms are ground leviathans that burrow through the ground, listening for prey to ambush from below. The sound of Robin running or the Snow Fox moving will alert them to Robin's position where they can kill Robin very quickly and quietly with a few hits. In order to get through the canyon, you may have to use the loudspeakers that make a sound when placed and lure the Ice Worms towards it while Robin escapes.
Cache of the Arctic Spiers
The Arctic Spire Cache is located in the deepest region of the Arctic Spires, in a depression in the rocks. The Arctic Spire Cache contains one Ion Cube, one Ion Cube deposit, and fabric for the Al-Ana ship. The deposit of the Ion Cube is not the same as the previous factory-made game, so it can only be collected once. Once the tissue has been scanned, you will receive a tissue blueprint allowing you to collect materials to prepare for the vessel.
Deep Cave of Lilliputians
The second cache is located in the Deep Cave of the Lilliputians. Before heading to the Deep Lilypads, you need to make sure you have enough food and water to get you through a day or two of play. This stash is 620 meters deep, so you should have a Seatruck MK2 depth upgrade by now. Make sure you also have enough inventory space to pick up a few items. The cave contains the material needed to craft the Vessel of Al-Ana - Young Cotton Anemone. You will need to collect 3 Baby Cotton Anemones as you will need to craft 1 Hydrochloric Acid. The Deep Lilypads Cave is located just below the large suspended island where Omega's lab is located. This floating landmass can be found if you travel south of the Purple Air Vents or east of the Tree Spires.
Cache in the cave of the Deep Lilliputians
Once you reach the hanging island, descend the crevice around it until you reach the bottom. Once you get there, find one of the two tunnel holes leading further down and follow the alien structures until you reach the Deep Cache of the Lilliput Cave. Be sure not to go all the way inside your case as it may get stuck in the hiding place. Inside you will find the Skeleton Component required for Al-Ana's ship, scanning which will unlock the Architect's Skeleton.
Crystal Caves
The third cache is hidden in the Crystal Caves. The Crystal Caverns are home to a number of Shadow Leviathans, so make sure your gear is fully charged, or bring extra batteries and batteries with you. If you choose to bring a Seatruck with multiple modules, it is recommended that you install the Power Upgrade and/or the Afterburner Upgrade as this will help you get through the danger faster. These upgrades can be found in the sea monkey nests next to the crashed ship. You can also install the Perimeter Defense Upgrade as this can shock predators and hopefully prevent Shadow Leviathan attacks. The Crystal Caverns can be accessed from Deep Purple's vents or from Marguerite Maida's base.
Cache of the Crystal Caverns
The entrance to the Crystal Caves Cache can be found in the deepest part of the Crystal Caverns.

The Shadow Leviathans will circle around the two crystal formations that lead down to the Cache of the Crystal Caverns, where the Organs of the Architect can be found and scanned.
You will have to leave your seat behind for a while, following the narrow path that leads down to the cache. Once inside, follow the path and eventually you will reach the Architect's Organs, which, after scanning, reveals the last part of Al-Ana's vessel.
Creation of Al-Ana Vessel

This is the last part in the process of crafting the Al-Ana ship, it is recommended that you bring items with you to craft all 3 parts. In total you will need: ● 2 Root Balls ● 1 Synthetic Fiber ● 2 Gel Bags ● 3 Diamonds ● 1 Plasteel Ingot ● 1 Polyaniline ● 1 Ion Cube ● 2 Tape Plants ● 3 Kyanite

To create the Al-Ana Ship, you need to access the Fabricator Base, located in the deepest part of the Fabricator Caverns. The Caverns of Fabrikator are located deeper within the Crystal Caverns and can be seen by the distinctive red crystals. There are two tunnels leading down, each with its own Shadow Leviathan. Follow any of them and try to find a place to park your spot as you will have to leave it. The entrance to the Fabrikator base is just below 900 meters.

There are 3 terminals inside the base on the left side. Each terminal is responsible for building one part of the Al-Ana ship. Enter the materials into each terminal and start the vessel manufacturing process. After you craft the ship, Al-An will tell you to meet him at the Architect's Phase Gate facility, which is located next to Outpost Zero.

Once you reach the Architect Phase gate, you can end the game by activating the phase gate and leaving 4546B.

-

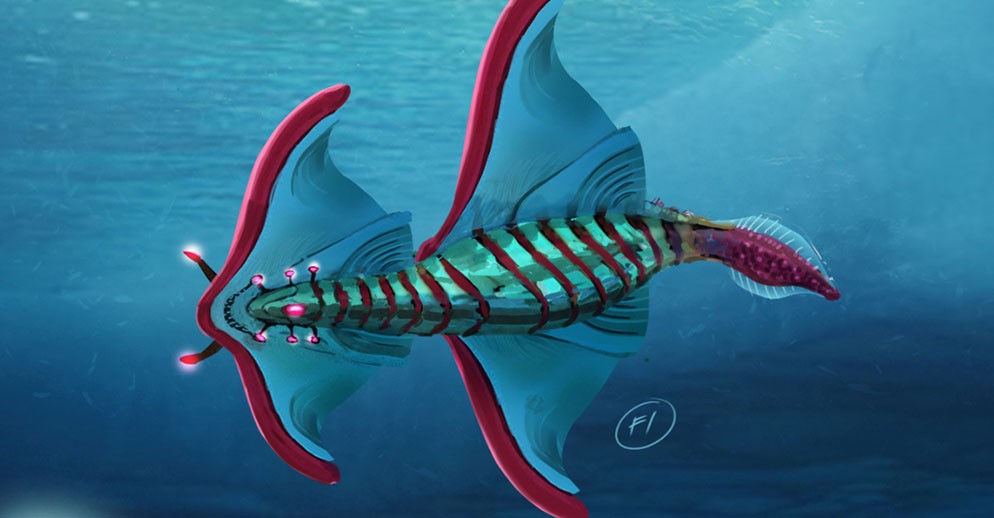
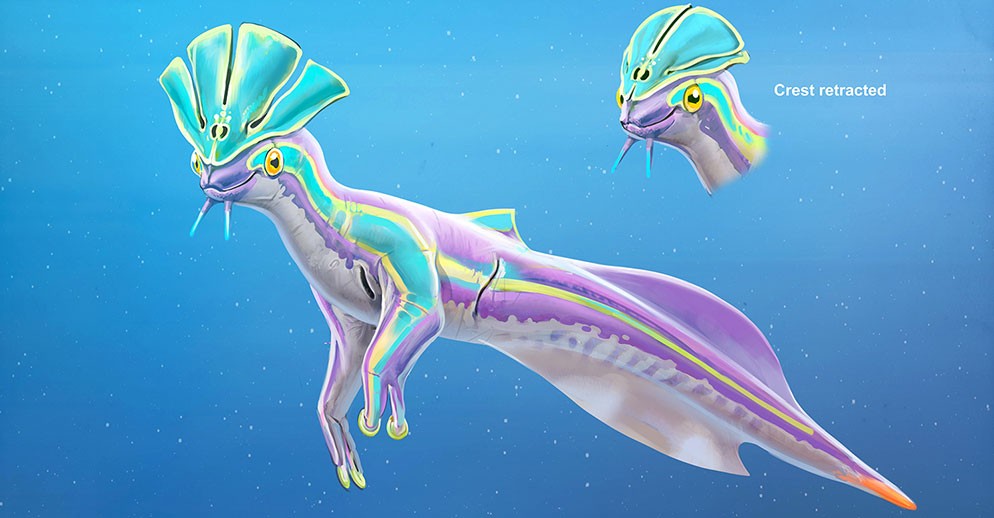
- ARCTIC RAY
-
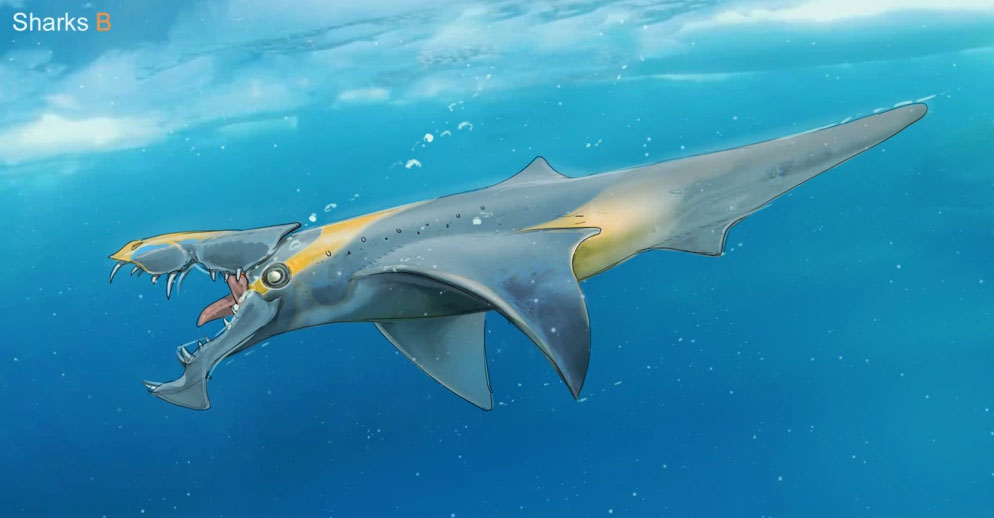
- BRUTE SHARK
-
- SEA MONKEY
-
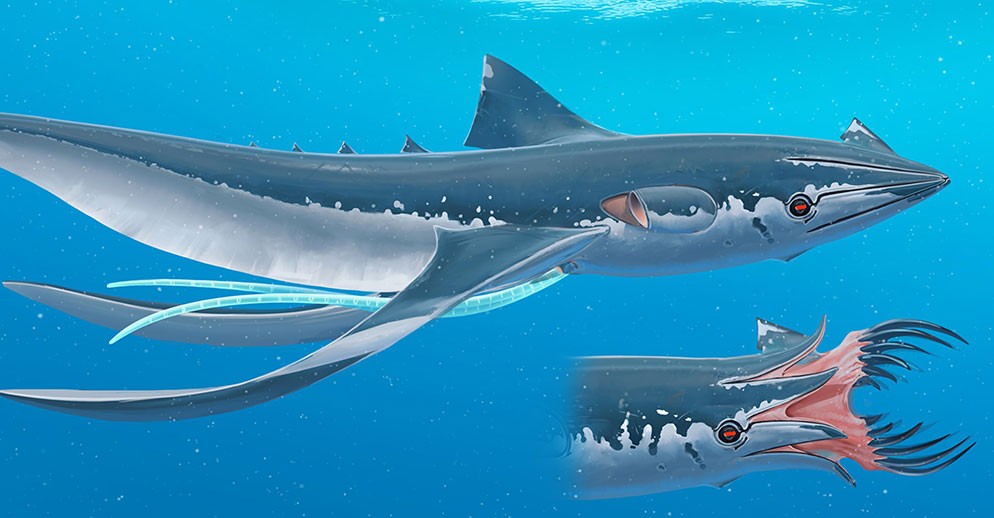
- SQUID SHARK
-
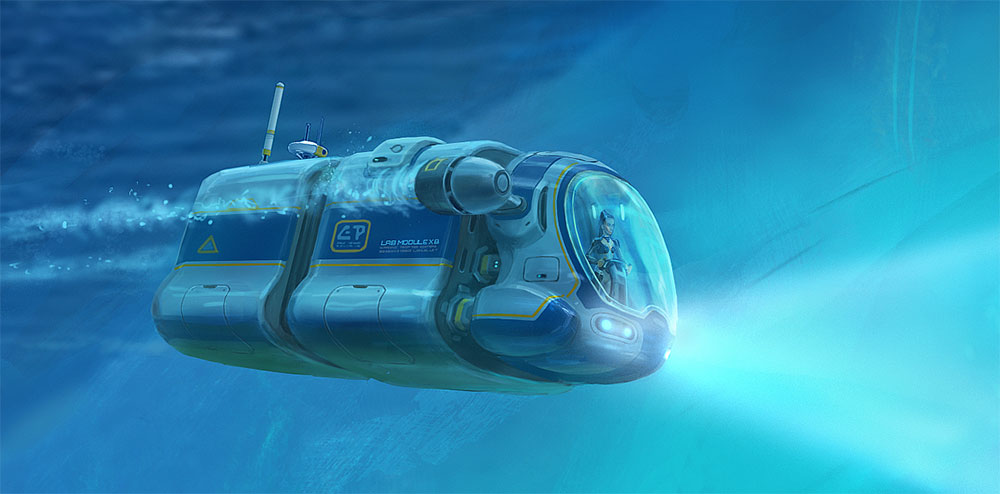
- SEATRUCK
-
- SNOWFOX
Was the article helpful?