ASUS, after numerous leaks, has finally introduced the ROG Phone 6D and 6D Ultimate gaming flagship smartphones. These are analogues of previous versions of ROG Phone 6…
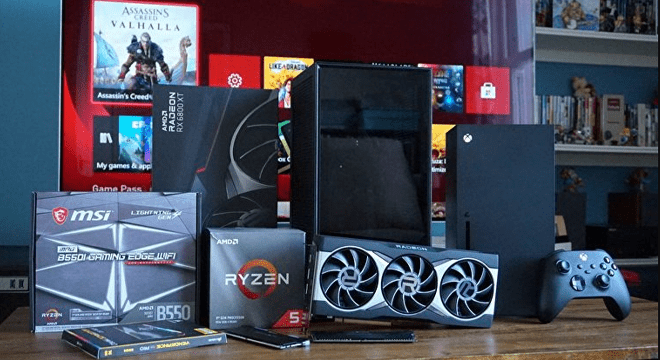
Xbox Series X DIY - We Created Our Own PC Console Analog
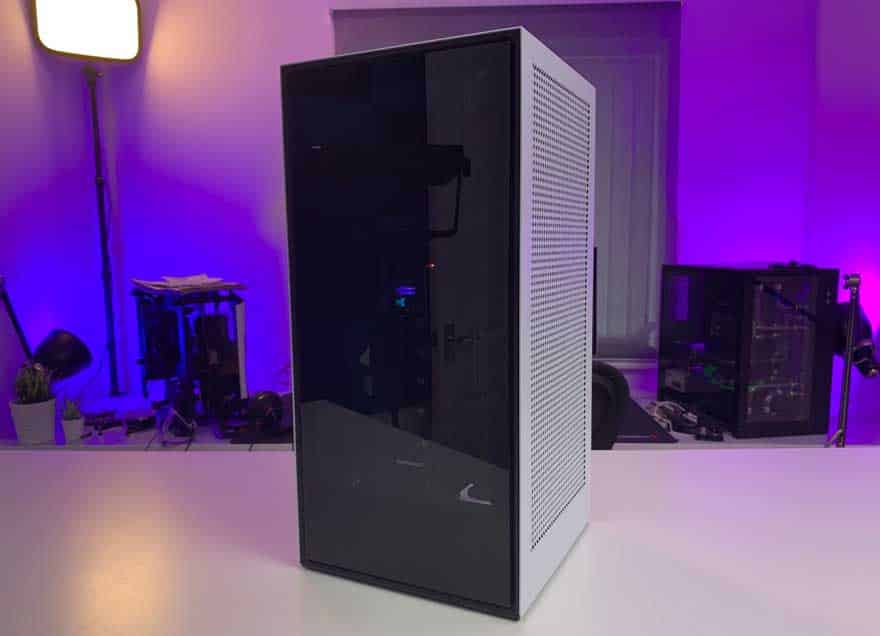
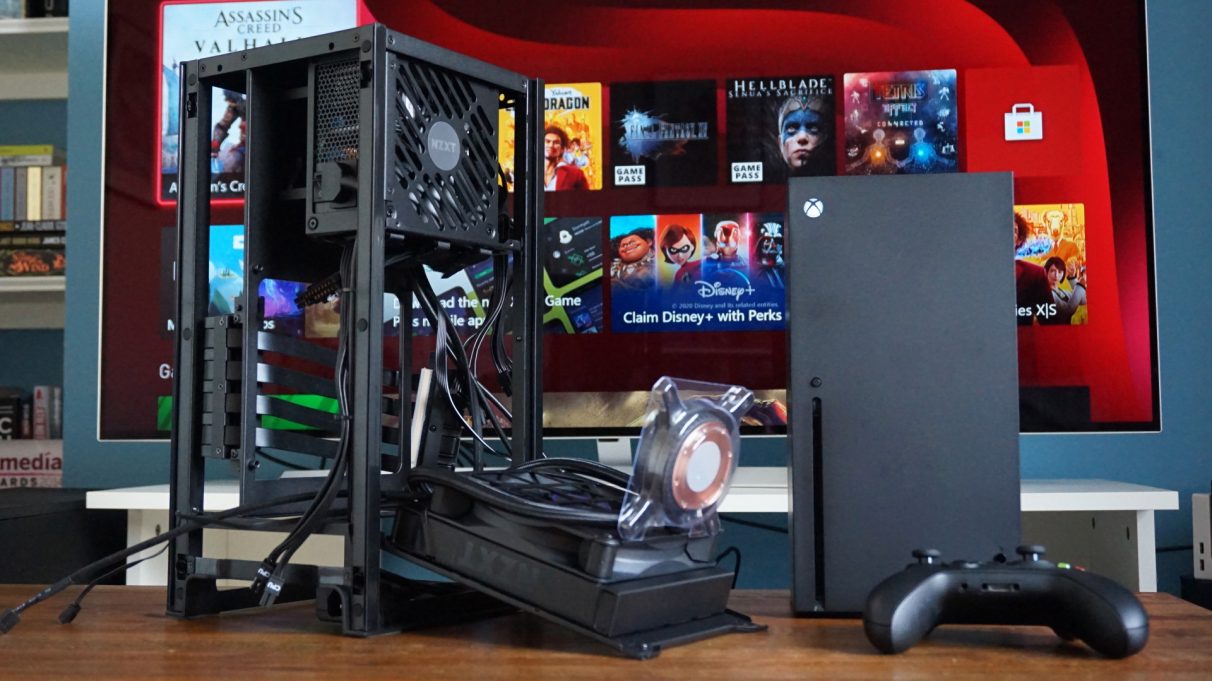
The closest possible case to the original, which we managed to find NZXT H1
Motherboard MPG B550I Gaming Edge Wi-Fi for this assembly came up perfectly, given its characteristics and size.
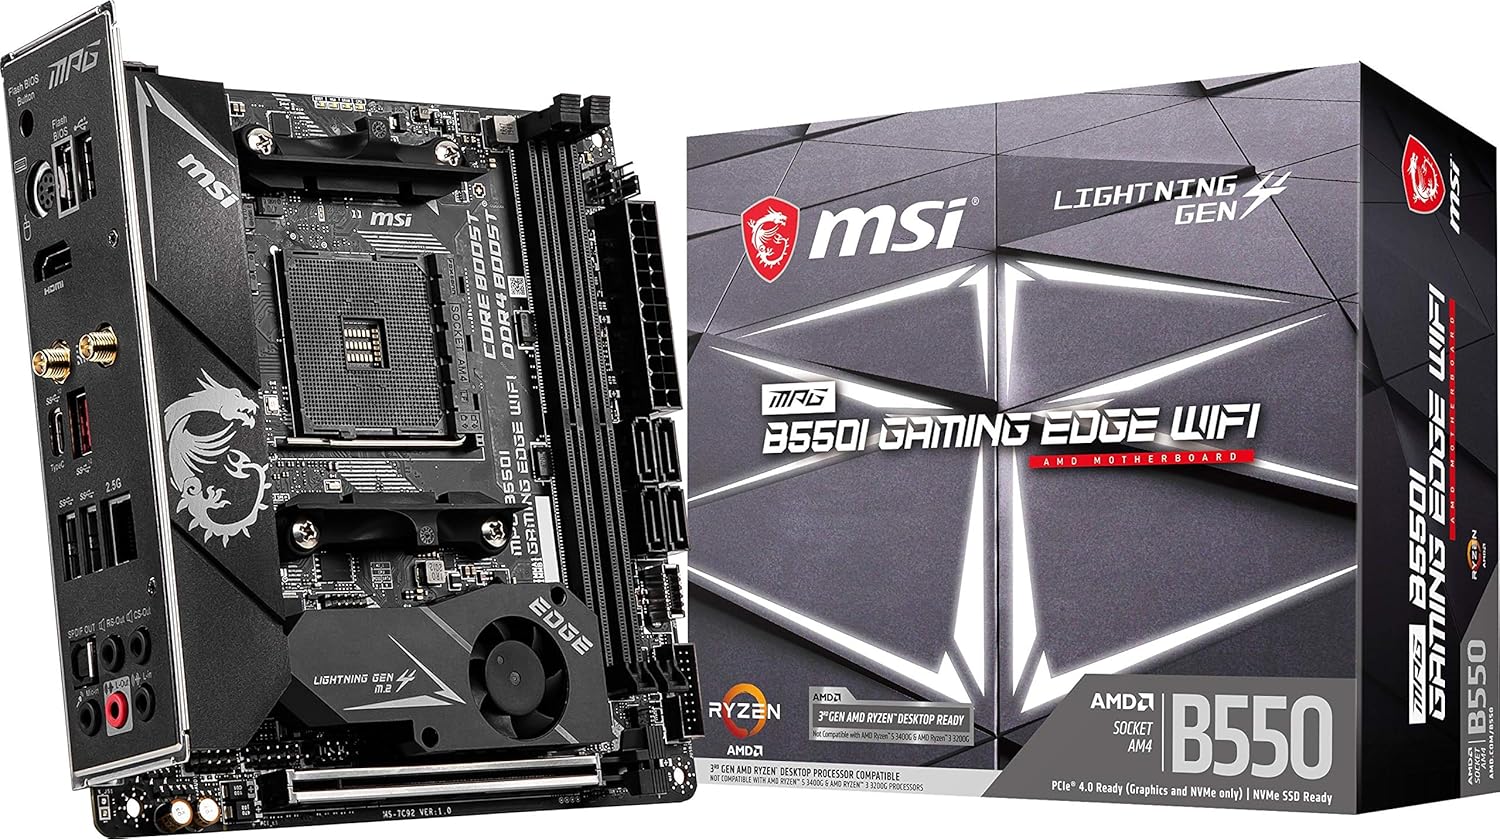
A motherboard with built-in Wi-Fi was essential to replicate the Series X's wireless capabilities.
But enough of the component chat. Here's how I built this miracle. To get the gist of the NZXT H1's case, I first had to remove the front and back panels by lifting them up and out of the little mounts. I was then able to slide the lids off the top and the other two sides and labeled the whole thing with a handful of signed purple stickers.
Then I had to open the refrigerator compartment H1. Luckily, all I had to do was unscrew two small screws and the cooler popped out on me thanks to a handy hinge mechanism at the bottom. After I removed the accessory box from it and untangled all the cables, it was time to put in my motherboard.
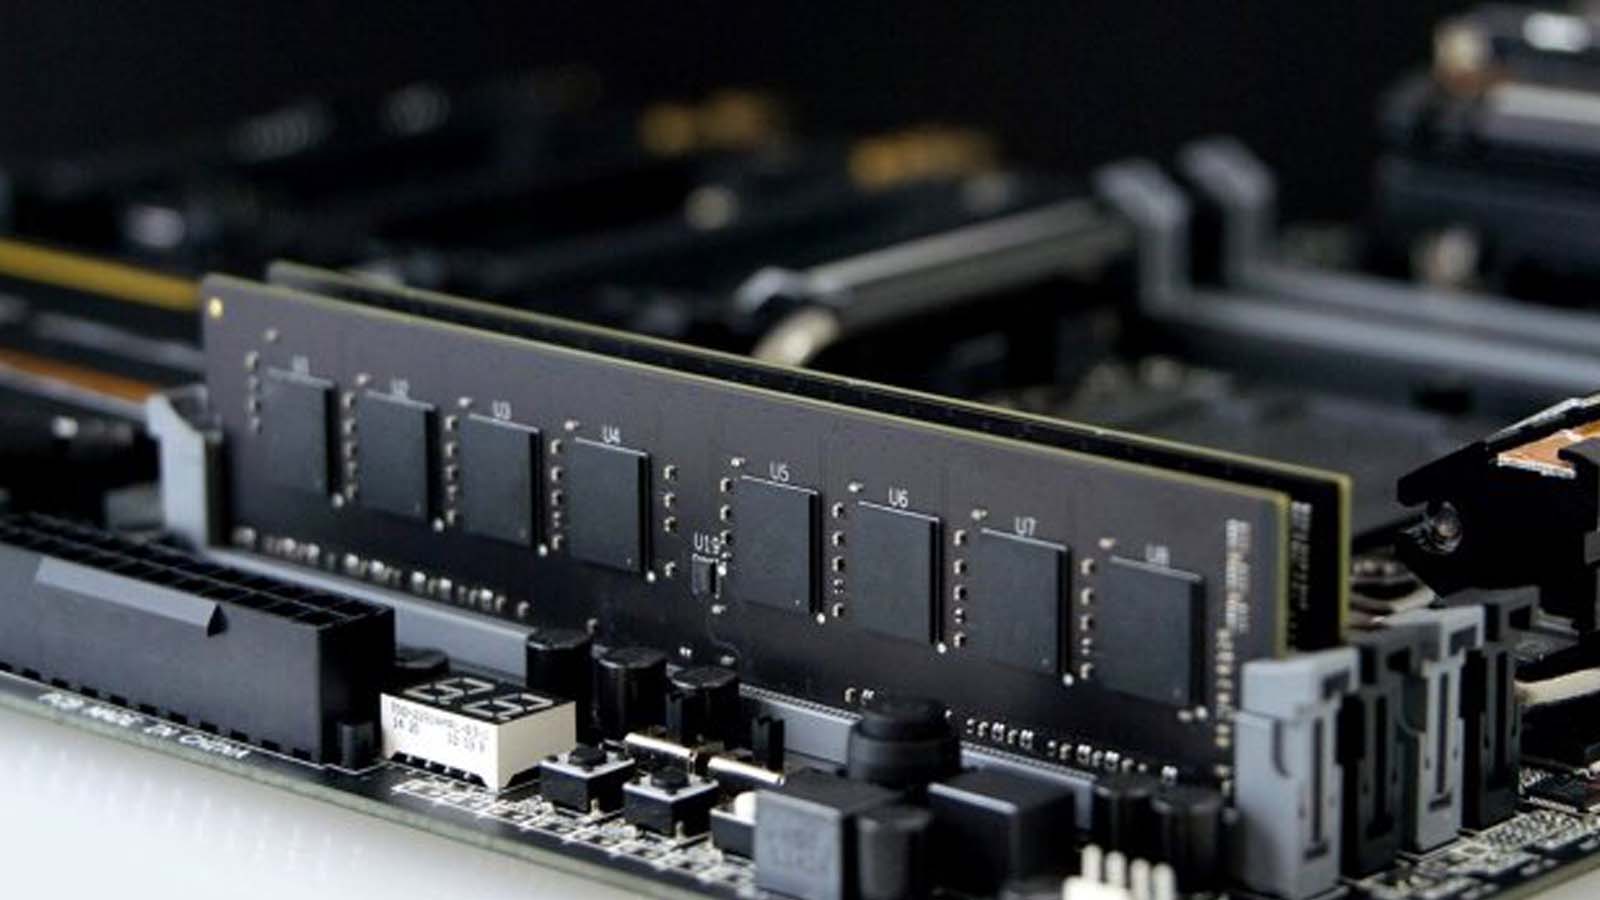
I inserted the CPU and RAM beforehand (I didn't have to worry about changing the cooler mount since the H1 already has one) and pushed the motherboard over the side so it rested on the mount points. Luckily, NZXT had already routed most of the cables to reasonable positions on either side of the H1, so it didn't take long to get them all in place.
Of course, the curious of you may have noticed that the RAM in the images is not the same RAM listed above. This is because I was actually planning to use my regular pair of sticks Corsair Revenge RGB Pro, when I started building my Xbox PC, but when I went back to closing the case again, I found that they were too tall (!) to close it properly. Luckily swap them out for shorter slats Team Group TUF was no big deal as they were still easily accessible even when I connected the cooler to the CPU.

I then inserted my SATA SSD into one of the two bays on the top of the case next to the power supply and secured my WD NVMe drive to the M.2 slot on the back of the motherboard. Technically, there's a PCIe Gen 550 M.4.0 slot under the MSI MPG B2I Gaming Edge's Wi-Fi heatsink plate for connecting a suitable PCIe 4.0 NVMe drive, but for ease of access, I decided to stick with the PCIe 3.0 on the back. .
Finally, it's time for video cards. Obviously, mounting a full-sized graphics card in its usual landscape orientation is next to impossible in such a small case, but another benefit of the H1 is that it comes with its own built-in PCIe riser, so you can mount it vertically on the other side of the motherboard. One side plugs into the motherboard's PCIe x16 slot, while the other wraps around the backplate so you can plug it in from the back.
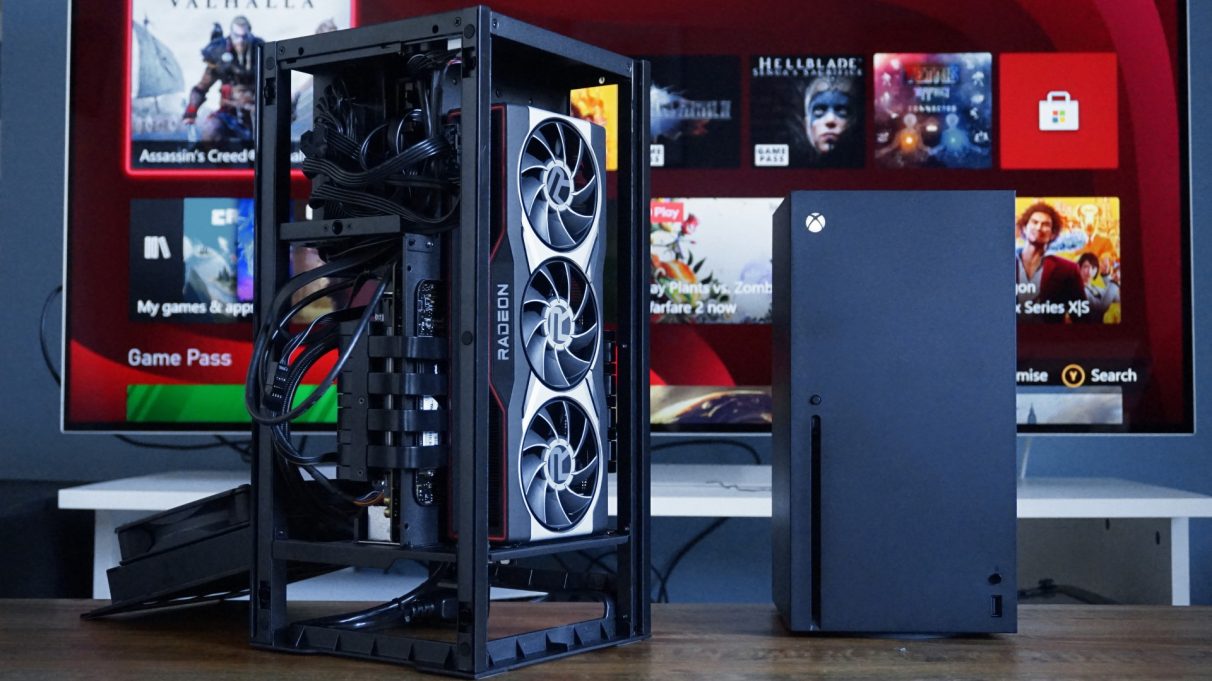
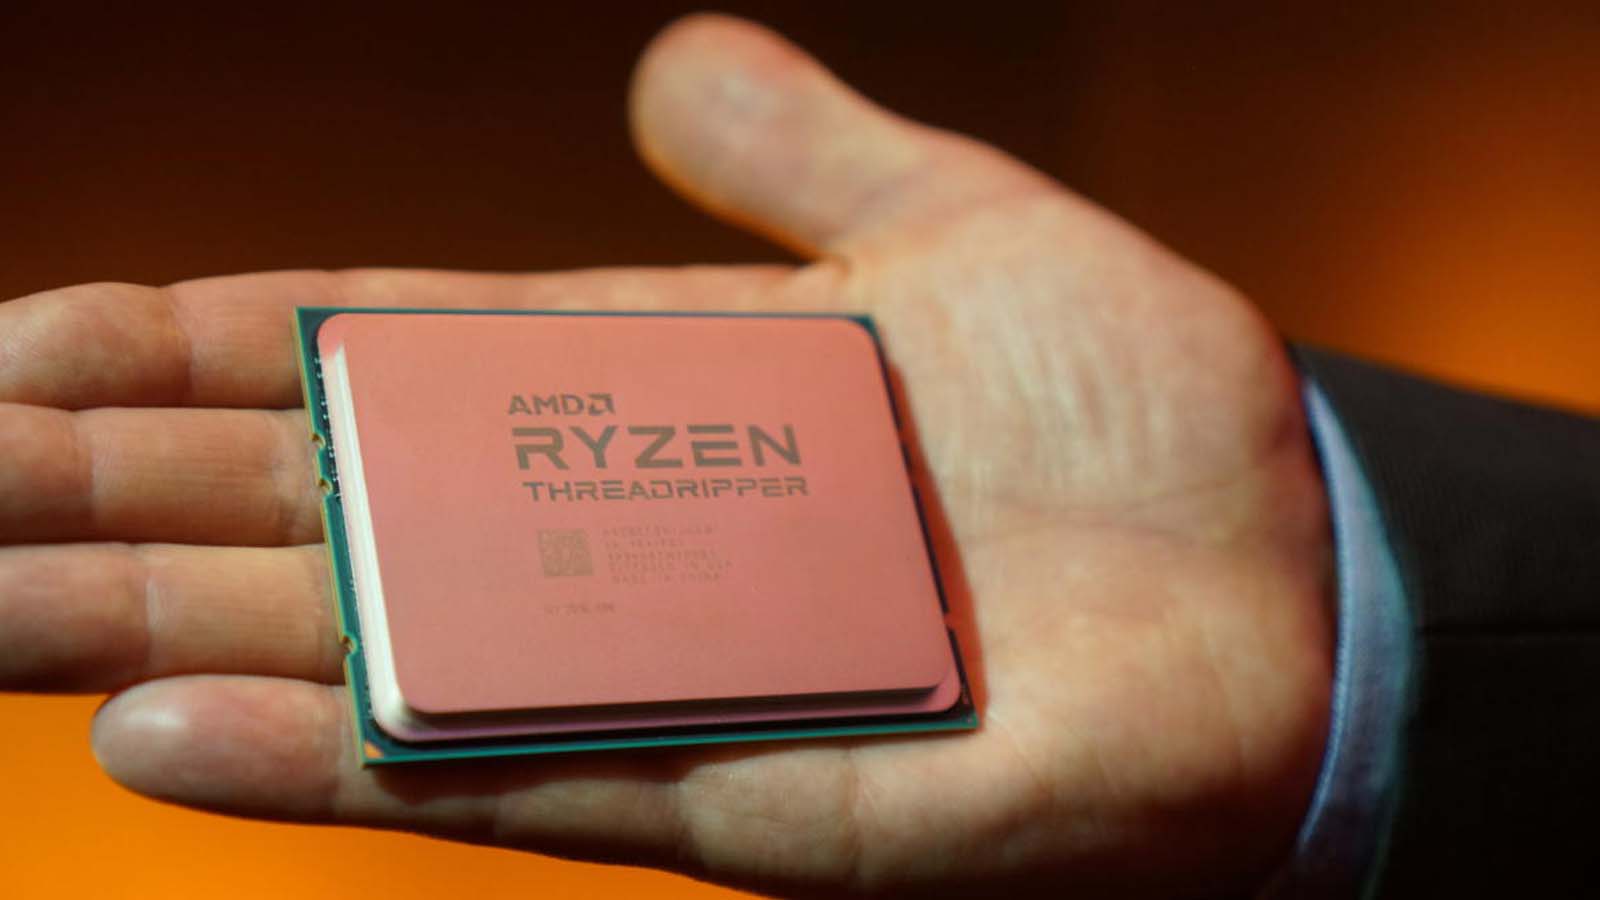
As I said earlier, I first tried to install an Asus GeForce TUF Gaming RTX 3070 OC here, but the H1 gap limits of 305x128mm (or 265x145mm, according to the spec) prevented me from doing so. The card was not only too tall, but its 2,7 slot size was too thick. I was concerned that AMD RX6800XT Wouldn't fit after my attempts with the RTX 3070, but luckily it worked thanks to the shorter card length and 2,5 slot size. Admittedly, it's not the ideal partner for a 1W H650 PSU - AMD recommends you plug a 750W PSU into it, but I'd put a regular RX 6800 in there if I had one.
After that, all that remained was to install the cooler and close it again. The H1 universal cooler has an Intel mount by default, so I had to remove it and attach the bundled AMD cooler, but it all took less than a couple of minutes. Once I hooked the mounts into place and screwed them to the motherboard, it was time to screw the main fan into place and seal it - after making sure there were no erroneous wires in the way, of course. Then it was just a matter of sliding the sides and top, and then the front and back panels.

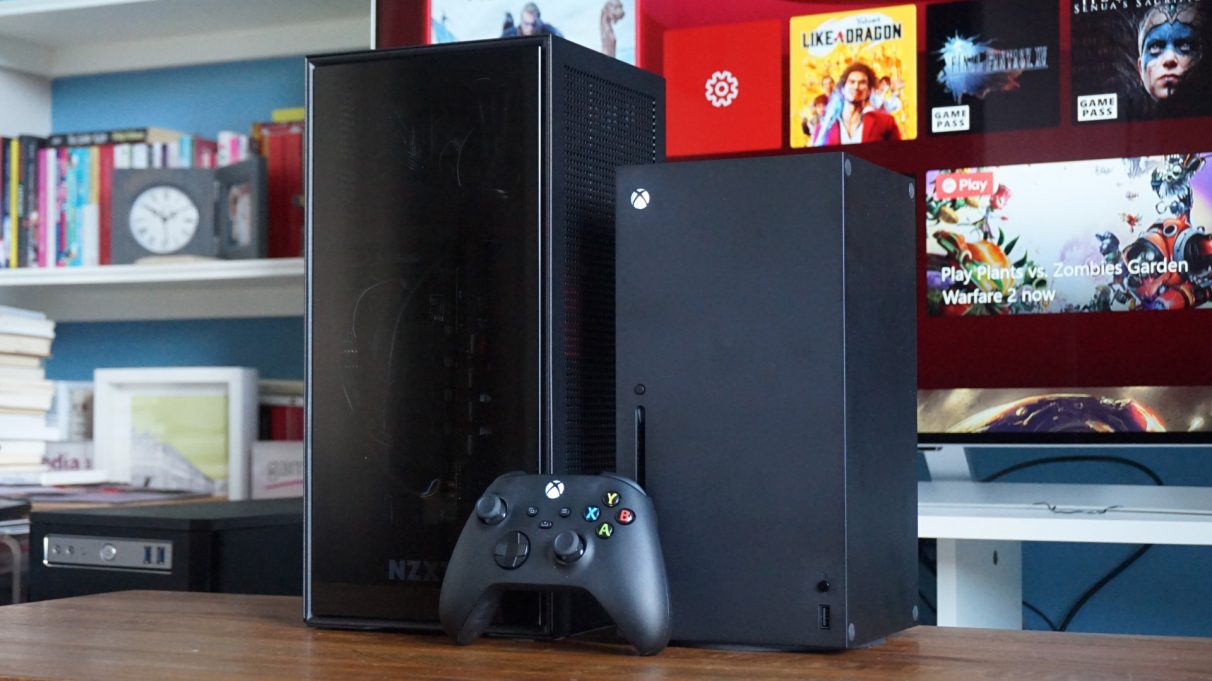
Then, when I turned it on its side to connect the display cable, Wi-Fi antennas, and power plug, we were ready to go. Voila! One Xbox Series X PC at your service.
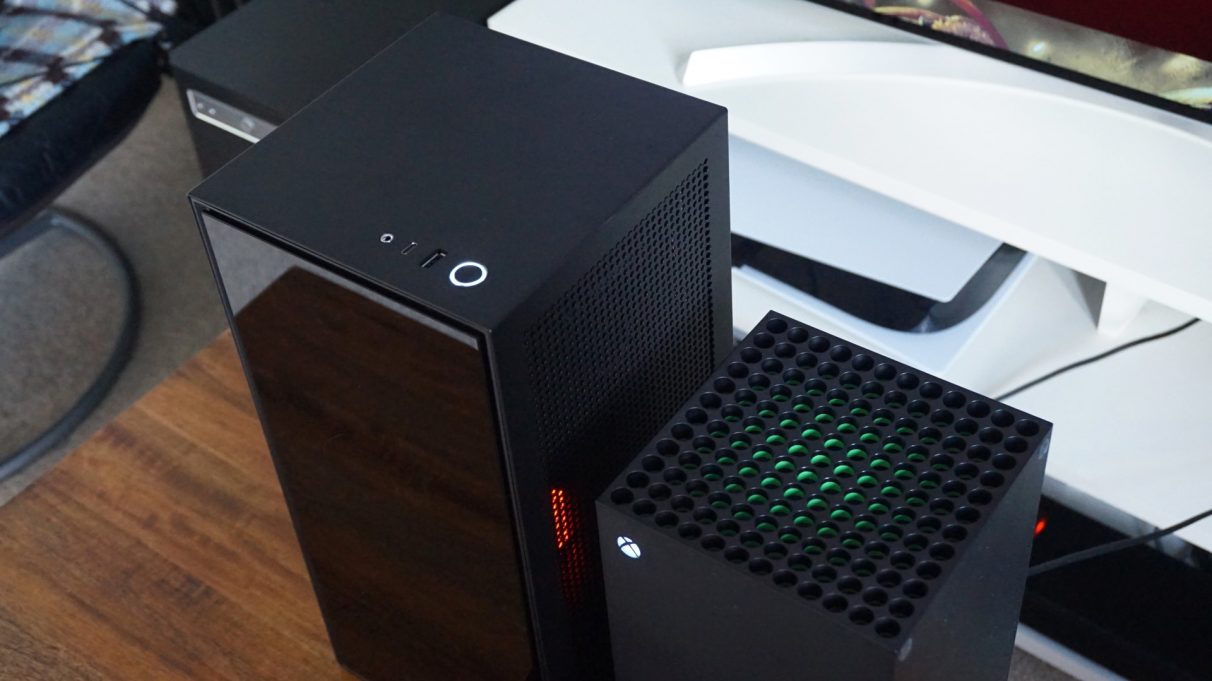
As you can see from the images, the NZXT H1 is still much taller than the Series X, so the Microsoft console still wins in terms of overall size. Similarly, the hundreds of holes on the side and back of the H1 also make my PC disproportionately noisy compared to the silent Series X. If anything, my Xbox PC is more like the Xbox One X of yesteryear when it comes to noise levels, if not a tad louder . This is another downside to the decision to build your own computer rather than just go the console route, but in terms of power it definitely delivers pretty good performance.
How ever since it was discovered that, Assassin's Creed Valhalla doesn't actually run native 4K on the Series X, the RX 6800 XT in my Xbox PC's arsenal was able to hit 60fps on very high settings at proper 4K resolution without issue. I was also able to match a locked 4K 30fps frame rate in Watch Dogs Legion with ray tracing enabled at high settings, and Yakuza: Like A Dragon Worked great in both 1440p and 4K, reaching a smooth 60fps+ at max settings at both resolutions - surpassing the 1440p 60fps and 4K 30fps options that the Series X has.
Yes, you pay significantly more to get the same performance here, but as I said at the very beginning of this feature, matching the Xbox Series X for the price was never really the goal. Instead, I just wanted to see if it could be matched in terms of power in a (roughly) similar form factor, and for that matter, I think I did pretty well with it. It was also fun to try and build a mini-ITX PC for a change.
Was the article helpful?